
This Watch Dogs walkthrough is divided into 39 total pages.
You can jump to nearby pages of the game using the links above.
Dressed in Peels (Chapter 1)
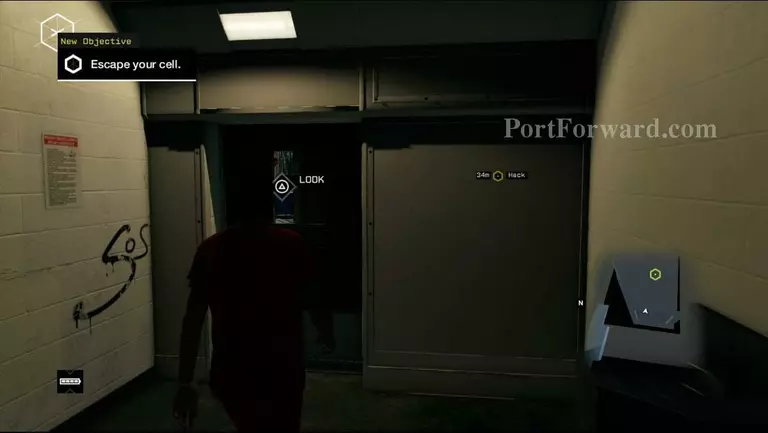
First get to the Palin Correctional Center. Once there, start the mission. Aiden walks in and is immediately arrested, all according to plan. Once inside, you end up in a cell. Look outside to see a few prison guards walking around.
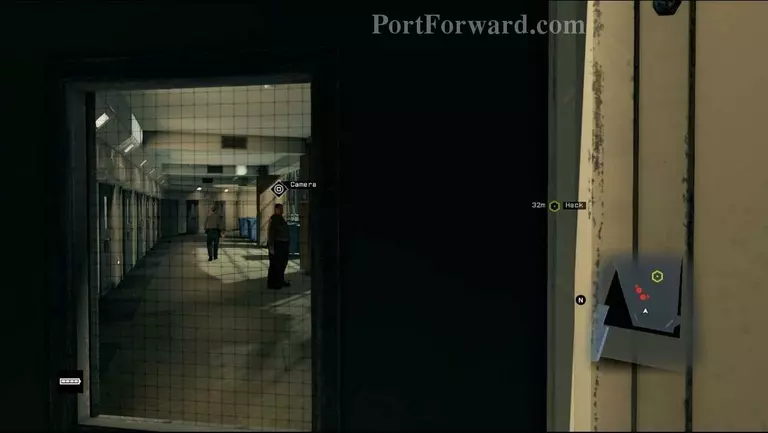
Hack into one of their cameras, then you can hack into other cameras within the prison area.
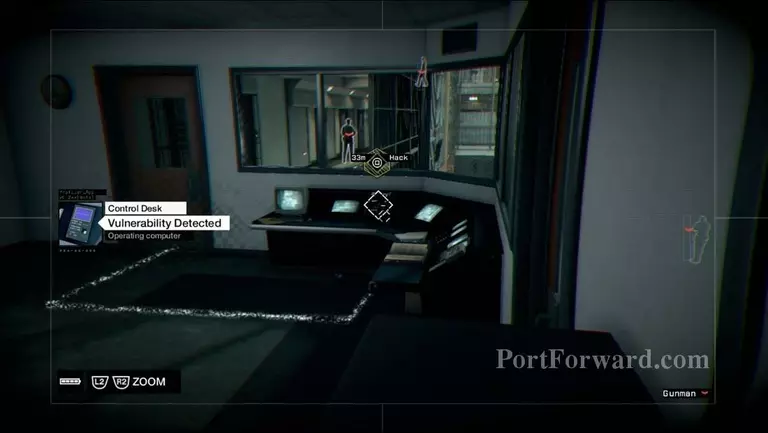
Ultimately, you need to end up on the camera of the guard walking around on the second floor over by the guard office. Once you get a good view inside the guard office, you should see a camera in there you can hack into. Once in the office, unlock your cell

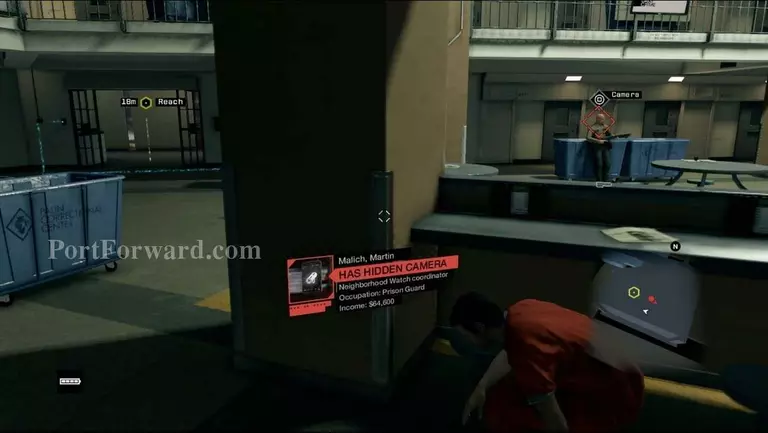
Now you're out! Kind of at least. Anyway, move to the left of your cell once out, avoiding all eye contact from guards.
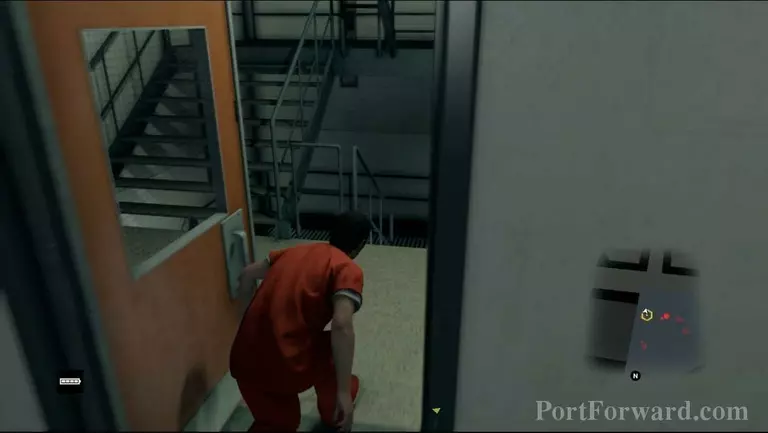
Use the pillars and the blue bins to hide behind. Keep sneaking to the left until you get into the guard office. Once inside, go through the door to the stairs, and go down.

Once onto the floor below, unlock the box in front of you, then head into the office. You'll find a folder on a table, so pick it up, then keep moving into the next courtyard.

Keep hidden as you make your way across it to the locked gate.
Unlock it by scanning the box, then head through.
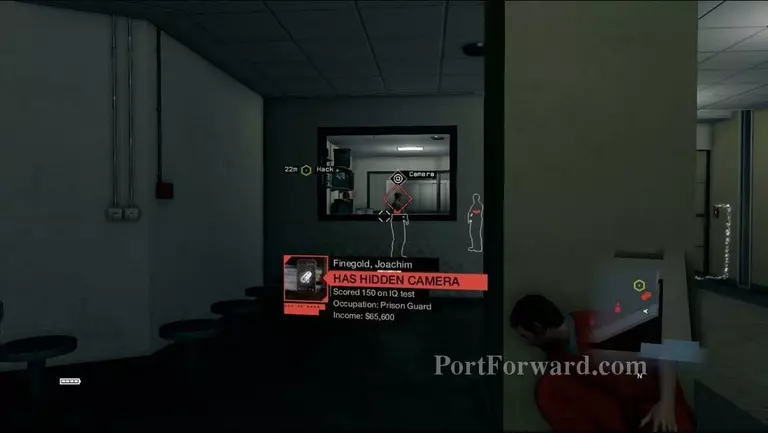
Once through that gate, there's another locked gate and more guards. Hack into the guard in the office's camera, then into the other guard's camera.
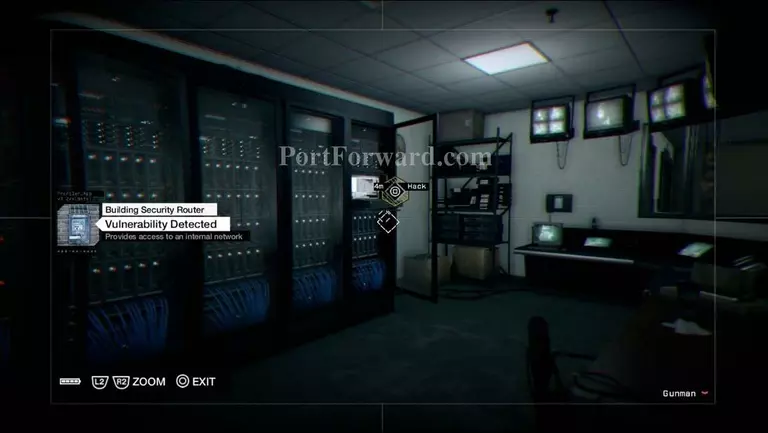
Eventually the second guard will walk into the server room, so once in, hack into it. Solve the hacking puzzle, but be fast because there's a timer on this one.
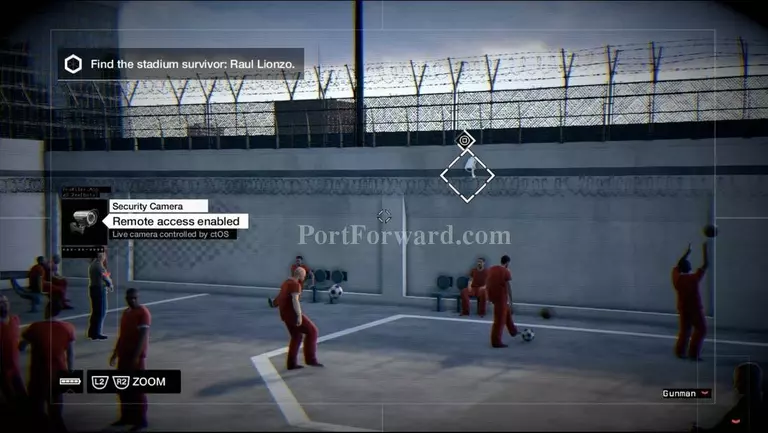
Once that puzzle is solved, you now have camera access to the exercise yard. Move from camera to camera trying to find your man.
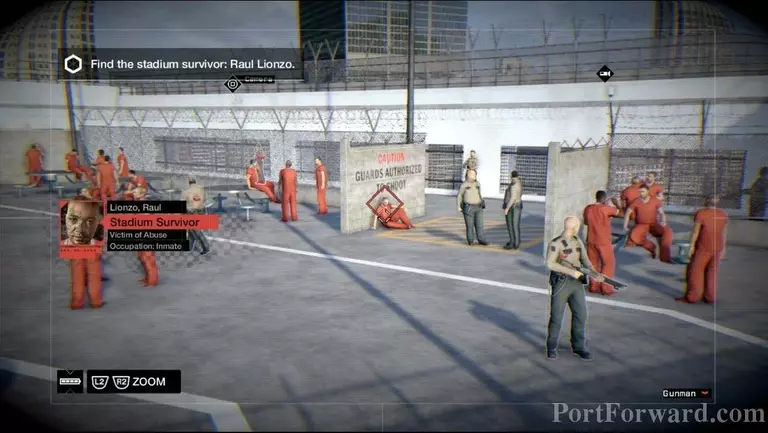
He is sitting with his back facing the first camera you access, but he's also behind a wall sitting down. Look for the paint saying CAUTION GUARDS ARE AUTHORIZED TO SHOOT.
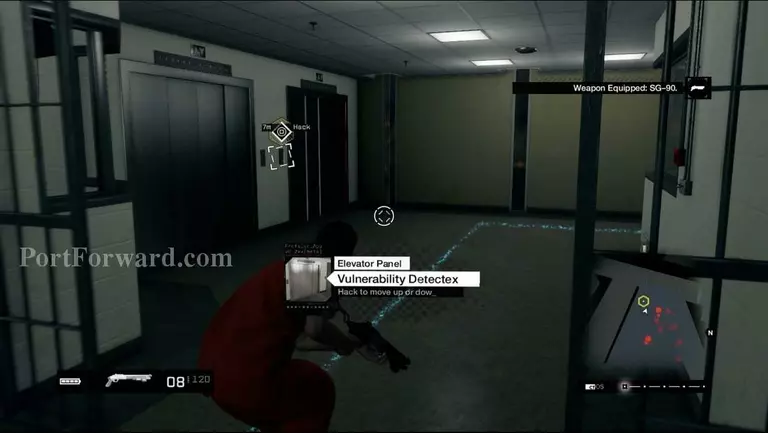
Once you find your man, he gets hauled off by some shady guards. He is being taken to the basement. Hack the elevator in front of you to call it up.
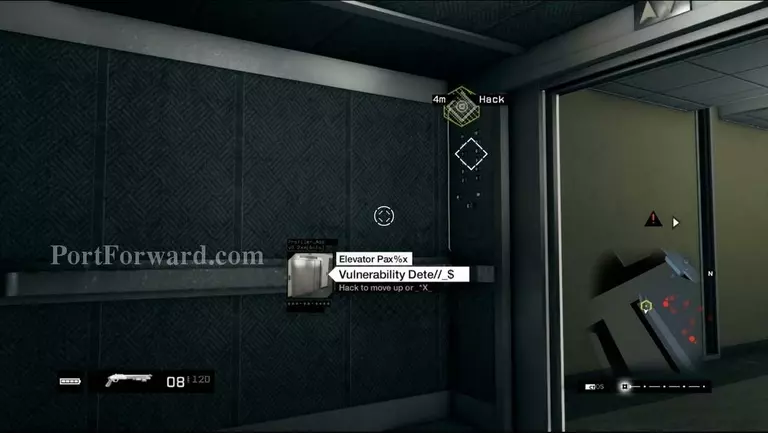
Once it gets in, quick run into the elevator and scan something above the floor buttons to get yourself moving down into the laundry room.
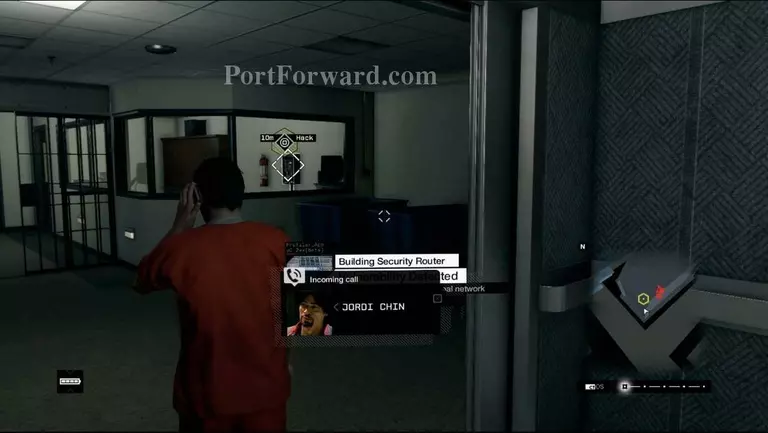
Once down, move into the guard office down here and scan the box in here. You'll jump to a camera in the room ahead.
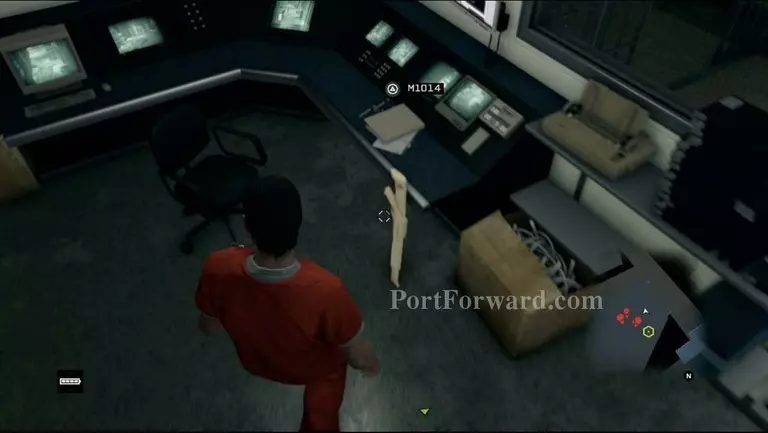
Find the box next to the entry door to unlock it. Now grab the shotgun in the office before moving forward.
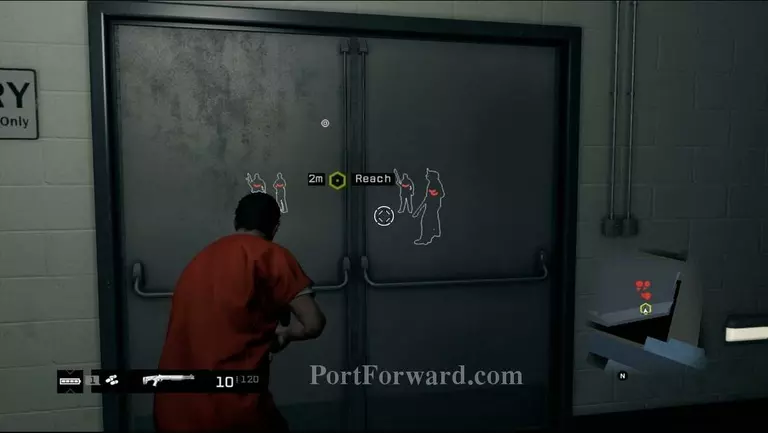
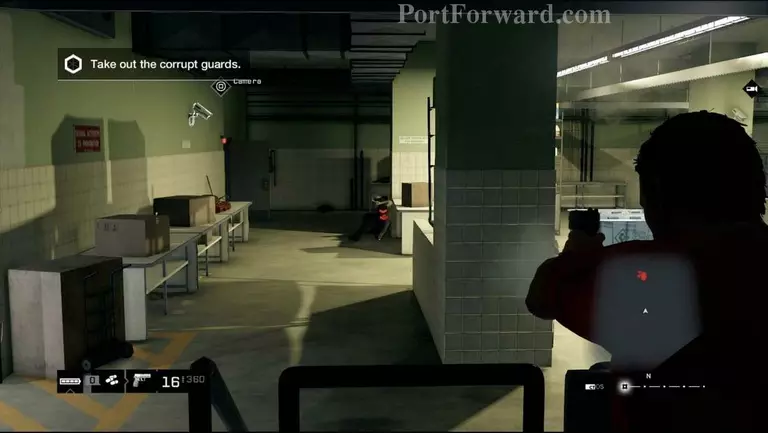
Bust through the laundry double doors and immediately take cover behind the blue basket. Hack the pipe on the left to burst it, and move to the right to take cover.
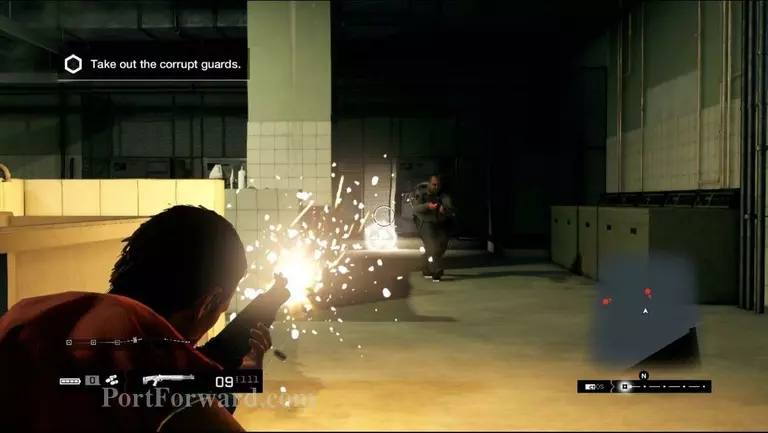
Shoot all of the guards down here, being sure to keep moving which throws the guards off of their game.
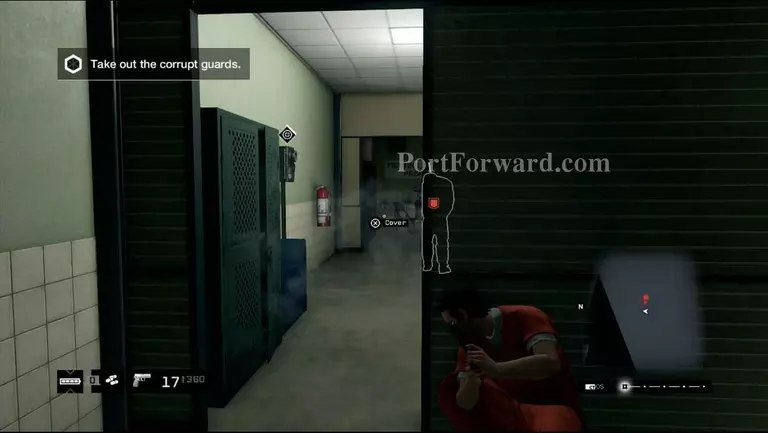
Once all have been killed, an Enforcer comes. He will take plenty of rounds before finally going down, so make sure you are mobile. There is a room along the back wall, so lure the Enforcer into this room, then blow up the box on the side of the wall.
With the Enforcer gone, two more guards will rush out of a side room. Kill them, then head into the room to confront your man.
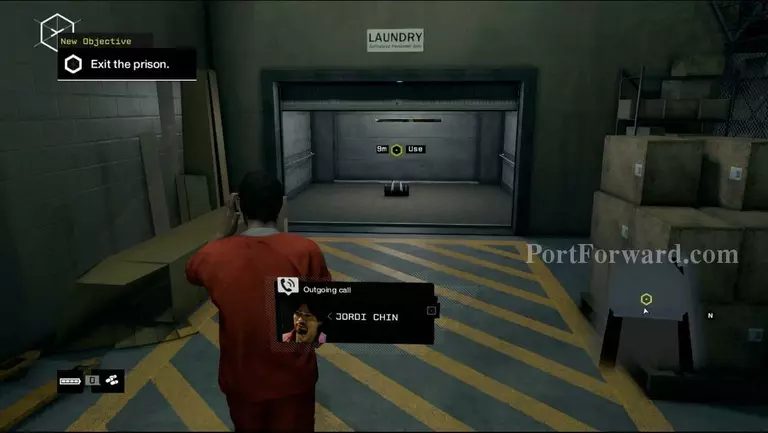
Once you're done talking, walk out and take a left to find a bag that Jordi left for you with clothes and stuff in it.
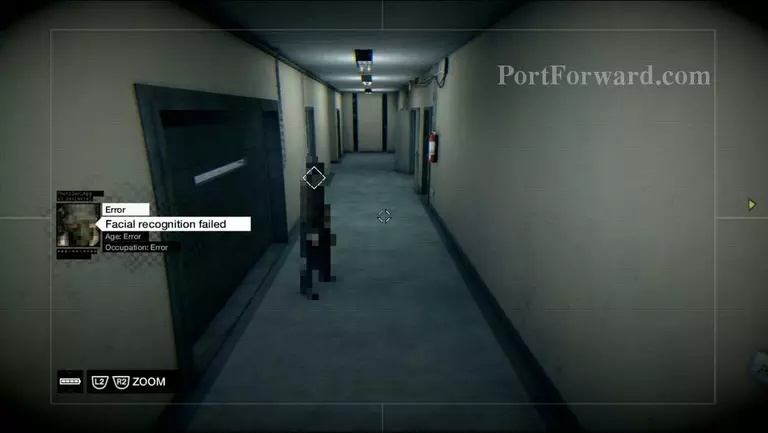
Change and head left down the hallway.
Take the first right and then head into the guard office.
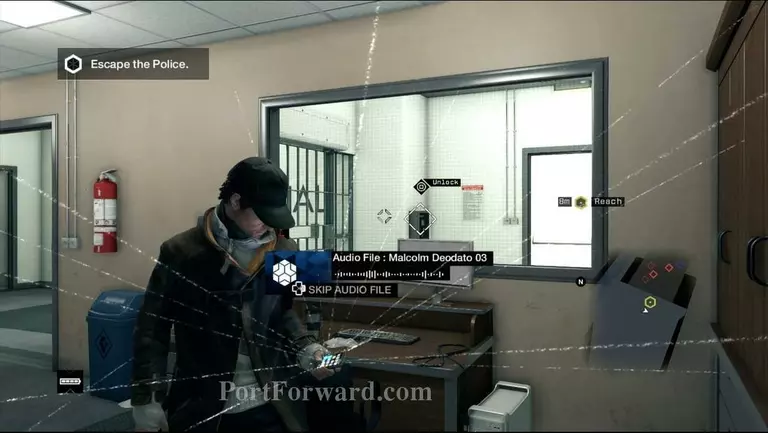
Look out the window by the building exit to scan a box to unlock the last gate between you and Chicago.
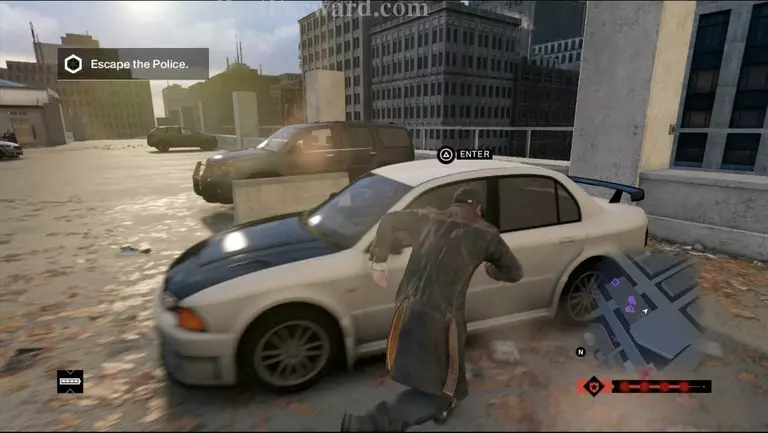
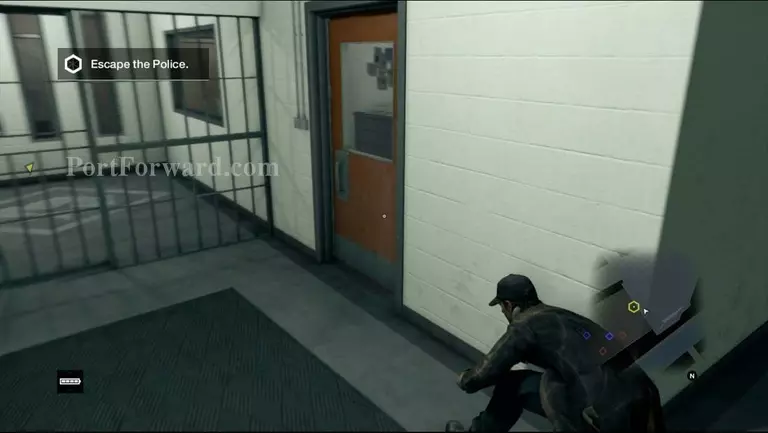
Once outside, there are tons of guards, so immediately run to the right and get into the car that should be parked here. Now, jam on the gas and launch yourself through the open construction area down to the street.
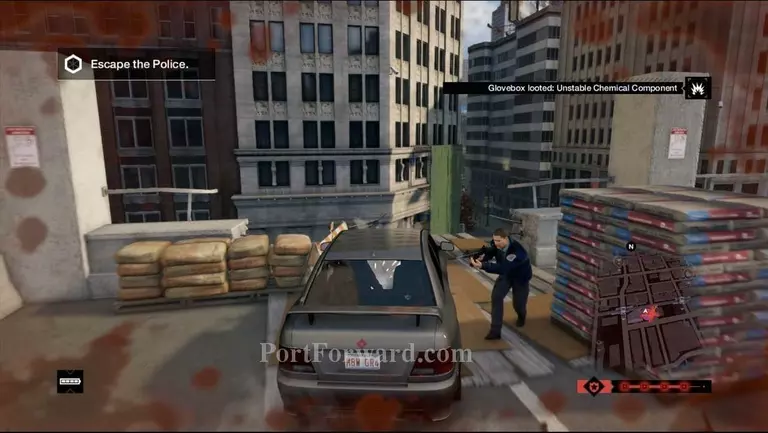
Escape the police pursuit, and you're in the clear!
More Watch Dogs Walkthroughs
This Watch Dogs walkthrough is divided into 39 total pages.


