This Bionic Commando walkthrough is divided into 22 total pages.
You can jump to nearby pages of the game using the links above.
Area 11
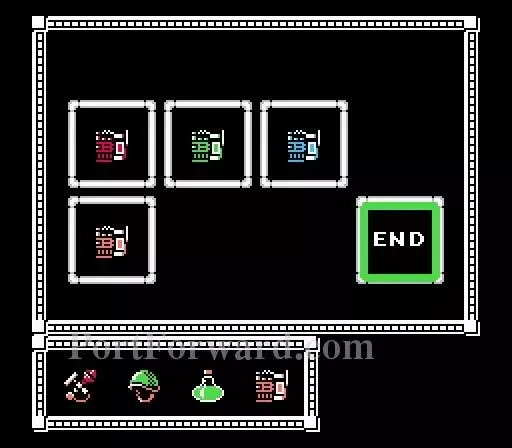
Now you can use the Delta (yellow) communicator.

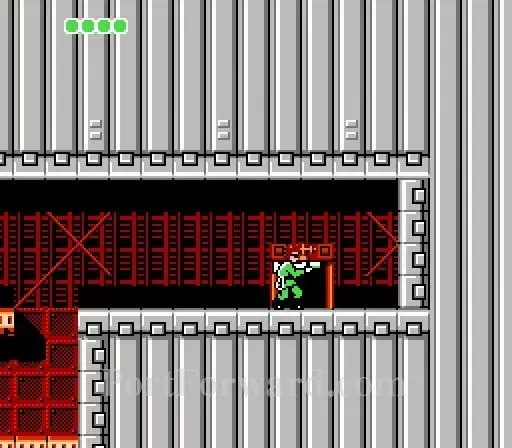
Stay out of the fire.
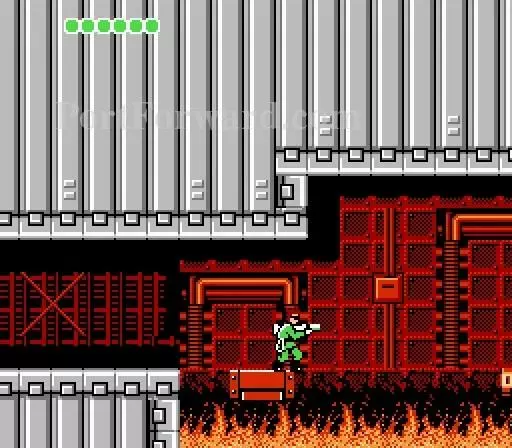
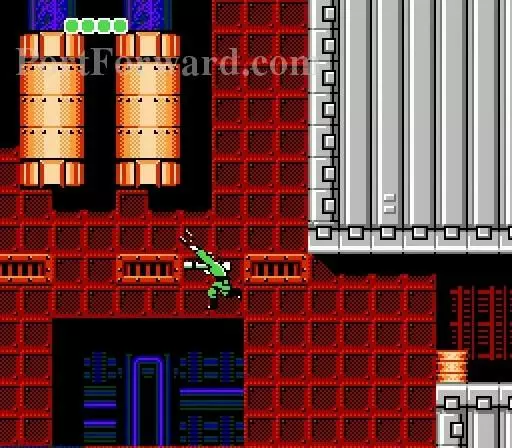
It looks tempting to travel along the bottom but...
It's better to travel along the top.

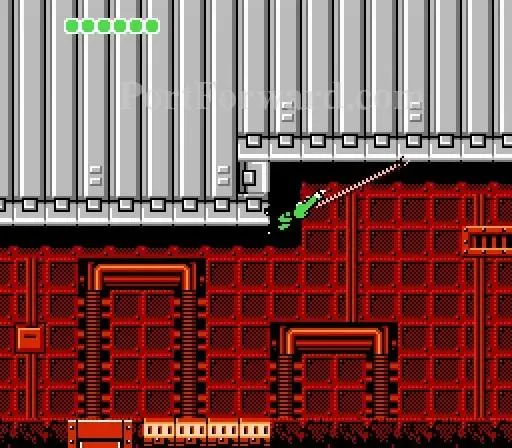
Then drop down here.

Wait for the guy above to pass then pull yourself up behind him.
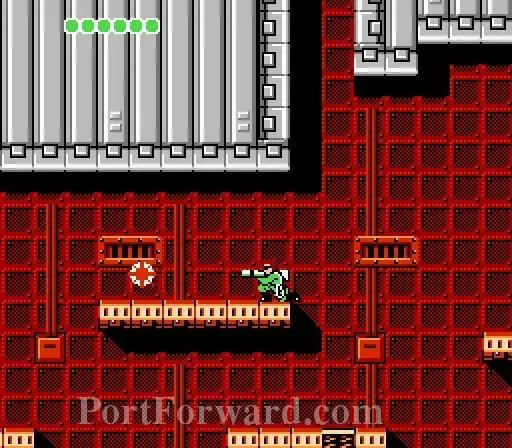
and blast him.

Swing to this platform then use the springs to jump up to the right and grapple the platform.

Head to the top.
Head to the right into this door.

Wiretrapping: NO. HAL HAS THE BAZOOKA.
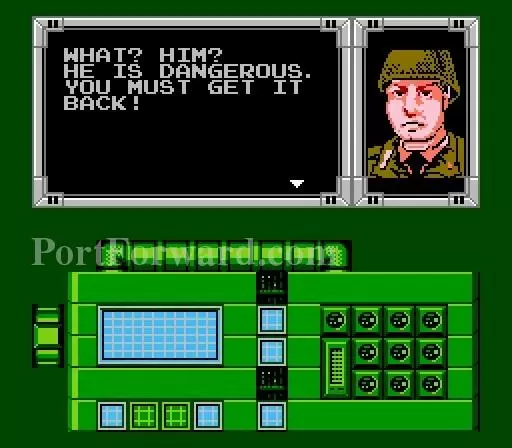
WHAT? HIM? HE IS DANGEROUS. YOU MUST GET IT BACK!
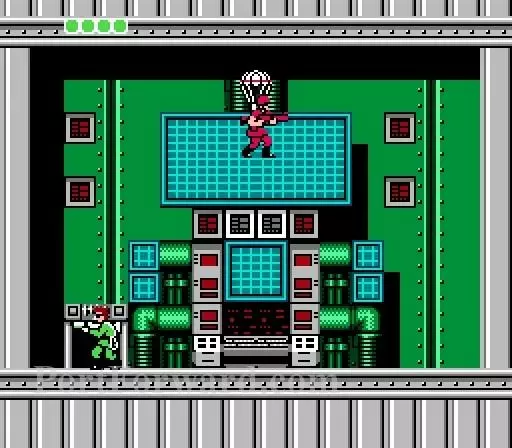
The enemy attacks.
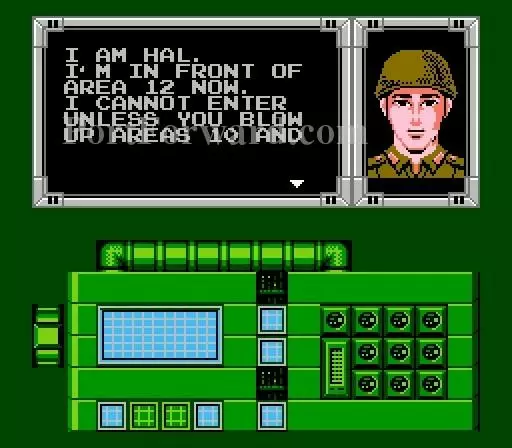
I AM HAL. I'M IN FRONT OF AREA 12 NOW. I CANNOT ENTER UNLESS YOU BLOW UP AREAS 10

AND 11,SO PLEASE DO IT FAST. BAZOOKA? YES,I HAVE IT. DON'T WORRY ABOUT ANYTHING.
LET ME HANDLE THE REST.
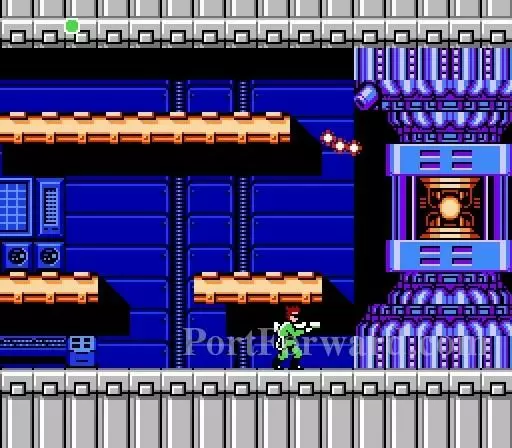
Try to swing your way across these kind of platforms.

They get spaced apart as you go. Fall and you die in the fire below.

The boss door is here.

IT'S TOO EARLY TO FEEL SAFE. I'LL KILL YOU

Watch out for the laser beams from above.
The cannon also attacks.

WE'VE OBTAINED BULLET PROOF VEST
More Bionic Commando Walkthroughs
This Bionic Commando walkthrough is divided into 22 total pages.