This Borderlands 1st release walkthrough is divided into 52 total pages.
You can jump to nearby pages of the game using the links above.
Salt Flats: The Final Piece
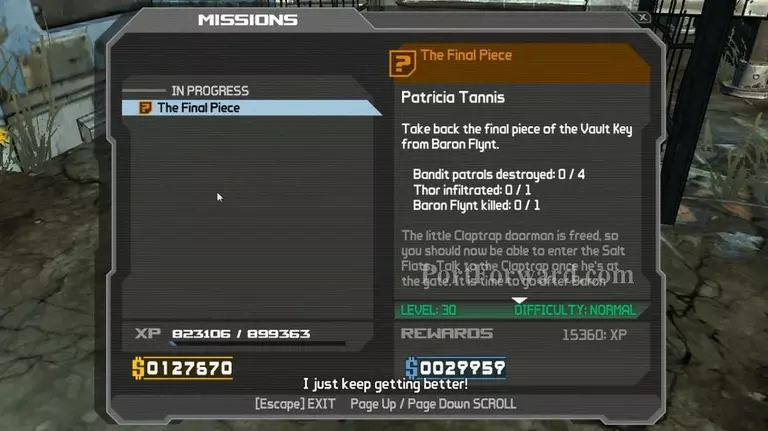
Mission overview.
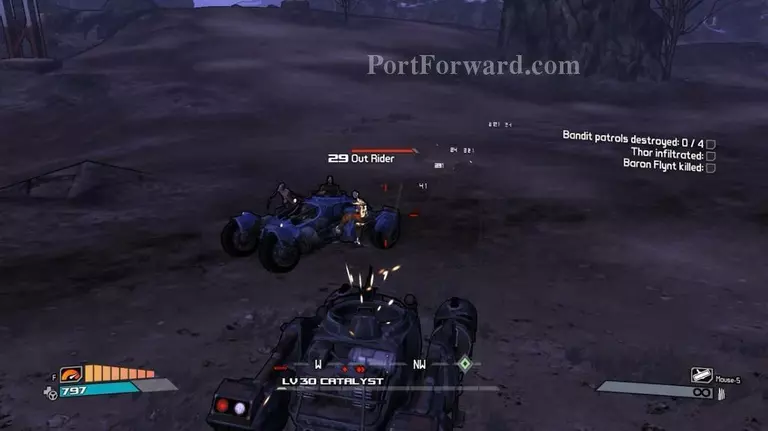
Go to the waypoint.
Wait for the Out Rider to come. Then park your vehicle to safe place and shoot them with normal weapon. More faster, accurate and effective too.
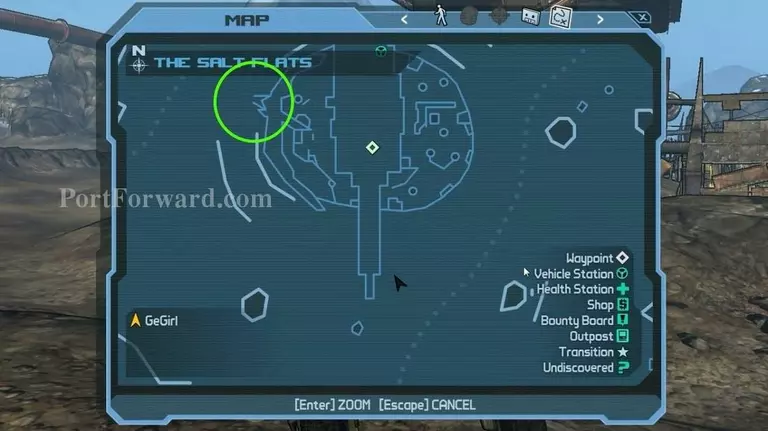
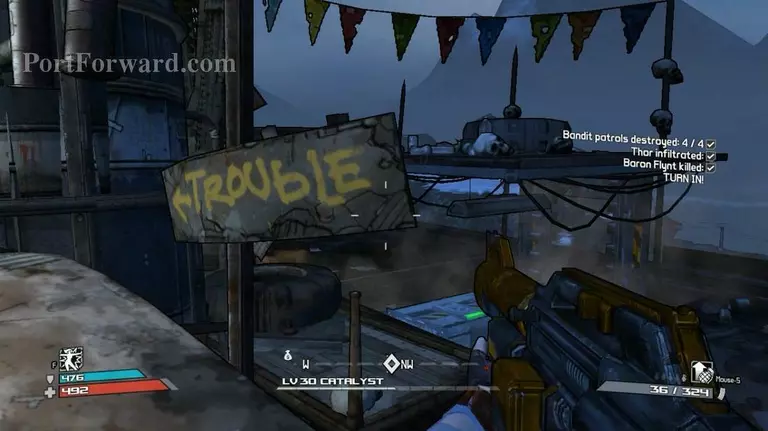
Now go to another location. To enter this place, go to the place circled in the picture.
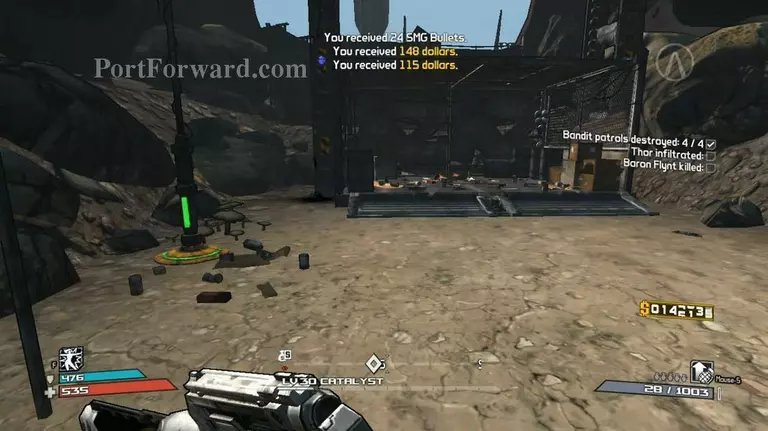
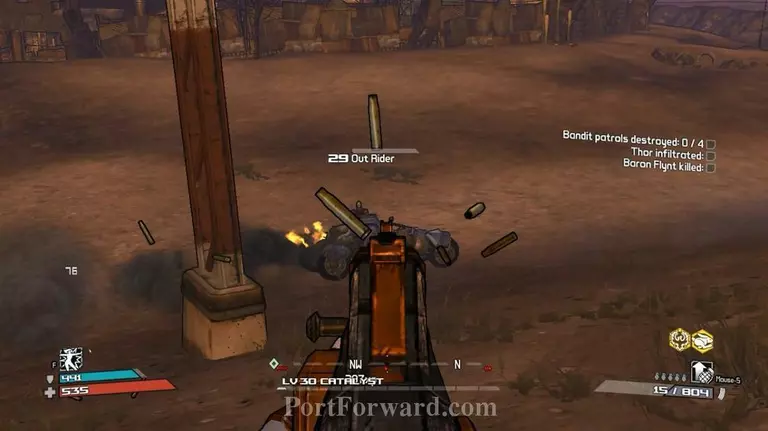
To proceed, go here.
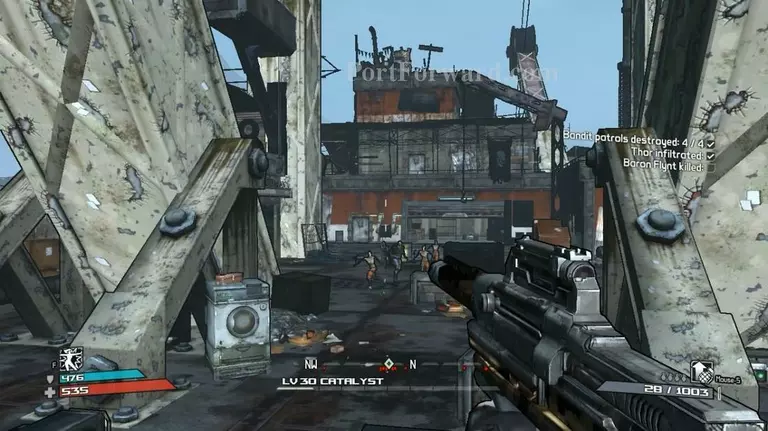
As usual, eliminate all normal enemy first if you can.
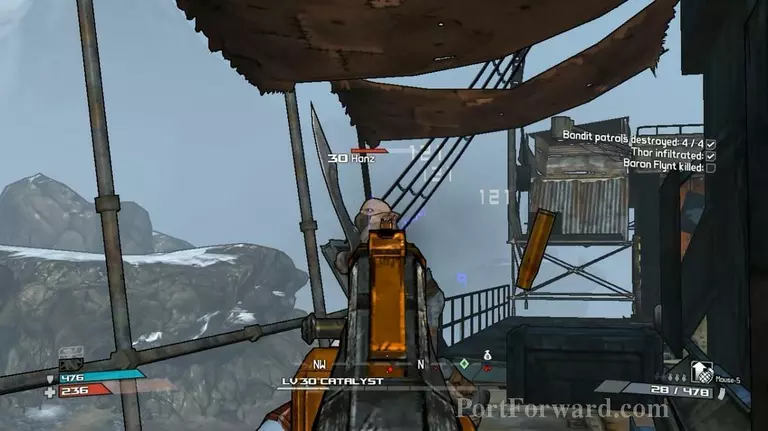
Be careful when Hanz and Franz out. Dont let them near you.
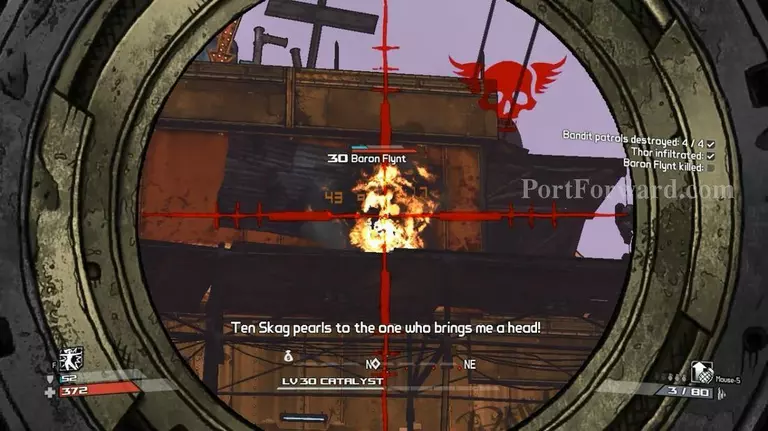
That Baron Flynt is just a weak guy.
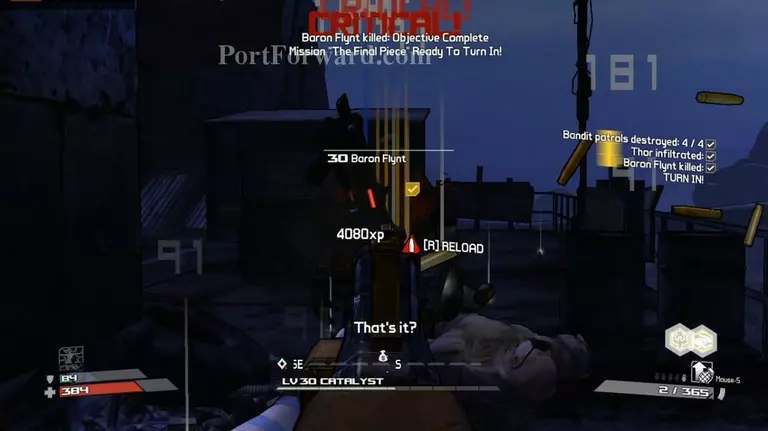
He will try to get near you. If you have powerful shotgun, then use it. Aim for the head when he gets near. The end.
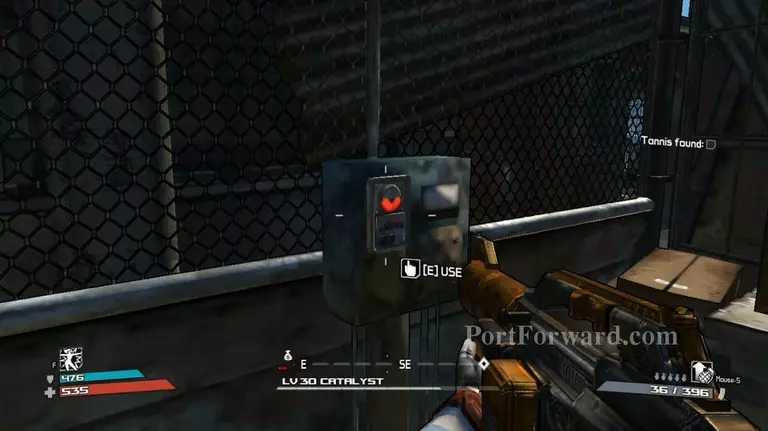
Now, go up. You'll find a container.
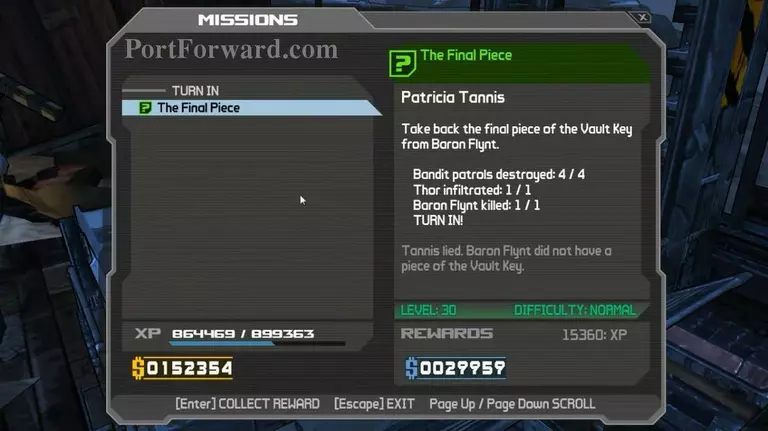
Use the container to turn in the mission.
Get out using the same way you get in.
More Borderlands 1st release Walkthroughs
This Borderlands 1st release walkthrough is divided into 52 total pages.