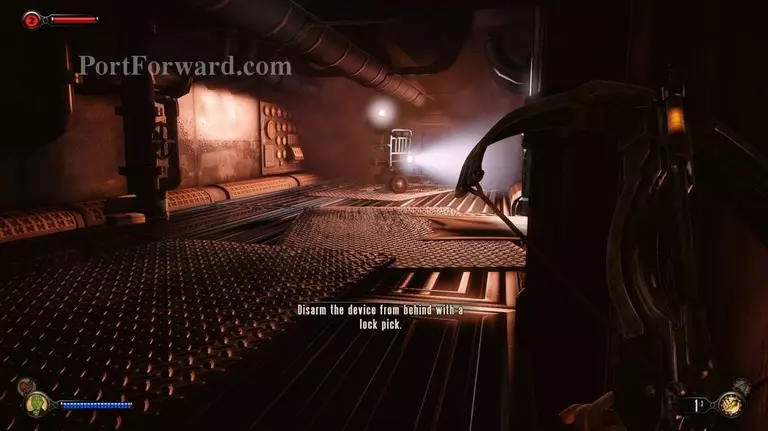
This Bioshock Infinite: Burial at Sea - Episode Two walkthrough is divided into 6 total pages.
You can jump to nearby pages of the game using the links above.
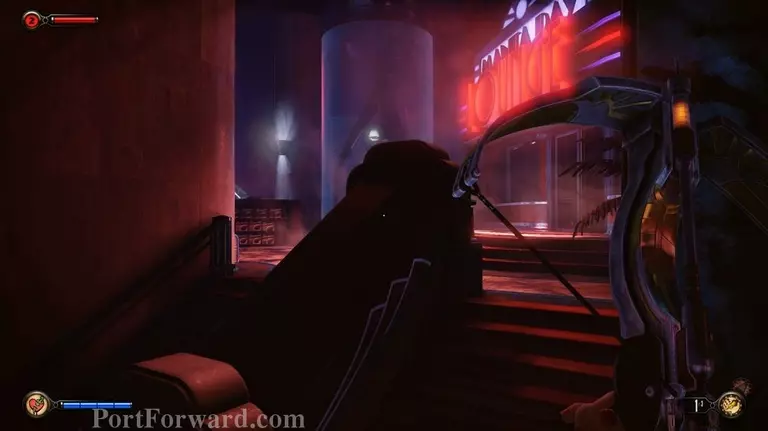
On to The Silverfin Restaurant
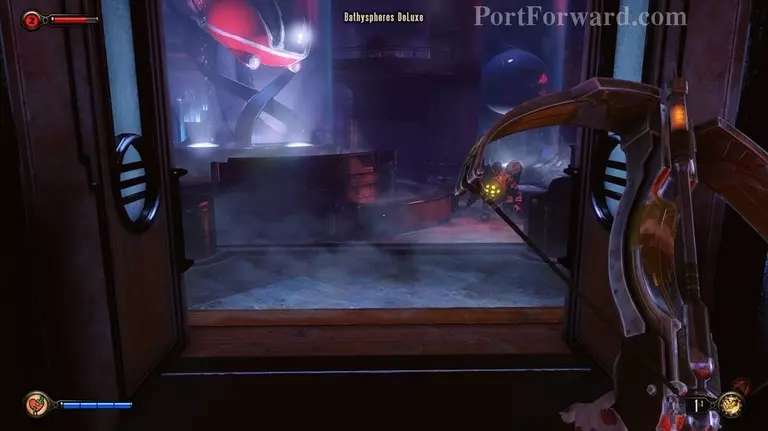
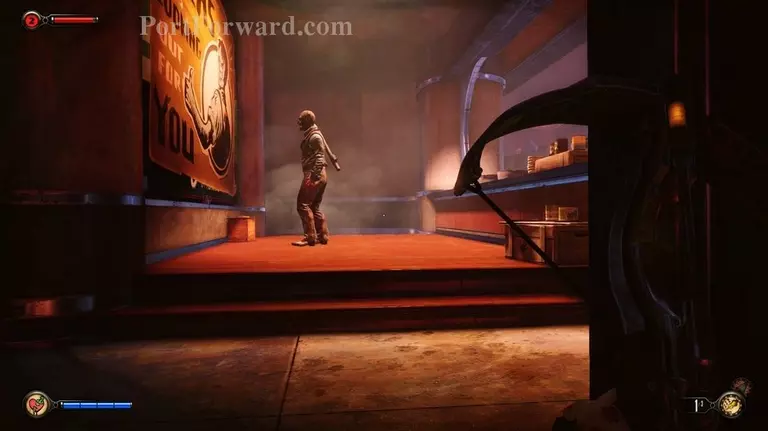
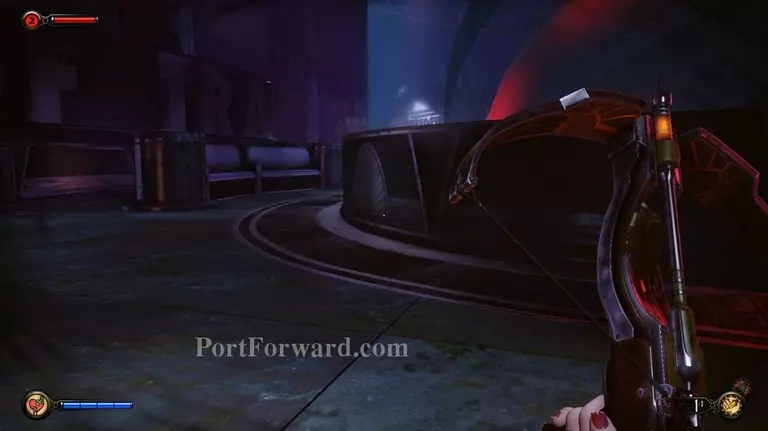
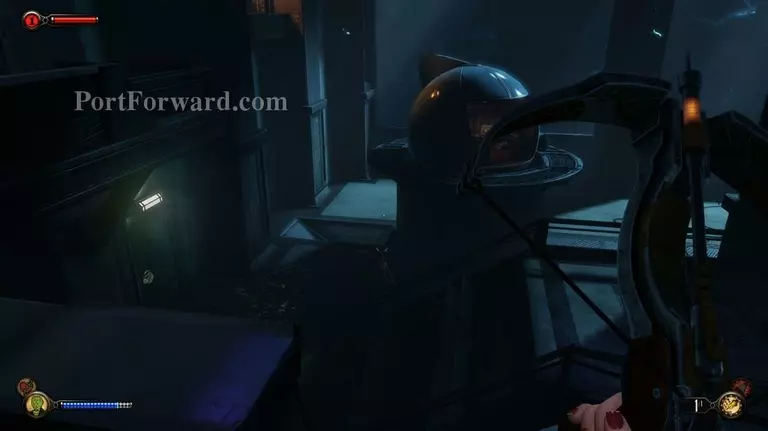
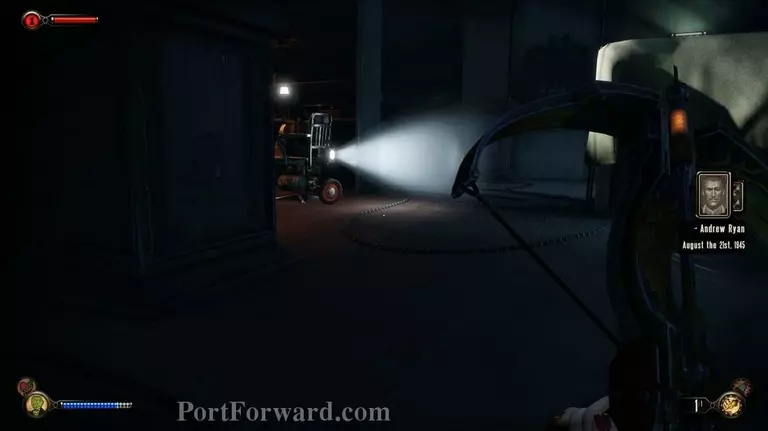
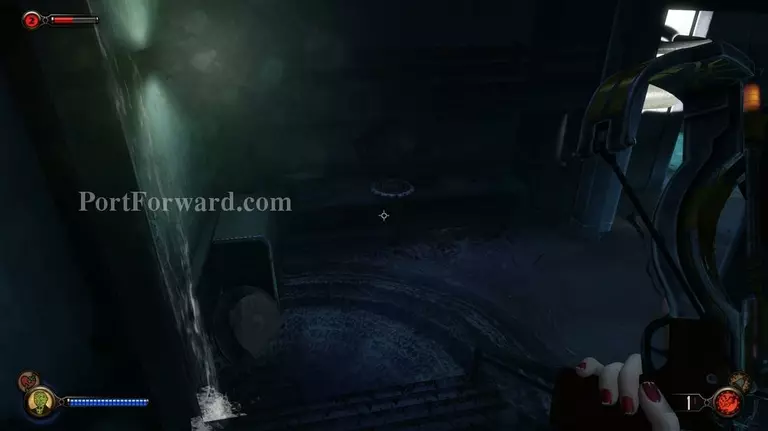
On the other side of the door you'll see your first Big Daddy in this episode.
He will constantly patrol this entire (very large) area so I recommend staying low, using hooks, or whatever other means to stay away from him. The biggest reason being that they attack on site and Elizabeth cannot harm (or kill) them. If you're good you can use it to attack Splicer enemies as it has no loyalties when it enrages.
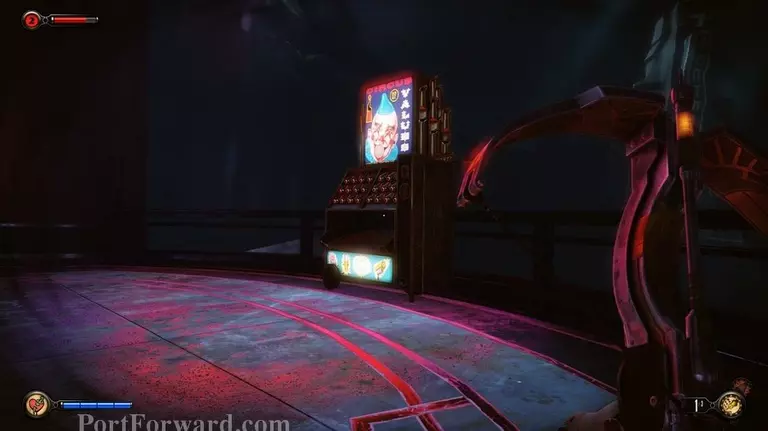
If you head to the right side you will find another circus of values machine you can use for any supplies you need.
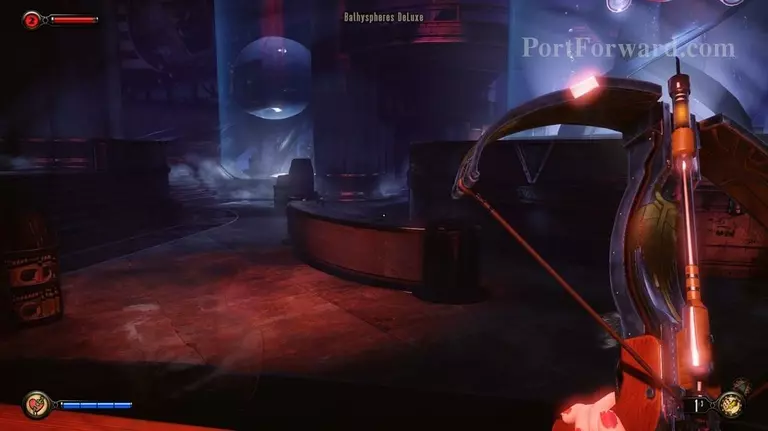
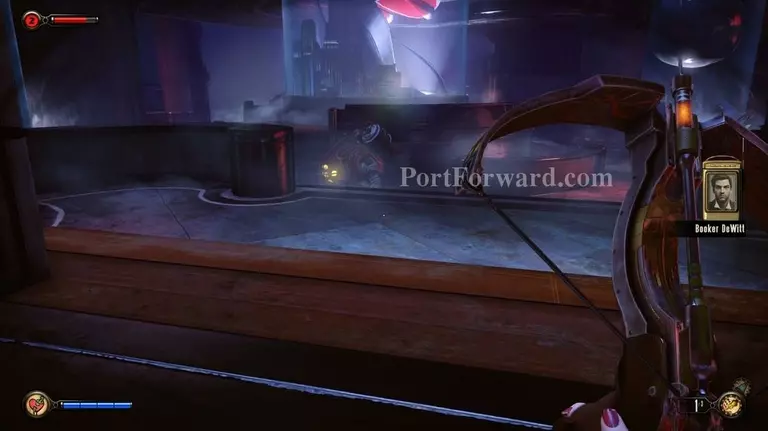
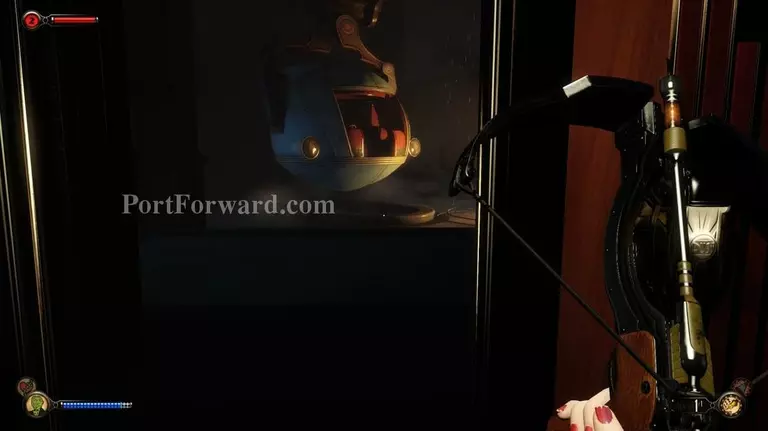
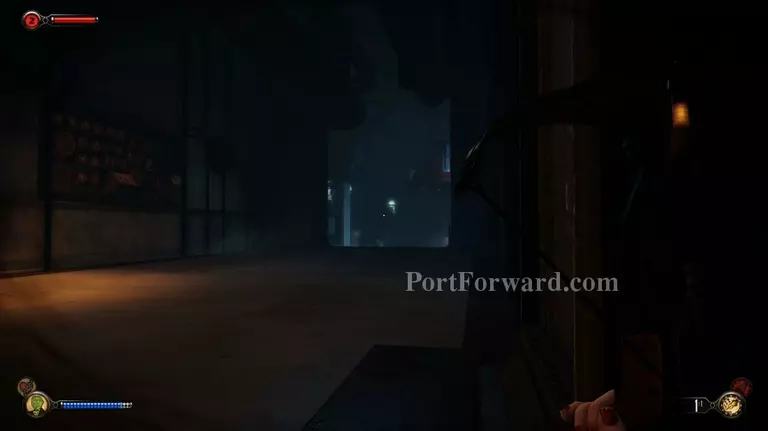
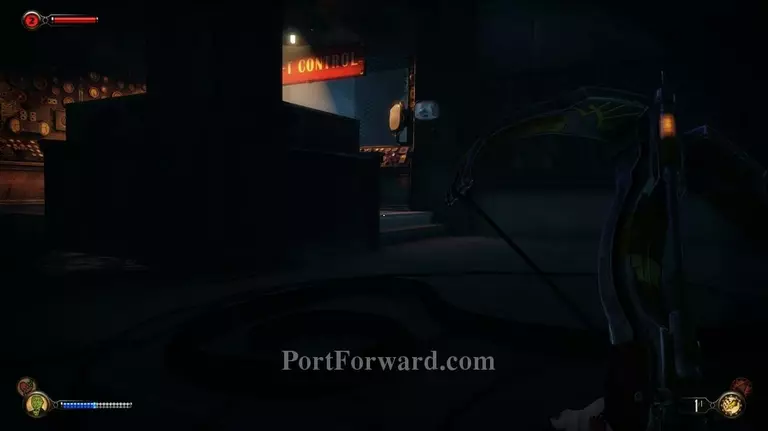
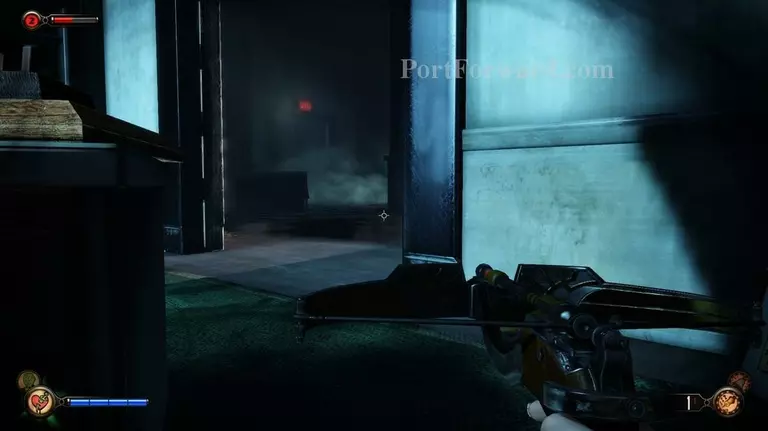
Continue right to the "Bathosphere Deluxe" and then turn in towards the center. You should see a door in the dakrness ahead.

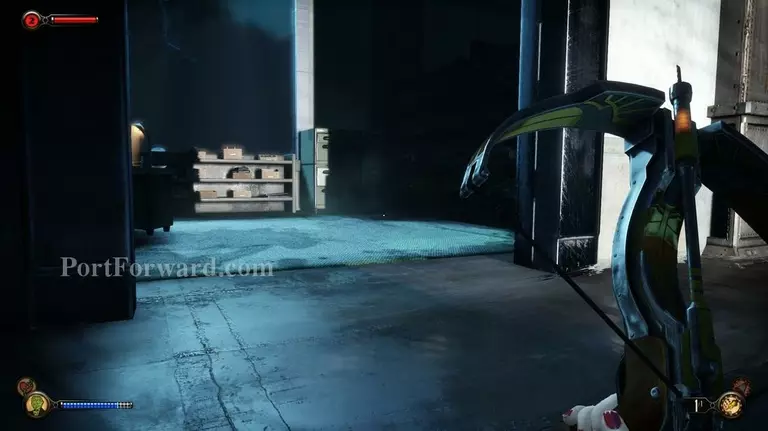
Head around the counters, staying low, and into the door just ahead.
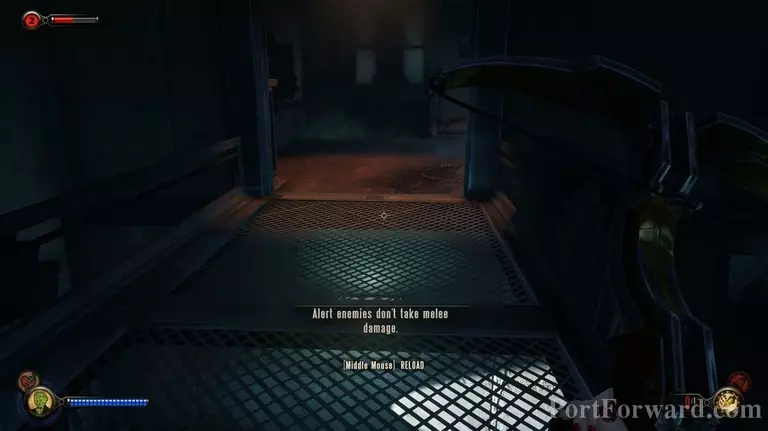
This leads into the information booth. There are two Splicers in here.
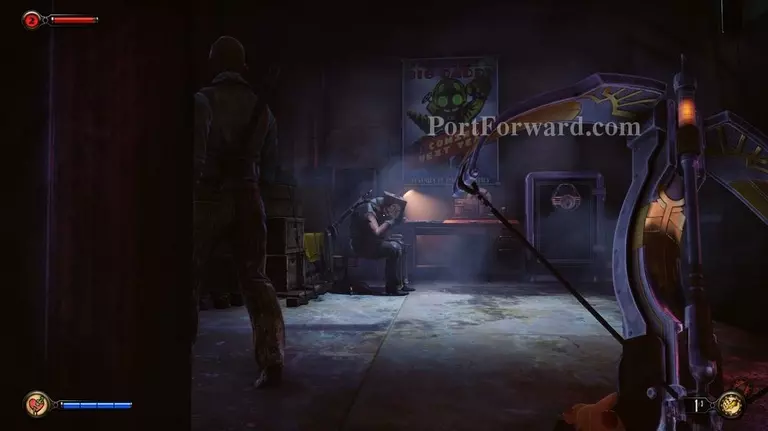
If you stay low they wont see you.
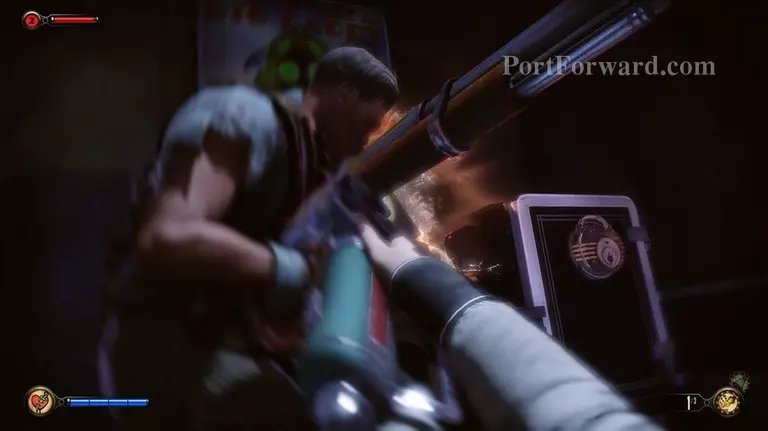
You should be able to easily knock them both out.
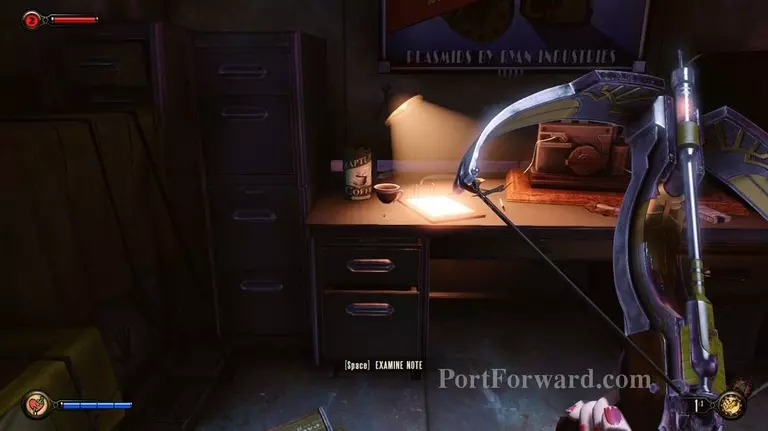
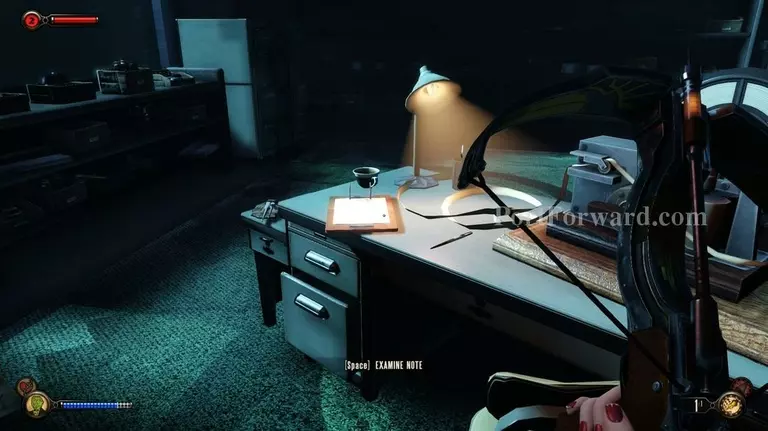
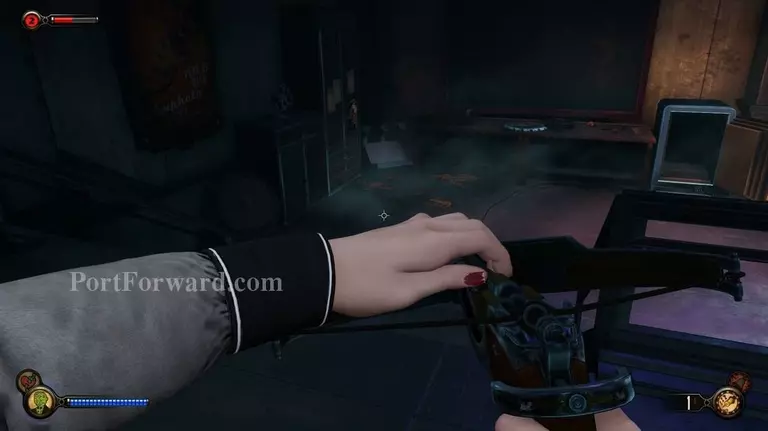
Search this entire office. The big reason I mention this room is there is a note on the desk which is part of a side quest. This is the first secret note of four. I will have all the locations in this walkthrough.
Turn to your right when you're done at the desk and you should see a vent above.
Head through the vent and jump to the right on the other side.
Be careful to put any Splicers in the way to sleep. Don't rush it.

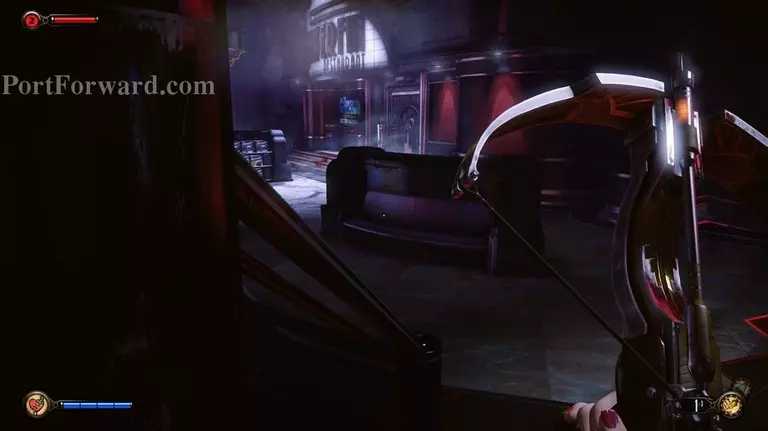
Also bare in mind that sometimes there are some Splicers that will sit on benches. These guys are only a problem because you may not notice them as it isn't ordinary to have to look for an enemy sitting on a bench, but if you're listening you'll probably see them before they see you as Splicers do mutter a lot.
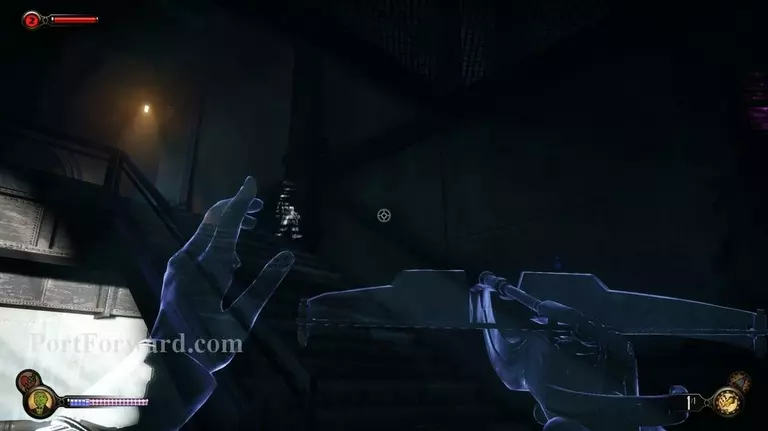
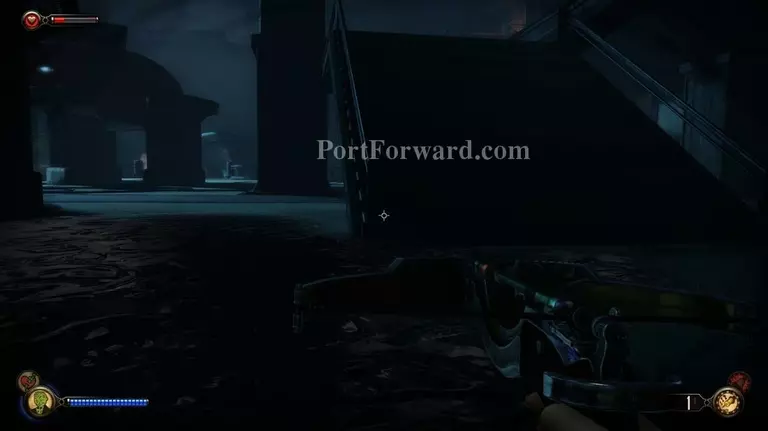
Anyway continue up the stairs to the left.
Then head around the big encircled area in the center.
You should now see The Silverfin Restaurant just ahead of you.
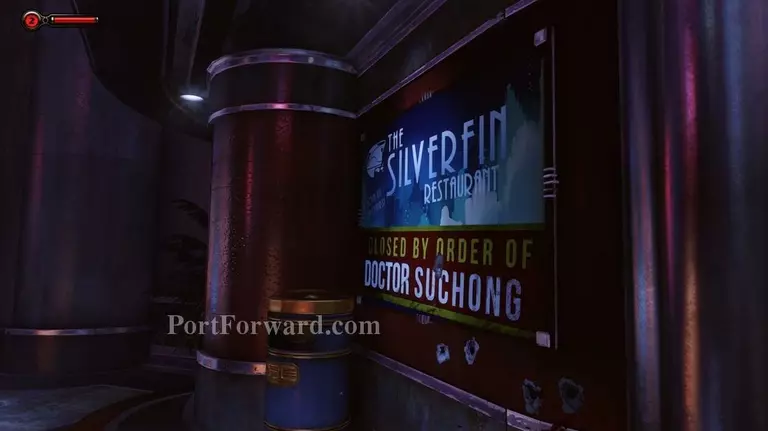
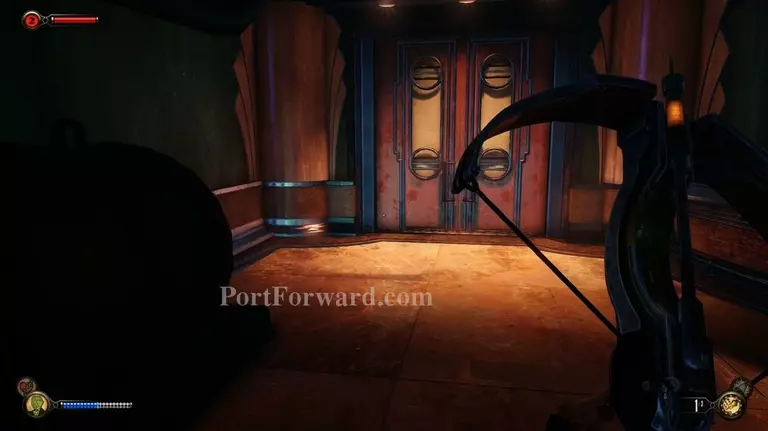
When you get to the door you find that it is locked with a key combination. You can't get inside this way.
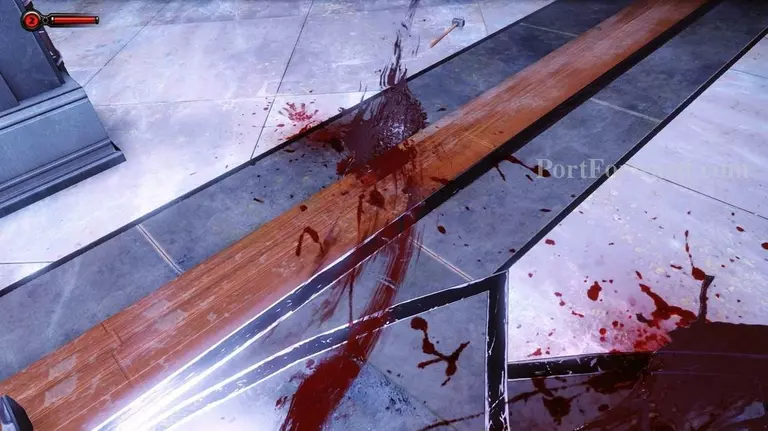
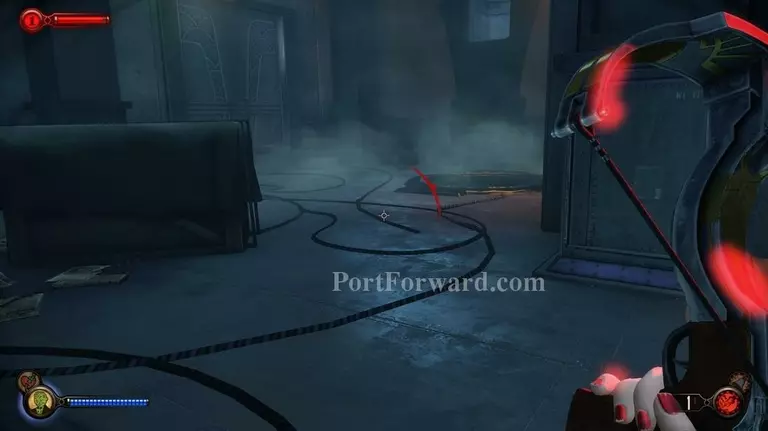
If you look around on the ground there are tools indicating someone else has tried to get in here before. There is also a trail of blood.
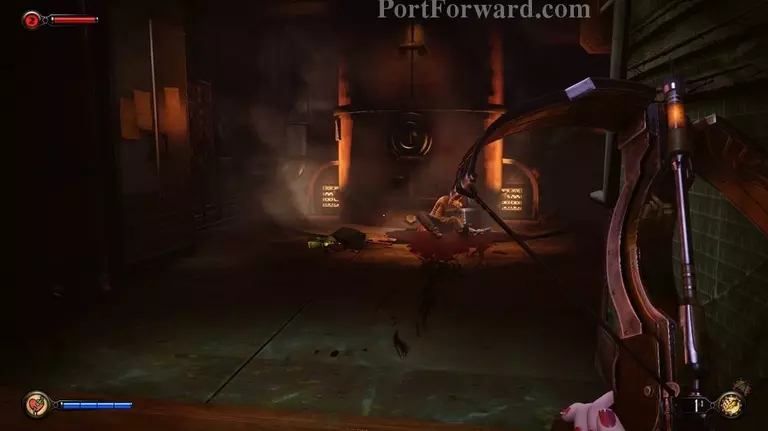
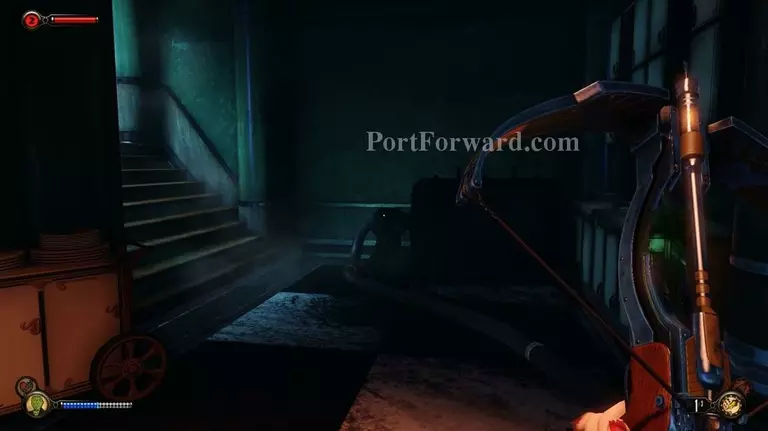
Follow the blood to the right and down some stairs. Then go into the door on the right (I think it's marked maintenance) and you should see a dead man in a pool of blood.
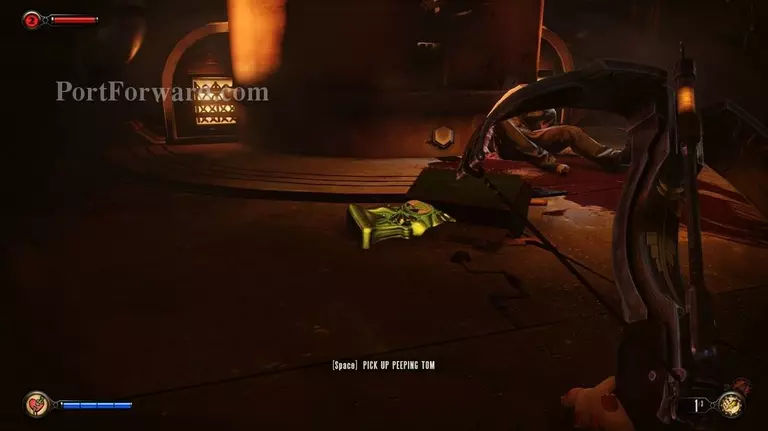
You can pick up a "Peeping Tom" plasmid here. This is the most useful plasmid in the entire game in my opinion so don't miss it.
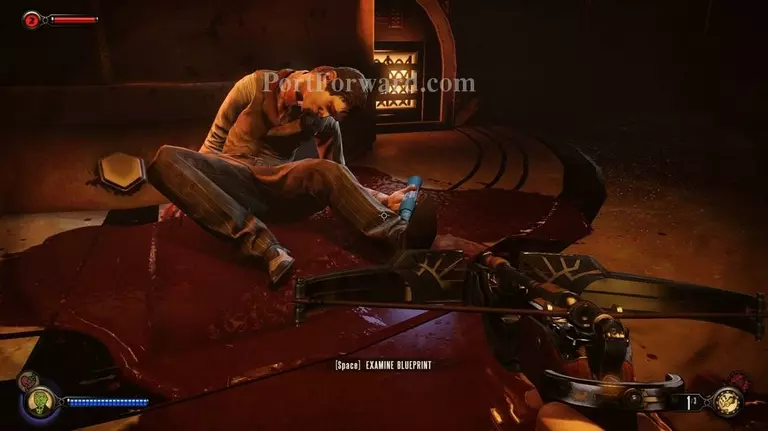
On the dead man you will see a blueprint in his hand.
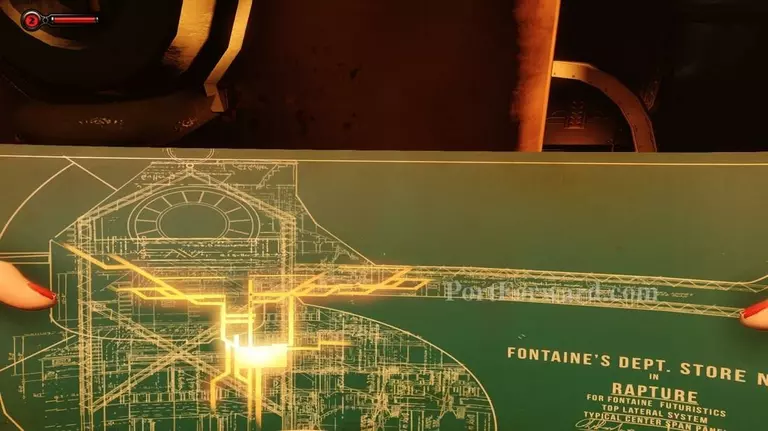
When you pick it up Elizabeth is able to pinpoint how she needs to get into the restaurant.
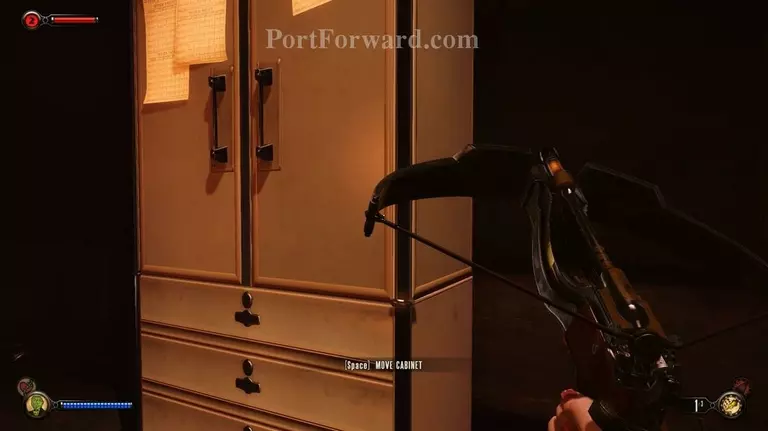
Head to the cabinet that is placed, oddly, in the right side of the room.
Sure enough this cabinet doesn't actually belong here. It's blocking a vent, and not doing a good job at being inconspicuous.
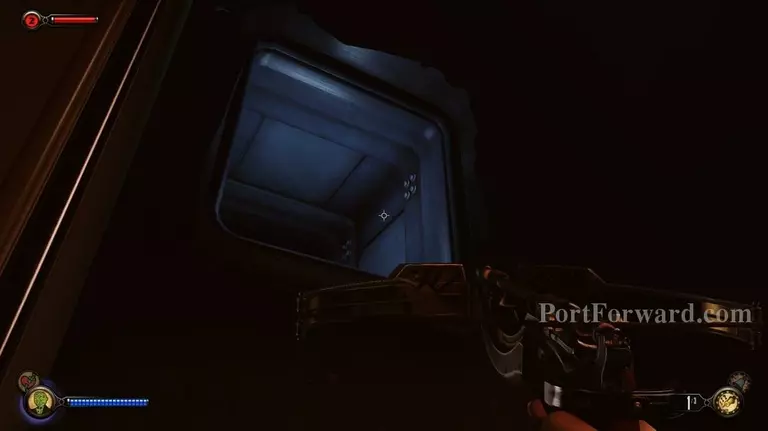
Head into the vent, but be careful at the other side. There are turrets in here.
When you get around the first turret head up further through the vents.
There's another turret here and it has a better angle on this next room.
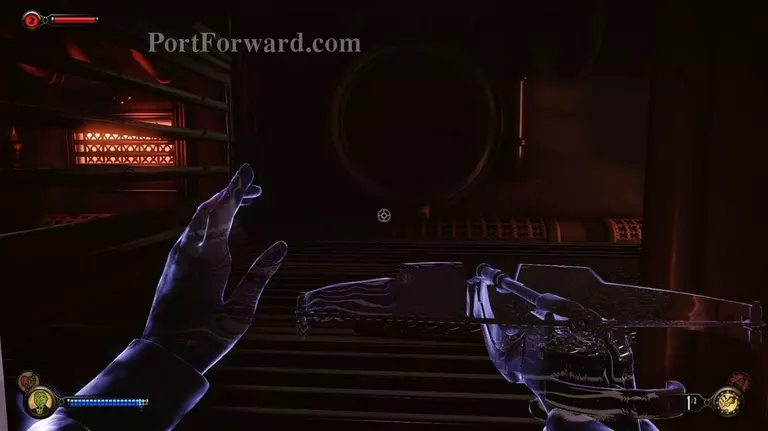
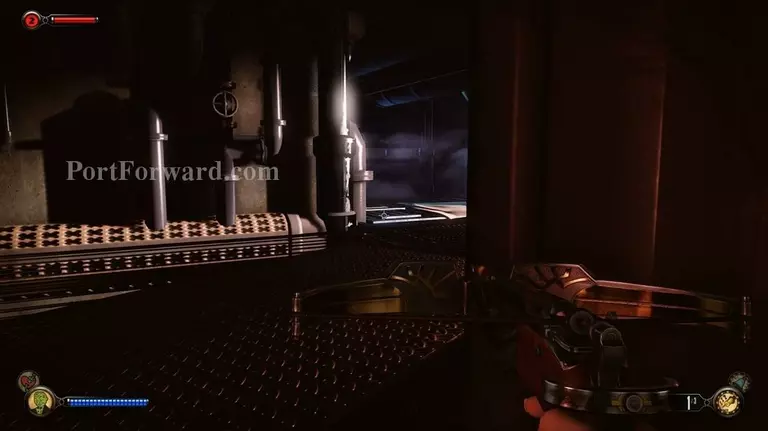
The easiest thing to do is to use the "Peeping Tom" Plasmid (hold the button down to keep yourself cloaked) and you can move while invisible.
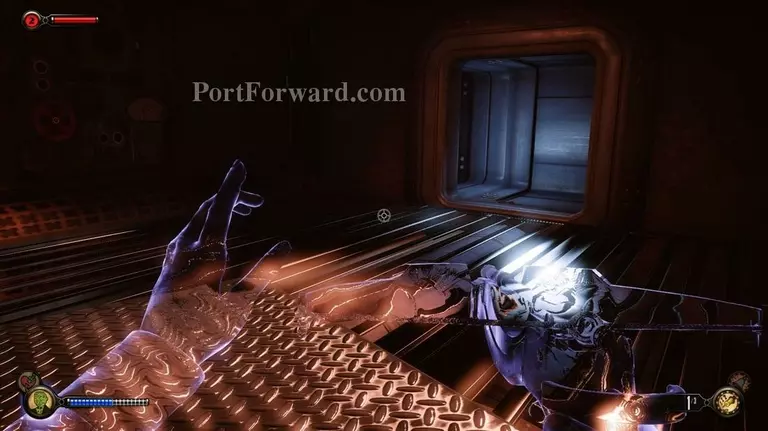
You should be able to easily get around the turret this way and continue through the vents.
On the other side of this area you will now be inside the SIlverfin Restaurant.
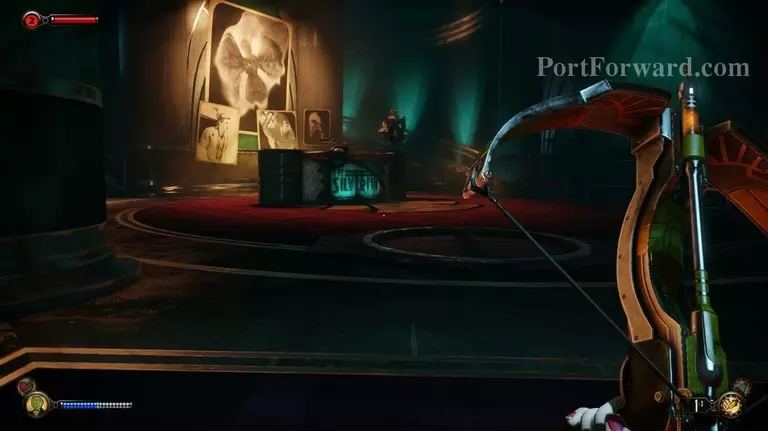
Move towards the desk on the left side of the room.
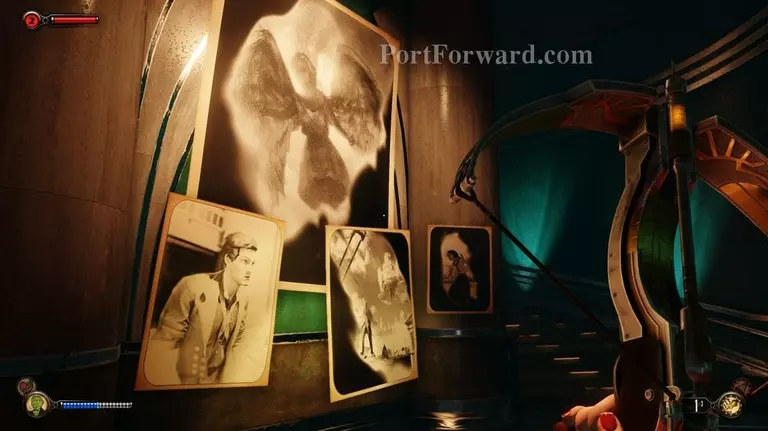
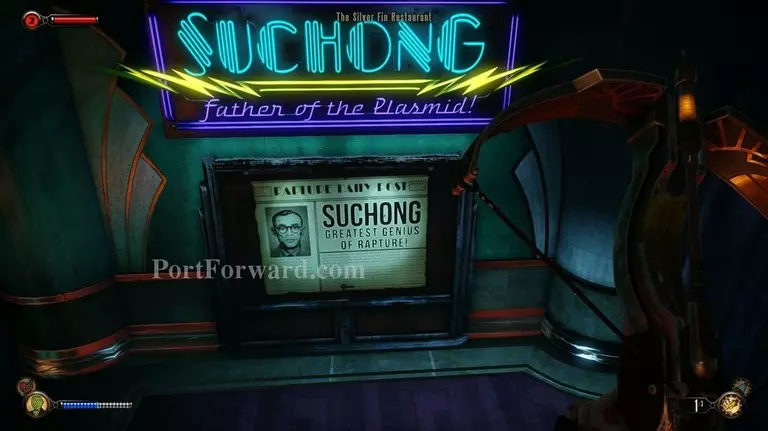
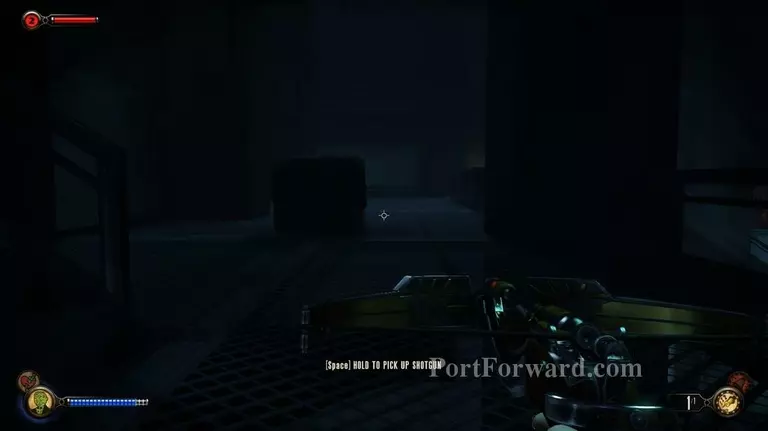
For some reason Suchong has pictures of Columbia. It's not really clear how he got these, yet. If you want to be violent there is a shotgun you can pick up on the desk. Otherwise, continue upstairs.
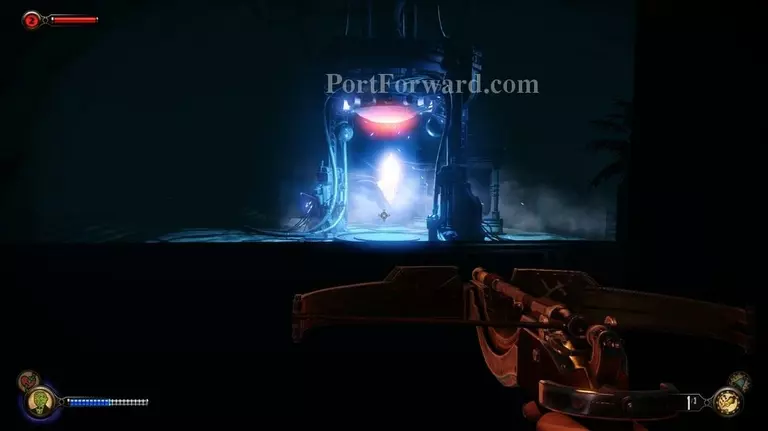
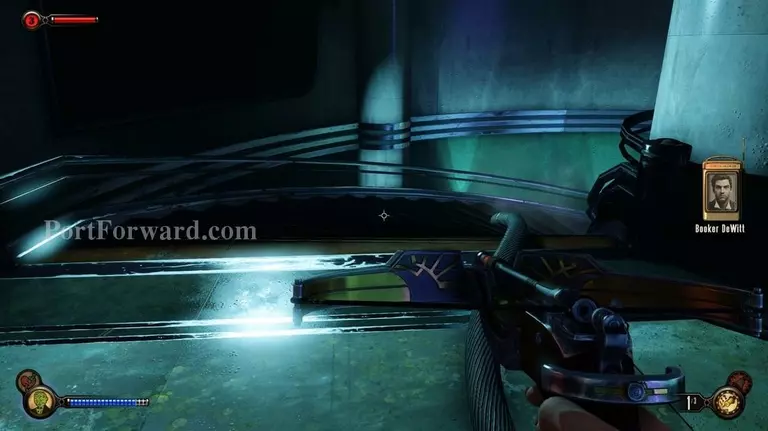
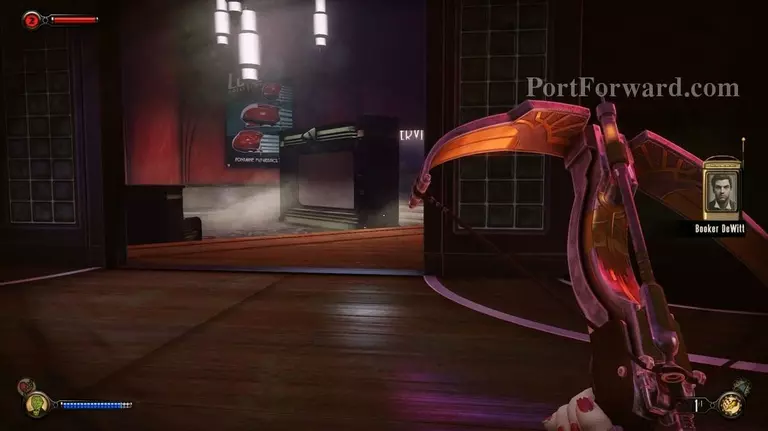
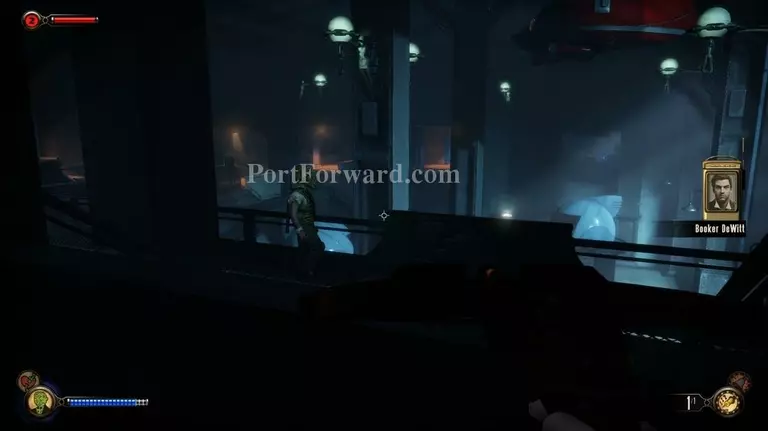
Head through the door at the top of the stairs. Inside you will be able to see the "Lutece device".
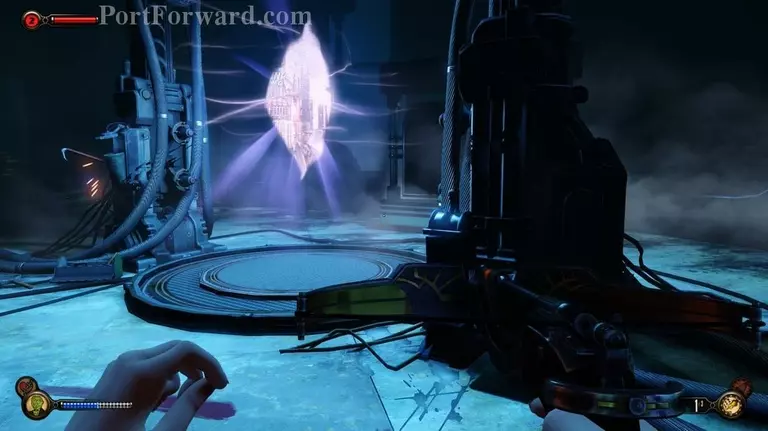
Head over to the device to examine it. Elizabeth will have a long conversation with "Booker." Realistically, though, she is talking to herself, but I guess you know that by now.
Anyway, remember, again, to search the area.
When you're ready, head through the door that is on the left of where you entered (may actually be on your right from the "Lutece Device").
Stay left inside (there is a door on the right you can lockpick, but it is pointless to go in there right now so I recommend you don't bother with it, yet) and go up the stairs.

At the top of the stairs you'll see the big glowing paper on a desk on your left.
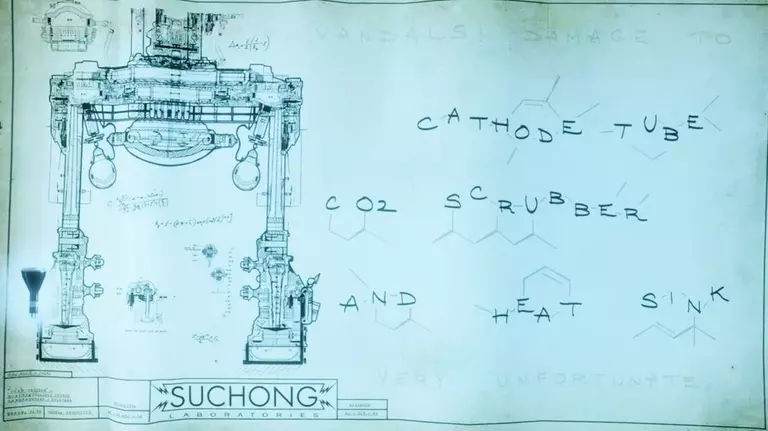
Examine it and Elizabeth will decode Suchong's notes which outline what is needed to fix the Lutece device and get it working properly again.
After the scene with the notes head back downstairs.
Continue on to the right where the entrance is and head back out to the reception area.
Go back downstairs and to the front door.
The door is still locked, and unfortunately from inside you can't reach the vent.
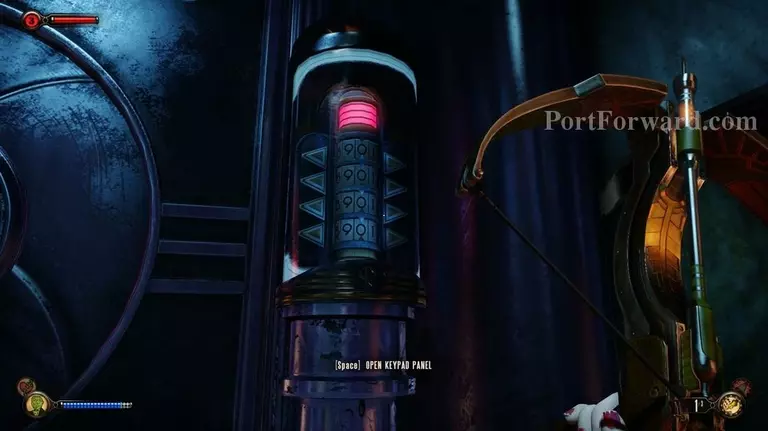
Attempt to use the keypad for the code in the hopes that maybe this will do something meaningful.
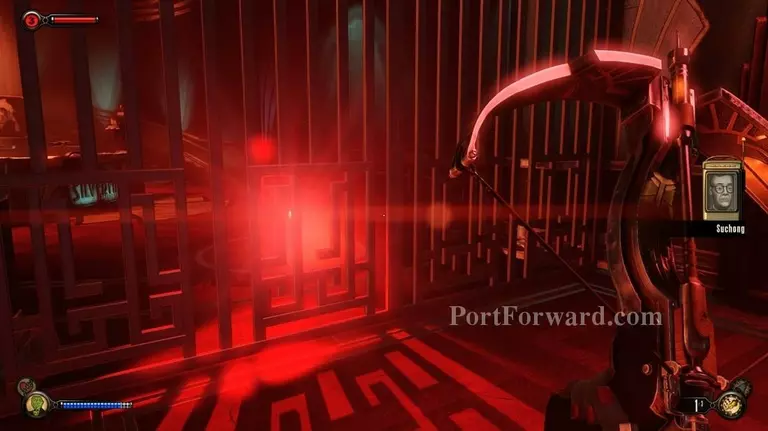
The alarm will go off and Suchong will contact Elizabeth over the speaker system.

Elizabeth will discuss how she is actually attempting to fix the Lutece device and convince Suchong to let her out.
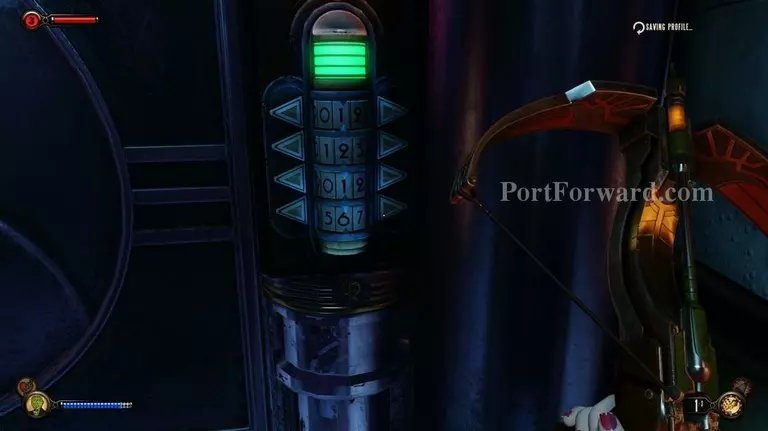
Suchong then gives her the code in order to open the door.

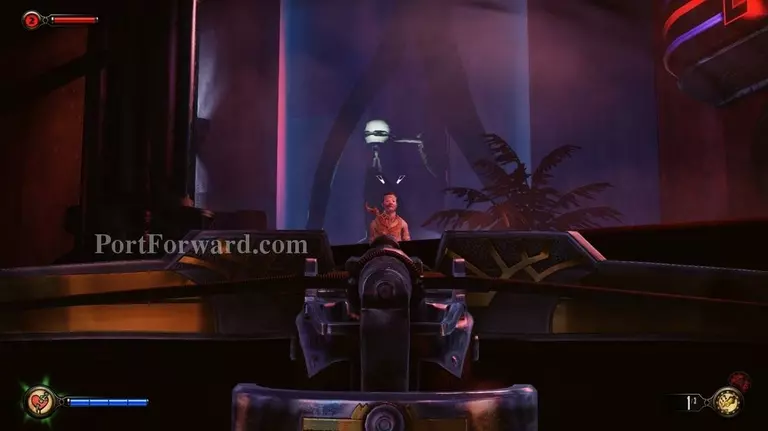
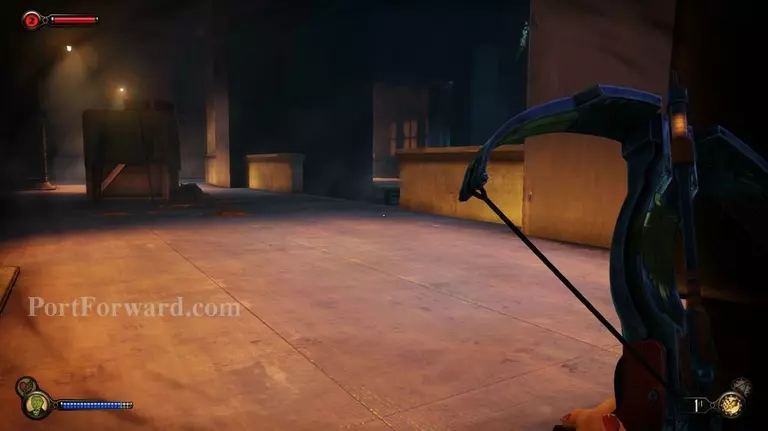
Once outside be careful to look out for the Big Daddy that is still patrolling.
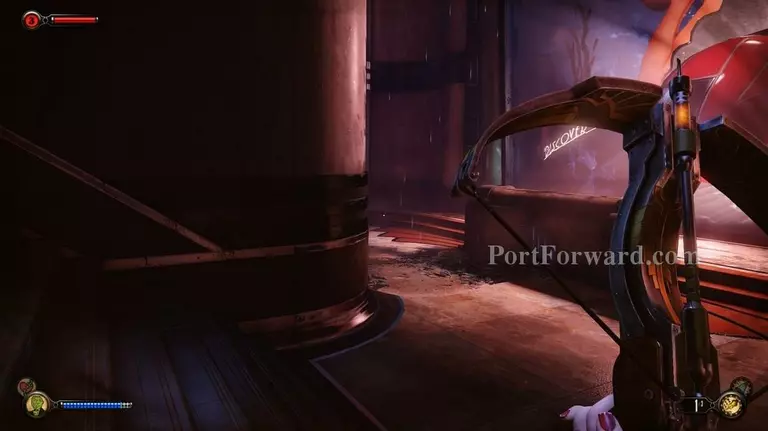
Head down the stairs on the right and go around the corner.
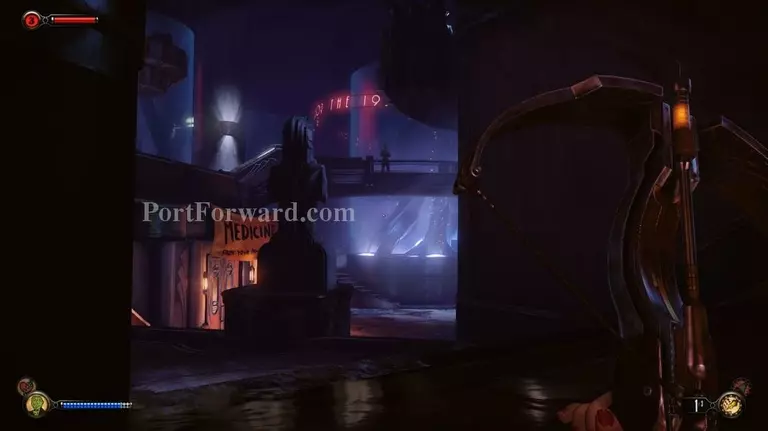
Watch out for patrolling Splicers and continue to make your way all the way around to the other side.
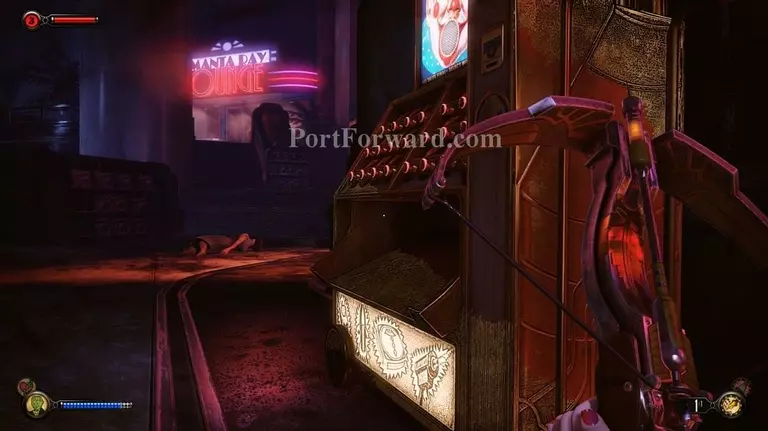
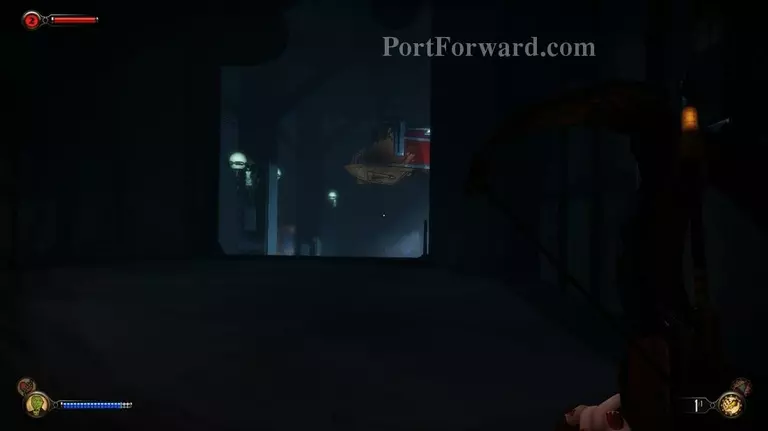
On the opposite side (you can see the Manta Ray on the left from here) is a Circus of Values machine..
Use the machine and Elizabeth will get the part she needs from it. Don't worry, though, the machine is still usable for buying stuff if you actually need anything.
I recommend using the hooks when you need to stay out of site. The important thing with that is you don't want to stay on one to long or it will begin to make a lot of noise. Also when you jump down you need to hit your duck button to land softly or you will make a lot of noise.
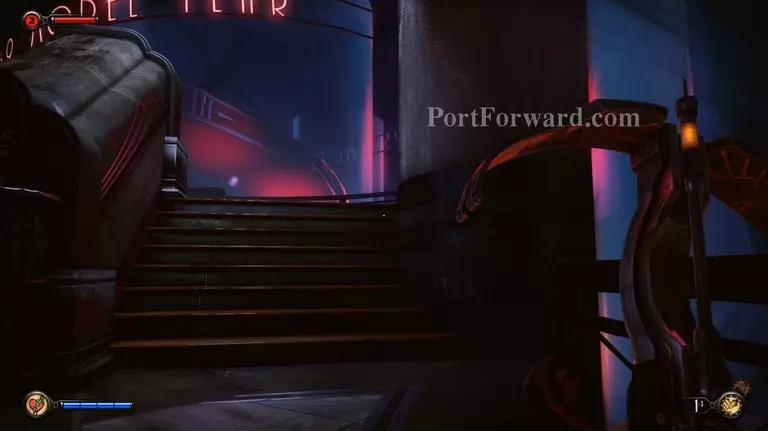
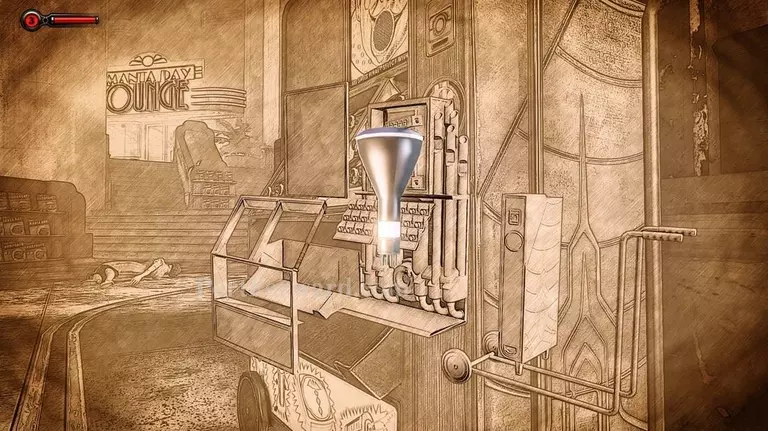
Anyway, from the machine we just scavenged head to the right (in the picture I had to hide from a Big Daddy so I am just above it). There is a stair case there.
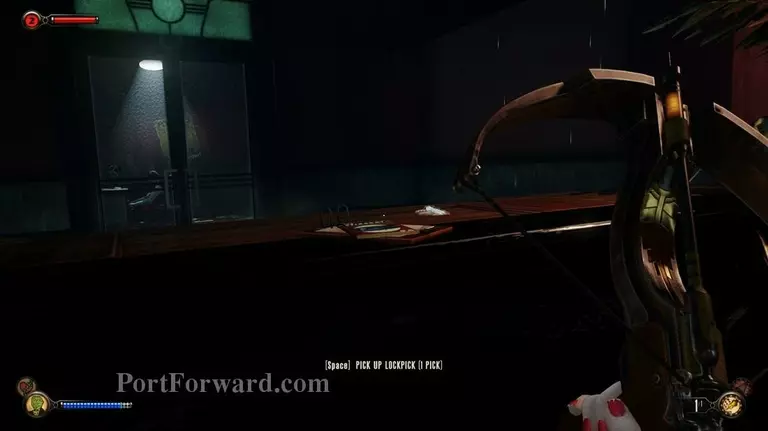
Head up the staircase, staying low, and you can pick up some lockpicks on a wall on your right side.
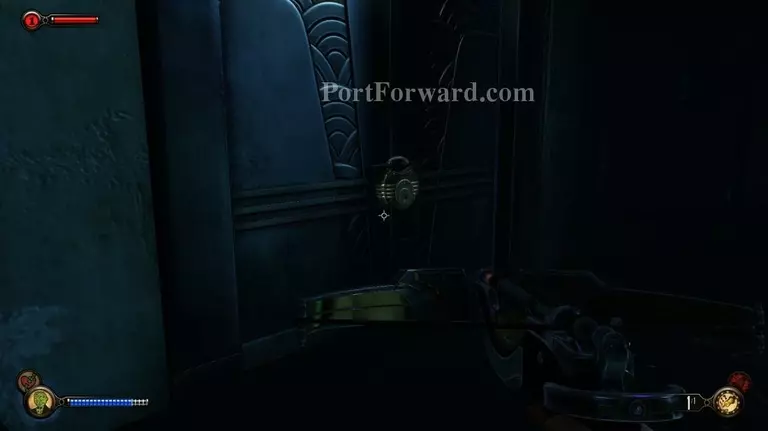
Then use the door to pick the lock. Remember to use the "use" key when you want the pick to stop and dont stop on a red pin.
If you trip the alarm there will be turret that opens right at the door. Either way head up the stairs.
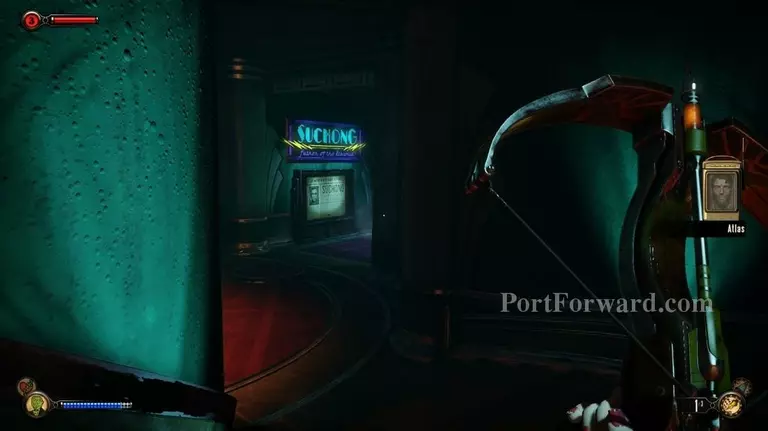
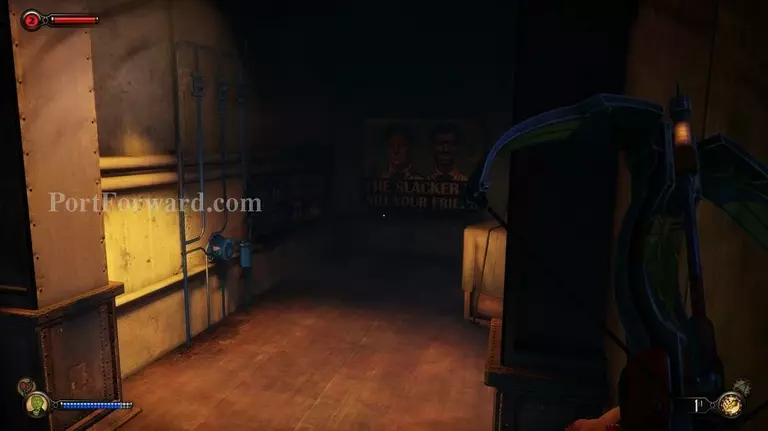
At the top head into the next room with a big TV.
Move to the right and around the desk counter.
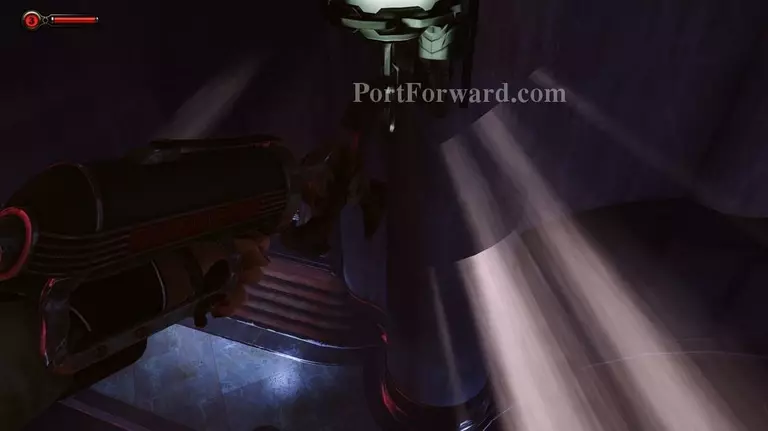
If you head around it and to the left you will find the elevator in the back.
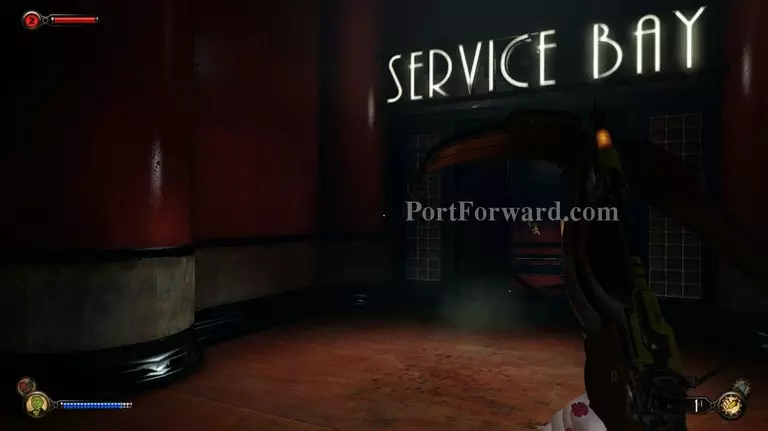
Board the elevator and press the button.
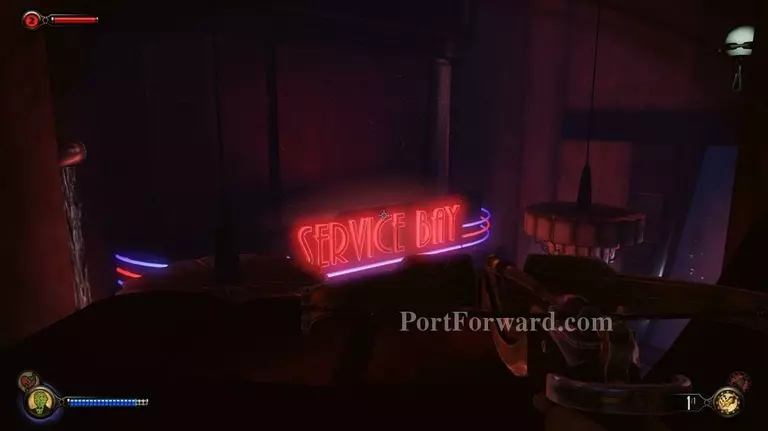
It will bring you down to the service bay where several prototype bathyspheres are.
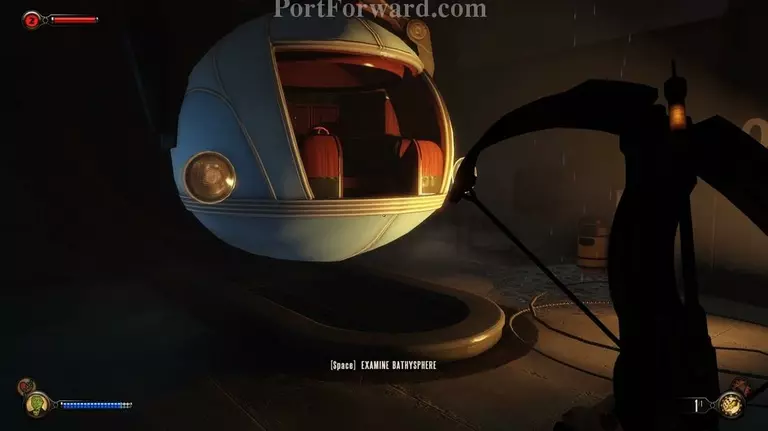
You can examine the bathyspheres on both sides. Elizabeth read up on these, apparently, and she gives some interesting back story on their design evolution.
When you're done head to the stairs in the back.
Head around to the right and down the hall.
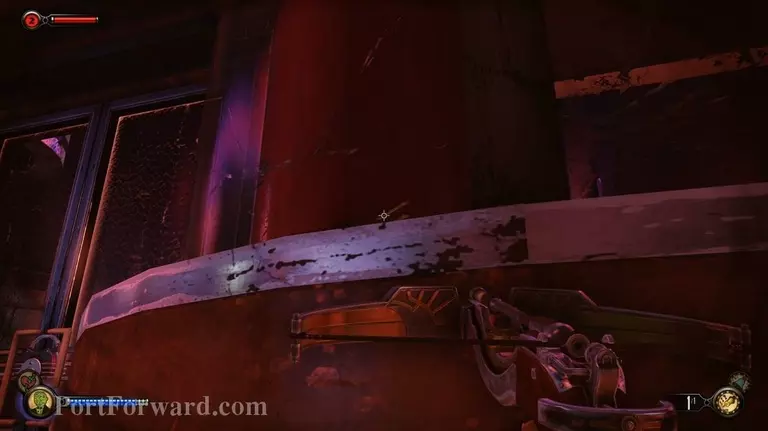
You'll see the bathysphere that Elizabeth needs for a CO2 scrubber ahead.
Watch for enemies in here- there will be several so stay low.
Head to the left from the stairs.

Then go right around the next corner and into the room on the left.
Head down some stairs. Really this so you can remain hidden from enemies easier.
On the other side keep an eye out for more Splicers as you continue ahead.
You'll see some stairs leading down on the right.
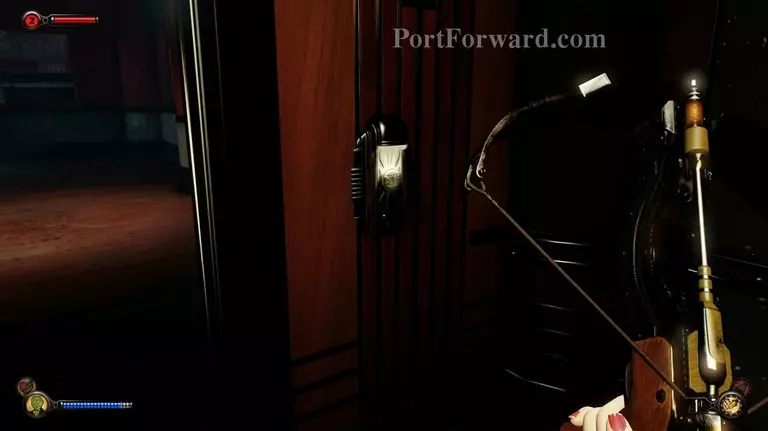
After taking out any Splicers around (I think there will be two around the staircase) go to the locked door directly in front of the stairs and pick it open.
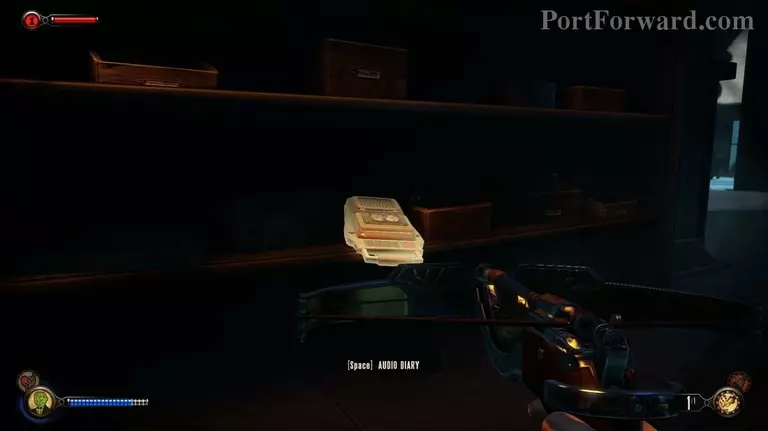
After opening the door look to your left to pick up an Audio Log.
Then head around the corner, but be careful. There is a turret on the other side. Remember you can use the "Peeping Tom" plasmid to sneak around it.
From the turret head to the office on the right.
If you look around on the desk you will find another note.

From the office door again go to the right. You should see some stairs.
Head up the stairs, but watch out for the turrets there. There are two flights of stairs.
At the top there are two directions, left and right.
From the right you will probably see at least one Splicer come down the stairs. You may need to knock him out with a bolt from the crossbow.
Once you have that guy out of the way head up the stairs on the right.
You can pick up a plasmid here (although it will just give eve if you already have it).
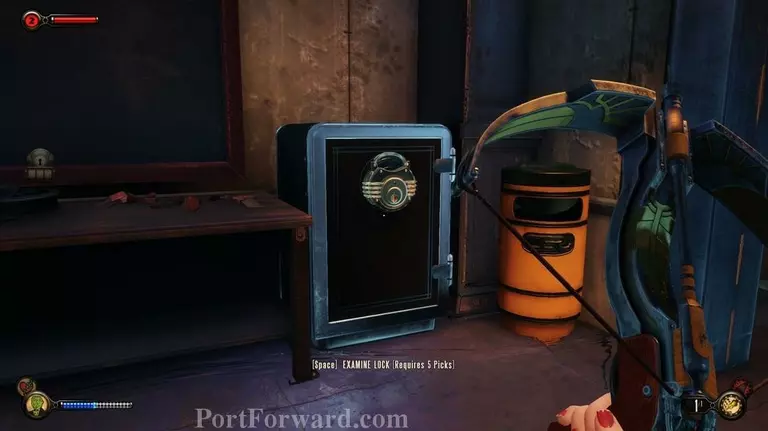
There's also a safe you can open here for some goodies. I won't spoil whats inside, but you should open it.
When your done head up the stairs behind you.
Move around through the door on the left.
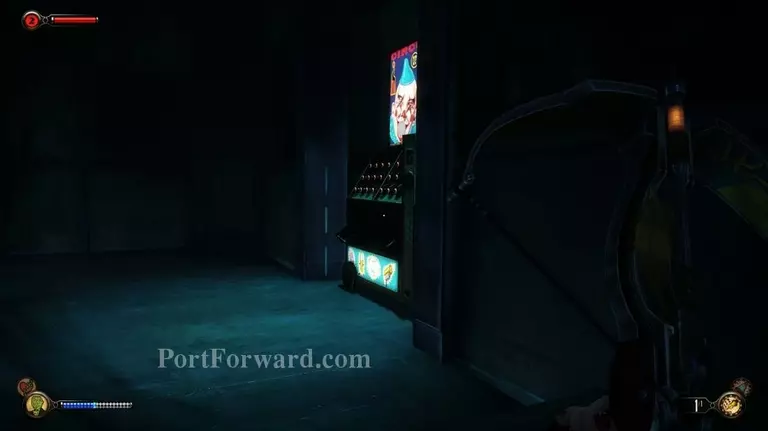
On the right side of the room there's a "Circus of values" machine if you need supplies.
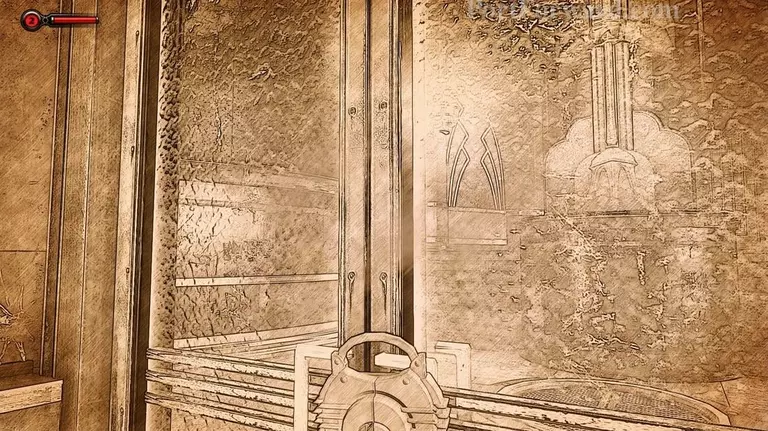
Head to the back of the room here where the light is flickering on and off.
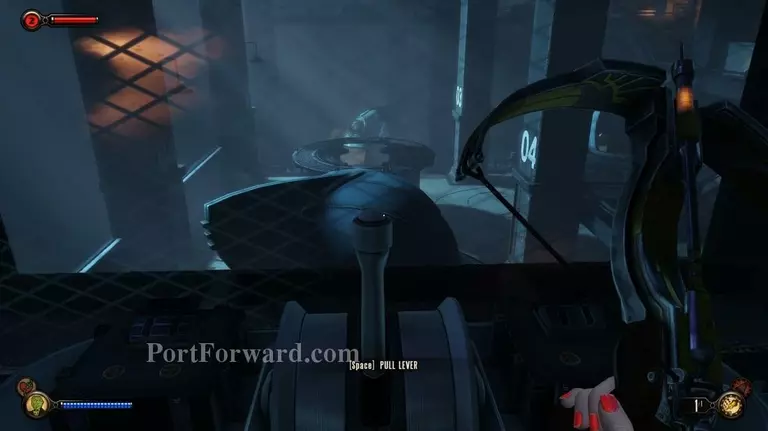
You should pull a lever here to lower the bathysphere you need to get to.

Quickly turn around, though, as Splicers will run into the room to find out what's going on. Knock them out however you need to.
Quickly head back out the way you came in.
Be sure to use the sleeping dart if any Splicers get in your way and continue down the stairs on towards the right.
Continue all the way back- the way you came up the stairs.
If needed you can hide in the office room where the note was.
When it's clear go back to the door on the left side of the room.
Then head a bit up the stairs- there may be more Splicers in here so watch out.
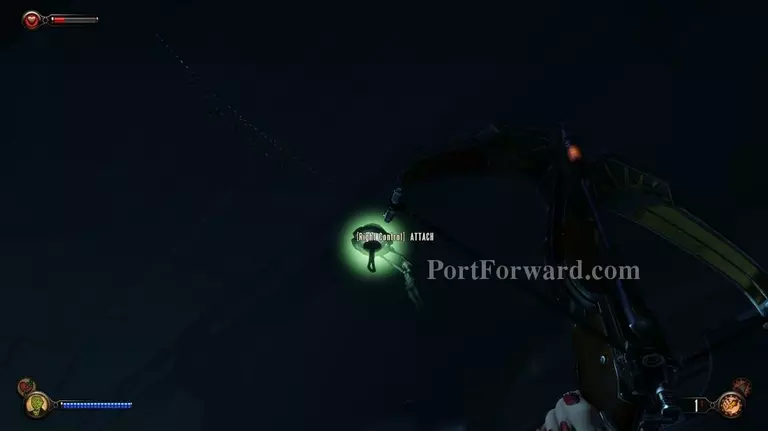
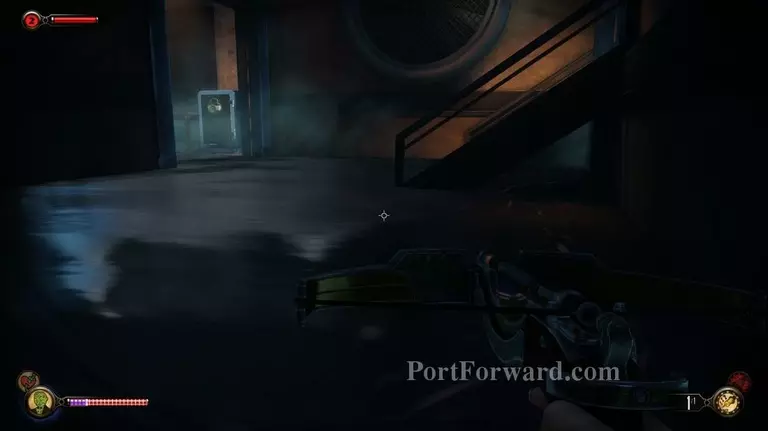
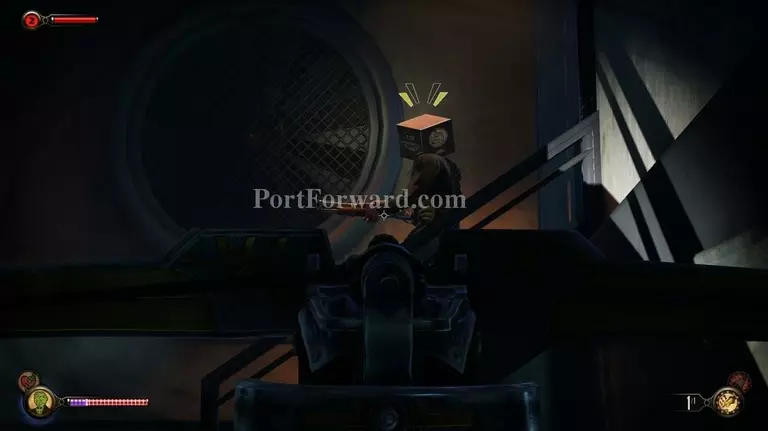
If you look up there will be some hooks you can jump to.
Look a little towards the right and jump to the next hook just ahead of you (towards the bathysphere).
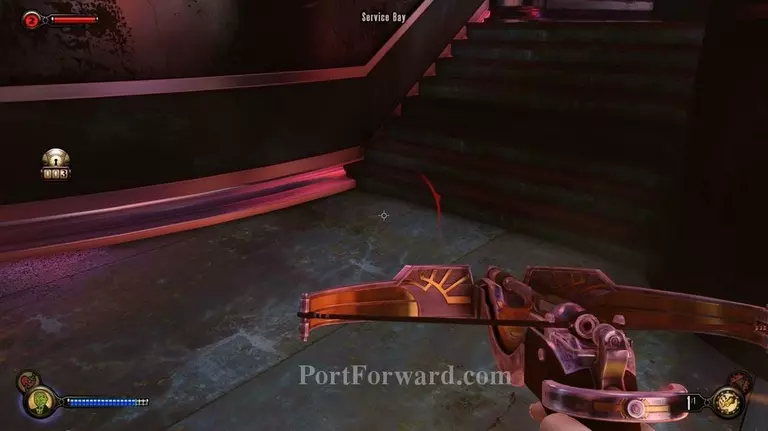
You should be able to jump down to the bathysphere from here.
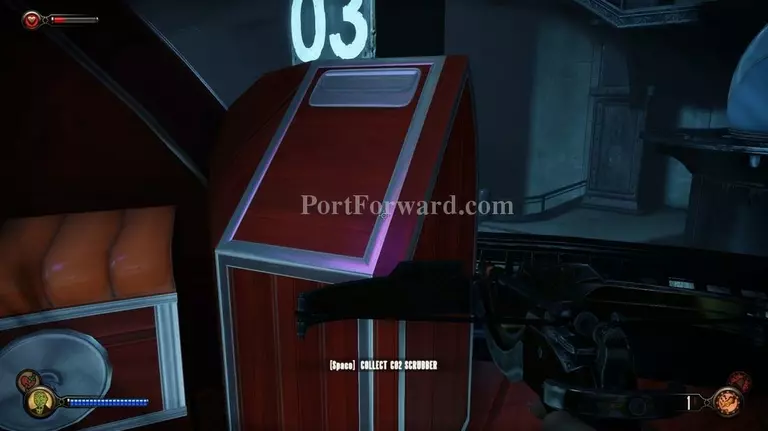
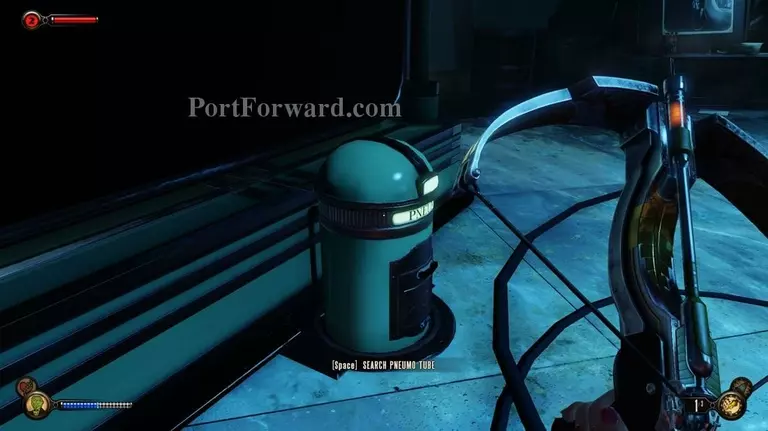
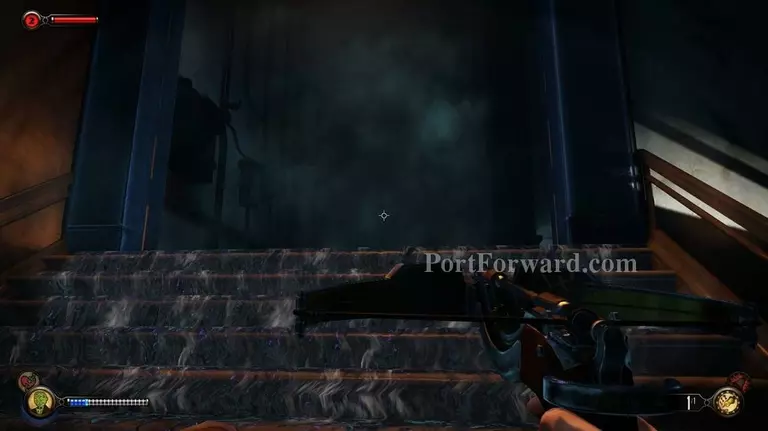
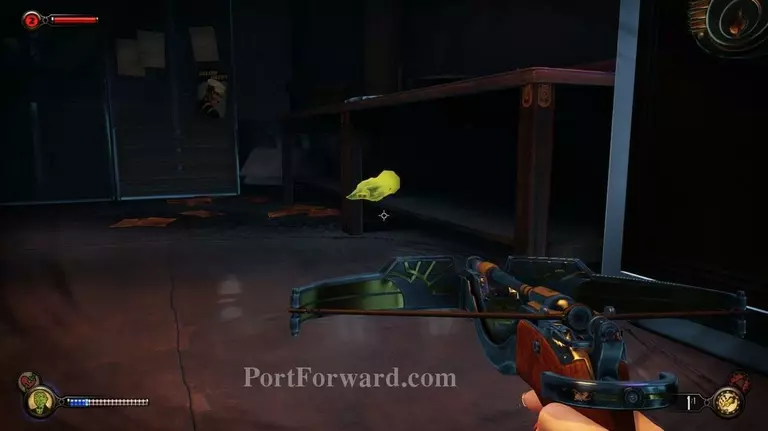
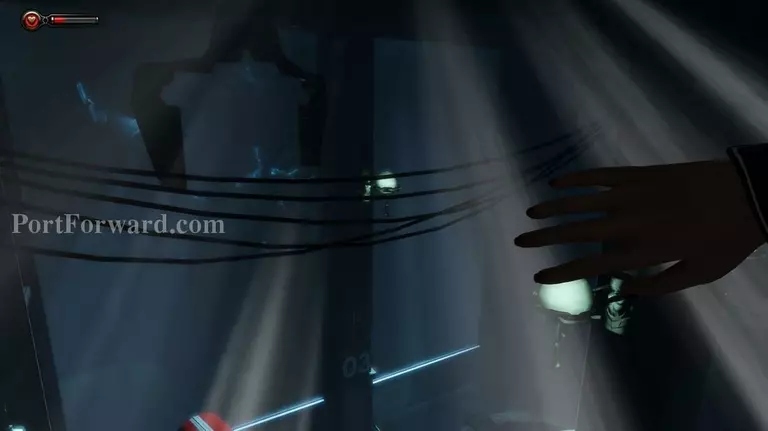
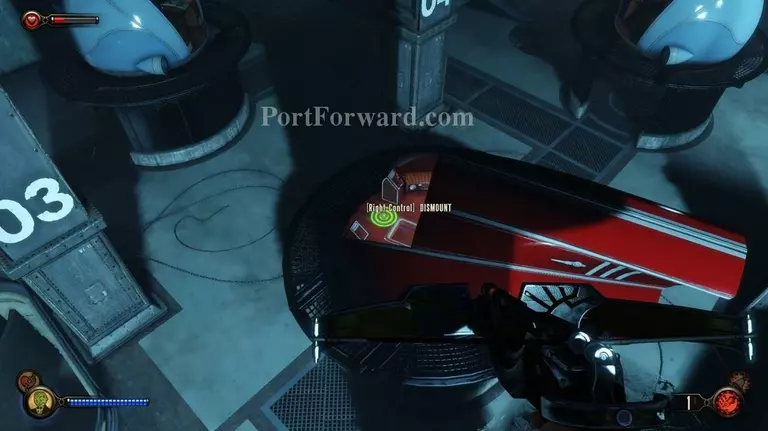
Use the panel near the front of the bathysphere to get the CO2 scrubber. img(225789); You can then jump back to a hook above. img(225790); Watch for patrolling Splicers, and then jump to the stairs. img(225791); Head back to the left and into the door that will be on the right. img(225792); Continue back through the room with the prototype bathyspheres, but be careful. img(225793); There are now Splicers doing... something inside of the bathyspheres. img(225794); As you head past the other one be careful as well- there is a Splicer in that one too. img(225795); Get back into the elevator at the end of the room. img(225796); Hit the button to go back up. img(225797); When the door opens there is a bunch of gas. This is really just a hint that you should pick up on. img(225798); There is a box of new crossbow ammo that is good for taking out groups of enemies all at once- "Gas" is all it seems to be called. img(225799); When you move around the counter again you'll see Splicers playing in the TV area. You can shoot a gas dart towards the center of them to take them all out. img(225800); Stay low, though, as there is still one more Splicer in here. I recommend heading towards the back right side of the TV. img(225801); If you do you should be able to sneak up on the last Splicer and knock him out. img(225802); Then head out the door on the right. img(225803); Outside the service area head towards "Test Drive" on the right. img(225804); The Big Daddy is still patrolling so watch out for that as well as the Splicers that are still here. img(225805); Then go inside the Test Drive department. img(225806); Head around the old man winter sign. img(225807); There is a Splicer scavenging the room behind the front desk. img(225808); Go in through the door on the right. img(225809); Then quietly knock the Splicer out. img(225810); There should be an Audio Log to pick up off the desk as well. img(225811); When you go back out you should see the stairs you need to head down next. img(225812); As you head down you will see the door at the bottom. img(225813); Go ahead and knock on the door. Elizabeth made a deal with Atlas earlier so the door guard will let Elizabeth in. img(225814); Move to the right and go down the stairs. img(225815); At the bottom go to the right (you can search around here if you want, there is a lot of supplies to find). img(225816); Around the right side you should see a vending machine and a Kinetoscope. img(225817); You can watch the Kinetoscope. It looks like Atlas found a way to make his own kind of propaganda. img(225818); After getting any supplies you need (you shouldn't need many at the moment, though) head to the right and you can pick up an Audio Log off the table. img(225819); Then head back towards the vending machine area and go to the door that's on the left. img(225820); From the "Old man winter" display go left. img(225821); The big reason to mention this is There is another secret note on a desk in here. img(225822); Around the area you may also find a man tied to a chair. img(225823); You can pick up another Audio Log off of him to get more info on this guy. img(225824); Then head back around and out the door back to the "Old Man Winter" display. img(225825); If you look just below the display you can pick up the plasmid you need to complete your current mission. img(225826); Now it's time to go back to the Silverfin Restaurant. img(225827); Some Splicers begin attacking this Atlas outpost, though, so you will want to get low and head around to the other side of the boxes on the right of the door (from Old man Winter). img(225828); You may have to take out one or two Splicers to get back up the stairs on the right. img(225829); When that's taken care of go back up the stairs. img(225830); Continue all the way back out, but be careful. img(225831); There's at least one more Splicer to the right of the stairs just up ahead. img(225832); After you get out of the doors to the Test Drive area you will be back to the main area where the Big Daddy patrols. img(225833); Head to the left and jump to a hook just above you. img(225834); Look to the right and you will see a balcony ahead of you you can jump to. img(225835); You may see the Manta Ray ahead of you. From there turn around. img(225836); Head towards the Silverfin, but jump to a hook ahead of you. img(225837); There are several Splicers guarding the Silverfin specifically now so you'll need to knock them out and carefully head down. img(225838); Not only is there a Splicer above there is at least one below as well. img(225839); After that is done head to the right and down the stairs but head towards the left first. img(225840); When you round the left corner watch out for enemies around the corner. I encountered two Splicers. img(225841); You should see a medicine counter ahead of you as you go this way. img(225842); Head inside that office and go to the left (search this room but watch out for a Splicer ahead on the left). img(225843); There's a Splicer as you round the left corner you'll need to knock out. img(225844); Then move around the room on the left side and go through the door. img(225845); Knock out the other Splicer in this back room. img(225846); Then check the desk for another secret note you need to pick up. img(225847); That was the last note. There's also a Plasmid upgrade in here you should collect as well. img(225848); You should be safe to search the room for other stuff as well, now. img(225849); On one of the desks you should find a snow globe you can examine. img(225850); Head back out of the room after that. img(225851); If you look to the left you'll see the Information Center. That's where you need to go. img(225852); Inside this room go to the back and to the right of the desk is the vent we used earlier. img(225853); Head through the vent and you will be dropped on the left of the VIP Lounge mentioned in the last secret note. img(225854); Head inside the lounge (from the vent, it's to the right). img(225855); At the end of the long entrance area head up the stairs on the right (I didn't find anything at all inside the coat check area). img(225856); At the top of the stairs watch for the Splicer that may be drinking at the bar. img(225857); Sneak up on him and knock him out. img(225858); Then head to the left towards the stairs. img(225859); Watch for enemies in this room as there are several- up top as well as around the room below. img(225860); You need to head around all the way to the back right of the room. Go up the stairs there. img(225861); As you get around the corner at the top watch out for the Splicer patrolling up here. img(225862); You'll also see the light of the turret in one of the booths. You may need to go invisible to evade it. img(225863); The easiest way to get behind the Splicer patrolling here is wait for him to go behind the bar and then sneak up behind him and knock him out when his back is turned. img(225864); Then turn around and go to the right of the bar area and move down the stairs. img(225865); At the bottom turn to the right. img(225866); You'll see three bottles on the bar. If you use one it will turn the bottle. I don't know if it's required, but I used middle, right, and then left and this opened the panel behind the bar. img(225867); After opening it head inside. img(225868); There is a lot to see in here, but this is Atlas' secret room. If you've played the first Bioshock this twist is no surprise, but anyone else enjoy. img(225869); There is also a syringe you should examine to the right of the desk. img(225870); After searching the room for stuff to find, head back out and you will see a door on the other side. img(225871); Open the door and then move down the stairs ahead of you. img(225872); On the left of the stairs is a patrolling Splicer you need to knock out. You will also notice a plasmid upgrade on some boxes you should pick up. img(225873); Watch out for the turret (you can go invisible to make this easy) and head down the stairs. img(225874); If you look on the shelf on the right you can pick up an Audio Log. img(225875); There is a door here you can lockpick open as well. img(225876); This door opens up to the bar at the back of the lounge. Look up and to the left and you will see a vent. img(225877); Watch out for Splicers as you head over to that area. img(225878); Then jump up to a hook above (either left or right side is fine). img(225879); You need to jump down directly to the area below you. If you look up from there you should be able to see the vent you can jump into. img(225880); On the other side of the vent jump down onto the elevator roof. img(225881); There may be Splicers in here so be careful. Go to the right of the elevator and you can use another Kinetoscope. img(225882); If you need to you can use the vending machine on the other side of the room as well. img(225883); To get out of here you will need to pick the lock to open the door. img(225884); I recommend jumping back up to the hook above and then, while being careful of enemy Splicers, jump over to the balcony on the left. img(225885); From there you can head around to the front bar area. img(225886); Then head out to where you entered the lounge, and down the stairs. img(225887); From the door go to the right. You should see the Silverfin Restaurant ahead (I think it's just up some stairs). img(225888); From the SIlverfin continue to the left and back to the maintenance area. img(225889); In the maintenance room go to the right and jump back into the vent. img(225890); Remember that there are turrets in this ventilation area. img(225891); Jump down back into the Silverfin restaurant and go to the left. img(225892); Head up the stairs and through the Securis door. img(225893); Just ahead, as before when you came here, is the Lutece device. img(225894); You can find the CO2 scrubber you need to replace on the front. img(225895); The cathode tube goes on the back. img(225896); Then you need to look up at the circular red device at the top. Use the "Old man winter" plasmid on it to freeze it and complete repairs of the device. img(225897); In the front of the device use the lever to turn it on. img(225898); Then, when you have your breath, enter the tear.
More Bioshock Infinite: Burial at Sea - Episode Two Walkthroughs
This Bioshock Infinite: Burial at Sea - Episode Two walkthrough is divided into 6 total pages.