This Braid walkthrough is divided into 7 total pages.
You can jump to nearby pages of the game using the links above.
World 4
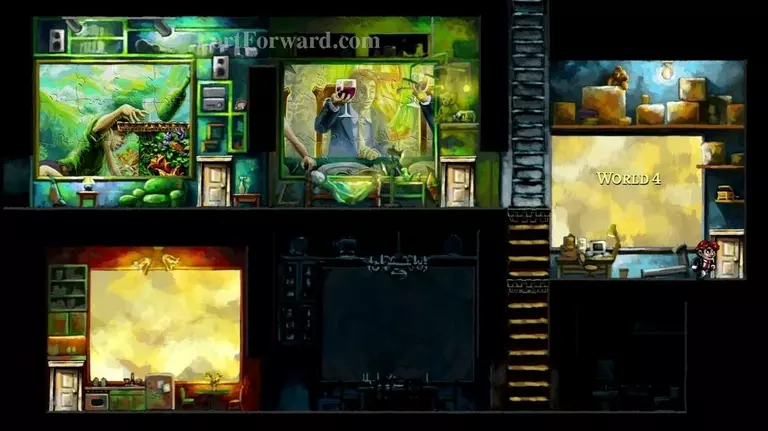
Enter the door to World 4.
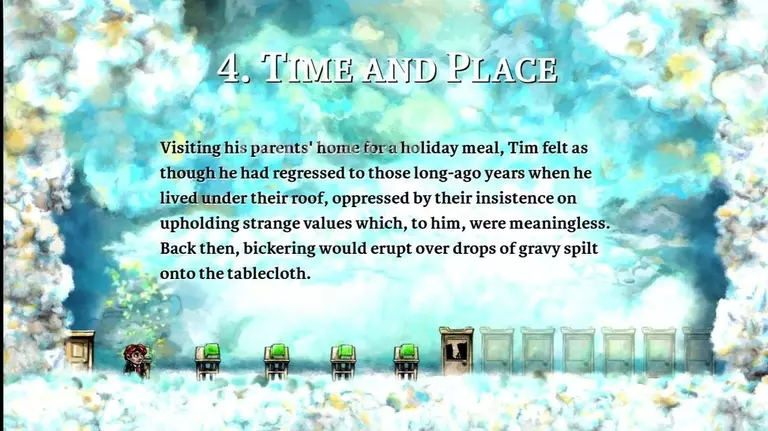
Read the books for some back story.
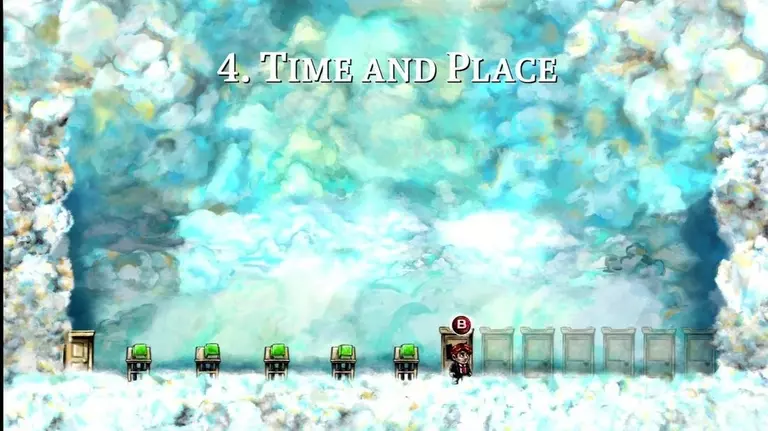
Then enter the first door on your right.
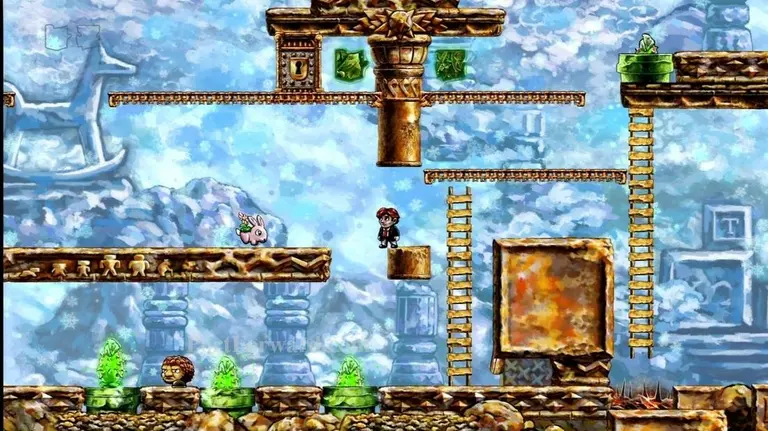
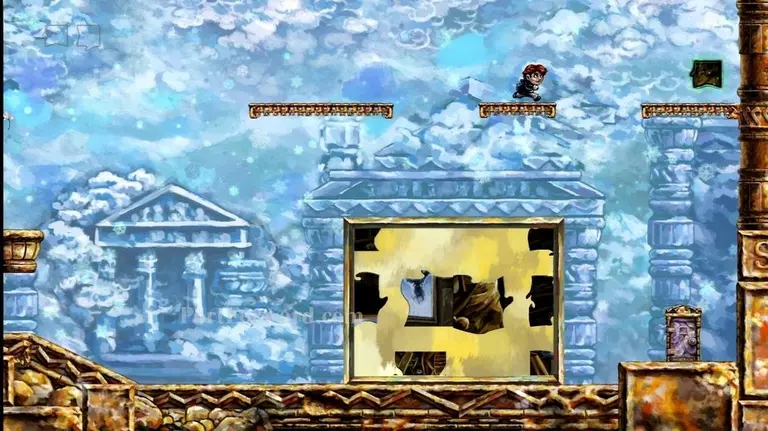
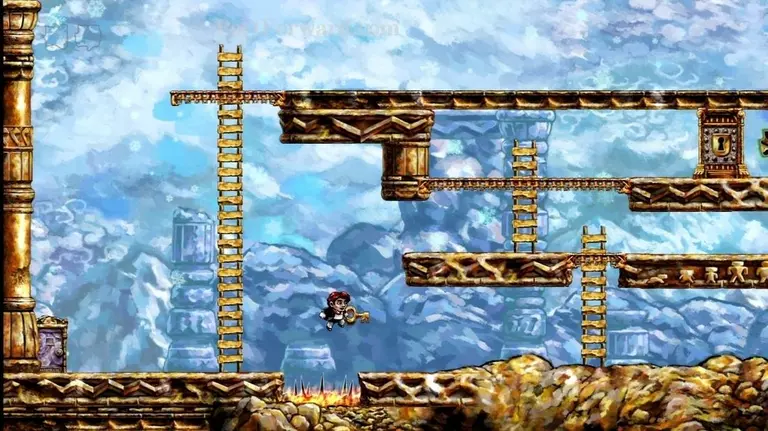
You'll begin level 4-1, "The Pit".
In these levels, you'll learn a new time mechanic. When you walk to your right, time moves forward. When you walk to your left, time reverses. You'll see as you move forward, so does the enemy in the pit.
Don't drop in the pit, instead jump over it and walk right into the locked door. This will move you as far as possible to the right, making the enemy walk forward and pick up the time-protected key.
Now walk left and drop into the pit. Time will reverse, but it won't affect the key. Kill the enemy and take the key.
Now reverse time the normal way to get yourself out of the pit.
Unlock the locked door.
Exit through the door on the far-right.

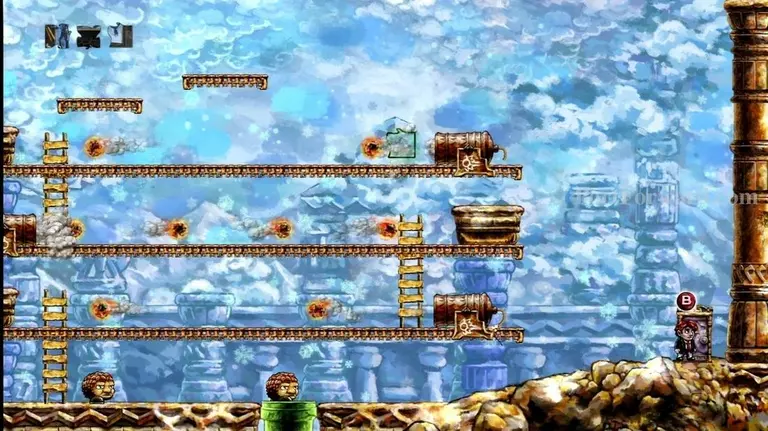
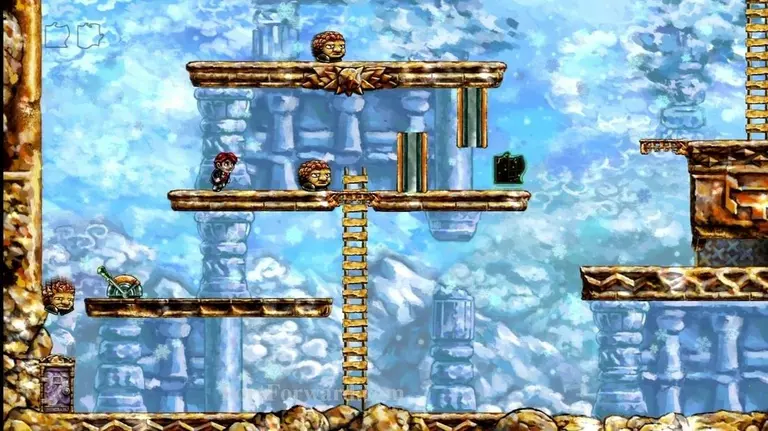
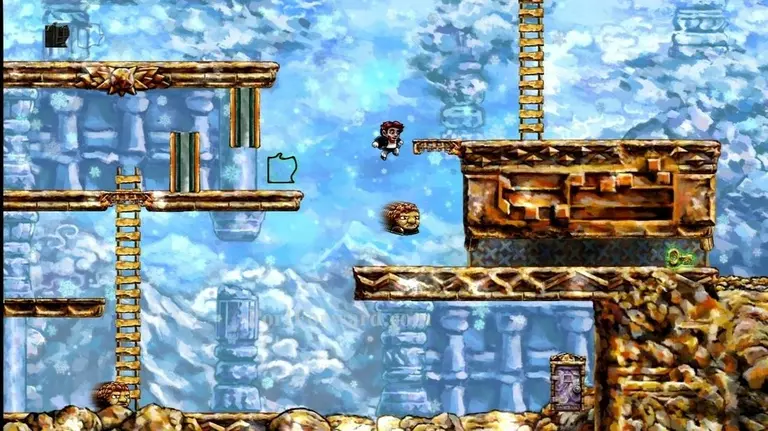
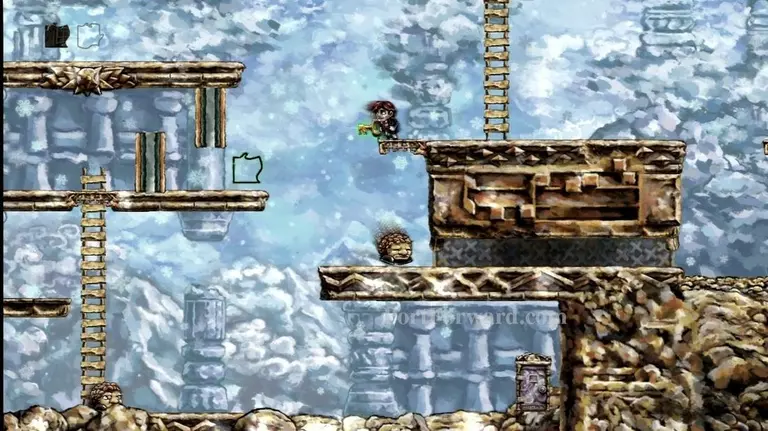
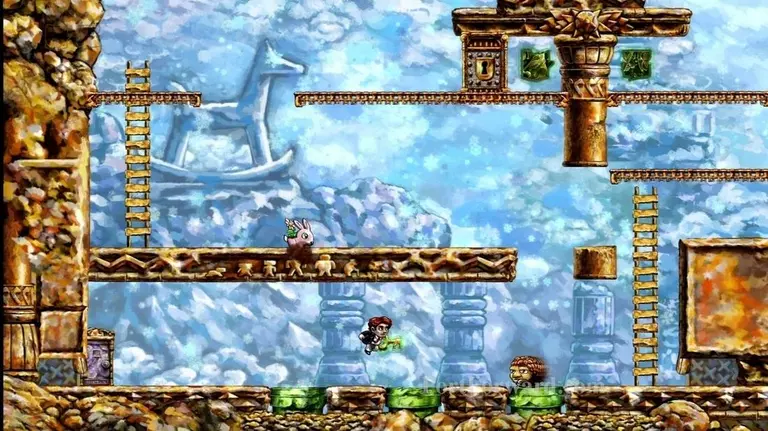
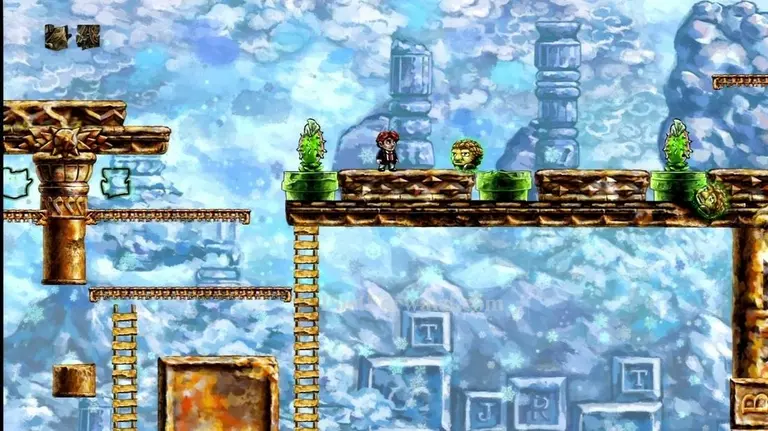
This will bring us to level 4-2, "Jumpman".
This level may look very familiar... think Donkey Kong, another Mario reference. Start by going to the right and climbing the first ladder.
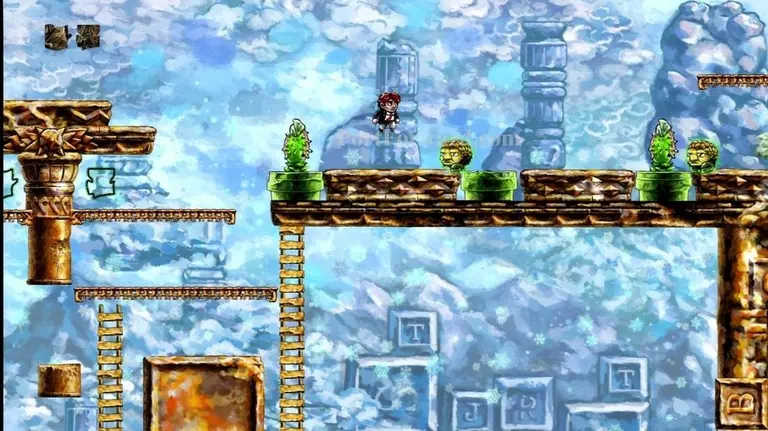
Climb the ladder on your left and get onto the small platform to the upper-left of it.
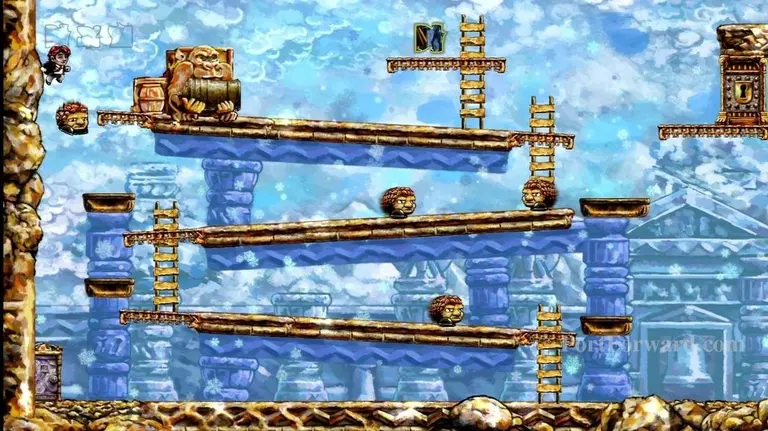
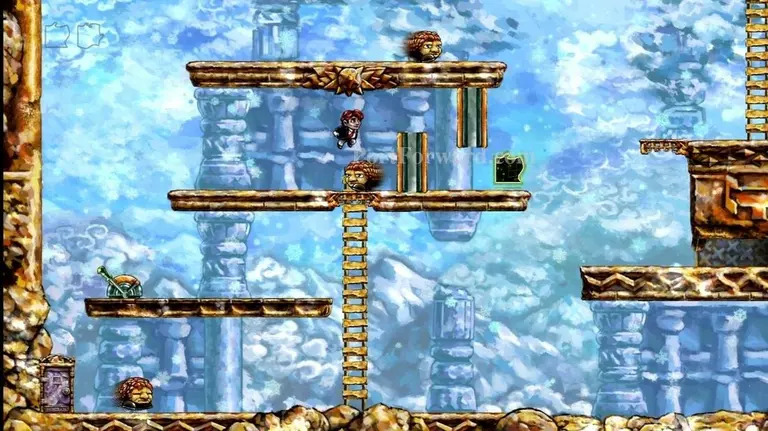
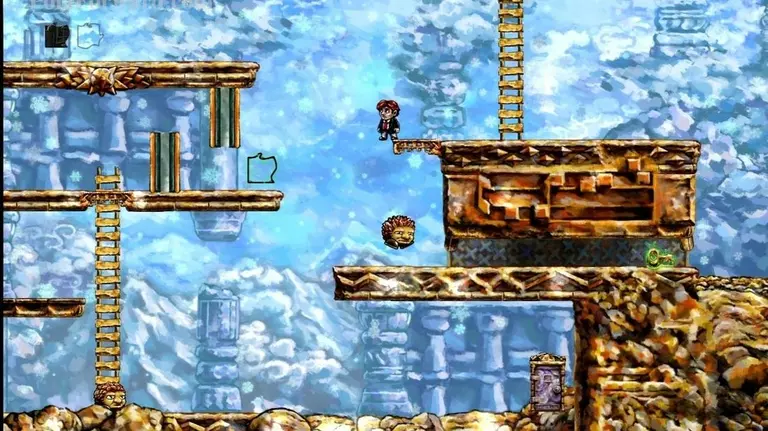
Now if you jump left, which reverses time, an enemy will fall upward. Land on him as he does, getting enough of a bounce to land on the platform behind "Donkey Kong".
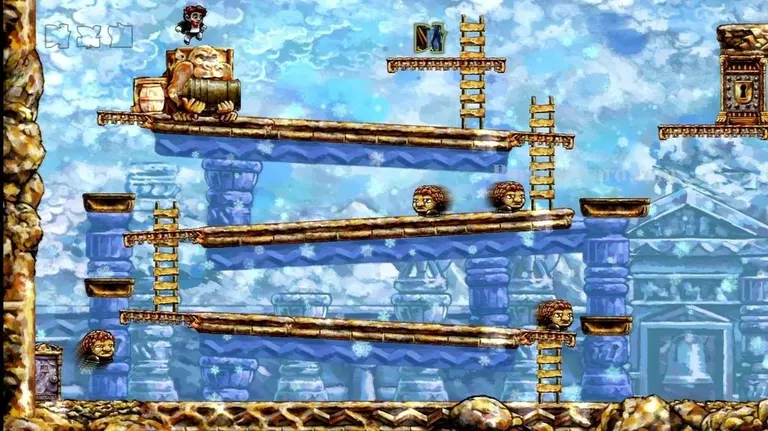
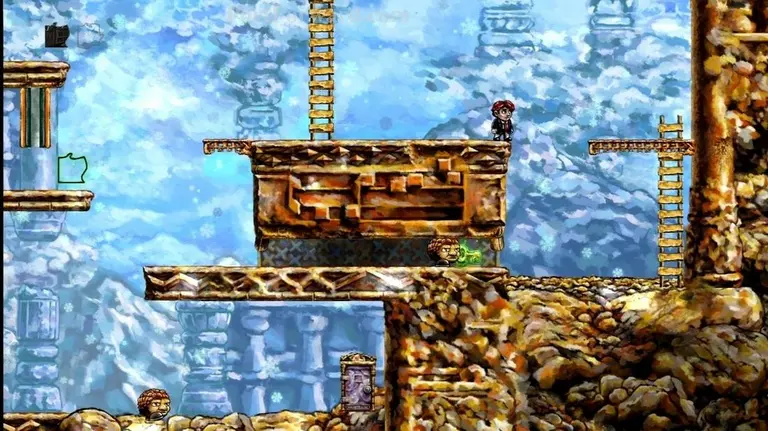
Jump over "Donkey Kong" and head for that puzzle piece.
You can bounce on the enemy's head here to reach the puzzle piece.
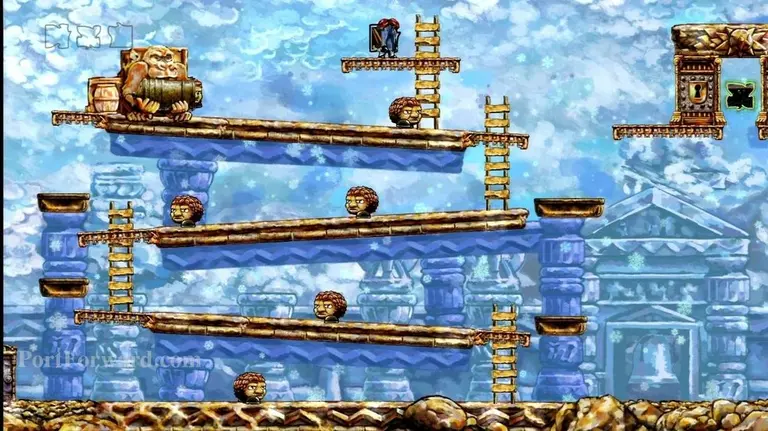
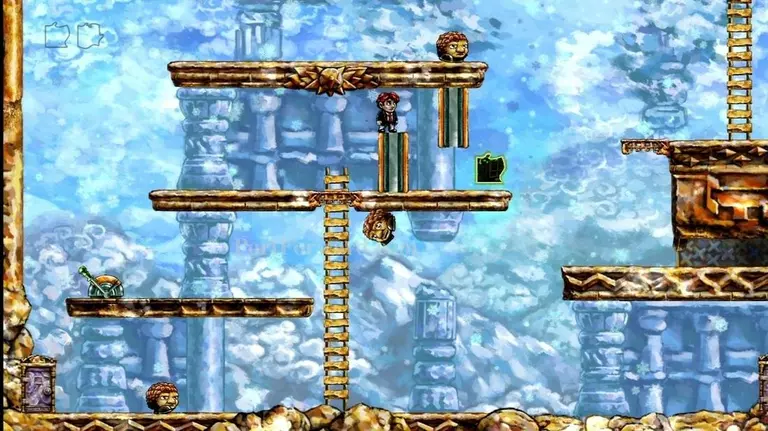
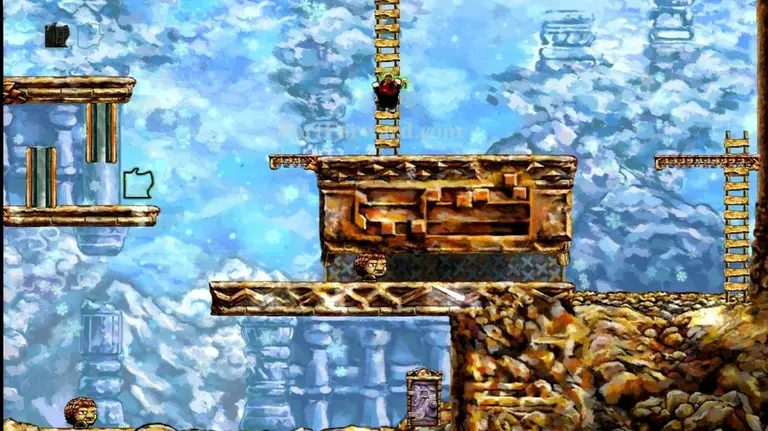
Now let's head over to another set of platforms on your right.
Climb up the first ladder and head rightward, jumping over the fireballs.
Climb the ladder and head left. Since you're reversing time by walking left, the fireballs will go the same direction as you. Just avoid hitting any.
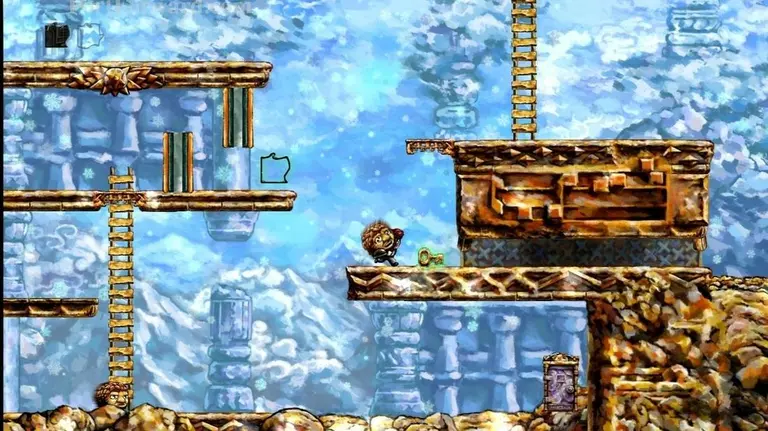
Climb the ladder and jump onto the block on your left.
Now you can jump on the platforms to your right to grab a time-protected key.
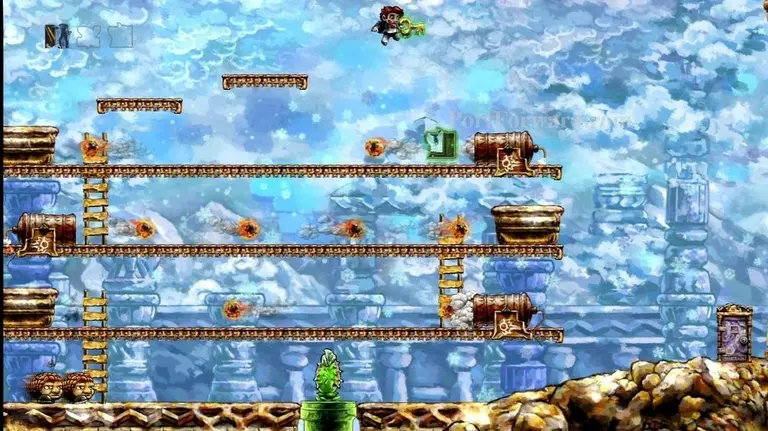
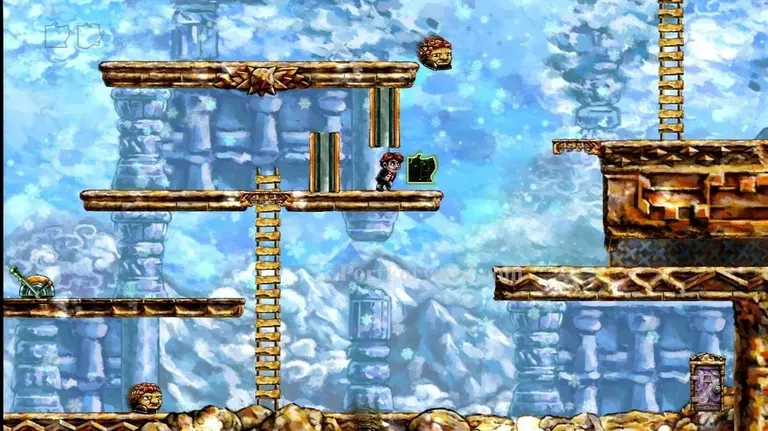
Jump to the right, landing on a puzzle piece. This puzzle piece is protected from time, so reversing time won't make you lose it.
Rewind time, bringing yourself back to where you collected the first puzzle piece.
Jump onto the enemies head to bounce up to the locked door.
Open the locked door and grab the puzzle piece.

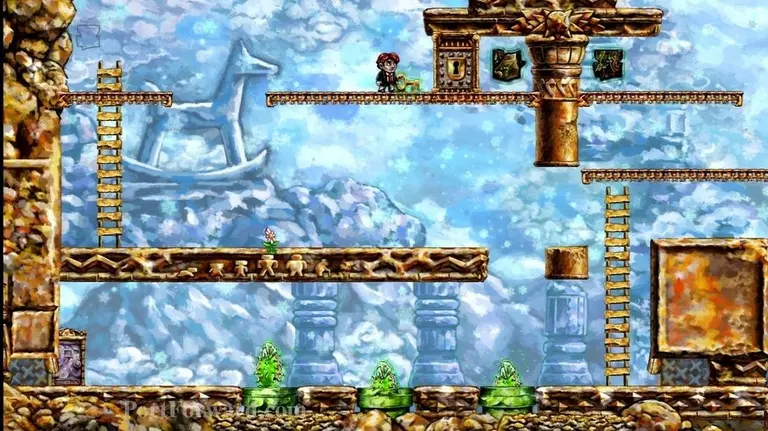
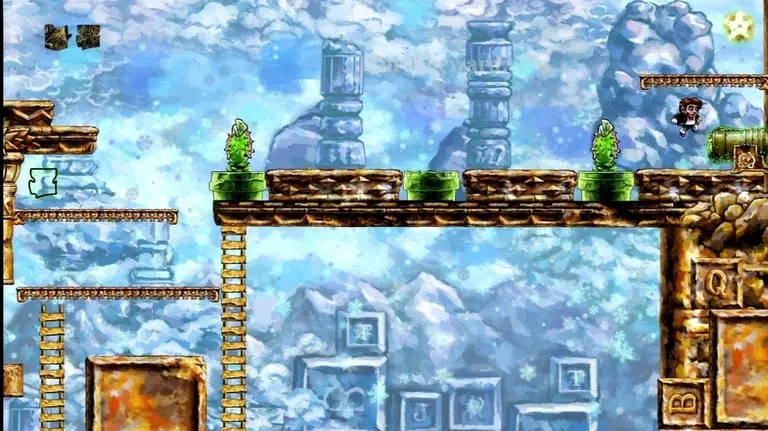
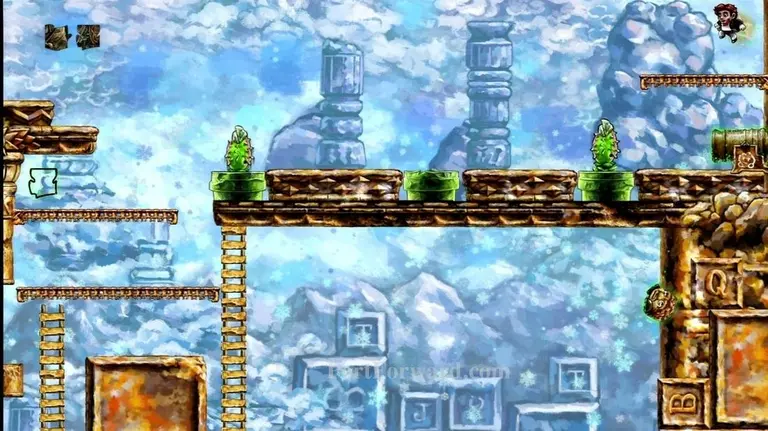
Now we're done with this area, but you can't simply walk to the exit, the snapping plant will be in your way. Instead, climb the ladder and head right, jumping over fireballs. Just jump over the cannon to get over to the right.
Exit the level through the door on your right.

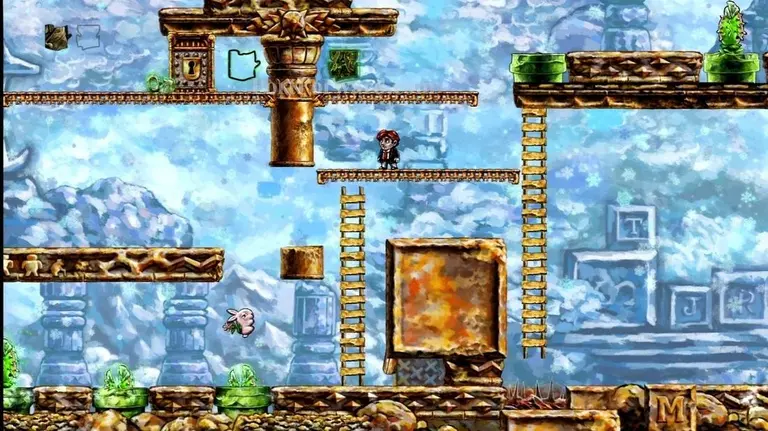
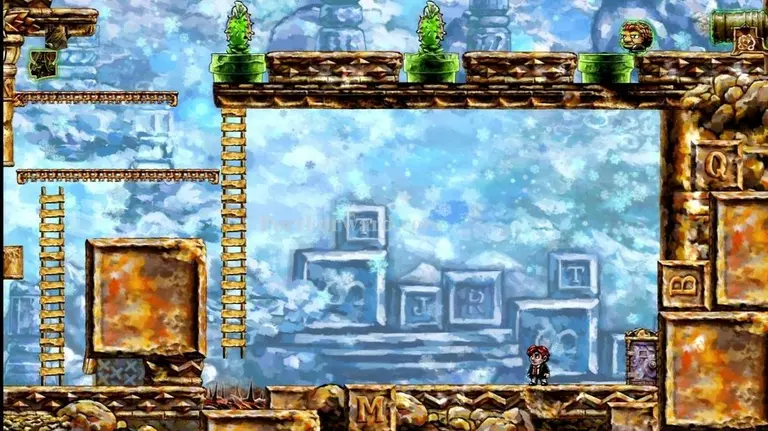
This will bring you to level 4-3, "Just Out of Reach".
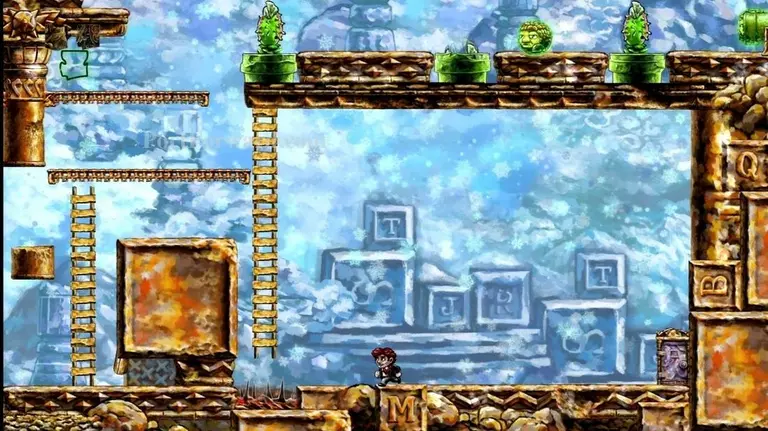
Climb halfway up the ladder and pull the switch on your left.
Now climb up the ladder the rest of the way. The enemy should walk under the first moving wall, letting you get up the ladder. If not, the switch probably needs to be pulled again.
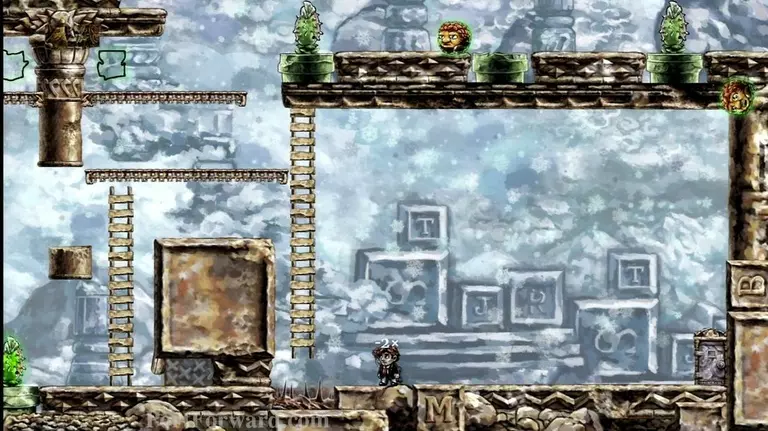
Now Jump off the left ledge, far enough to the left to undo the switch. Bounce on the enemy's head.
After bouncing on the enemy, try to land back onto the platform you jumped off of.
When you get close to the walls, jump on the enemy's head.
This should let you bounce up onto the first wall.
Go right and collect the puzzle piece.
Jump rightward from the puzzle piece. Your goal is to bounce off the enemy's head, but not kill him.
After you bounce, you want to land on the platform above. You need that enemy to be alive, so make sure you go far enough to the left to bring it back to life.
Walk to the right, so the enemy grabs the key.
Drop off the left edge of the platform and kill the enemy, taking the key.
Reverse time to get back on the upper platform.
Climb the ladder.
Use the key on the locked door, then grab the puzzle piece.
Head back down and go through the exit door.

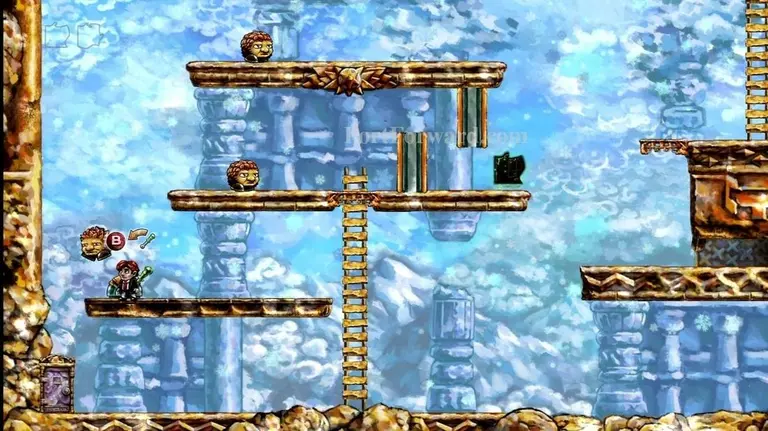
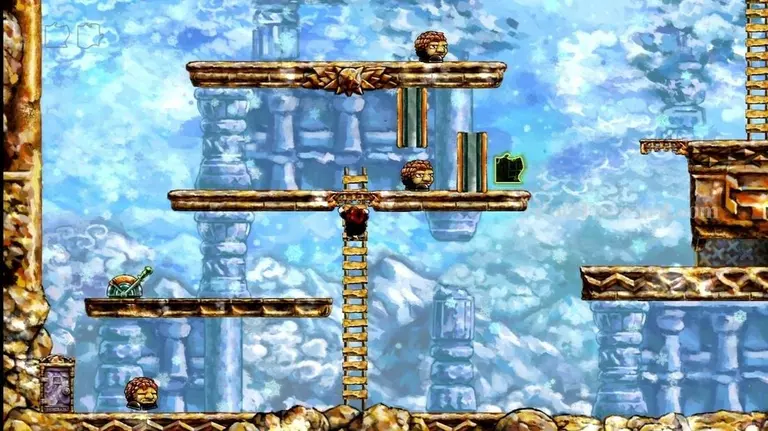
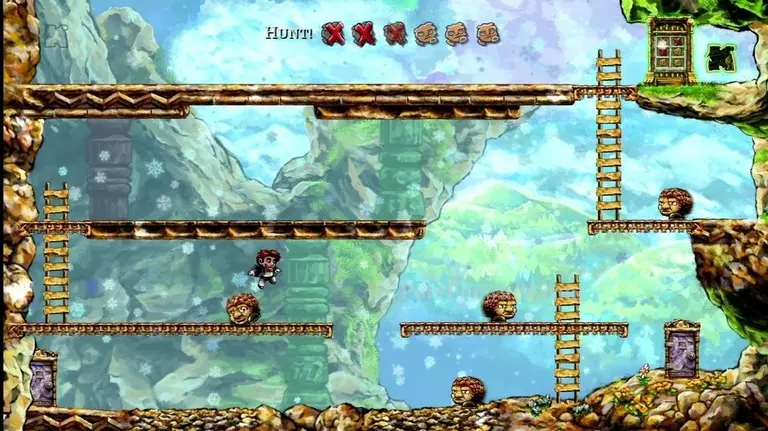
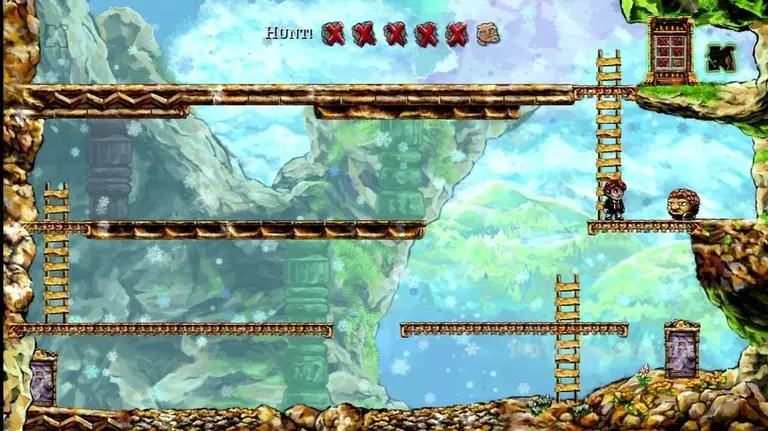
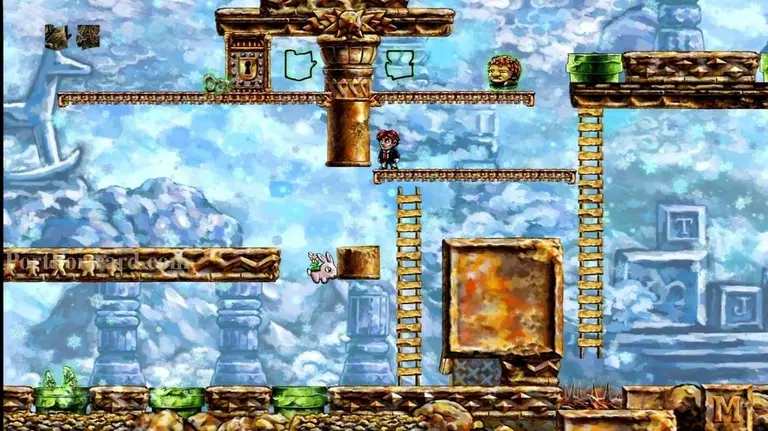
This will take you to World 4-4, "Hunt!"
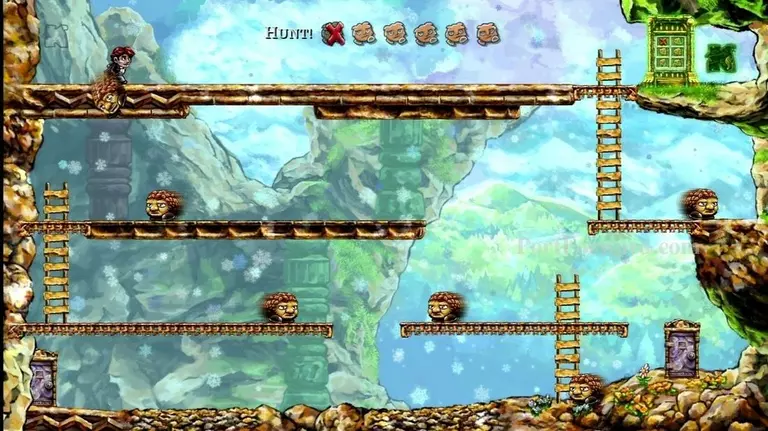
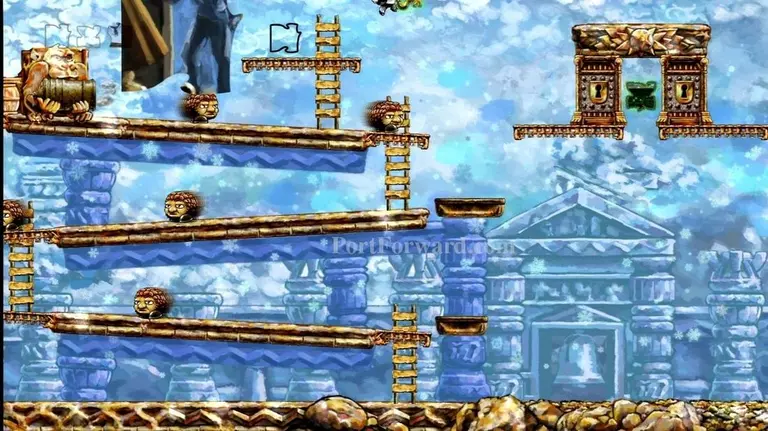
Make your way to the top platform. You should bounce on the enemy to kill it.
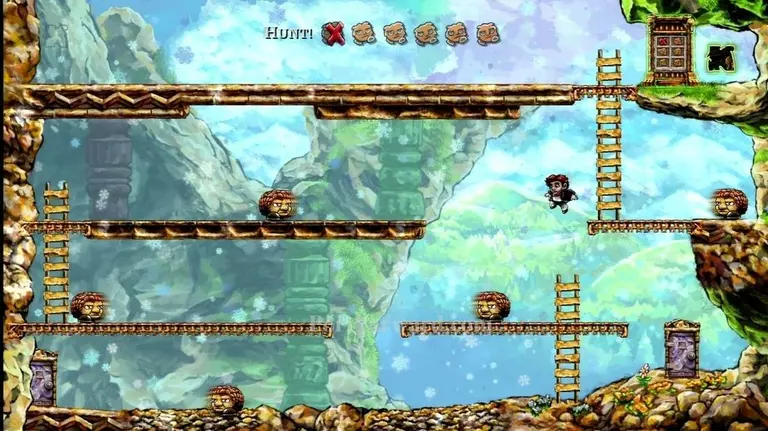
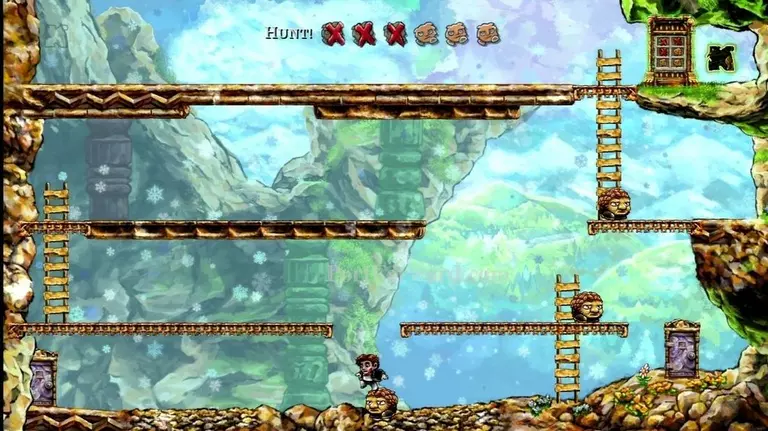
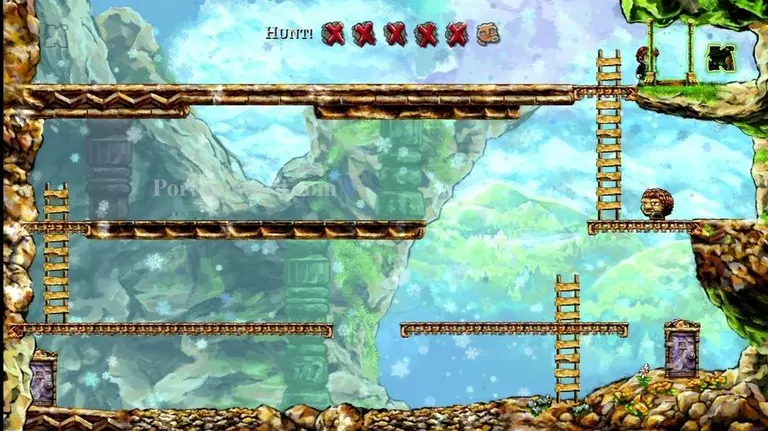
Go down the first ladder. Bounce off the enemy on the platform below.
Land on the platform to the left.
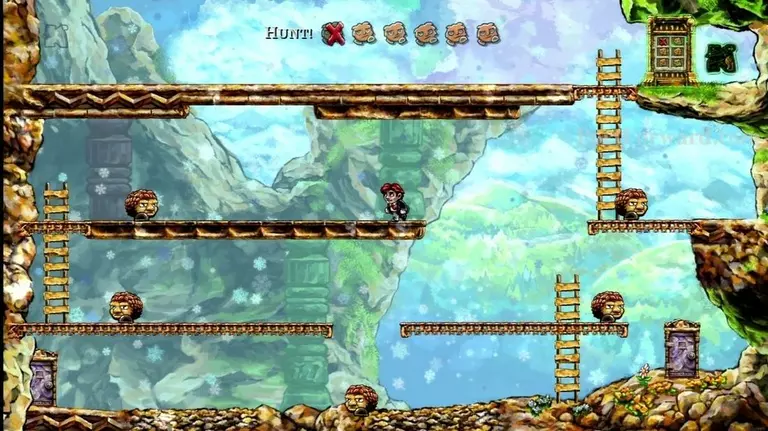
Kill the enemy to your left, but don't go too far left, or the one on the top platform will come back to life.
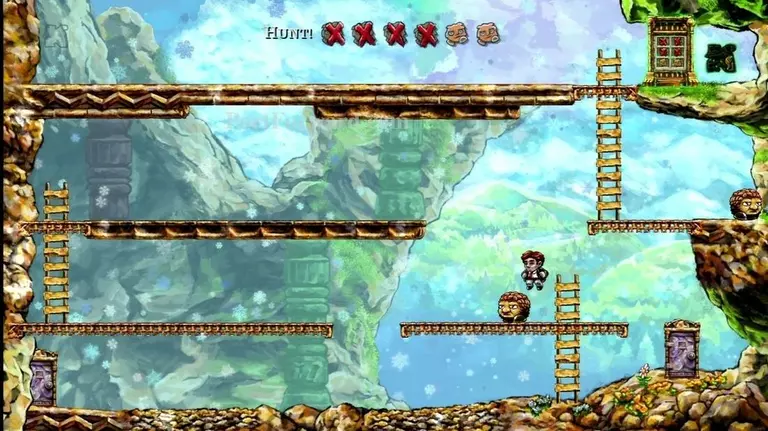
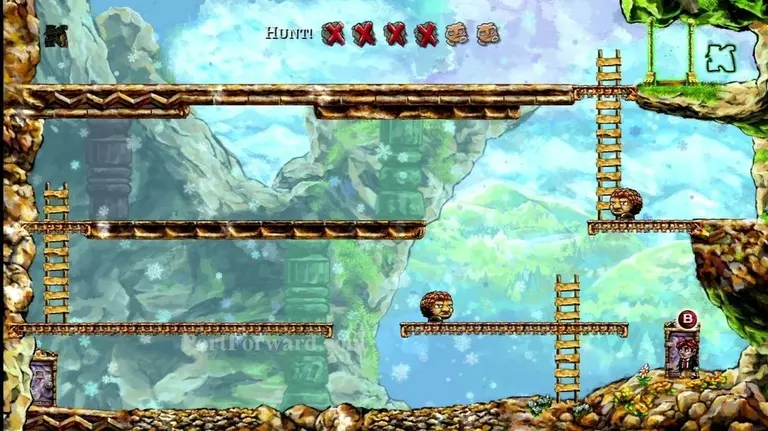
Drop down to the right. Then kill the enemy on your left.
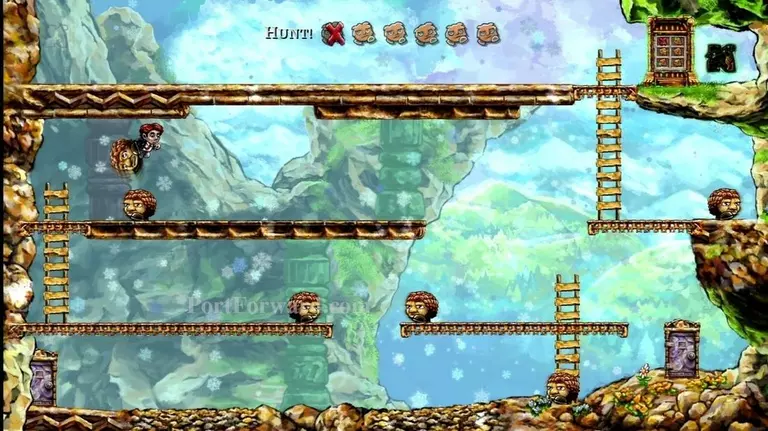
Now drop down to the bottom floor and dispose of that enemy.
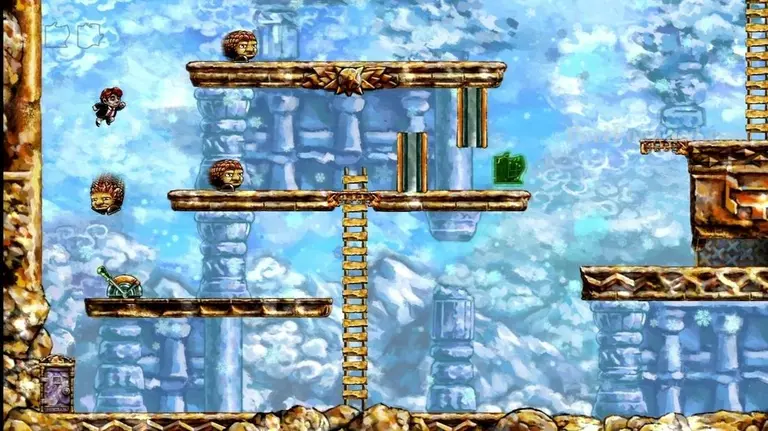
Climb the ladder to your right. Bounce on the enemy here.
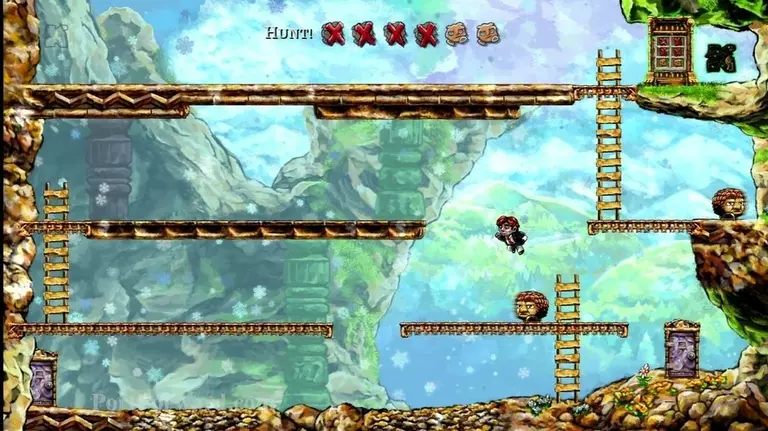
As you bounce, head a bit to the left to keep the enemy alive. Then bounce on it again to get up higher.
You should be able to land on the upper-right ledge.

Now stomp on the final enemy here. The door above will open.
Climb up the ladder and grab the puzzle piece.
Go through the door in the bottom right corner.

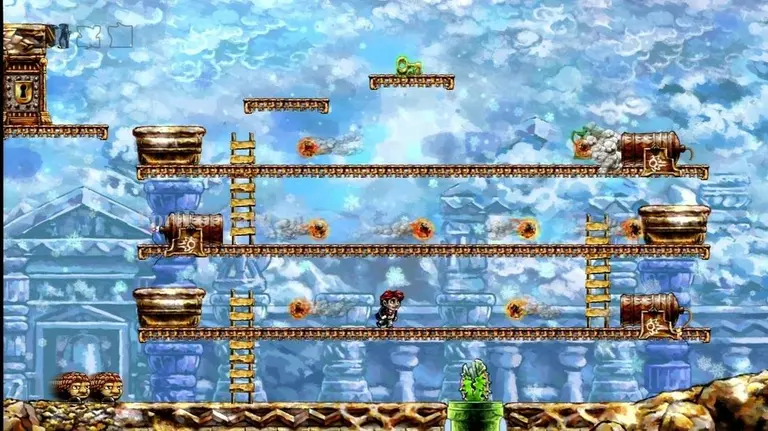
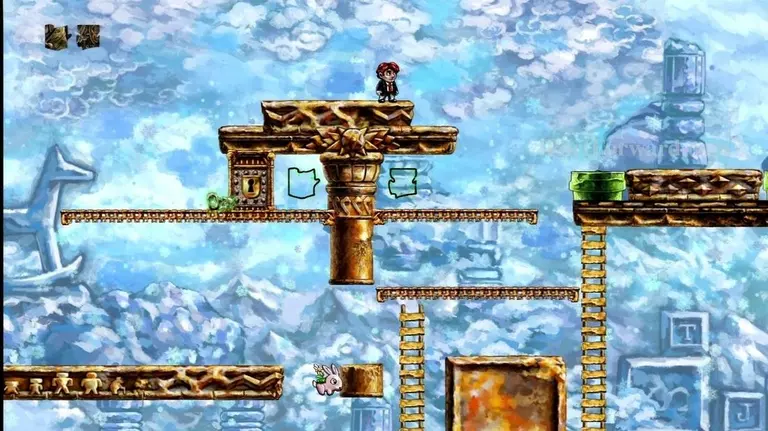
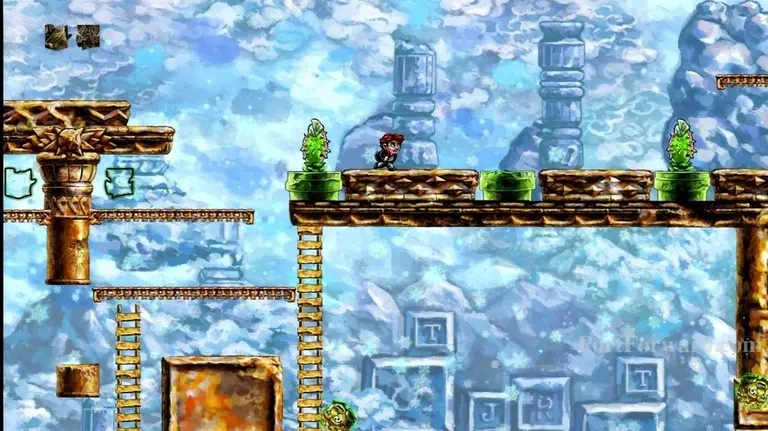
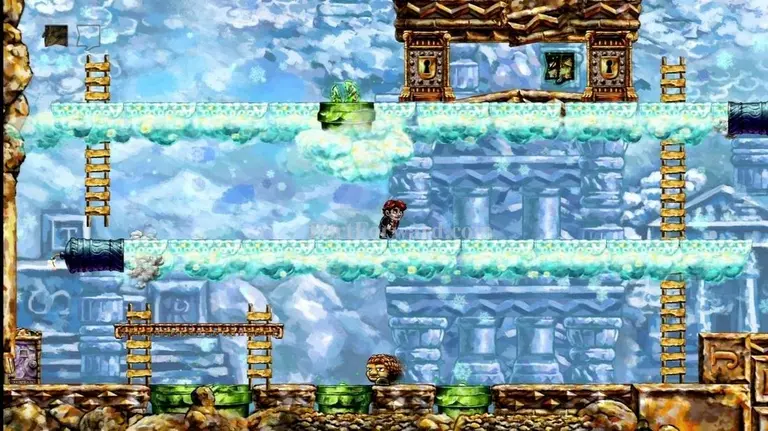
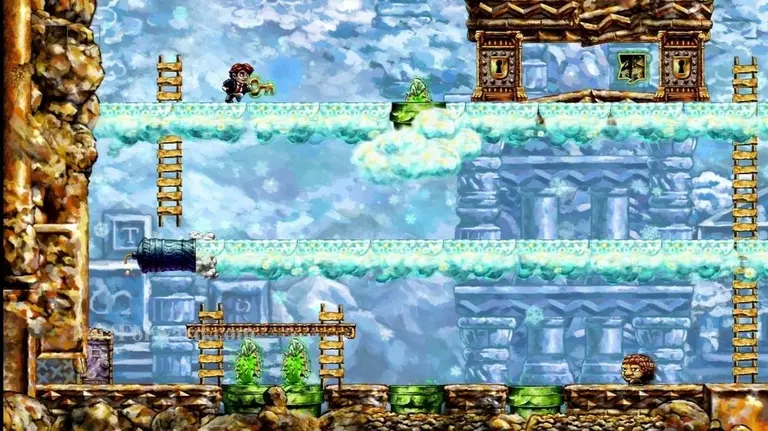
This is World 4-5, "Movement By Degrees".
Head to the right. As you do, the enemy will move toward you.
There will be snapping plants that come out of the pipes. The plants run at normal time. Do your best to keep the enemy alive as it passes the plants. Climb up the ladder and get on the small platform to the left of it.

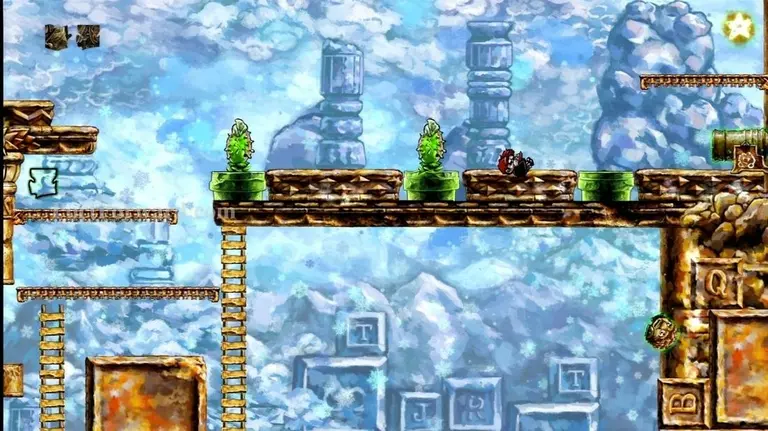
When the snappers go down, jump over to the platform on your right and keep heading right until you hear the sound of the enemy picking up a key.
Go back to your left and grab the key. The enemy will probably have dropped it when hitting a snapping plant.
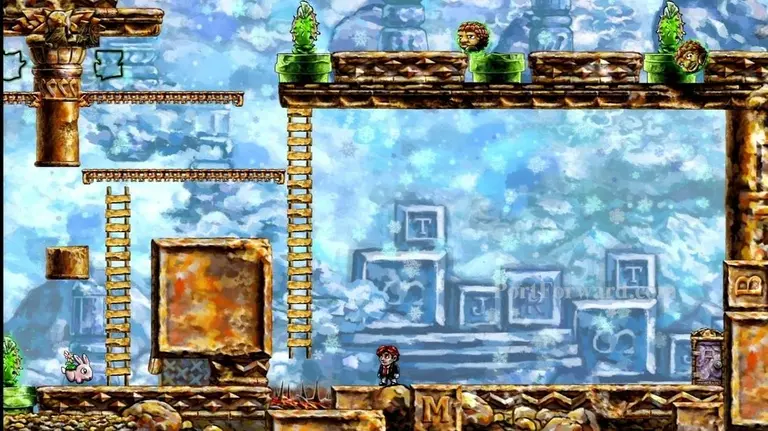
Climb up the ladder and head to the left ladder. Climb it, then unlock the door on your right and grab your first puzzle piece.
Stand under the other puzzle piece for a bit, for a good place to rewind to.
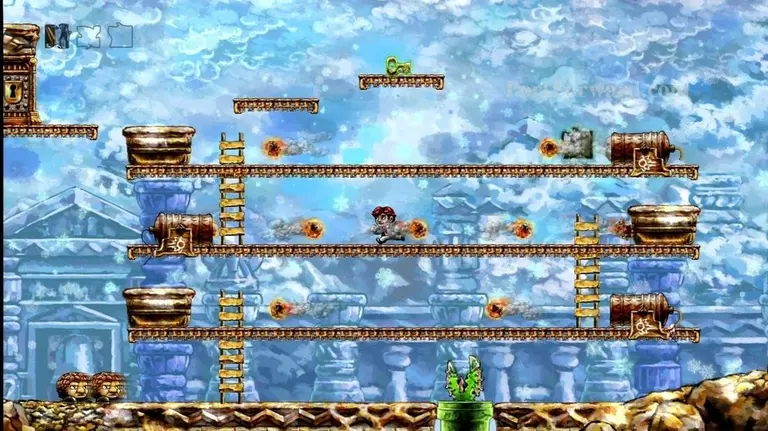
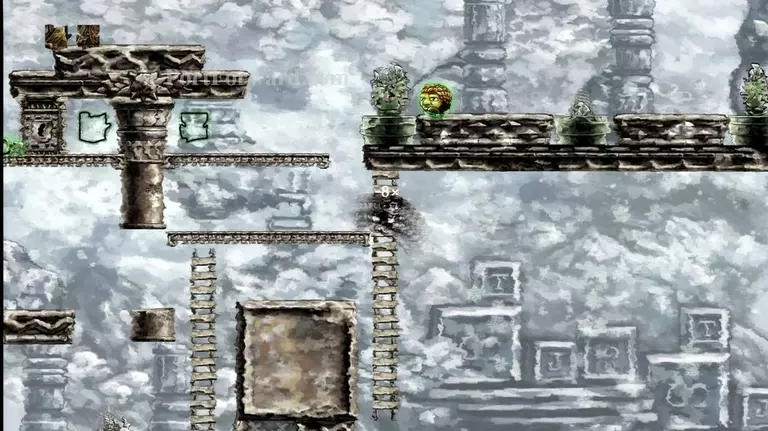
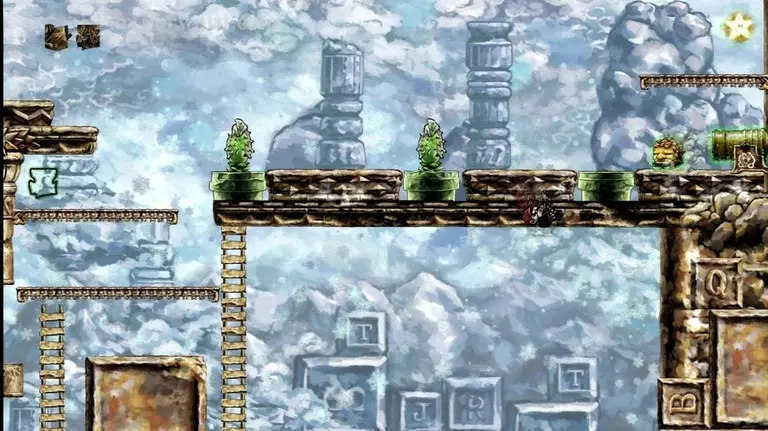
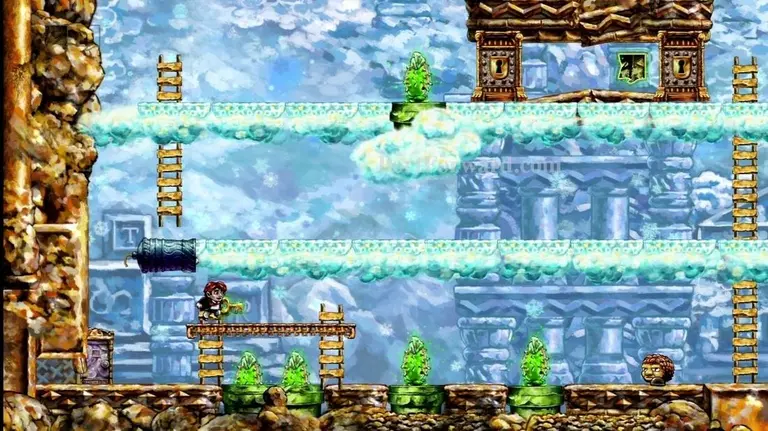
Go to the lower-right of this level. You'll see some snapping plants that go forward and reverse with time as you move. Enemies will fire out of the cannon and are time-protected.
You're goal is to get that time-protected enemy over to the puzzle piece. Walk to the left to get the middle snapping plant down in the pipe.
Then quickly rewind back under the puzzle piece.
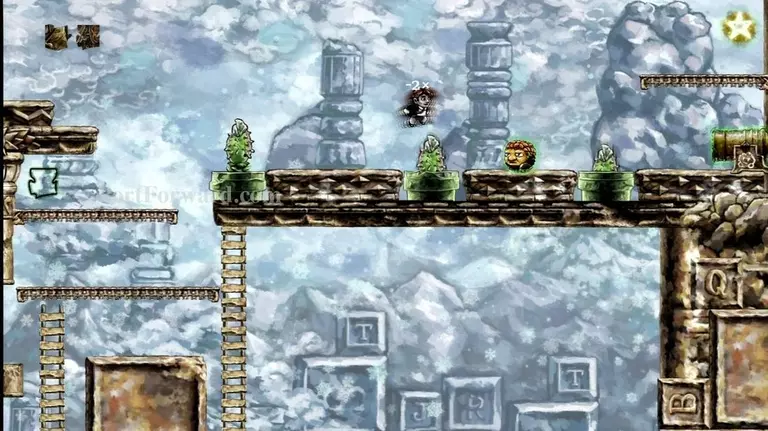
This should drop the last plant, letting the enemy over to the puzzle piece (note I already grabbed the piece before taking this photo.)
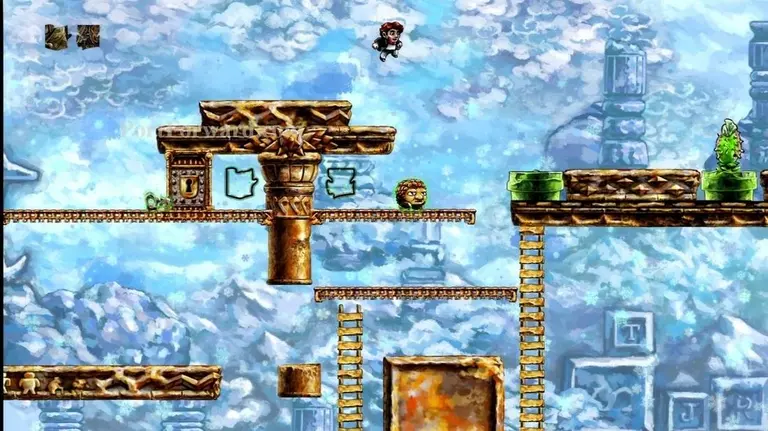
Bounce on the enemies head.
You should land on the platform with the puzzle piece. Stand up here for a while, using it as a rewind point.
Go down to the bottom right. Let another enemy past the snapping plants.
Rewind up to the platform after the enemy passes the second snapping plant.

Jump on the enemy's head to get onto the platform above.
Stand up here for a while to use it as a rewind point.
Now you want to go down and get another creature across.
Rewind, back to the top platform.
Jump from the highest part of the platform, onto the enemy's head.
You're goal is to bounce over the first snapping plant.
Try to jump past the second snapping plant. You will fail, but this is what you want.
You want to suspend yourself in place at a point where the third pipe has no plant.
After the enemy passes the third pipe, rewind yourself back past the plant.
The enemy should make it past the pipe.
Jump on the enemy's head to bounce over the second snapping plant.
You can easily jump over the third snapping plant. Jump on the cannon.
Now you can grab the star!
Rewind yourself back to where it's easy to get to the bottom-right door, then go through it.

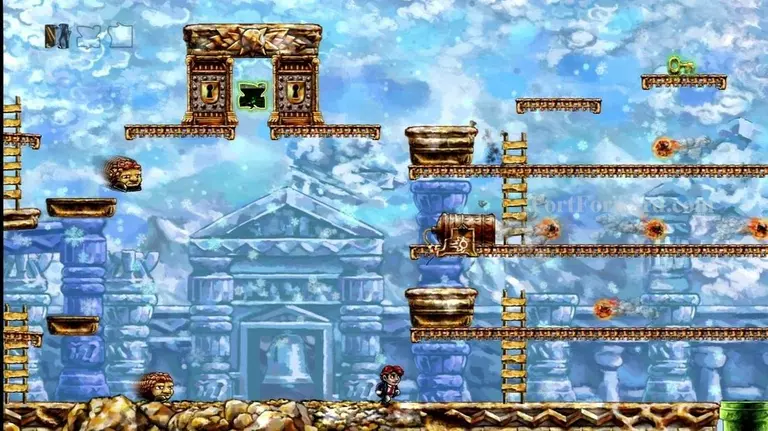
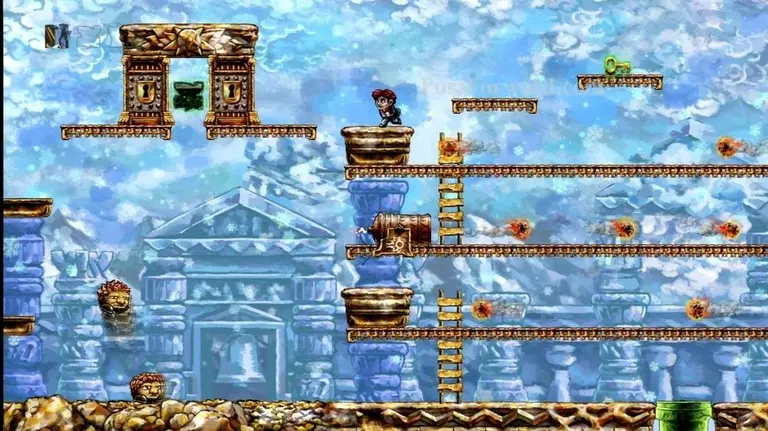
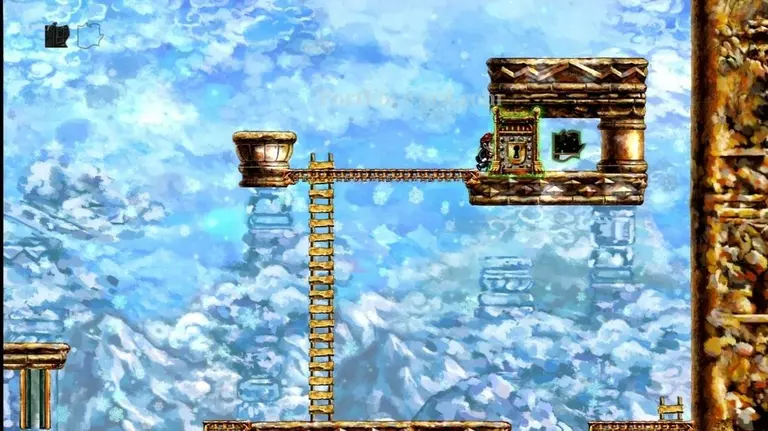
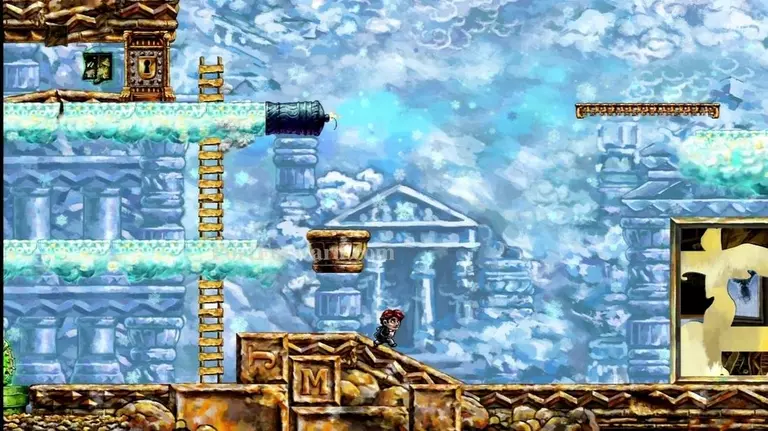
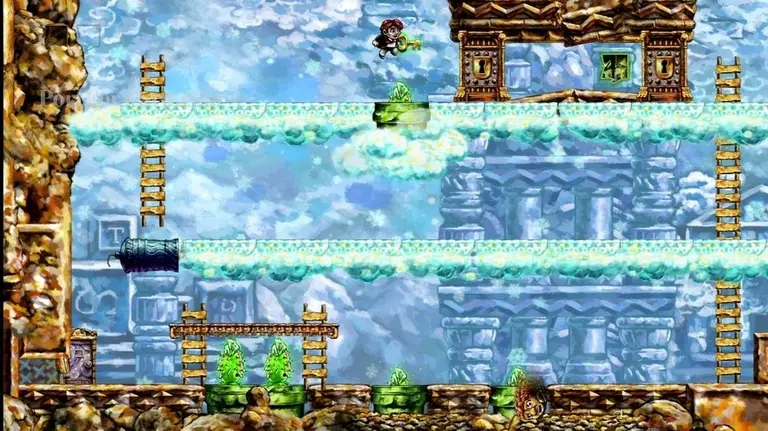
This is World 4-6, "Movement, Amplified".
Go up the large ladder on your right, onto the second set of clouds. Run to the right and make a leap of faith off the end of the cannon.
You'll land on a cloud that quickly comes to you.
Jump off the end of the cloud, landing on a platform.
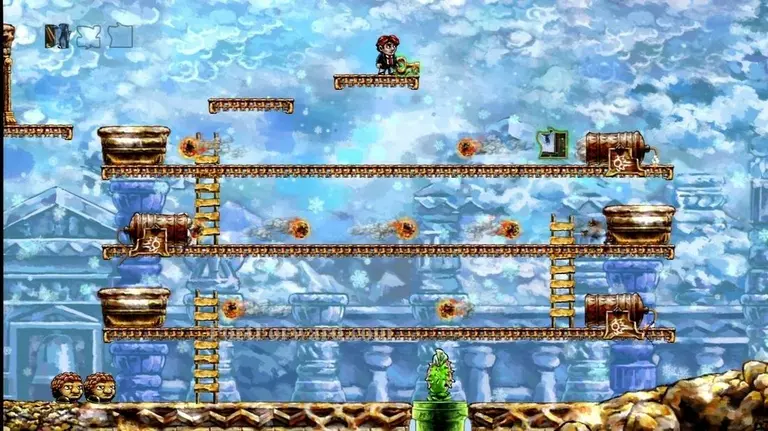
Jump onto the platforms on the right to grab the first puzzle piece.
Go back to the left and get onto the lower set of clouds. You need to get the enemy at the bottom over to the far left without hitting the snapping plants.
Keep going to the right until you hear the enemy grab the key.
Now head back and get the key.
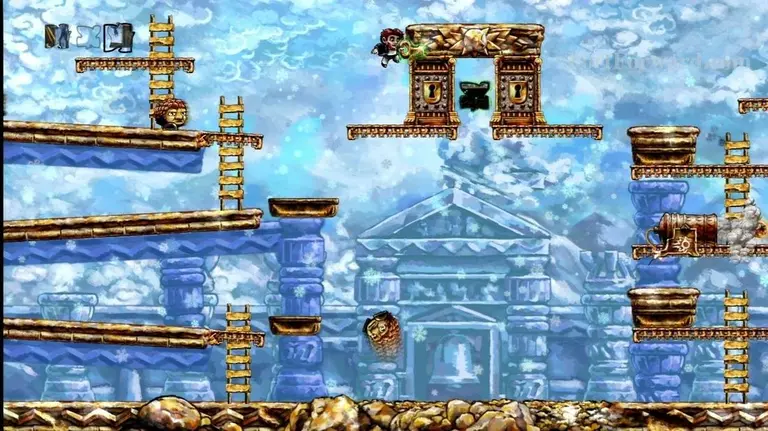
Get on the bottom row of clouds, then climb the ladder on your left to get to the top row.
Jump over the plant.
Unlock the door and grab the puzzle piece.
Go through the door in the lower-right.

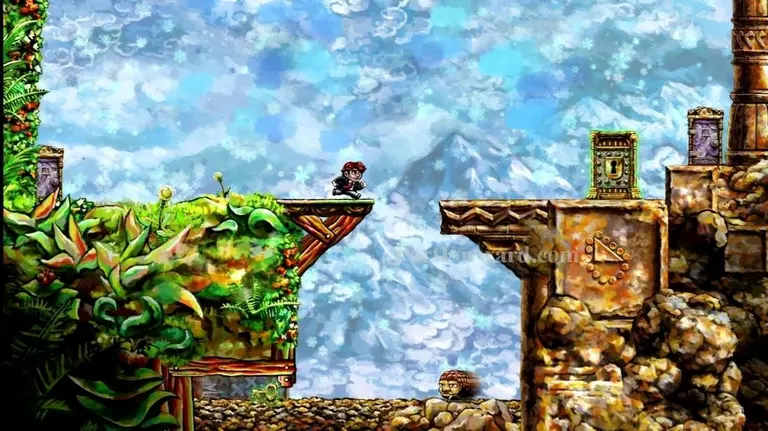
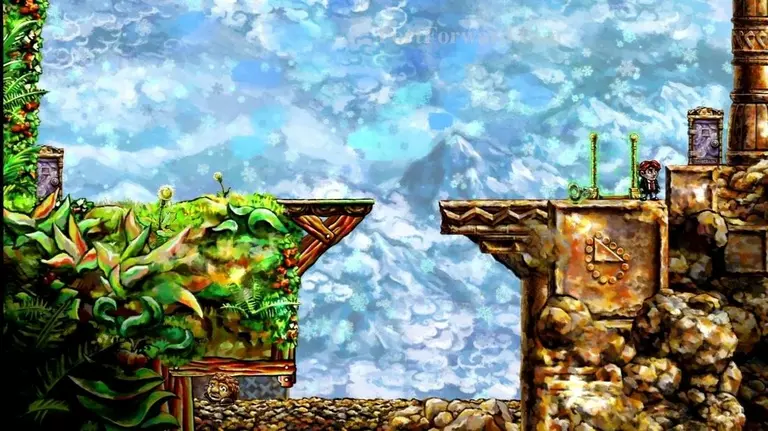
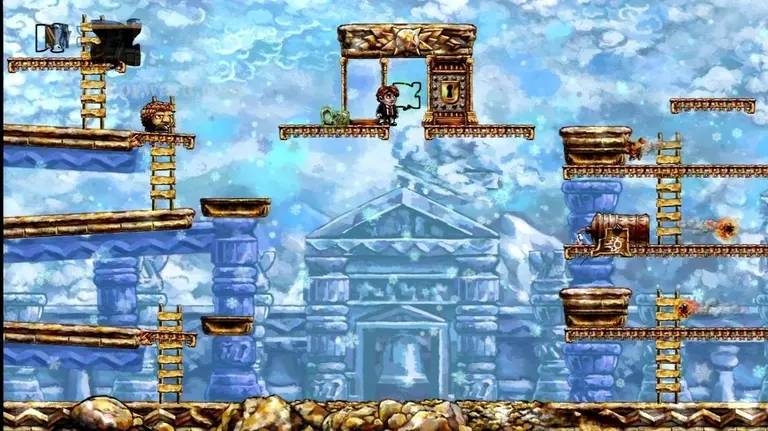
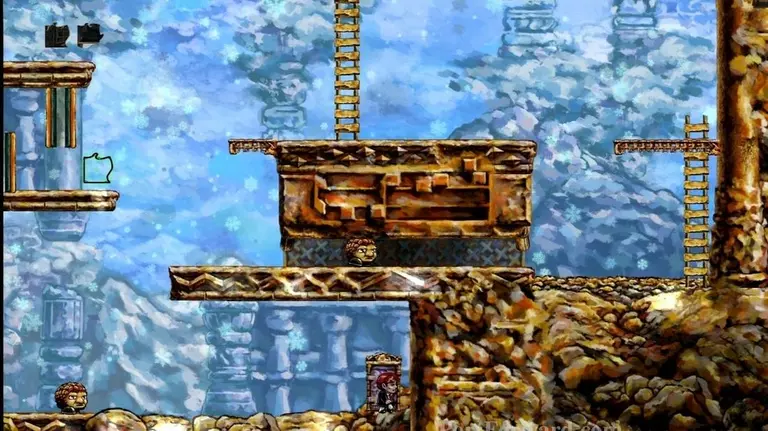
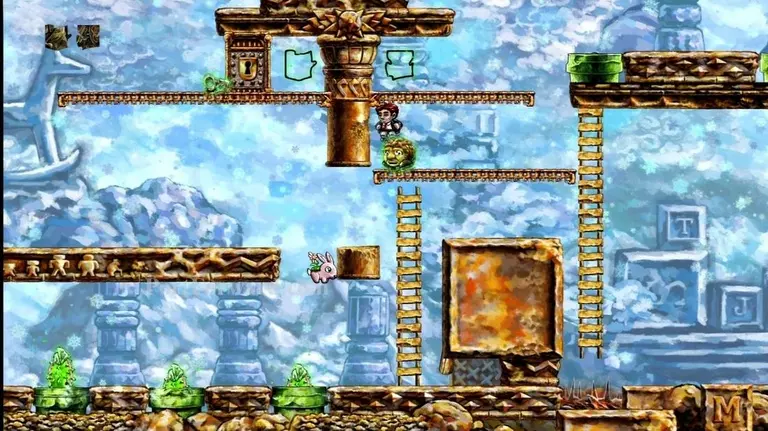
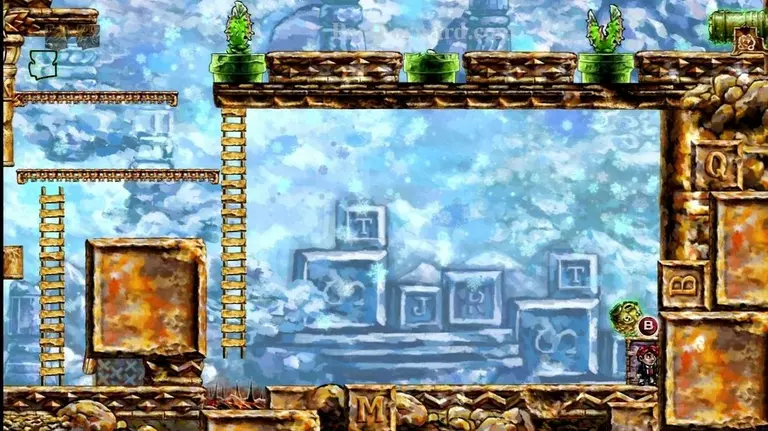
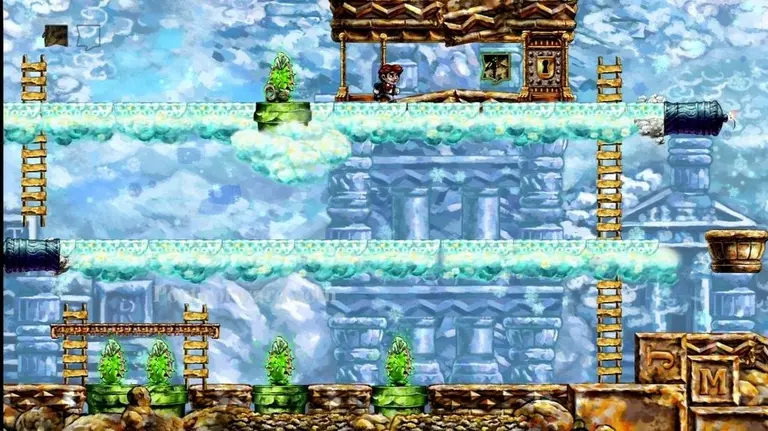
This is World 4-7, "Fickle Companion".
Grab the key and jump over the spike pit.

Go up the ladder, then head for the lever on your right. Drop off the right side of the platform.
img(131064);
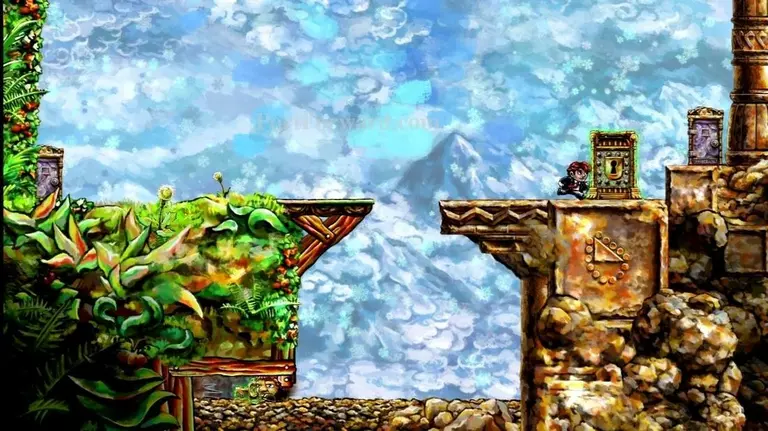
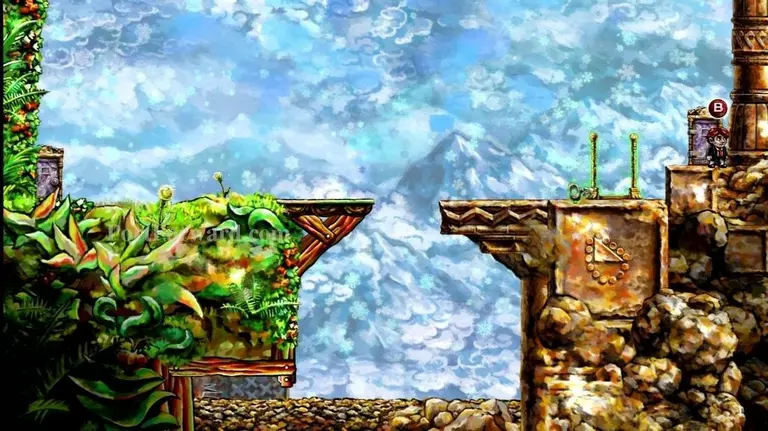
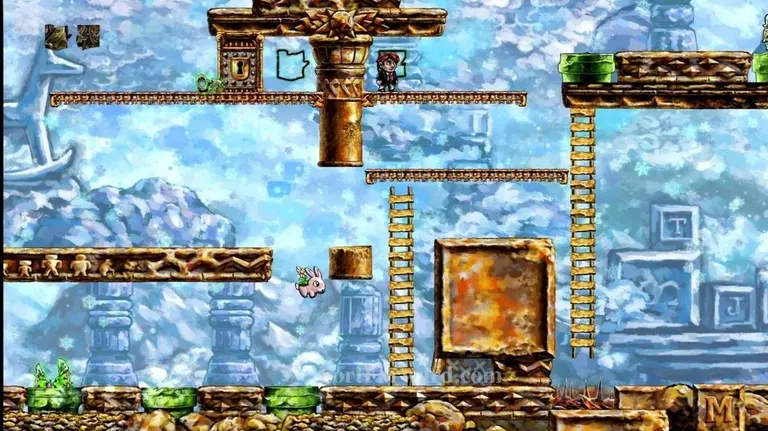
Open the door. Kill the enemy when it wanders to the right.
img(131065);
Quickly run to the left, under the door you unlocked. The door will be locked again. An enemy will shoot out of the cannon.
img(131066);
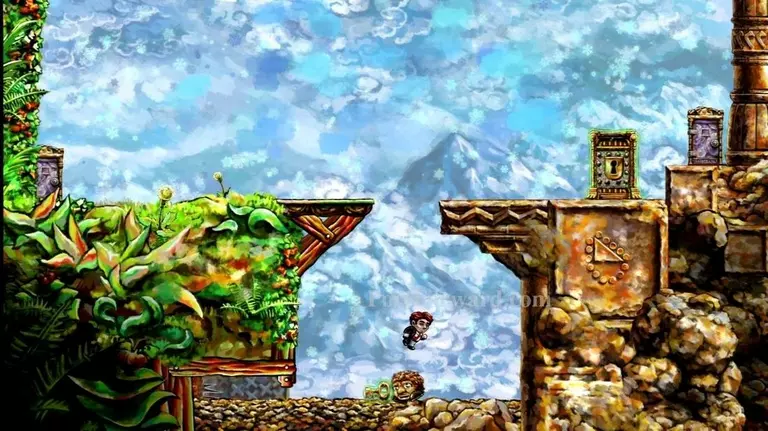
The enemy should grab the key.
img(131067);
Go to the right of the ladder and wait for the enemy.
img(131068);
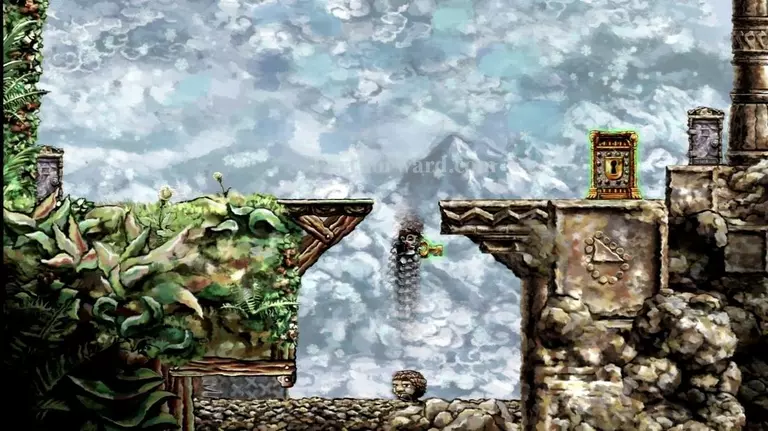
Kill the enemy, take the key, open the door to your right, and take the puzzle piece.
img(131069);
Rewind to get back out of this area.
img(131070);
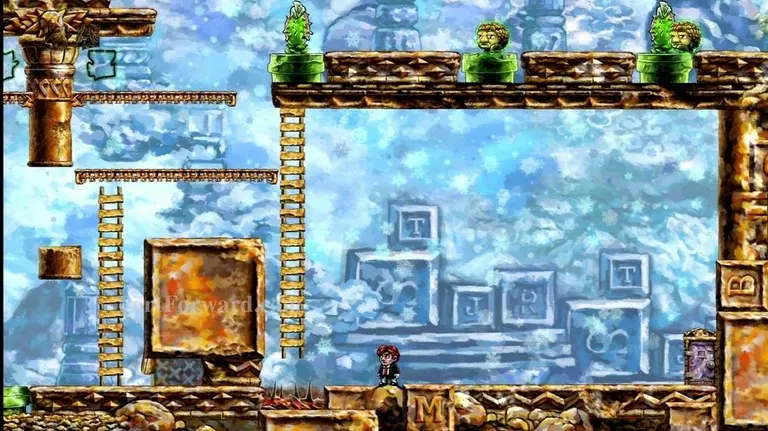
Rewind yourself back to the lever you passed.
img(131071);
Flip the lever, then go down and kill the enemy.
img(131072);
Another enemy should pop out of the cannon. Walk to the left to get the platform to catch the enemy.
img(131073);
Keep walking left. The enemy should end up on a platform above you, hopefully carrying the key.
img(131074);
Climb up the ladder after the enemy passes.
img(131075);
Jump on the enemy's head before it gets to the end of the platform, but after it passes the ladders.
img(131076);
You'll land on the platform above.
img(131077);
Go down the ladder and grab the key. Don't go too far left or you'll lose the key.
img(131078);
Climb up the ladder and open the locked door to your right. Grab the puzzle piece.
img(131079);
img(131080);
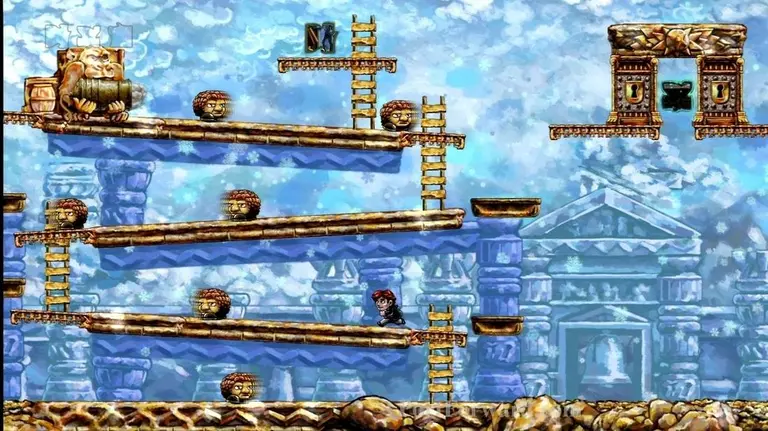
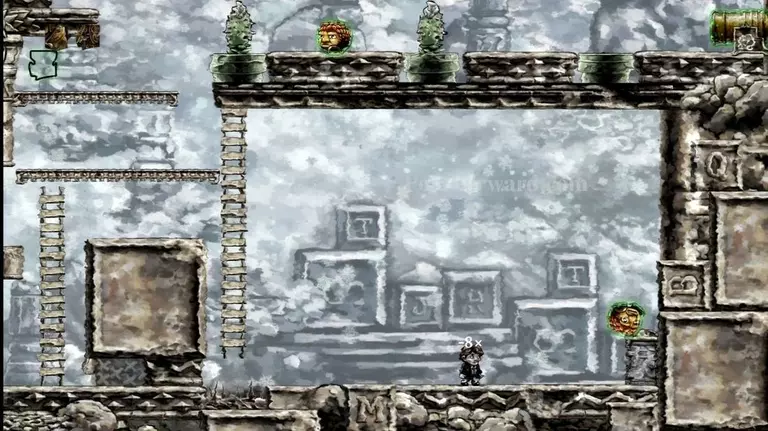
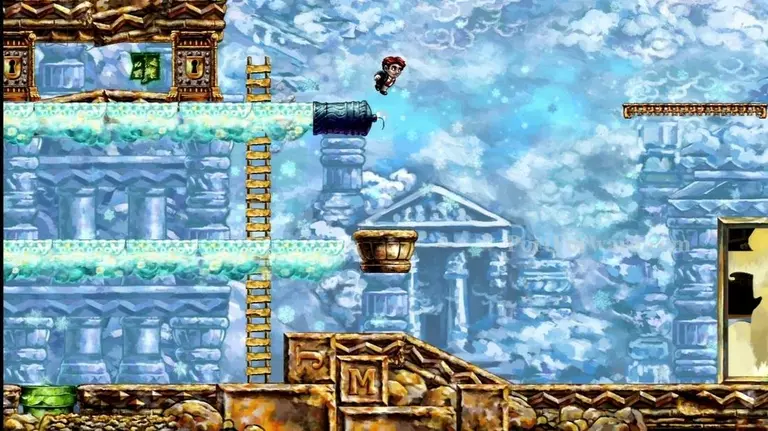
To get a hidden star, rewind to the beginning of the level. Grab the key and climb up the first ladder, to the top of the platforms. Head to the cannon on the right. You want to jump on the enemy's head as it comes out of the cannon. Before you can do this, you'll have to kill the enemy that is likely wandering at the bottom of the level, then quickly rewind up here.
img(131081);
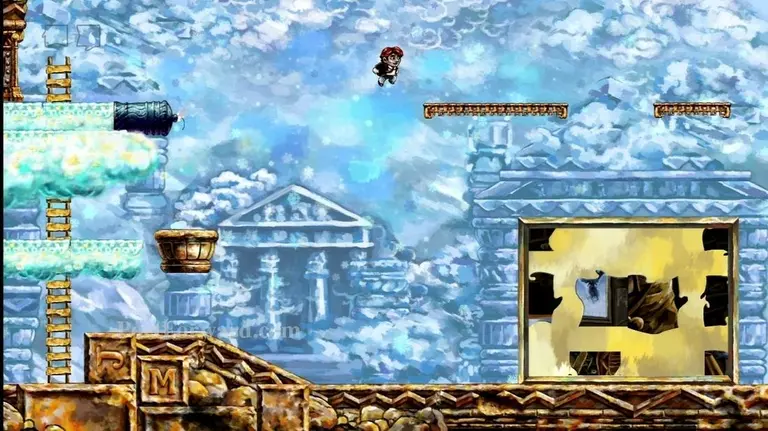
After you bounce on an enemy, freeze time until another enemy gets shot out of the cannon. Continue time and bounce on this enemy's head too.
img(131082);
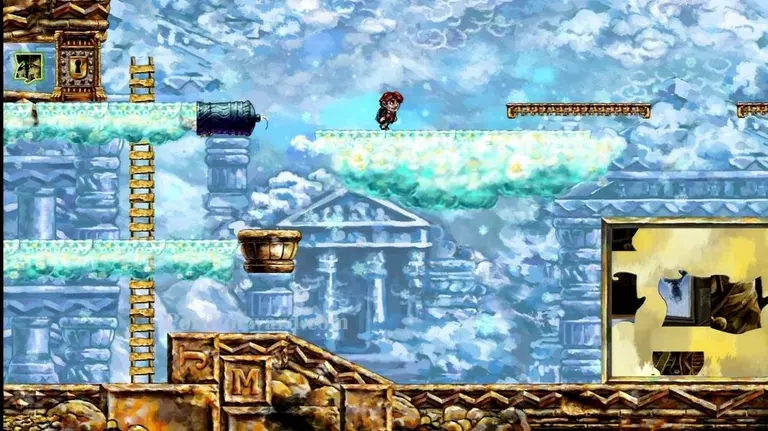
If successful, you'll land on a hidden platform above you.
img(131083);
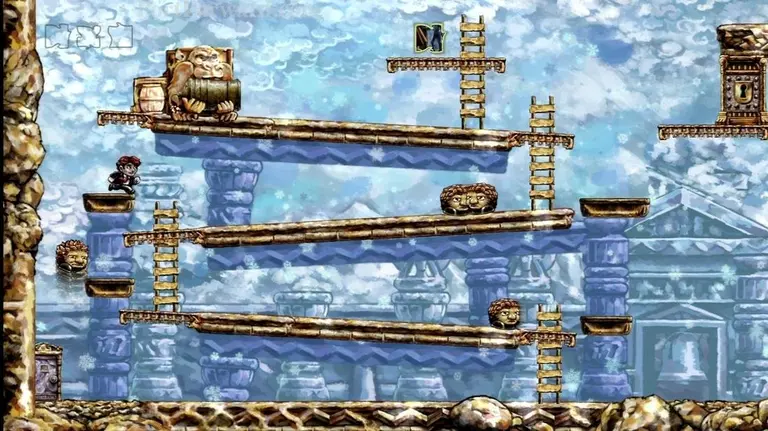
Stand up here for a bit, making a good rewind point, then head to the right and drop down.
img(131084);
Climb up the ladder on your left. The key should stay on the platform above, as long as you don't go too far left. Stand on the platform, near the left side of the ladder (closer than my picture shows.) Stand for a bit to make a good rewind point. Go down and kill the enemy wandering on the ground, then quickly rewind to this spot.
img(131085);
Jump to your left. Rewind yourself up into the enemy as it gets shot out of the cannon. You want the enemy to bounce on your head.
img(131086);
You want to be able to rewind some more and bounce the enemy off your head a second time, launching it up onto the platform with your key.
img(131087);
Wait until the enemy grabs the key.
img(131088);
Then rewind yourself up onto the platform.
img(131089);
Jump over the enemy without killing it.
img(131090);
Get on the ladder and wait near the bottom of it for the enemy to get close.
img(131091);
Go up the ladder as the key touches you. If timed right, you'll take the key from the enemy.
img(131092);
Open the locked door.
img(131093);
Wait past the door for a bit, making a rewind point.
img(131094);
Go back out the door, making it locked again.
img(131095);
Your key will appear back on the lower platform near the enemy.
img(131096);
Let the enemy grab the key, then rewind to the lever, past the locked door.
img(131097);
Pull the lever.
img(131098);
Let the enemy go past the wall that opened on the left.
img(131099);
Head to the left, which will close the wall.
img(131100);
Get on the lower part of the ladder and steal the key from the enemy again.
img(131101);
Climb the ladder, then open the door to the right.
img(131102);
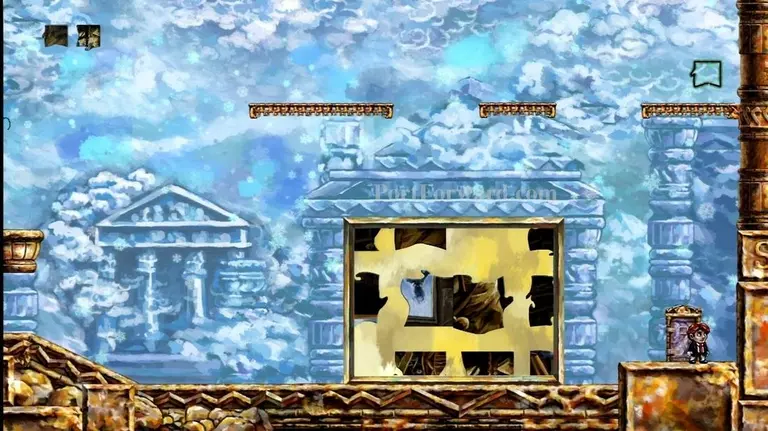
Keep heading right. You'll find a star!
img(131103);
Now just drop to the right and keep going.
img(131104);
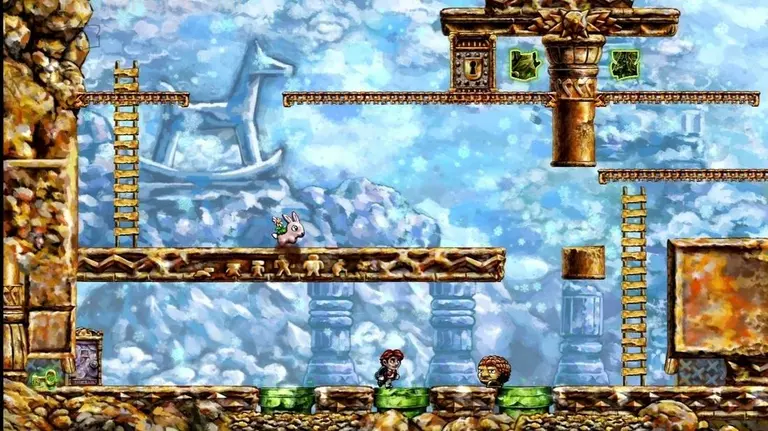
You'll find the dinosaur, and the end of this world.
img(131105);
If you look outside, you should see 4 stars shining in the sky at this point.
img(131106);
Press B on the puzzle.
img(131107);
It should look like this when solved.
More Braid Walkthroughs
This Braid walkthrough is divided into 7 total pages.