
This Castlevania: Lords of Shadows walkthrough is divided into 46 total pages.
You can jump to nearby pages of the game using the links above.
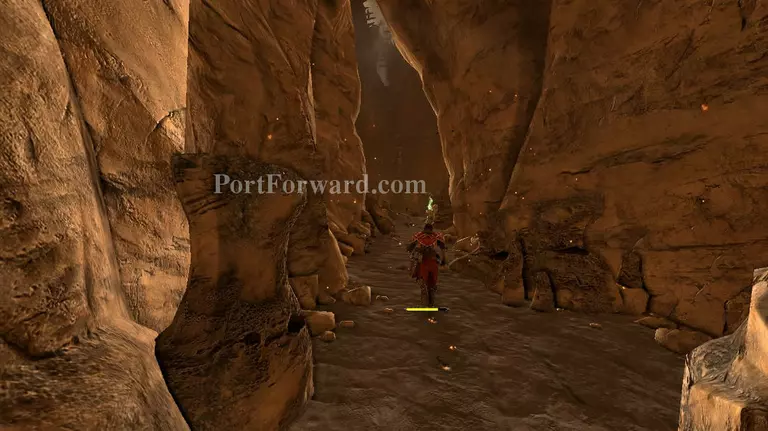
Fire Cemetery

After reaching the canyon, quickly dash forward and jump, then use your seraph wings to reach the ledge right in front of edge.
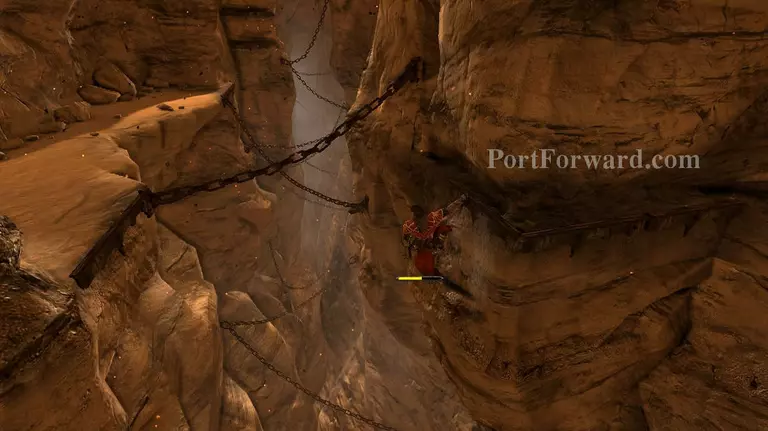
Quickly shimmy over to the very end of the ledge around the corner and wait for Gabriel to look behind him, then jump towards the ledge behind.
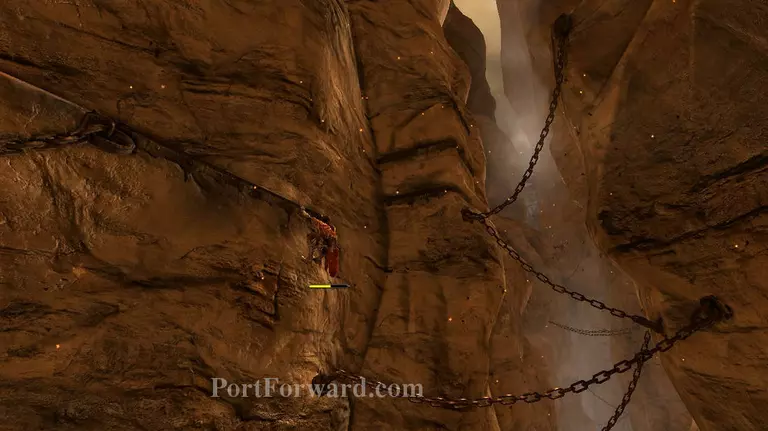
Drop down on the ledge at the opposite side, then shimmy over to the right and jump towards the ledge on the right side.
Make your way to the top and you'll meet some zombies that are barely moving and are easy to kill. Drop down on the ledge at the left side, right beside the rock.
Shimmy over to the left and be quick about it. The ledges will start falling as soon as you touch them, keep going to the left until the chain point lights up, then grapple onto it.
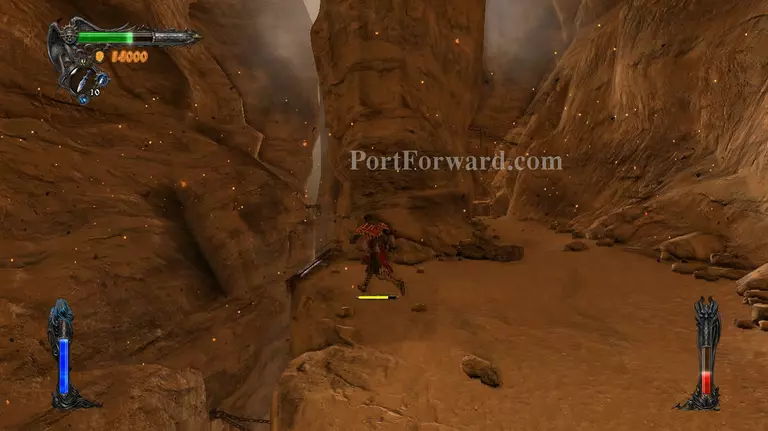
Climb down from the chain and shimmy to the right, then follow the path and you'll be shown a short cutscene. Heal up on the health font first before you proceed.
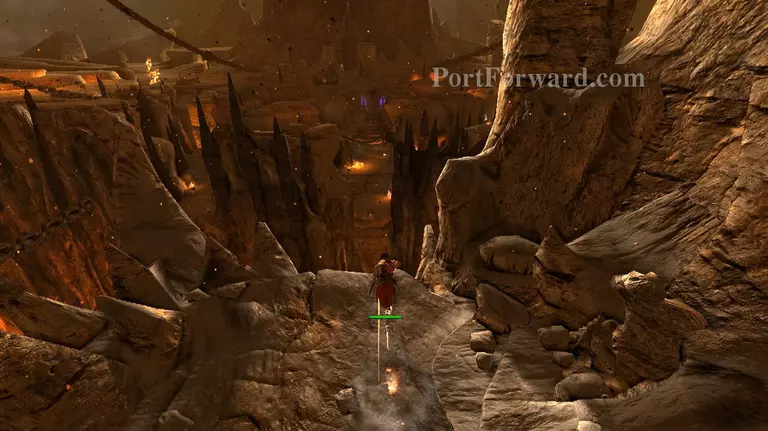
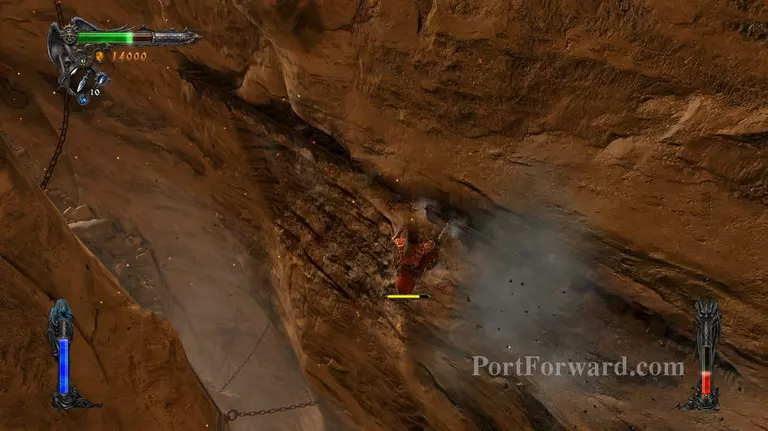
Use your cyclone boots to jump off of the edge. Don't immediately use your seraph wings, when Gabriel gets close enough to the ledge, but high enough to get on it use the seraph wings and latch on chain point. From their climb up and the chupacabra will steal your items again.
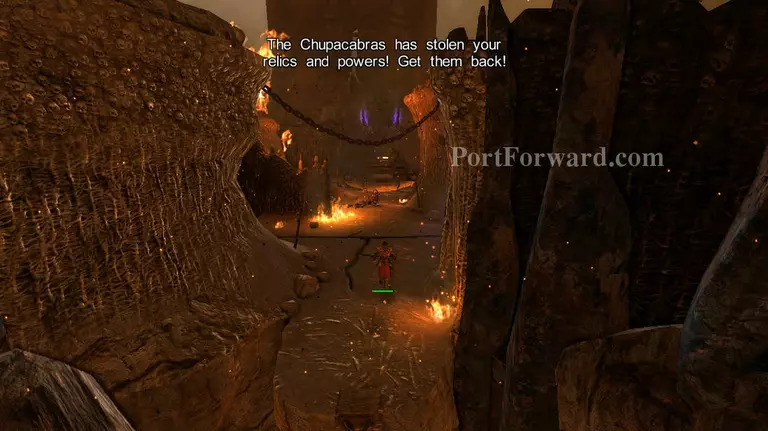
After it takes your items the chupacabra will teleport right in front of you. Approach it and it will enter the large cage at the middle of the area, you need to solve the puzzle to get back your items.
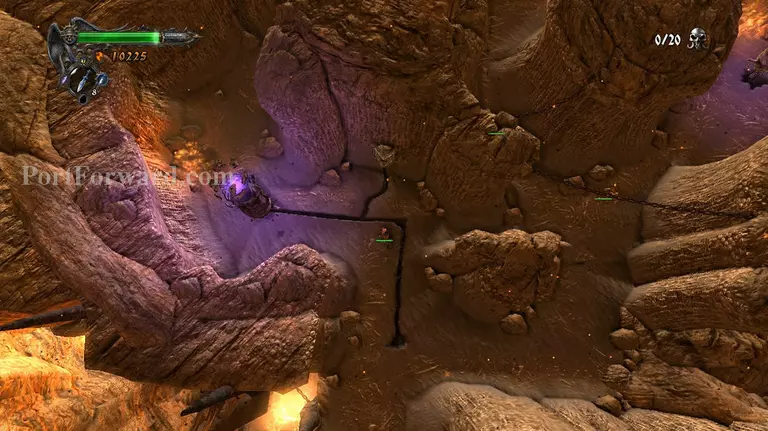
Immediately after the cutscene, head to the path on the right side and attack the light pillar with J until it reaches the end of the path.
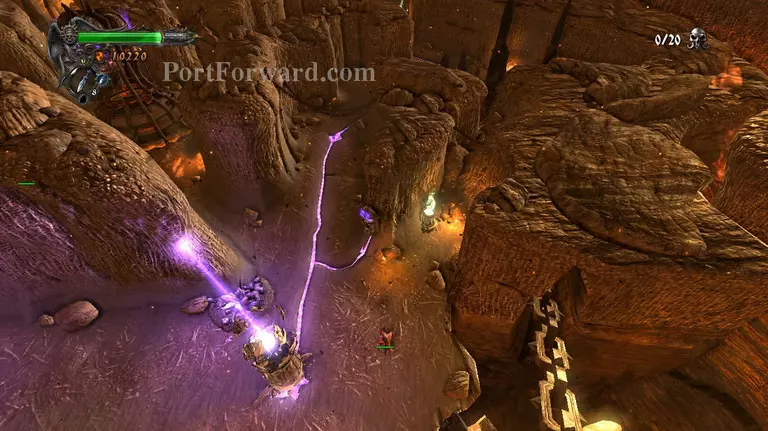
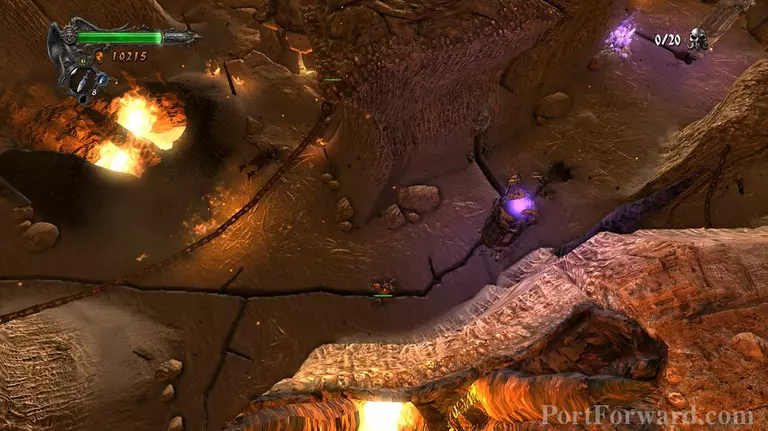
Now take the crystal from the crystal deposit, if you don't already have one and place it into the switch at the upper right side of the crystal deposit.
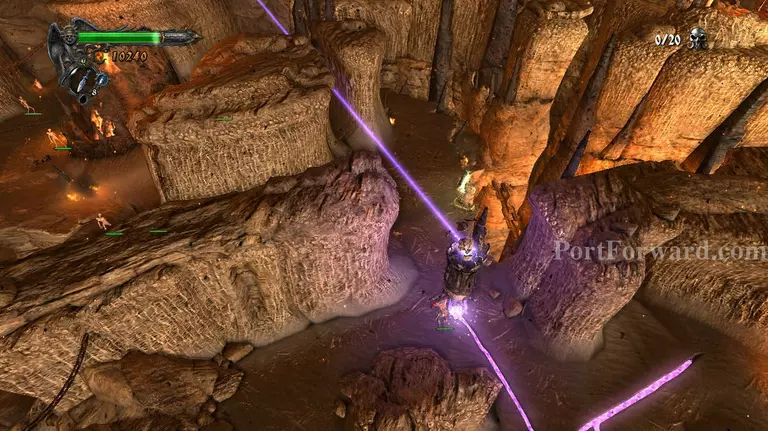
Manipulate the second pillar and turn it around so that the light beam hits the first pillar that you moved. Then head over to that pillar and turn it around to make the light beam pass through the small crack on the wall in front of it. A face should get destroyed on the cage.

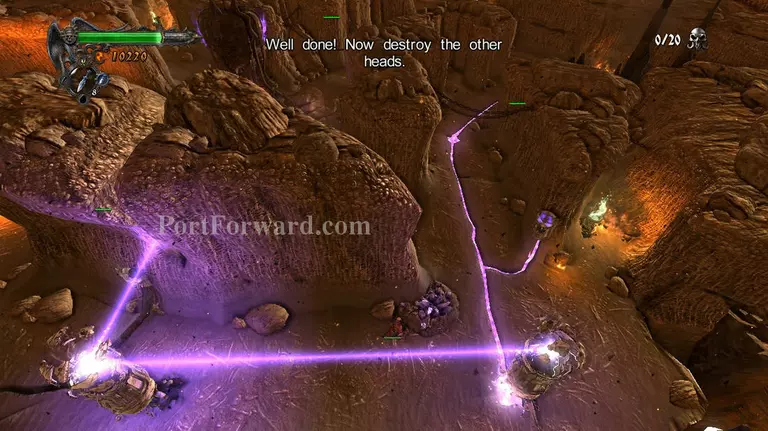
Now push the second pillar down the path and keep on pushing it until you reach the end of the line, from there push it to the left until it reaches the end of the line to the left too.
Turn the pillar around and point the beam towards on of the faces on the cage to destroy it.
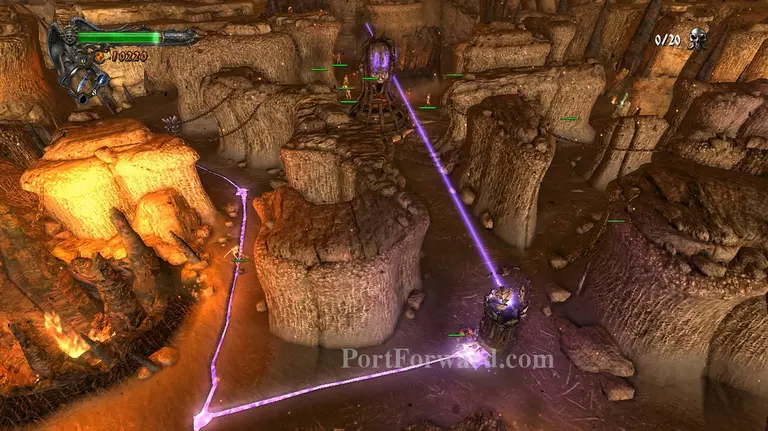
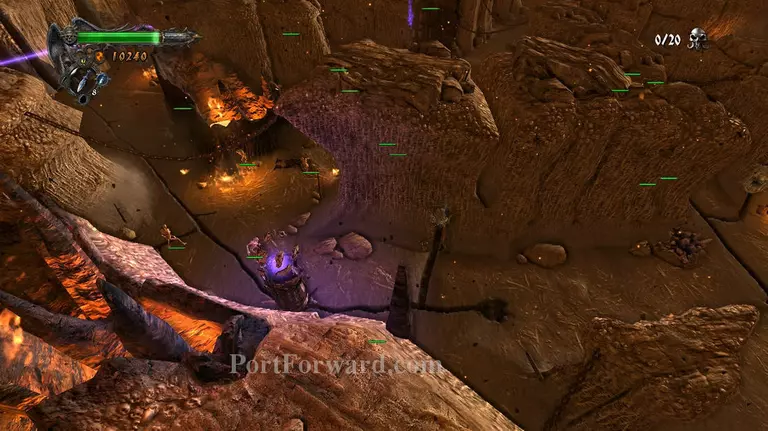
Backtrack through the line and take back the dark crystal, you won't be needing that switch anymore. After taking the crystal, head through the center of the area and towards the left side, near the health font.
Here you'll find another switch and a light pillar. Push the pillar all the way to the right, then down and put the crystal into the switch.
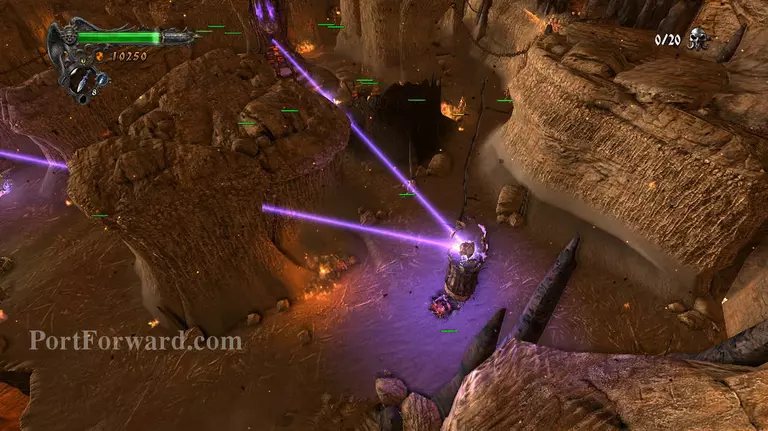
Now spin the beam around and make it go through the small crack in the stone right underneath the health font. Once you've placed it, follow the beam.
After following the beam, you'll find a crack on the floor, similar to the ones that the pillars can be moved through. Follow the crack to the right side and you'll find the first pillar that you used. Start moving it back to the left side until the light beam touches it.
Then just spin the pillar around and make the beam go through the path and into the face on the cage. The cage should open now, take back the dark crystal from the switch and your equipment from the chupacabra.
Little note though, don't use the dark crystal in battle until it mentions in this guid to use it. You'll need that crystal for the next boss battle.

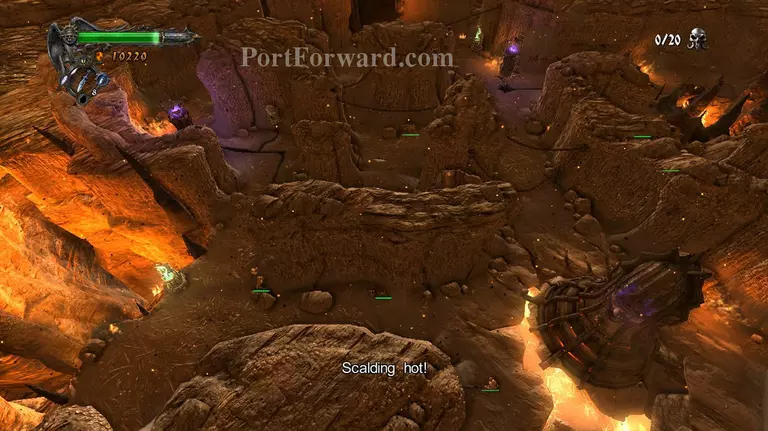
After taking your items from the chupacabra, the camera will shift. Showing you a direct path to a large gate at the end of it. Head for that gate.
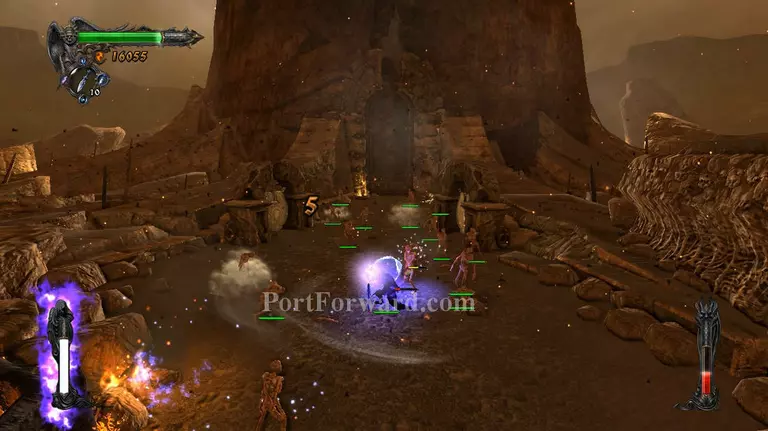
At the gate you'll be attacked by an army of zombies. Activate light magic then throw a vial of holy water at them to kill them off quickly, there's a lot of them but they do stop respawning after a while.
After killing the zombies, it's time to solve the puzzle. Fill up your shadow magic at the neutral energy fountain. and head for the glowing gongs nearby. Activate shadow magic and punch the gong with the gauntlet, don't let go of I (i), Gabriel will automatically charge his cyclone boots, once it's ready quickly dash to the other side and press J to punch that gong. If done correctly the gates will open.
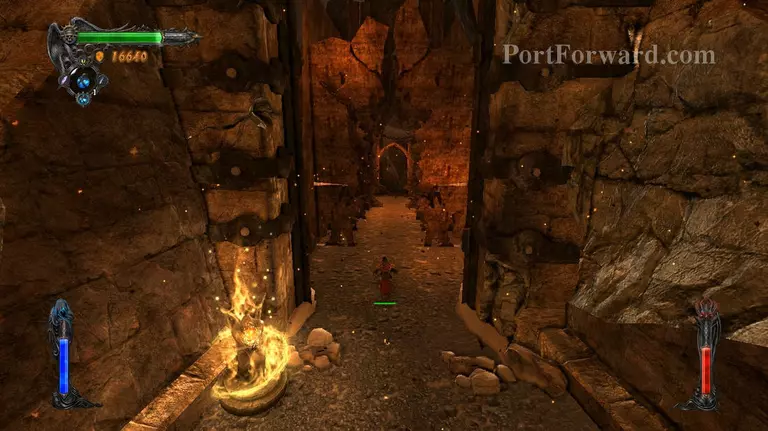
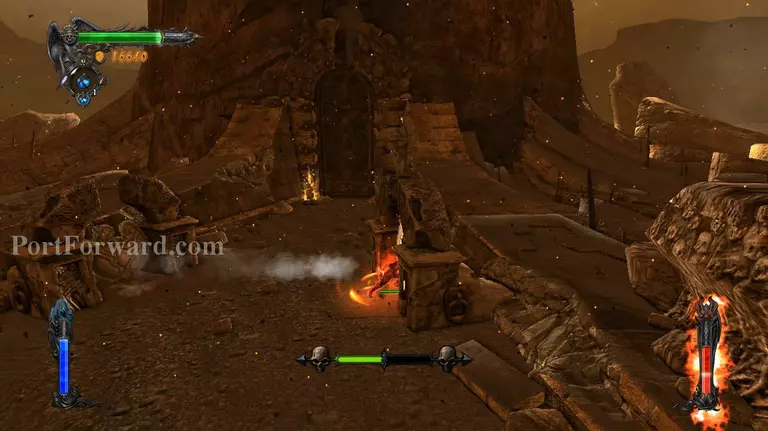
Fill up your magic bars, then head inside the gates.
More Castlevania: Lords of Shadows Walkthroughs
This Castlevania: Lords of Shadows walkthrough is divided into 46 total pages.


