This Chivalry: Medieval Warfare walkthrough is divided into 5 total pages.
You can jump to nearby pages of the game using the links above.
The Knight & End Notes
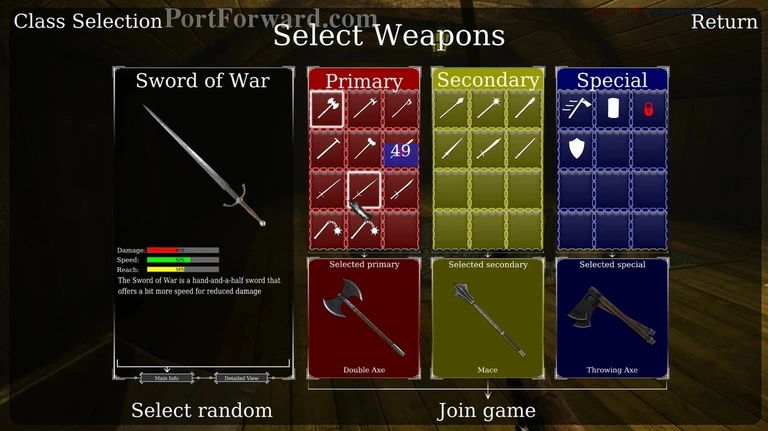
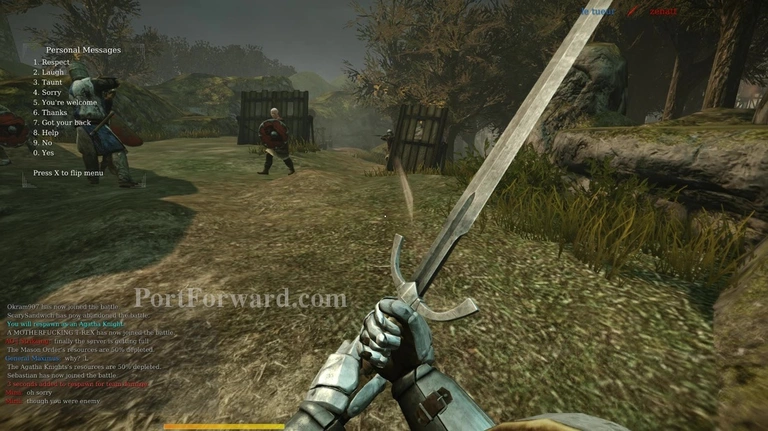
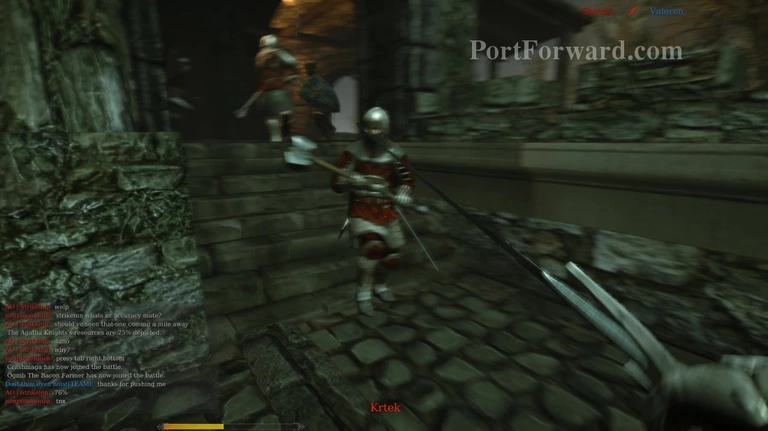
Next we'll be checking out the Knight. They are tank by natures and can absorb large amounts of damage while doing wide weapon swings that can cut through several enemies at once.
Much like the Man-At-Arms, they have a very large arsenal at their disposal, most of It being heavy two-handed weapons. They are devastating mixes of reach, damage and even speed in some cases although most of them are slow.
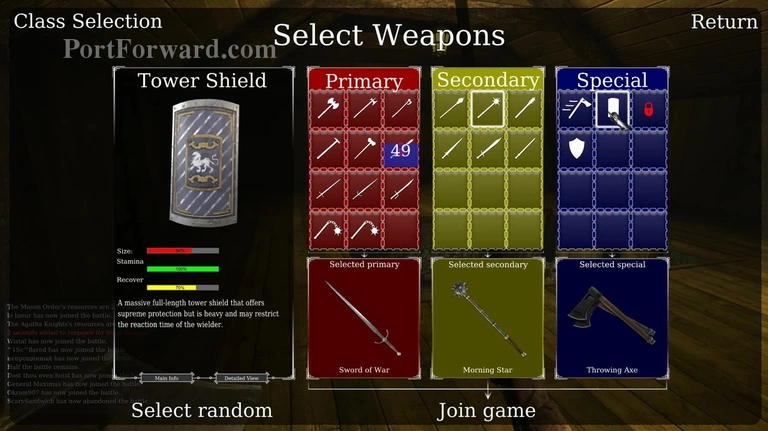
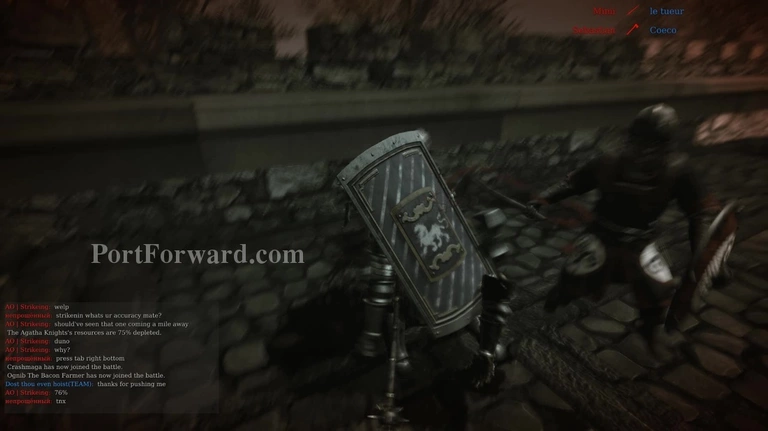
They are also the only class capable of wielding the Tower Shield. It is a massive protective boost to any knight..
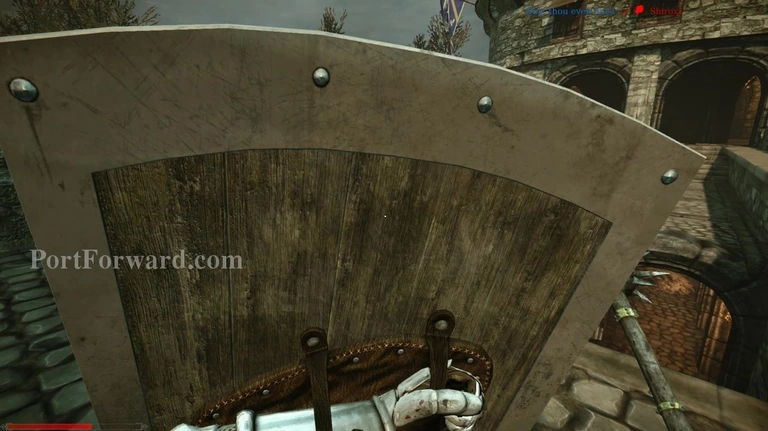
But It blocks almost the entirety of your view.
Knights are as also mentioned, quite slow compared to all the other classes and should be played more strategically.
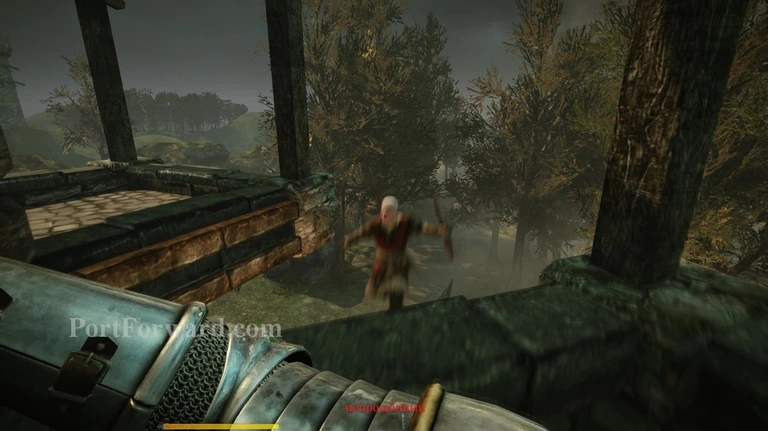
They are however, also intimidating as enemies will often try to make suicidal attempts in order to get away from you.

This however, often results in their own demise,
The Knight's greatest weakness is enemy Archers. They peak around corners and shoot absolutely devastating arrows at you which pierce your armor and stunning you.
If you notice them before-hand, It's usually a good thing to bring out your shield in favor of survival. As even If the shield is not actively blocking, It still blocks almost all projectiles at your left side.
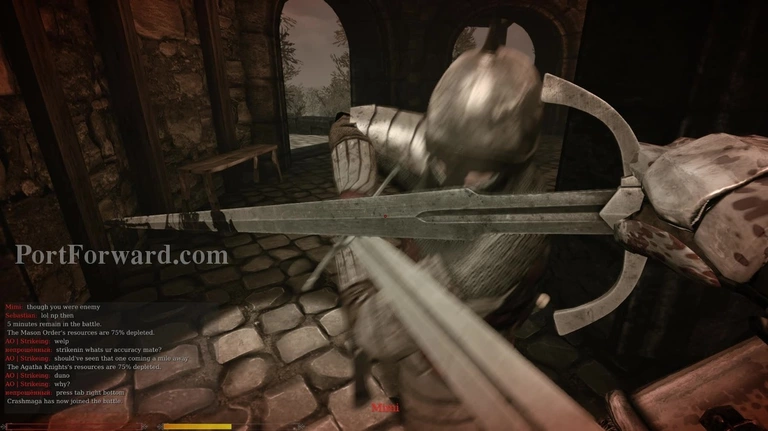
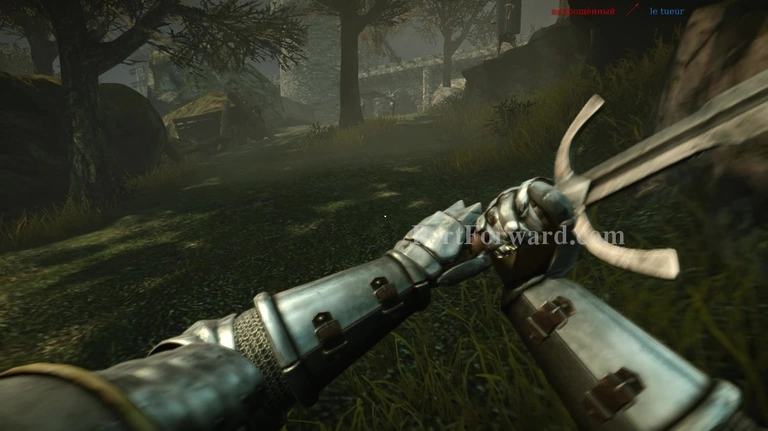
Survival with two-handed weapons can be very tricky as you need to precisely time just when the enemy attacks will hit, or your parry momentum will go off and be on cool-down.
Keeping your distance, yet being close enough to perform pokes until you're more comfortable at swinging distance is usually a good way to go, especially against foes with shorter-reaching weapons like this two-handed hammer enemy.
And that concludes out Chivalry: Medieval Combat guide. Remember, evidently, you'll still die alot in Chivalry. whether this will be from more skilled opponents, lag or other circumstances, It will happen and It's a part of the game.
More Chivalry: Medieval Warfare Walkthroughs
This Chivalry: Medieval Warfare walkthrough is divided into 5 total pages.