This Devil May Cry walkthrough is divided into 30 total pages.
You can jump to nearby pages of the game using the links above.
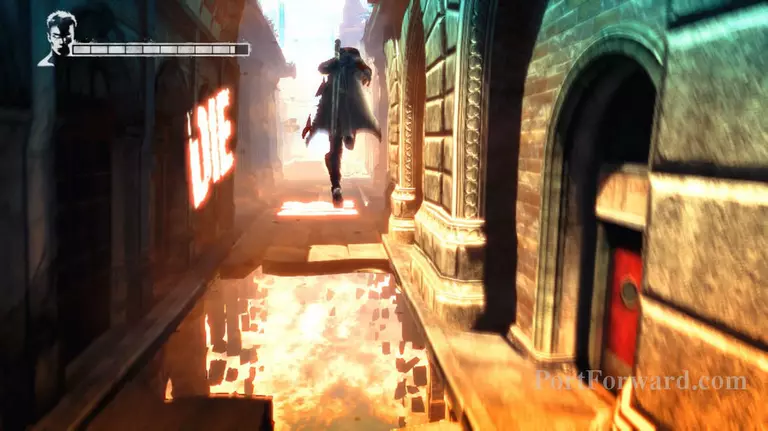
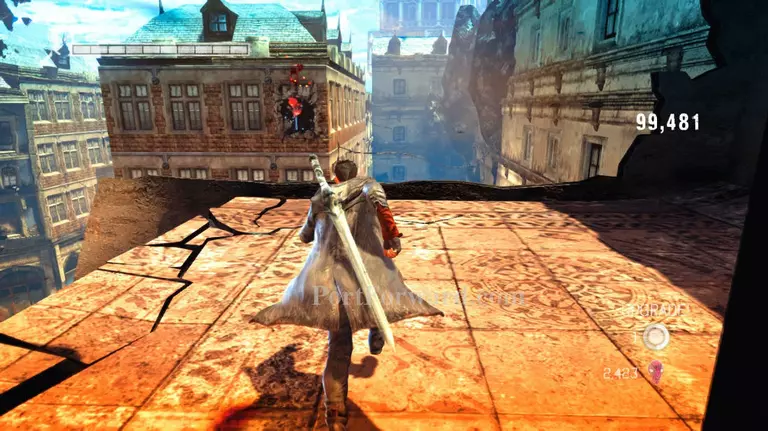
Mission 04: Under Watch
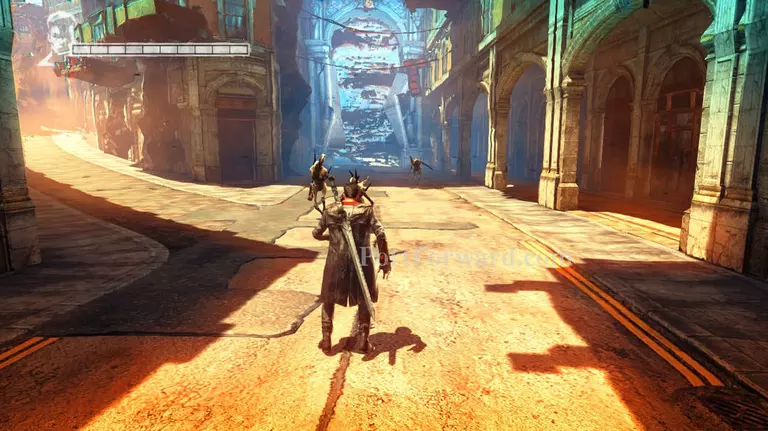
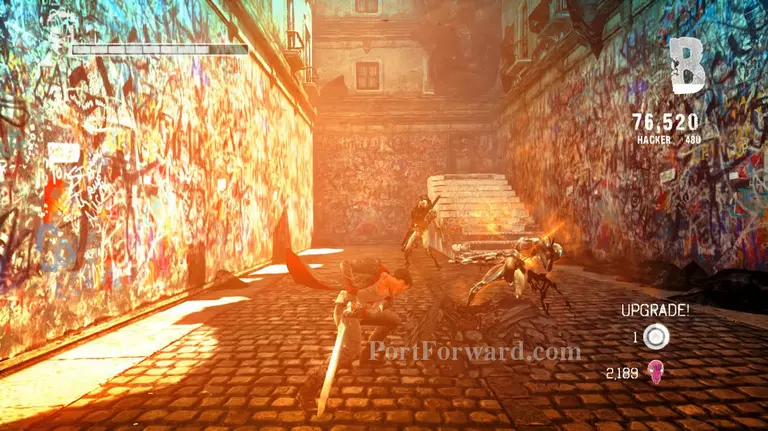
Stygians will make their appearance. There's really not much difference between them and the lower Stygians except these guys have a wide range and they deal more damage. Other than that you can take care of the the same way you kill the lower Stygians.
A lot of Stygians will appear, I recommend using Osiris to thin them out or keeping your distance and using Demon pull to break them up, so you can avoid getting damaged.
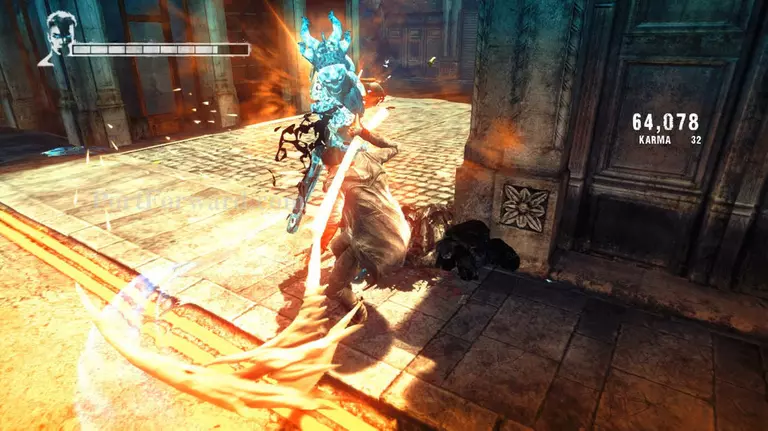
Once you get rid of all the Stygians a Ravager will appear. As per usual use Rebellion's drive ability to break him out of rage mode and land a few more strikes to kill him. You should be used to this guy by now.
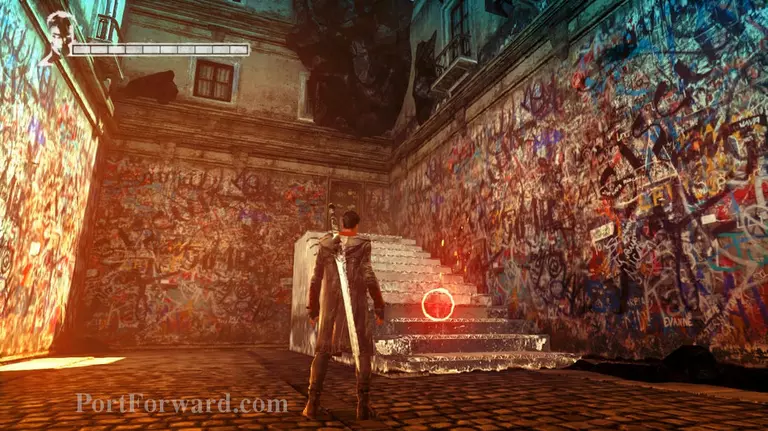
After eliminating all the demons head back to where Kat separated from you and you'll find a lost soul hanging on the wall. Destroy it to get some bonus red orbs.
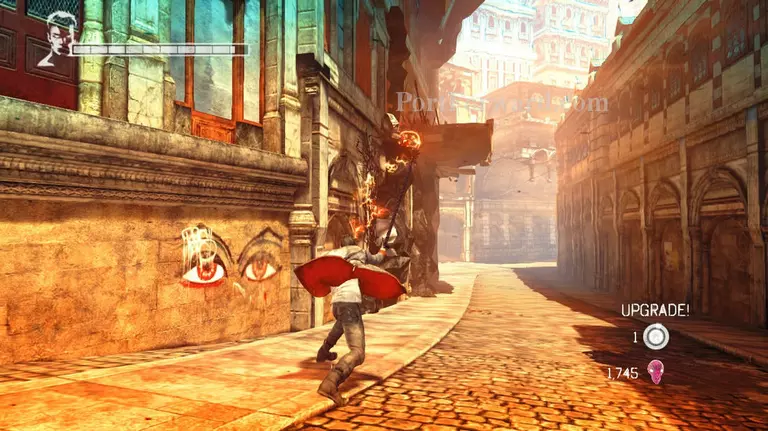
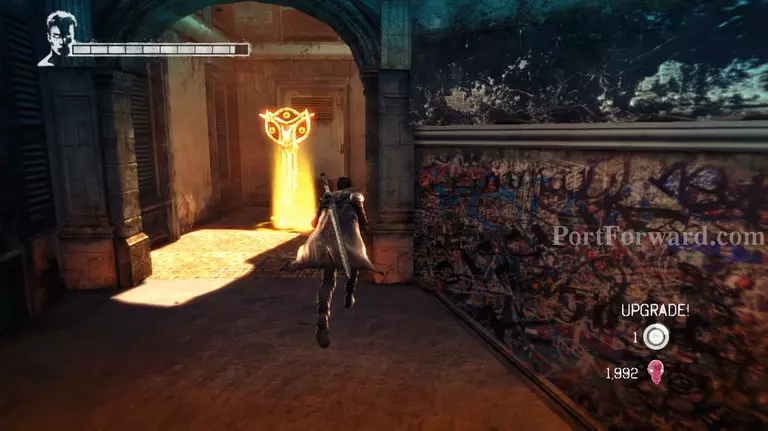
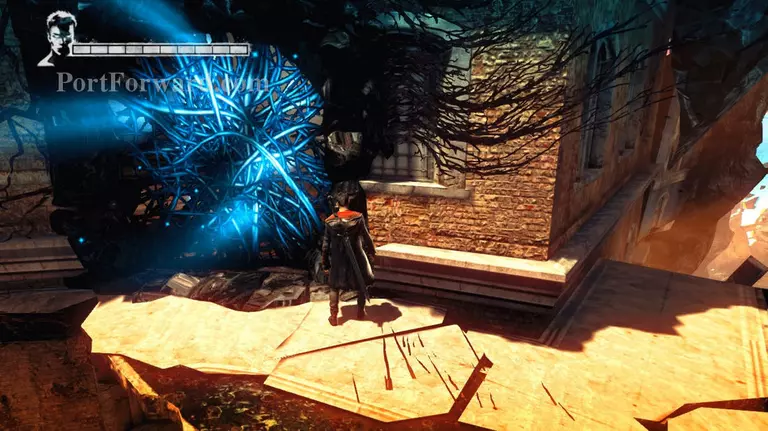
After destroying the lost soul head to the alley on the right and you'll see a marker for using Demon pull. Pull the floor out and the Demon pull marker will change into an Angel lift one. Use Angel lift to get up the floor you pulled out.
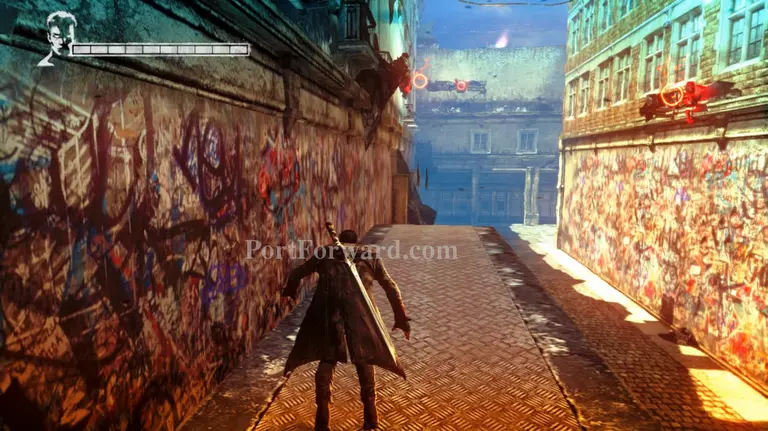
Now make your way to the platforms on the next building and you can either jump towards the lost soul hanging on the third floor window and climb back up or you can go to the next platform and come back for the lost soul later.
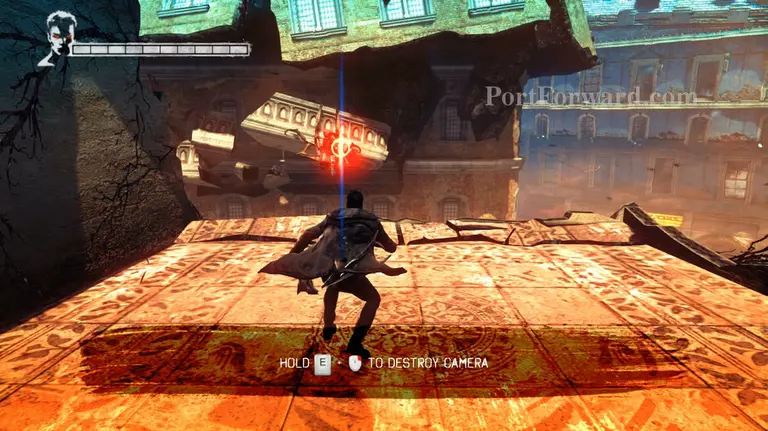
Once you get to the platform next to the one where you can see the lost soul a marker will appear on the camera. Use Demon pull to grab the camera off the wall and Dante will automatically destroy it.

Now that the area is no longer being blocked, you can head down and pass through the arc that's underneath the camera. The floor will start to cave in and Kat will offer an alternate route.
Before you follow Kat head up the stairs on the left side and grab the Vital star. There's also a lost soul on the wall behind the Vital star.
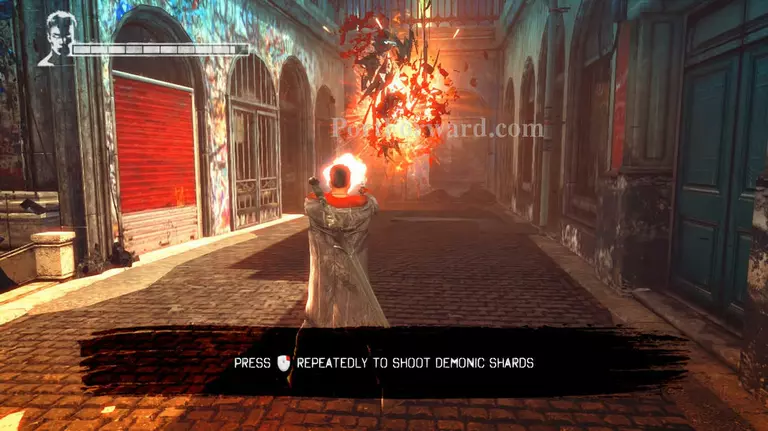
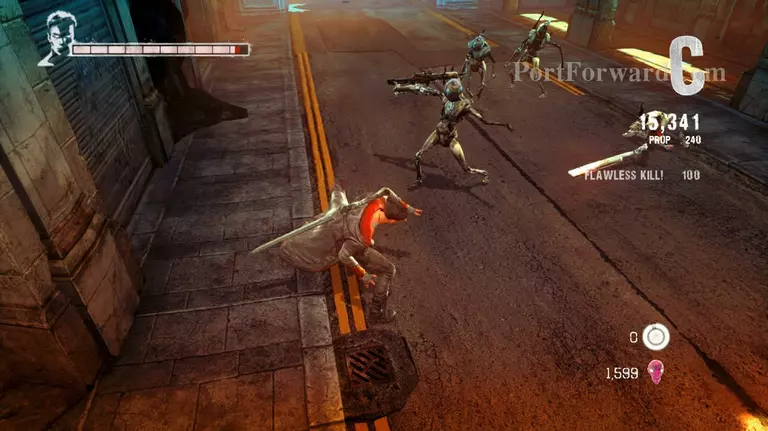
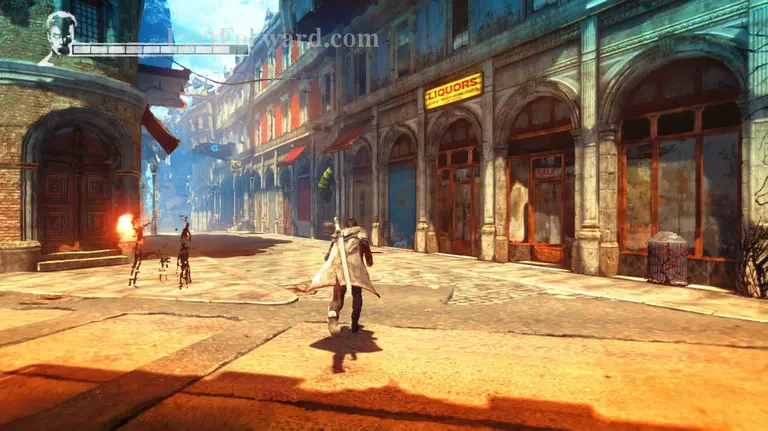
Now follow Kat and head down the alley on the right side until you reach the end of the alley. When you turn right a new enemy will be introduced, Demonic Shards. To kill them just keep shooting at them until they disappear. Be careful though if you shoot too slow it will dart at you and give a lot of damage.
After destroying the Demonic shards head down the stairs and the floor will crumble again. This time the gap isn't too large and you'll be able to use Angel Boost to get to the other side.
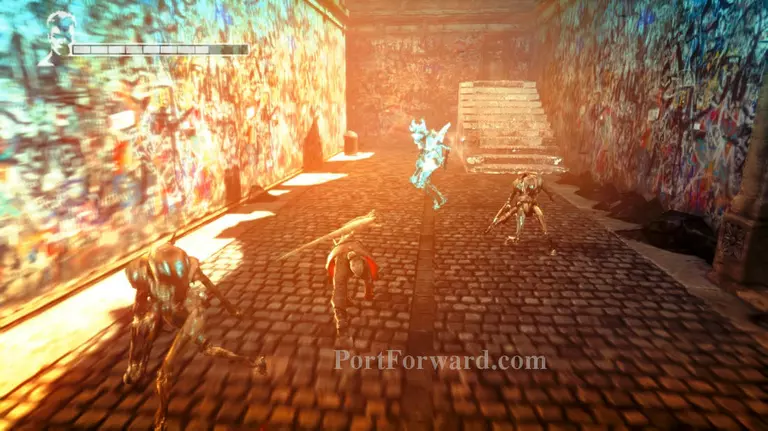
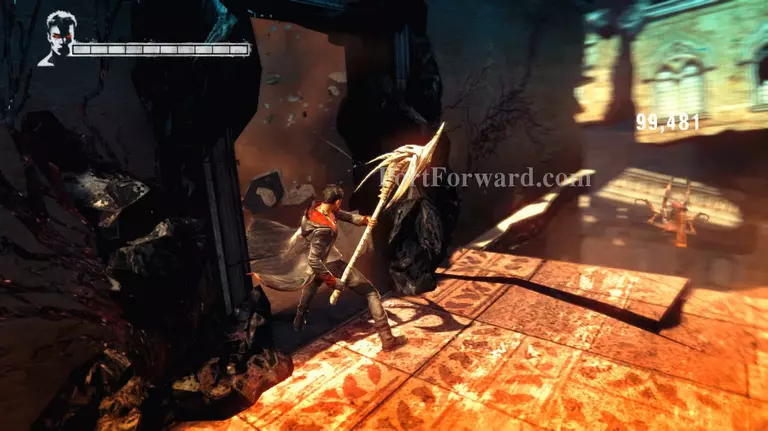
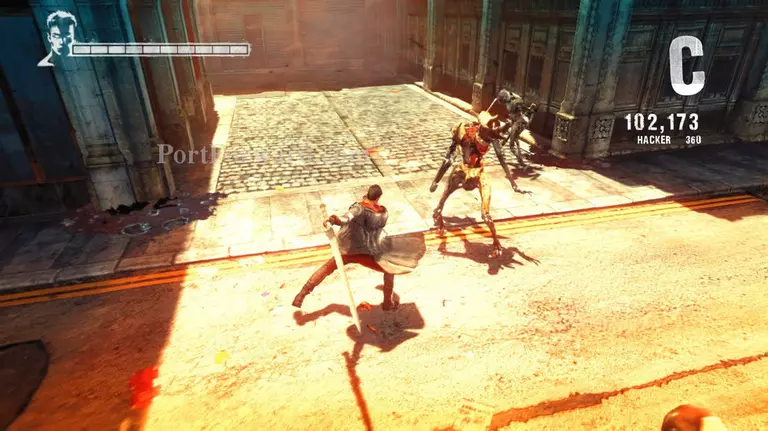
Demons will spawn as soon as you land on the other side of the floor. A new one will also appear, a shilded Pathos. I recommend taking care of the Pathos first by running past the lower Stygians and using Demon pull on the Pathos. But if you're having a hard time getting Dante to lock on the Pathos then just dodge its attacks and kill the lower Stygians first.
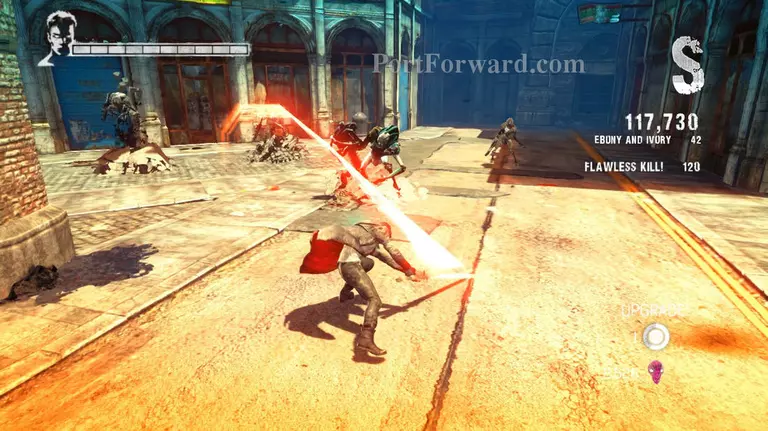
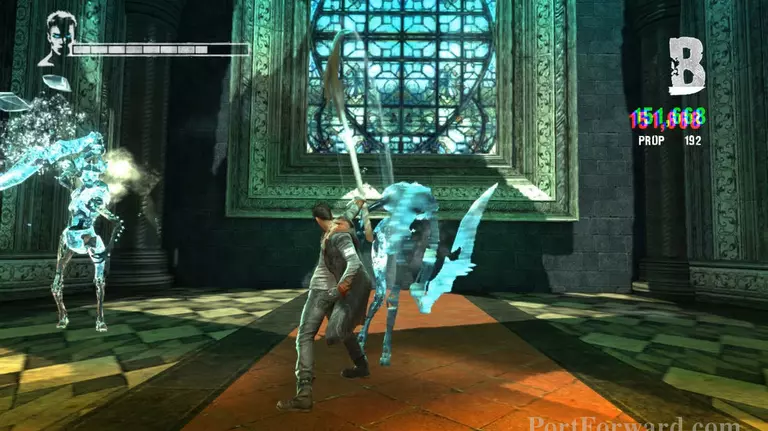
Once you eliminate the first wave of demons, a Ravager accompanied by 2 shielded Pathos will appear. Use Angel lift and get airborne to avoid the Ravager while destroying the Pathos.
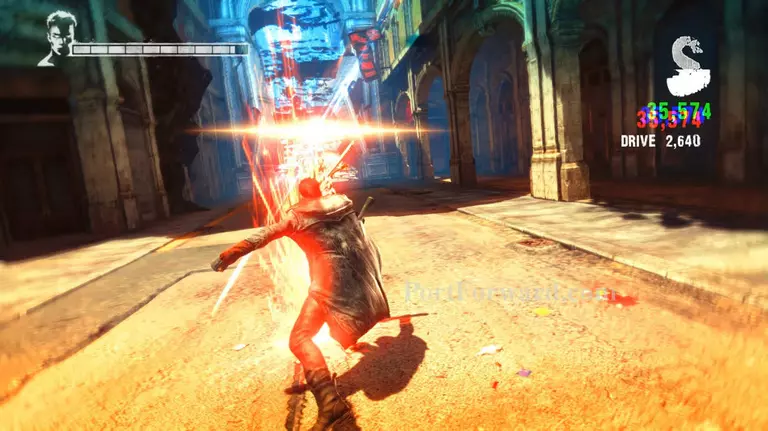
After killing the Pathos you can now focus on the Ravager. You can juggle it in the air using Osiris's Shredder ability or simply use the Rebellion's Drive ability.
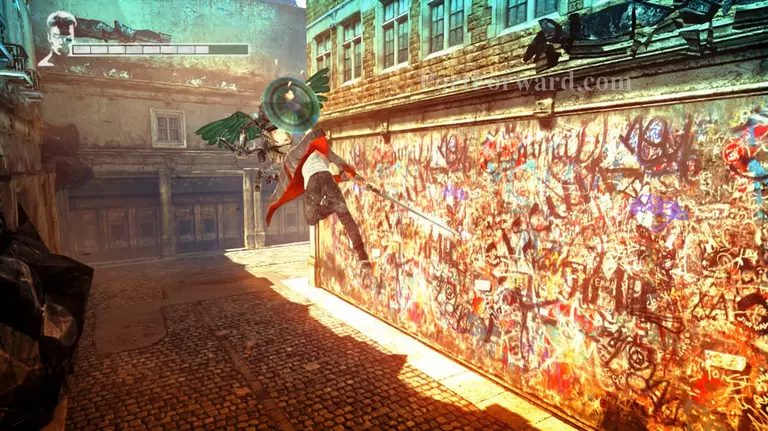
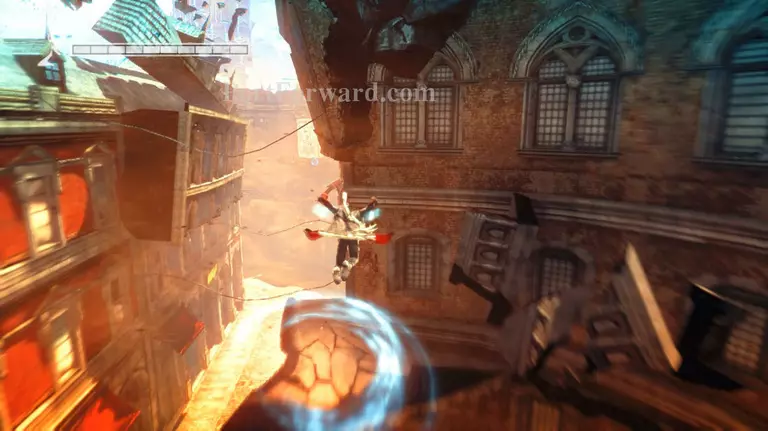
Now climb up on the fountain and chain a double jump with and Angel Boost to get the Angel lift icon to appear on the 2nd floor roof of the building.

It's not too hard to do but you do need to get the timing right or you might miss the chance to get the Angel lift icon. Once it appears use Angel lift to climb up the building. Ignore the lost soul at the right side for now.
Follow the path through the inside of the building and you'll find a golden key. You can use this if you're interested in doing mini games.

Now head back outside and double jump towards the lost soul and use Rebellion to destroy it.

Now climb back up the fountain and look to the left side, there's another lost soul. Double jump from the top of the fountain to get to it and immediately start slashing it as soon as you get close.
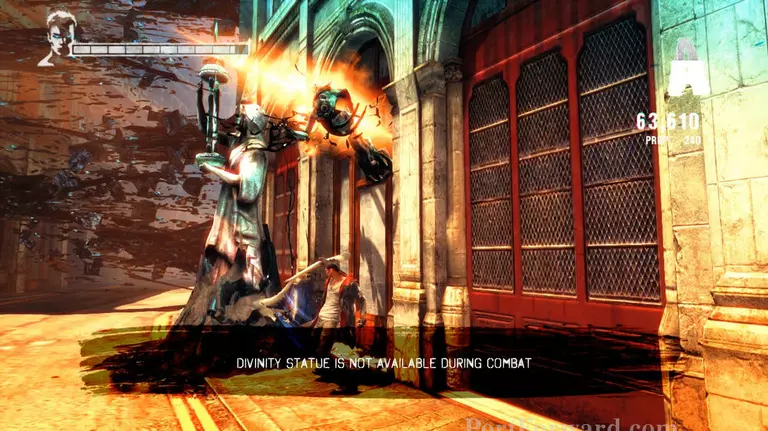
Use the Divinity Statue if you need it, then approach Kat for a small dialogue.
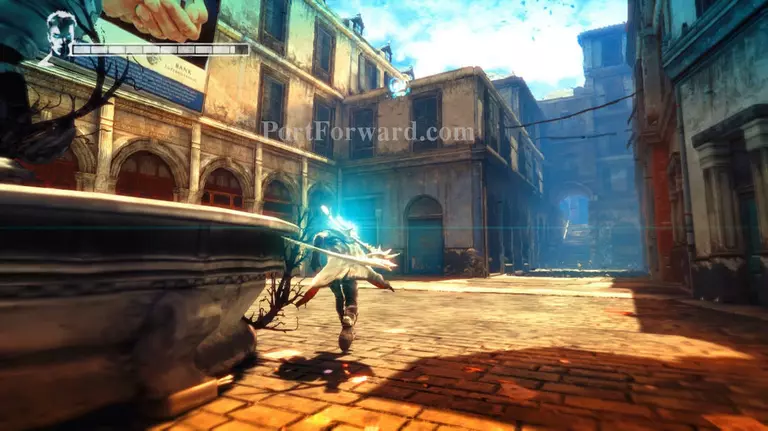
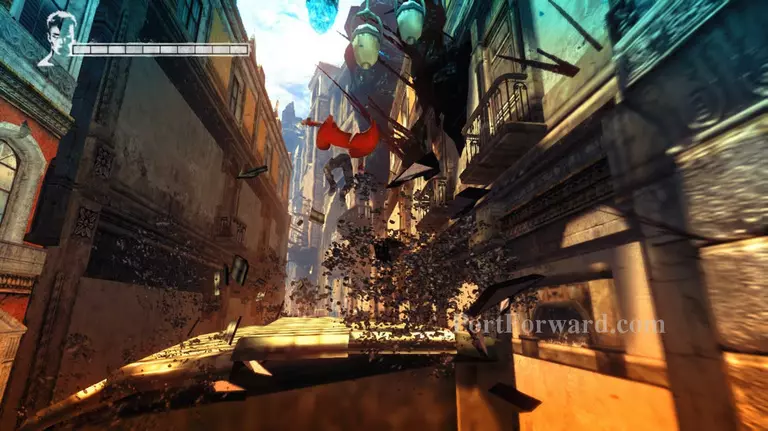
As soon as the walls start moving use Angel boost to get past the first gap as it's pretty far the walls will close in more. Hurry and get to the other side and jump the second gap to escape the walls.

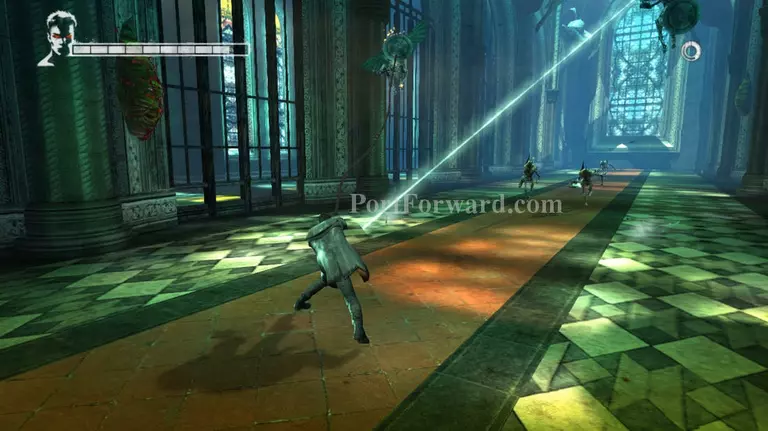
Now a new type of enemy will appear and this one can be a pain in the ass. It's called a Frost Knight and it's basically like the Death Knight minus the shield but it can freeze you in your tracks and leave you vulnerable to attacks. On top of that only angel weapons can harm this demon. Any other weapon will be deflected and leave Dante vulnerable to counters.
Get near the Frost Knight but be careful that you don't get hit with its ice spikes (the ones that appear on the ground), this is the attack that can freeze you. I recommend using Osiris's shredder to keep the Frost Knight in the air.
After eliminating the first Frost Knight turn left and enter the alley. Another Frost Knight will appear accompanied by 2 Stygians. I don't usually take care of the stronger ones but at anytime you're against a Frost Knight, I recommend taking the Frost Knight out first. It's too dangerous to risk getting hit by its freezing attack and being left vulnerable for all other demons to attack you.
So take out the Frost Knight then deal with the weaker Sygians.
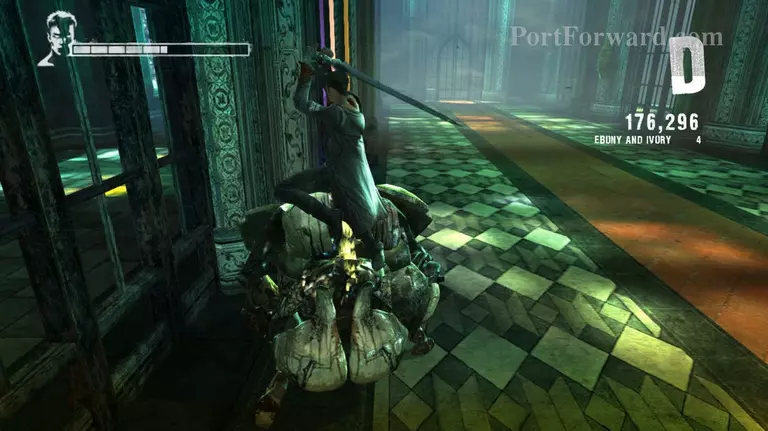
After you eliminate the first wave a pair of shielded Pathos will appear. Since they're alone you can use Demon pull twice to pull them on the ground and use Arbiter to finish them off. They'll die with 1 hit from Arbiter provided that you've removed their shields.
After the Pathos a pair of Stygians and a Ravager will appear. Take care of the Stygians first before taking on the Ravager. Alternatively you can use Osiris to keep the Ravager in the air and stop it from attacking.
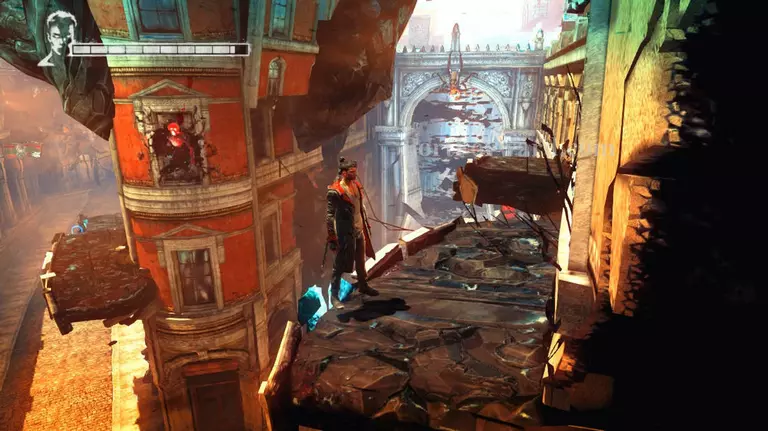
Now head back to the main street and towards the alley on the other side of the one you just came out of and use Angel lift to climb up the platform.
Jump to the platform of the one you're standing on and eliminate the vines by using Osiris. There's a copper door in there if you want to do the mini game.
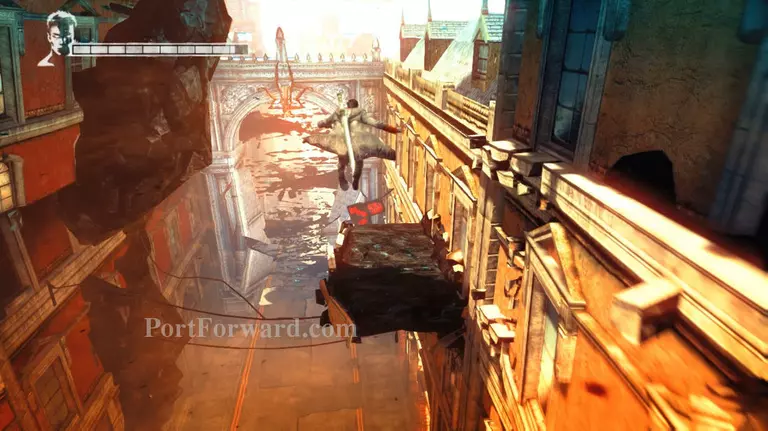
Now make your way to the other platform. Use Angel boost to reach it and use Demon pull to destroy the camera.
Now head back to the alley where you were attacked by the Frost Knight and Ravager. Kat will be there and there's going to be a short cut scene. She'll provide some marks on the ground for you to use Demon pull on.
After creating a platform with Demon pull climb on it and you'll notice more Demon pull marks on the wall. Create more platforms by using Demon pull on the marks to get to the other side.
When you get to the other side, climb down the ledge and destroy the camera. A pair of shielded Pathos will come to attack you. Use Demon pull twice and attack it with Arbiter and repeat the same for the other one. This is because chances of you falling while doing this is minimal and we don't want to fall yet.
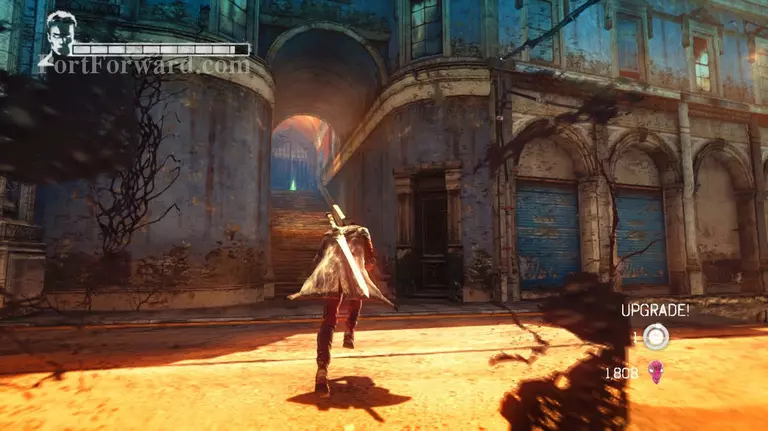
Now climb back up and destroy the door with the Arbiter mark on it. There's a lost soul inside so kill it and destroy the red orb cocoons.
Now head back outside and you'll see another lost soul. Double jump towards it then start hacking to kill it.
After falling down you'll see a Death Knight accompanied by 2 Stygians. Take care of the Death knight first and don't forget to use either Demon pull or Arbiter to either destroy or momentarily daze the Death Knight.
After the Death Knight wave a Ravager will come accompanied by some Stygians. Use Rebellion's drive to eliminate the Ravager as quickly as possible and use Osiris to deal damage to multiple Stygians at once.

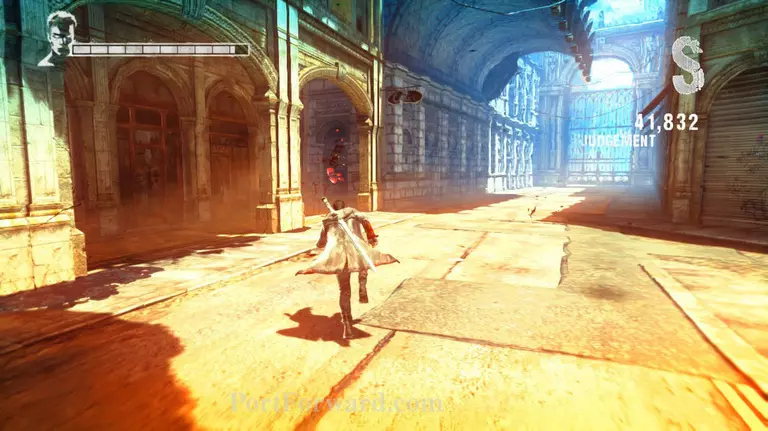
Now make your way towards the path that was previously blocked by dark matter. And once again the walls will start to move in closer.
Follow the path, it's pretty linear and you can't possibly die here. Use Angel lift as soon as the icon for it appears.
After a wall blocks your path head inside the glass that shattered and you'll find yourself inside an old looking building. Head for the entrance.
Inside you'll find a Demonic shard, start shooting at it as quickly as you can, then keep going forward and a cut scene will play.
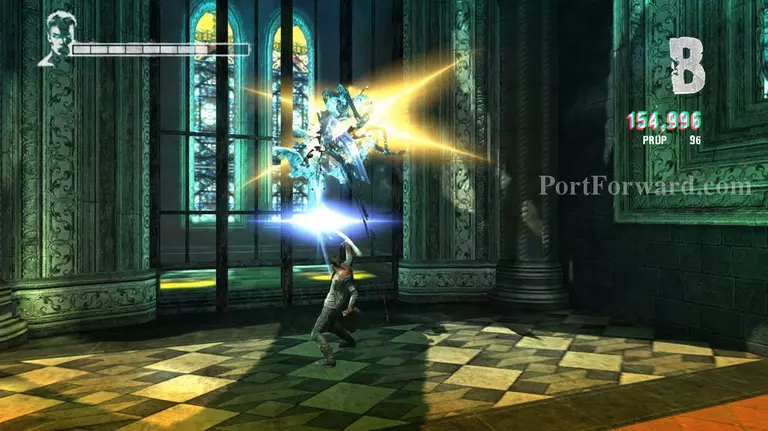
After the cut scene you'll find yourself in a church. A pair of shielded Pathos will appear and some Stygians. Eliminate the Pathos first as they're closer and will be easier to kill right now. After killing the Pathos go for the Stygians.
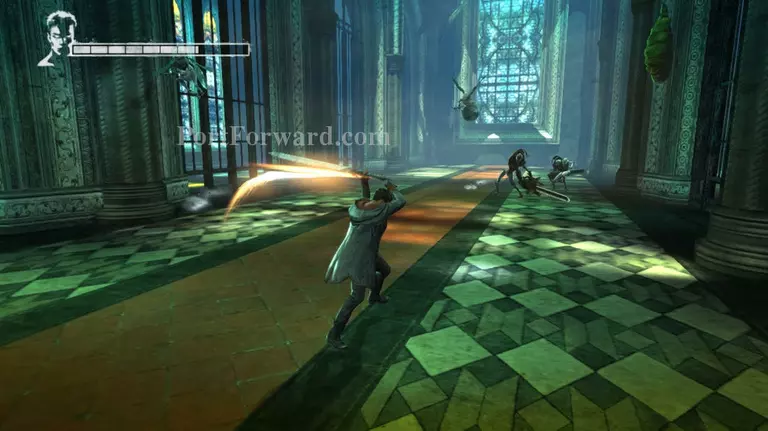
Niow you'll be attacked by 2 Frost Knights. This can be a bit difficult if you don't move accordingly. First off I recommend using their freeze ability to your advantage. Meaning try to get them to freeze each other.
You can also try to get them close together and use Osiris to keep both of them in the air.
After you've eliminated the Frost Knights a pair of Ravagers will appear accompanied by a pair of shielded Pathos. Take care of the Pathos first and you should easily be able to pick off the Ravagers.
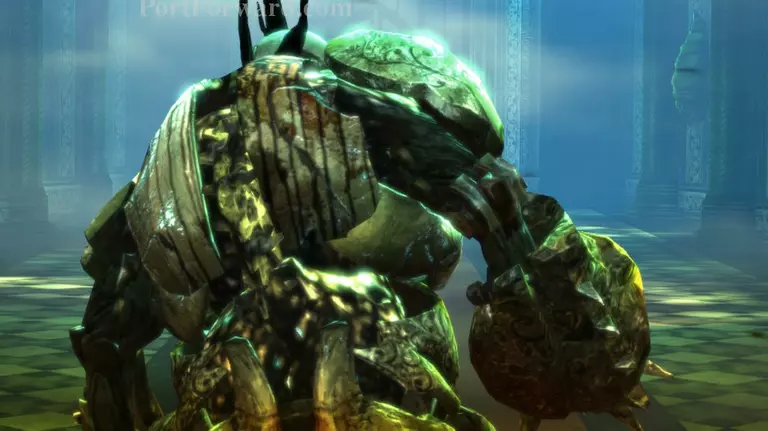
Lastly this big guy will appear, the Tyrant. During its small introduction scene you'll notice that its spinal cord is exposed and glowing. Nothing says weakspots more than glowing things.
As soon as it starts charging towards you, you should start running towards it too, then dodge it just before it hits you. This way you'll end up behind it and its glowing spinal cord is exposed quite nicely.
Start shooting at its spinal cord for as long as you can, eventually it will turn around and start charging at you again. Dodge and repeat when it does.
Once you put in enough damage to its weak point, a marker for Angel lift will appear and you'll be able to get near it. Use Angel lift and start hacking away at its spinal cord. You may have to repeat this 2-3 times before the Tyrant falls.
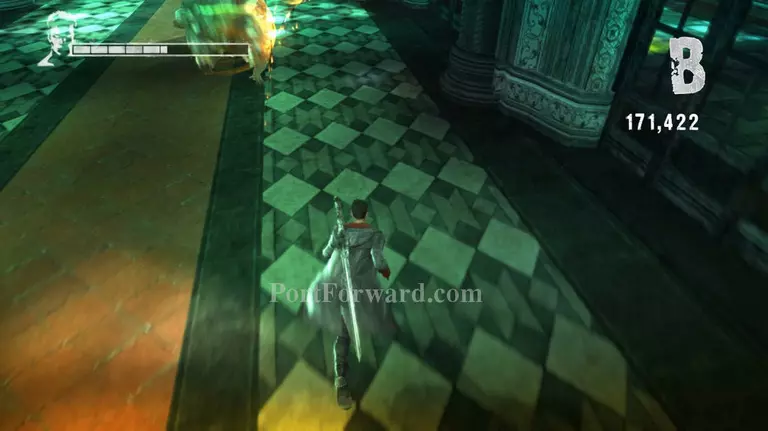
After killing the Tyrant, Kat will appear again and the church floors will start to break apart. Start jumping across the room towards the other end.
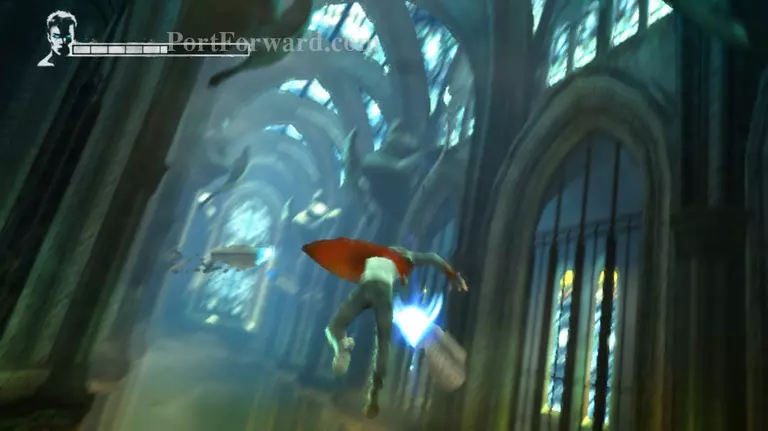
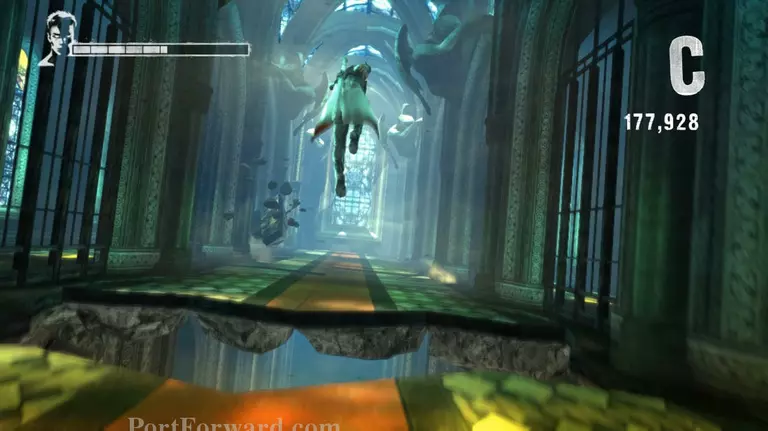
Near the end as you get near the altar the floors will completely disappear, but Angel lift marks will appear so use that to get to the altar and break through the window and get to safety.
More Devil May Cry Walkthroughs
This Devil May Cry walkthrough is divided into 30 total pages.