
This Devil May Cry walkthrough is divided into 30 total pages.
You can jump to nearby pages of the game using the links above.
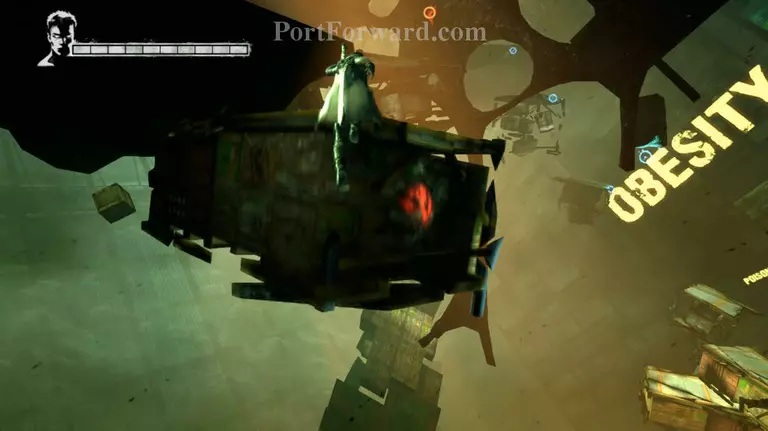
Mission 05: Virility
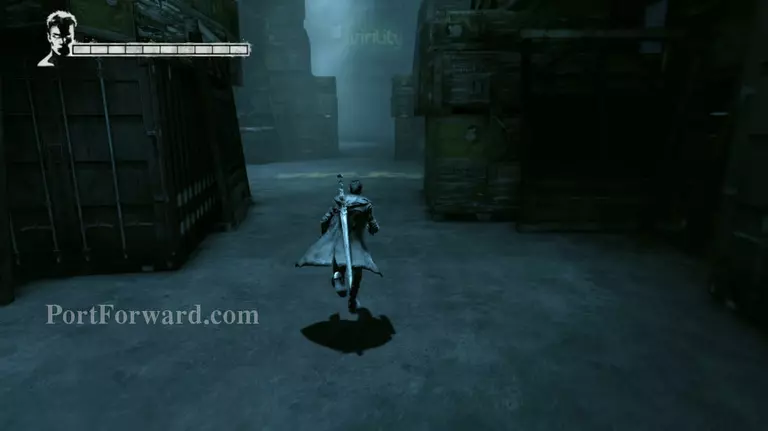
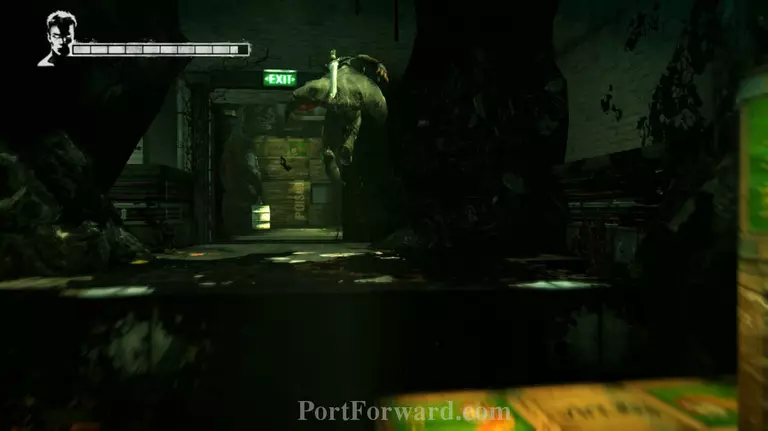
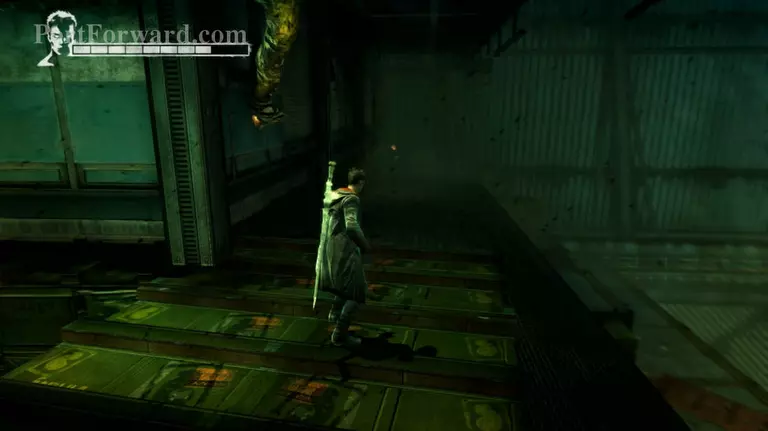
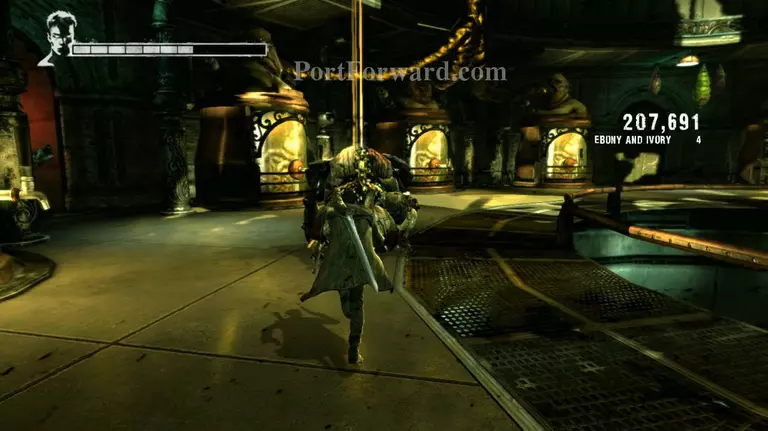
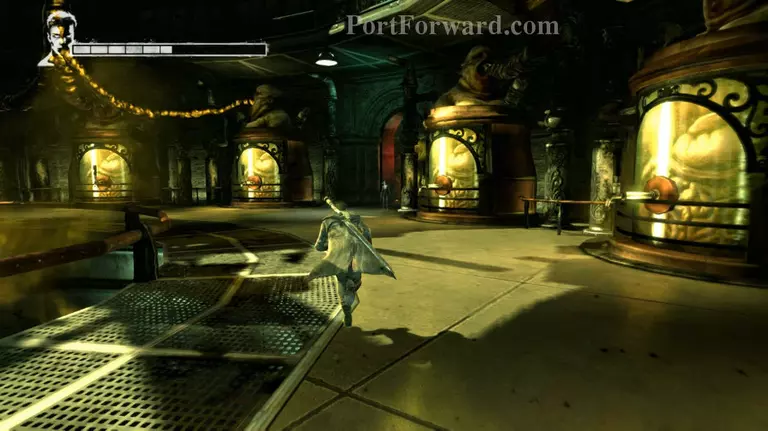
As soon as you regain control of Dante head into the other side of the Virility shipping room.
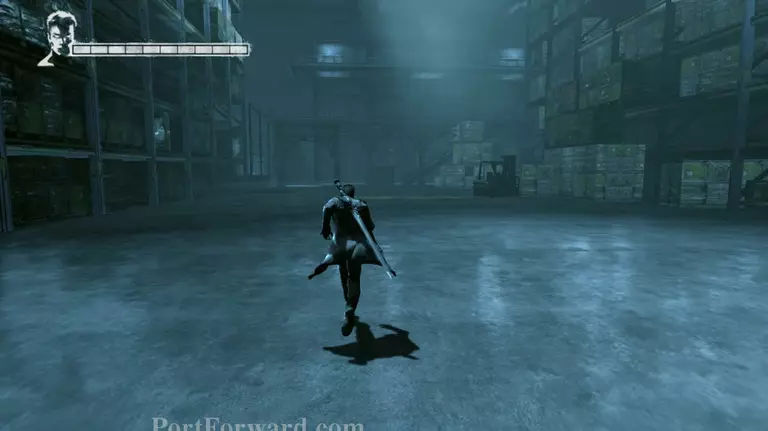
Keep going forward and eventually Kat will create an entrance to Limbo and Dante will automatically enter it.
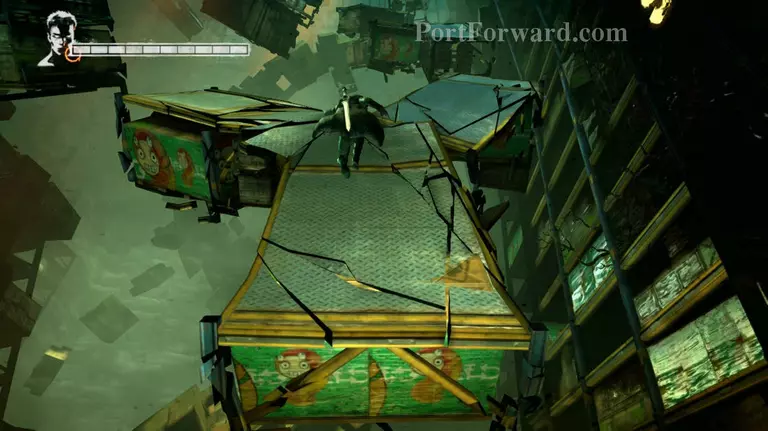
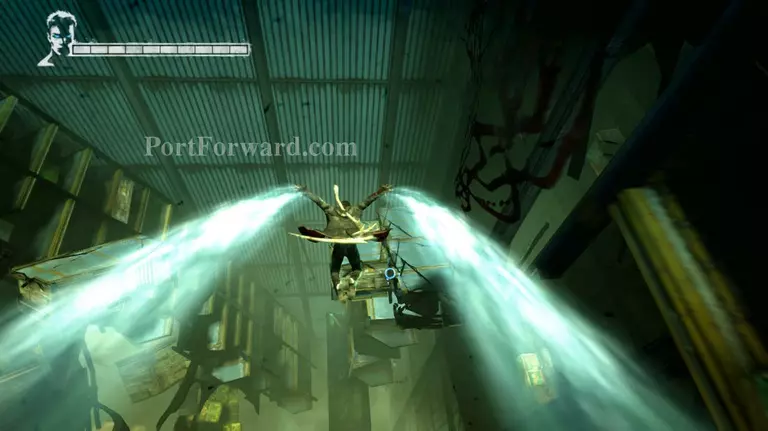
Once in Limbo make your way up the crates that have now formed a path for you to walk on. Take the path on the left once you reach the first branching path.
Use Demon pull on one of the crates to create a platform that you can use to get across.
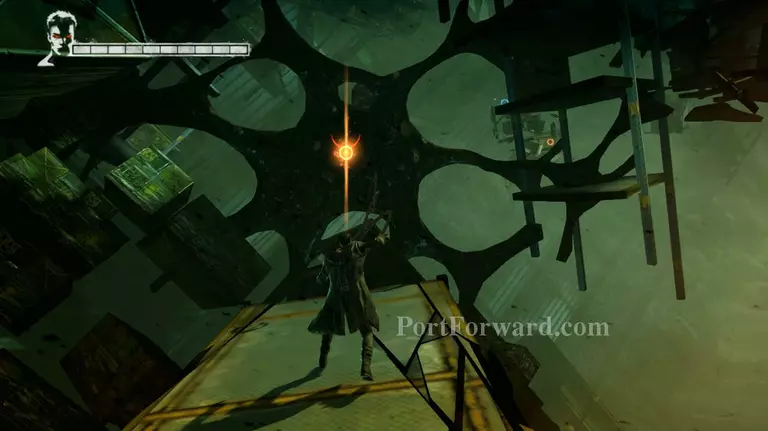
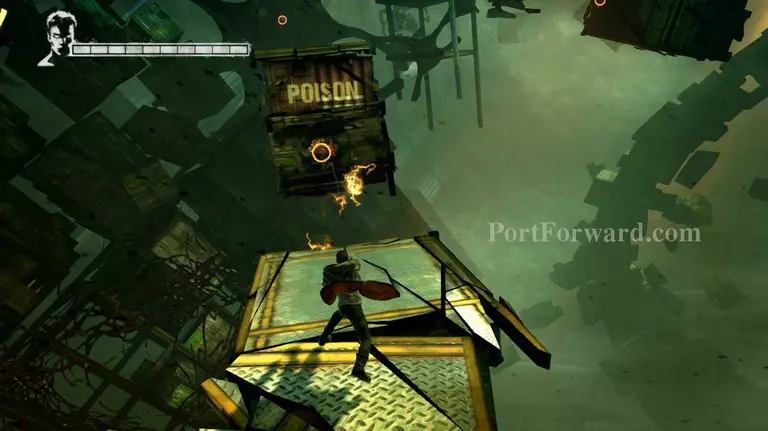
Continue following the path and use Demon pull on the large dark matter blocking your path and a mark for Angel lift will appear. Use that to get to the other side.
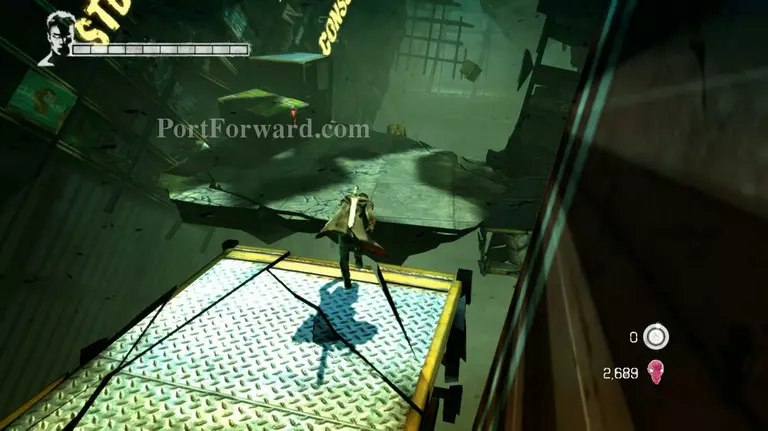
Once again you'll have to use Demon pull on the crate that's just above you, then use double jump to get on top of it. Climb up the floor that's right next to the crate you just pulled out.
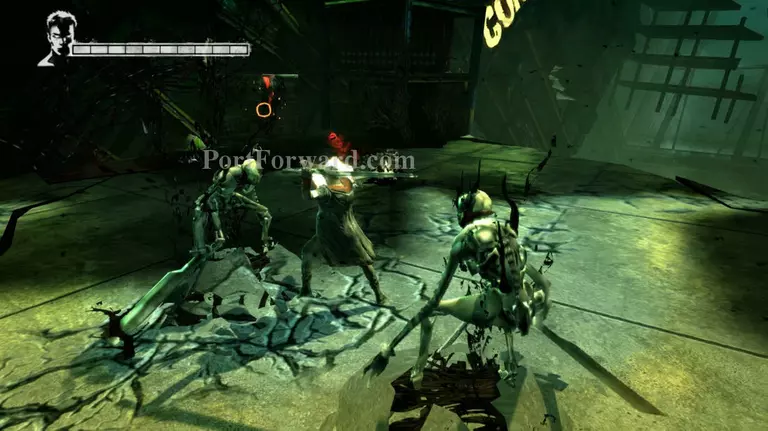
Some Stygians will spawn as well as some Pathos. Get rid of them and then pull the crate off the wall and climb on top of it.
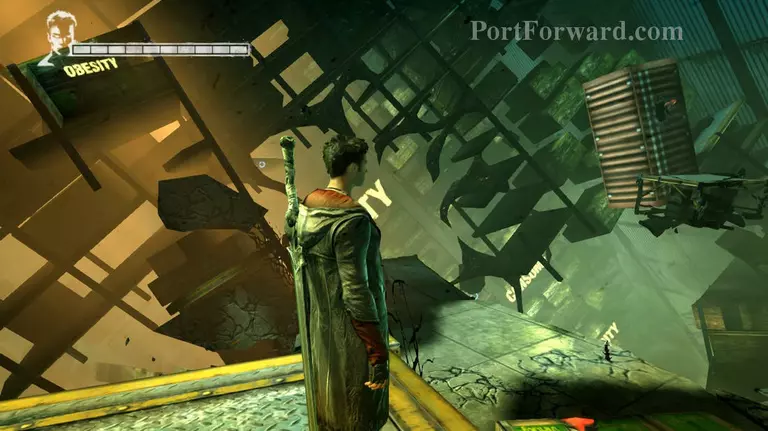
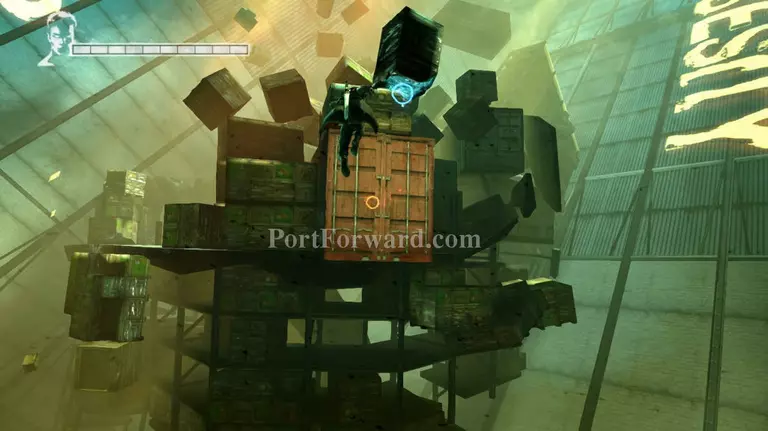
On top of the crate, turn your camera around towards the back and you'll see a lost soul hanging from a crate diagonal from where you're standing.
To get there perform a double jump from the top of the crate and use Angel boost to get an extended distance in your jump. That should highlight the Angel lift mark on the platform in front of where you're standing. Once the mark appears use Angel lift to get to the platform.

chain a double jump and an Angel boost to get to the next platform and climb up the paltform next to it and jump to reach the lost soul hanging on the wall.
From the same platform as the one with the lost soul, chain a double jump and an angel boost to get back to the platform where the demons appeared.
From there turn right and use Demon pull on the dark matter that's blocking your way. Then double jump and use the Angel lift mark to boost you to the other side.
Now start using Demon pull to make a way for Dante to get up to the higher crates. Once you're at the highest possible crate you'll see a storage door that's closed but is glowing with a Demon pull mark.
To get the door open jump and use Angel lift, followed quickly by a Demon pull and finally an Angel boost to get you inside the door. If you don't perform an Angel boost right after the Demon pull, Dante will fall and you'll lose some HP.
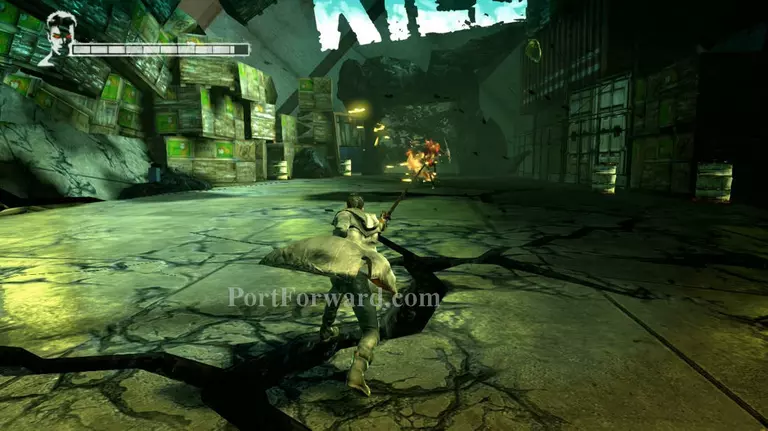
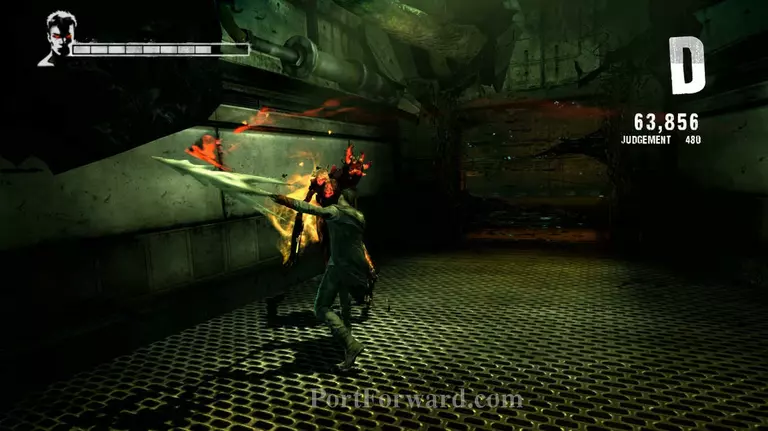
After passing through the door you'll be attacked by a new enemy, a Hell Knight. This demon is like the twin of the Frost Knight and as the name implies it has mostly fire based attacks.
The main difference between the two is that while the Frost Knight requires an angel weapon to damage it the Hell Knight requires a demon weapon to receive damage. Also a Hell Knight has a shield and has an AOE (wide area attack) to deal damage to Dante.
As soon as the battle starts use Demon pull on the Hell Knight to get it to drop its guard. Use another Demon pull to get it closer to you and start smashing it with Arbiter.
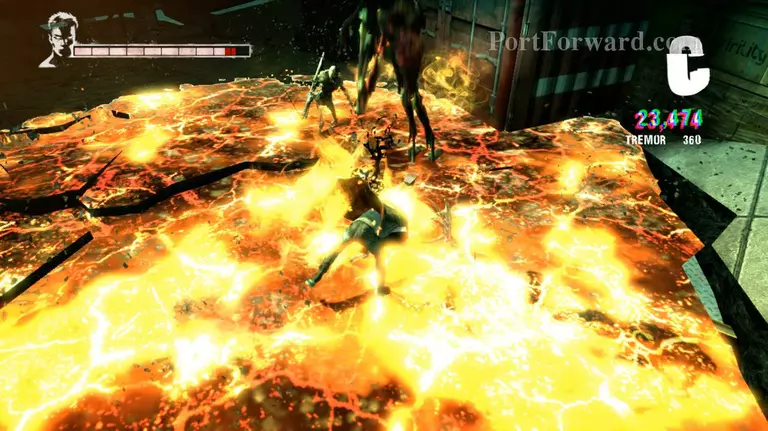
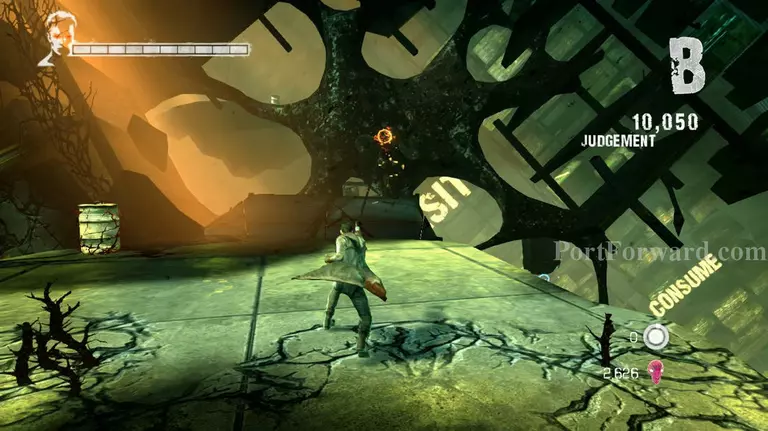
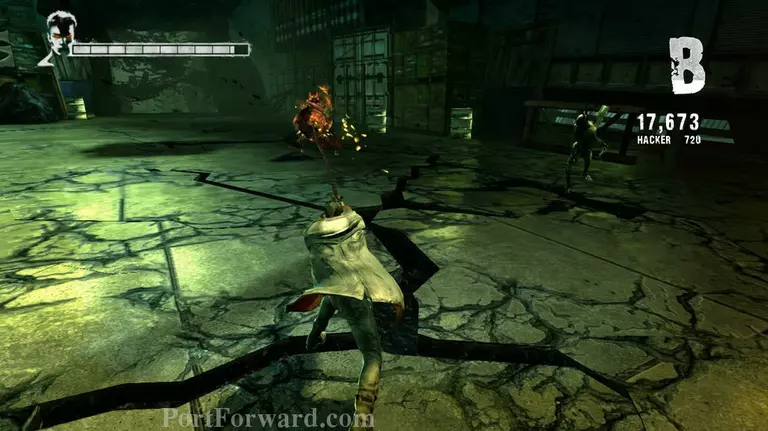
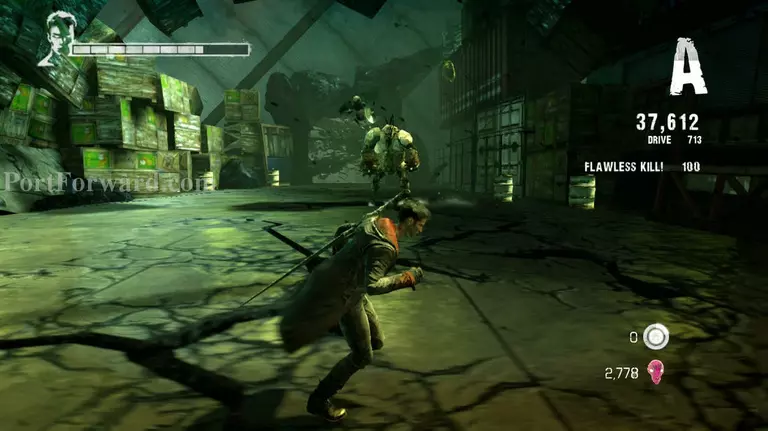
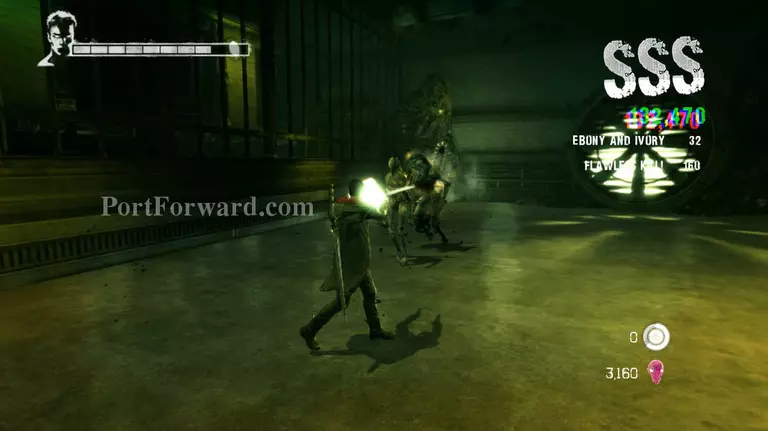
After you kill the first Hell Knight another one will appear, this time it will be accompanied by 2 Stygians. Focus on the Stygians first to make the battle easier. On the Screenshot you'll see that the floor has turned into a lava looking ground. You can completely avoid being damaged by this attack by summoning Arbiter.
Anytime a Hell Knight creates a fiery floor you can summon a demon weapon to make Dante immune to the field. Equipping Rebellion or an angel weapon will cause Dante to take damage from the floor.
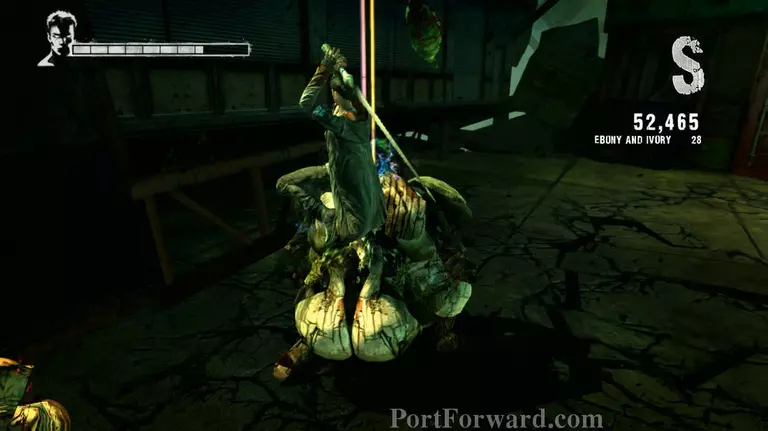
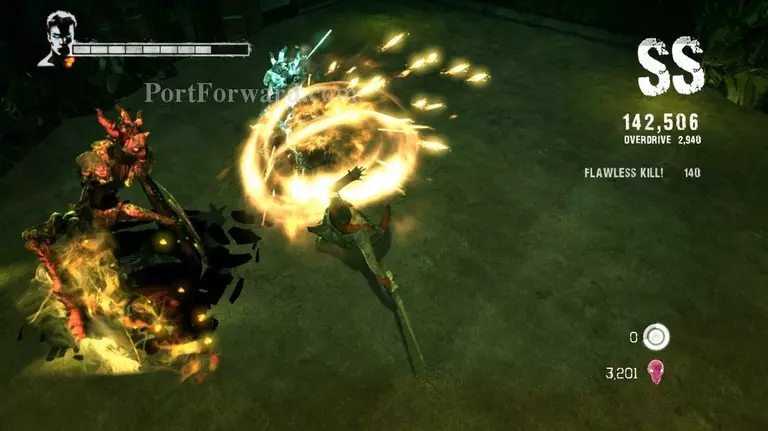
After you finish off the second Hell Knight a Tyrant will appear with 2 shielded Pathos. Take care of the Pathos first by using a Demon pull then an Angel lift to get Dante closer. Start smashing on them but remember to watch out for the Tyrant while you're attempting to thin out the enemies.
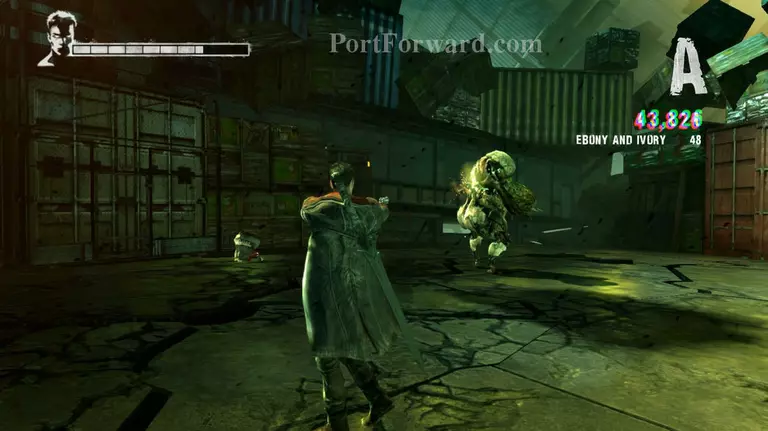
Once the Tyrant is left alone wait for it to lunge at you and avoid it. Then proceed to shoot its spinal cord until it falls down.
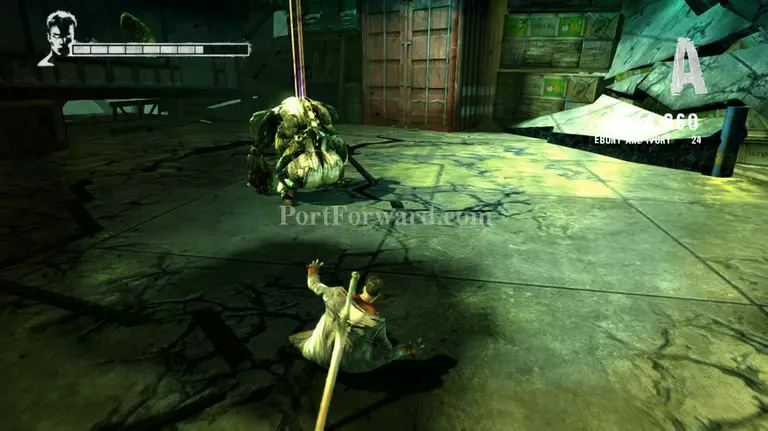
Once it falls, make your way near it or use Angel lift to get closer a lot faster and slash away at its back.
The Tyrant will now go into rage mode. This will happen from now on. Every time you manage to get the Tyrant to its knees it will go into rage mode once it picks itself up. Once it starts to rise, get away from it and wait for it to attack you again so you can dodge and shoot at its back.
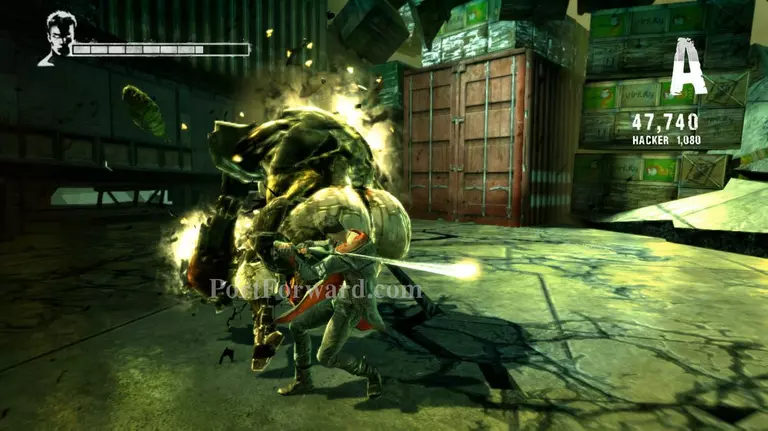
Once it's down on its knees again proceed to attack it until it dies. It might take 2-3 downs before you can kill the Tyrant. Make sure to avoid any unnecessary damage just cause you tried to land more hits than you can.
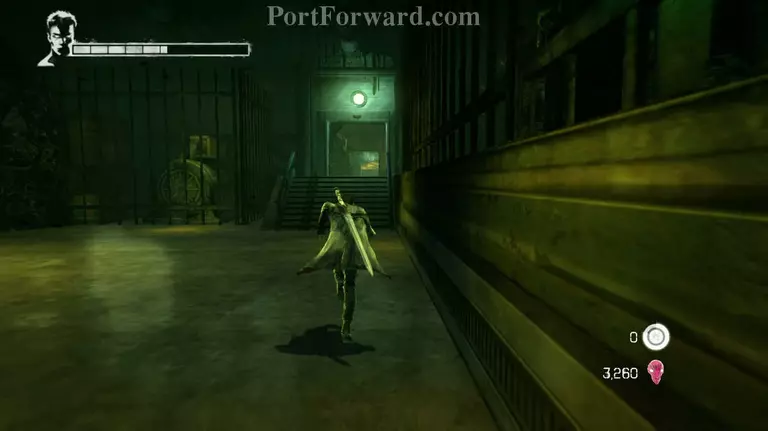
After killing the Tyrant head for the next area through the path opposite of the door you came in through.
There's a Divinity Statue in the next area, you can use it if you need to upgrade or acquire some skills. Take the path on the right once you're done.
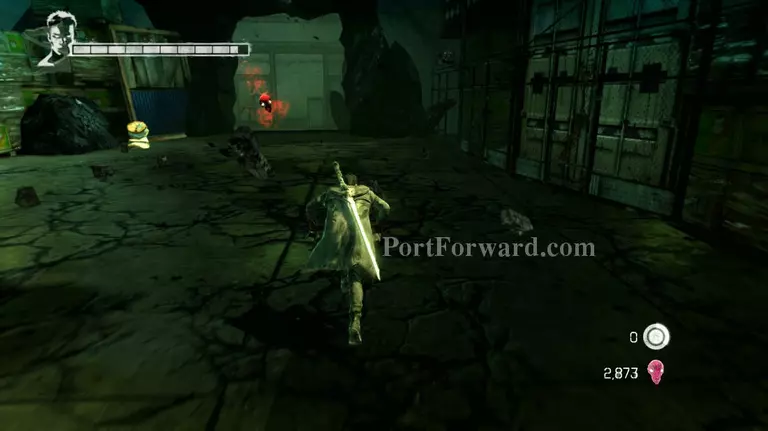
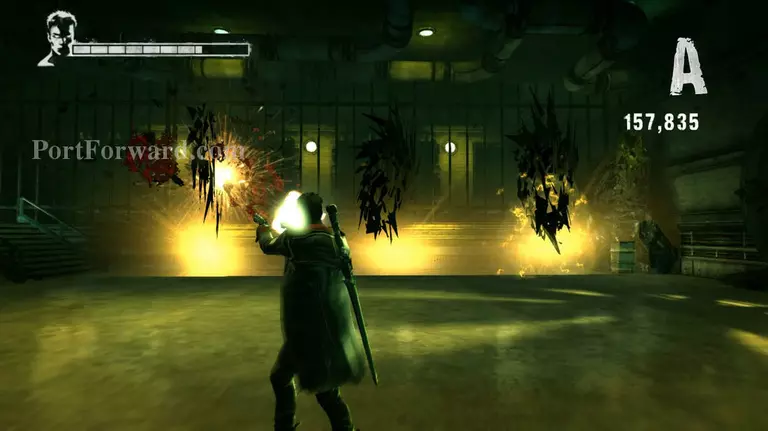
As you turn to the right a Demonic shard will spawn. Shoot it with your pistols to destroy it. Swords don't work on shard so just keep on shooting while moving backwards.
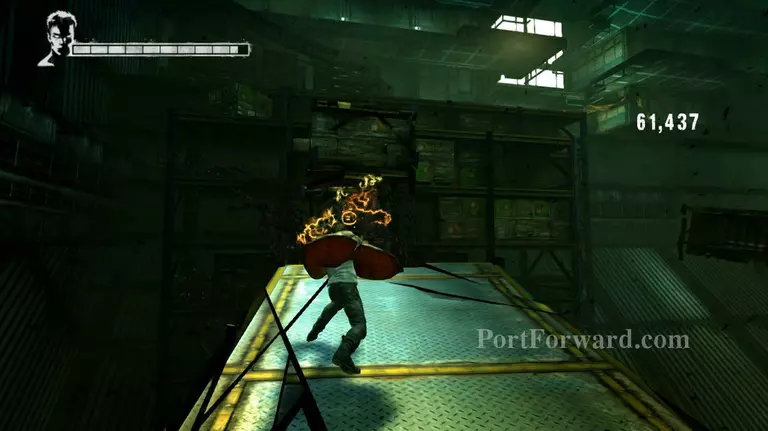
Make your way up the stacks of Virility crates and towards the exit.

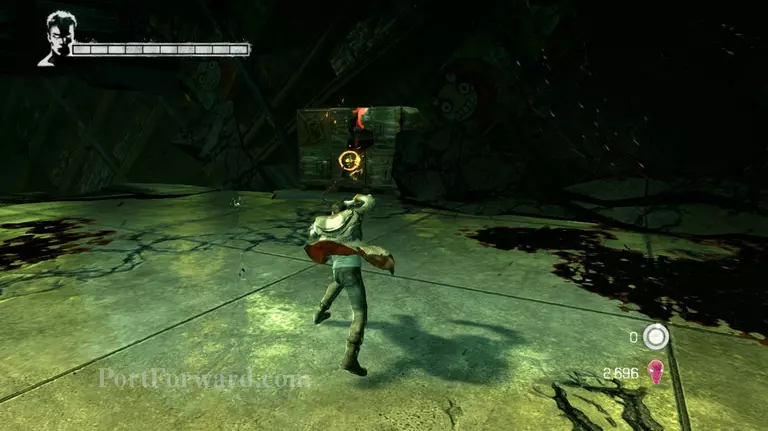
Some Pathos will appear as soon as you enter the area. Use Demon pull to get them closer and finish them off with Arbiter, since this is the easiest way to eliminate them without the danger of falling off the edge.
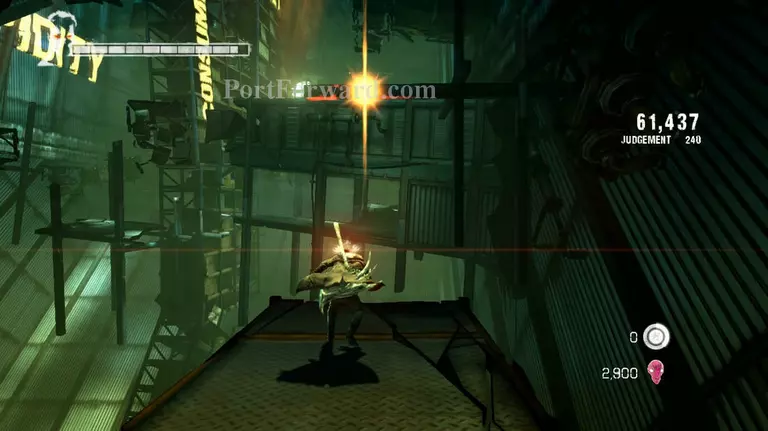
Use Demon pull on a part of the structure in front of you to pull the floor closer to the other side.

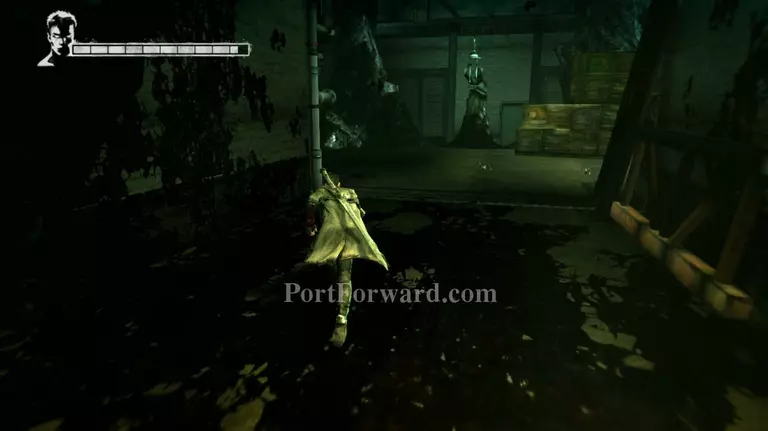
Inside the structure there's a lost soul hanging on the right side. Eliminate it before proceeding to the next platform.
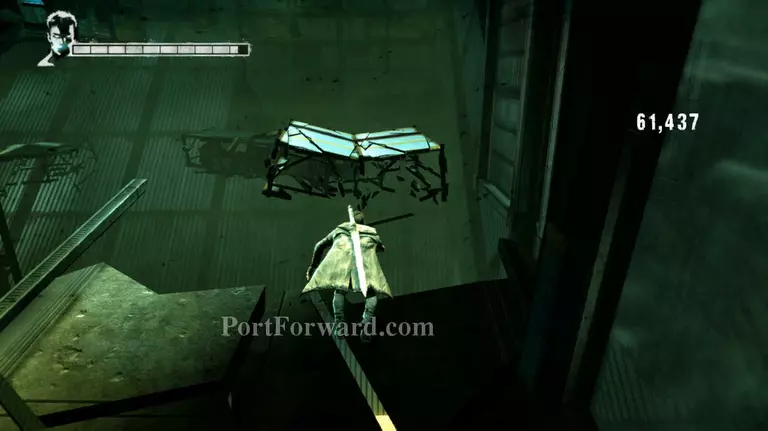
Chain a double jump and Angel boost to get to the next platform and make your way through the next 2 more platforms near it.
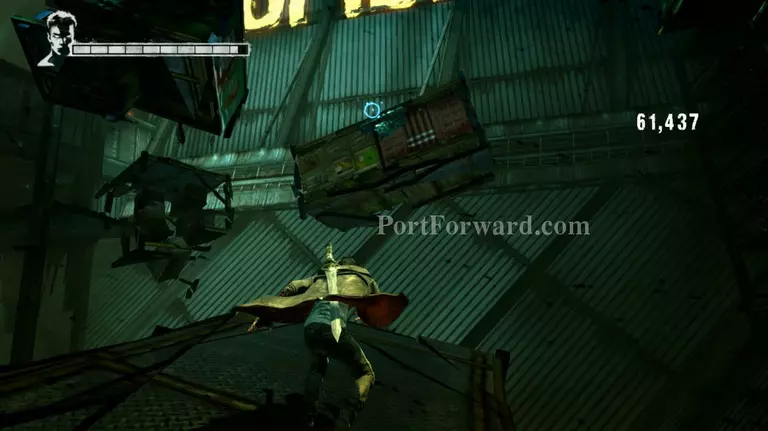
Use Angel lift on one of the crates to get above it.
Once you get on top of the crate, use Demon pull on the crate next to it to create another platform for you to stand on.

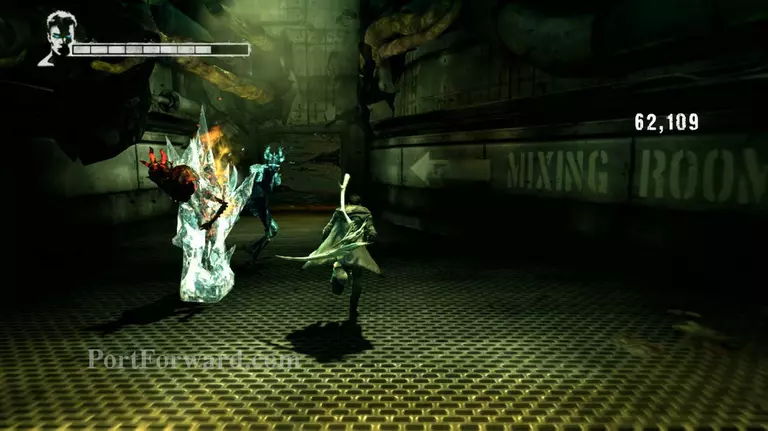
Once you're on the next platform a Hell Knight and Frost Knight will attack you. I recommend taking care of the Frost Knight first since the area is small and there's not much space to dodge its attack.
Start off by luring the Hell Knight away from the Frost knight. You can easily do this by using Demon pull twice to pull the Hell knight closer to you, then using Angel lift to instantly close in on the Frost Knight.
Use your Osiris to chip away at the Frost Knights health.
If the Hell Knight is persistent in chasing you, use the Frost Knight to your advantage. Lure the Hell Knight in between you and the Frost Knight. Wait for the Frost Knight to use its freezing attack and dodge. The Hell Knight will get frozen leaving you some time to attack the Frost Knight without being disturbed.
Finish off the Hell Knight once you get rid of the Frost Knight. he should be easy enough on his own. Remember to equip your Demon weapon when he turns the floor to lava.
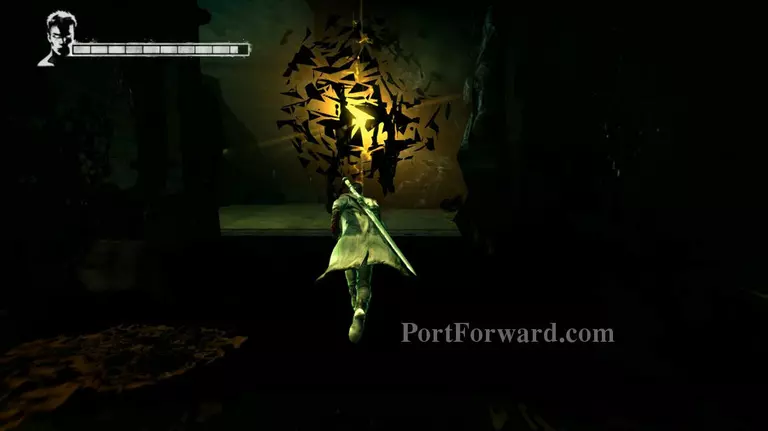
Now head for the left side of the platform and you'll see a lost soul hanging on the wall. Eliminate it before proceeding further inside the area.
Follow the glowing cords on the wall and enter the door that they lead to.
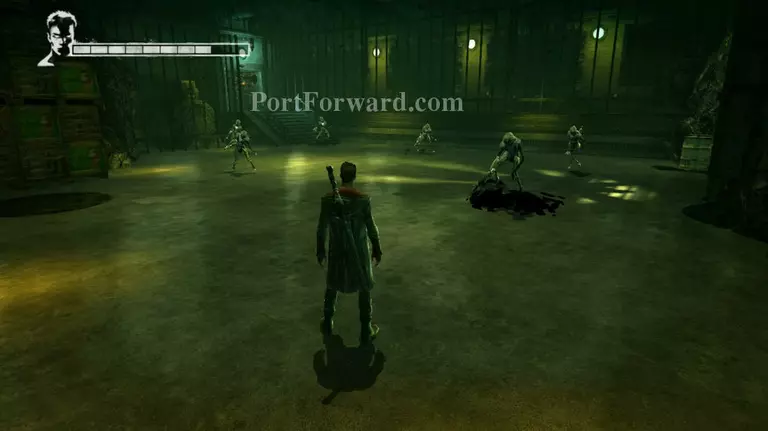
Inside the room you'll be attacked by multiple Stygians. Nothing too hard to eliminate, just make sure to use Osiris so you can eliminate them faster.
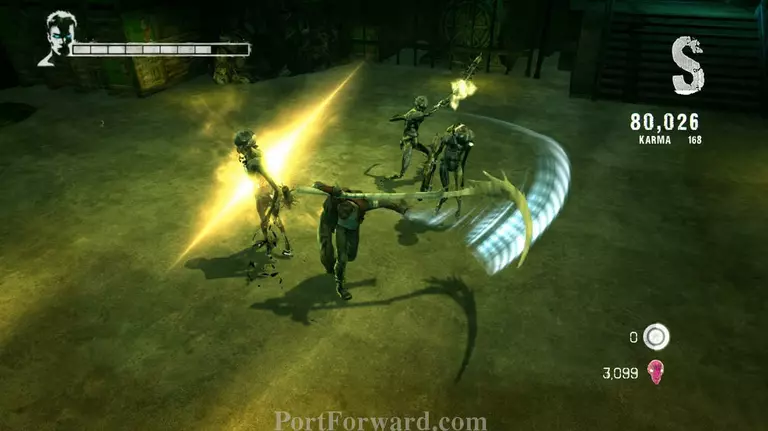
More Stygians will appear after the first wave. Make sure to dodge them as much as possible, more enemies will spawn soon after killing these lesser demons so you don't want to be losing any HP.
A Ravager will appear after the wave of Stygians, it will be accompanied by 2 Stygians but it's nothing special you should be used to this enemy group by now. Eliminate the Stygians first then charge Rebellion's drive ability to kill the Ravager off quickly.
The next wave will be a Frost Knight and Hell Knight combo. Previously you took care of the Frost Knight first, but this time I recommend taking care of the Hell Knight first.
Lure the Hell Knight away since it does follow you around and start smashing it with Arbiter while occasionally dodging the Frost Knight's freezing ability. The Hell Knight should fall quite easily and you'll be able to kill the Frost Knight without a problem after that.
Lastly Demonic shards will appear. Start shooting at them as quickly as you can, it's nearly impossible to dodge these so I suggest you just go trigger happy on them.
After eliminating the last of the Demonic shards the path will open. Head up the stairs to get to the next area.
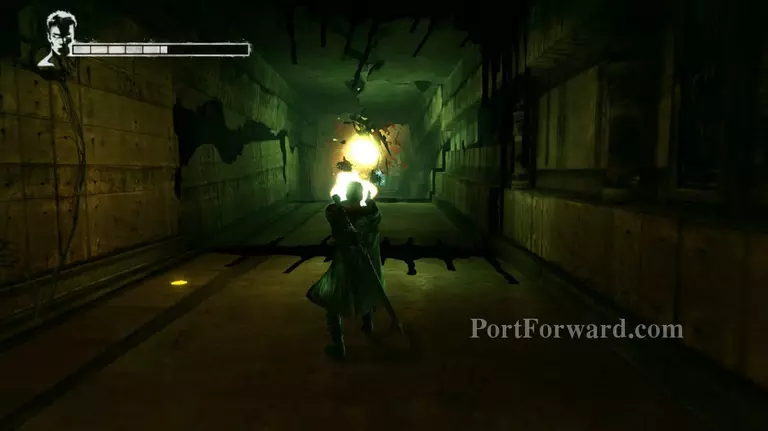
Turn right on the first corner and start shooting at the Demonic shard until it disappears, then continue walking down the corridor.
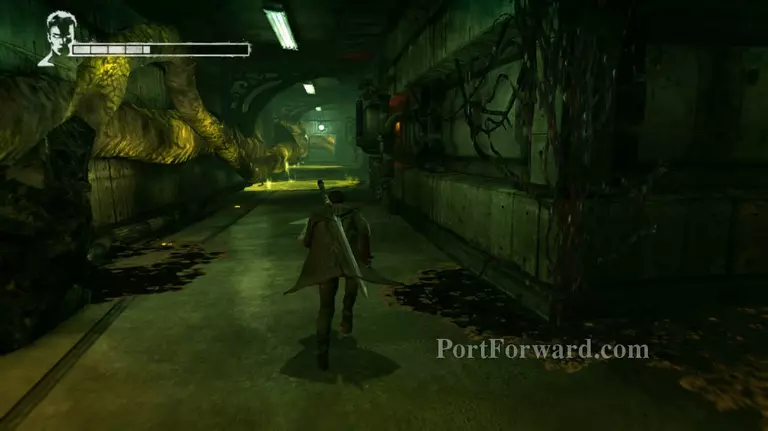
Turn left and continue following the glowing cords. You'll see that there's some yellow-green liquid on the ground, avoid it by using jump and Angel boost.

Continue following the glowing cord and a Ravager will attack you, the space is small so it will be hard to dodge. Luckily he spawns early so you can charge Rebellion's drive ability to finish him off quickly.
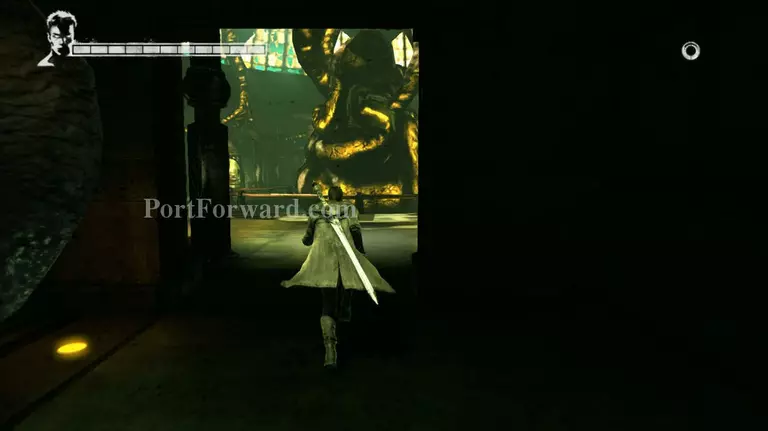
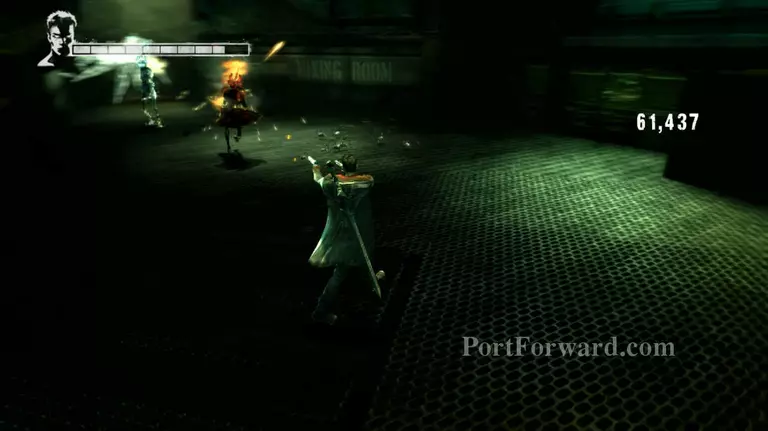
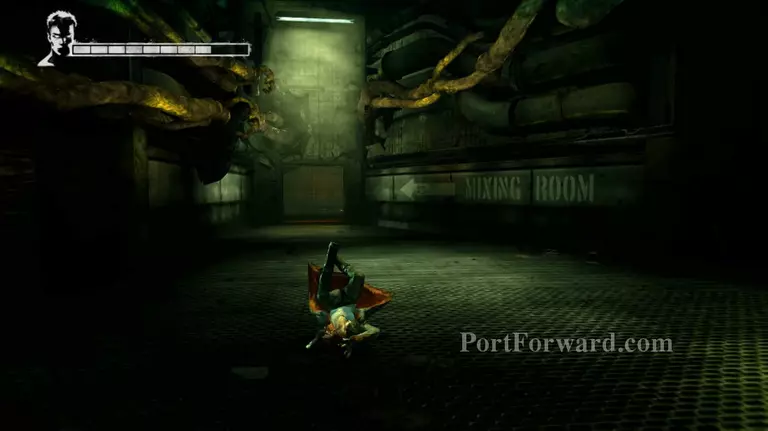
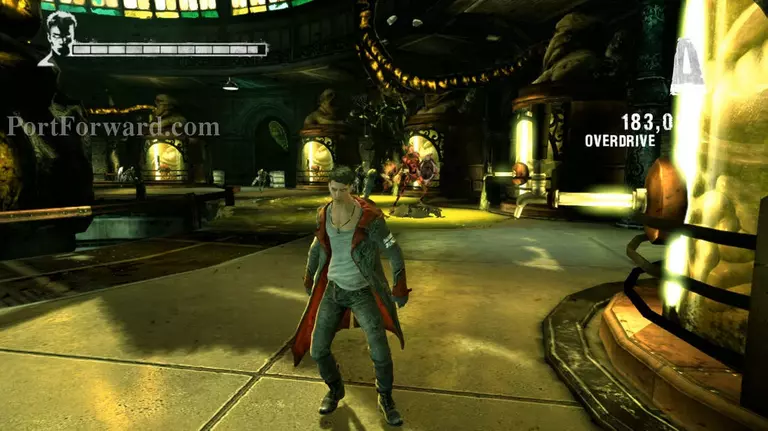
Continue following the cord and you'll finally find the mixing room and join up with Kat again.
Stygians will attack you soon after meeting up with Kat. Eliminate them as quickly as possible.
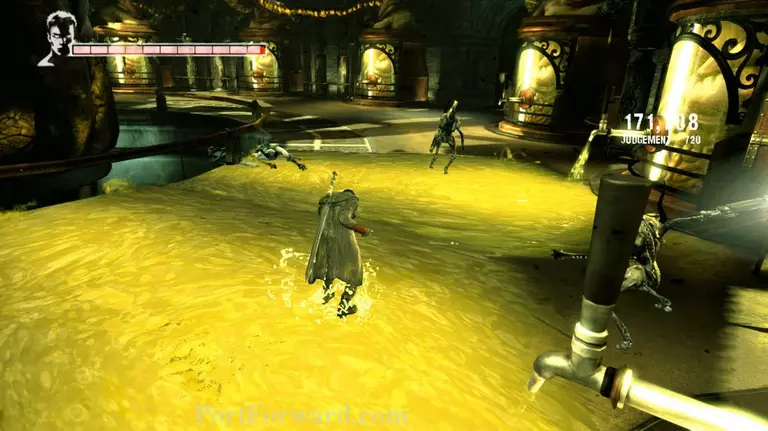
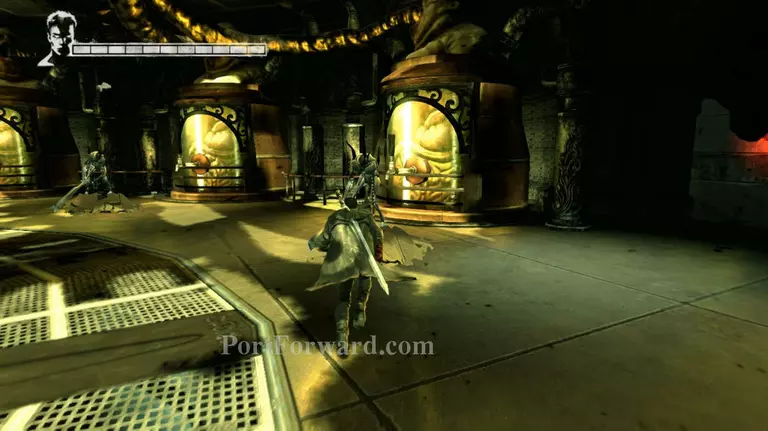
The mixing room will occasionally dump a huge amount of Virility on the floor, this will not only damage Dante, but it will also make him walk slower (only if you're standing on top of it, once you leave the affected area Dante will move normally again). If you get caught in a spill, double jump and Angel boost away from it.
The next wave will be a couple of Stygian and a Hell Knight. The Virility pool will make this battle a little harder than usual. Take care of the Stygians first. I found that they are really annoying and will constantly try to attack you. Once you eliminate them the Hell Knight will be easy to finish off.
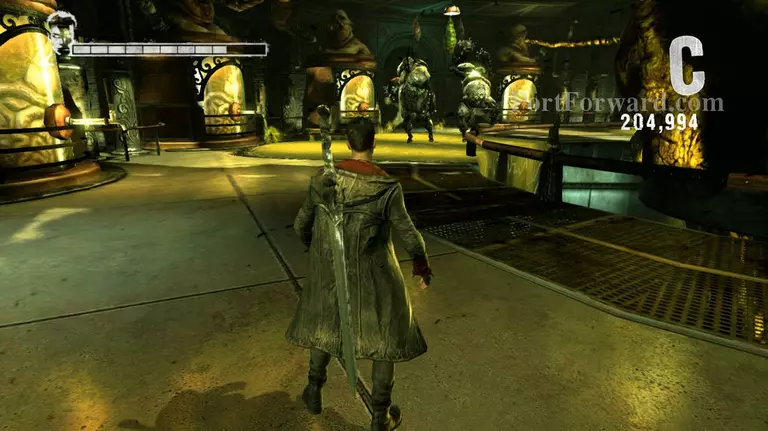
The last demons to appear will be a pair of Tyrants. Avoid the Virility pool at all costs once they appear. Try to lure one away and dodge its attack.
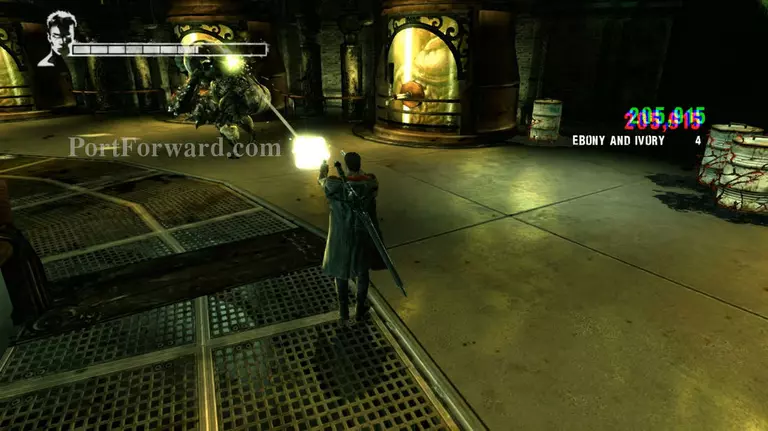
Once you get behind it start shooting its spinal cord but be ready to dodge the second one at any moment.
Start hacking away at its spinal cord once it falls to the ground but always be wary of the second Tyrant.

Continue doing this until the first one falls. Once one of them is dead, it'll be easier to kill the second one via the way you always kill them. Meaning dodge it, shoot its back, hack its spinal cord and dodge its rage mode.
Head over to Kat once you eliminate all the demons and a cut scene will begin.
More Devil May Cry Walkthroughs
This Devil May Cry walkthrough is divided into 30 total pages.


