This Fallout: New Vegas Dead Money walkthrough is divided into 13 total pages.
You can jump to nearby pages of the game using the links above.
Sierra Madre Grand Opening!
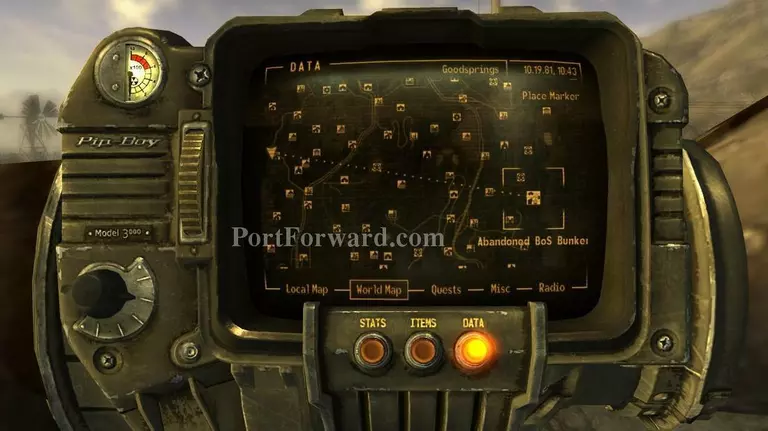
The first quest of the Dead Money add-on will be given to you as soon as you download it and load a saved game. To start the quest, you will have to open your Pip-Boy and travel to the Abandoned Brotherhood of Steel Bunker.
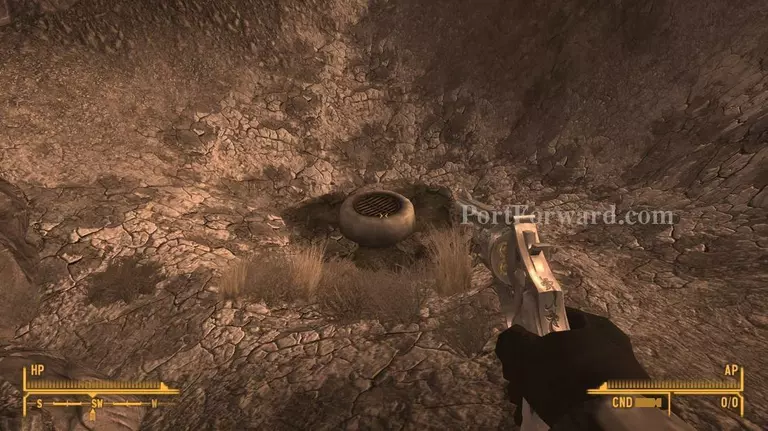
When you've finally reached the place where the abandoned bunker is supposed to be, open the drainage gate and head inside.
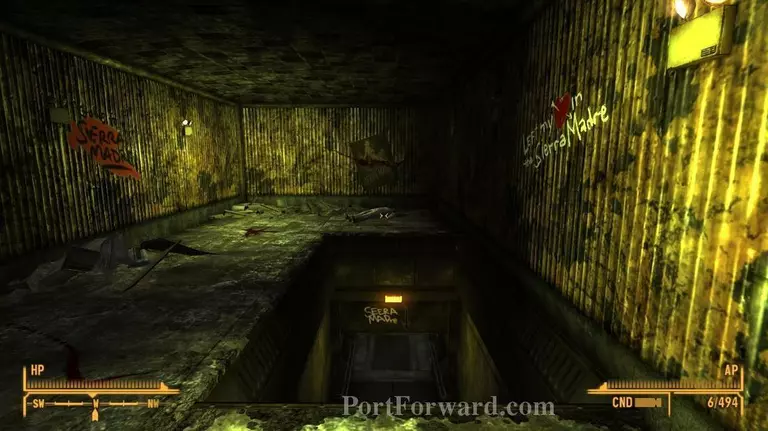
Once you're inside the abandoned bunker, head downstairs and approach the door at the end of the hallway.

Before opening the door, a prompt will appear on the screen asking you if you wish to continue and seek out the radio signal behind the door. It is strongly recommended to have a level of experience above 20 before commiting to travel to Sierra Madre, or else you might have a hard time finishing the rest of the upcoming quests and reach the end of the story.
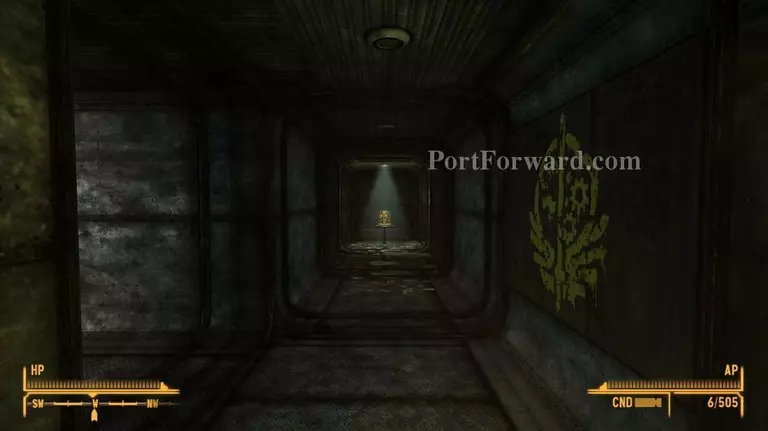
After opening the door, head towards the radio located at the end of the hallway.
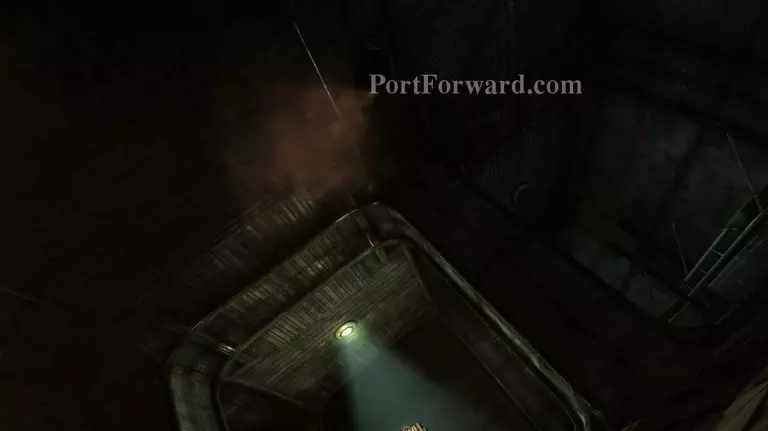
Upon entering the room where the radio is located, you will be knocked unconscious by the gas that has started leaking once you've got closer to the radio.
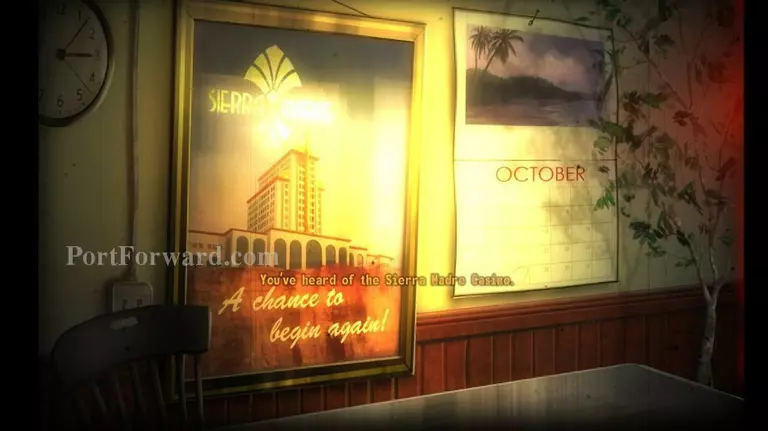
Right after passing out, a cutscene will start playing showing you the history of the Sierra Madre casino.

At the end of the cutscene, you will be greeted by Father Elijah's hologram, which will let you know that you've been fitted with an explosive collar, that'll go off and kill you if you don't follow his orders.
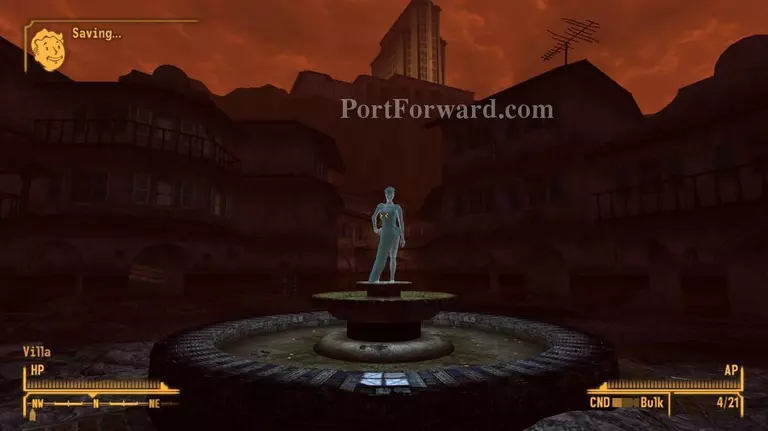
The first quest will end right after talking to Father Elijah.
More Fallout: New Vegas Dead Money Walkthroughs
This Fallout: New Vegas Dead Money walkthrough is divided into 13 total pages.