Half Life 2: Episode One Walkthrough Direct Intervention

September 12, 2016 (Last Updated: ) | Reading Time: 6 minutes

This Half Life 2: Episode One walkthrough is divided into 5 total pages.

2 - Direct Intervention

You can jump to nearby pages of the game using the links above.

Direct Intervention

Half Life 2: Episode One Walkthrough - Half Life-2-Episode-One 50

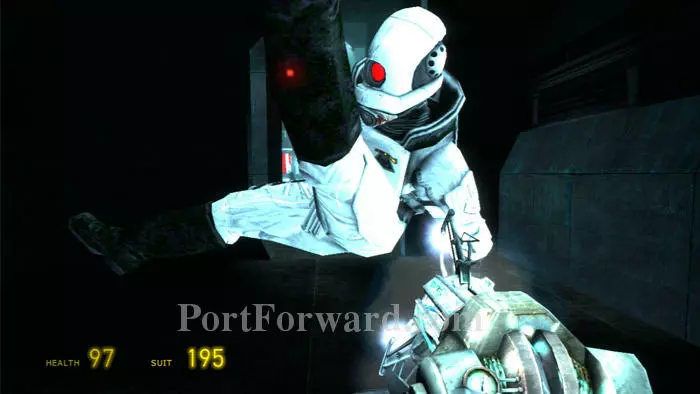
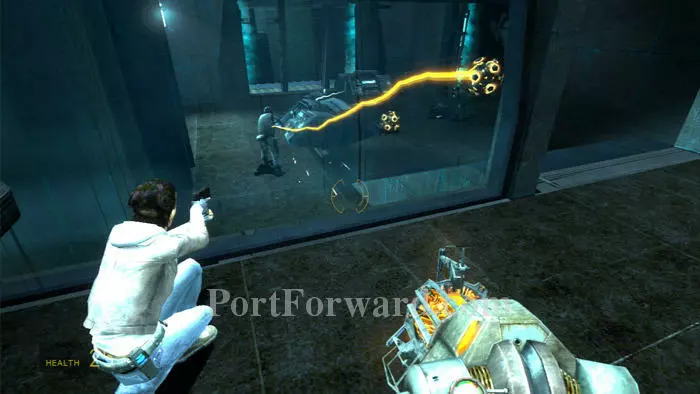
Overwatch attack, but they're no match for your Supercharged Gravity Gun.

Half Life 2: Episode One Walkthrough - Half Life-2-Episode-One 51

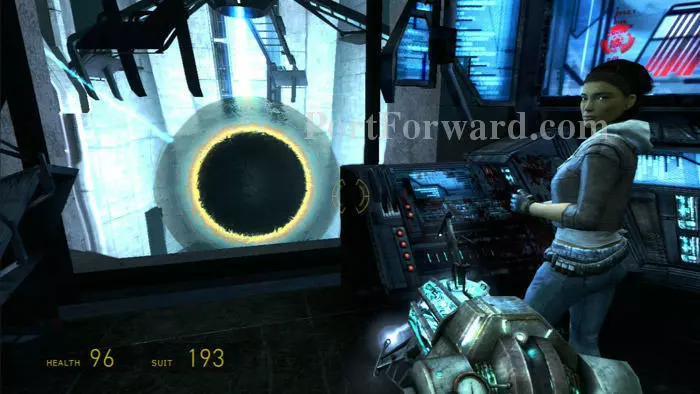
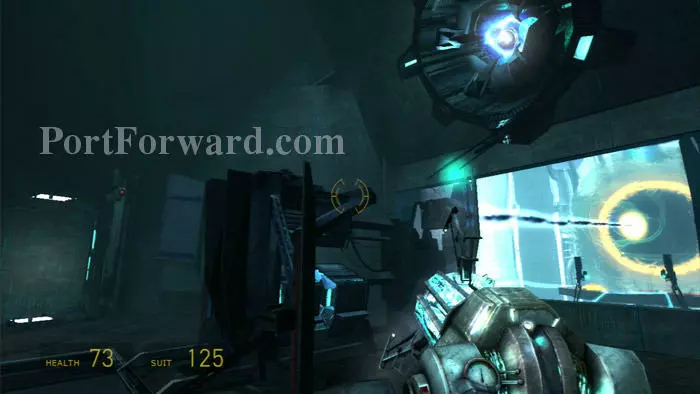
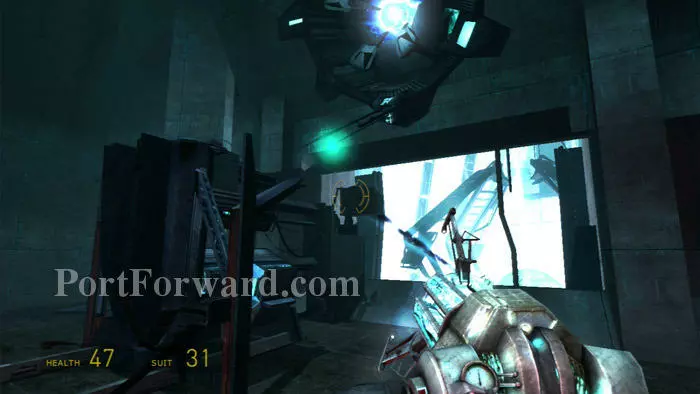
Alyx gets to work at this console, exposing the core so you can get a good look at it. Follow her to the neighboring room where a combo station is found.

Half Life 2: Episode One Walkthrough - Half Life-2-Episode-One 52

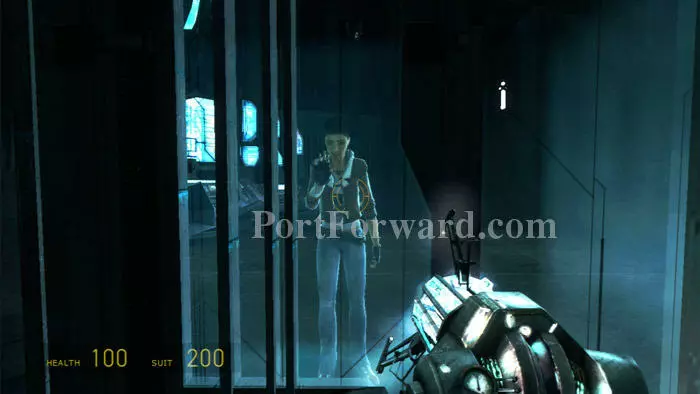
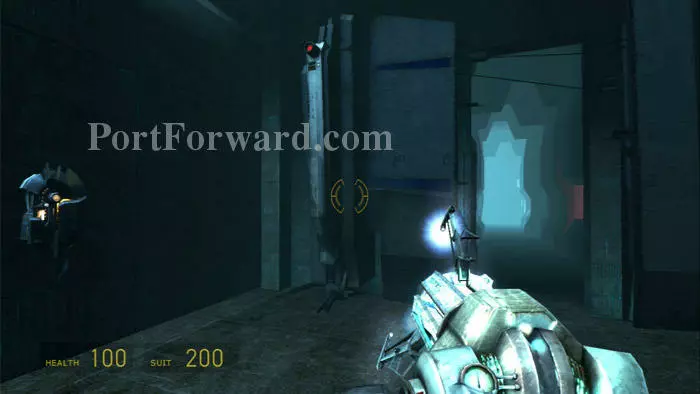
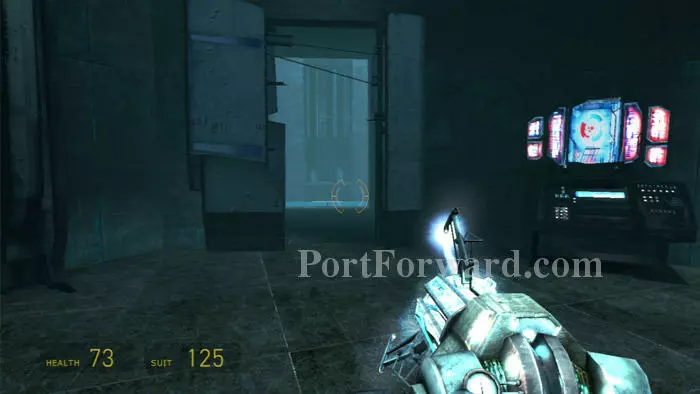
Alyx summons this lift; step inside and ride it down.

Half Life 2: Episode One Walkthrough - Half Life-2-Episode-One 53

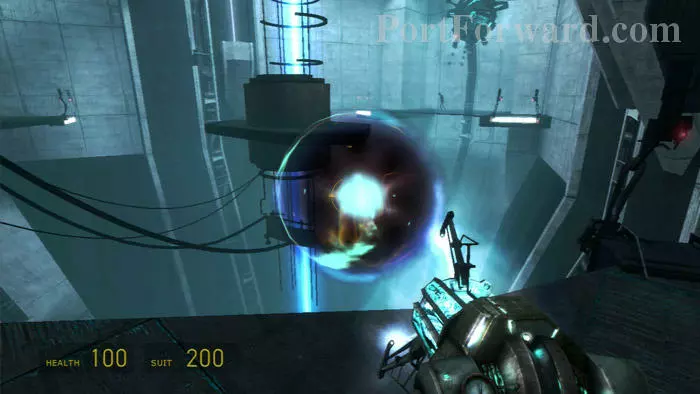
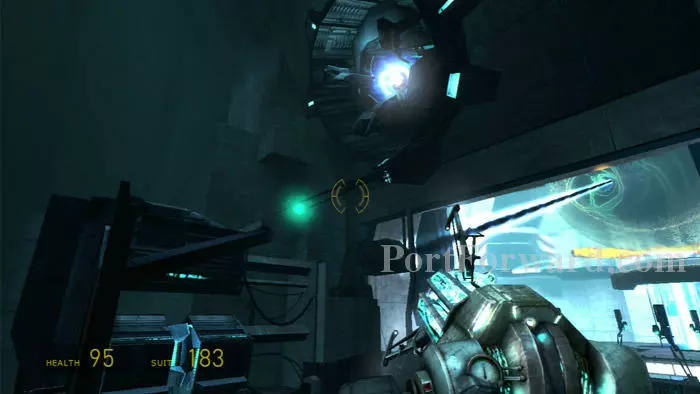
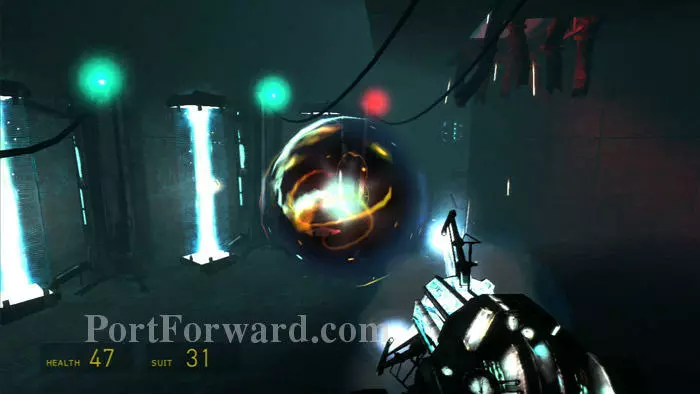
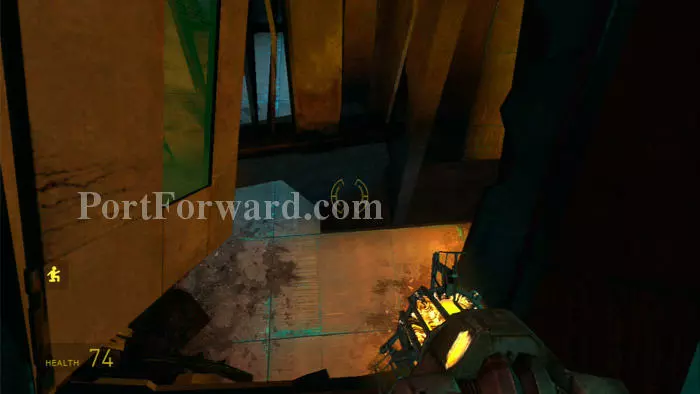
Energy balls can be found along the right wall. You'll need to activate a pair of sockets, one behind me in this shot and the other ahead/right. Stalkers will deactivate the sockets as you light them, so you'll need to first shoot your energy balls at the Stalkers and take them out.

Half Life 2: Episode One Walkthrough - Half Life-2-Episode-One 54

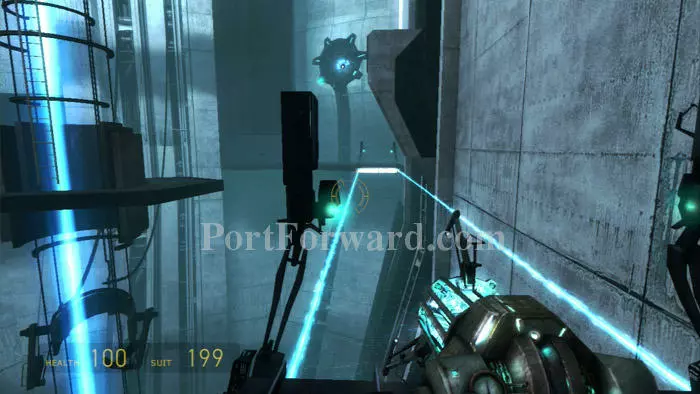
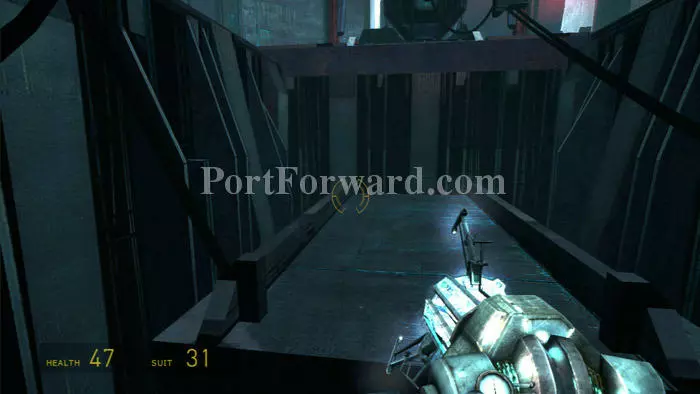
Walk across the bridge once active, activate the third socket and walk across this second bridge.

Half Life 2: Episode One Walkthrough - Half Life-2-Episode-One 55

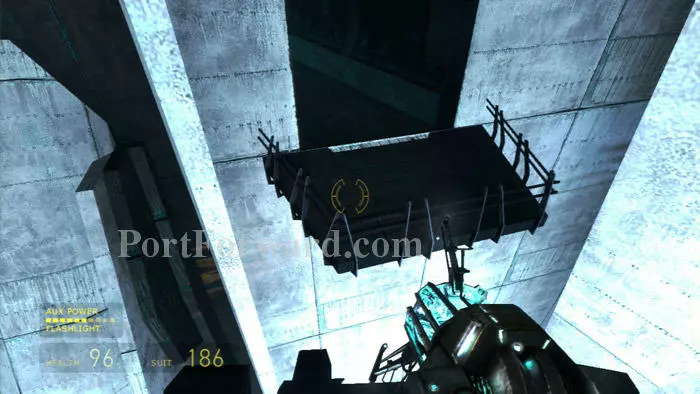
Press this switch to rearrange the bridges.

Half Life 2: Episode One Walkthrough - Half Life-2-Episode-One 56

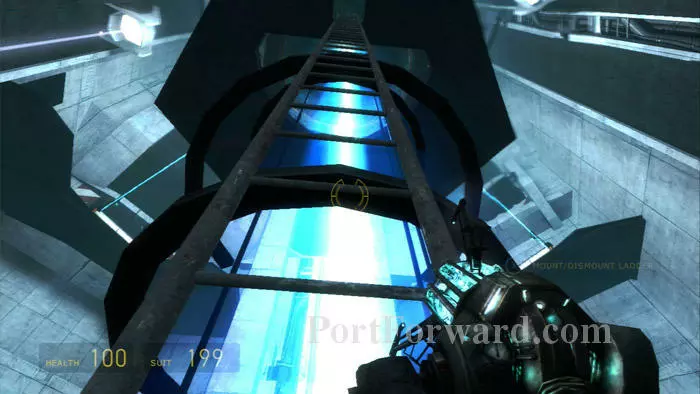
Cross to the center of the structure and climb the ladder.

Half Life 2: Episode One Walkthrough - Half Life-2-Episode-One 57

Follow the ledge to the doorway ahead/left.

Half Life 2: Episode One Walkthrough - Half Life-2-Episode-One 58

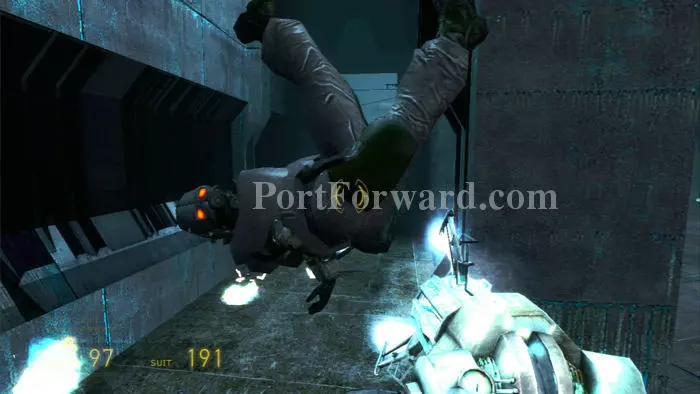
More fodder for your Supercharged Gravity/God Gun.

Half Life 2: Episode One Walkthrough - Half Life-2-Episode-One 59

Use the combo station after clearing out the room, then return outside and grab an energy ball for this socket. You'll need to shoot fast before the energy ball dissipates.

Half Life 2: Episode One Walkthrough - Half Life-2-Episode-One 60

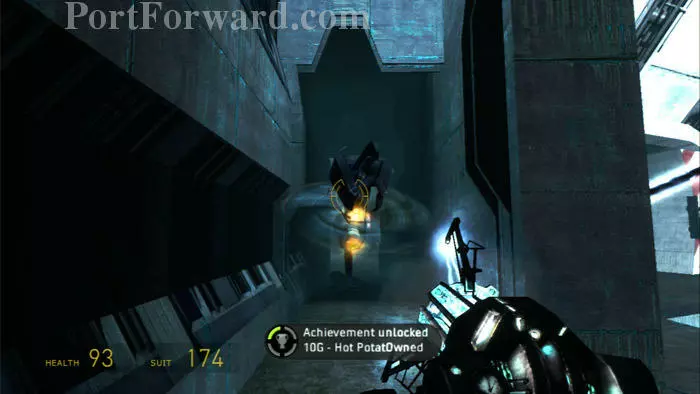
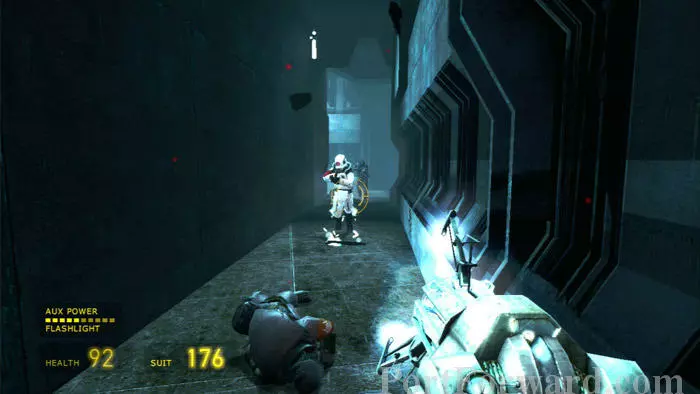
Manhacks, soliders and Overwatch attack. I recommend retreating to the corridor to funnel their assault. Here I fend of a manhack just after earning the Hot PotatOwned achievement for killing a Combine soldier with his own grenade.

Half Life 2: Episode One Walkthrough - Half Life-2-Episode-One 61

Energizing the socket has activated this energy tether. You'll need to activate three of these to stabilize the core.

Half Life 2: Episode One Walkthrough - Half Life-2-Episode-One 62

Heal at the combo station again then exit through this now-available corridor.

Half Life 2: Episode One Walkthrough - Half Life-2-Episode-One 63

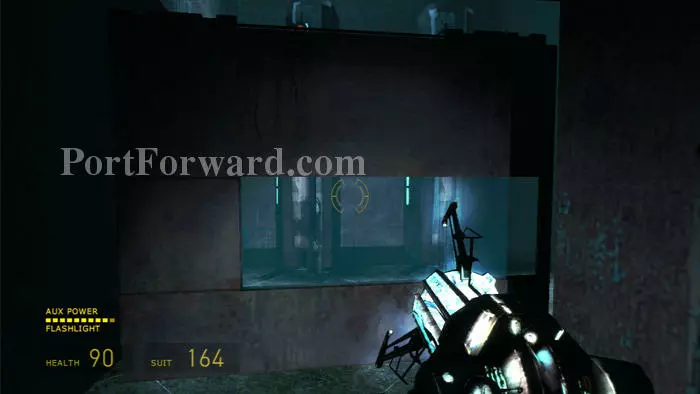
Pull this access panel off then carefully step inside.

Half Life 2: Episode One Walkthrough - Half Life-2-Episode-One 64

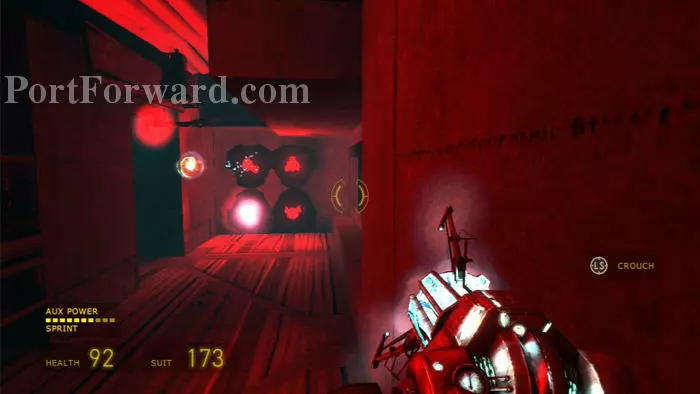
Turn right, dodge the oncoming energy balls then exit through the opening on the left.

Half Life 2: Episode One Walkthrough - Half Life-2-Episode-One 65

Ascend the ramp then hop onto the ledge on the right to continue around the corner ahead/left.

Half Life 2: Episode One Walkthrough - Half Life-2-Episode-One 66

Remove this second panel.

Half Life 2: Episode One Walkthrough - Half Life-2-Episode-One 67

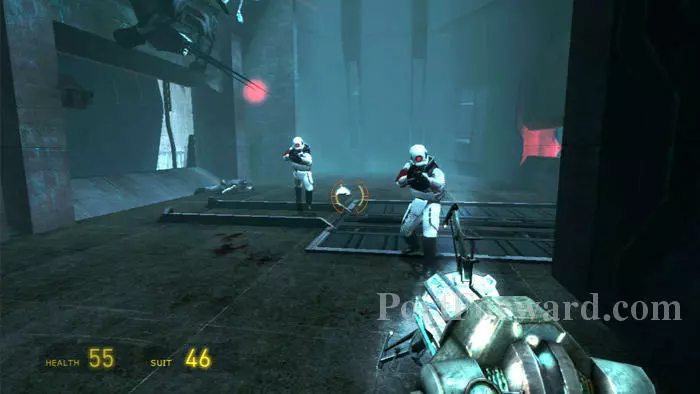
Step through then battle more soldiers and Overwatch.

Half Life 2: Episode One Walkthrough - Half Life-2-Episode-One 68

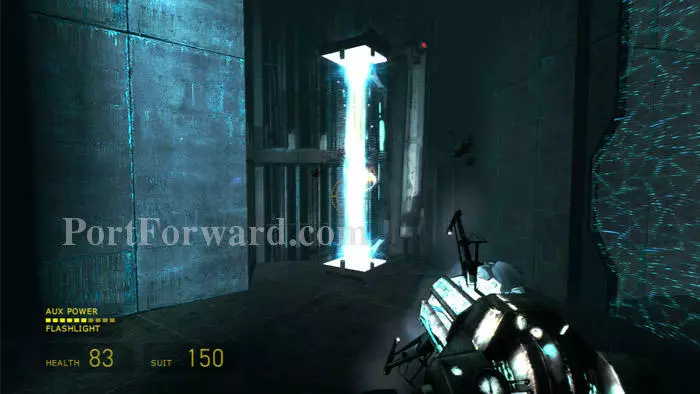
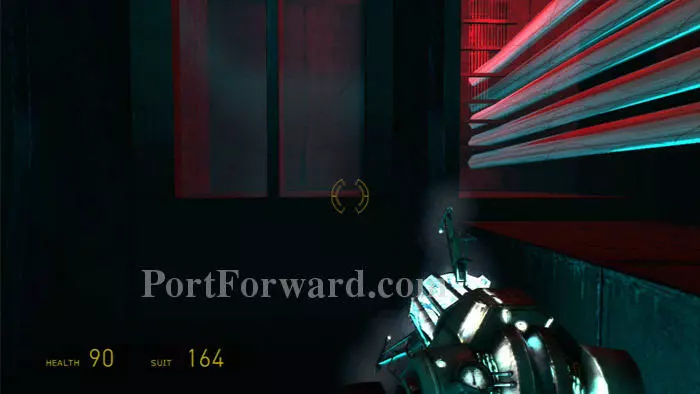
Grab the energy ball from this energy beam to disable the force field on the right.

Half Life 2: Episode One Walkthrough - Half Life-2-Episode-One 69

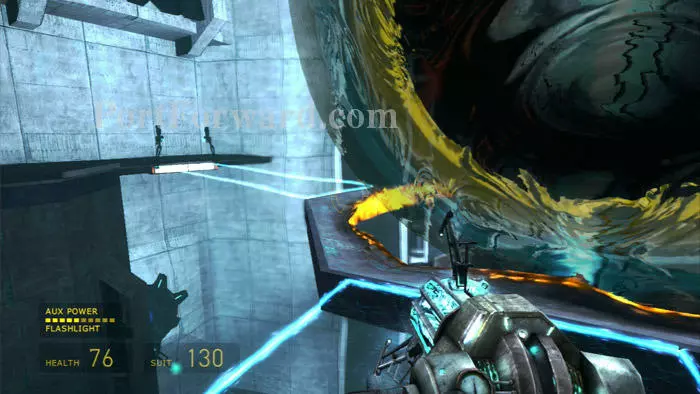
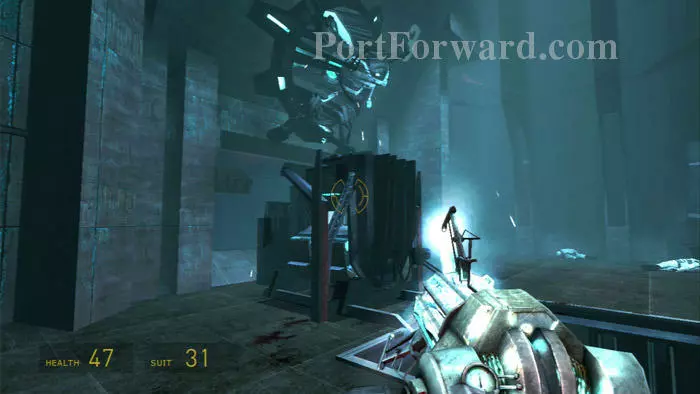
Follow the bridge to this damaged ledge surrounding the core. Step onto the ledge and quickly sprint to the other bridge while the core is on the down-side of its oscillation.

Half Life 2: Episode One Walkthrough - Half Life-2-Episode-One 70

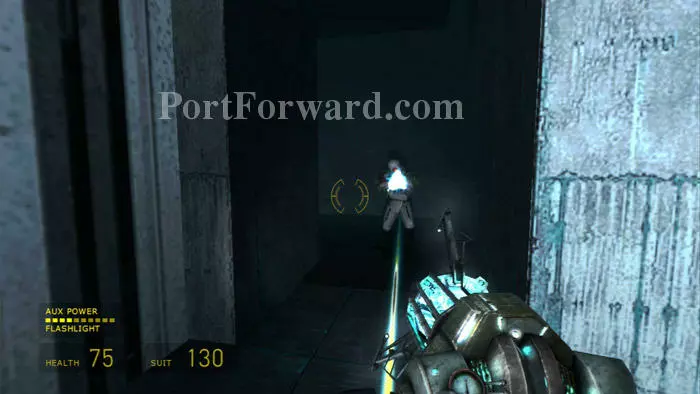
Battle your way through this next corridor.

Half Life 2: Episode One Walkthrough - Half Life-2-Episode-One 71

Activate the second energy tether with an energy ball from the beam to the left (deactivated already in this shot).

Half Life 2: Episode One Walkthrough - Half Life-2-Episode-One 72

Don't exit the way you came. Instead, leave through this doorway to the right of the tether.

Half Life 2: Episode One Walkthrough - Half Life-2-Episode-One 73

Ride a lift up to this next corridor where you'll battle more soldiers and Overwatch.

Half Life 2: Episode One Walkthrough - Half Life-2-Episode-One 74

Find this combo station on the left as you near the exit.

Half Life 2: Episode One Walkthrough - Half Life-2-Episode-One 75

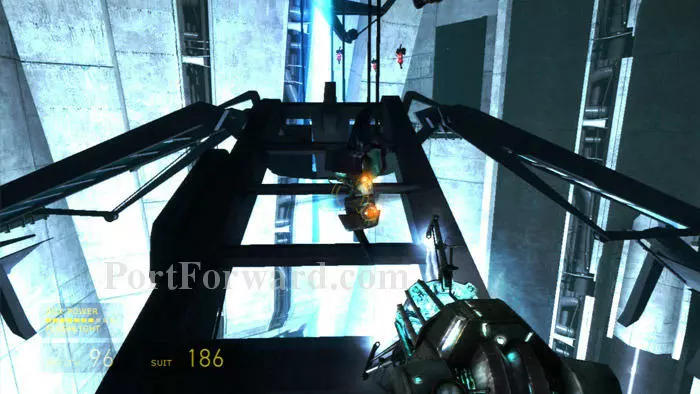
Turn around to battle a couple more troops after exiting, then hop onto one of these rotating blades. Battle numerous manhacks -- just grab them and toss them into the blades or into the core itself.

Half Life 2: Episode One Walkthrough - Half Life-2-Episode-One 76

Jump onto this balcony once it rotates into position.

Half Life 2: Episode One Walkthrough - Half Life-2-Episode-One 77

Fight your way through this next corridor.

Half Life 2: Episode One Walkthrough - Half Life-2-Episode-One 78

Remove this hatch and climb inside.

Half Life 2: Episode One Walkthrough - Half Life-2-Episode-One 79

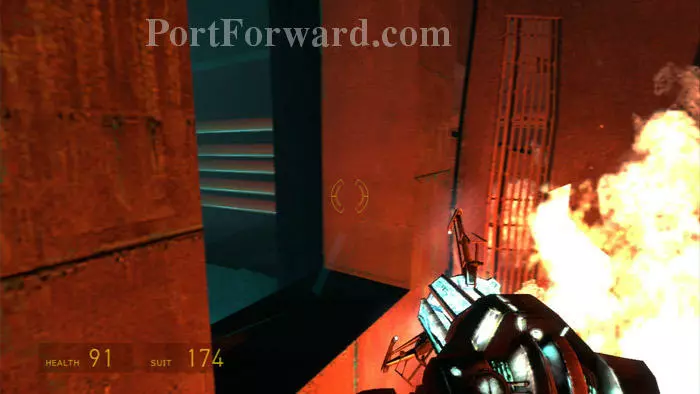
Jump off this ledge left of the fire.

Half Life 2: Episode One Walkthrough - Half Life-2-Episode-One 80

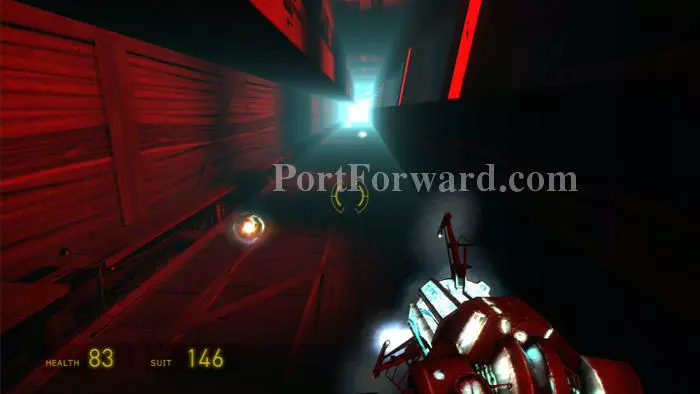
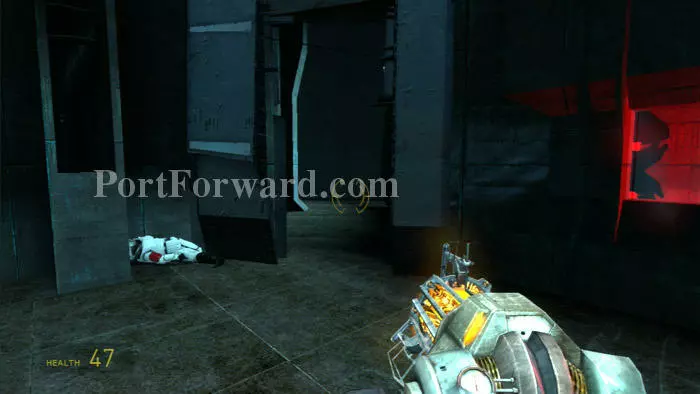
Descend the ramp to another game of energy-bowling-ball. Dodge or jump the balls to reach the exit hatch at the far/left side of the alley.

Half Life 2: Episode One Walkthrough - Half Life-2-Episode-One 81

More Overwatch attack as you exit.

Half Life 2: Episode One Walkthrough - Half Life-2-Episode-One 82

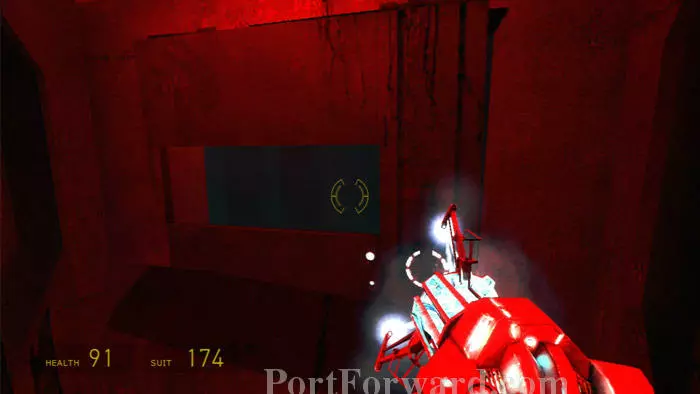
Grab an energy ball from the alley and toss it into the socket.

Half Life 2: Episode One Walkthrough - Half Life-2-Episode-One 83

Something goes wrong; the tether machinery moves into place but the tether never energizes. Jump into the pit on the right.

Half Life 2: Episode One Walkthrough - Half Life-2-Episode-One 84

Enter this room beneath the subfloor and find three inactive energy beams. Grab energy balls from the opening in the ceiling and energize the three beams.

Half Life 2: Episode One Walkthrough - Half Life-2-Episode-One 85

The third beam is a bit tricky. Energizing it activates the tether machinery and that's your ride out of here. Position yourself as I am here, near the tether machine/lift.

Half Life 2: Episode One Walkthrough - Half Life-2-Episode-One 86

Energize the beam then quickly jump onto the lift before it rises out of reach.

Half Life 2: Episode One Walkthrough - Half Life-2-Episode-One 87

Grab another energy ball from the alley and toss it into the socket to activate the third tether.

Half Life 2: Episode One Walkthrough - Half Life-2-Episode-One 88

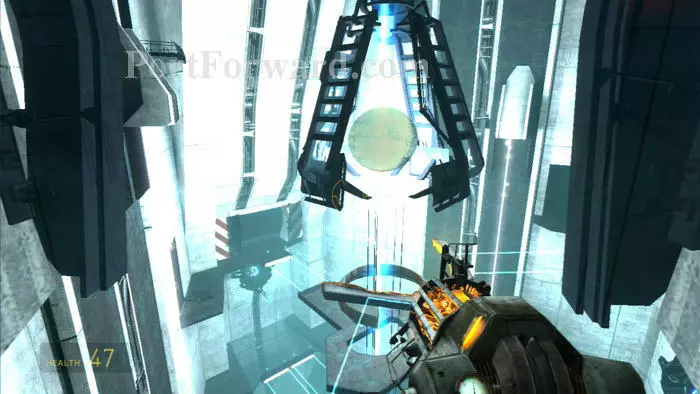
Take a gander at the core to find it peacefully contained.

Half Life 2: Episode One Walkthrough - Half Life-2-Episode-One 89

Exit through here.

Half Life 2: Episode One Walkthrough - Half Life-2-Episode-One 90

Return to Alyx and discover that the once-turncoat Judith is in trouble.

Half Life 2: Episode One Walkthrough - Half Life-2-Episode-One 91

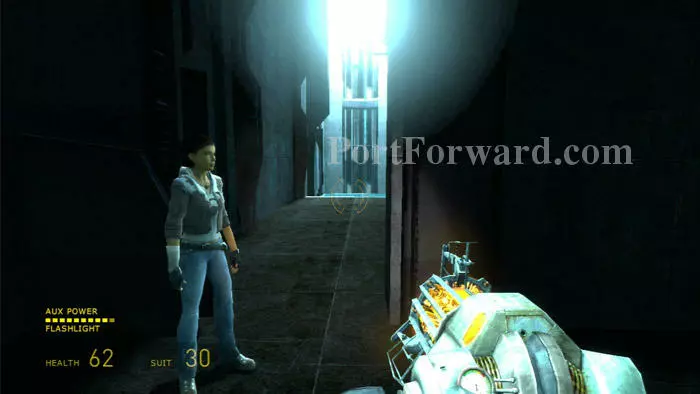
Alyx opens this door for you. Follow the corridor to the lift ahead.

Half Life 2: Episode One Walkthrough - Half Life-2-Episode-One 92

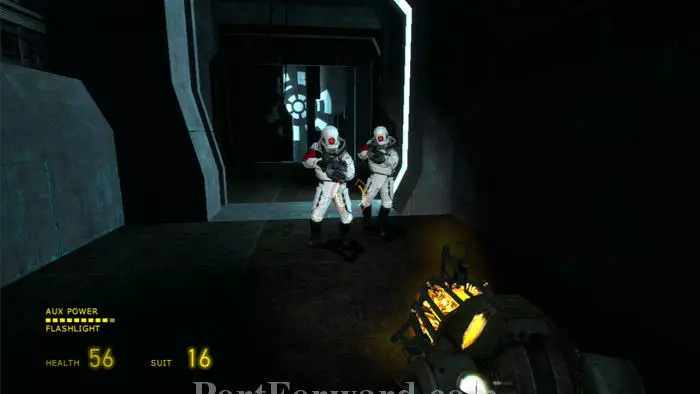
Ride the lift down then follow the corridor a short distance until these Overwatch attack from behind. You'll be left defenseless as your Gravity Gun is no longer Supercharged.

Half Life 2: Episode One Walkthrough - Half Life-2-Episode-One 93

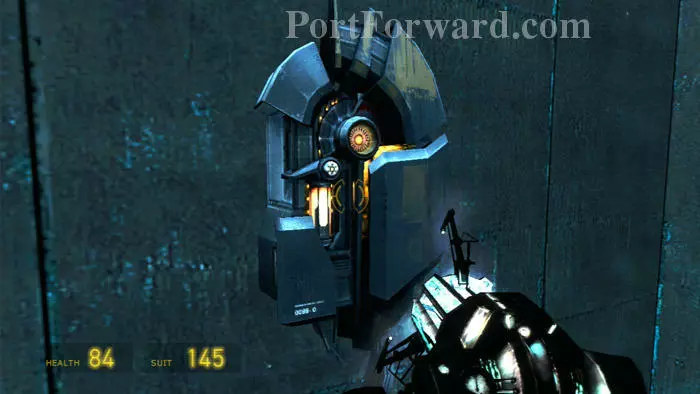
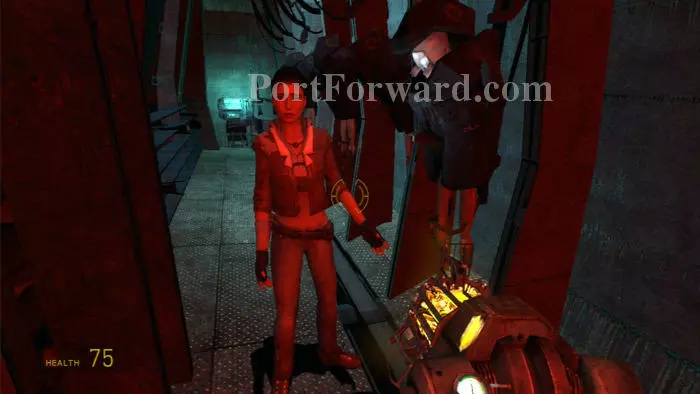
After Alyx seals them off grab two of these roller mines for her to reprogram.

Half Life 2: Episode One Walkthrough - Half Life-2-Episode-One 94

Hang back while the roller mines defeat this next wave of troops.

Half Life 2: Episode One Walkthrough - Half Life-2-Episode-One 95

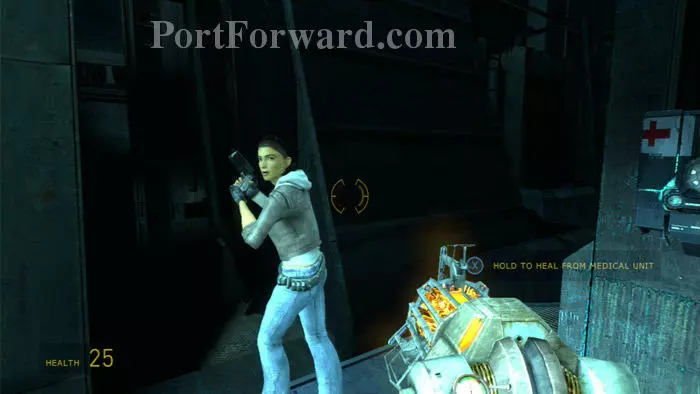
Once the area is clear, heal at this health station then follow Alyx into the train.

Half Life 2: Episode One Walkthrough - Half Life-2-Episode-One 96

Alyx is relieved at the clean getaway until she discovers that the train is a Stalker transport.

Half Life 2: Episode One Walkthrough - Half Life-2-Episode-One 97

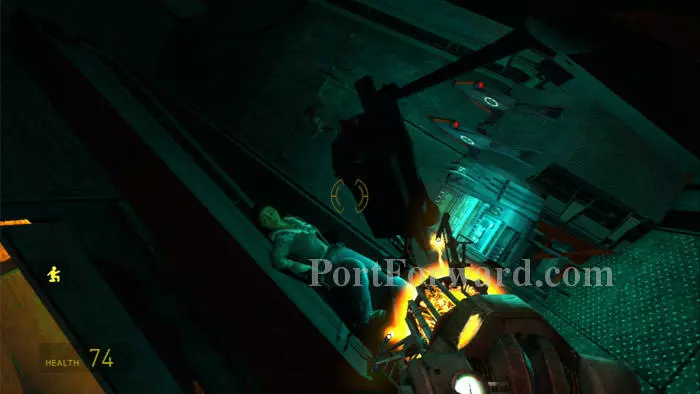
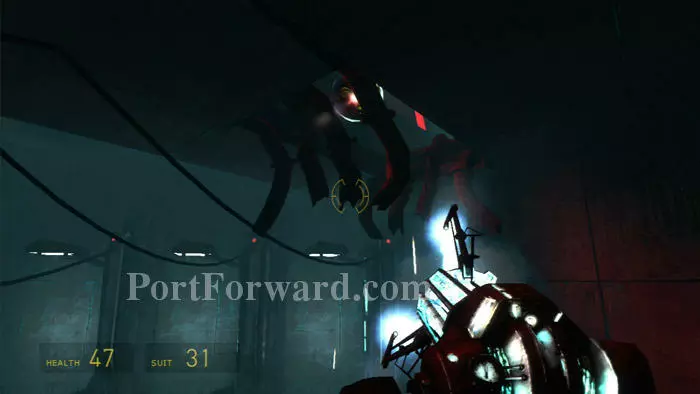
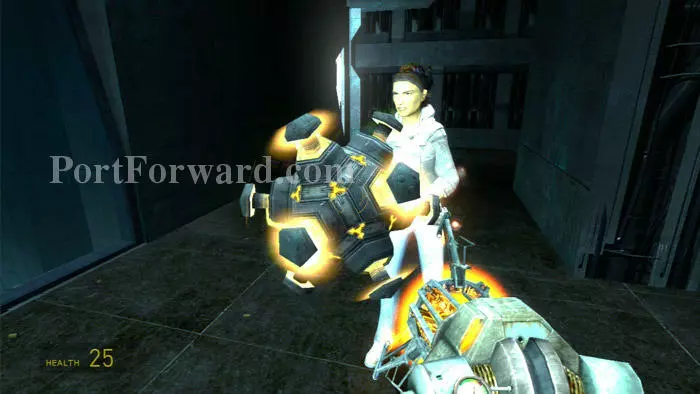
After a short distance the train derails. Make your way through the car to Alyx. Use your Gravity Gun to pull this Stalker off of her.

Half Life 2: Episode One Walkthrough - Half Life-2-Episode-One 98

Exit through this door then climb under the debris ahead to load the next level.

More Half Life 2: Episode One Walkthroughs

This Half Life 2: Episode One walkthrough is divided into 5 total pages.

2 - Direct Intervention

More From Portforward