This Halo 4 walkthrough is divided into 8 total pages.
You can jump to nearby pages of the game using the links above.
Shutdown
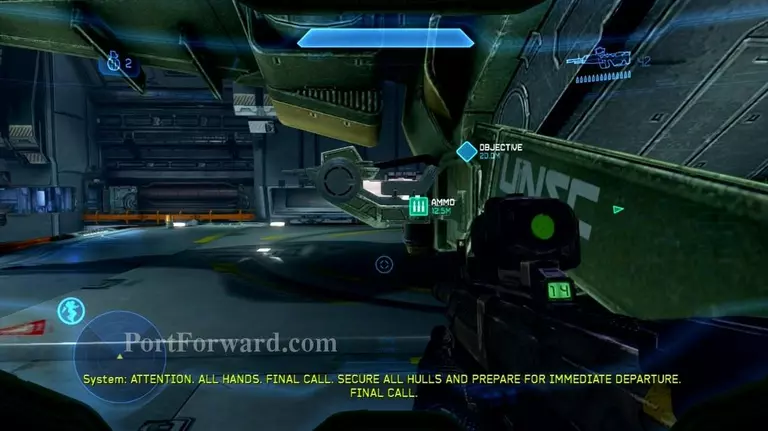
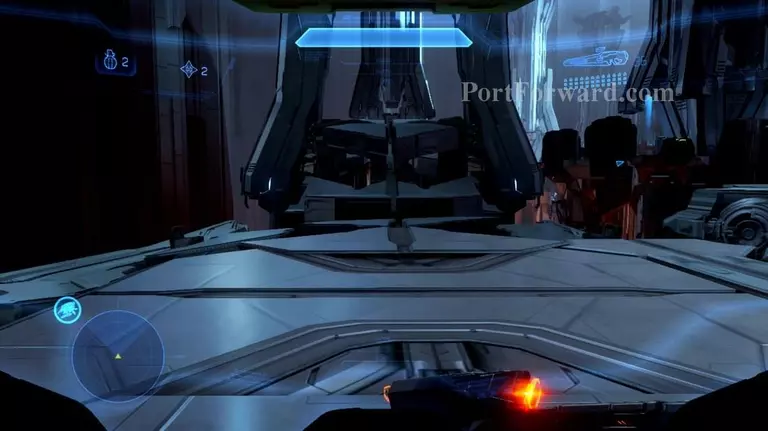
Head forward to your Pelican. Use this opportunity to grab whatever weapons you want, there's tons of them around the hangar and on the Pelican itself. When you're ready, get in the pilot's seat.
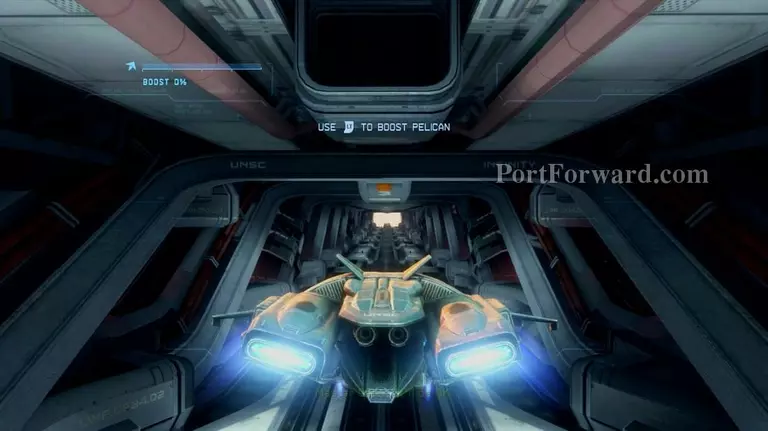
For the first time in the Halo franchise, you finally get to pilot a Pelican. Boost forward off the Infinity and follow the objective markers.

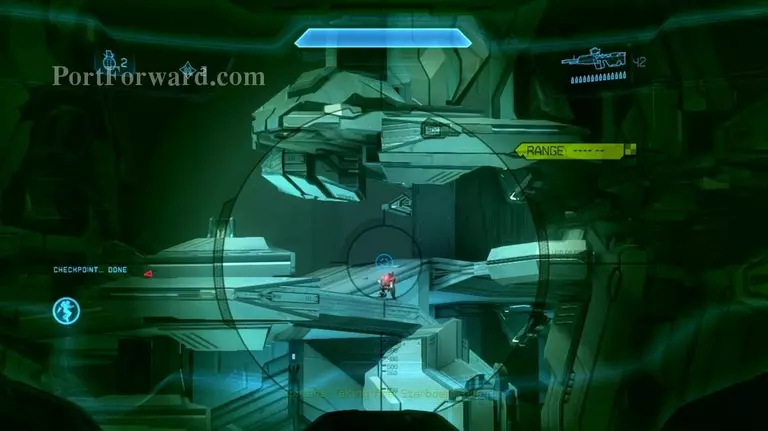
When you get to the first one, there will be lots of Phantoms guarding it. Use your heavy gun, or push the Y button to switch to a Spartan laser. Whichever you choose, destroy all the Phantoms before you land on the landing pad.
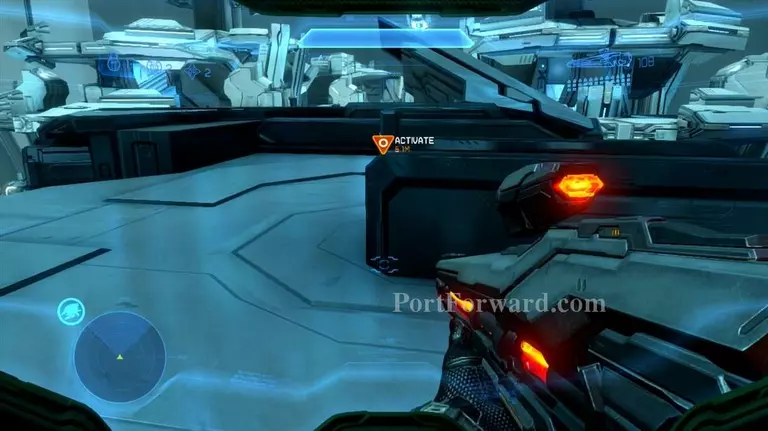
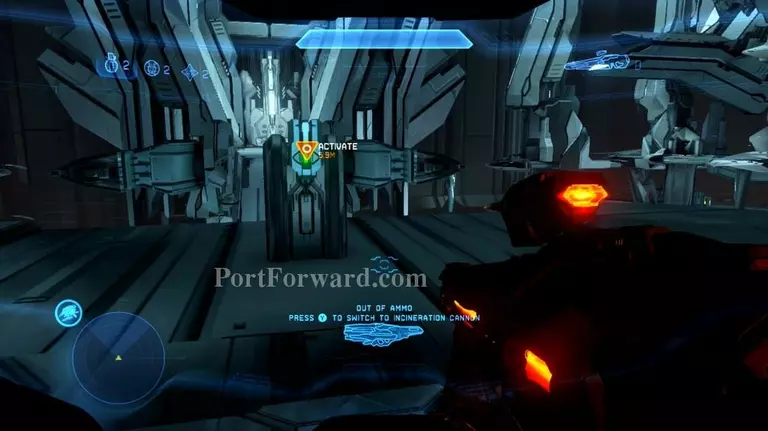
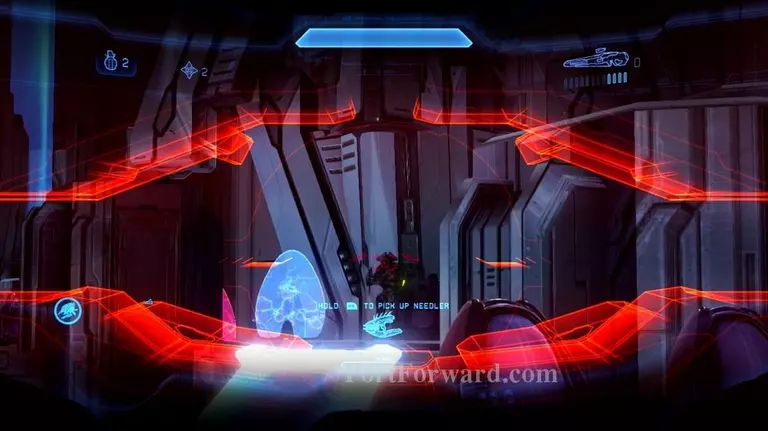
Head through the corridors and onto the gondola. There will be a button to push at the top of it that will activate it. There's also tons of weapons and grenades on it.
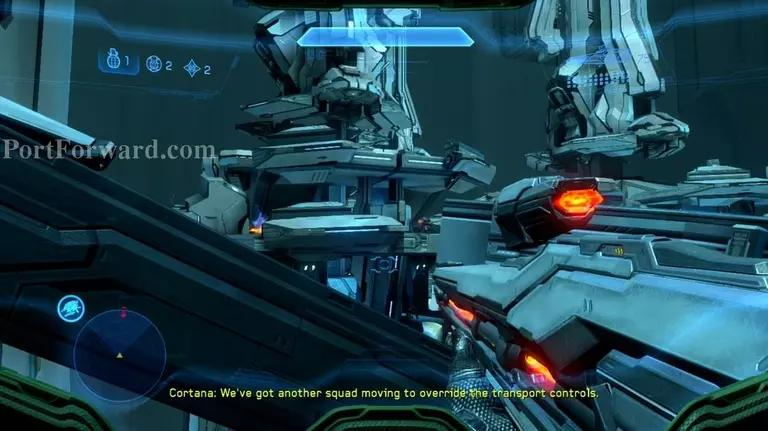
While the gondola makes its way across the room slower than molasses, you'll be attacked from the right hand side by some snipers. It's a good idea in this particular mission to keep a long-range weapon with you at all times.
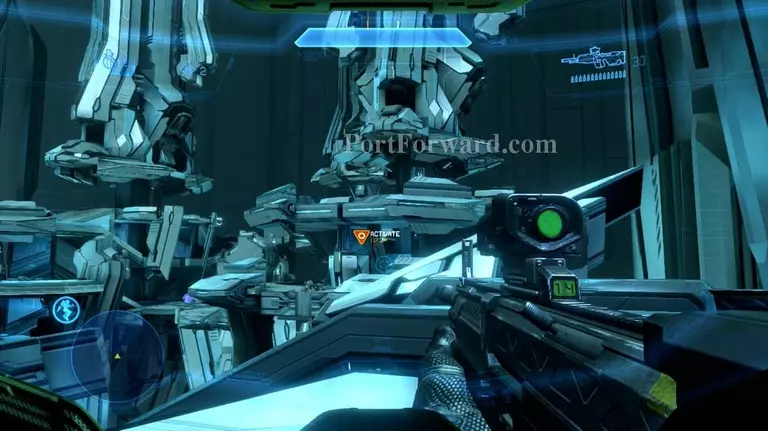
After a few moments, the Covenant will stop the gondola and you'll have to override it. Head across the newly formed light bridge to the other structure and make your way to the top.
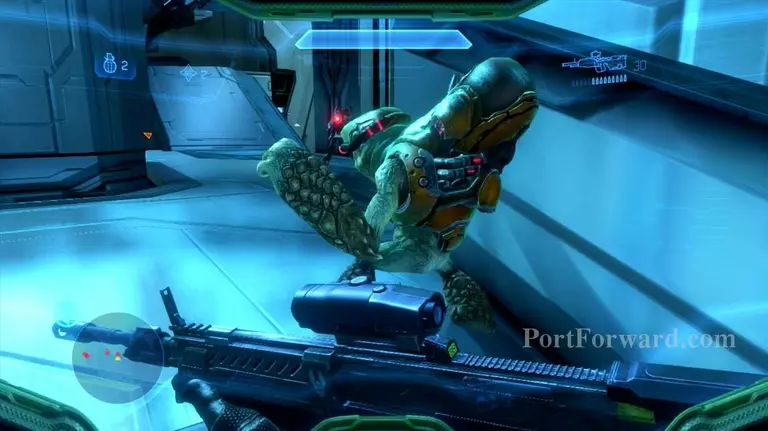
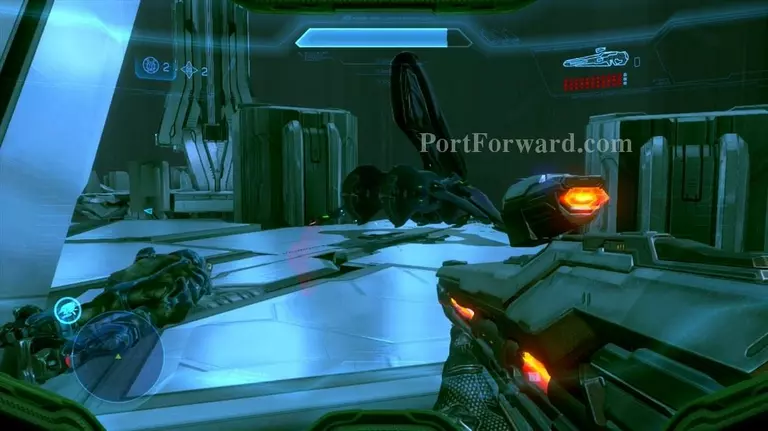
Along the way, you'll be attacked by Grunts, Jackals, more snipers, and Elites. Get to the top and override the gondola.
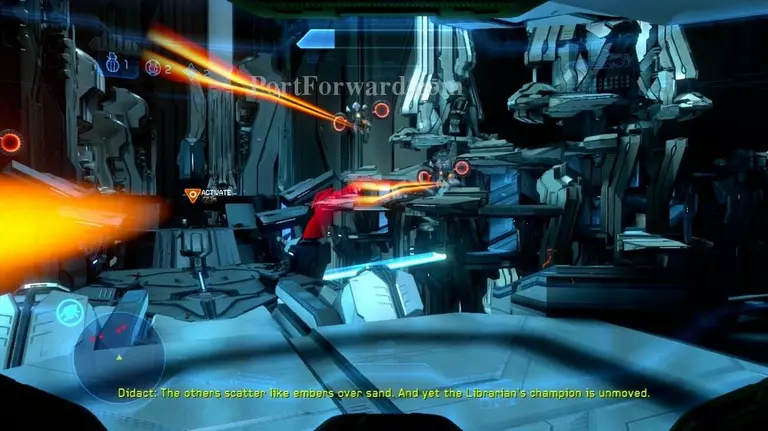
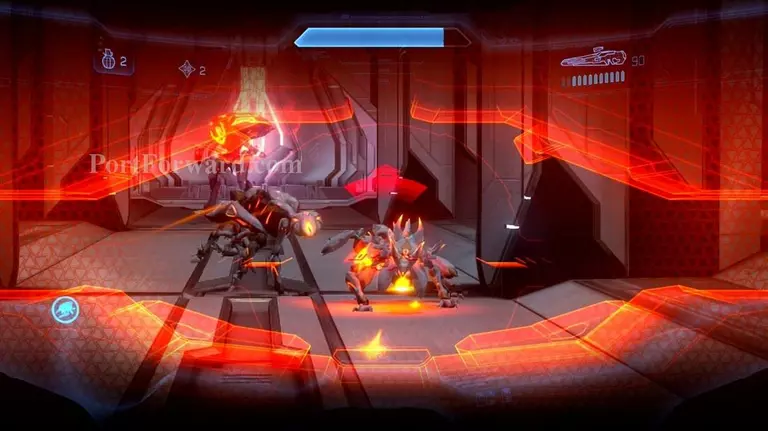
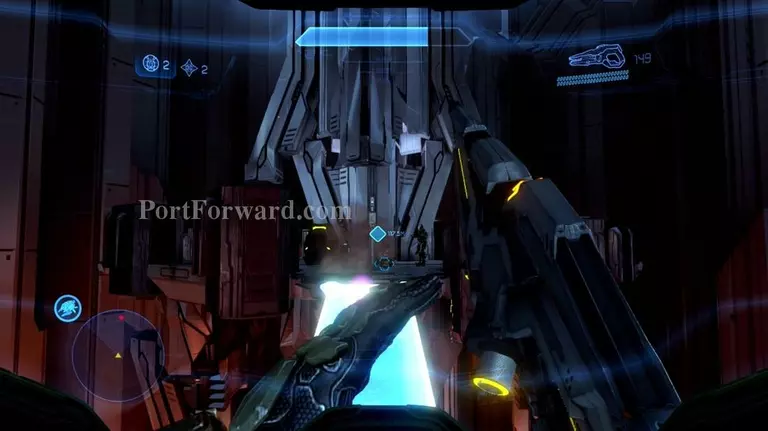
Immediately after activating the switch, you'll be attacked by Promethean Knights and Crawlers. Get back to your gondola and activate it again when they're taken care of.
While riding the gondola, you'll again be attacked by two Knights. Nothing too bad...
...until they stop the gondola AGAIN. More Knights, Watchers, and Crawlers come out to attack you. Again. So make your way to the top of the other structure so you can override it. Again.
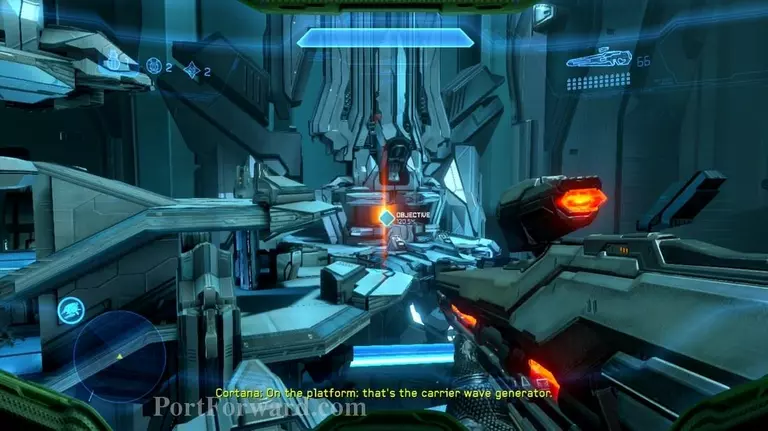
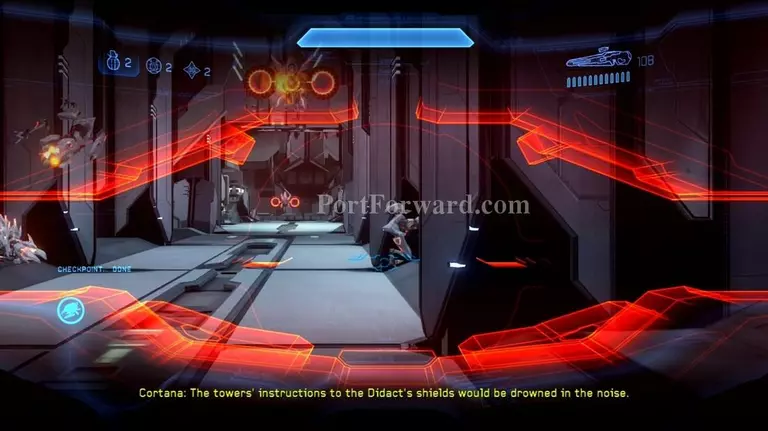
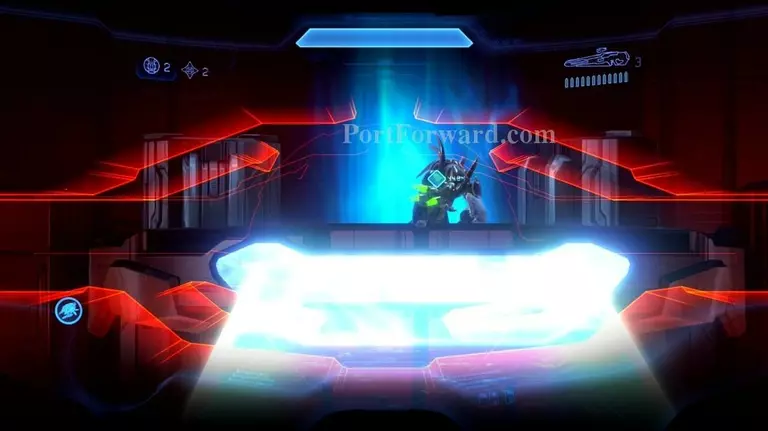
When the gondola reaches the end of its path, fight your way through Crawlers and Knights and get to the carrier wave generator.
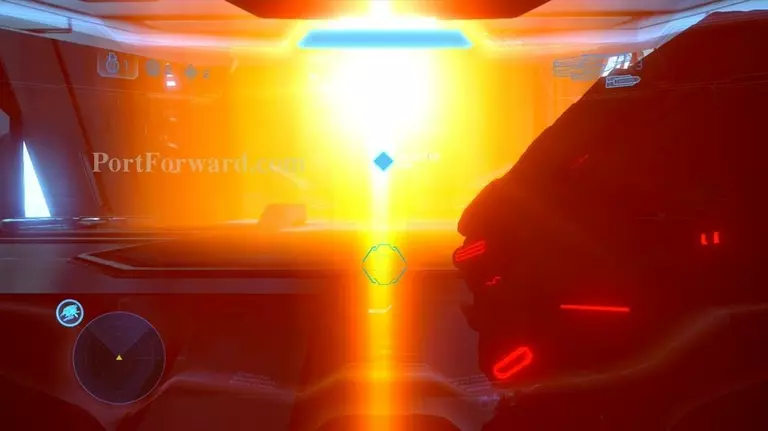
Walk into the generator beam to shut it down using your shields. Just like the old days!
Right after that, you'll be ambushed by a group of Watchers that come out of nowhere. While your shields aren't fully recovered yet. Take cover quickly and destroy them all with long-range weapons.
When they're gone, head back to the gondola, activate it again, and journey back to where you first entered the structure.
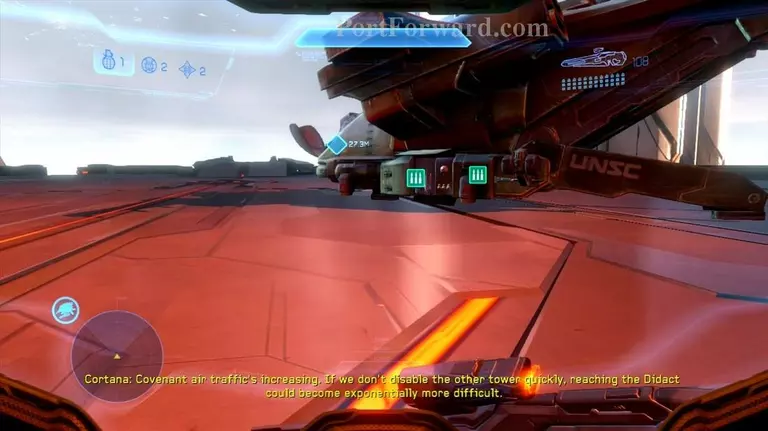
Head back out to the landing pad, refill your ammo, and get back into the Pelican and head to the other objective marker.
Just like before, the tower will be guarded by Phantoms. Take them all down and land again.
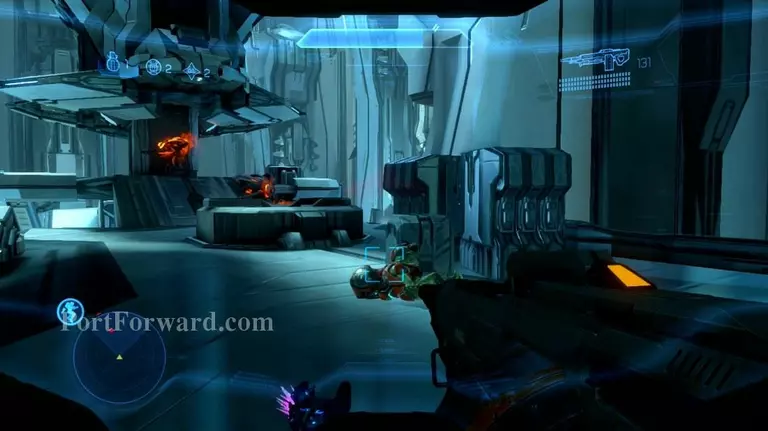
As soon as you head into the structure, you'll be attacked by Watchers and Crawlers. These things are swarming all over in this place; again, long-range weapons are supremely helpful here.
Make your way through them to the console in the middle of the room and activate it. You'll have to destroy three attenuators.

Fight your way through the army of Prometheans to get to each attenuator. When you get to each one, a simple melee punch is enough to destroy it. Do this for all three, then head back to the entrance of the structure.
At the entrance, a Knight and two Crawlers will ambush you. Nothing too major. When they're gone, refill your ammo at the Pelican again and get in the pilot's seat.
Cortana will give you another waypoint. Follow it and land on the landing pad that comes out.
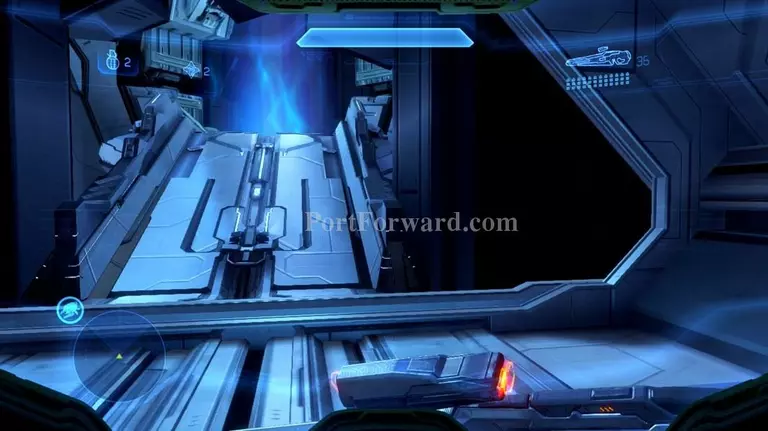
When inside, head into the beam of light to get sent up to a huge room.
The floor will start shifting around you. Be careful as you advance to the objective marker; one wrong step will send you plummeting.
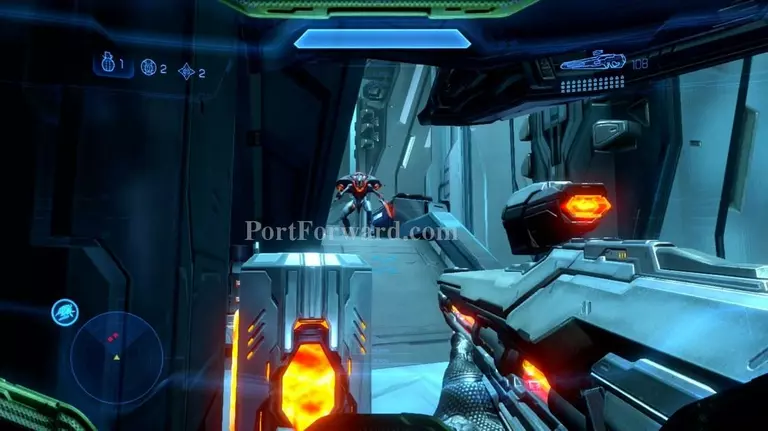
As you push forward, you'll run into your old buddies: Grunts, Jackals, and Elites. Nothing you can't handle at this point, right?
When you get to this point and kill this Elite, be sure to take his fuel rod cannon that he drops. You're gonna need it pretty quick, trust me.
See? Hunters! Use your fuel rod to make short work of them, then head up the beam.
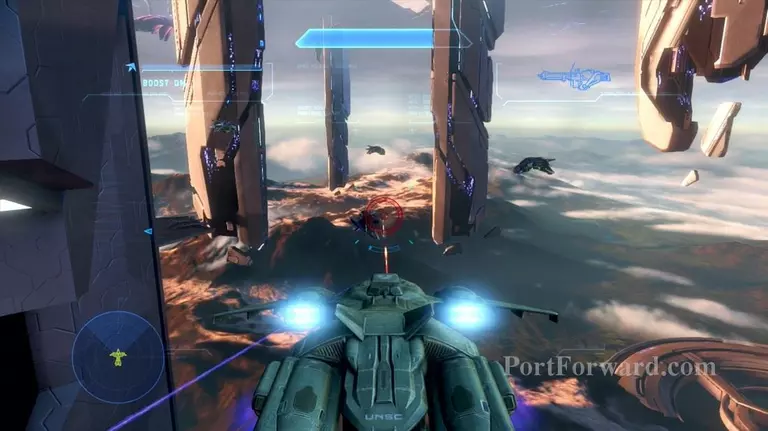
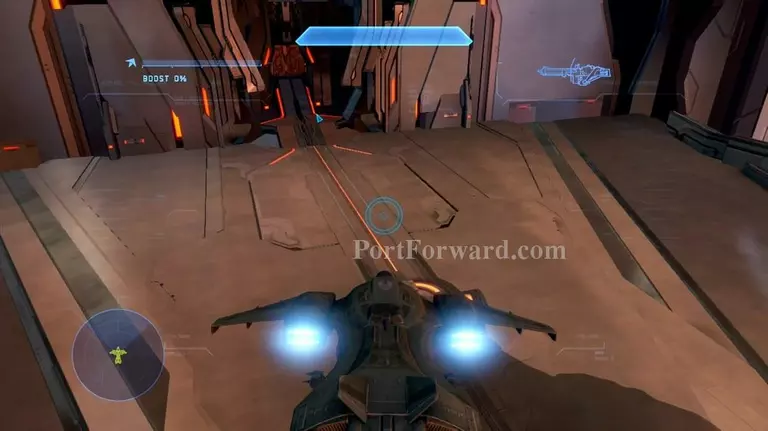
This room is a tough one to get through, but there's a simpler and quicker way if you can manage it. Take the Banshee to your right.
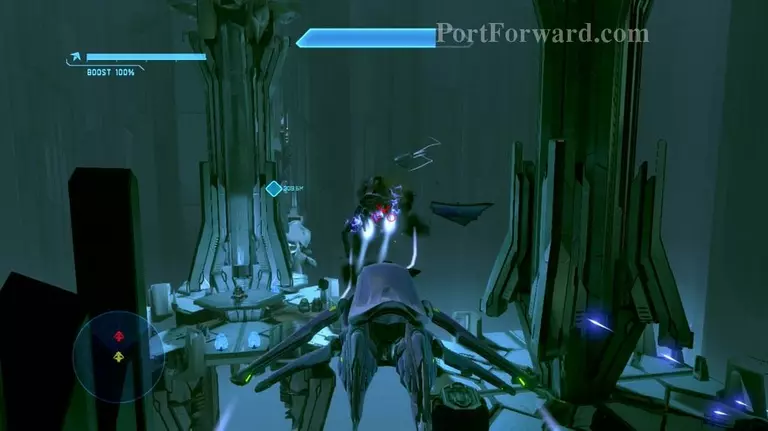
Boost straight to the objective marker across the room. Don't stop to shoot, don't stop for anything, just move it as quick as you can.

At the end of the room, land the Banshee and book it through the doorway as quick as you can! If you're quick enough doing all this, you can make it through without firing a single shot.

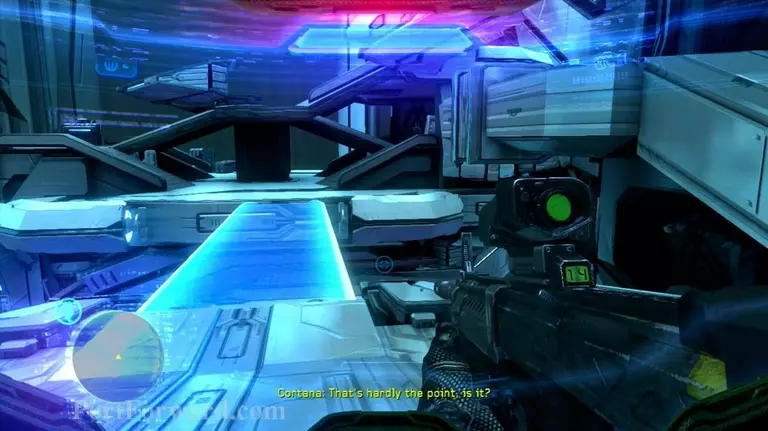
At the end of these corridors, insert Cortana into the console.

You'll have to make a running jump here.

Watch the Chief be awesome as usual and get ready for the next mission.
More Halo 4 Walkthroughs
This Halo 4 walkthrough is divided into 8 total pages.