This Halo 4 walkthrough is divided into 8 total pages.
You can jump to nearby pages of the game using the links above.
Reclaimer
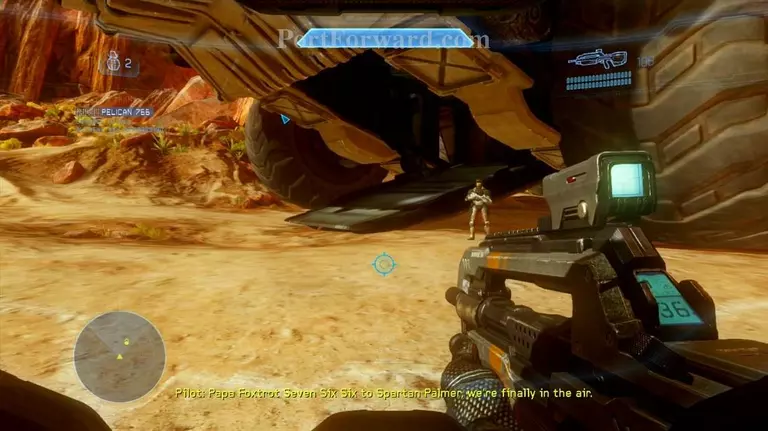
Head forward, head into the Mammoth and get ready for an incredibly slow ride! Yeah!
When you get to the top, take the two sniper rifles up here, they'll come in handy later. Also take a jetpack when prompted to.

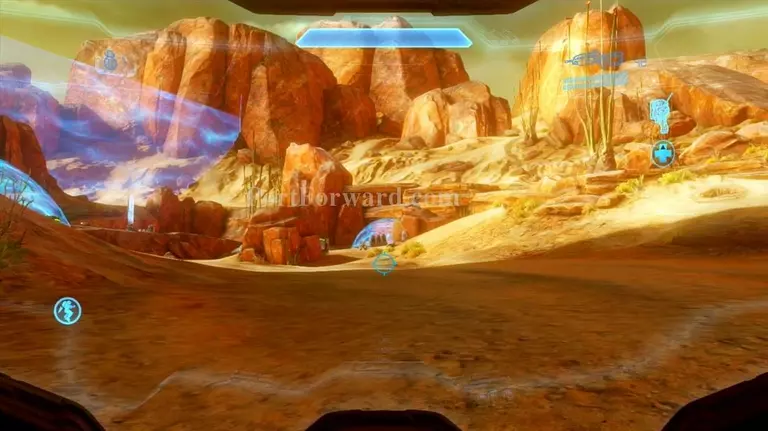
Ahead on your fantastic slow journey, you'll have to neutralize a small camp of Covenant before proceeding. Should be easy enough, just Jackals and Grunts.
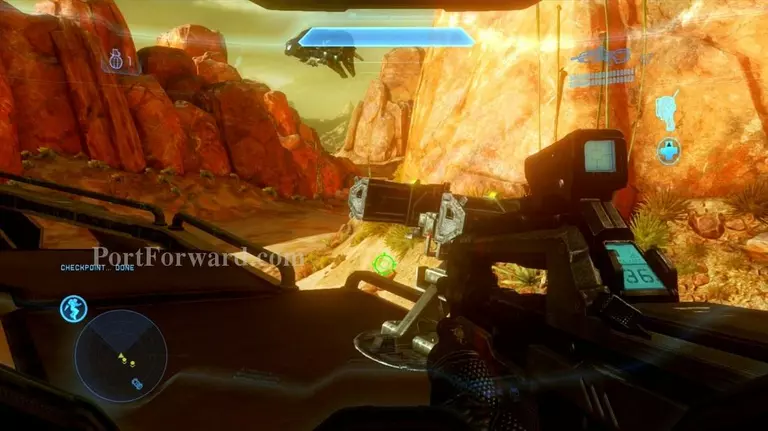
Further ahead, you'll have to help some soldiers in a downed Pelican so you can get the target designator from them. If you want, there's a rocket turret available at the top of the Mammoth.
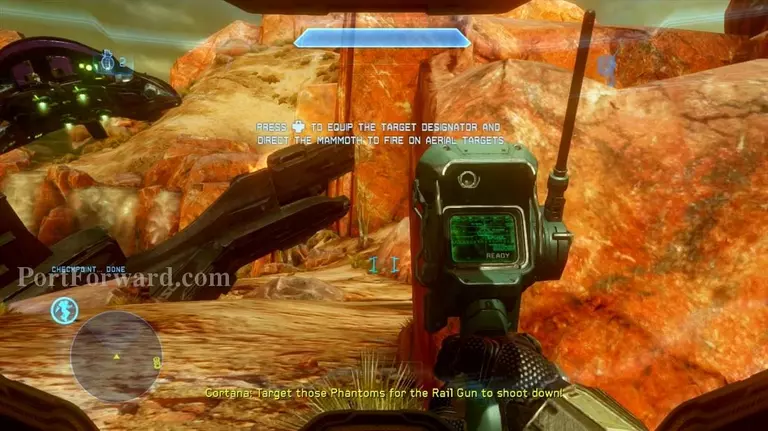
After you take down all the Covenant in the area, run forward and grab the target designator. Use it to target a nearby Phantom ship and watch the fireworks. Awesome!

More Covenant will appear in the area while the gun reloads. After taking them down, you'll be free to target the first particle cannon with the target designator. Sweet, this thing's awesome!
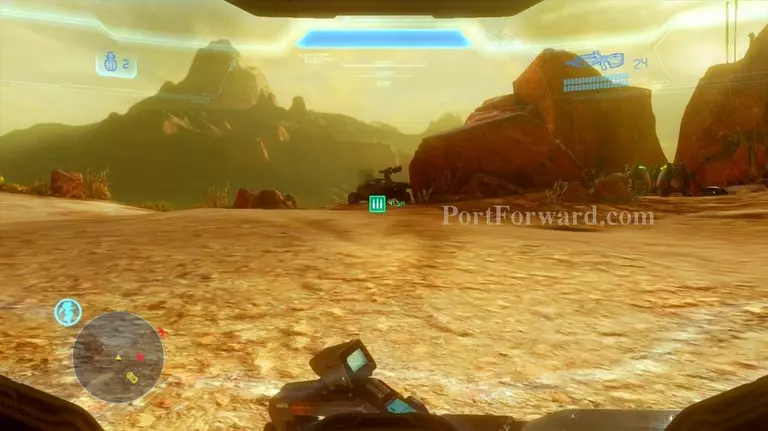
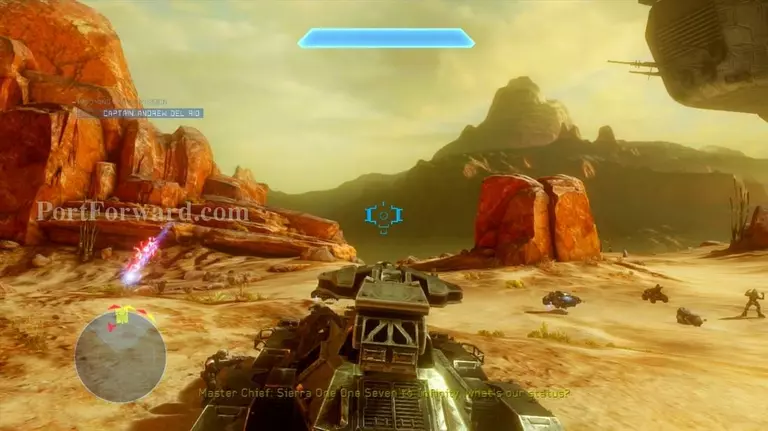
Get back on the Mammoth as it continues forward. Watch out for the Phantoms and Banshees here that attack.
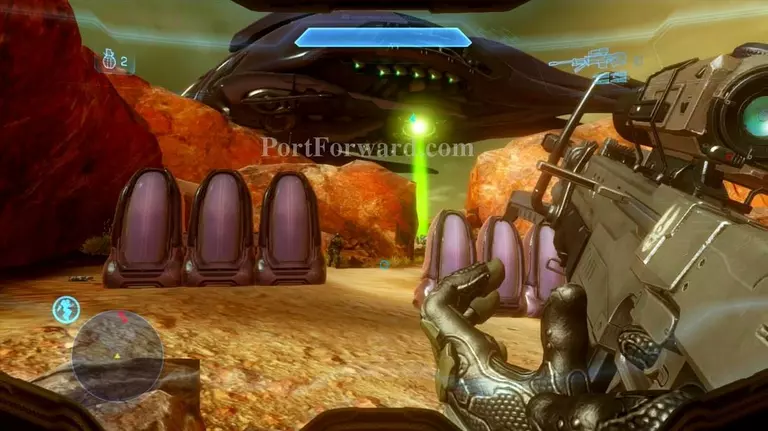
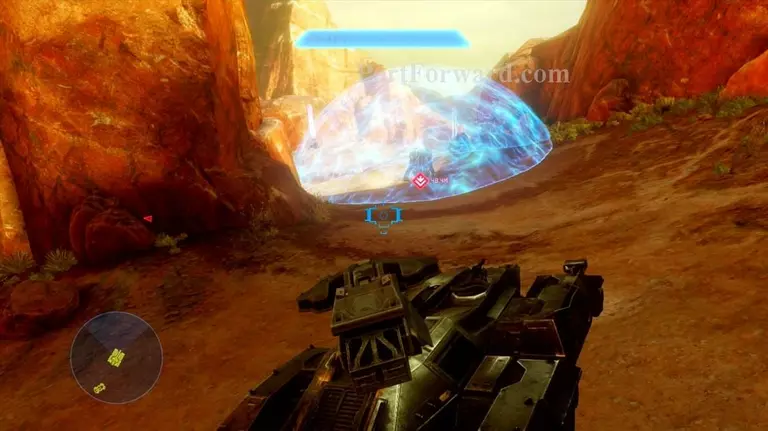
The Mammoth will eventually stop in front of this blockade and you'll have to take out 3 power sources to continue. The easiest thing to do here is hijack a Ghost and just speed through the whole area, taking down power sources along the way.
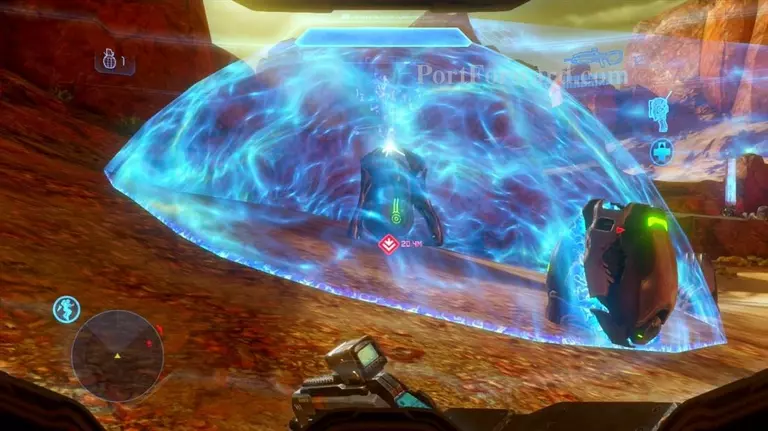
When you're inside the shield, shots fired from the outside (even from Wraiths) can't penetrate it. Use this to your extreme advantage. Enemy troops can still run through it though. Destroy the power sources in all 3 shielded areas, then link up with the Mammoth again.
On top of the Mammoth, you'll have a clear view of the second particle cannon. Use the target designator again and get a free fireworks show again!
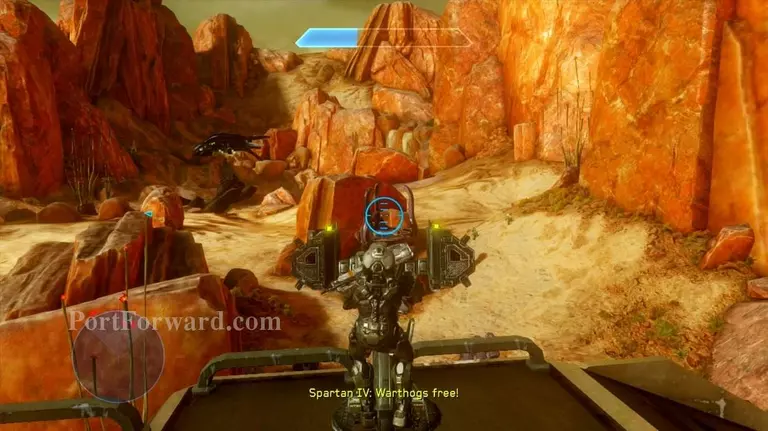
At this point, get back inside the Mammoth before the Covenant ships overhead start shooting at you. Make your way outside and grab the Gauss Warthog sitting near the Mammoth. It's marked with the "ammo" marker.

Get in with one of your soldier buddies and take out all the Covenant around you as you fight your way to the grav lift Cortana just mentioned.
At this point, you'll have to ditch the Warthog and go at it on foot the rest of the way to the grav lift. It's a short battle with some Covenant, nothing too major. When they're gone, walk into the lift to be lifted up into the huge ship above.

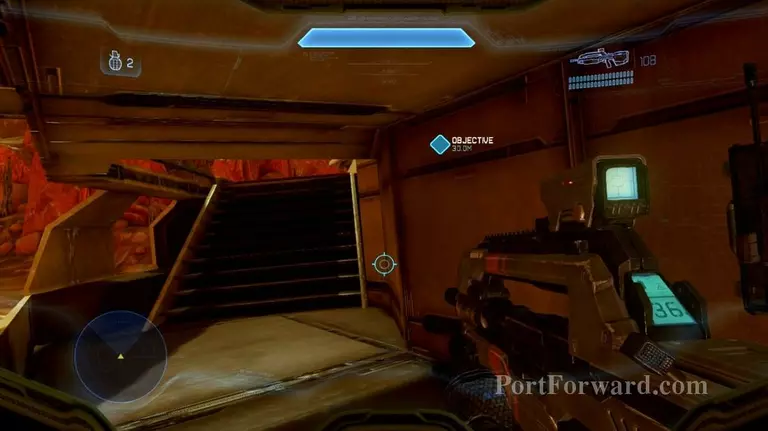
Take out the few Covenant inside the ship, then destroy the power...thingy...that's marked on your HUD.
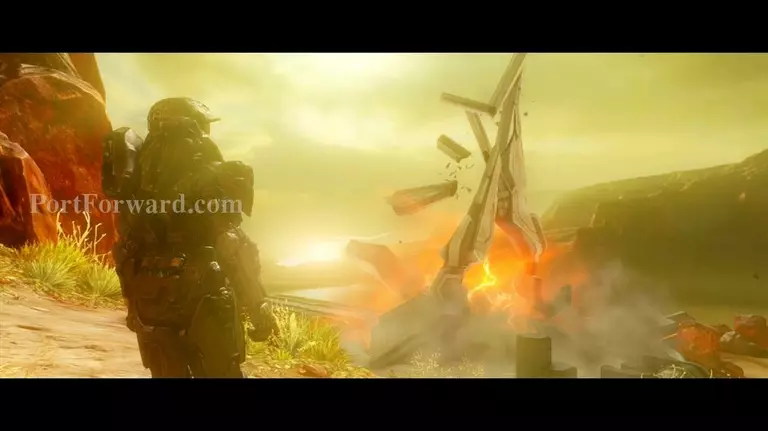
When it's destroyed, book it to the hole where you came in from and drop down out of the ship!
Sweet. Get back on the Mammoth for another journey.
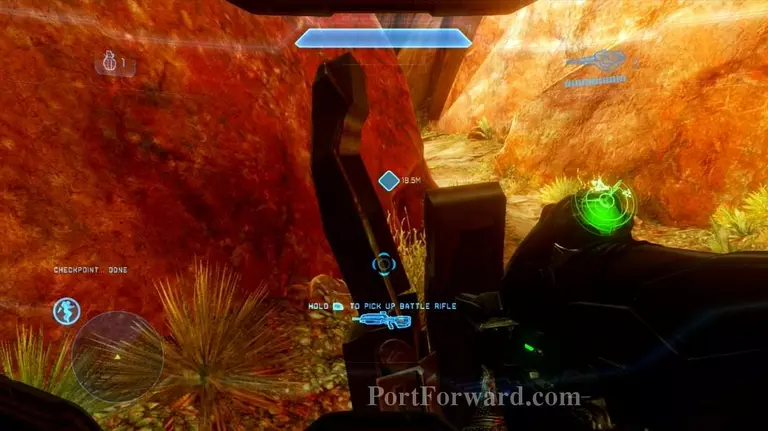
At this point, you'll be ditching the Mammoth and going at it alone. Grab the sniper ammo and the BR if you want, they'll both help a lot in this next part.
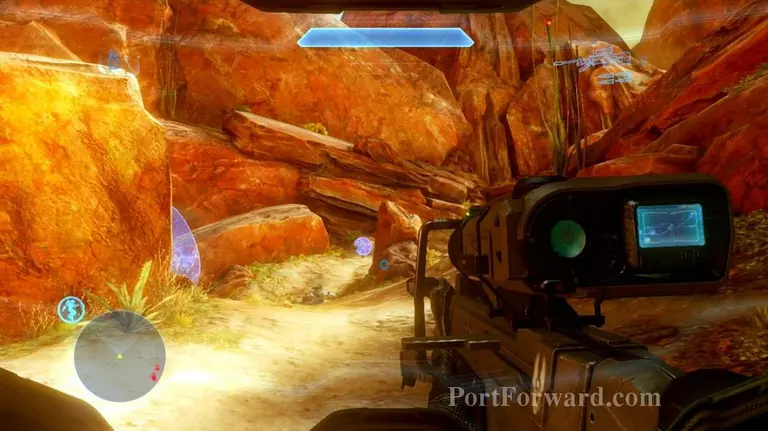
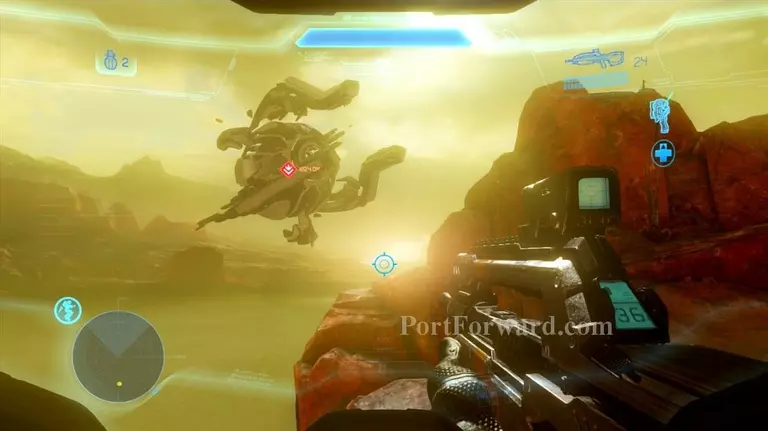
Lots of Grunts and Jackals in this next part, but even more important are the loads of snipers hiding in the hills. This is where those long range weapons come in handy. Tread carefully here as you press forward up the structure.
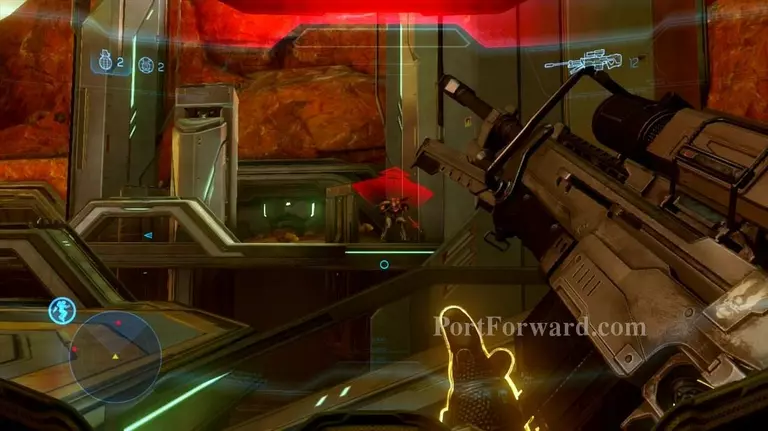
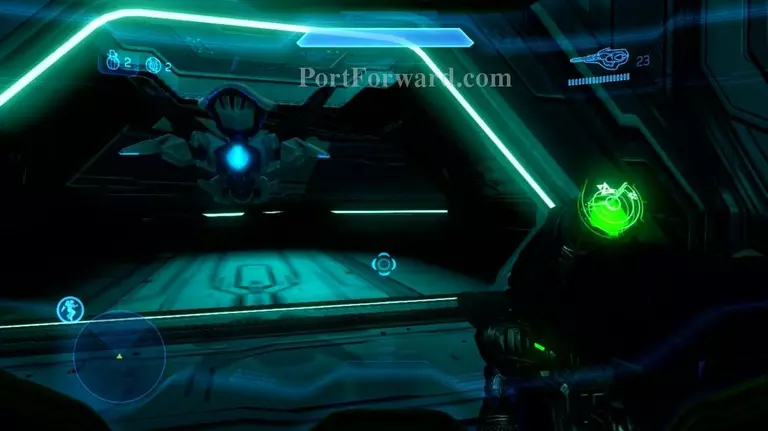
When you get to the top of the structure, you'll be greeted by Knights and lots of Crawlers. Never a dull moment with the Chief!
When they're all finally gone, approach the door and head into the structure.
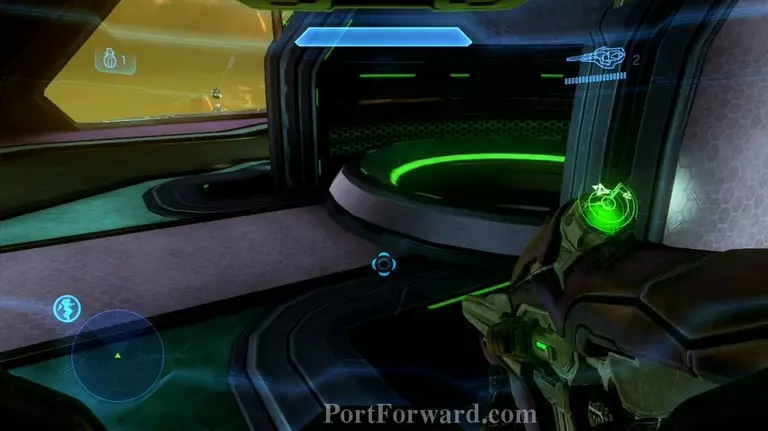
Inside, follow the Sentinels, as they'll open doors for you and lead you where you need to go.
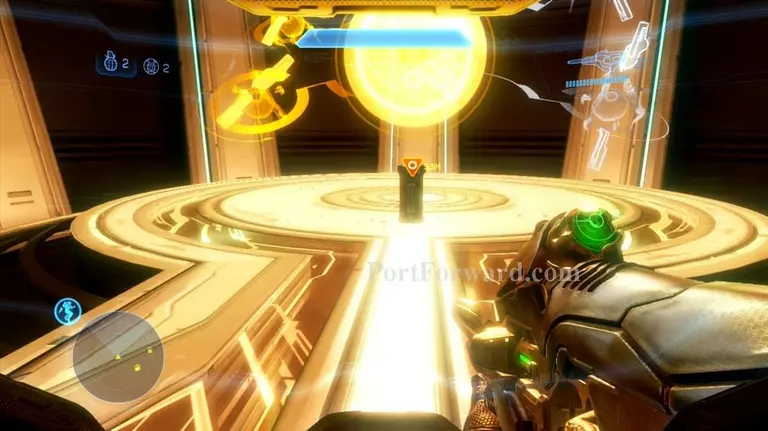
Activate the console at the end of the path.
All these Sentinels watching you are kinda creepy, huh? Head across the light bridge that just formed.

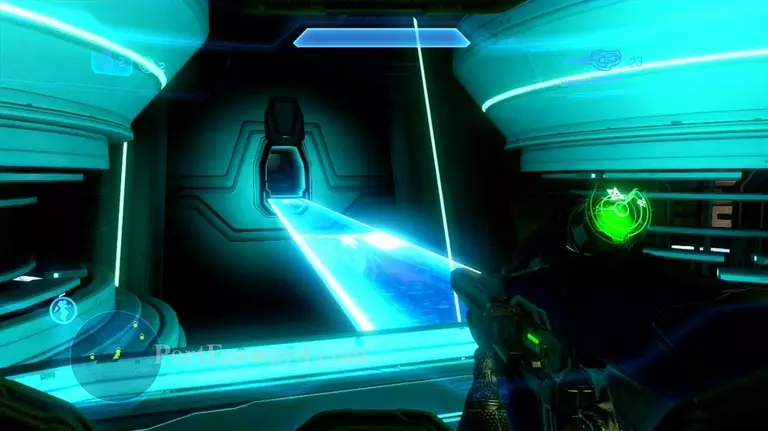
Take a left here, followed by a right.
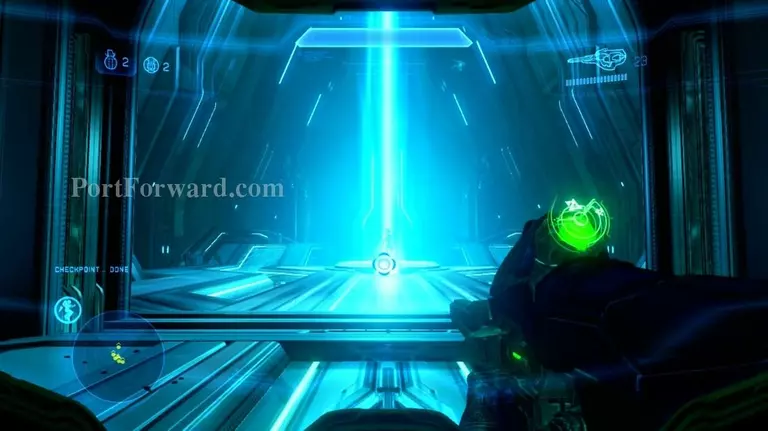
Head past the Sentinels through the door and get sucked into this large blue beam for a long cutscene that explains a TON of backstory.

When you're back inside the structure, you'll immediately be greeted by Crawlers. How nice!

Be sure to pick up Cortana from the console above you.
When they're gone, run to the elevator in the back of the room and head down.

Take a right when you get out and head through the portal to be taken back right into the action with the Mammoth.
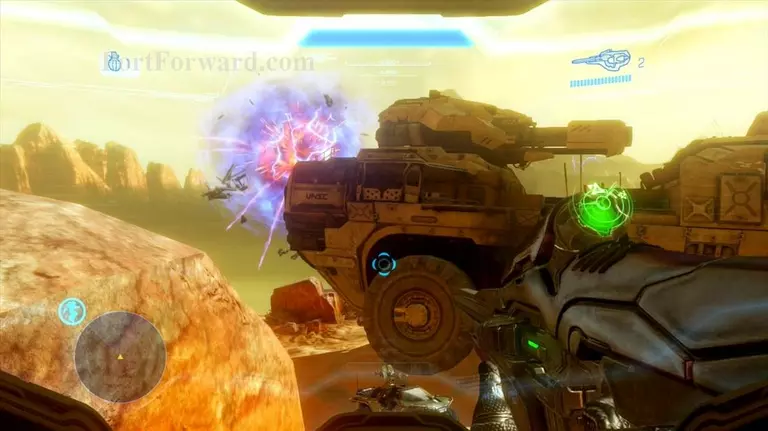
Get into a Scorpion tank and have some fun blowing everything up! Advance through the hills while destroying Covenant.
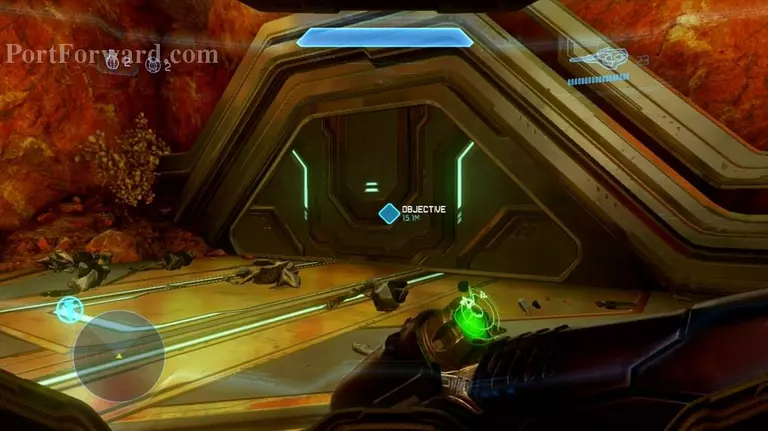
Eventually you'll reach these shields again. Same drill as before: Head inside each of them and destroy the power thingy in the middle.
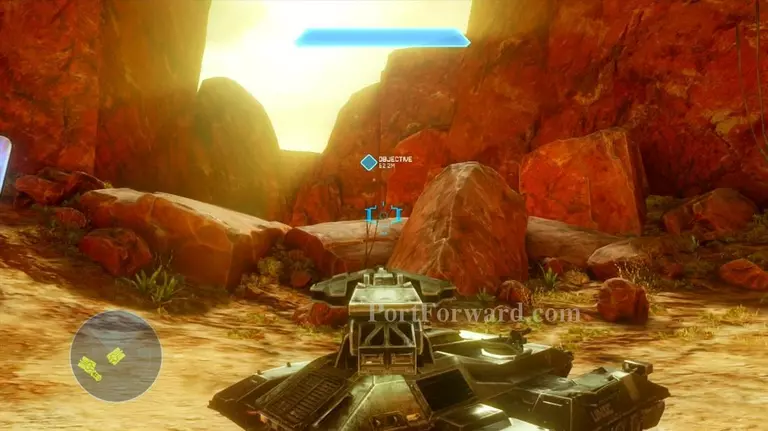
When they're destroyed, head forward to the objective marker. Follow this canyon until you reach the end.
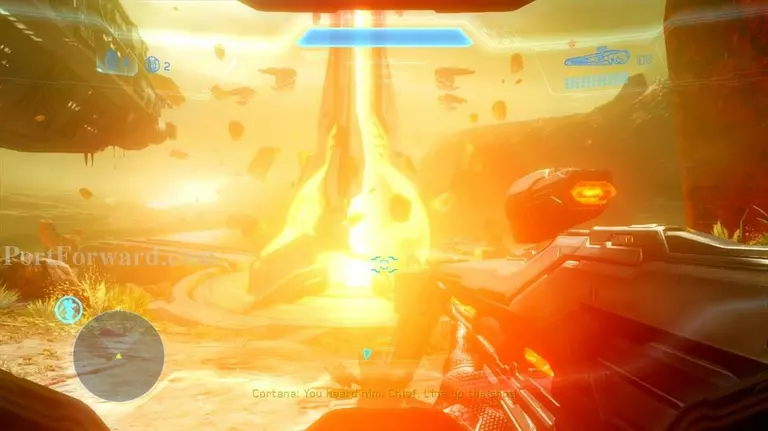
From here you'll have a perfect view of the gravity well keeping you on Requiem. Take out your target designator, mark it and...
Boom! Mission done!
More Halo 4 Walkthroughs
This Halo 4 walkthrough is divided into 8 total pages.