
This Hitman: Blood Money walkthrough is divided into 14 total pages.
You can jump to nearby pages of the game using the links above.
Mission 6 - The Murder Of Crows
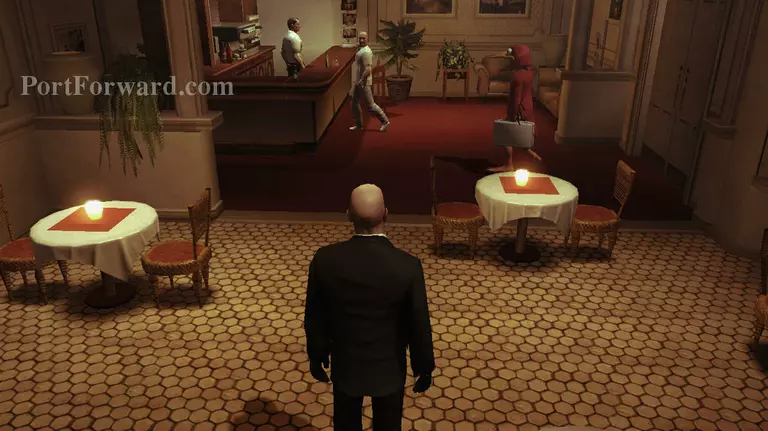
In this mission, it looks like difficult but actually pretty straightforward and as always make sure no one notices you before taking any action. Open fire in this mission is not recommended.

Sometimes, the map changed. So he might not go to the same place like in this picture. Just follow him whenever he go.
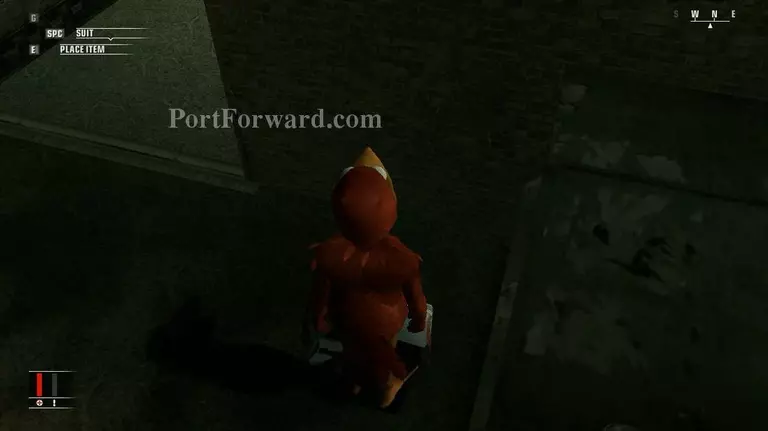
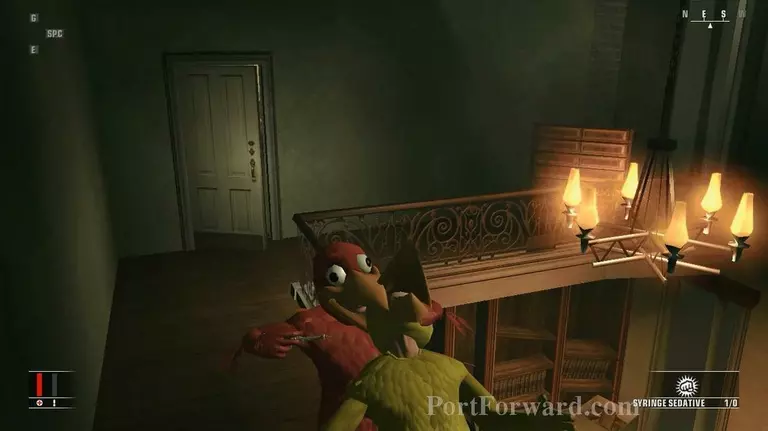
Sedate that guy and wear his costume. This is how you should looks like. Same like the original bird. :)
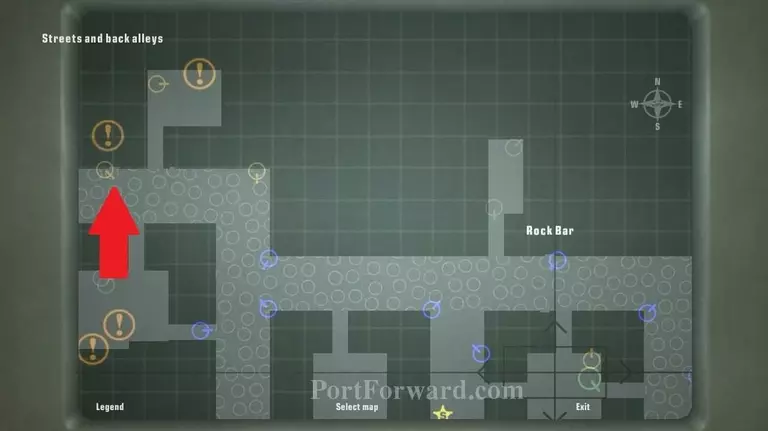
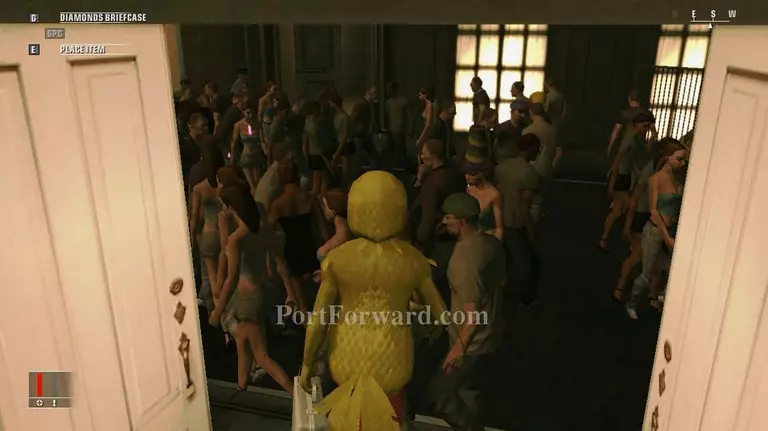
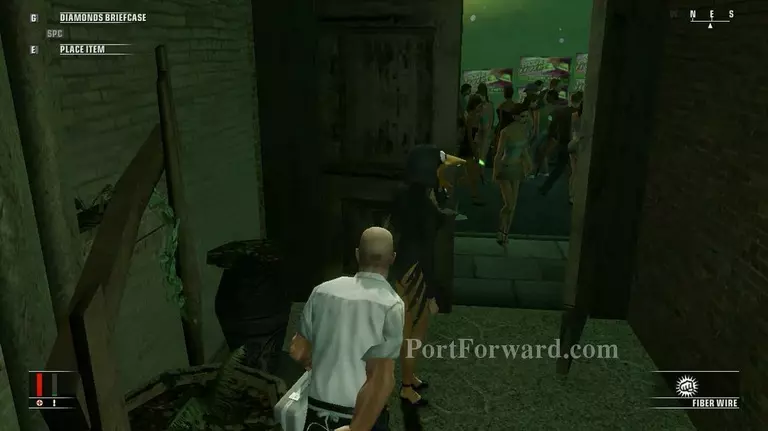
Go to the place as shown by the red arrow. This is the place where you need to bring the briefcase.
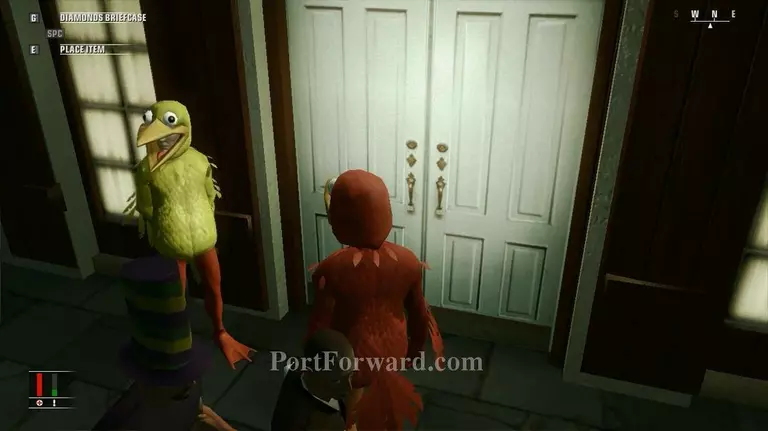
When you reached here, stop at that guy and he will give you the instructions. In short, just open the door, turn left and go upstairs. :P
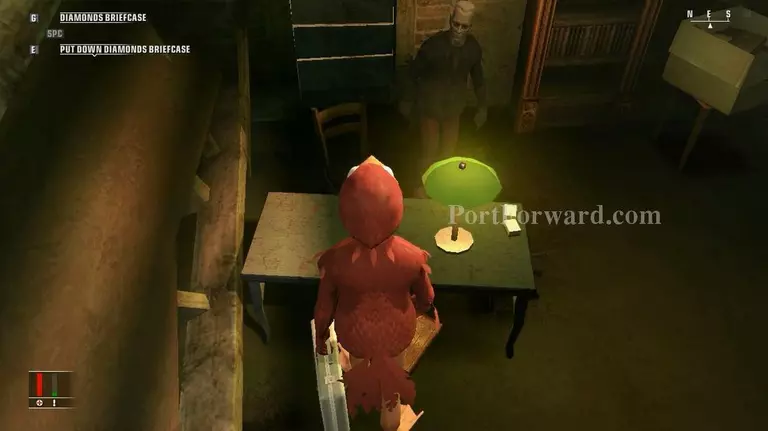
Put the briefcase on the table and get out from the room.
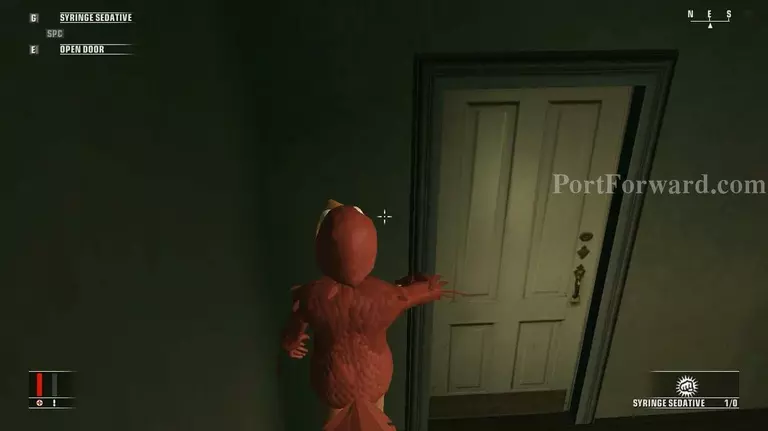
Once the yellow bird go inside the room. Wait for him outside the room because he will prevent from going inside.
Give him a shot or else he will bother your life :)
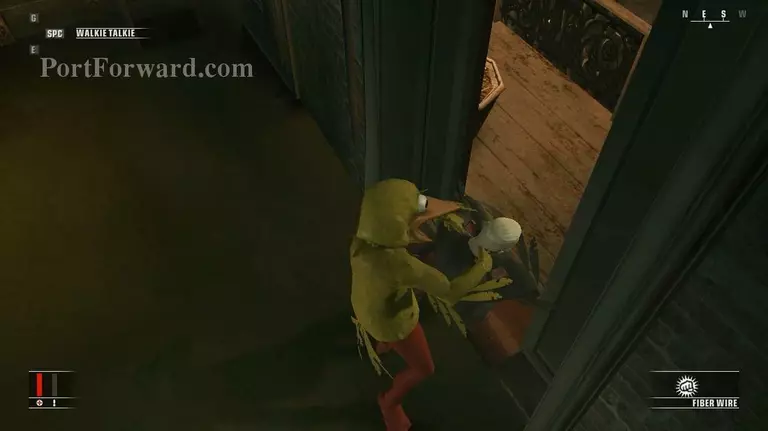
Remember to pick up the walkie talkie and the briefcase after killing your target. The walkie talkie will show the other two targets on the map.
Check your map to find the another target.
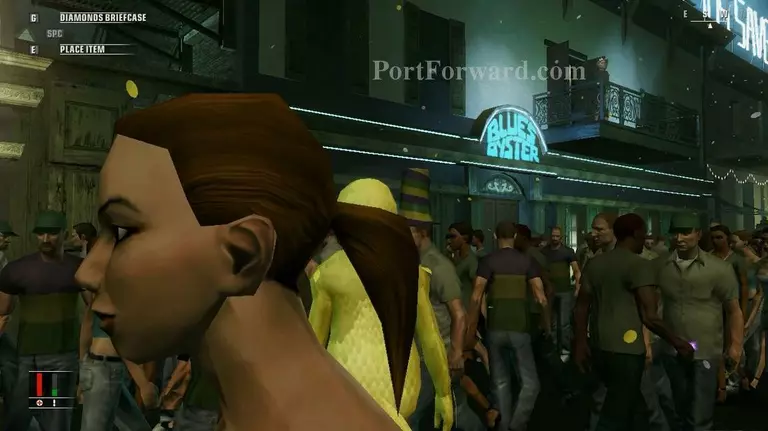
One of them is in here, Blues Oyster. So, go through the opened door near it and enter the building from back door.
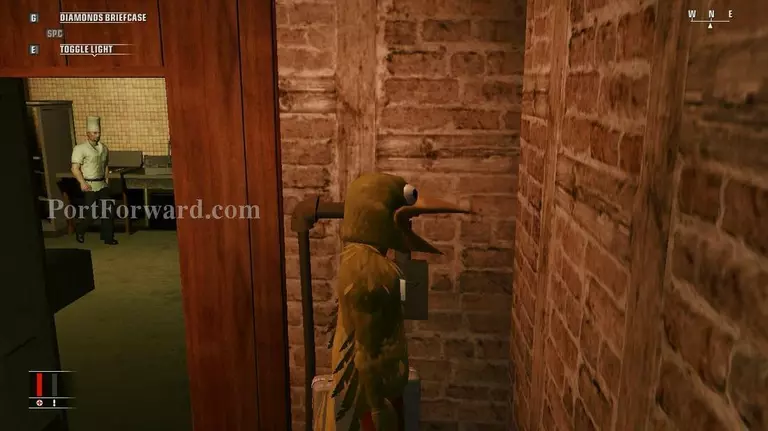
Go through the kitchen and you will reach here. Then, turn off the light.
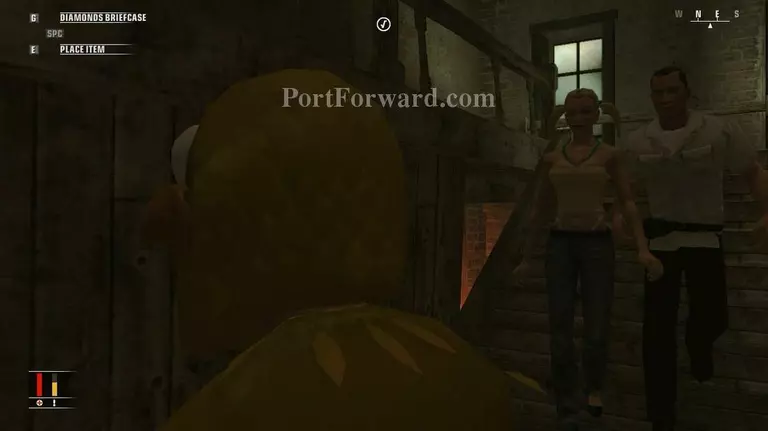
See that man? He hates you and prevent you from entering the next room. So turn the light off will make him leave. Important: Before going straight upstairs, wait both of them to leave this area first.
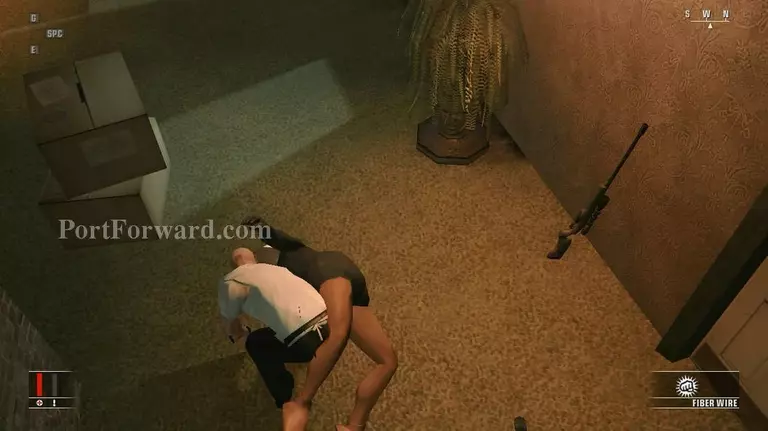
Enter the door and take his life. Now let's move on to the next target. *That sniper could be useful but I won't using it this time, it's up to you to find a creative way to kill next time. ;)
Found her! Just do what you need to do and I don't care as you she's dead but please remember my advice. Don't do something unless that area is safe to do so. :)
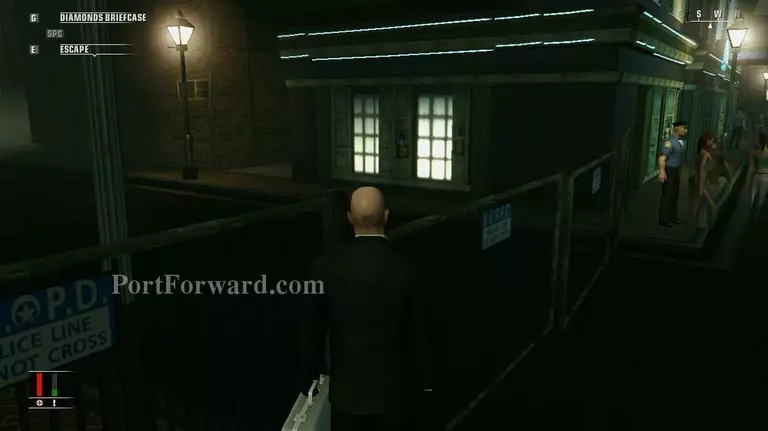
Take your suit back and escape! Mission completed.
More Hitman: Blood Money Walkthroughs
This Hitman: Blood Money walkthrough is divided into 14 total pages.


