Killzone 2 Walkthrough Mission 1. Corinth River

September 12, 2016 (Last Updated: ) | Reading Time: 5 minutes

This Killzone 2 walkthrough is divided into 10 total pages.

You can jump to nearby pages of the game using the links above.

Mission 1. Corinth River

Killzone 2 Walkthrough - Killzone 2 0001

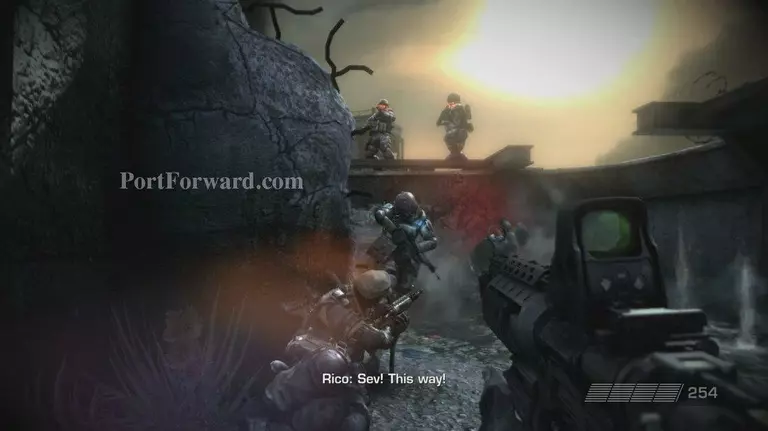
After a few scene's you'll gain control of Sev.

Killzone 2 Walkthrough - Killzone 2 0002

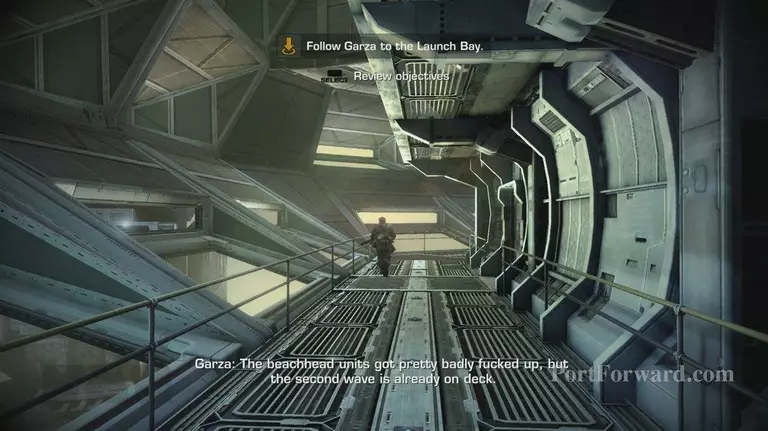
Follow Garza as directed

Killzone 2 Walkthrough - Killzone 2 0003

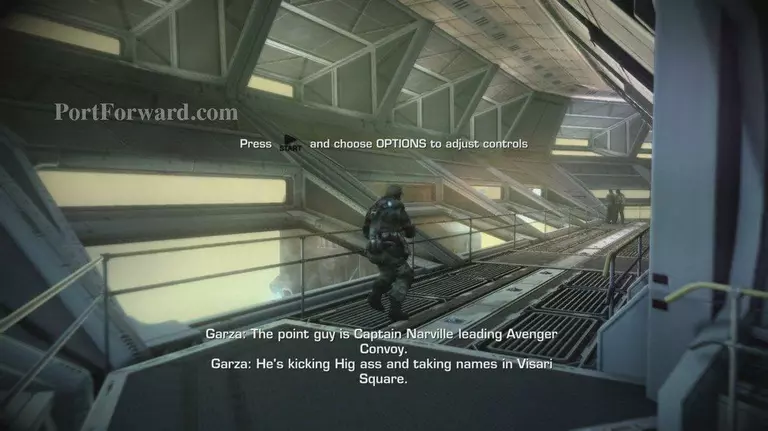
some tutorials will be shown for basic gameplay

Killzone 2 Walkthrough - Killzone 2 0004
Killzone 2 Walkthrough - Killzone 2 0005

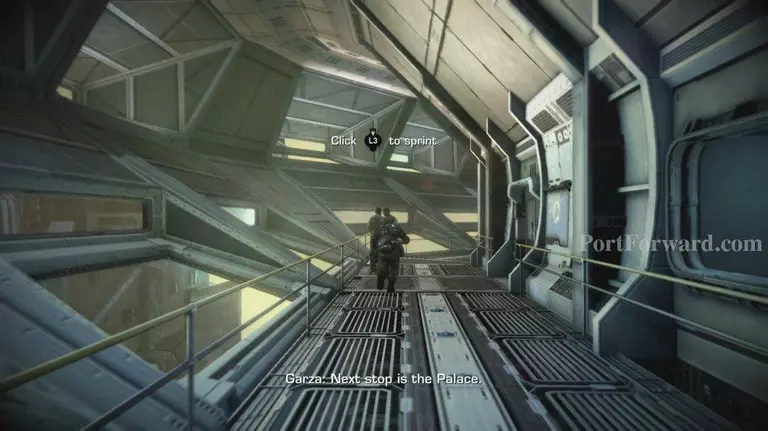
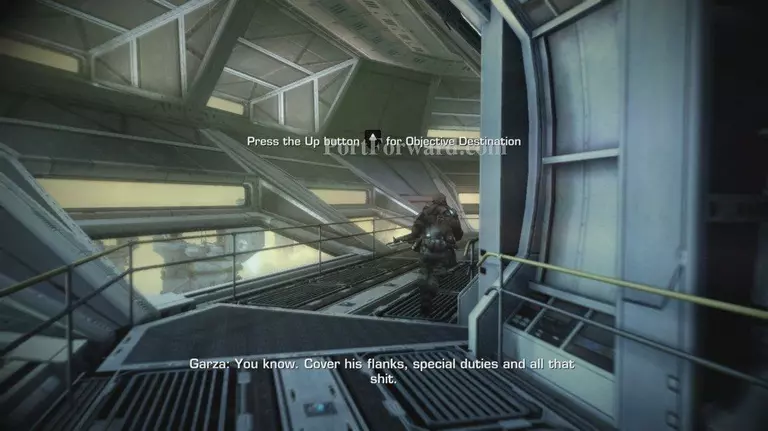
enter the room at the end of the hall and listen to Rico, then follow Garza when he leaves

Killzone 2 Walkthrough - Killzone 2 0006

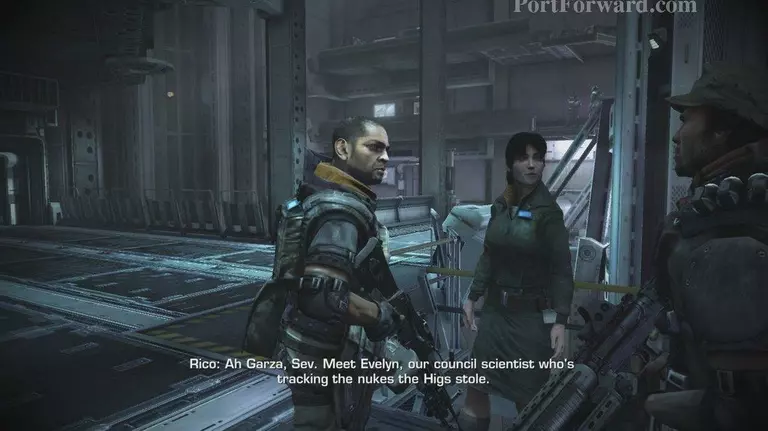
Inside the next room follow Garza until you get a scene

Killzone 2 Walkthrough - Killzone 2 0007

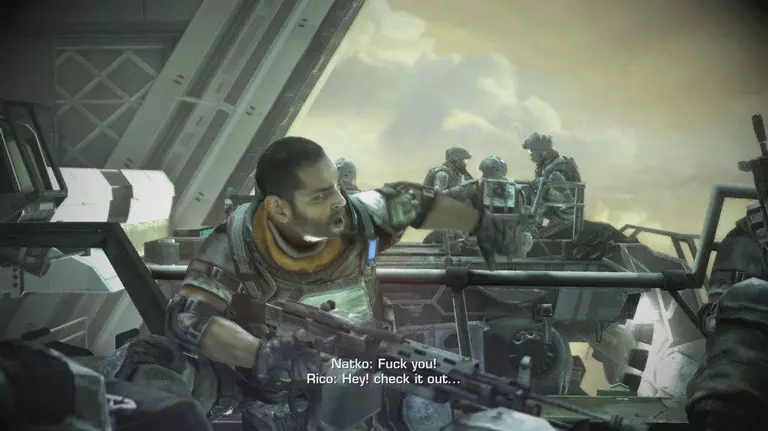
After your graceful landing you have control again, a gun tutorial will be shown

Killzone 2 Walkthrough - Killzone 2 0008

then head for your squad, around the corner 3 Helghast

Killzone 2 Walkthrough - Killzone 2 0009

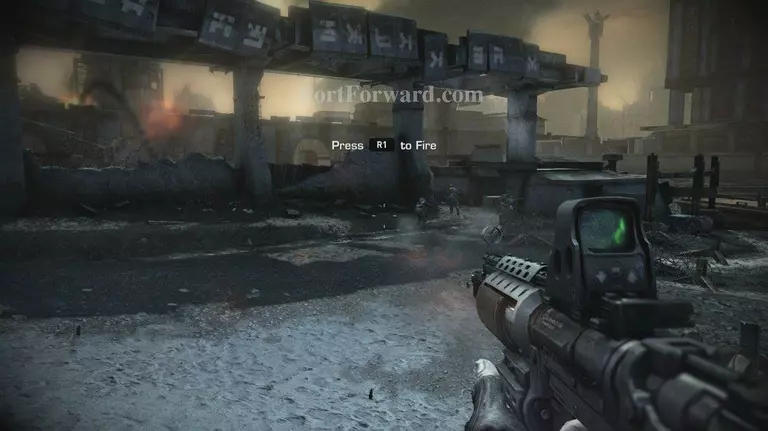
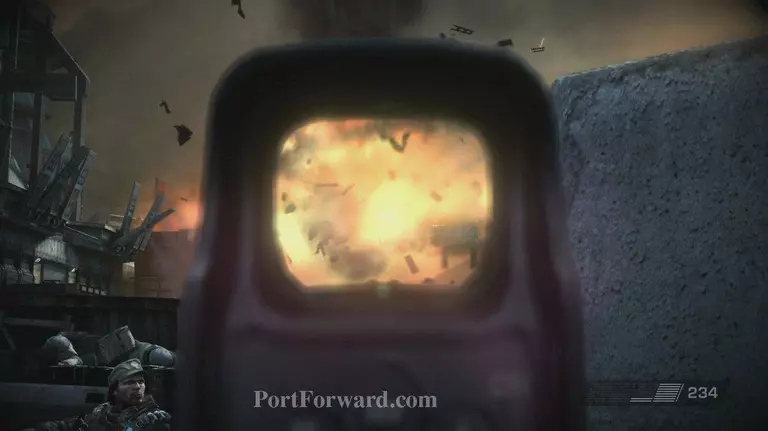
continue forward you'll be told to blow the bridge up ahead, aim for the red barrels and Boom!

Killzone 2 Walkthrough - Killzone 2 0010

a tutorial for the cover system will be shown. (Very Important!)

Killzone 2 Walkthrough - Killzone 2 0011

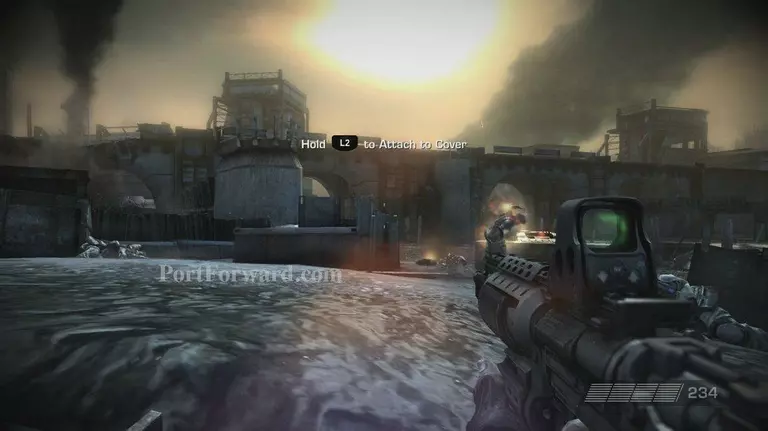
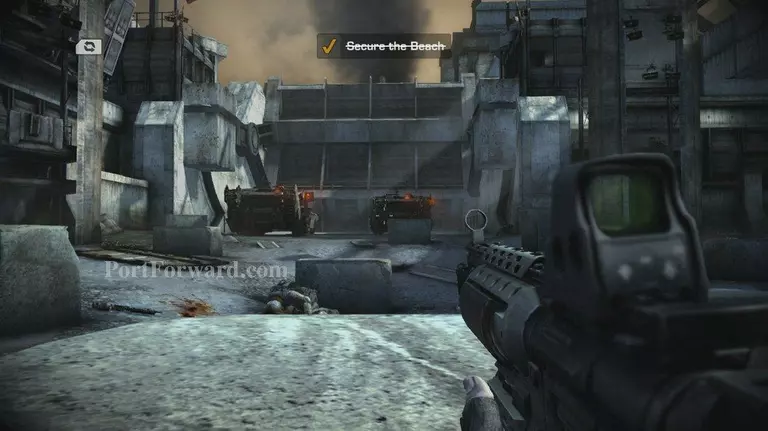
next objective is to secure the beach, jump out the trench and proceed towards the marker

Killzone 2 Walkthrough - Killzone 2 0012

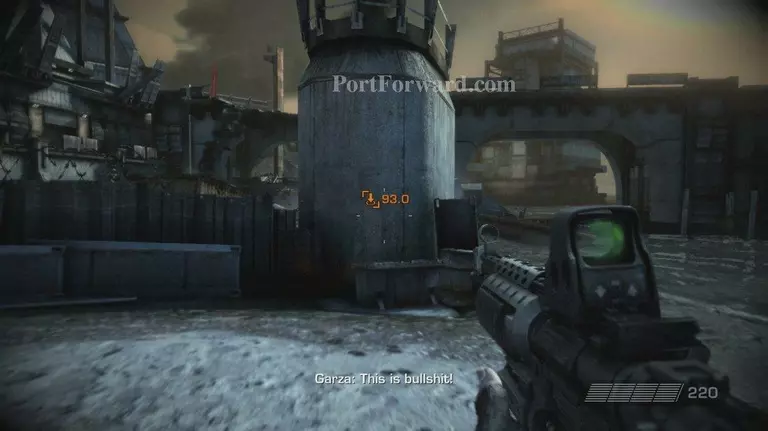
as you round the corner take cover and take out the 4 Helghast on the catwalks above you

Killzone 2 Walkthrough - Killzone 2 0013

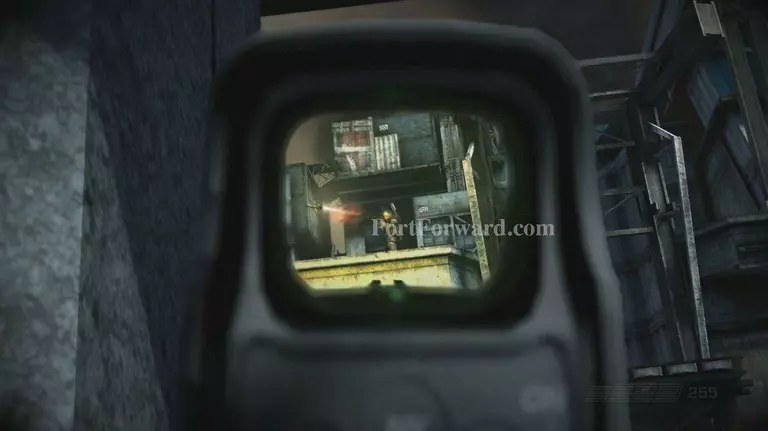
as soon as they are down a radio transmission, then head towards the marker

Killzone 2 Walkthrough - Killzone 2 0014

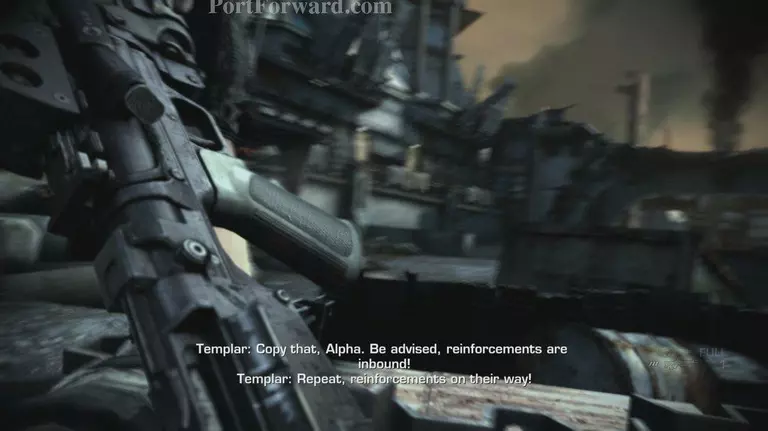
the next area will be a fairly large scale battle, kill off the Helghast to complete secure the beach

Killzone 2 Walkthrough - Killzone 2 0015

soon Rico will ask you to open the floodgate, follow Garza to this wall and help him up

Killzone 2 Walkthrough - Killzone 2 0016

then use the switch the activate the elevator, at the top head up the stairs

Killzone 2 Walkthrough - Killzone 2 0017

in this next room take cover next to Garza and listen in on the Helghast conversation

Killzone 2 Walkthrough - Killzone 2 0018

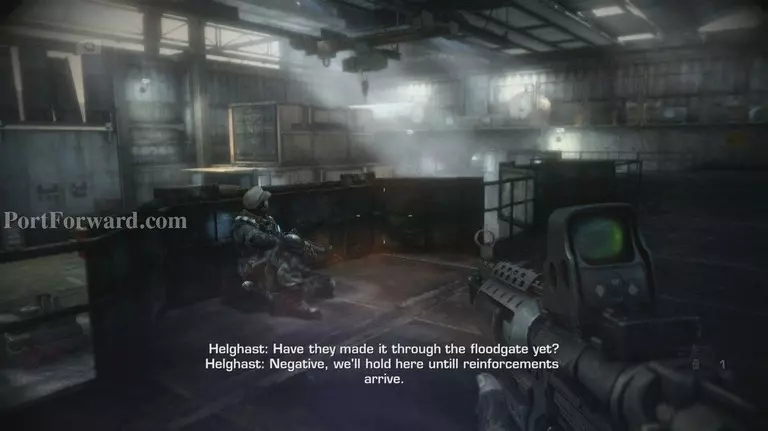
then toss a grenade on them and head down stairs

Killzone 2 Walkthrough - Killzone 2 0019

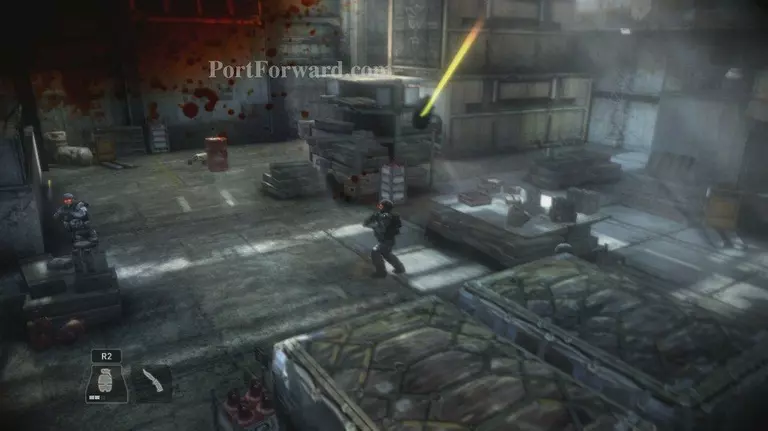
at the bottom head inside the small room on the left and take cover

Killzone 2 Walkthrough - Killzone 2 0020

a wave of reinforcements will come, give them a grenade as well, mop up and leftovers and follow Garza

Killzone 2 Walkthrough - Killzone 2 0021

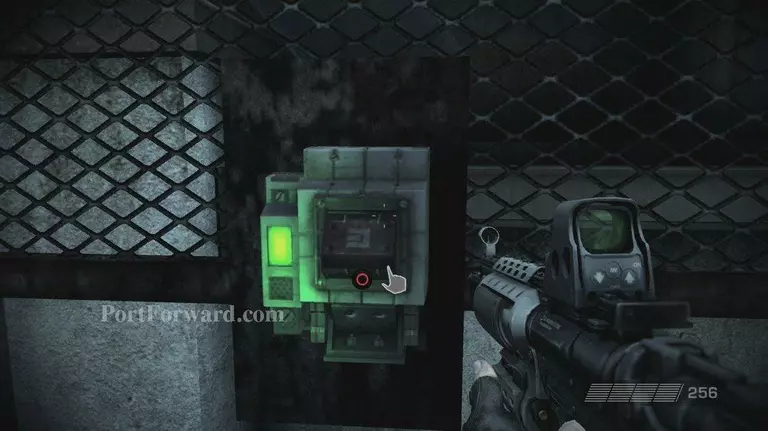
you'll come to a switch, Garza will ask you to cover him while he hacks it take cover and take out the Helghast

Killzone 2 Walkthrough - Killzone 2 0022

after the area is clear the hack is completed follow Garza

Killzone 2 Walkthrough - Killzone 2 0023

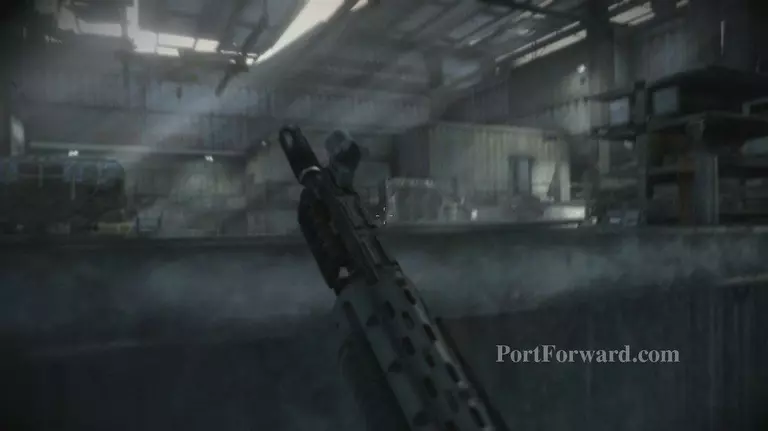
you'll come to a room one Helghast is inside toss a grenade inside to kill him and head in

Killzone 2 Walkthrough - Killzone 2 0024

a tutorial for using valves will be shown here

Killzone 2 Walkthrough - Killzone 2 0025

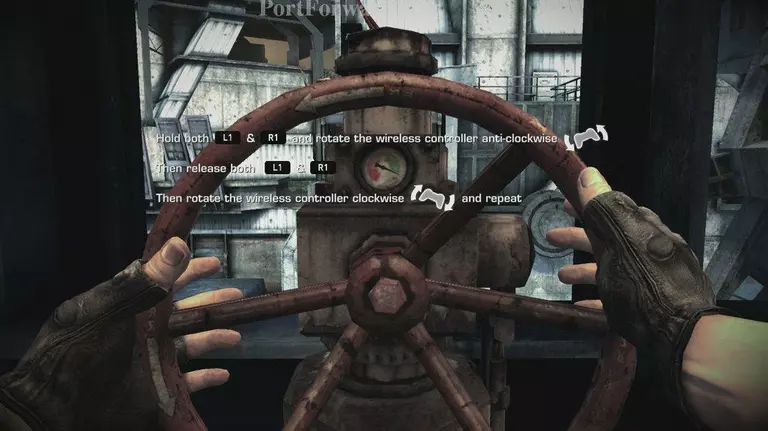
follow the directions and use the valve to open the floodgate and complete the objective

Killzone 2 Walkthrough - Killzone 2 0026

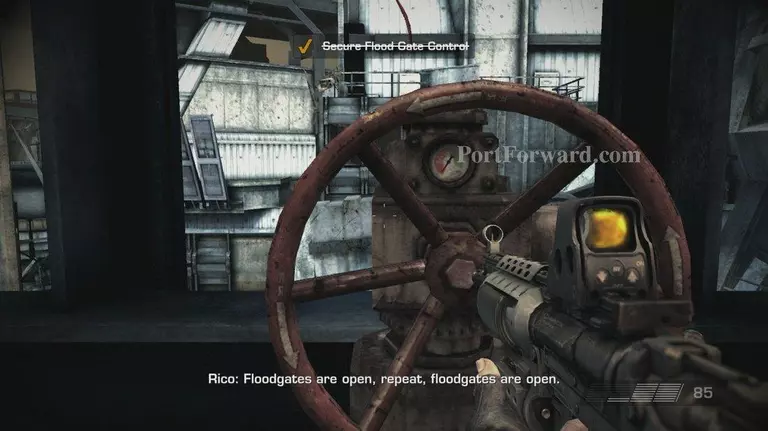
head back outside more Helghast to deal with here, after the all clear follow Garza

Killzone 2 Walkthrough - Killzone 2 0027

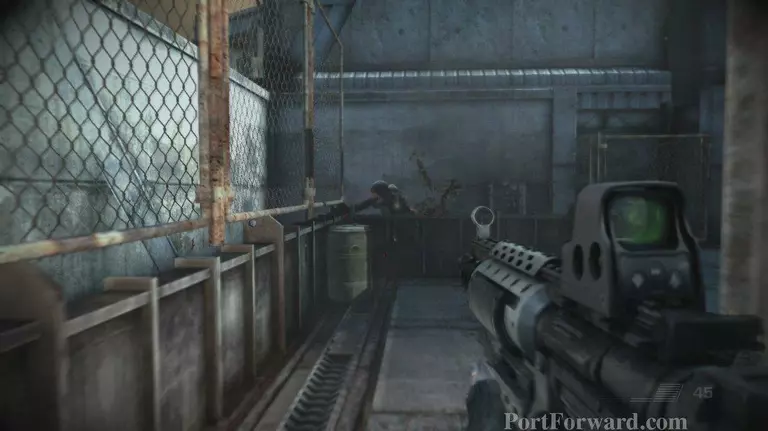
soon you'll reach Rico and your squad, around the corner are about 8 Helghast

Killzone 2 Walkthrough - Killzone 2 0028

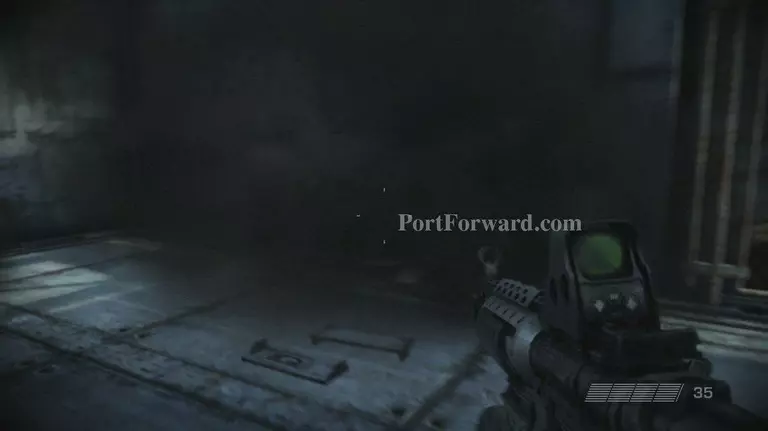
after they go down continue along the path, at the bottom of the stairs a few Helghast

Killzone 2 Walkthrough - Killzone 2 0029

follow Garza after the area is clear, you'll be back topside, a booth fill of Helghast get blown up

Killzone 2 Walkthrough - Killzone 2 0030

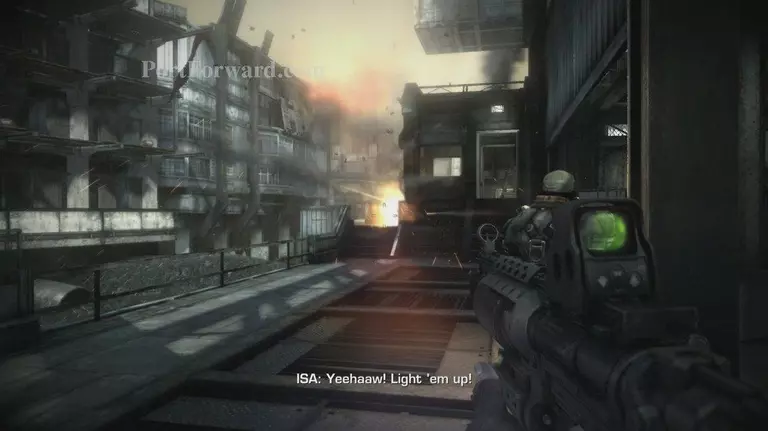
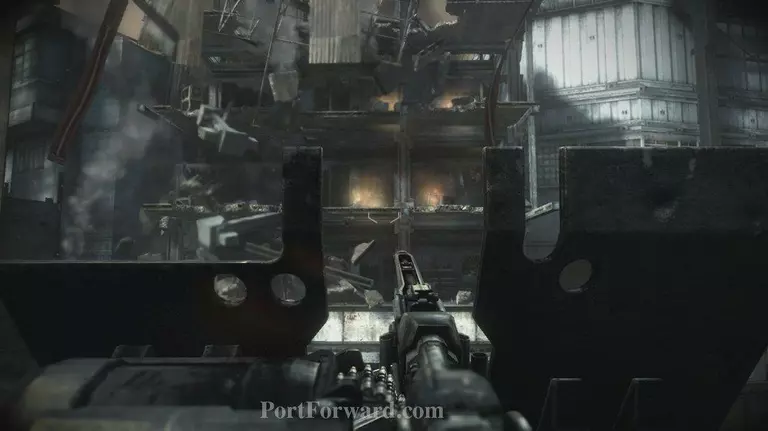
head inside and man the machine gun

Killzone 2 Walkthrough - Killzone 2 0031

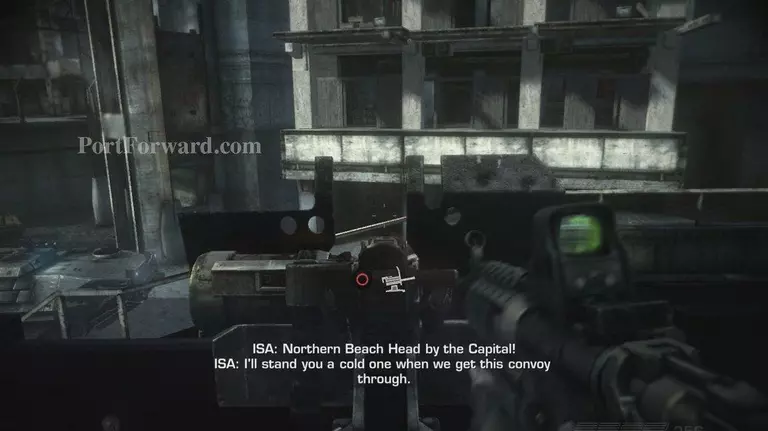
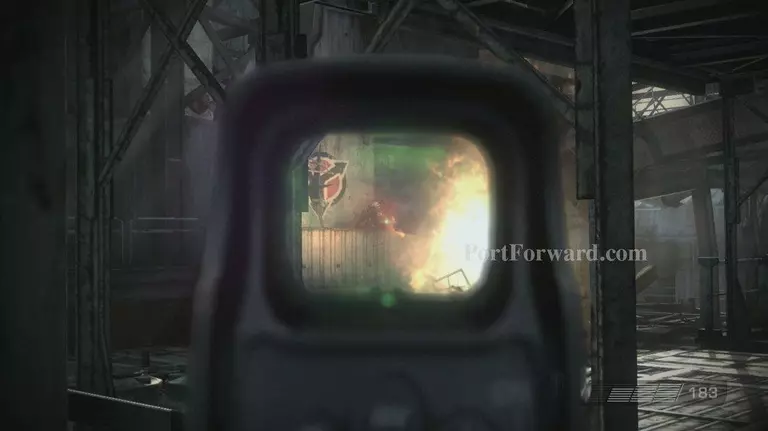
take out the Helghast in the building across the street

Killzone 2 Walkthrough - Killzone 2 0032

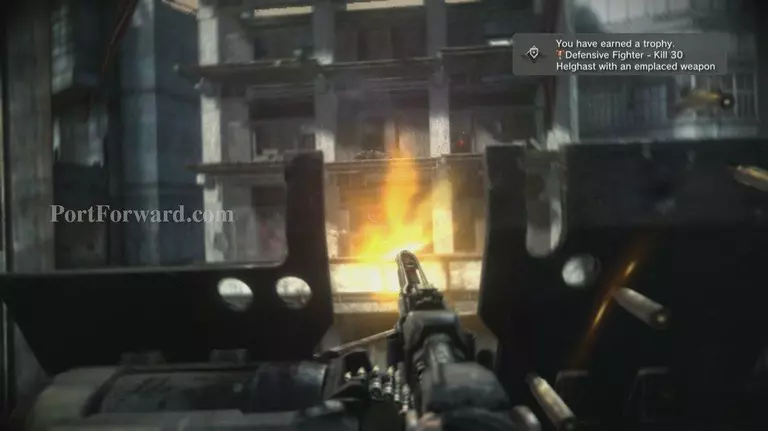
after they all go down the building explodes, un-man the turret and follow Garza

Killzone 2 Walkthrough - Killzone 2 0033

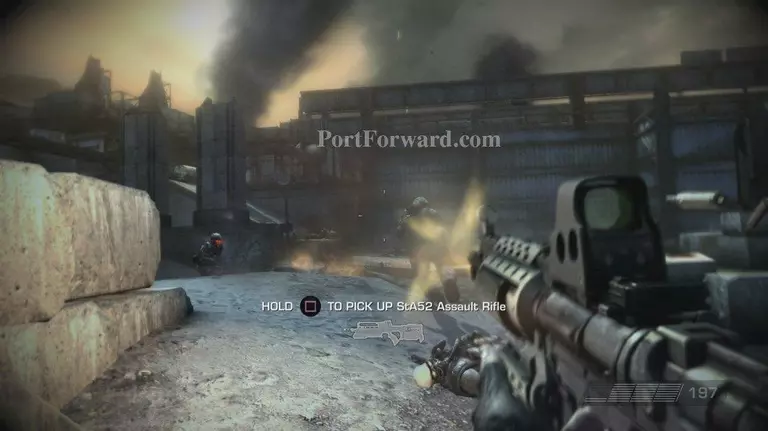
at the end of the path a small area with around 5 troops

Killzone 2 Walkthrough - Killzone 2 0034

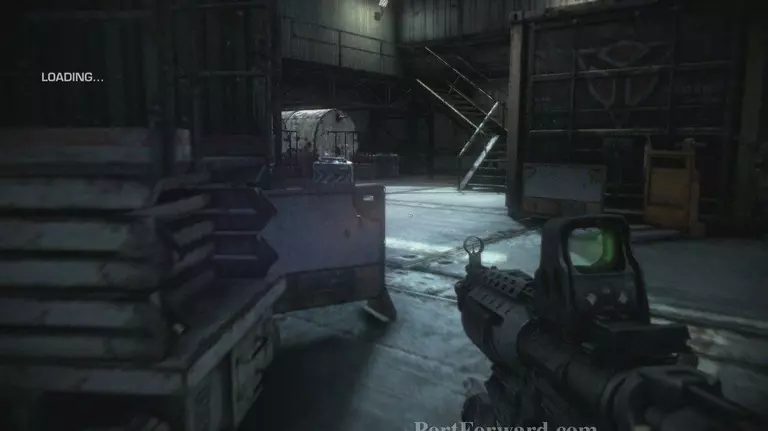
after it is clear head over and grab the rocket launcher

Killzone 2 Walkthrough - Killzone 2 0035

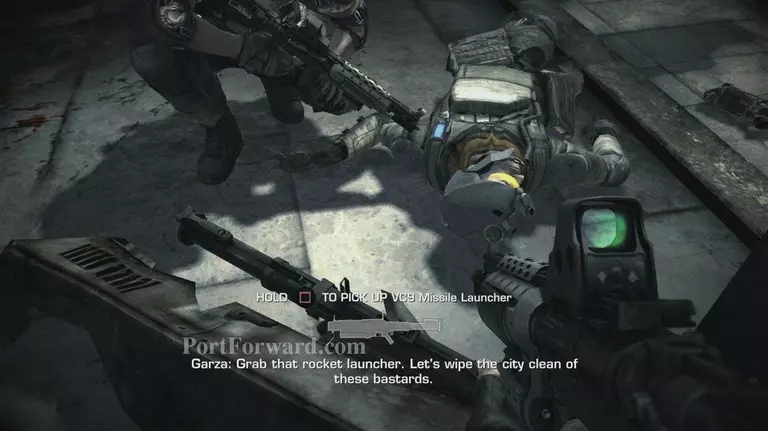
then fire a round at the bent up Helghast door

Killzone 2 Walkthrough - Killzone 2 0036

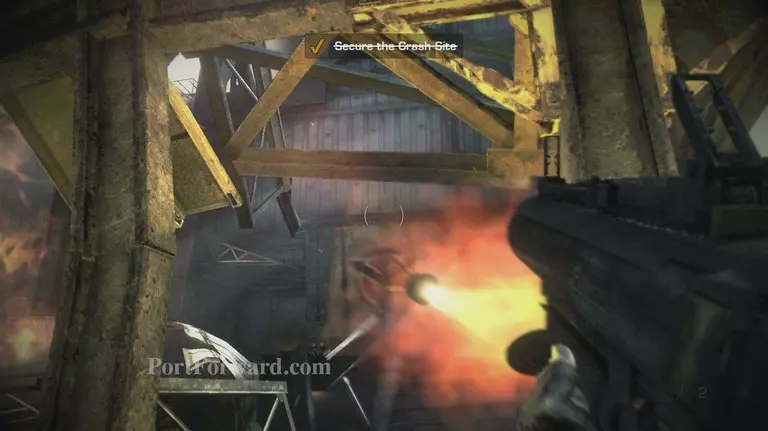
head inside and through the building and up the stairs in the back

Killzone 2 Walkthrough - Killzone 2 0037

inside the room here is a solo troop kill him and head out the back door

Killzone 2 Walkthrough - Killzone 2 0038

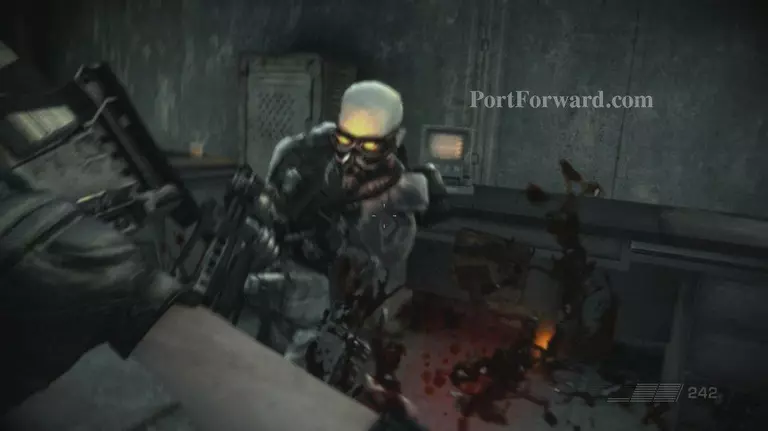
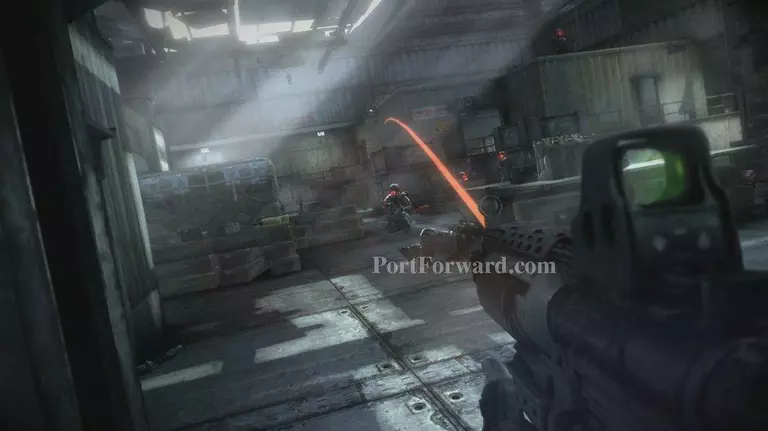
move forward for a short scene, then kill the 3 Helghast blocking your way

Killzone 2 Walkthrough - Killzone 2 0039

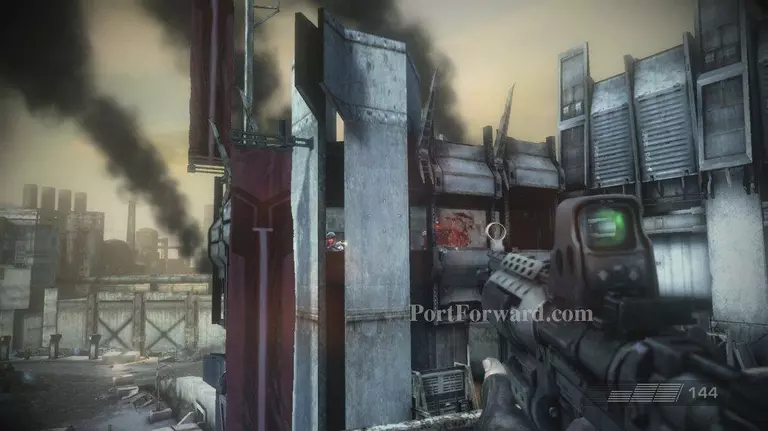
head across the bridge and toss a grenade into the pill box, then mop up the remainder

Killzone 2 Walkthrough - Killzone 2 0040

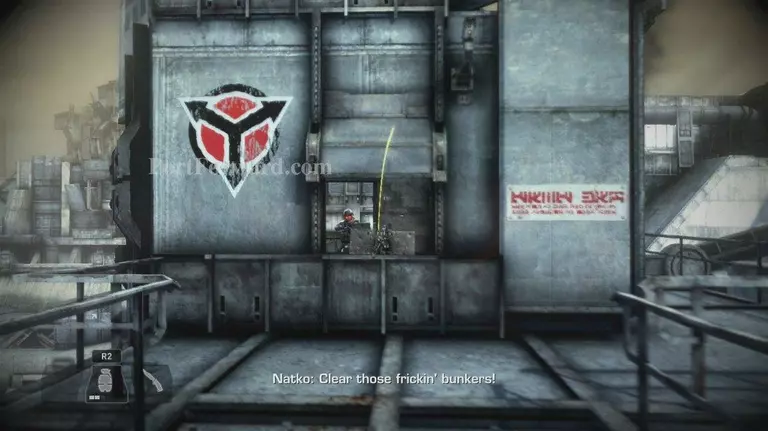
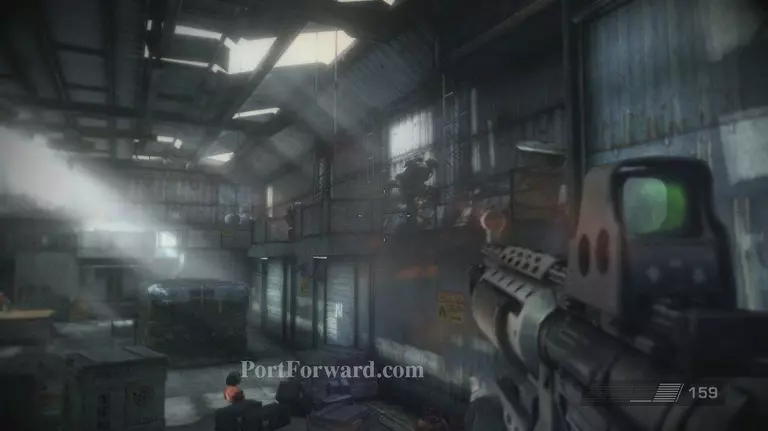
again do the samething with the next pill box, but be avised of the 2 troops up above

Killzone 2 Walkthrough - Killzone 2 0041

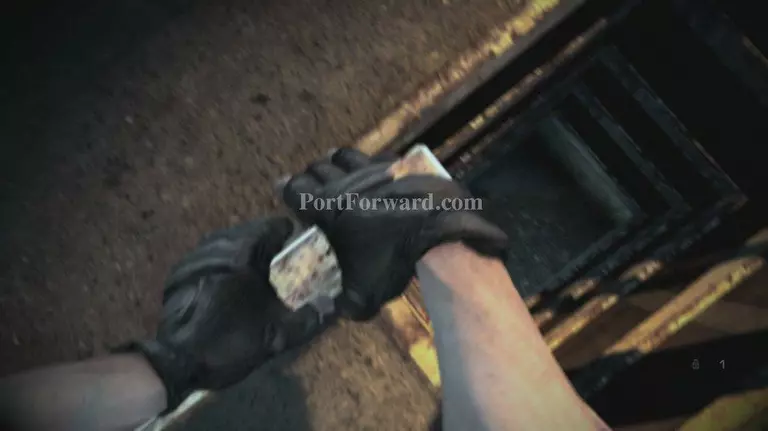
head inside and use the ladder to head down

Killzone 2 Walkthrough - Killzone 2 0042

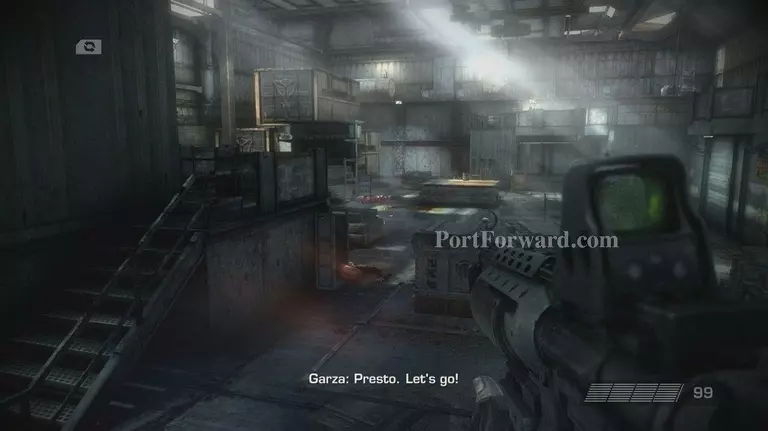
you'll be directed to head towards your squad, hang back and help Garza though

Killzone 2 Walkthrough - Killzone 2 0043

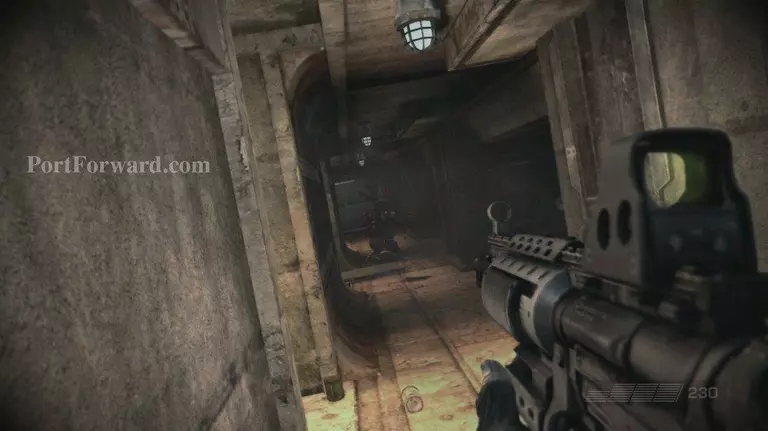
after it gets to heavy on fire, head inside the tunnel and to the other door

Killzone 2 Walkthrough - Killzone 2 0044

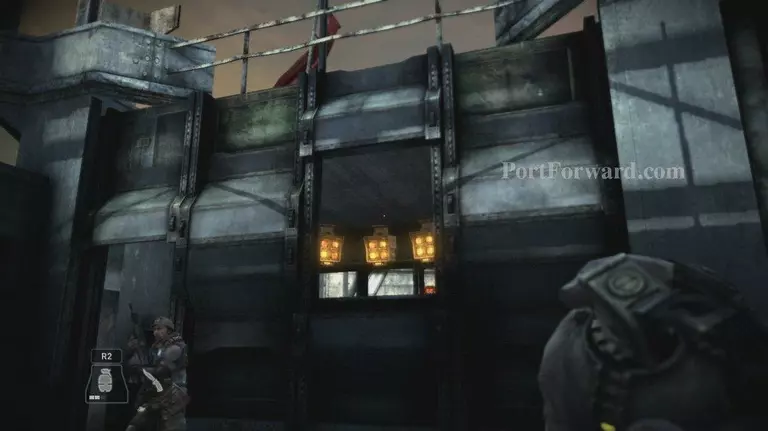
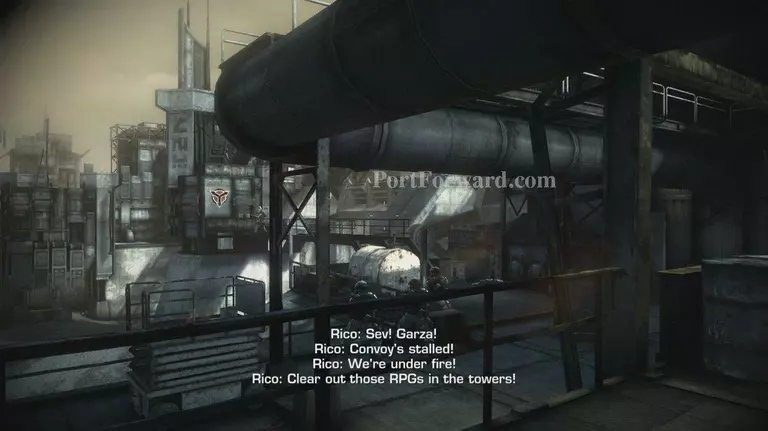
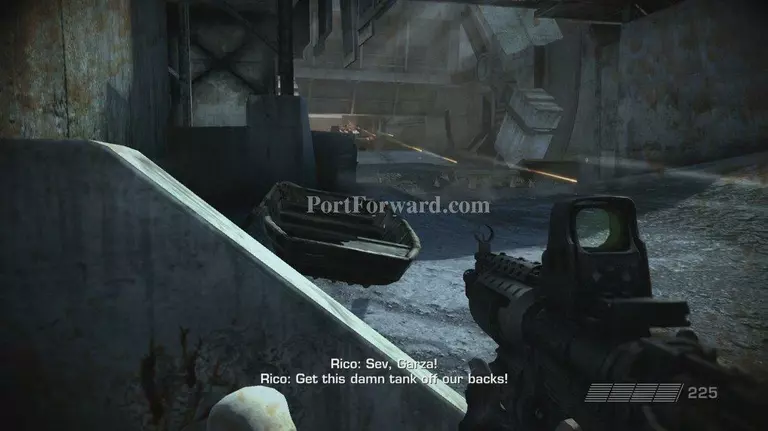
kill Helghast until Rico say's the driver has been killed, and Garza advises you to go drive....

Killzone 2 Walkthrough - Killzone 2 0045

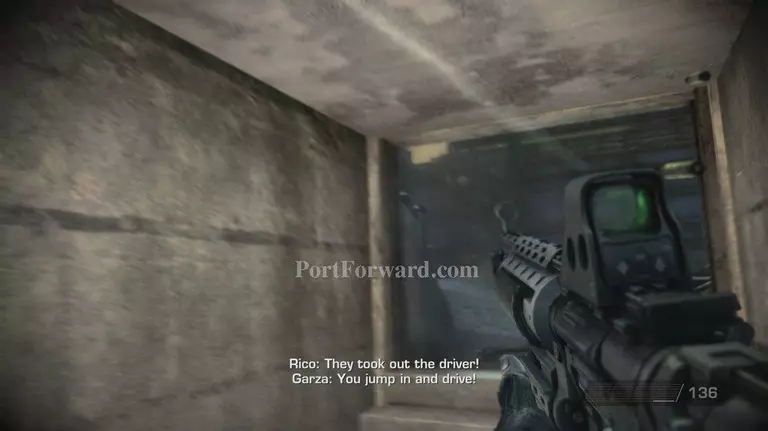
make a run for the tank, and jump into it

Killzone 2 Walkthrough - Killzone 2 0046

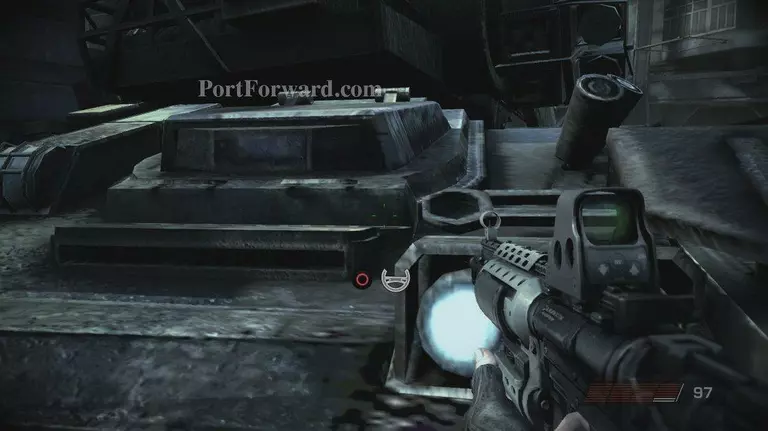
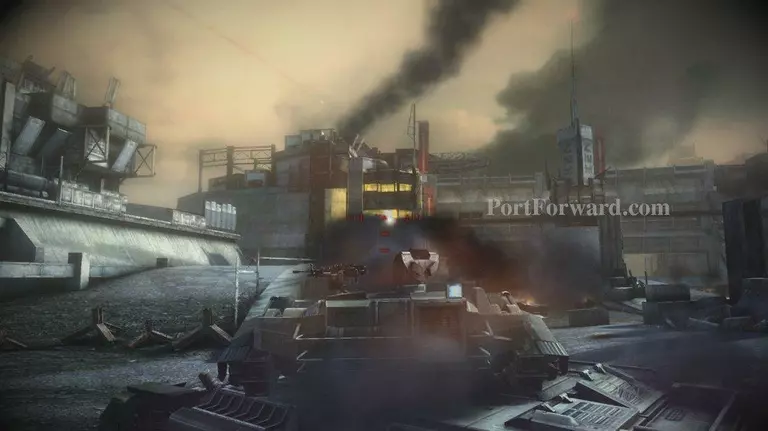
take out the 2 tanks that come and troops if you feel the need

Killzone 2 Walkthrough - Killzone 2 0047

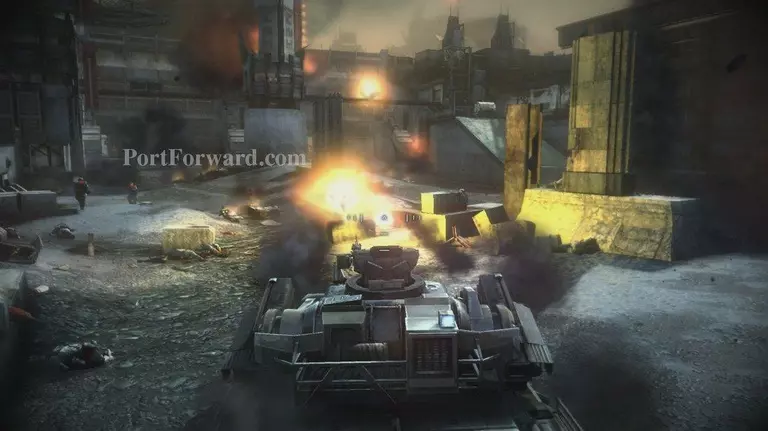
soon a radio transmission move to the left side of the battlefield

Killzone 2 Walkthrough - Killzone 2 0048

a tank will come kill it and mop up the rest of the Helghast to complete Mission 1.

Killzone 2 Walkthrough - Killzone 2 0049

More Killzone 2 Walkthroughs

This Killzone 2 walkthrough is divided into 10 total pages.

More From Portforward