This Max Payne 3 walkthrough is divided into 14 total pages.
You can jump to nearby pages of the game using the links above.
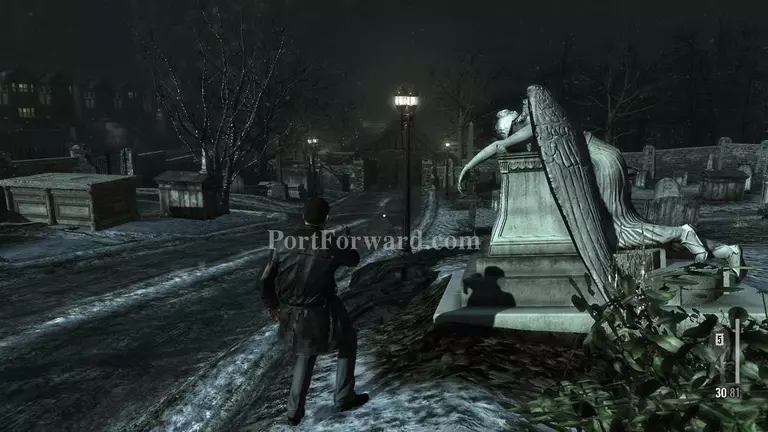
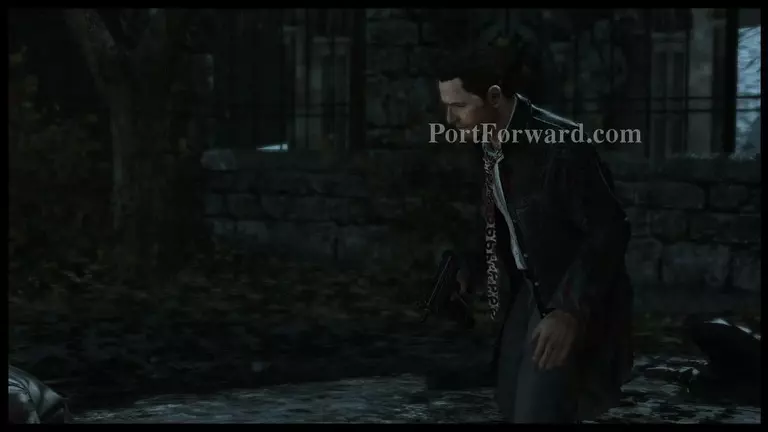
Chapter VIII: Ain'No Reprievement Gonna Be Found Otherwise

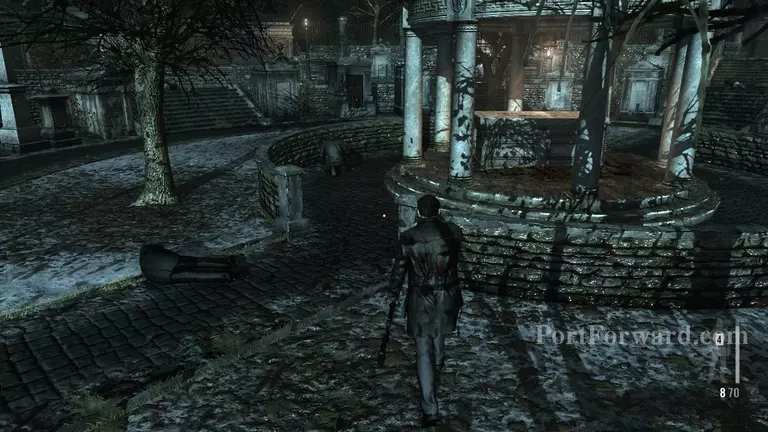
"The chapter starts when few people starts trying to kill Max and companion Passos is also present.
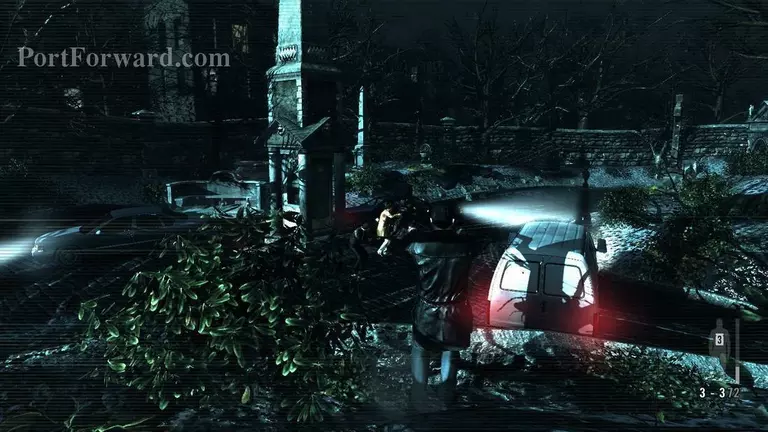
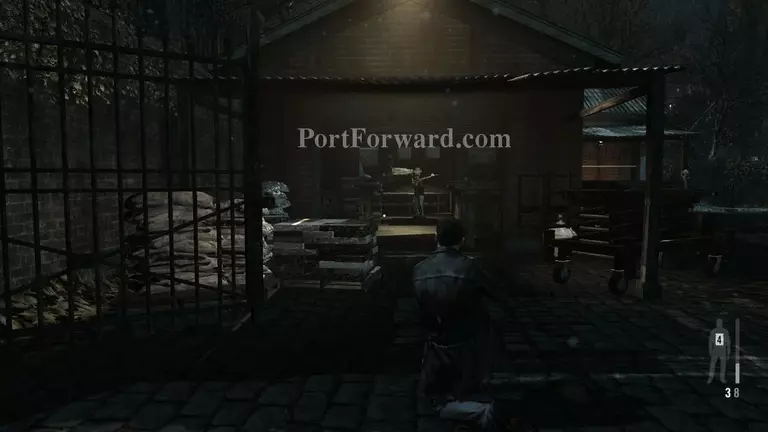
"After eliminating all of them head towards the gate where a van drive towards you shoot the driver which will crash him.
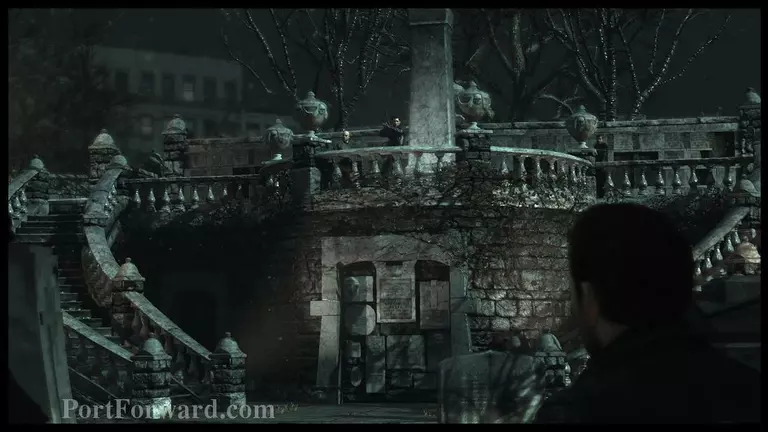
"Here first eliminate the person at the center as he has the granade launcher.
"THen move towards the crypt at the right to find Golden Gun Auto 9mm 1/3 also left to that unlock the new Clue 1/3
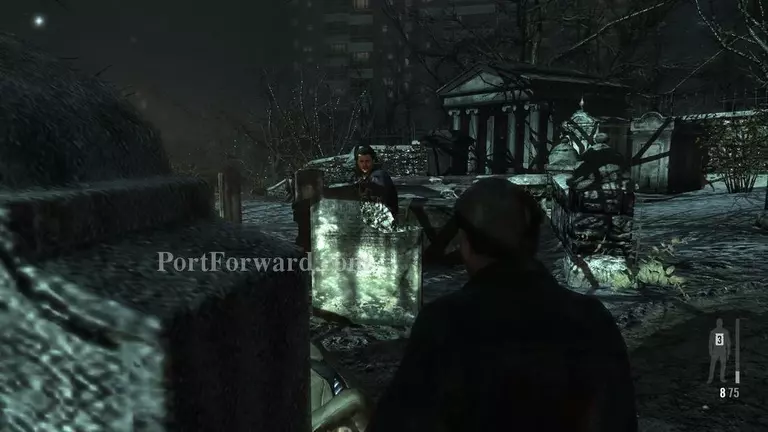
"After the cut scene elemenate the group of thugs which are trying to kill Passos and after that look around the small round square towards the small path of van for Golden Gun

"At the entrance you will face two thugs then move to the dead end at the right for Golden Gun Auto 9mm 2/3
"At the centre of the dome you will find Golden Gun 608 Bull 2/3
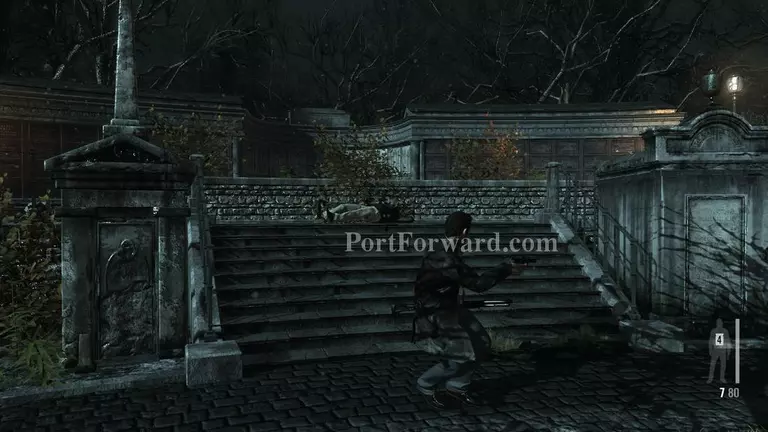
"Stay in the lowest part of this location and find the tombstone which can be examined Clue 2/3 Nicole Mausoleum.
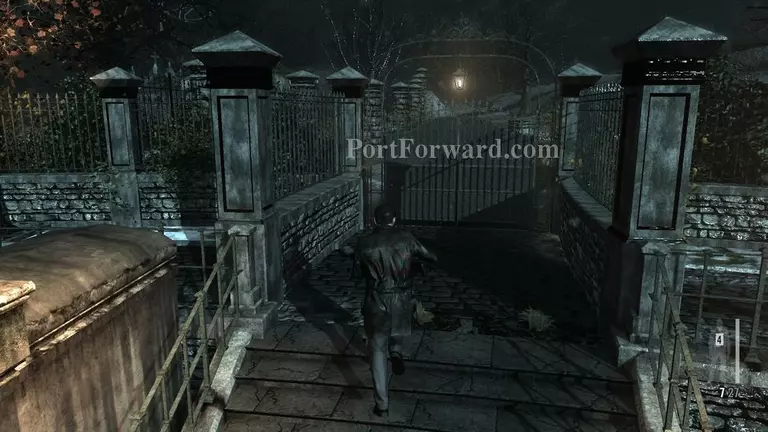
"Move towards the gate.
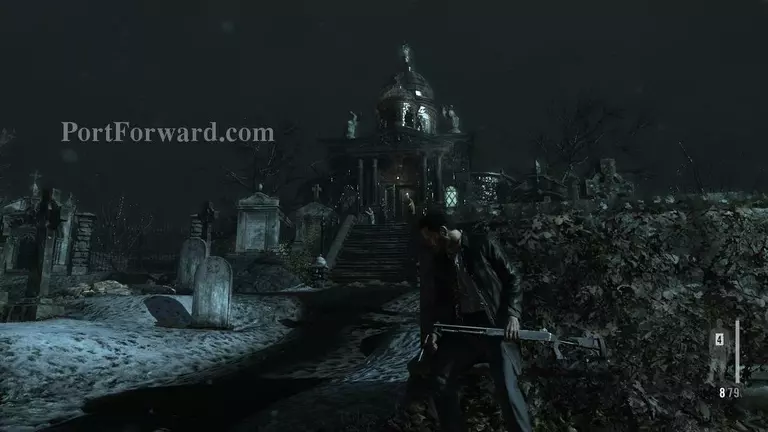
"After the cut scene a sniper is present in the top dome, kill the thugs at entrance and follow Passos advice to take out the sniper from the left side.
"After the cut scene follow the instructions to take out the thug and look around the tombs to find Clue 3/3
"Follow the path and at the left side there is a room enter it to find the Golden Gun Auto 9mm 3/3.
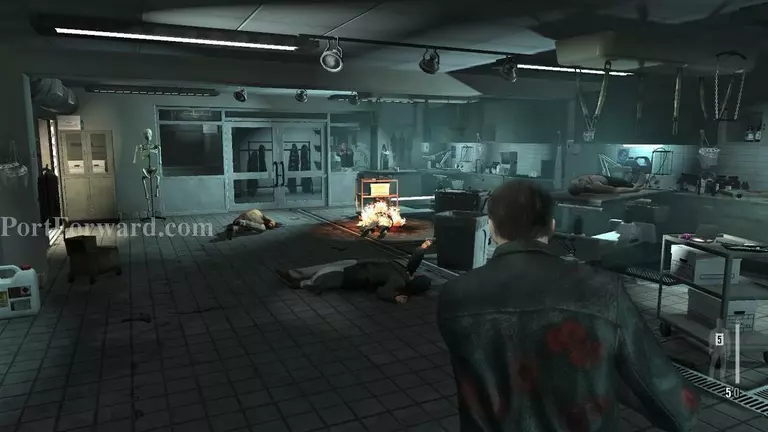
"You pass through a laboratory where you will face some thugs.
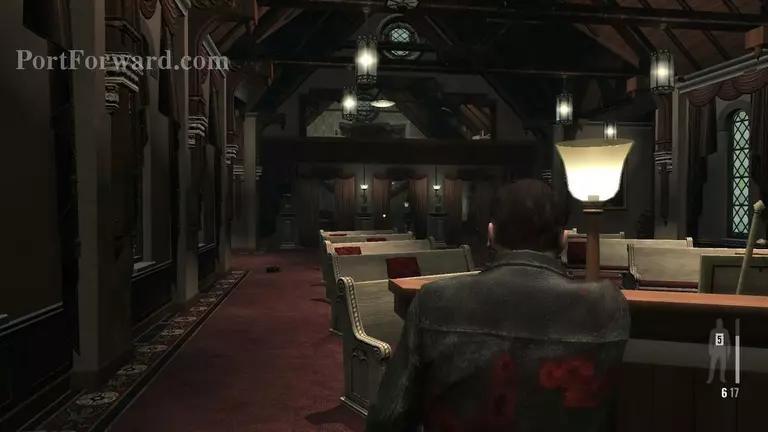
In the chapel move right and under the podium you will find the last part of Golden Gun 608 Bull 3/3
"Climb up the stairs and kill the thug at the top and protect Raul from the top from the thugs which will end up the chapter.
More Max Payne 3 Walkthroughs
This Max Payne 3 walkthrough is divided into 14 total pages.