
This Space Marine walkthrough is divided into 17 total pages.
You can jump to nearby pages of the game using the links above.
Chapter 2 Against All Odds
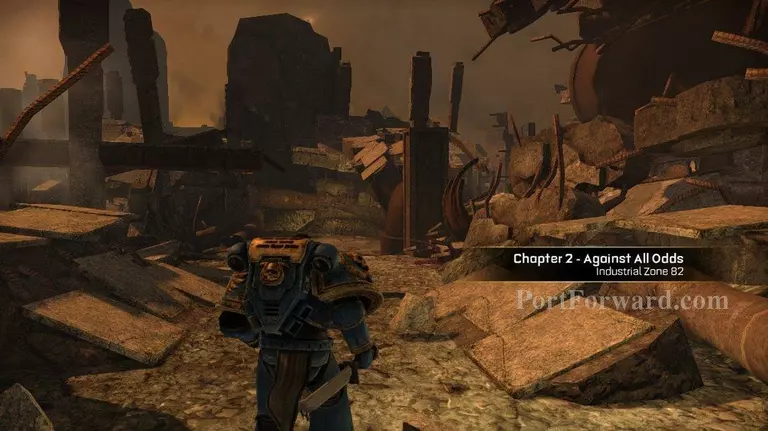
Well we've made it to Chapter 2
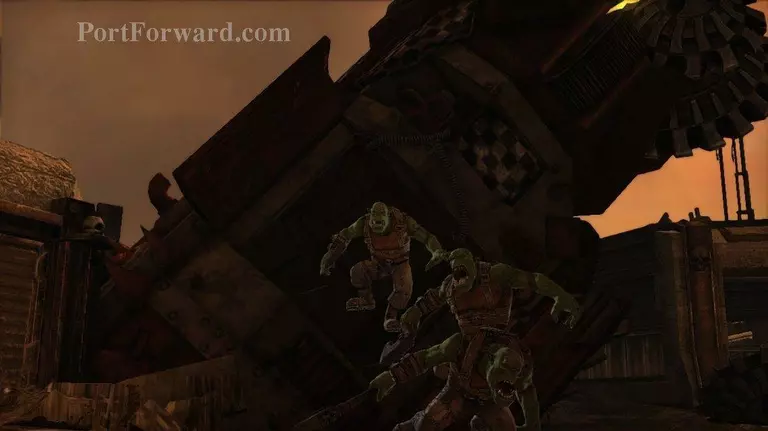
Keep moving forward. You'll find some orcs to fight eventually.
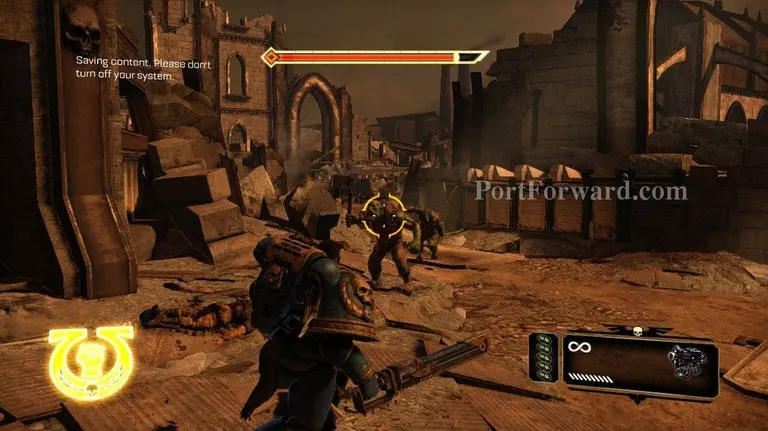
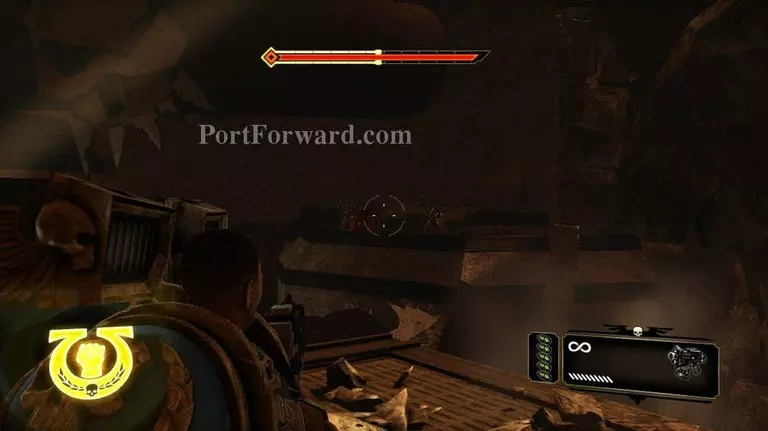
There are a bunch of gretchen chopping up corpses in your path. Fire some shots at them and they will run off.
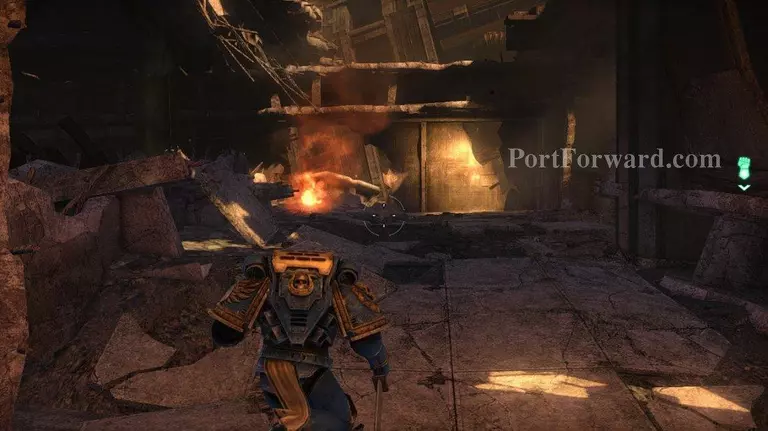
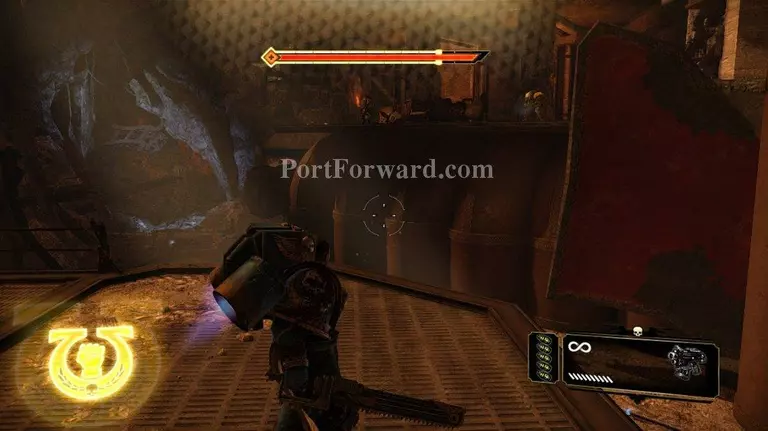
Close to those gretchen there will be a couple red barrels next to a wall. Shoot the barrels to blow up the wall. You will find a servo skull up this way. Once you've picked that up continue on your way.
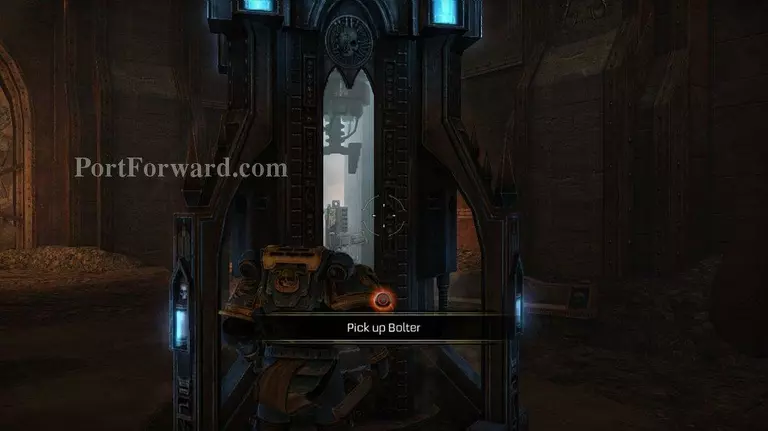
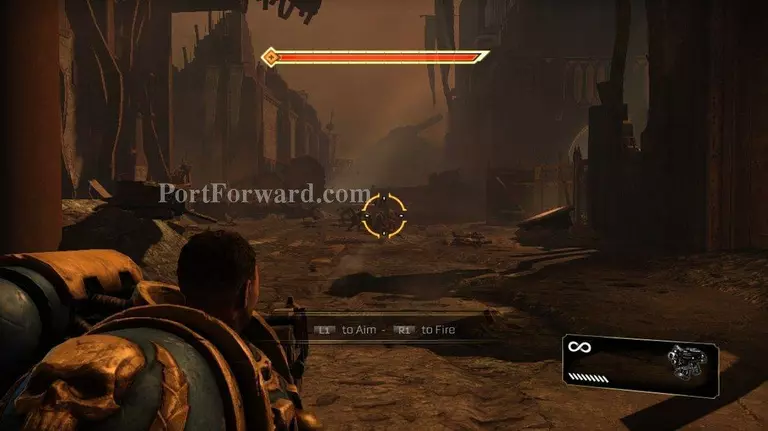
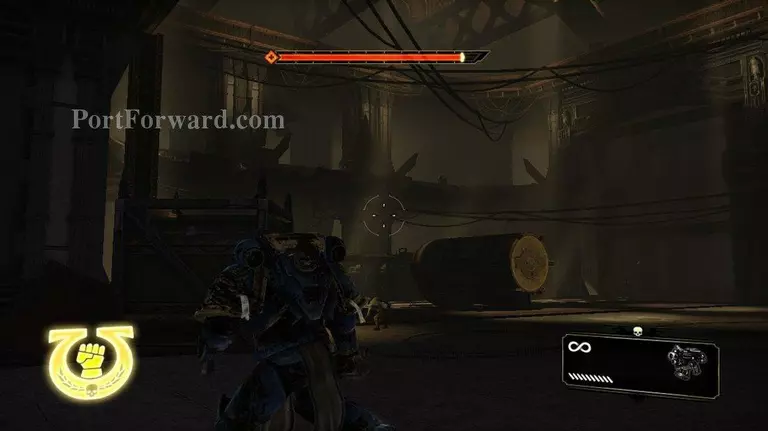
Throughout this game there are weapon and armor pods as shown in the screenshot. This pod will give you your primary weapon. I still always use the pistol to try to conserve ammo. There's really no need for me to do that, but I like to have ammo when I get to a harder section of the game.
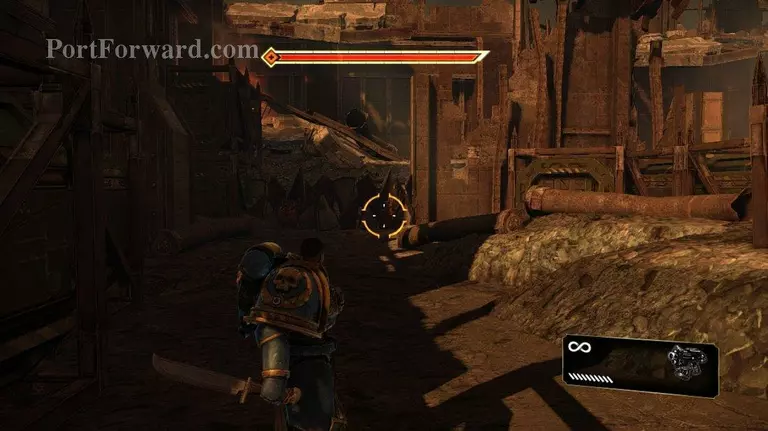
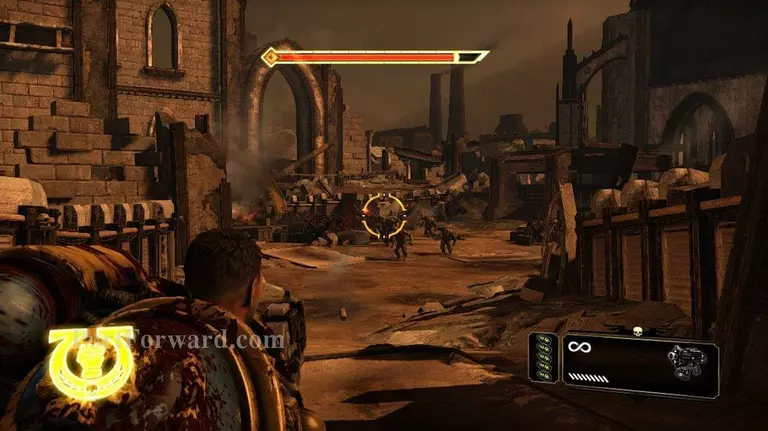
You will be rushed by a single shooting orc here. Take him out and move on.
As you walk forward, you will see some orcs on the ledge above you. I take as many of them out as I can with my pistol. I don't know if that helps later on, but the pistol has infinite ammo. So I might as well.
Once again you'll encounter orcs on a ledge above you. Take out as many as you can before they run off.
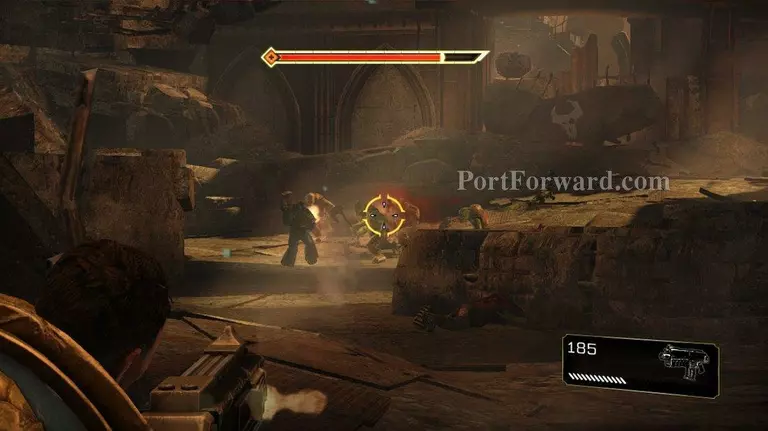
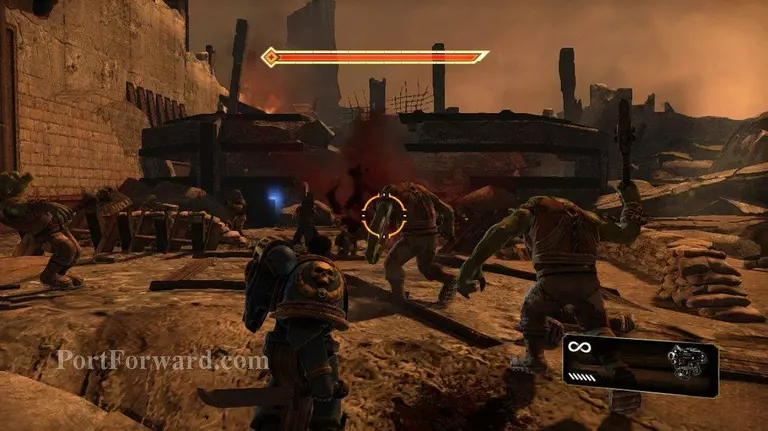
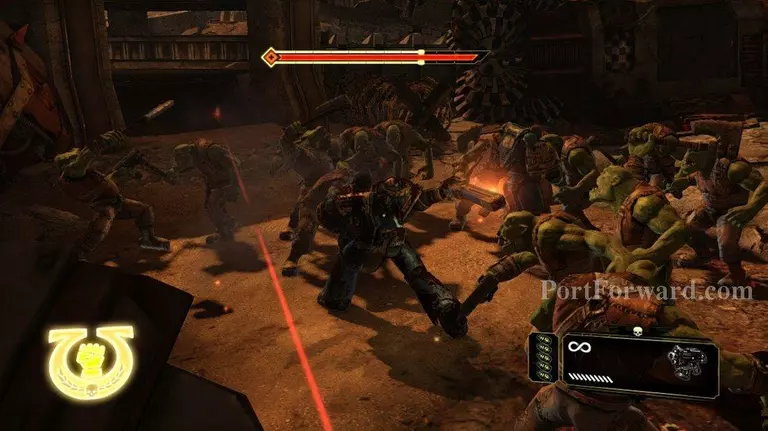
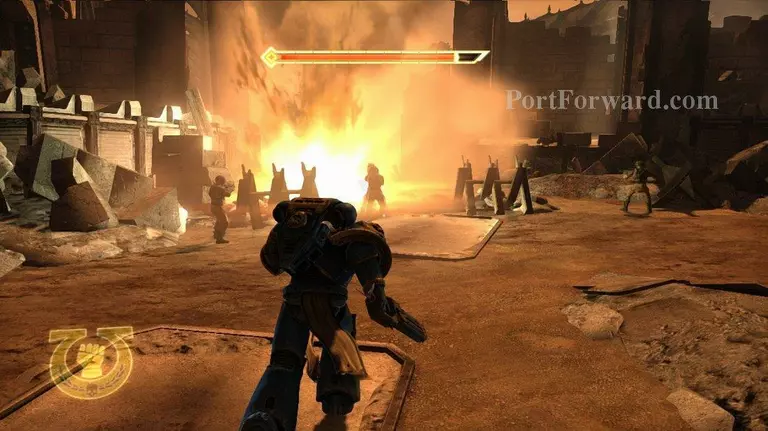
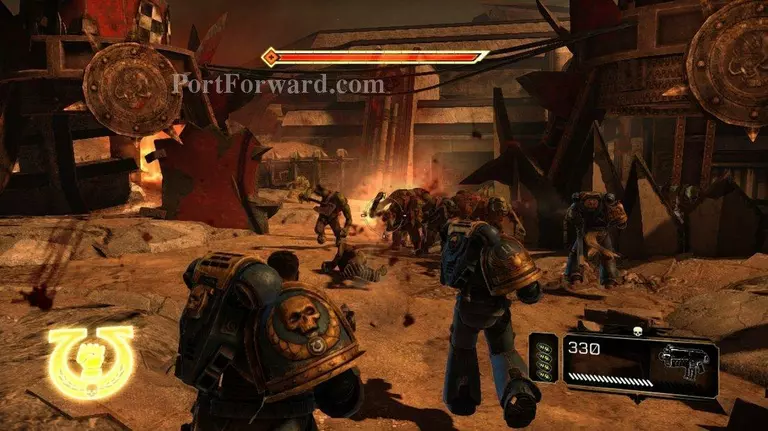
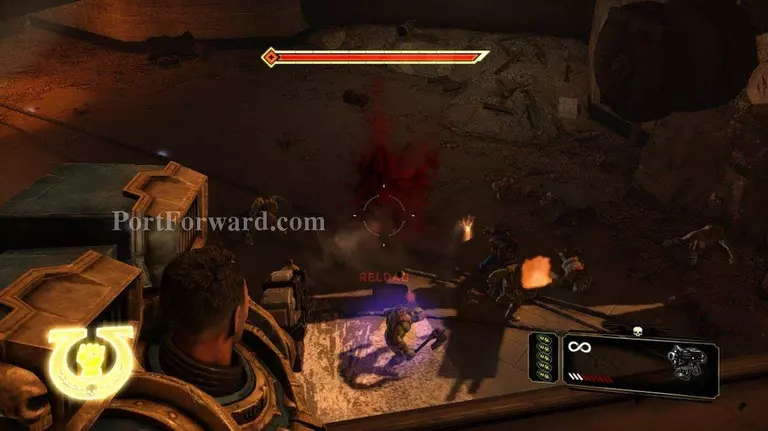
You will enter a large room where Leandros is fighting a couple orcs. This will be a larger fight. When those two orcs are dead, orcs will start coming at you in waves.
There will be lots of shooters up on the ledge. Try to take them out first. Their fire will take your shields down pretty fast. There's a wall close to where you entered that you can shelter behind when your shields get low. Then pop out and take down a couple orks.
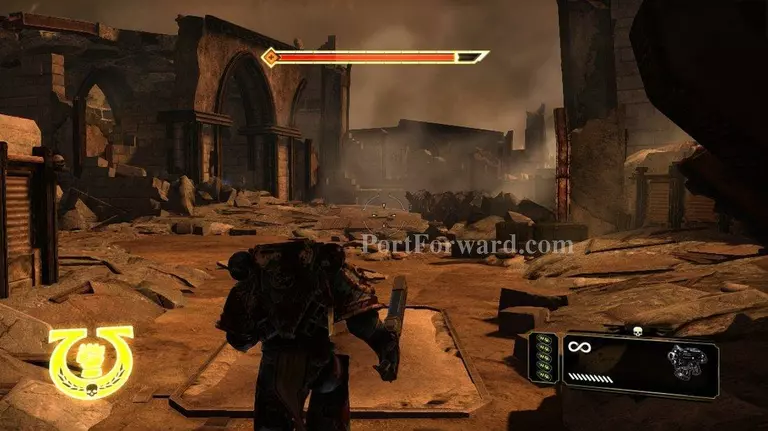
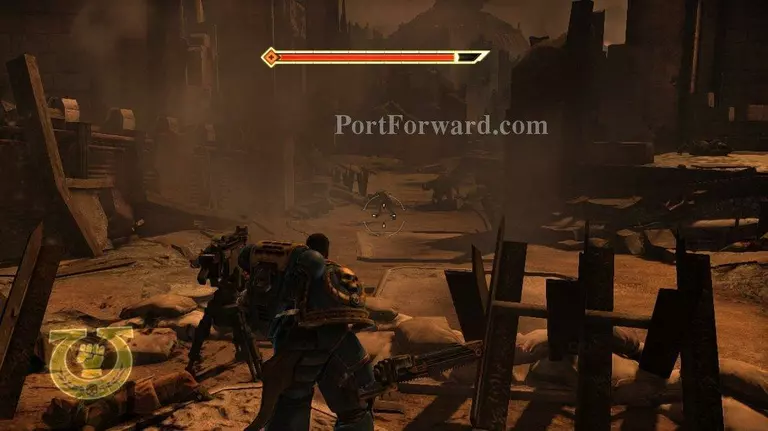
Here's a good screenshot of the wall to shelter behind.
It's pretty easy to pop out from behind it and take out an orc or two.
When the fight is close to over a group of regular axe swinging orcs will appear. Leandros will run up and fight them. Let him do that while you mop up the shooter orcs up above. When you are done with those go ahead and help Leandros mop up those axe swinging orcs.
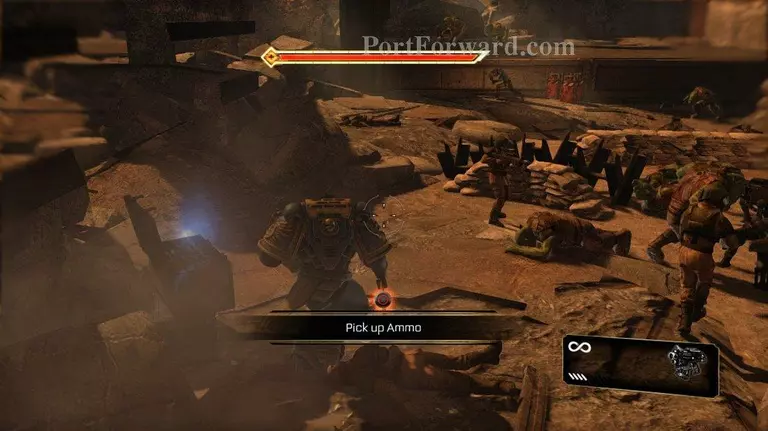
When the cutscene finishes, a group of gretchen will attack you. This is a great way to regain health if you are low. Just hit circle on the ps3 to smash a gretchen and recover some health. Gretchen attacking you = Hey I just found a med pack.

There are two boxes of ammo here. Pick them up before you leave.
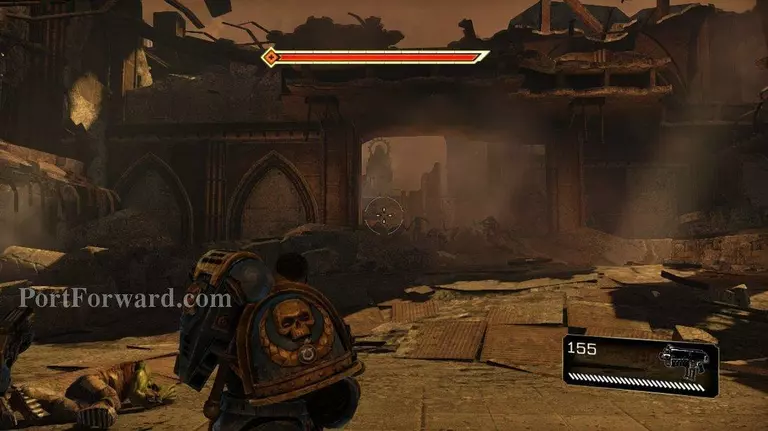
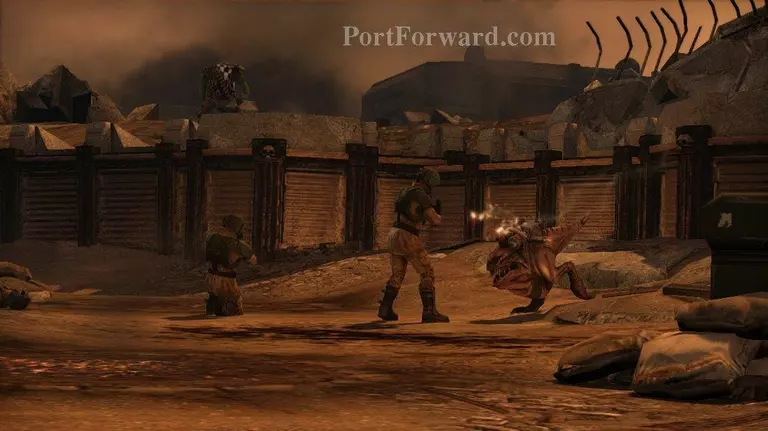
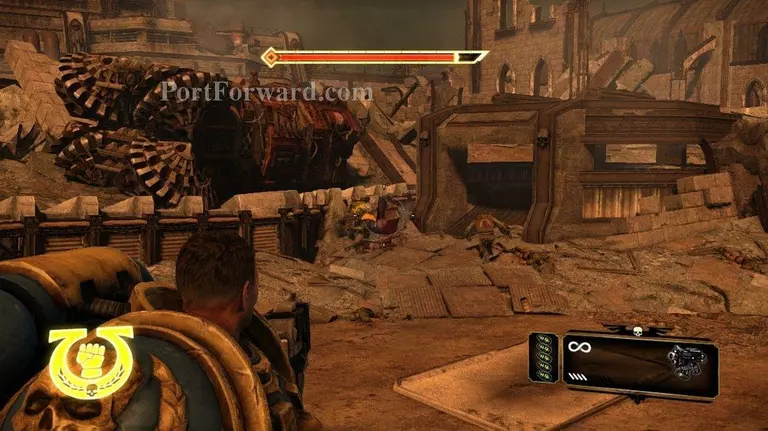
Continue on your way. You will eventually run into a couple of orcs killing a two guards men. Kill them, and continue on.
You've run into a large group of orcs attacking a guard outpost. Keep moving forward as you dump shells into the orcs. You will eventually get to the guard post.
By this point the guard post is pretty overrun by orcs. They are regular weak hand to hand orcs, so it's pretty easy to take them out. Just whip out your knife and slice them to bits.
Pick up ammo if you need some. There are quite a few boxes laying around. After the fight the guardsmen will open a door that will lead you onward.

You'll end up walking through a ton of wounded guards. Just keep walking.
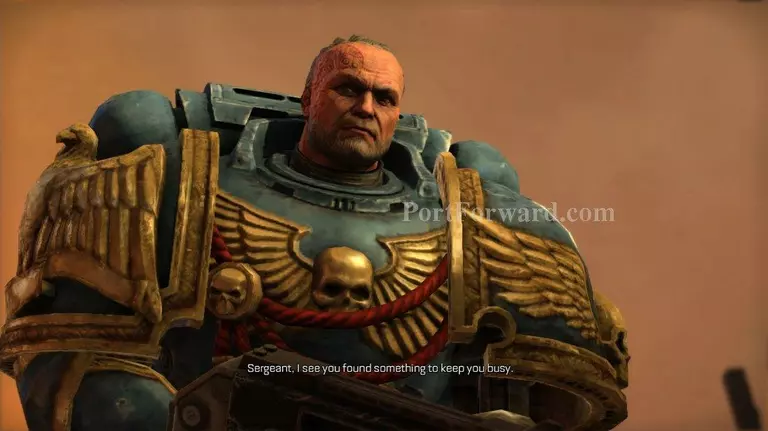
Eventually you will meet up with your Segeant.
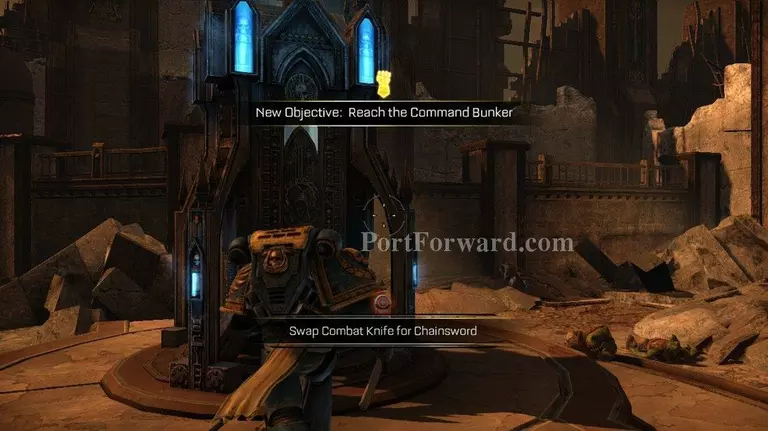
There's also a weapons container here. Walk over to it and pick up a chain sword. It's a much better hand to hand weapon.
Now that you've got a new toy, they throw some orcs at you so you can try it out. These are just regular orcs and your new sword will make short work of them.
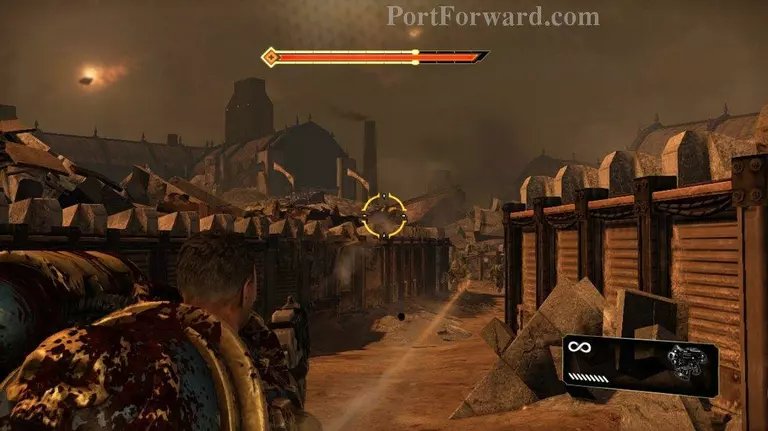
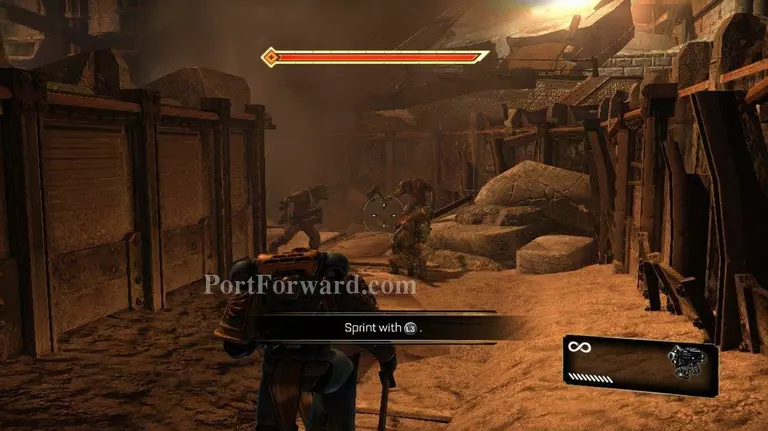
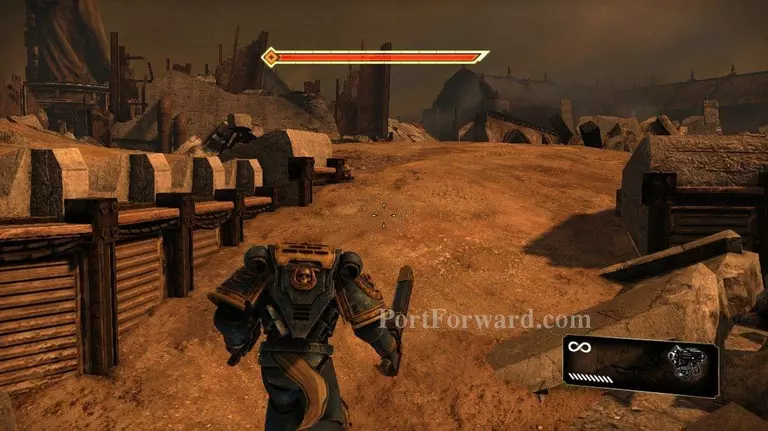
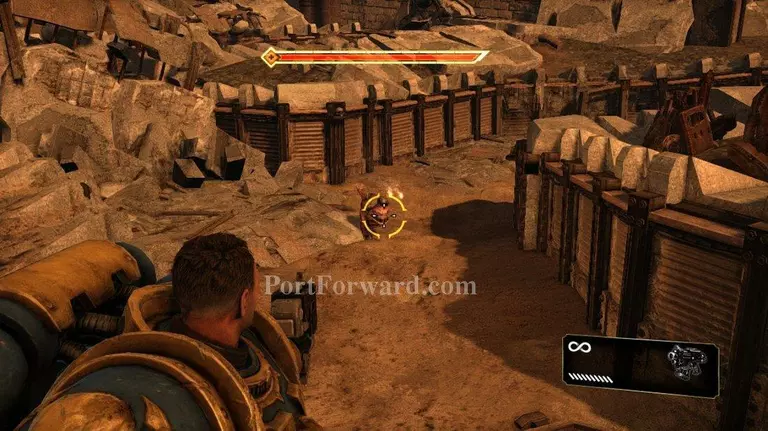
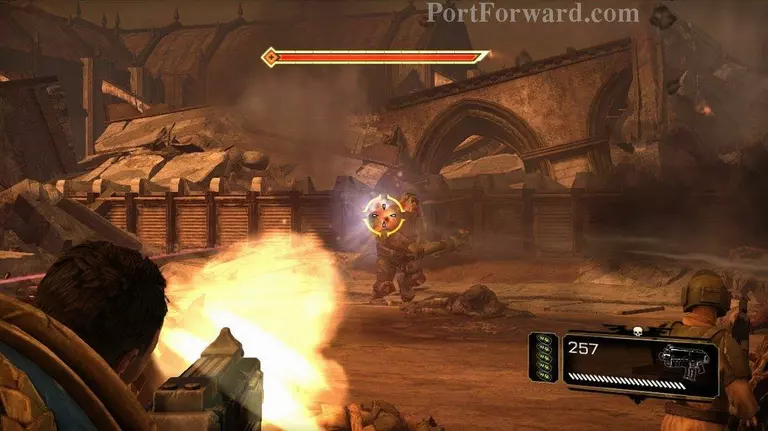
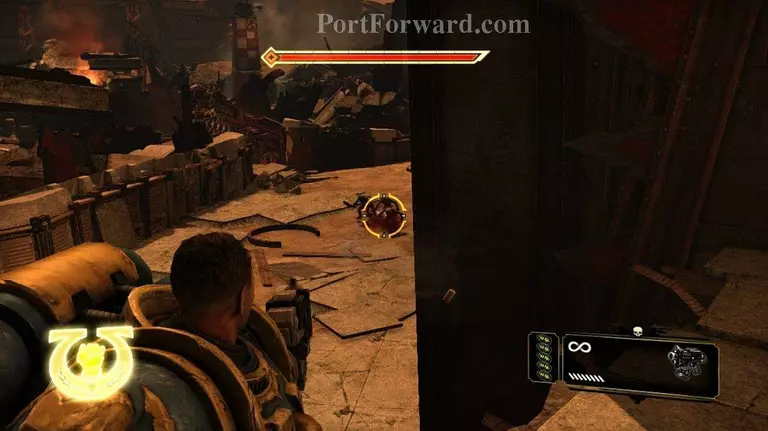
As you move forward you will enter a trench. There will be shooters on the left and right top side of this trench. Take them out first. Then mob up the orcs in the middle last. Orcs with the height advantage need to die quick, because they can almost always keep a steady stream of bullets hitting you.
The regular ground fodder is really easy to take out once their support is gone.
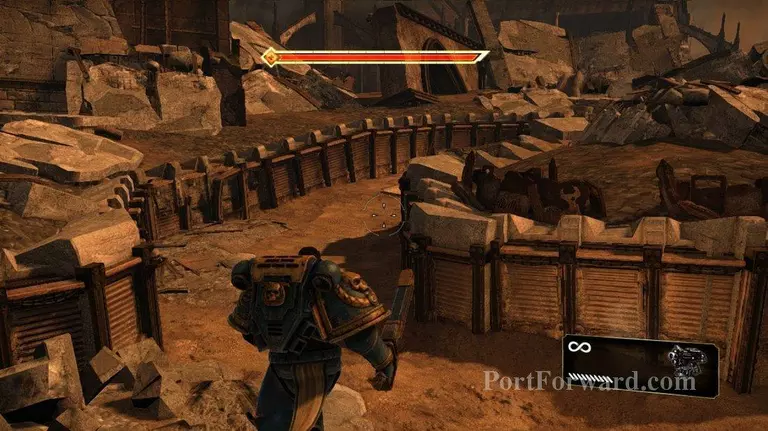
When they are all dead move forward slowly. If you inch your way forward, only a couple of orcs will appear at a time. They are much easier to take out when they are not in force.

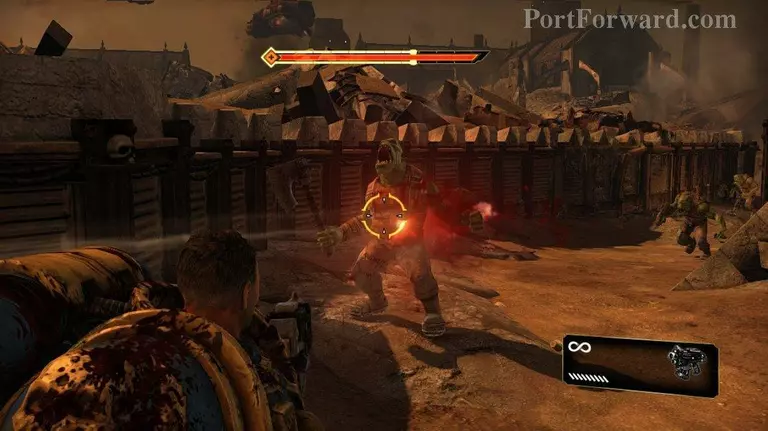
As you move forward you will encounter a couple shooters.
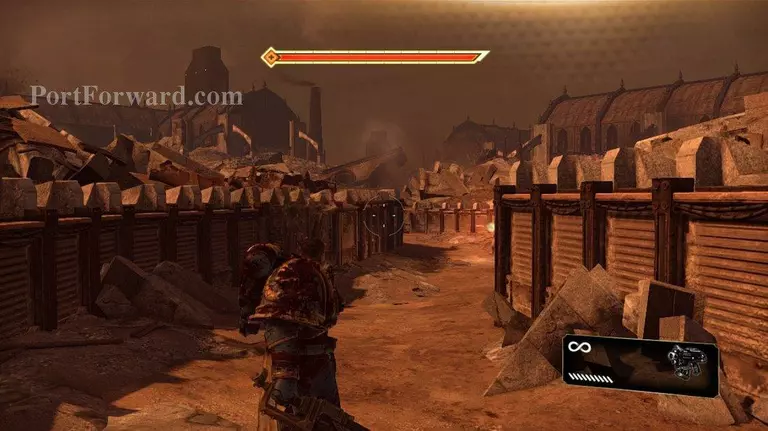
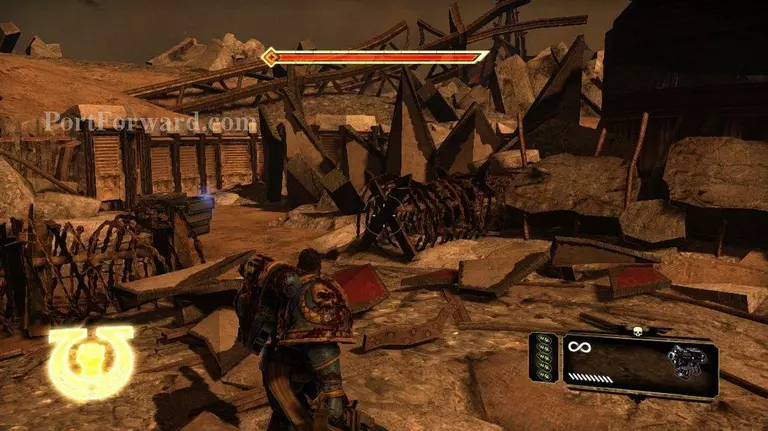
There is a fork in the path to the left. If you follow it you will come to a barricade.
Shoot the red barrels here. I think there is a servo skull here. There are a couple of ammo boxes. Then turn around and go back to the fork in the road.
They'll introduce the squig here. These are basically bombs on legs. Always shoot the squigs first. Hopefully you will hit them when they are in the middle of a huge pack of orcs. The good thing about them is they blow up. The bad thing about them is sometimes they get too close to you when they do it. One shot from just about any gun will cause them to explode.
There's a little path up a knoll here. I usually take this route.
You'll be rushed by the occasional squig from this point forward.
Drop off the ledge and continue on.
Here's another squig surrounded by a group of gretchen. Shoot the squig before it gets too close.
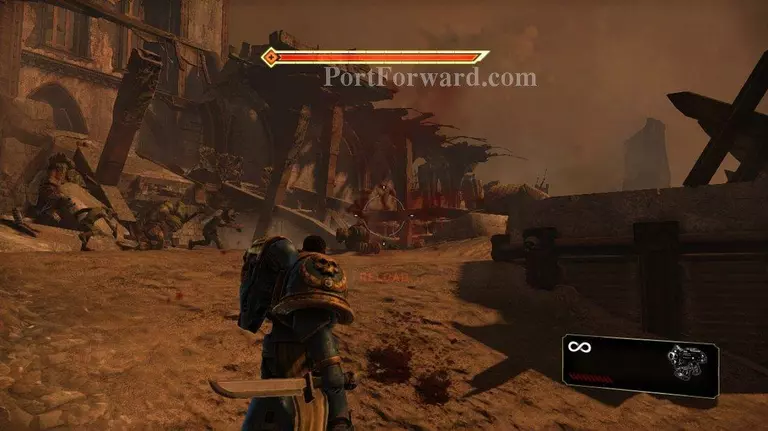
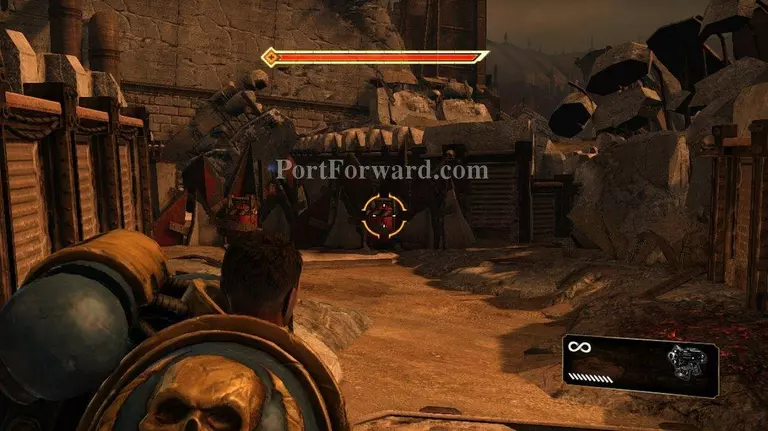
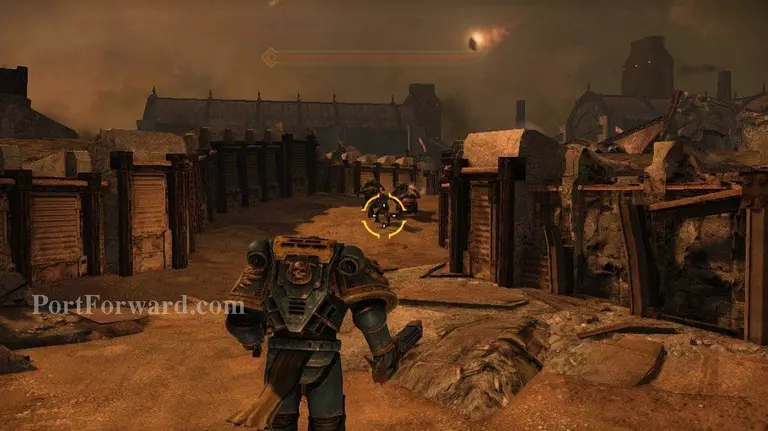
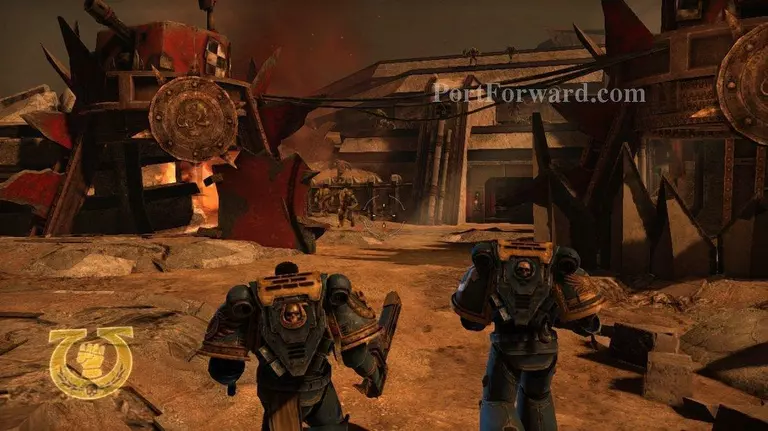
Next you'll come to a guard post that is about to be over run by orcs. Make your way behind the barricades before the orcs start coming.
There are quite a few barrels here, that you can use to destroy clusters of orcs. When a group of shooters get close to a barrel, use it to blow them up.
Take out the shooters first. No one else seems to target them, so it's really up to you. If you get a bunch of shooters in the battle, they will take down your shields and kill you quickly. Let everyone else worry about the other troops.
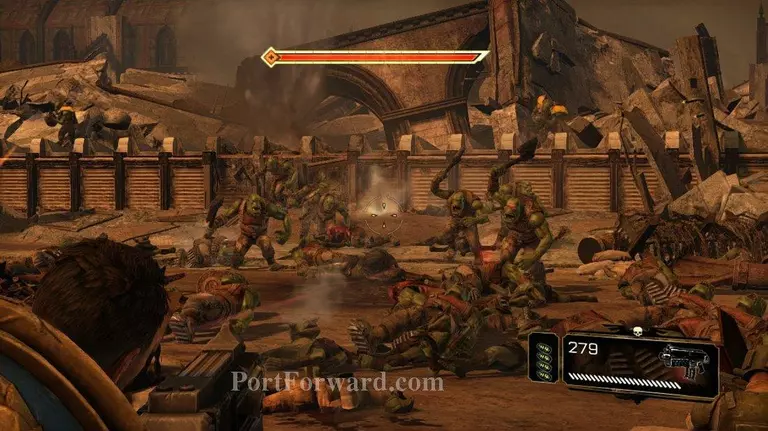
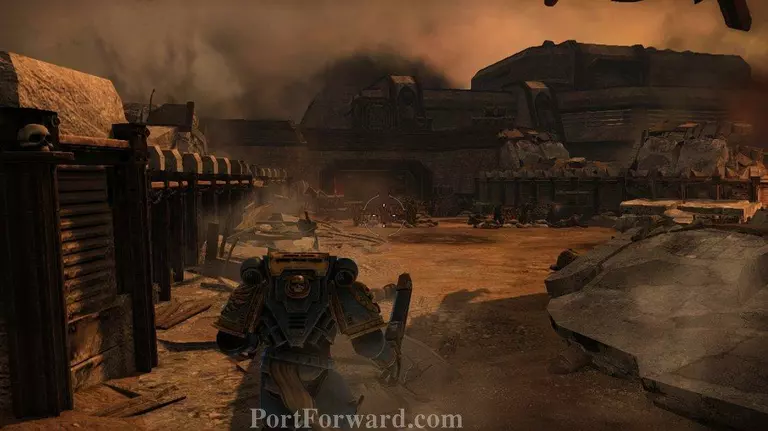
Generally there will be a wave of gretchen followed by a wave of orcs. There will also be a couple of shooters that appear with every wave.

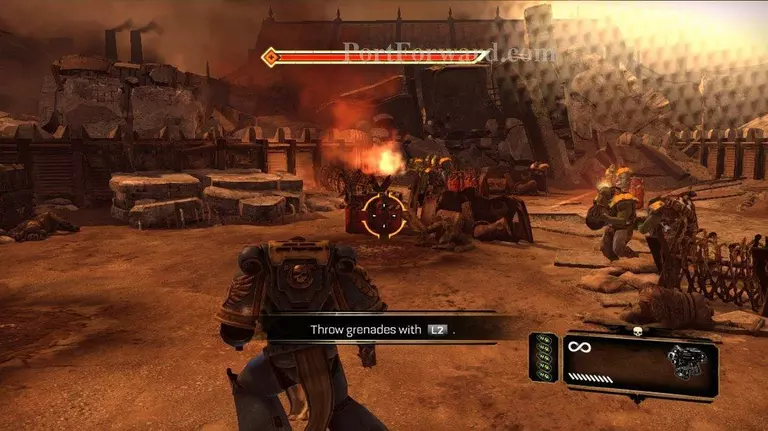
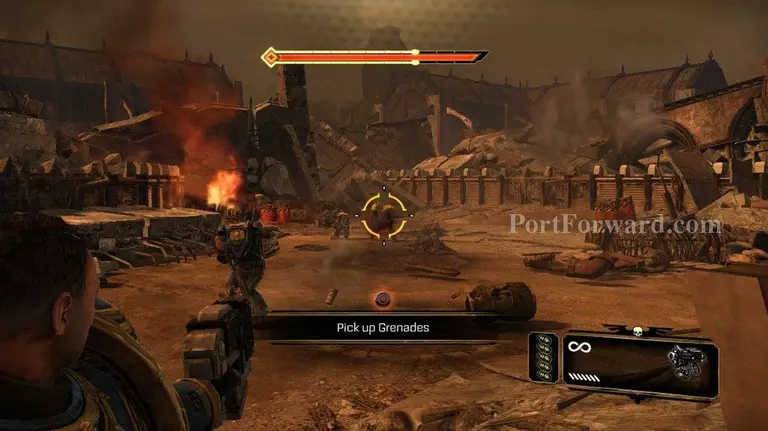
Keep taking them out, as they keep coming. There's a box of grenades nearby, so don't be afraid to use your grenades when you see a cluster of orcs.
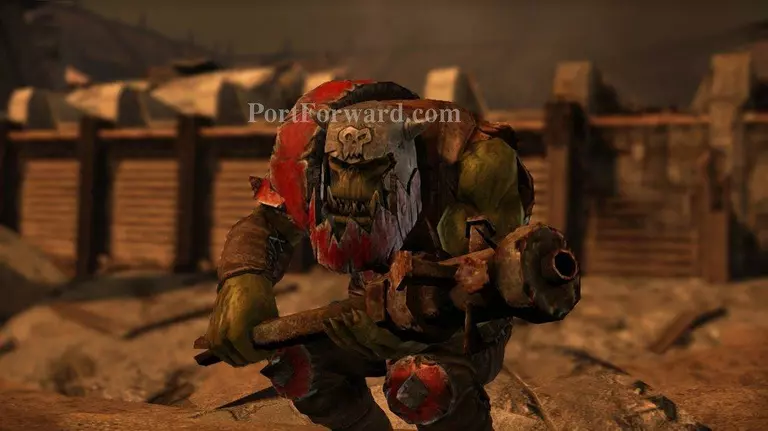
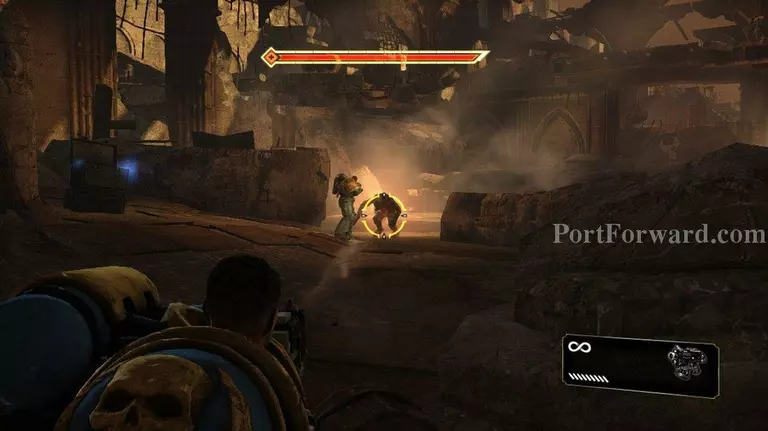
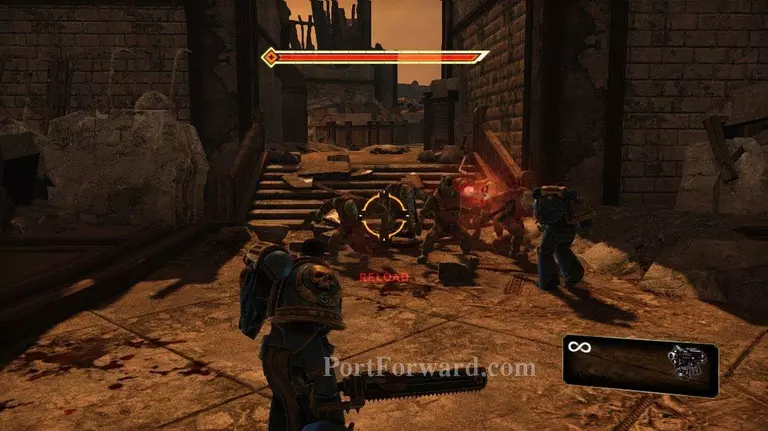
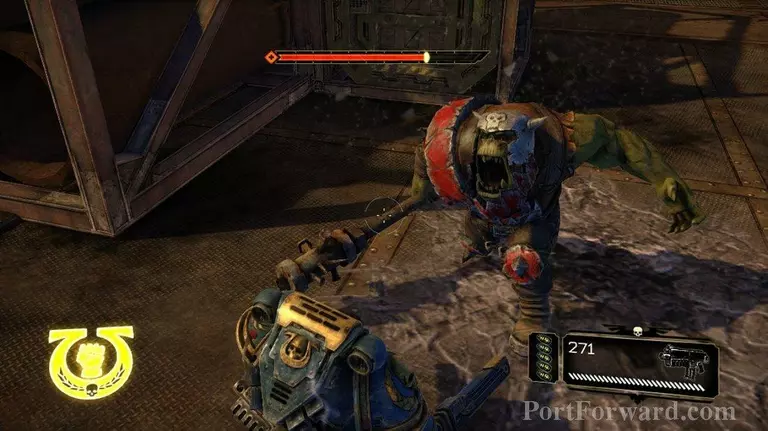
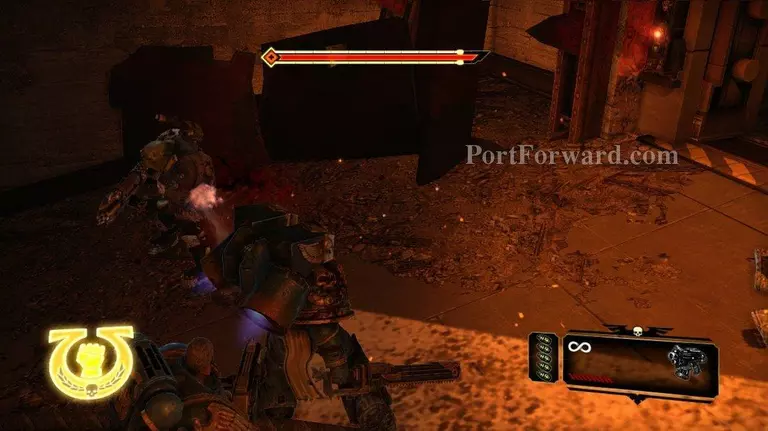
Before this fight is over you a large nob will appear and attack you.
Pour fire into him as he is running at you. If he gets too close go into hand to hand with him. Hit square twice followed up by a triangle to stun him. Then get near him and hit circle to execute him. You'll probably have to pound circle, because he will try to get out of the execute.
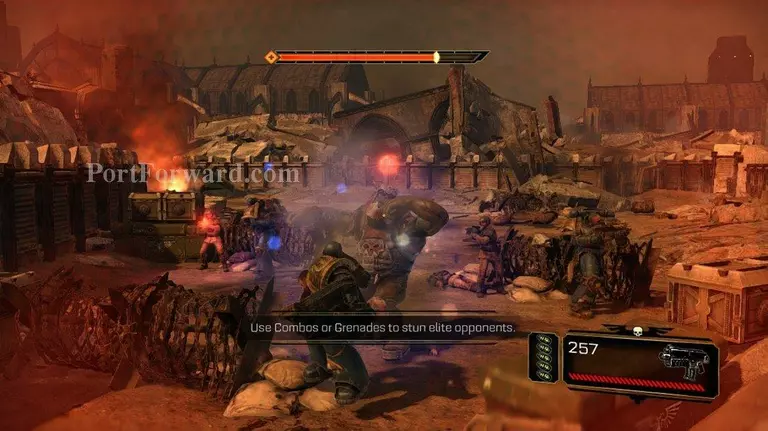
Here's a shot of him when he is stunned.

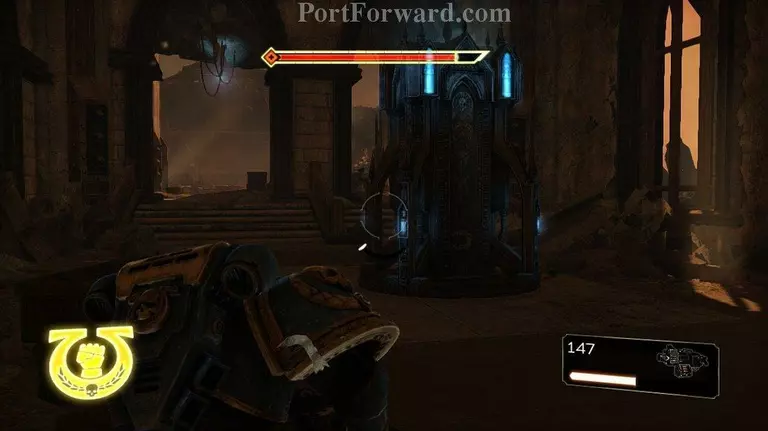
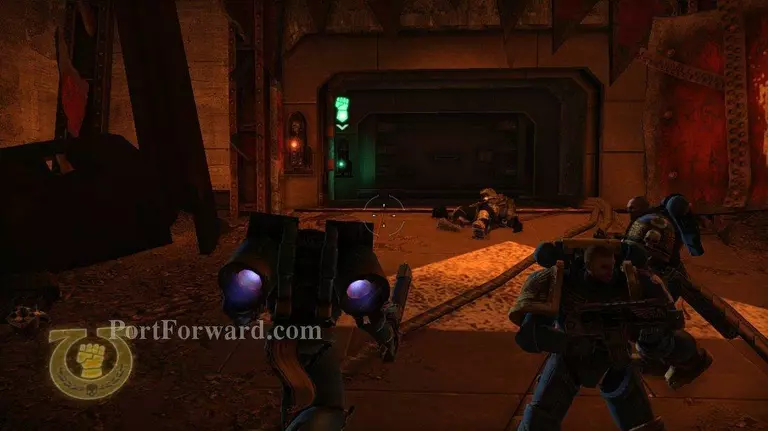
After the fight the guards will open a door that will lead you to their Captain.
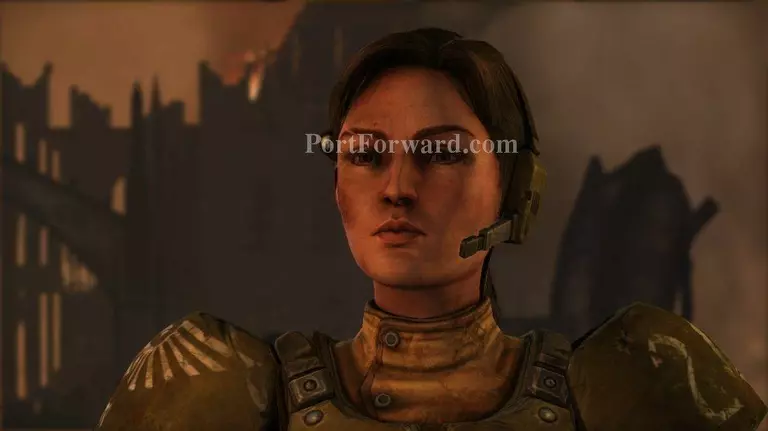
Captain Mira has kept the guards men alive since the start of the orc invasion.

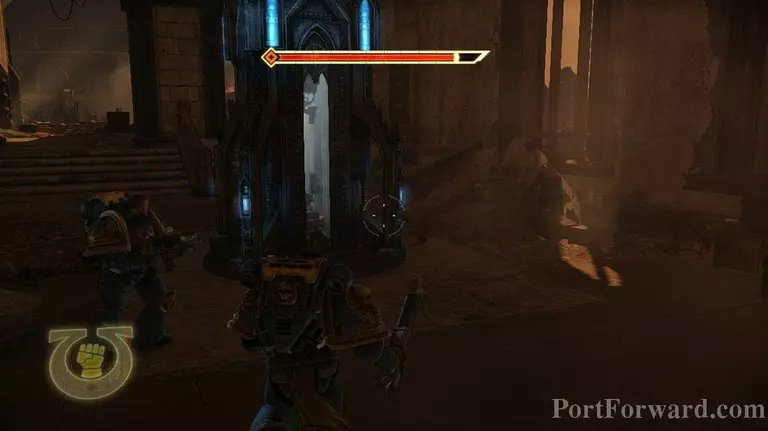
There's an upgrade in this pod. Be sure to grab it because it will come in handy. You can always tell the difference between the weapon or shield upgrades. I think the weapon upgrades are blue, while the shield upgrades are yellow.
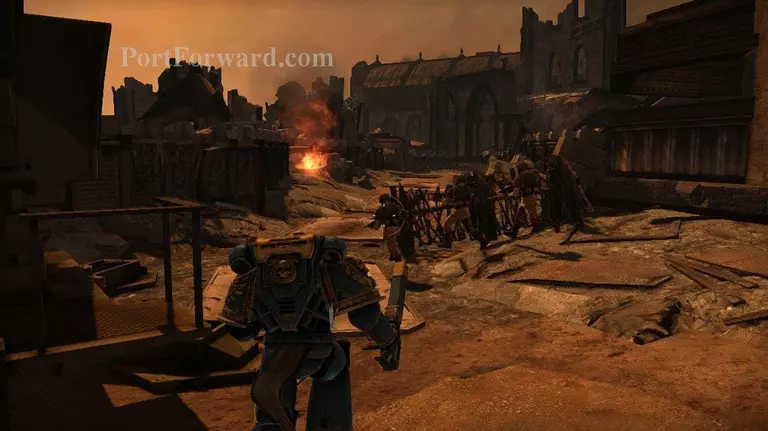
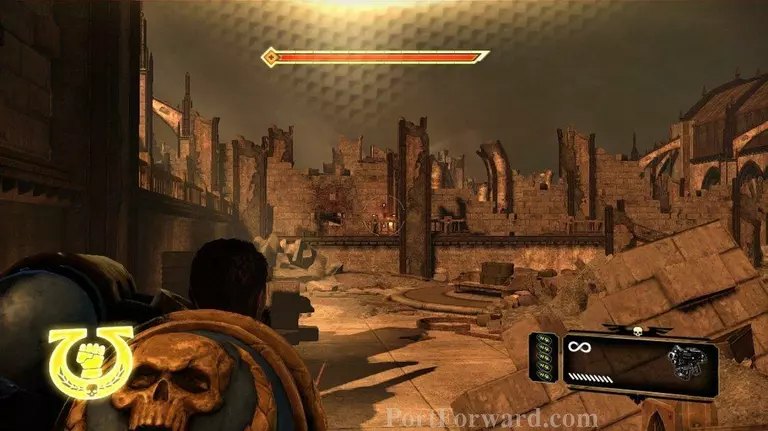
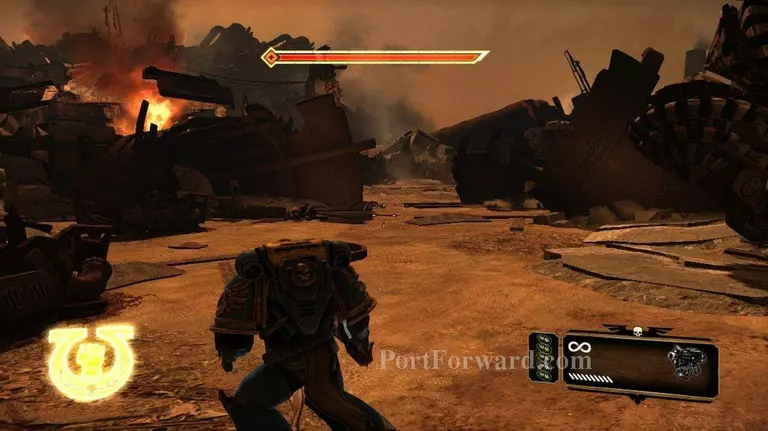
Follow captain Mira outside. Continue on the path, and you will eventually find some more orcs to fight.
Several orcs come out of a machine called a digger. This machine comes up out of the ground. Really you don't see too many of these. Honestly, who cares how they get here. Hey look! It's orcs lets kill them.
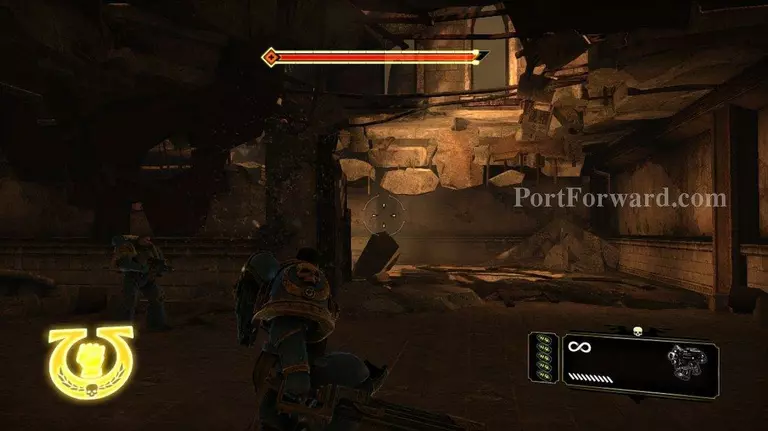
There are quite a few orcs to kill here, because more join the ones that came out of the ground. Fortunately they are all grunts. So you can wade in with your chain sword and take them out without any real risk.
After the orcs are all dead move forward.
There will be a shooter and a grunt here. Take them out before you drop over the ledge.
When you drop down you be rushed by two orcs. Take them out. Since you took out the shooter and grunt before you dropped down these will be really easy.
There are a couple more grunts up ahead. They are taking out some guardsmen. Take them down and move ahead.
As you move forward you will see a blast that will kill a gaurdsman who is manning a heavy weapon. Move up and take control of that gun.
When you are on the gun you can leave it where it is or choose to rip it off. I usually leave it on it's tripod because it had infinite ammo that way.

Just keep the yellow gage in mind. It's the weapons heat. So pause when you can to let the thing cool off.
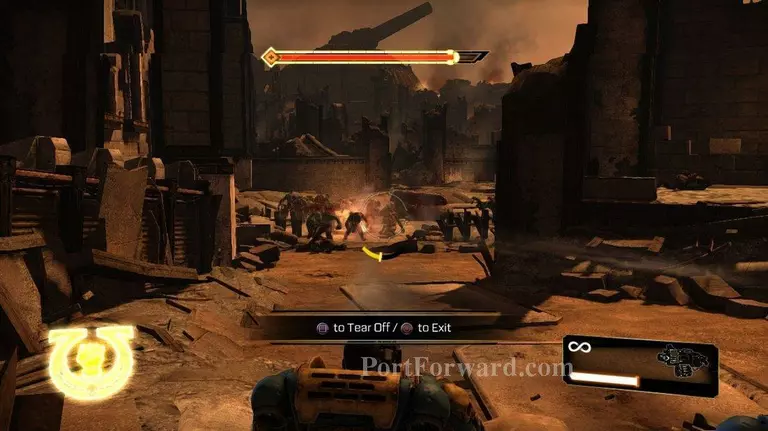
You will be rushed by waves and waves of orcs here, but this gun will take them all down pretty quickly.
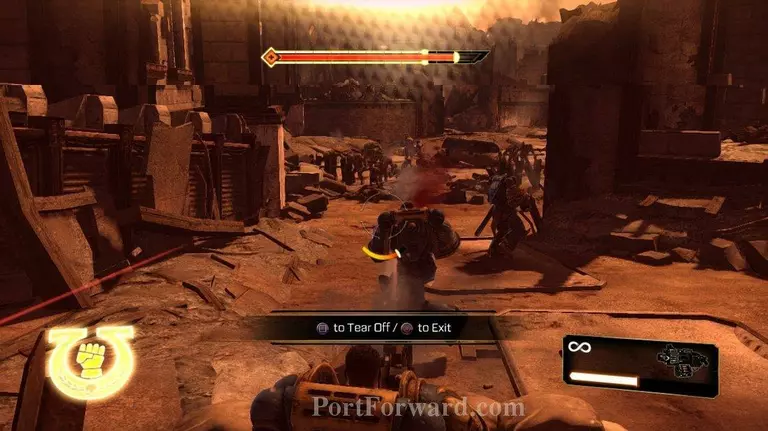
There's nothing like having your own troops walk through your line of fire.
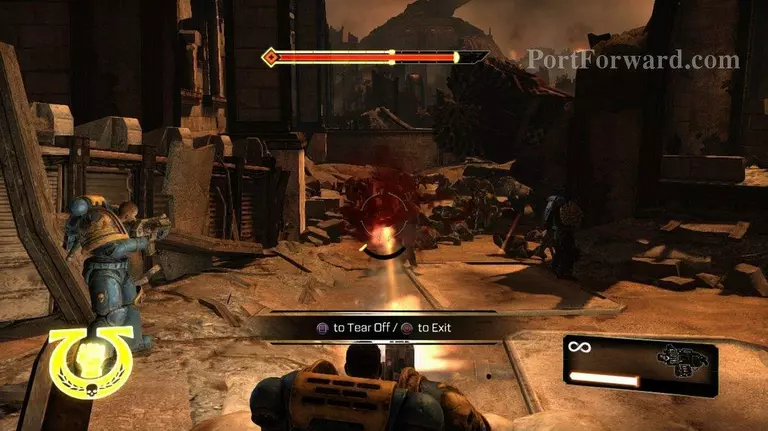
Just keep firing into the orc mass until they are all gone. Take the shooters out first of course, because they will be the only ones that will hit you.
You can tear the weapon off and take it with you, but it's pointless here. Even if you take it with you the captain will discard it when he gets close to the next weapon upgrade.
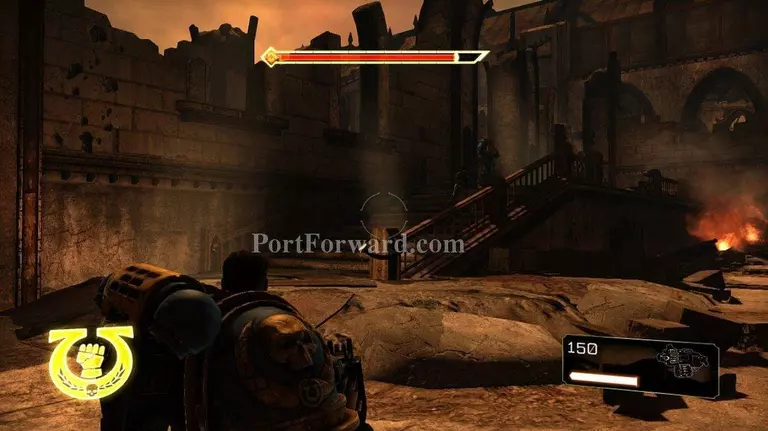
There's the weapon upgrade, and there goes your big gun. I guess this is actually a weapon downgrade, because the captain just tossed the best gun in the game like it was a used coke can.
Great now you've got a stalker bolter. It's one of the two sniper rifles you get in the game. I prefer this gun over the laser cannon.

Moving forward you will get a cut scene about the orcs invading the defense weapon. Mira will leave you at this point.
Moving forward you will come across a bunch of shooters. I'm sure they put this in here so you can try out the stalker bolter. Honestly you should probably use it to take these orcs out. There's plenty of ammo refills up ahead.

There will be one shooter to the right, and two or three up ahead. Take them out.
There's an orc that will shoot down at you through a hole in the ceiling here. It will be pretty easy to take him out.
There are a couple gretchen you can take out before you jump over the ledge. Or you can jump over and regain some health.
Make your way through this next section. Grunt orcs will run at you two at a time. They will be very easy to kill.

Here's your second set of two orcs. I really wonder why they didn't put more orcs here.
There's a wall you can blow up here, with some grenades behind it. I think there's also a servo skull here.
Eventually you will come to a door, and a bunch of orcs will run inside. When the door closes, you will be rushed by a wave of grunts.
These grunts are really easy to take out, but they do come in force. It's easy to take them out with melee, but don't forget to stun the last couple to regain any lost health.
When the orcs are head, gather any ammo if you need it. Then go over and open up the door.
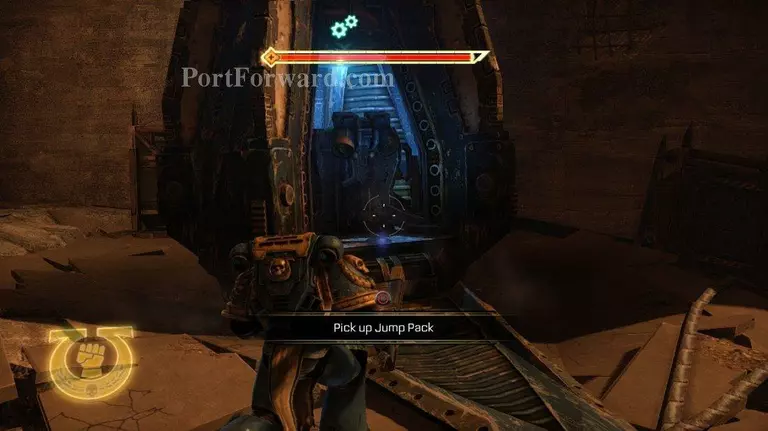
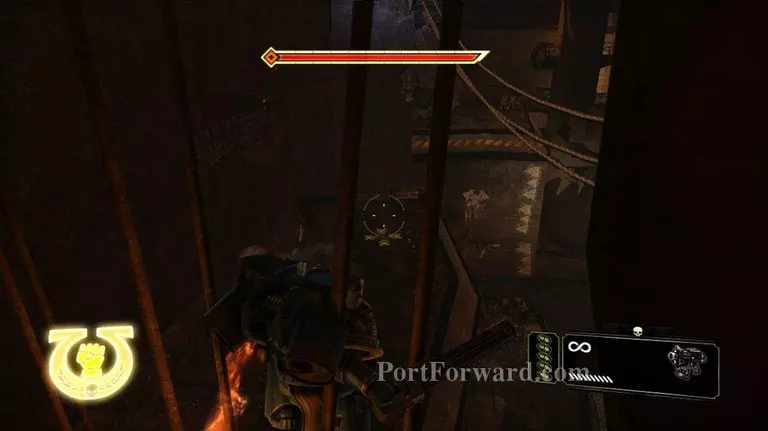
Continuing forward you will come across a drop pod with a jump pack in it. Jump packs are pretty fun. You don't have to worry about fuel with the jump packs. They will run out of fuel at a set point in the game. Jump packs are really fun with a thunder hammer, because you can stun a ton of orcs with the combo.
Now that you've got the jump pack, it's a good idea to know how to use it. If you are moving when you jump you will naturally travel in that direction. Basically if you want to jump a large distance when you jump, run in that direction prior to jumping. In the air you can control the direction you are traveling, but not as much as you control the direction you are traveling with your initial run.
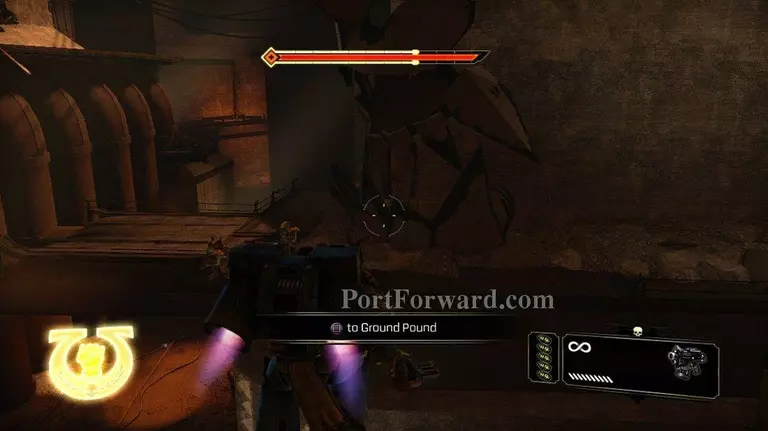
When you are in the air you can also press X to preform an attack called ground pounding. You will see yellow cross hairs on the ground where you will land. So as you are in the air, aim and then press X. Your jump pack will fire and you will move quickly in that direction and then pound the ground. Pounding the ground will kill all surrounding grunts, and stun almost all tougher orcs.
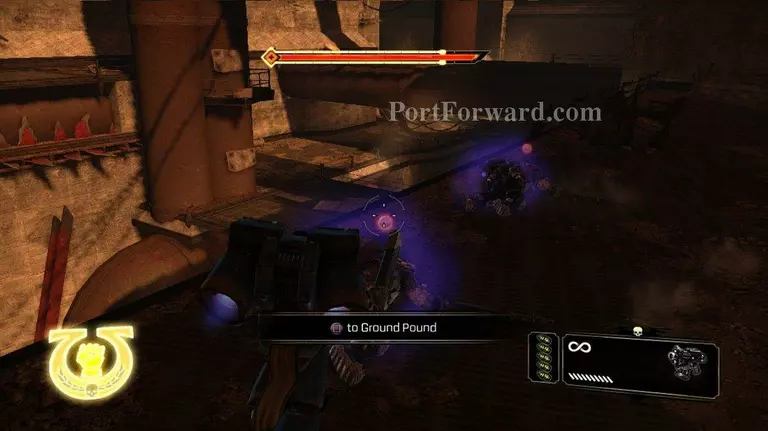
It's a really easy way to regain health.
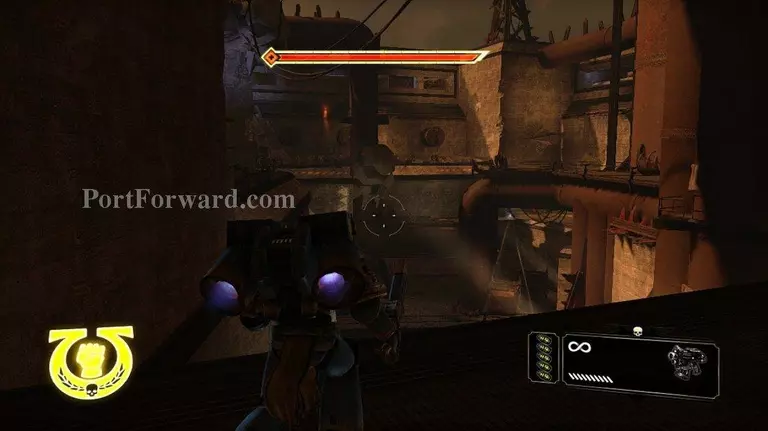
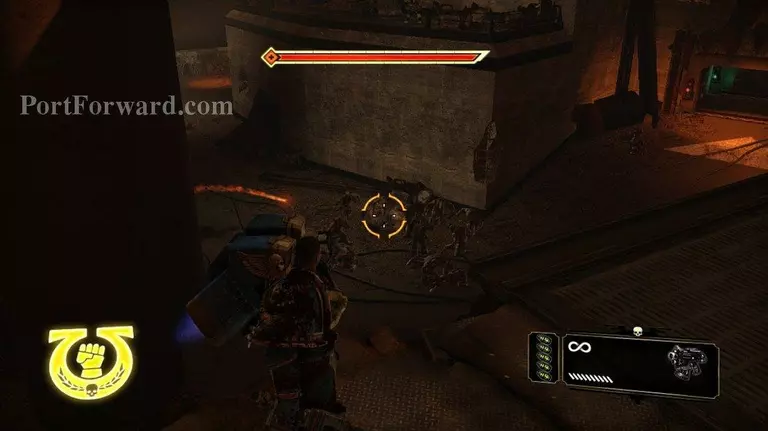
This area is chock full of orcs. Take out all the orcs on the platforms that are up above while letting the rest of your squad mop up what's down below.

When all the orcs up above are dead, help your squad by unloading into the orcs they are fighting. When they are all dead, move on to the next platform.
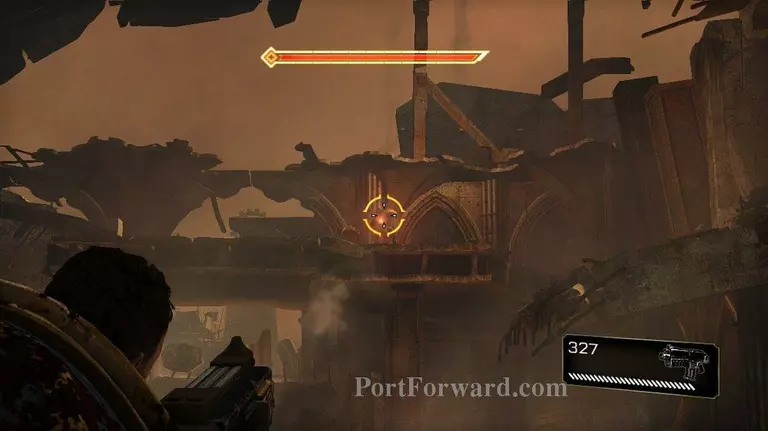
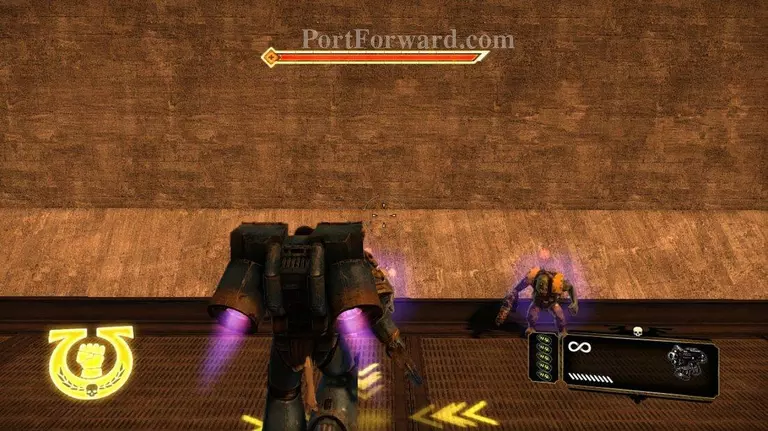
In this area you encounter orcs that launch missles. We'll call them shootas. The shootas are usually up above on the platforms you are clearing, but occasionally they can be below as well. Be sure to take them out as you find them. They can do a lot of damage with a single shot.
Here's a picture of a soon to be dead shoota.
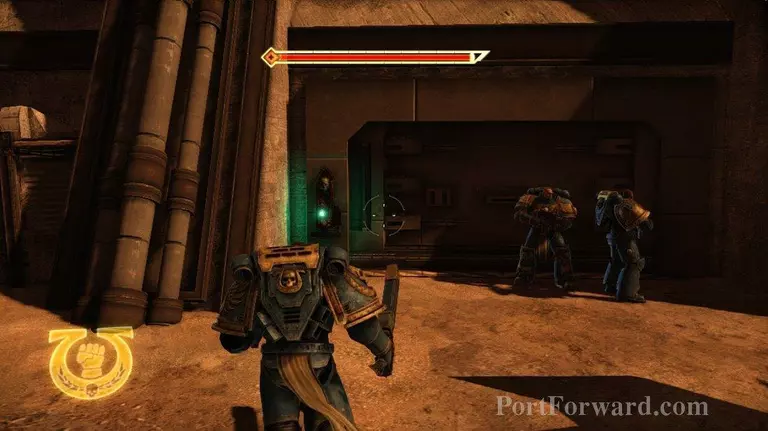
When all the orcs are dead in this section, go through the door with the green button. In the next section you will find more of the same.
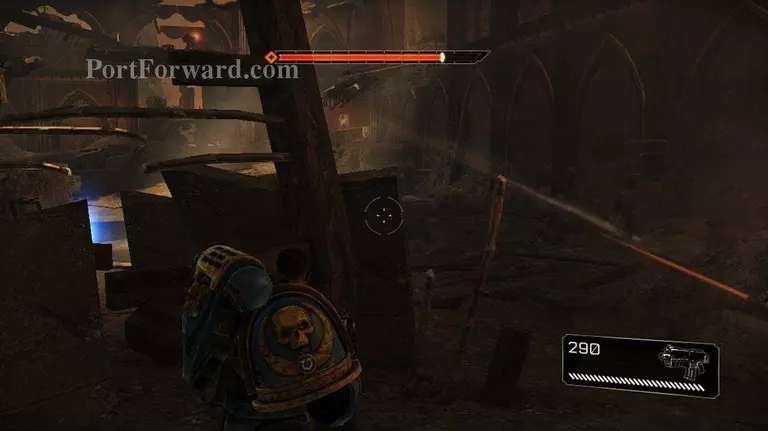
Once again go to the higher ground and stay up there. There's a bridge that I'm standing on, and yet there's another level above me that I'll move to. There are two shooters up here so take them out.

Run at the wall here and jump.
You will find yourself on a higher platform with two shooters. Take them out and then move on.
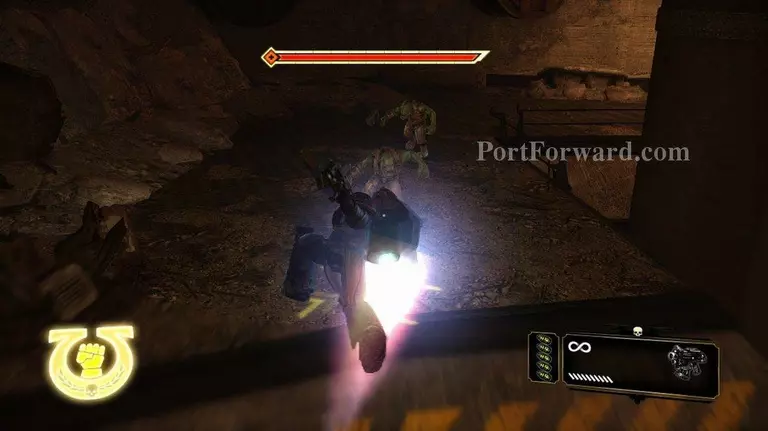
If you are having trouble remember to stay up on the platforms. It really helps. Move from platform to platform taking out orcs as you come to them. I like occasionally jumping down to pound the ground, taking out a mass of grunts. If you do that, make sure you don't get stuck down there.
Rember your priorty is to take out the shootas and shooters on the platforms above. If you leave them around too long, they can concentrate their fire and kill you.
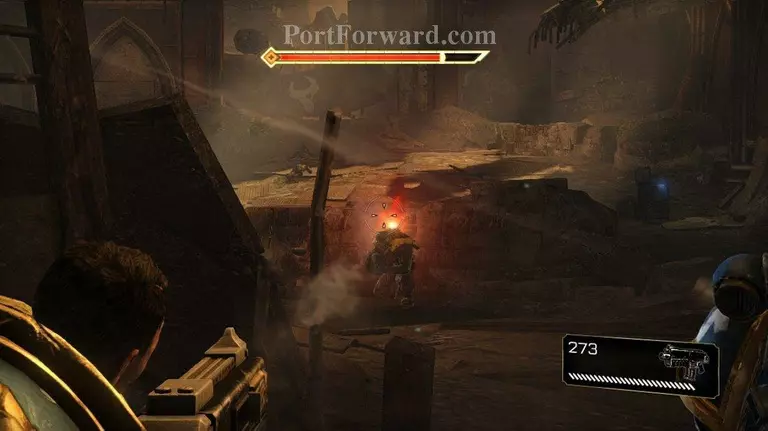
There are some barrels here you can shoot to take down a platform of shooters.
When you are done with the orcs on the platforms, help your squad out by cleaning up the orcs on the ground.
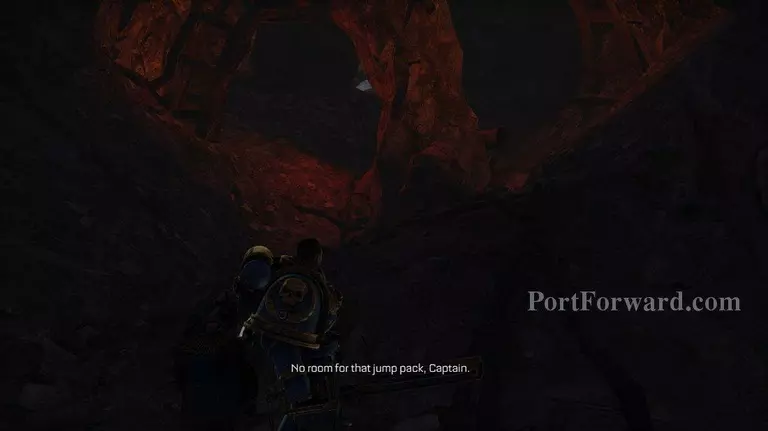
When all of the orcs are dead, go up the tunnel. The captain will automatically ditch his jump pack.
More Space Marine Walkthroughs
This Space Marine walkthrough is divided into 17 total pages.


