Starcraft 2: Heart of the Swarm Walkthrough Umoja 1: Lab Rat

September 12, 2016 (Last Updated: ) | Reading Time: 5 minutes

This Starcraft 2: Heart of the Swarm walkthrough is divided into 27 total pages.

You can jump to nearby pages of the game using the links above.

Umoja 1: Lab Rat

Starcraft 2: Heart of the Swarm Walkthrough - Starcraft 2-Heart-of-the-Swarm 0

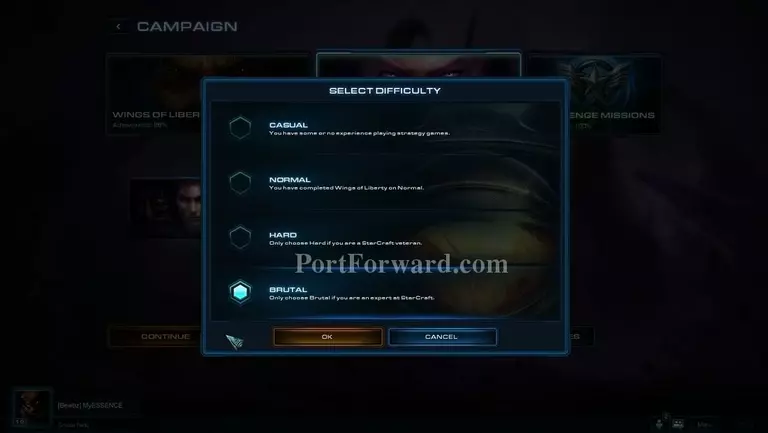
Welcome to my SC2: HotS walkthrough. I will be playing on Brutal difficulty.

Starcraft 2: Heart of the Swarm Walkthrough - Starcraft 2-Heart-of-the-Swarm 1

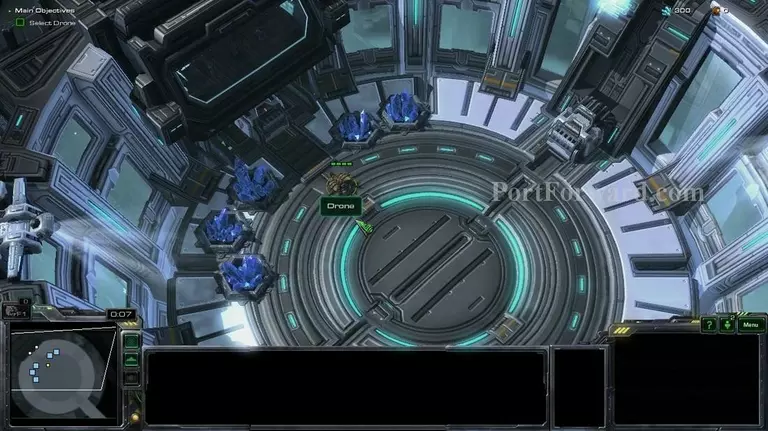
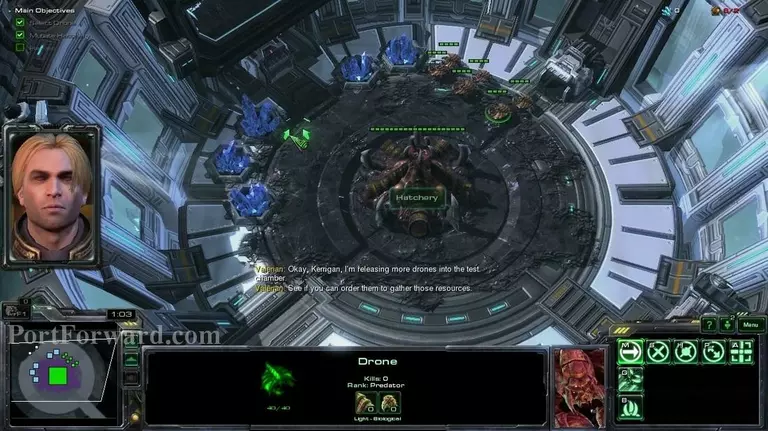
You start off with a single drone in a cell.

Starcraft 2: Heart of the Swarm Walkthrough - Starcraft 2-Heart-of-the-Swarm 2

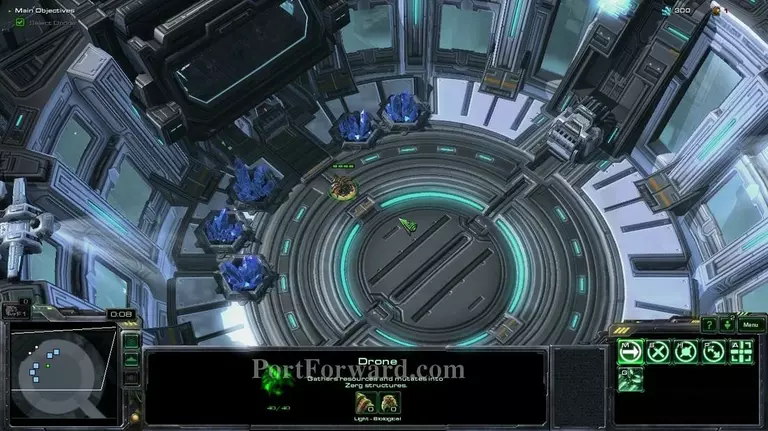
Click on the drone to select it. Drones are worker units. That harvest and build structures. In almost every mission you're going to need a lot of drones.

Starcraft 2: Heart of the Swarm Walkthrough - Starcraft 2-Heart-of-the-Swarm 3

You can move it around my right clicking anywhere.

Starcraft 2: Heart of the Swarm Walkthrough - Starcraft 2-Heart-of-the-Swarm 4

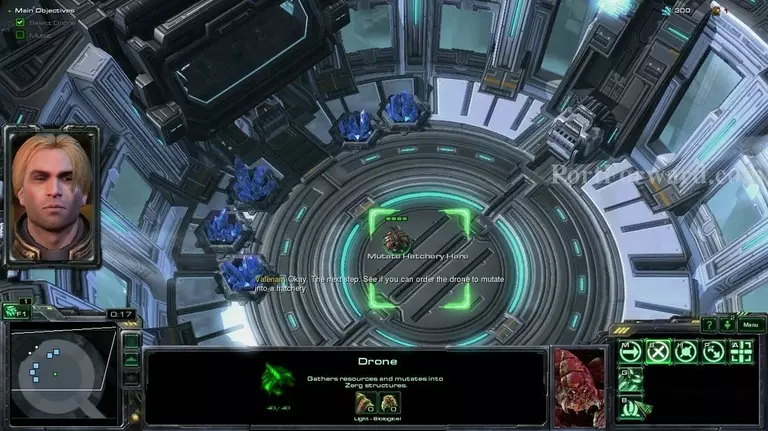
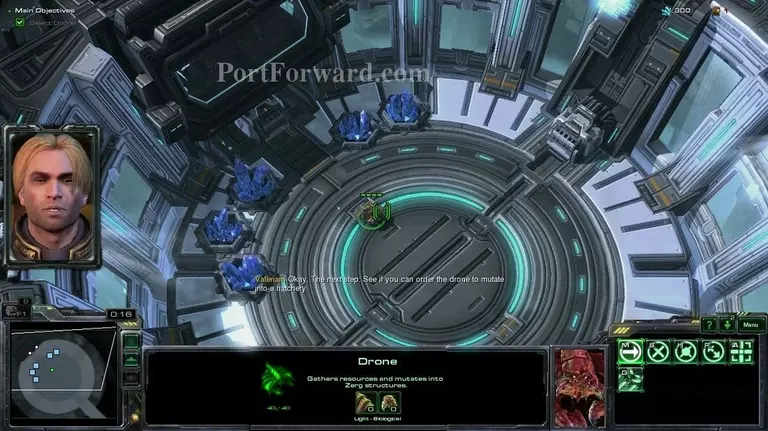
On the bottom right there is a command card. Press on the bottom left button to view a list of building you can make.

Starcraft 2: Heart of the Swarm Walkthrough - Starcraft 2-Heart-of-the-Swarm 5

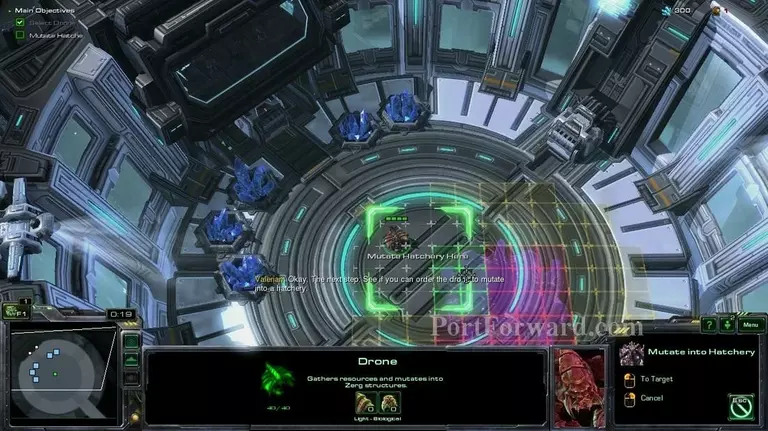
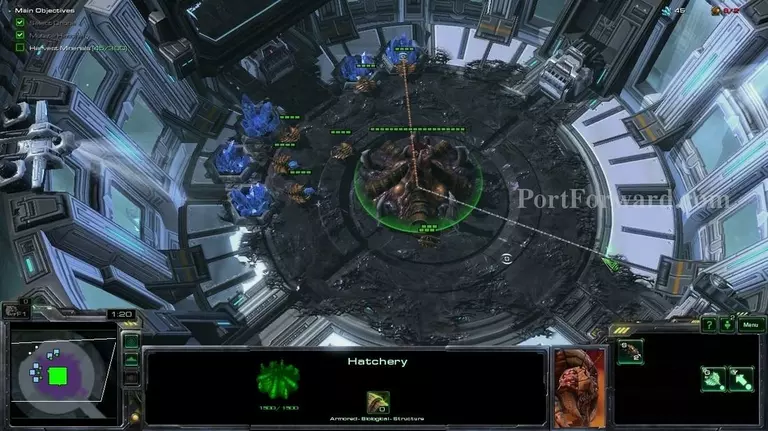
Select the hatchery and put it on the center of the area you're in.

Starcraft 2: Heart of the Swarm Walkthrough - Starcraft 2-Heart-of-the-Swarm 6

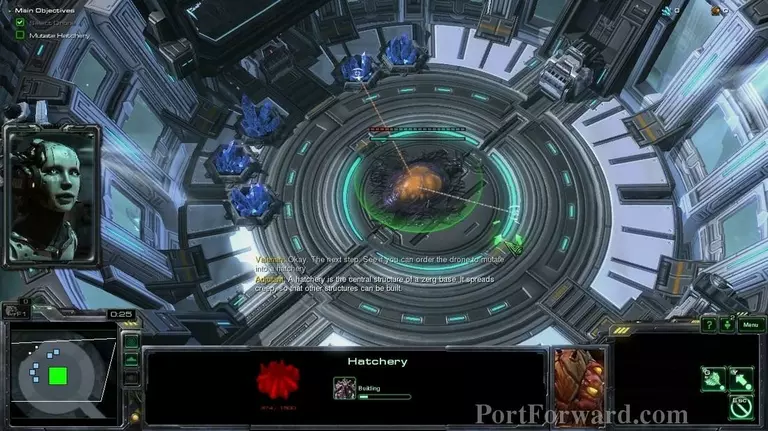
Now wait for it to finish.

Starcraft 2: Heart of the Swarm Walkthrough - Starcraft 2-Heart-of-the-Swarm 7

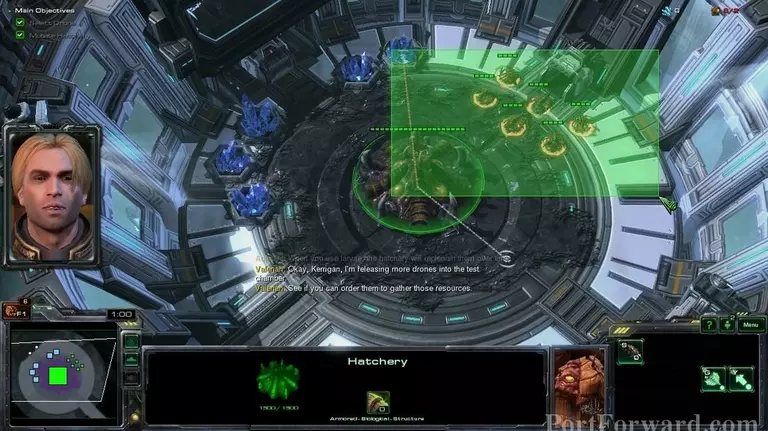
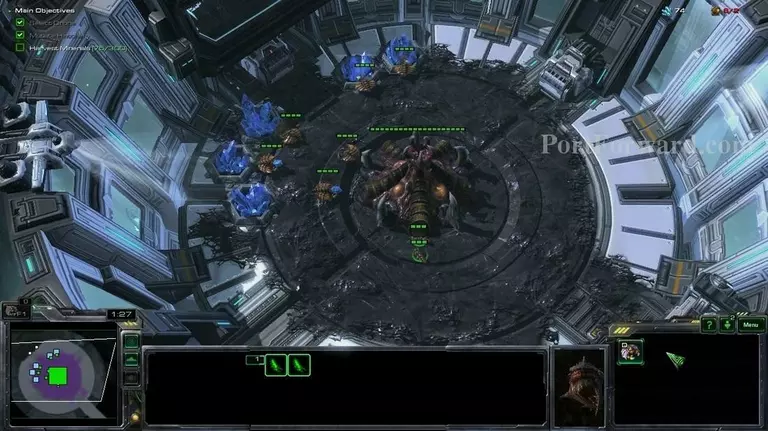
After it is finished, more drones should arive. Left click on the ground next to them and drag the mouse over them while holding the button down.

Starcraft 2: Heart of the Swarm Walkthrough - Starcraft 2-Heart-of-the-Swarm 8

That way, you select them all. Right click on the blue minerals to order them to harvest.

Starcraft 2: Heart of the Swarm Walkthrough - Starcraft 2-Heart-of-the-Swarm 9

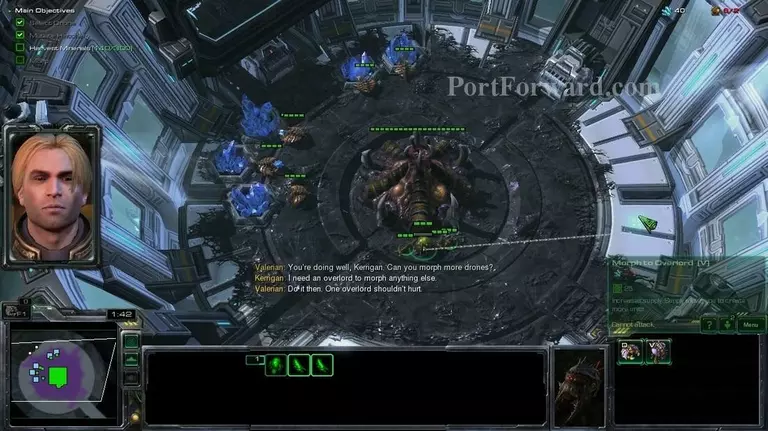
You can select the hatchery and press on the "Select Larvae" option on the command card.

Starcraft 2: Heart of the Swarm Walkthrough - Starcraft 2-Heart-of-the-Swarm 10

The larvae is where you construct most of your units from.

Starcraft 2: Heart of the Swarm Walkthrough - Starcraft 2-Heart-of-the-Swarm 11

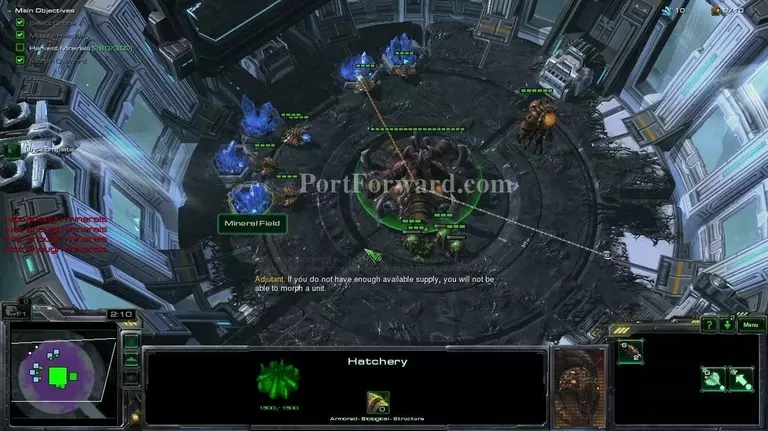
Right now you can only see the drone in the list, but you cannot create it yet. If you click it, it will tell you that you do not have enough supply. Supply is how many units you can create and every unit requires a different ammount of supply. You can view your current supply status on the top right.

Starcraft 2: Heart of the Swarm Walkthrough - Starcraft 2-Heart-of-the-Swarm 12

After a bit you will be allowed to click on the overlord while selecting the larvae. Overlords provide more supply.

Starcraft 2: Heart of the Swarm Walkthrough - Starcraft 2-Heart-of-the-Swarm 13

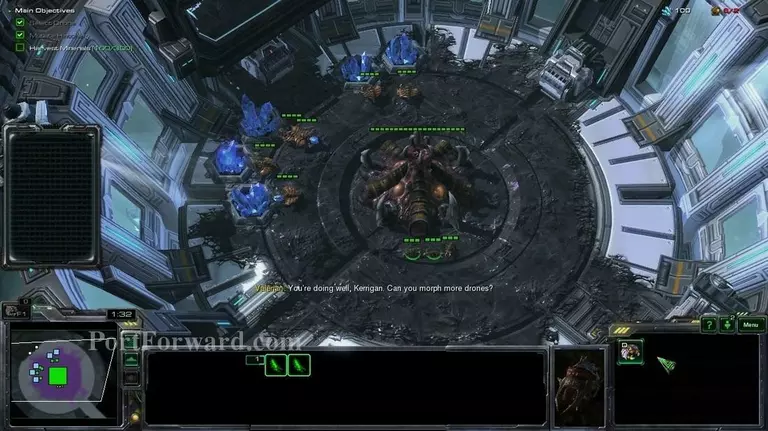
After the overlord is finished, build 4 more drones.

Starcraft 2: Heart of the Swarm Walkthrough - Starcraft 2-Heart-of-the-Swarm 14

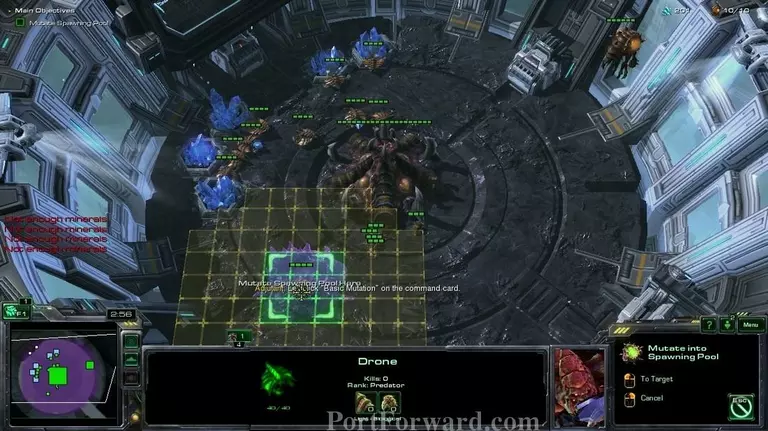
After a bit, you will be asked to create a spawning pool. You can do that by clicking on a drone, bringing the list of building up and selecting the spawning pool.

Starcraft 2: Heart of the Swarm Walkthrough - Starcraft 2-Heart-of-the-Swarm 15

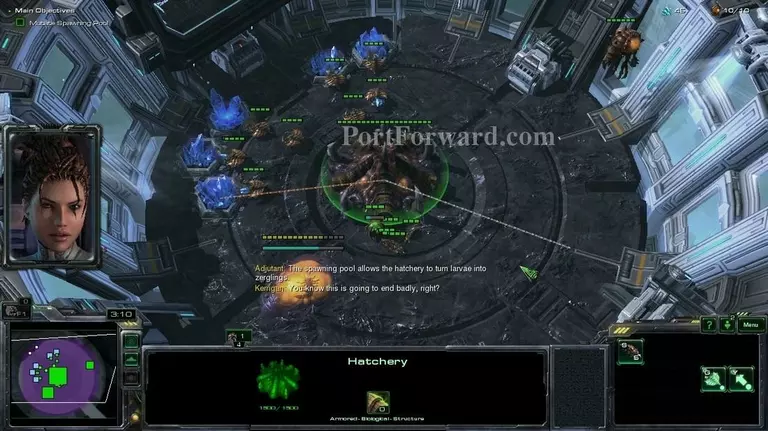
While the spawning pool is building, create another overlord and another drone.

Starcraft 2: Heart of the Swarm Walkthrough - Starcraft 2-Heart-of-the-Swarm 16

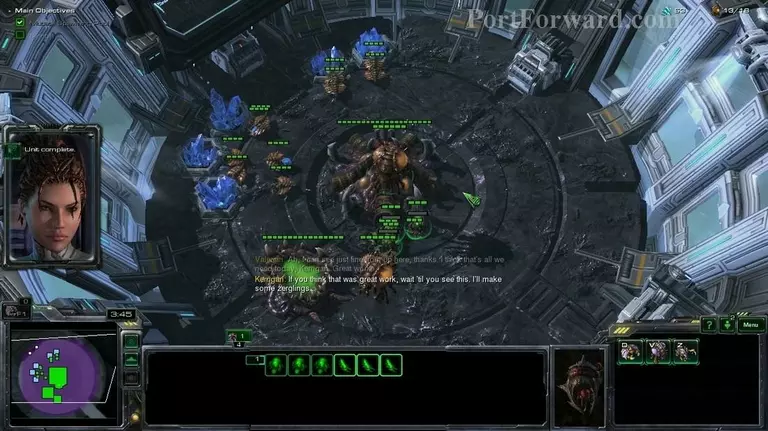
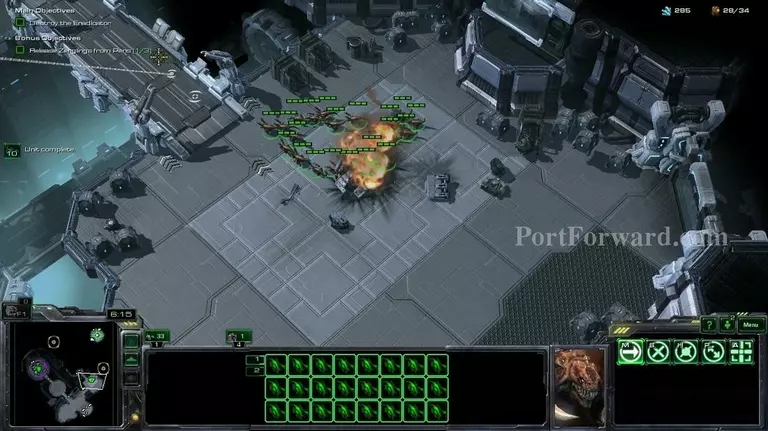
After the second overlord is finished, you will be able to create zerglings. Select your larvae and create as many as possible.

Starcraft 2: Heart of the Swarm Walkthrough - Starcraft 2-Heart-of-the-Swarm 17

After they are done the gate should open.

Starcraft 2: Heart of the Swarm Walkthrough - Starcraft 2-Heart-of-the-Swarm 18

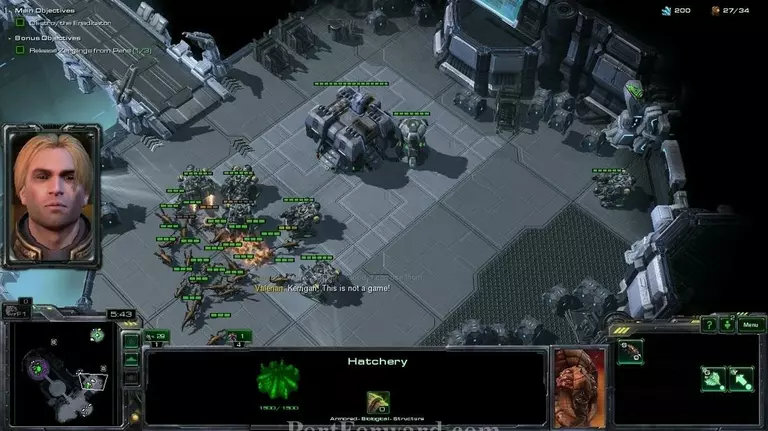
You will see mechanical units on the other side of the bridge. You can attack them by either right clicking on one of them (Focus fire) or pressing the A key on your keyboard and left clicking on the ground (Attack move). It is usually advised to attack move instead of focus fire, especially when using melee units.

Starcraft 2: Heart of the Swarm Walkthrough - Starcraft 2-Heart-of-the-Swarm 19

After you destroy your enemies, more zergling will come to help you.

Starcraft 2: Heart of the Swarm Walkthrough - Starcraft 2-Heart-of-the-Swarm 20

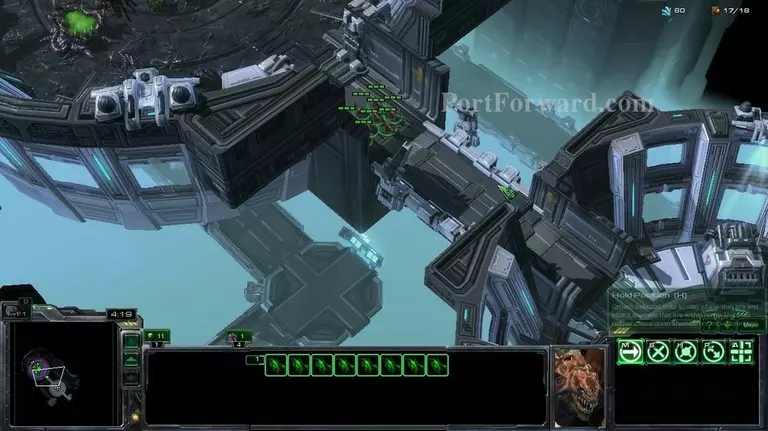
Continue going forward with your zerglings, but remember to make more zergling and overlords from your hatchery.

Starcraft 2: Heart of the Swarm Walkthrough - Starcraft 2-Heart-of-the-Swarm 21

If you go south, you will spot a generator and more enemies. If you destroy the generator, more zergling will reinforce you.

Starcraft 2: Heart of the Swarm Walkthrough - Starcraft 2-Heart-of-the-Swarm 22

Continue going north and you will spot an enemy building.

Starcraft 2: Heart of the Swarm Walkthrough - Starcraft 2-Heart-of-the-Swarm 23

Destroy it to stop your enemy from creating more units.

Starcraft 2: Heart of the Swarm Walkthrough - Starcraft 2-Heart-of-the-Swarm 24

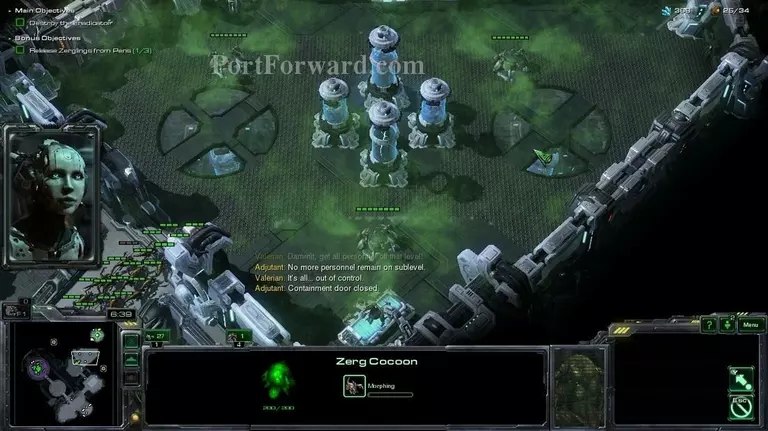
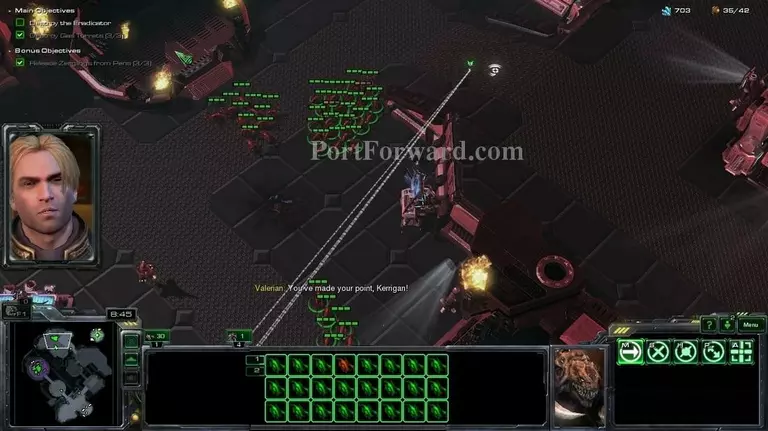
Going forward, you will find a room with 3 enemy units, that release gas.

Starcraft 2: Heart of the Swarm Walkthrough - Starcraft 2-Heart-of-the-Swarm 25

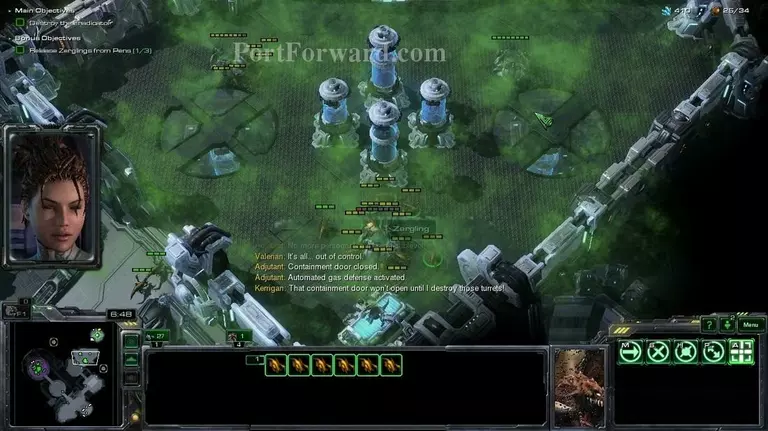
They will deal damage over time to your zerglings. Destroy them as quickly as you can.

Starcraft 2: Heart of the Swarm Walkthrough - Starcraft 2-Heart-of-the-Swarm 26

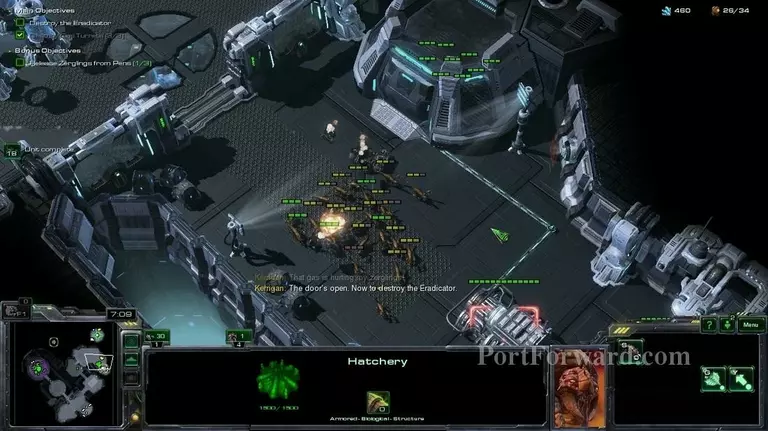
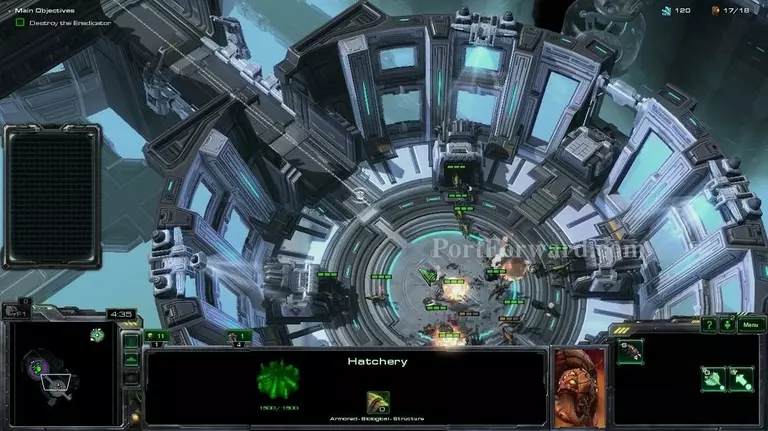
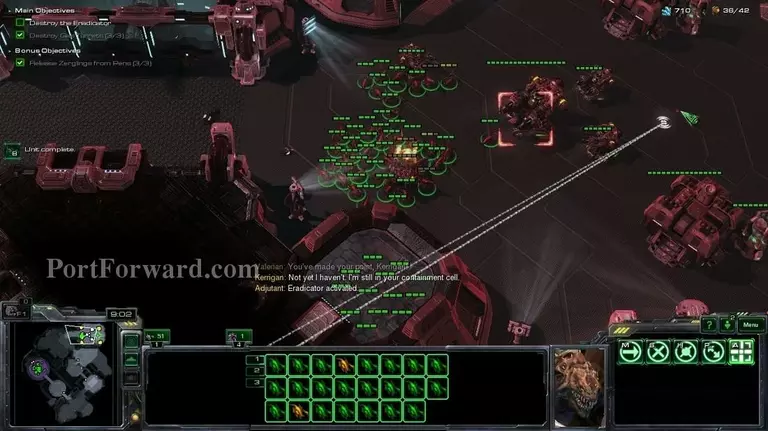
After you're done, go right to find another generator that will give you reinforcements after it's destroyed.

Starcraft 2: Heart of the Swarm Walkthrough - Starcraft 2-Heart-of-the-Swarm 27

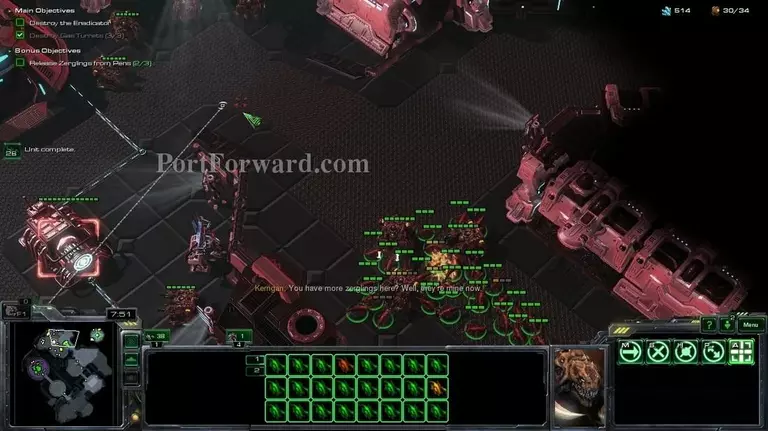
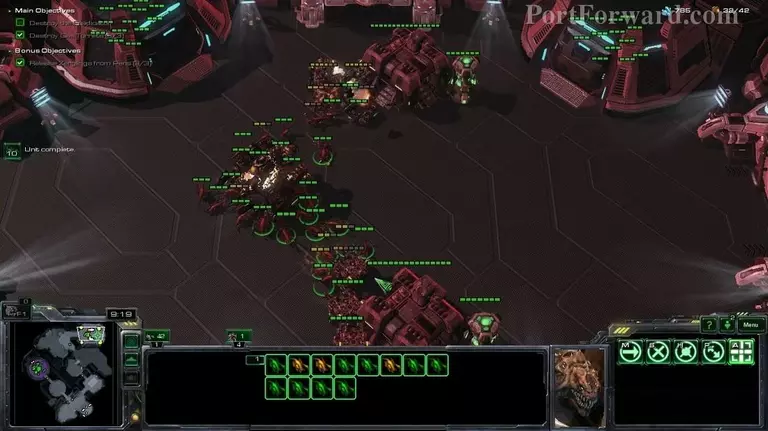
Going left, you will find yet another generator.

Starcraft 2: Heart of the Swarm Walkthrough - Starcraft 2-Heart-of-the-Swarm 28

This will grant you a...

Starcraft 2: Heart of the Swarm Walkthrough - Starcraft 2-Heart-of-the-Swarm 29

...significant ammount of reinforcements.

Starcraft 2: Heart of the Swarm Walkthrough - Starcraft 2-Heart-of-the-Swarm 30

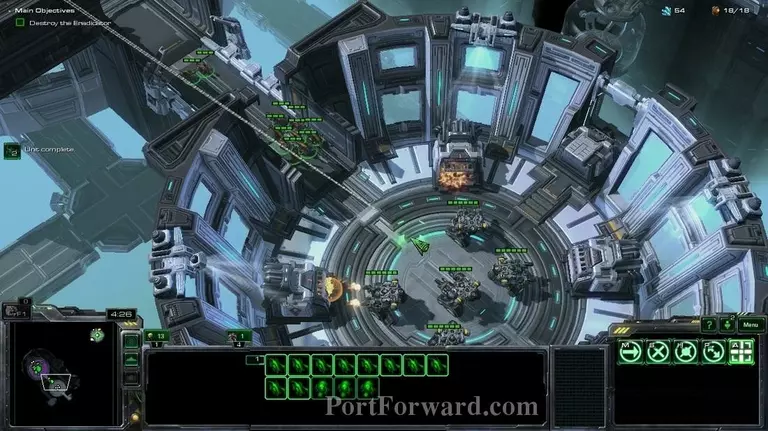
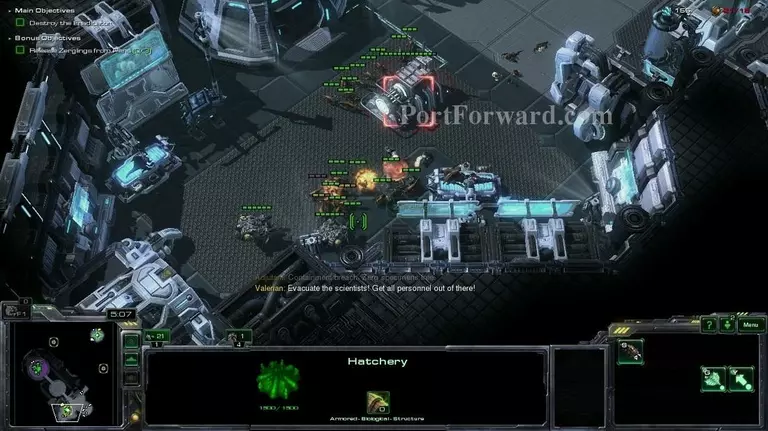
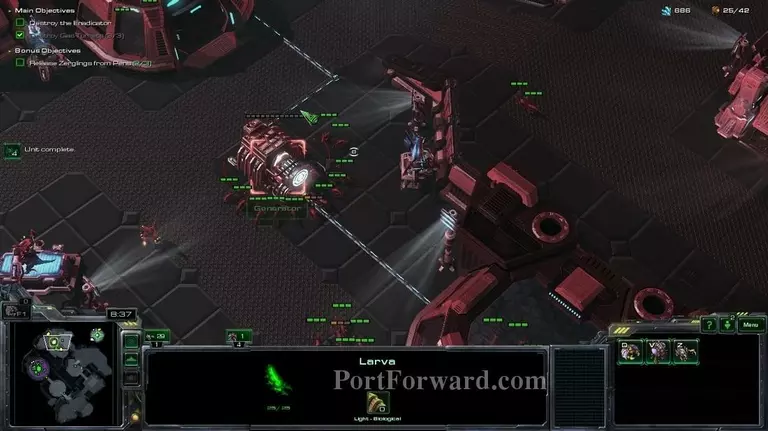
Going forward, you will find your mission's objective. the big robot in the middle of the room.

Starcraft 2: Heart of the Swarm Walkthrough - Starcraft 2-Heart-of-the-Swarm 31

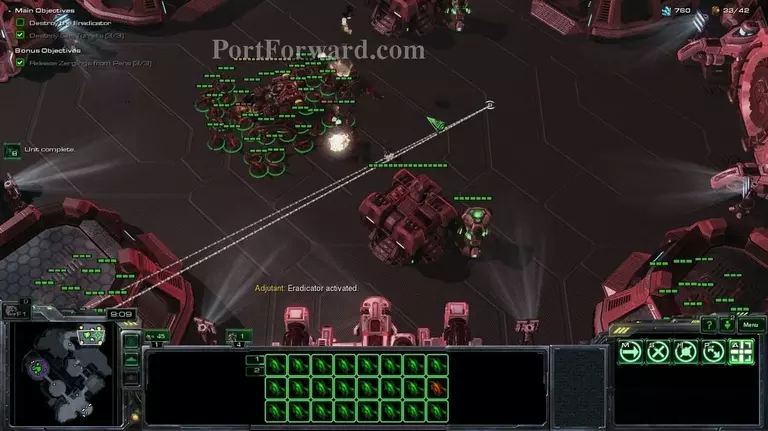
It should be easy enough to destroy.

Starcraft 2: Heart of the Swarm Walkthrough - Starcraft 2-Heart-of-the-Swarm 32

Quick tip: If you destroy the Factories before finishing the mission, you will get an achievement.

Starcraft 2: Heart of the Swarm Walkthrough - Starcraft 2-Heart-of-the-Swarm 33

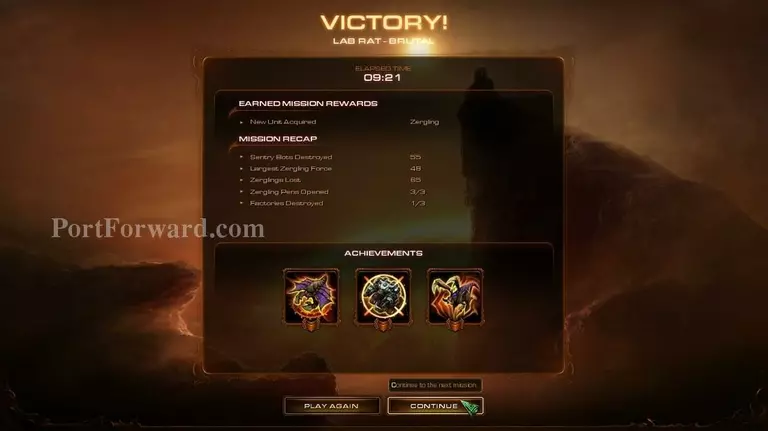
After every mission you will get a mission screen with various stats.

More Starcraft 2: Heart of the Swarm Walkthroughs

This Starcraft 2: Heart of the Swarm walkthrough is divided into 27 total pages.

More From Portforward