This Starcraft 2: Heart of the Swarm walkthrough is divided into 27 total pages.
2 - Umoja 2: Back in the Saddle
You can jump to nearby pages of the game using the links above.
Umoja 2: Back in the Saddle
 Starcraft 2: Heart of the Swarm Walkthrough - Starcraft 2-Heart-of-the-Swarm 34
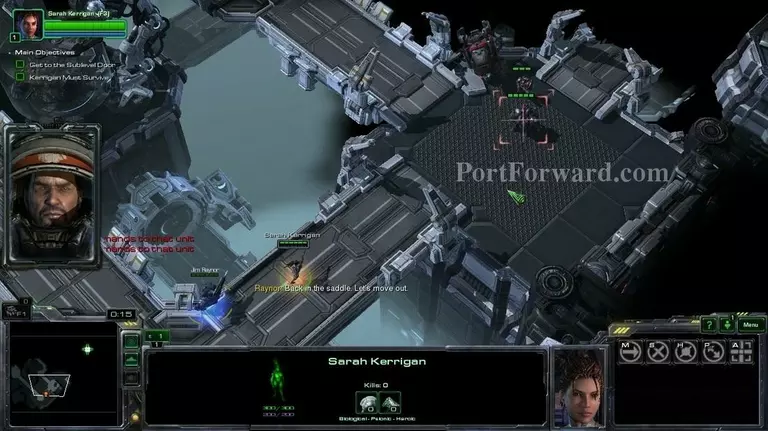
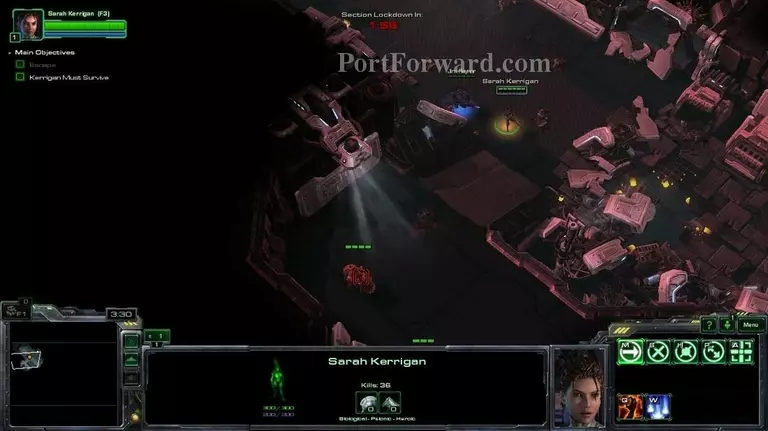
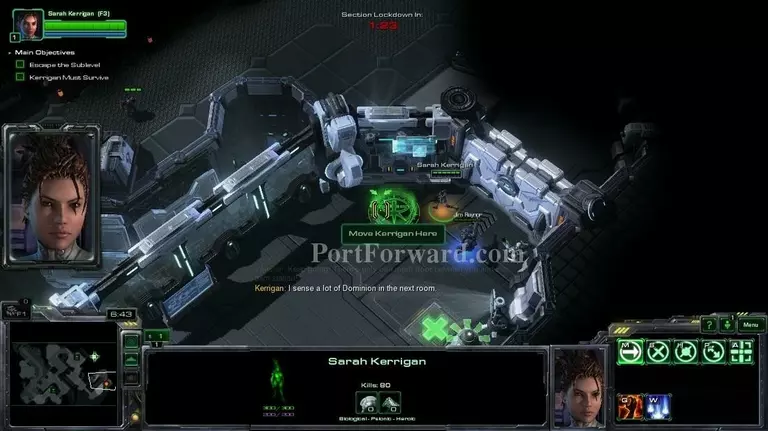
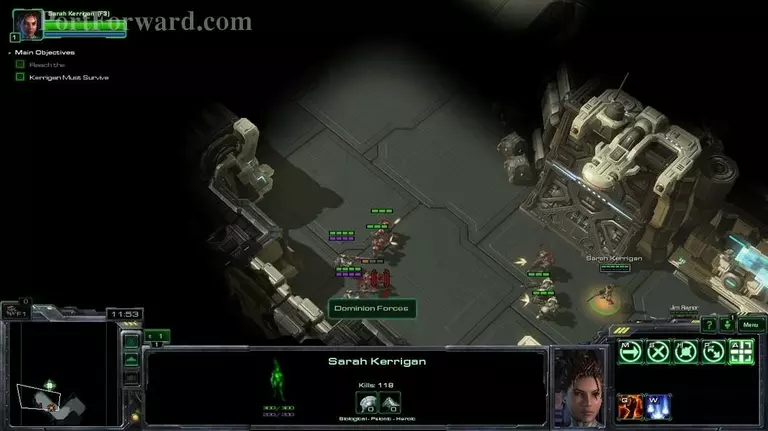
This is a mission where you control only your hero unit, Kerrigan.
 Starcraft 2: Heart of the Swarm Walkthrough - Starcraft 2-Heart-of-the-Swarm 35
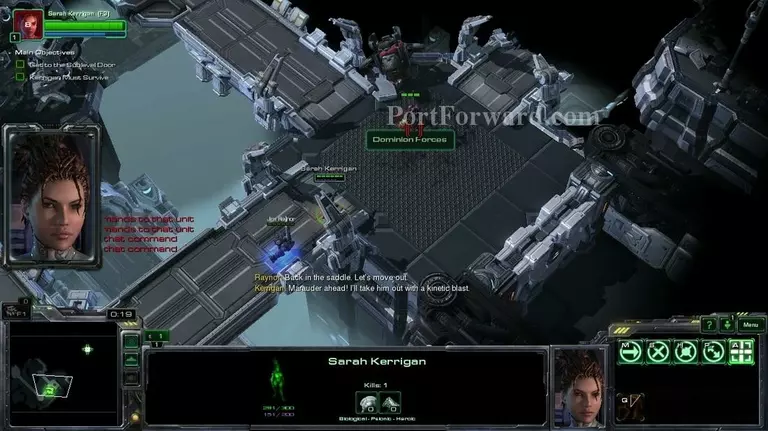
Right in the beggining, you will be introduced to one of your abilities, Kinetic Blast.
 Starcraft 2: Heart of the Swarm Walkthrough - Starcraft 2-Heart-of-the-Swarm 36
It deals a heavy ammount of damage for 50 mana.
 Starcraft 2: Heart of the Swarm Walkthrough - Starcraft 2-Heart-of-the-Swarm 37
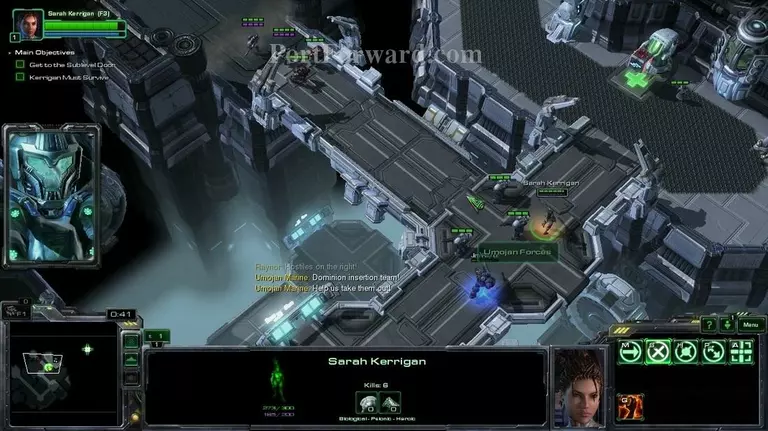
Continue forward, i recommend using Kinetic Blast as much as you can, but never on marines.
 Starcraft 2: Heart of the Swarm Walkthrough - Starcraft 2-Heart-of-the-Swarm 38
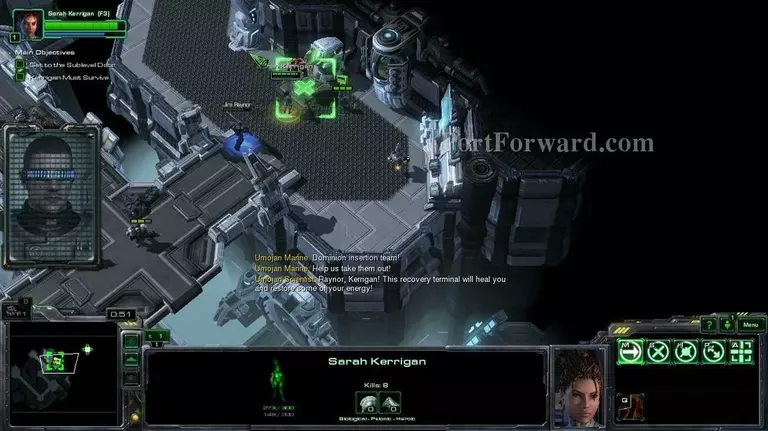
This item here is a rejuvenation pill, it restores your health and mana.
 Starcraft 2: Heart of the Swarm Walkthrough - Starcraft 2-Heart-of-the-Swarm 39
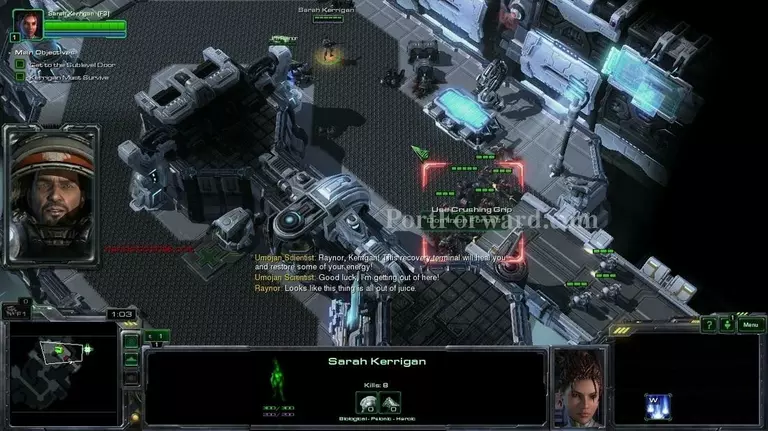
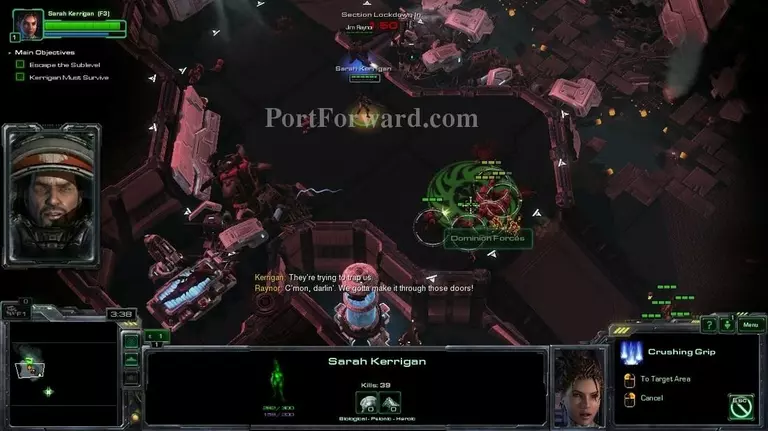
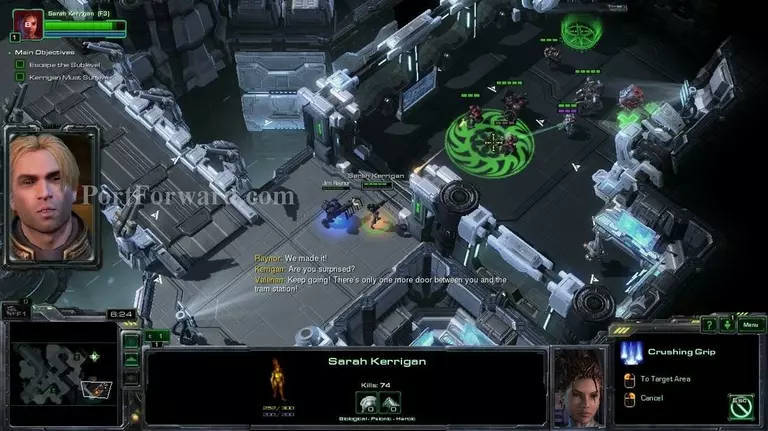
A bit after, you will be introduced to Crushing Grip.
 Starcraft 2: Heart of the Swarm Walkthrough - Starcraft 2-Heart-of-the-Swarm 40
It stuns and deals a little ammount of damage in an area.
 Starcraft 2: Heart of the Swarm Walkthrough - Starcraft 2-Heart-of-the-Swarm 41
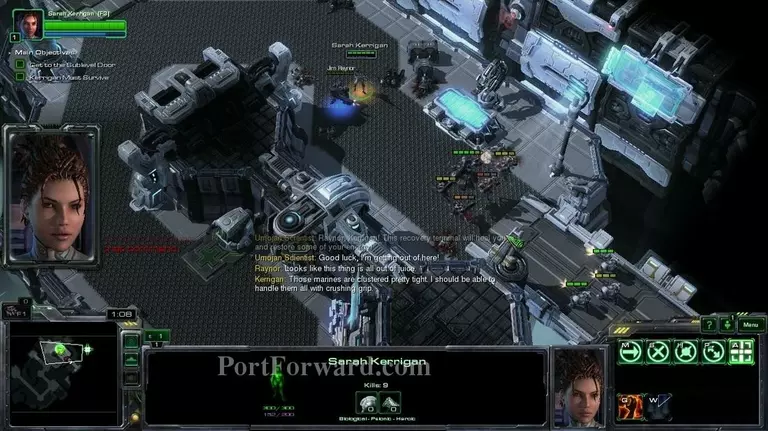
Continue forward, using your abilities often.
 Starcraft 2: Heart of the Swarm Walkthrough - Starcraft 2-Heart-of-the-Swarm 42
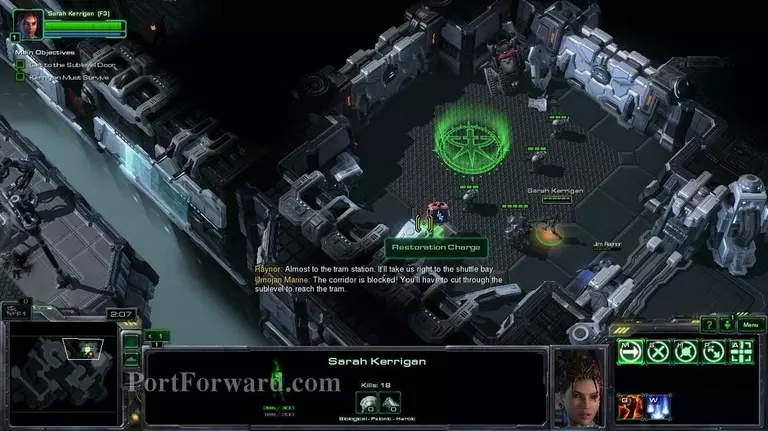
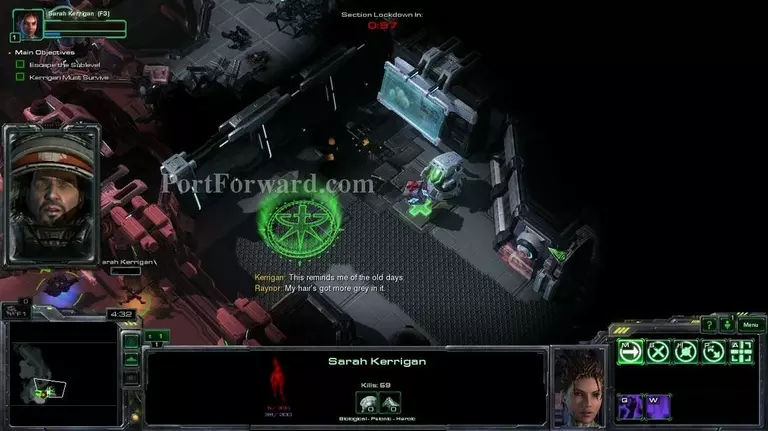
You will reach a green circle, step on it.
 Starcraft 2: Heart of the Swarm Walkthrough - Starcraft 2-Heart-of-the-Swarm 43
After doing so, a lot of zerg units will start flooding.
 Starcraft 2: Heart of the Swarm Walkthrough - Starcraft 2-Heart-of-the-Swarm 44
Be especially careful against the banneligs, the little green balls.
 Starcraft 2: Heart of the Swarm Walkthrough - Starcraft 2-Heart-of-the-Swarm 45
If Jim Raynor dies, don't worry, he will respawn in a bit. Just be careful to not die yourself.
 Starcraft 2: Heart of the Swarm Walkthrough - Starcraft 2-Heart-of-the-Swarm 46
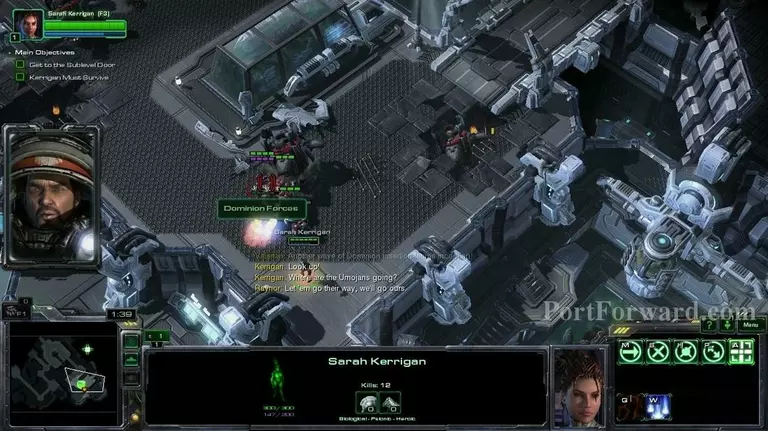
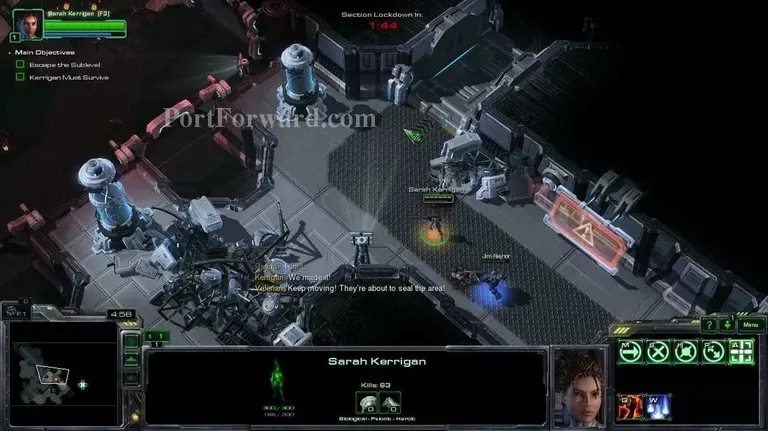
Continue forward to the elevator.
 Starcraft 2: Heart of the Swarm Walkthrough - Starcraft 2-Heart-of-the-Swarm 47
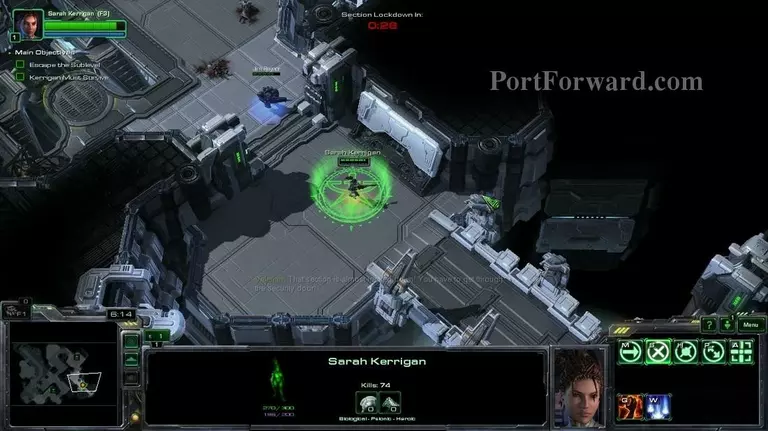
After a short cutscene you will be transported to this area.
 Starcraft 2: Heart of the Swarm Walkthrough - Starcraft 2-Heart-of-the-Swarm 48
You have to reach the green circle before the timer on the top runs out.
 Starcraft 2: Heart of the Swarm Walkthrough - Starcraft 2-Heart-of-the-Swarm 49
Don't worry too much about your health and mana, there is a rejuvenation pill quite closeby.
 Starcraft 2: Heart of the Swarm Walkthrough - Starcraft 2-Heart-of-the-Swarm 50
After stepping into the green circle, a new timer will start and you will need to go to the next checkpoint.
 Starcraft 2: Heart of the Swarm Walkthrough - Starcraft 2-Heart-of-the-Swarm 51
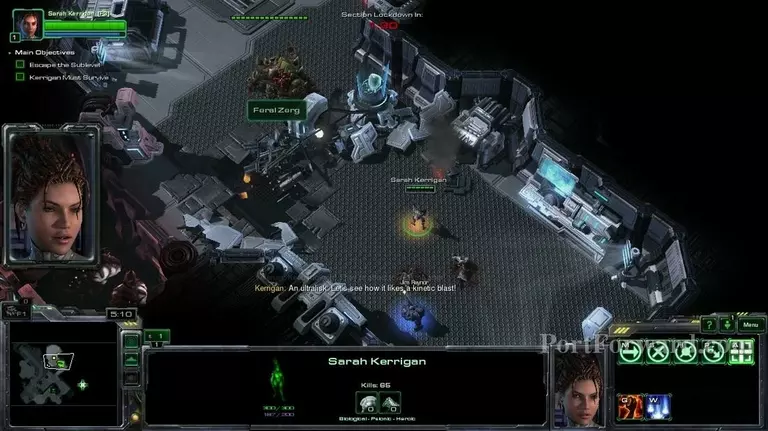
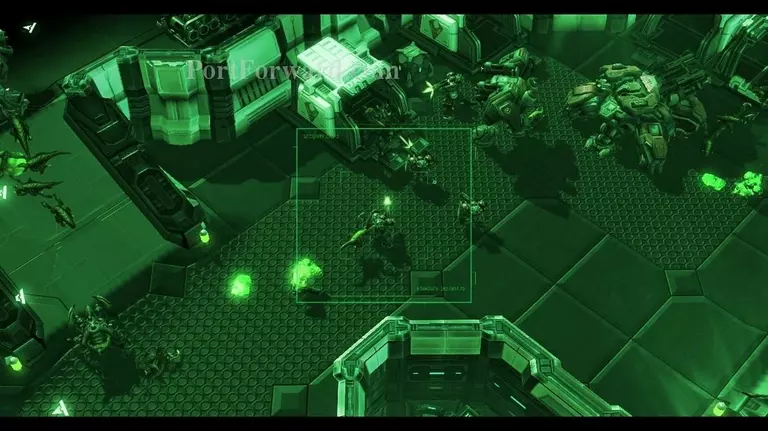
You will find an ultralisk behind some rocks, use your abilities on it.
 Starcraft 2: Heart of the Swarm Walkthrough - Starcraft 2-Heart-of-the-Swarm 52
You will be able to restore your mana right after the ultralisk.
 Starcraft 2: Heart of the Swarm Walkthrough - Starcraft 2-Heart-of-the-Swarm 53
There is another one right after the pill.
 Starcraft 2: Heart of the Swarm Walkthrough - Starcraft 2-Heart-of-the-Swarm 54
After defeating the second ultralisk, you will reach the second point.
 Starcraft 2: Heart of the Swarm Walkthrough - Starcraft 2-Heart-of-the-Swarm 55
You will find a group of marines, use your crushing grip on them and the Kinetic Blast to the marauder behind the medic.
 Starcraft 2: Heart of the Swarm Walkthrough - Starcraft 2-Heart-of-the-Swarm 56
You will find a small green circle, step on it.
 Starcraft 2: Heart of the Swarm Walkthrough - Starcraft 2-Heart-of-the-Swarm 57
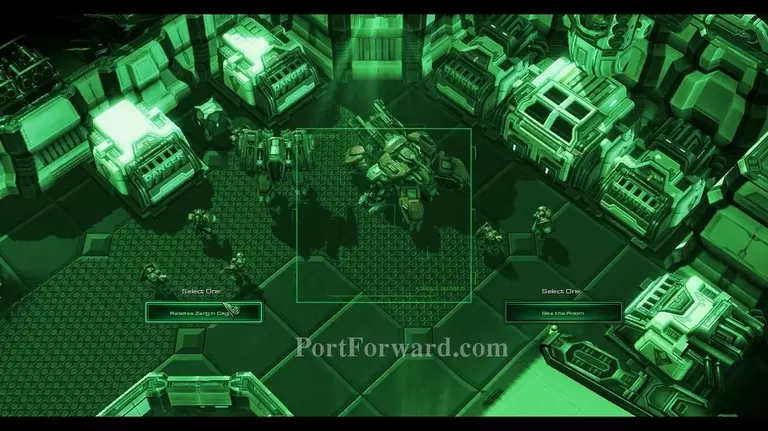
You will access the camera.
 Starcraft 2: Heart of the Swarm Walkthrough - Starcraft 2-Heart-of-the-Swarm 58
Release the zerg, as you will do more damage that way.
 Starcraft 2: Heart of the Swarm Walkthrough - Starcraft 2-Heart-of-the-Swarm 59
Continue going forward until you reach the next checkpoint.
 Starcraft 2: Heart of the Swarm Walkthrough - Starcraft 2-Heart-of-the-Swarm 60
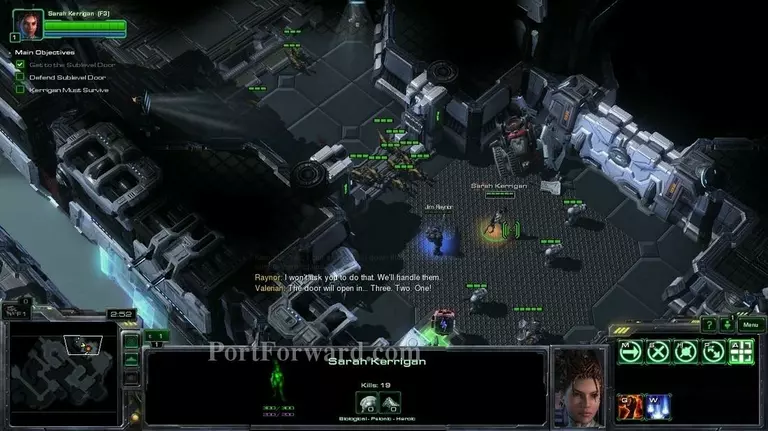
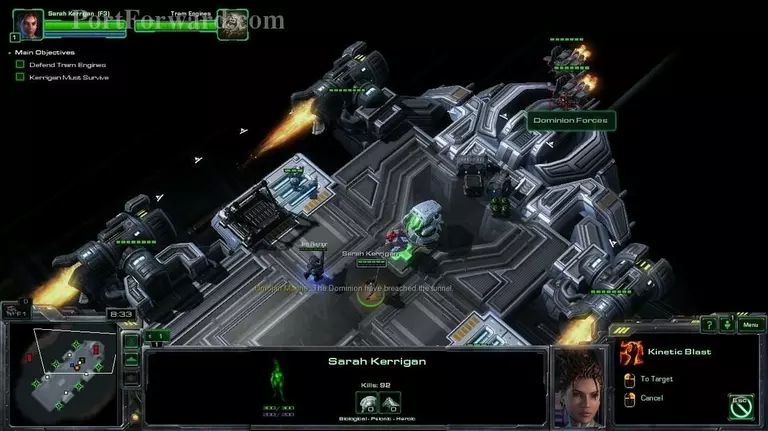
The next phase of the mission is a defence.
 Starcraft 2: Heart of the Swarm Walkthrough - Starcraft 2-Heart-of-the-Swarm 61
You have to defend the tram engines.
 Starcraft 2: Heart of the Swarm Walkthrough - Starcraft 2-Heart-of-the-Swarm 62
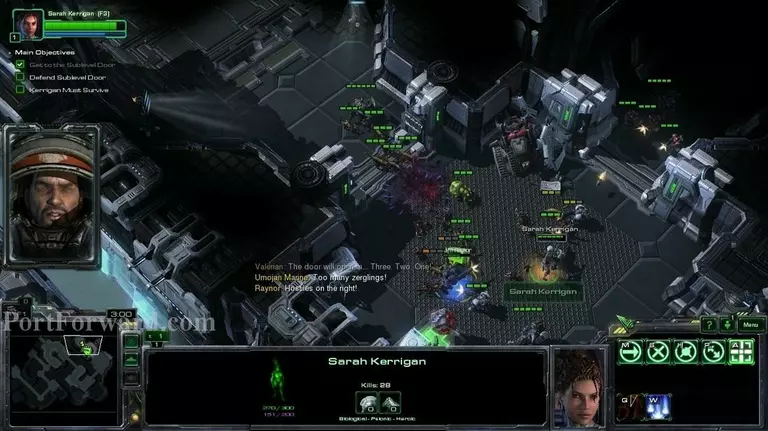
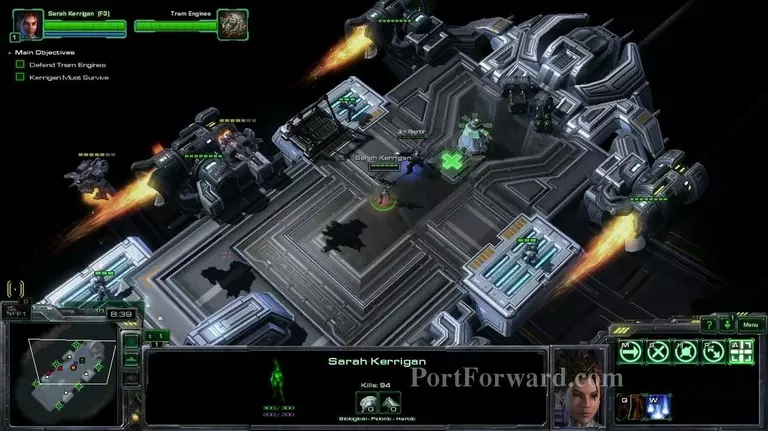
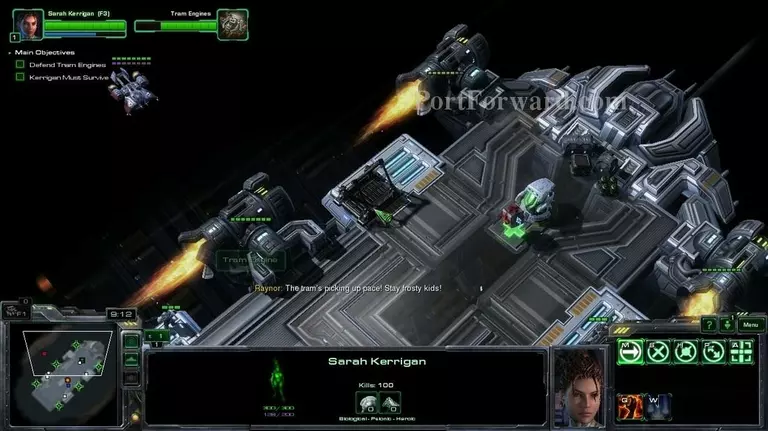
Use your abilities as often as you can, especially on the medivacs.
 Starcraft 2: Heart of the Swarm Walkthrough - Starcraft 2-Heart-of-the-Swarm 63
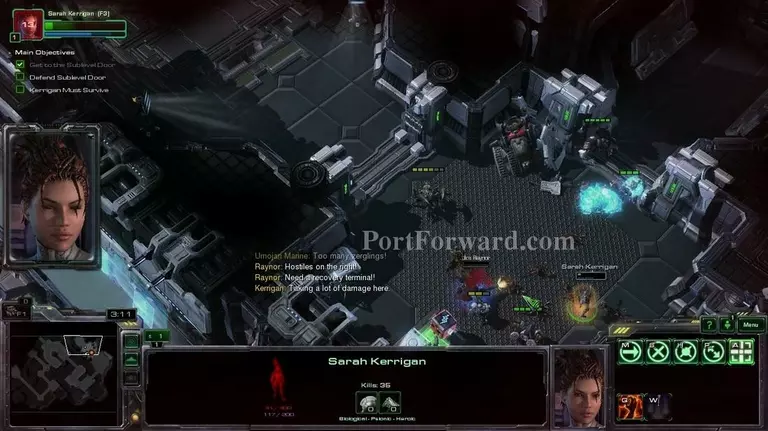
The rejuvenation pill in the middle will respawn, so you can use it as long as you wish to.
 Starcraft 2: Heart of the Swarm Walkthrough - Starcraft 2-Heart-of-the-Swarm 64
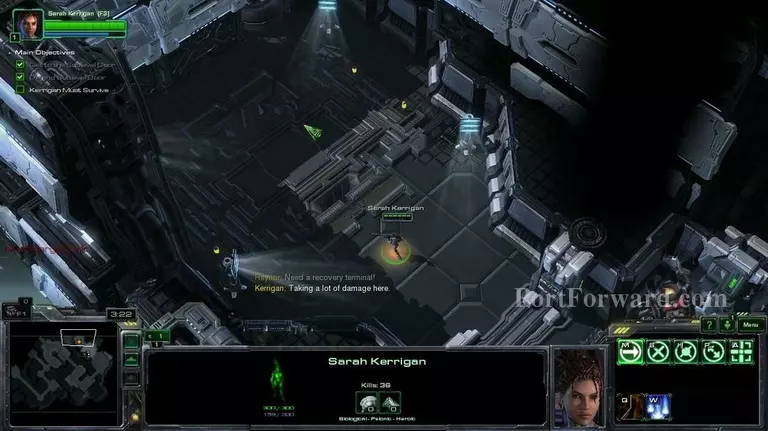
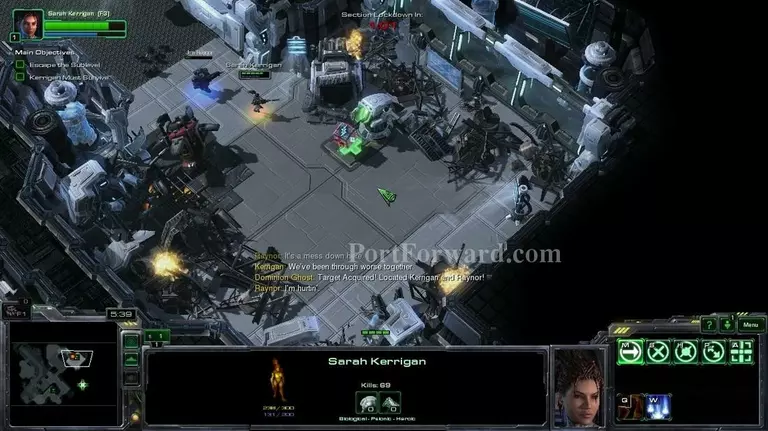
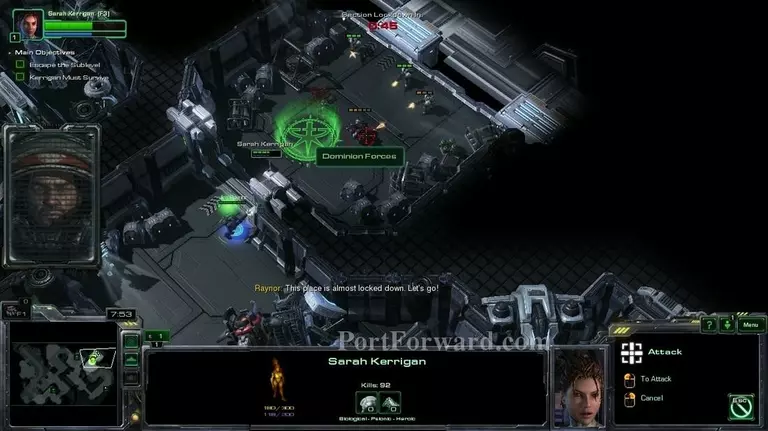
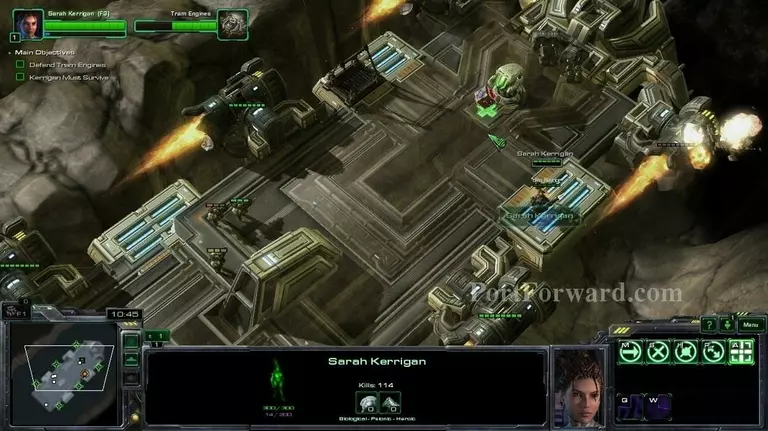
After that is done, you will be transported to this area. Just defeat the marines and ghosts.
 Starcraft 2: Heart of the Swarm Walkthrough - Starcraft 2-Heart-of-the-Swarm 65
Then go to the green circle.
 Starcraft 2: Heart of the Swarm Walkthrough - Starcraft 2-Heart-of-the-Swarm 66
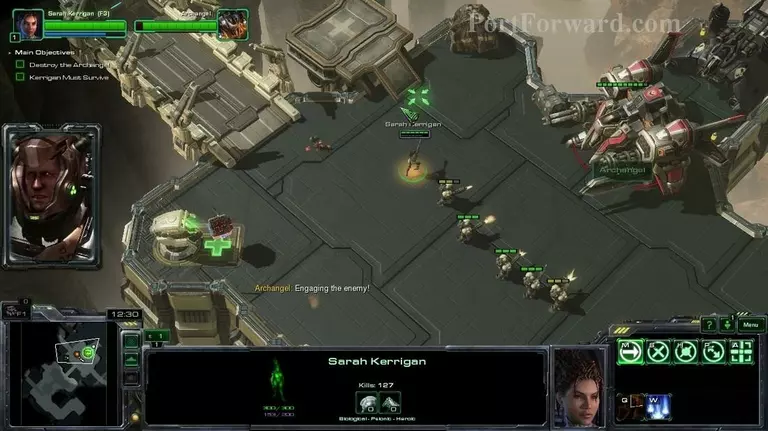
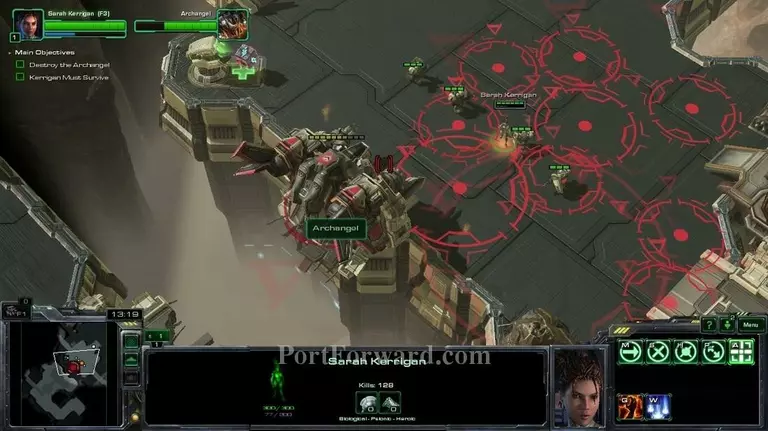
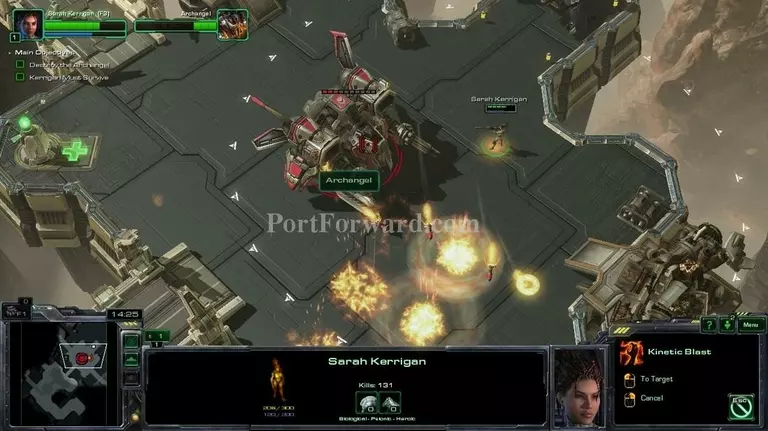
You will engage in a boss fight. In the first phase he just uses his normal attacks.
 Starcraft 2: Heart of the Swarm Walkthrough - Starcraft 2-Heart-of-the-Swarm 67
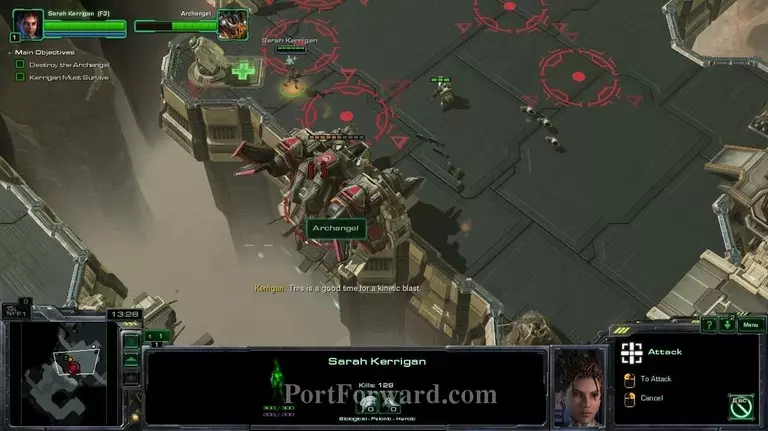
Use your abilities on the boss as much as you can.
 Starcraft 2: Heart of the Swarm Walkthrough - Starcraft 2-Heart-of-the-Swarm 68
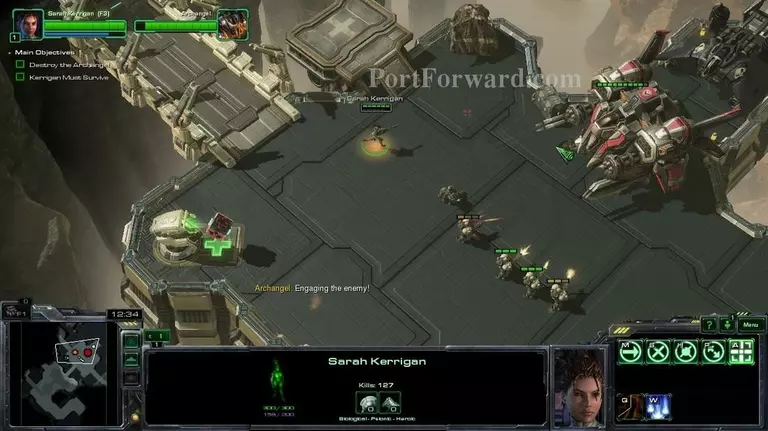
Try to dodge the red circles, as they are incoming misiles.
 Starcraft 2: Heart of the Swarm Walkthrough - Starcraft 2-Heart-of-the-Swarm 69
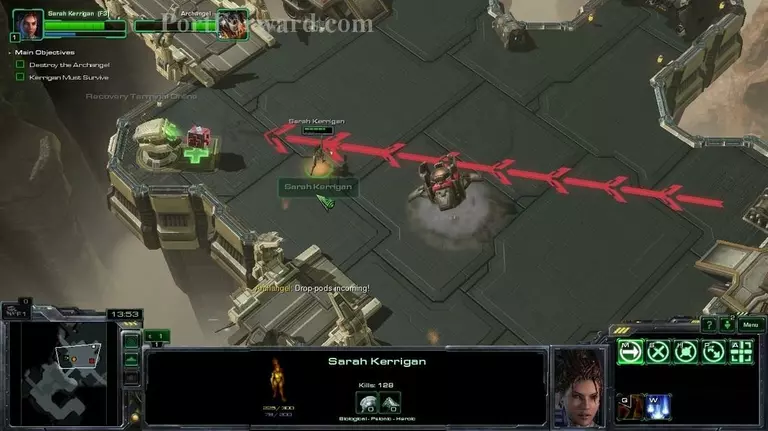
After a bit, he will fly off and start bombarding the area. Avoid the red lines.
 Starcraft 2: Heart of the Swarm Walkthrough - Starcraft 2-Heart-of-the-Swarm 70
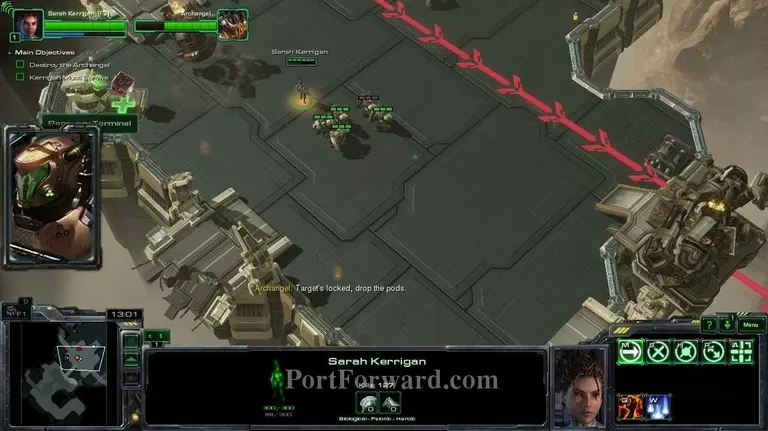
After he's done with that, he will land over here and start shooting you with misiles again.
 Starcraft 2: Heart of the Swarm Walkthrough - Starcraft 2-Heart-of-the-Swarm 71
Dodging them should be easy enough.
 Starcraft 2: Heart of the Swarm Walkthrough - Starcraft 2-Heart-of-the-Swarm 72
After a bit, het will start his bombardment again.
 Starcraft 2: Heart of the Swarm Walkthrough - Starcraft 2-Heart-of-the-Swarm 73
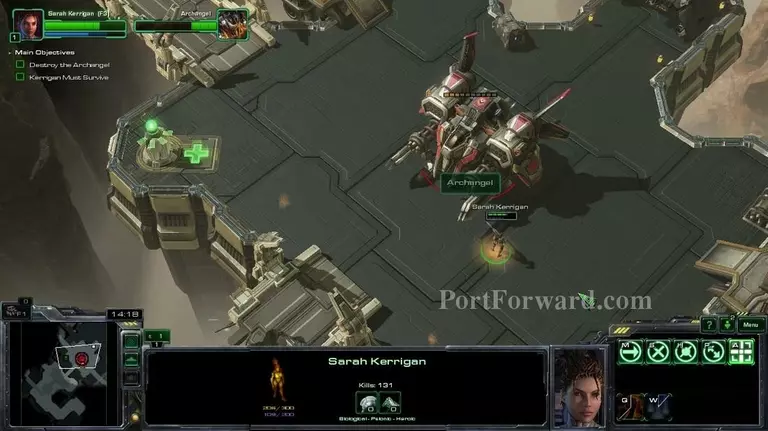
When he's done with that, he will land in the middle of the area.
 Starcraft 2: Heart of the Swarm Walkthrough - Starcraft 2-Heart-of-the-Swarm 74
Circle around him while using your abilities as often as you can.
 Starcraft 2: Heart of the Swarm Walkthrough - Starcraft 2-Heart-of-the-Swarm 75
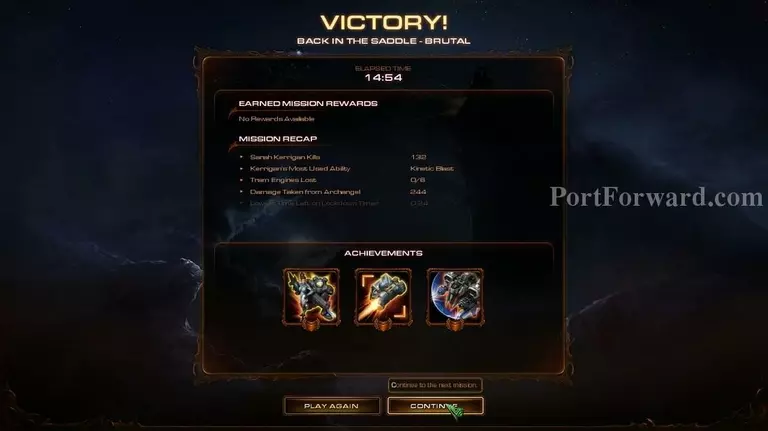
After defeating him, you will be done with the mission.
More Starcraft 2: Heart of the Swarm Walkthroughs
This Starcraft 2: Heart of the Swarm walkthrough is divided into 27 total pages.
2 - Umoja 2: Back in the Saddle