This The Legend of Zelda walkthrough is divided into 18 total pages.
You can jump to nearby pages of the game using the links above.
Dungeon 2 (1st Quest) and journey to Dungeon 3
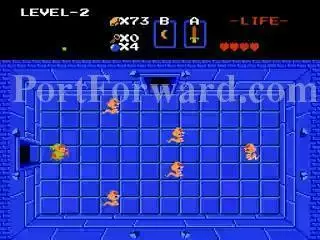
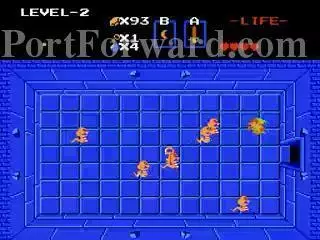
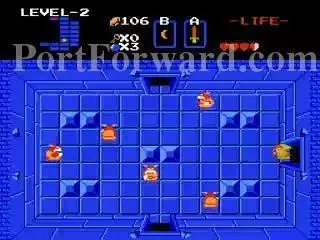
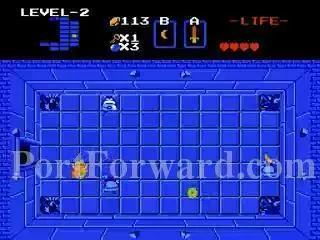
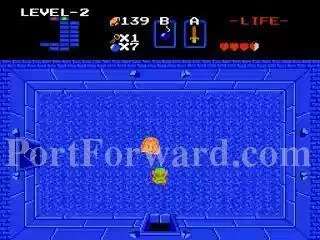
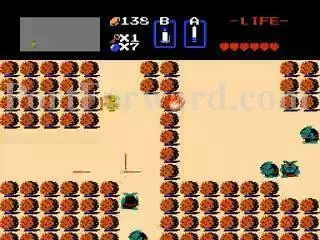
Enter the right door and these snake enemies are called Ropes. When within their line of sight, they speed up towards you.
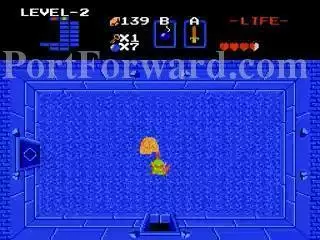
You get a Key.
Go up and kill more Ropes.
The left room has more Ropes. Kill them all to get into the next room on the left.
Killing these Ropes is optional. Get the key and get out.
Go back to the locked door.
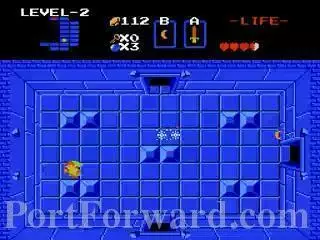
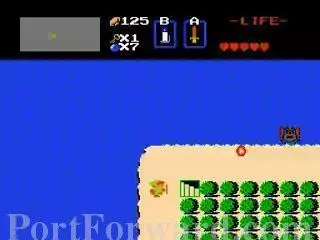
There are some Gels and a Compass.
Bomb this wall and go through it.

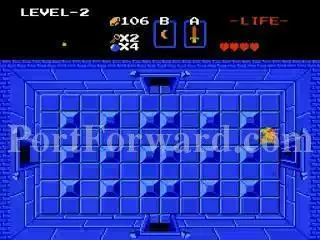
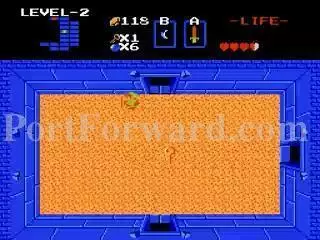
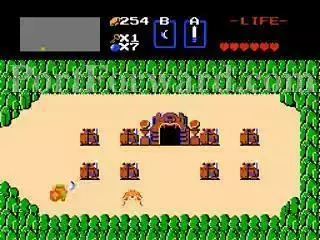
This is the map of the level. The level is shaped like a moon.
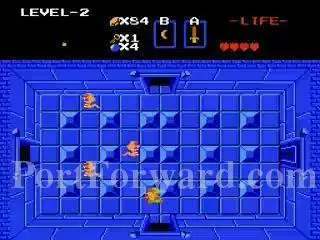
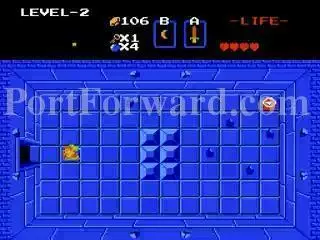
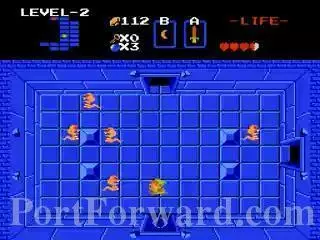
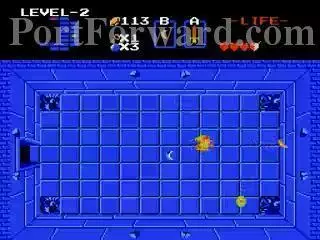
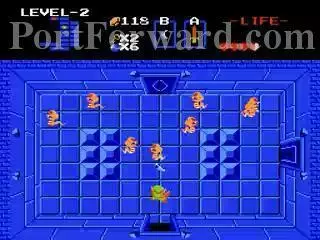
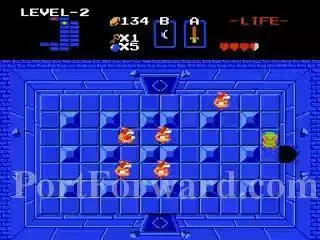
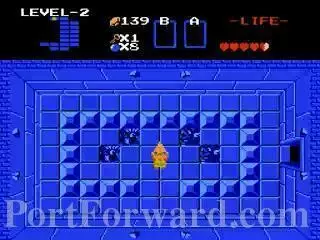
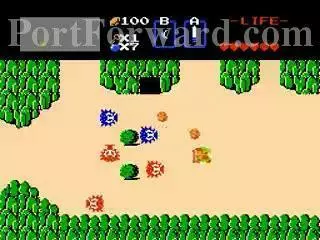
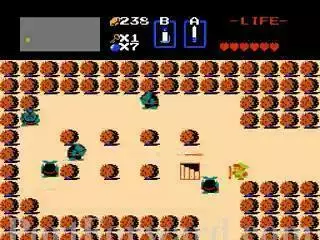
Take on the Goriyas.
If you kill the leader which is not marked, the other ones will die as well.
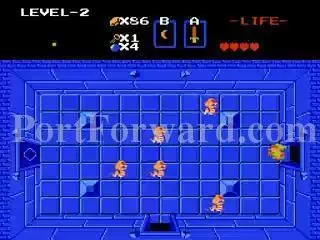
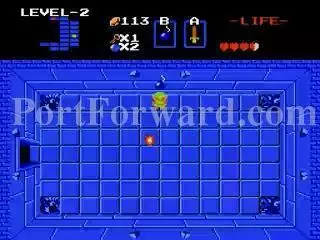
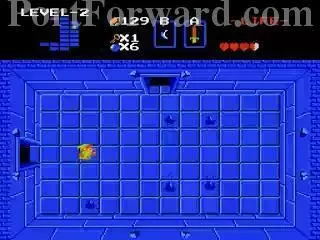
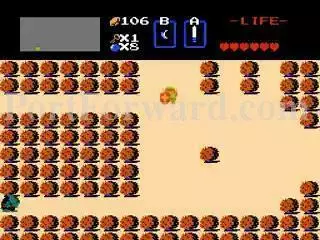
More Ropes to kill.
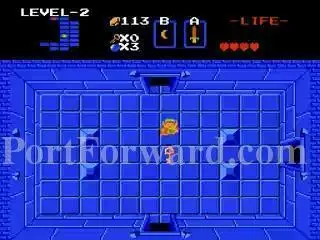
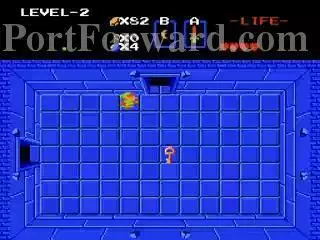
A key for you.
The Blue Goriyas take more damage.
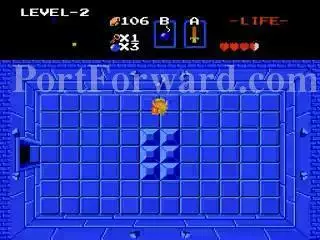
You now have the Magical Boomerang which flies further than the Wooden Boomerang.
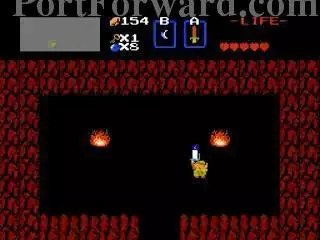
Avoid the fire from the statues and bomb this wall.

Get the bombs and kill the Keese and avoid the Spike Traps.
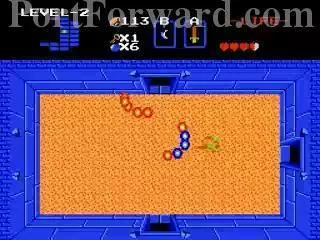
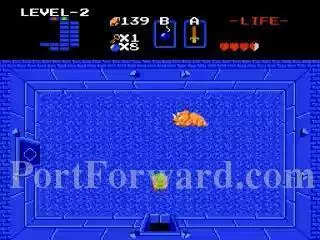
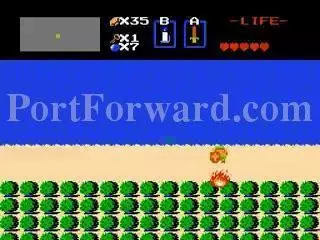
Moldorms spring from the sand and consists of five segments. Kill each segment with a few hits each. You fight two Moldorms in this room.
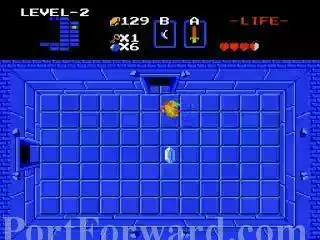
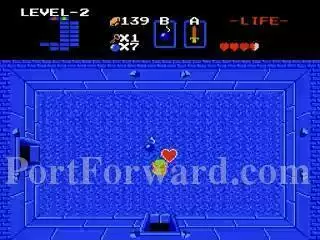
It's hard to see but you get a key.
You need to kill these Ropes to open the door above or just go through the locked door on the right.
I chose the latter. Kill these Gels.
As a reward you get 5 Rupies.

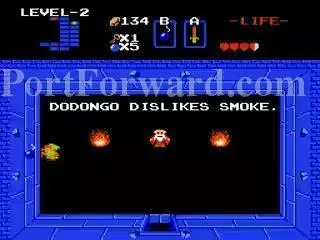
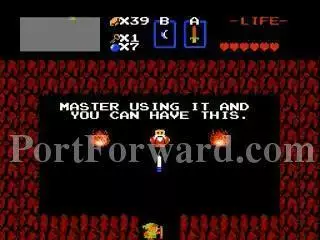
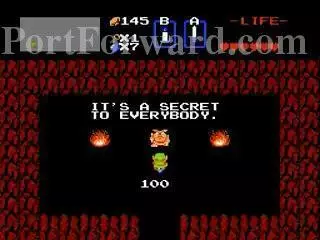
Go in the top door for a hint on beating Dodongo which is helpful.
Bomb the left wall.
Defeat the Goriyas to get in the above door.
You get some bombs to face Dodongo.
There are two ways to fight Dodongo. You can lay bombs in front of him and let him eat them and they'll explode in his belly thus killing him if done twice.
Or you can time a bomb to blow up in his face thus the smoke that Dodongo dislikes and he will be stunned.
One stab of your sword will then kill him.
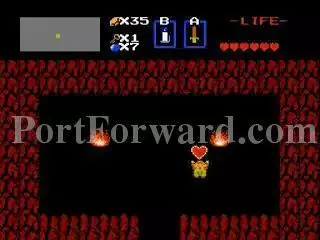
Another Heart Container to bring the total up to five hearts. The bombs are random powerups.
Dungeon 2 (Quest 1) completed.
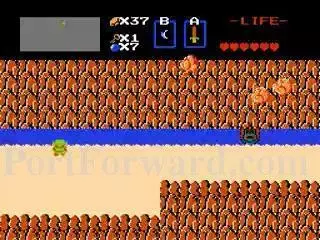
Go into any store that sells a Candle and buy it.
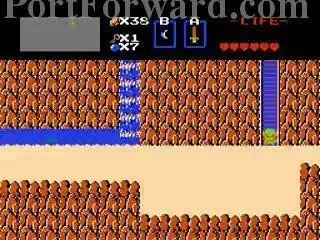
This is that spot in H7 I told you to bomb earlier in the game.
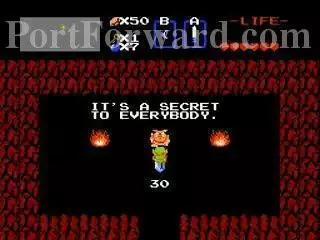
You get 30 free rupies.
G5: Burn this bush
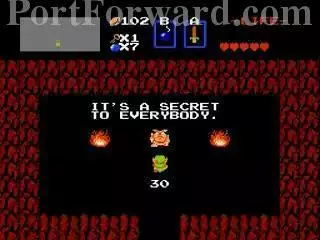
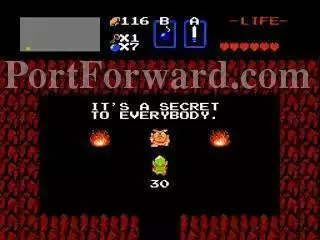
It reveals a secret shop.
Buy the Magical Shield.
H5: Burn this bush here. (5th one on from the right)

It leads to...
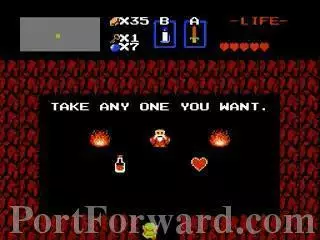
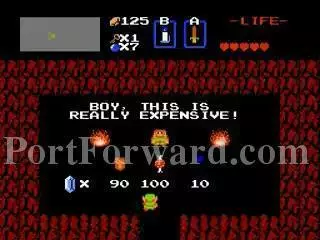
A choice between a red potion and a Heart Container.
Choose the latter. The potion you can buy anytime once you got the spell from an old sage to give to the old woman later on.
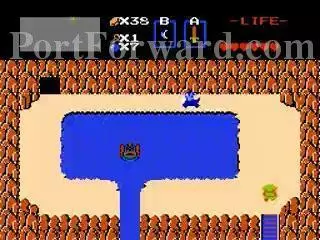
I2: Watch out for the falling rocks.
K2: Go up this ladder.
K1: With the Magical Shield, the Lyrels swords can't hurt you if you block them.
You need five hearts in order to get this White Sword.
You got the White Sword. Now you can do double damage to enemies.
I3: Burn this bush here.
It contains 30 rupies.
E7: Inside this cave is the place where you give the letter to the woman inside to be able to buy potions.
D8: To the right is the entrance to Dungeon 3 but lets wait a moment before going there.
B8: Enter this cave.
You get 30 rupies.

B7: In order to go to A7, you must go up, left, down, left to exit the lost woods. However, we aren't going there. We are going to the right.
C7: Burn this bush right here.
An amazing 100 rupies you get.
B6: Burn this bush right here.
Get 10 rupies. Note that you can't have any more than 255 rupies.
E8: Entrance to Dungeon 3.
More The Legend of Zelda Walkthroughs
This The Legend of Zelda walkthrough is divided into 18 total pages.