This The Legend of Zelda walkthrough is divided into 18 total pages.
You can jump to nearby pages of the game using the links above.
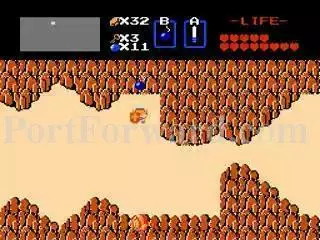
Dungeon 5 (Quest 1) and Journey to Dungeon 6.
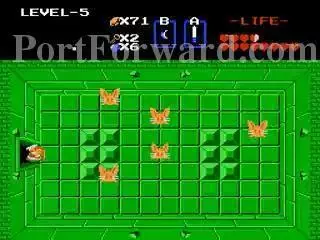
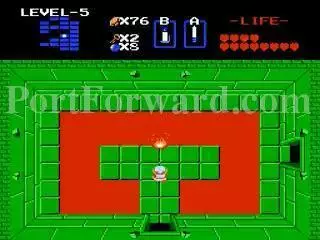
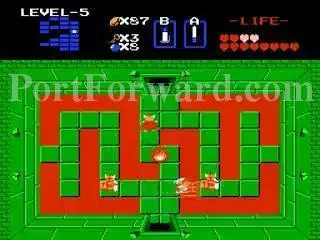
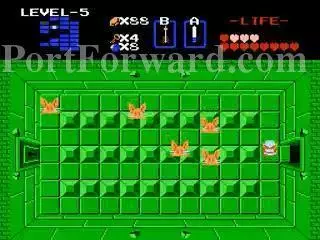
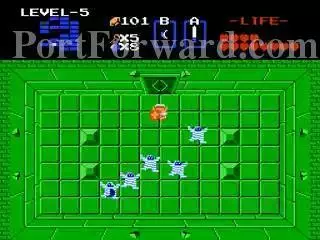
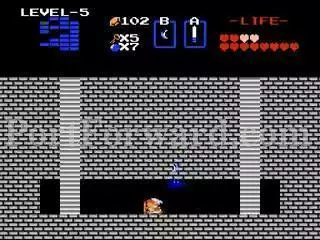
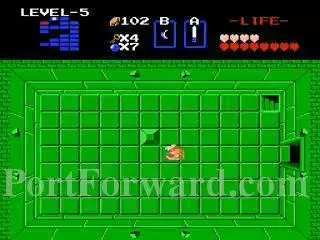
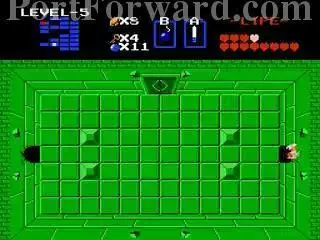
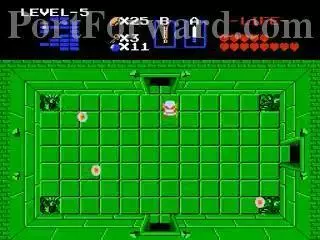
Meet the Pols Voice. They hop all across the room.

In the American version, you can kill them with a single arrow that can pass through them and kill multiple ones in their path. In the Japanese version, you can also kill them by blowing into the mic on Controller 2.
You get a Key after they are gone.

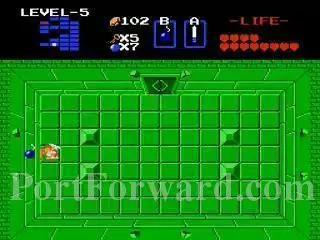
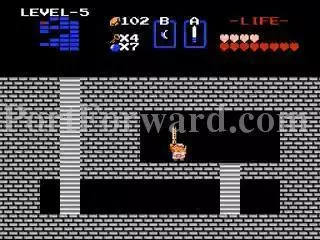
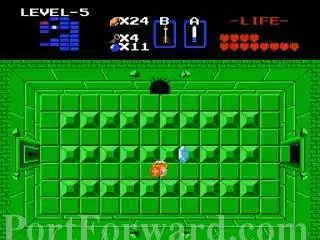
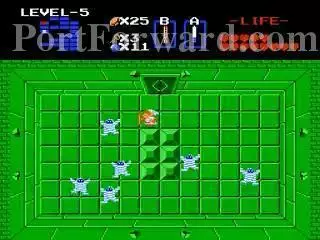
In this dark room, you meet the Gibdos for the first time. They try to walk into you. One of them hides a key within it.
Use the ladder to get the key if you need to.
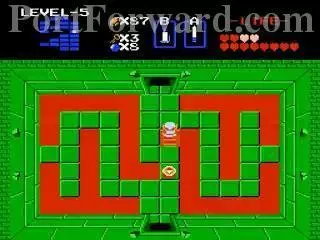
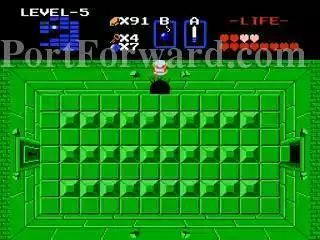
Go into the locked door on the right.
You get a hint on how to beat the boss of this Dungeon.
Go back out and go up. You got three Dodongos to deal with. Have at least 6 bombs in case you need to feed them two bombs each.
Go in the locked door above.
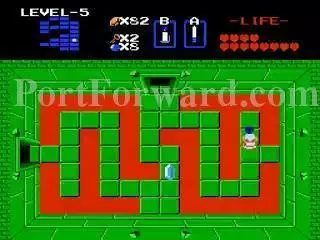
There is a map inside.
The map is that of a lizard head.
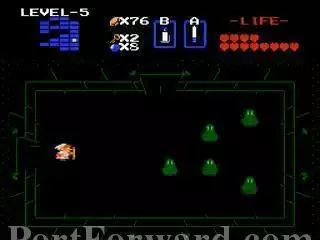
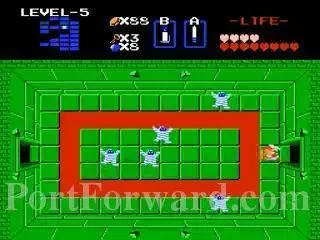
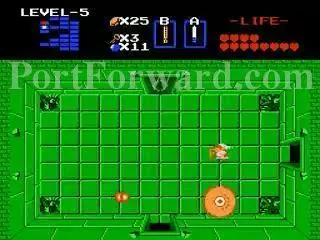
Go back down and to the right to enter the dark with full of Zols.
Killing them off yields 5 rupees.

In the room above are Gibdos.
You get a Key.
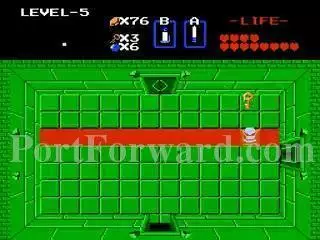
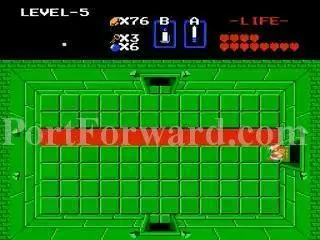
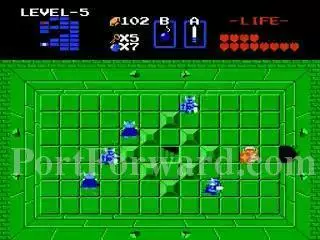
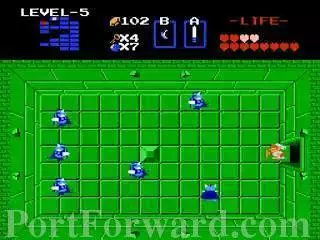
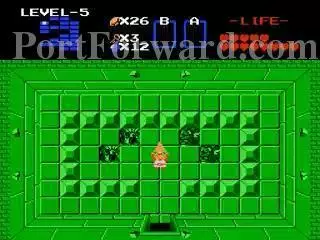
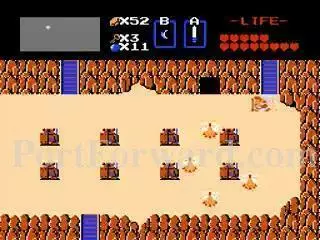
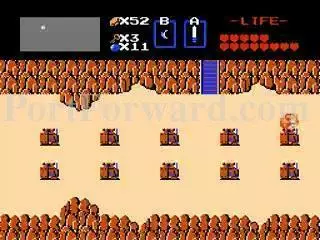
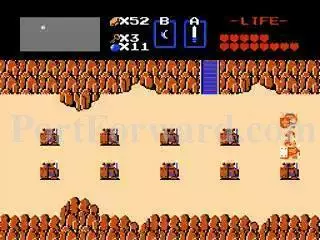
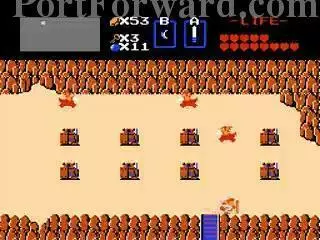
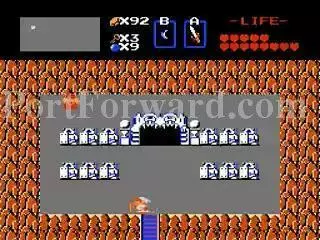
Next is a room of Darknuts.
You obtain the Compass.

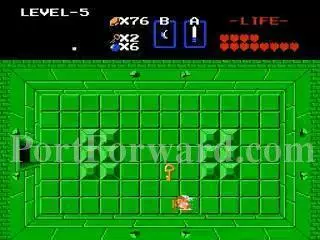
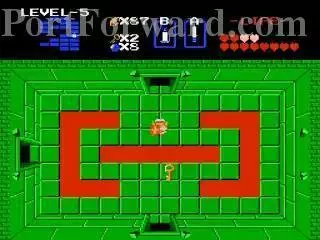
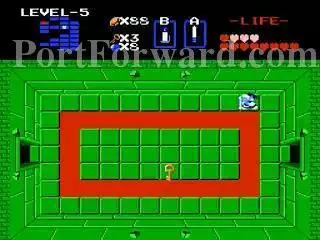
Another dark room ahead. It has the Key already so got it and you can go left without fighting anyone.
It leads to room full of Gibdos.
A key is won here.
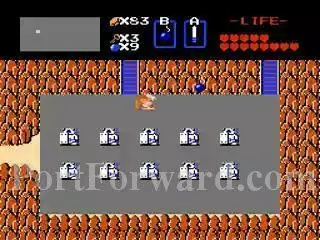
Next is a room of Pols Voices.
Bomb this wall and go up.
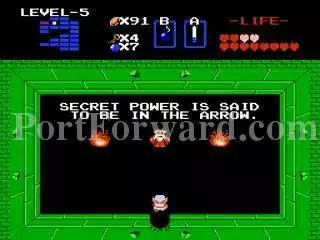
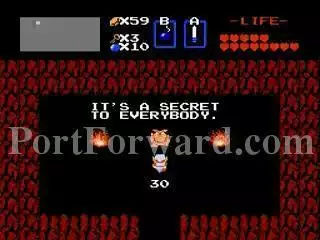
"The sage says that Secret Power Is Said To Be In The Arrow.

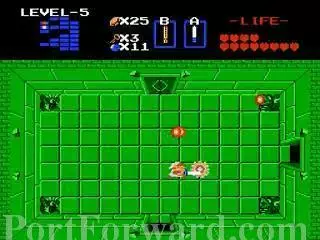
Go all the way back to the room before I got the map and this time go into the left door. Kill the Zols.
You get a Key.
Go down and kill the Gibdos. One of them contains a bomb inside them.
Bomb this wall on the left.
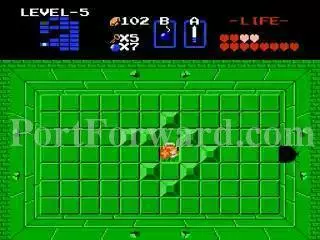
Kill the Darknuts first.
Push the left block up and enter the staircase.
It leads to a secret passageway.
Go into the room down.
There are some Keese in this room to kill but we'll come back to this room in a moment.
Go back up and to the locked door on the left. Kill these Darknuts.
Push aside the block and enter the staircase.
You got the Recorder.
Go back into the room with the Keese earlier and bomb this wall.
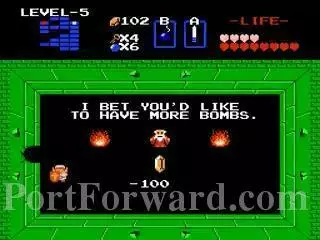
Hopefully, you have at least 100 Rupees. Buy the extra bombs and now you can hold a maximum of 12 bombs.
Return to this room from where you left the secret area and bomb this wall.
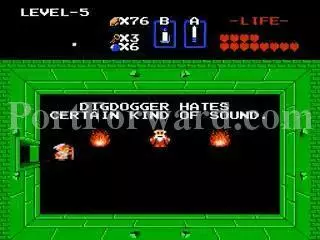
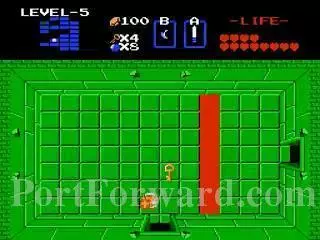
Return to the room before I was to fight Digdogger but forgot the Recorder and go into the left door.
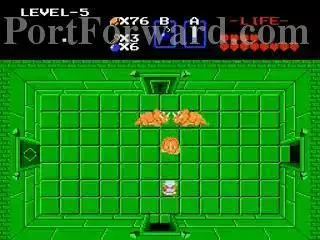
Meet Digdogger who is impervious to damage. One toot of your Recorder and...
He becomes a Digpuppy. Now you can slash him to death.
You now have 13 hearts.
The room below is full of Gibdos but nothing special in here.
Go to the top room and get the Triforce. Dungeon 5 completed.
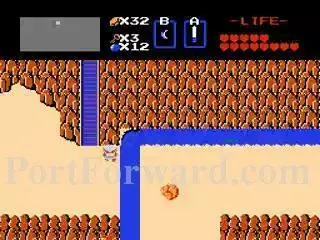
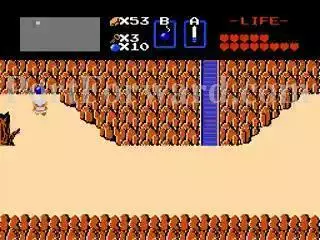
H2: Use the ladder to cross the waterfall and go left.
G2: Bomb this wall.

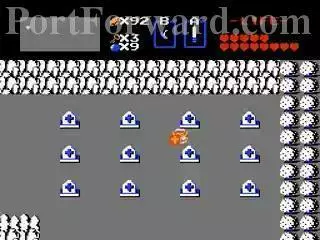
Money Making Game.
F3: There is a shop in here but nothing worth buying anymore unless a Like Like got you.
E3: Touch this Armos to move it out the way.
This is a Power Bracelet that allows you to enter Dungeon 4 in Quest 2.
E2: Do not bomb the wall which is lined up with the Lyrel on the right. It's a door repair charge man.
D2: Bomb this wall here.
You get 30 rupees.
D4: Bomb the wall here. It has the medicine lady inside.
C4: The ladder leads to Dungeon 6 but hold off on that.

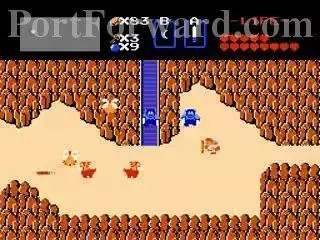
B4: The Ghini already in the area is the only one you can kill. You can touch the other tombstones to make other Ghinis appear. Defeat the main Ghini while they are out and you get powerups.
B3: Push this tombstone down.
You got the Master Sword (requires 12 hearts)
Return to the area I stated where Dungeon 6 was and enter.
More The Legend of Zelda Walkthroughs
This The Legend of Zelda walkthrough is divided into 18 total pages.