
This The Legend of Zelda walkthrough is divided into 18 total pages.
You can jump to nearby pages of the game using the links above.
Dungeon 8 (Quest 1) and Journey to Dungeon 9.
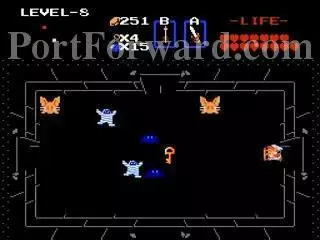
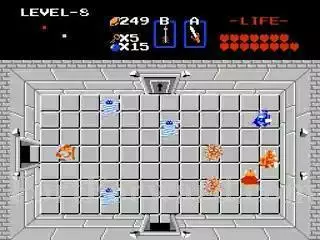
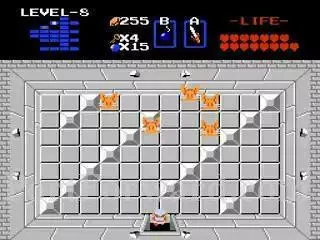
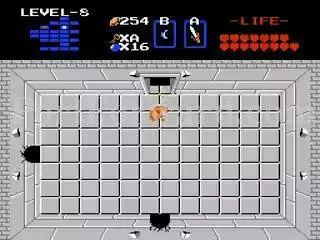
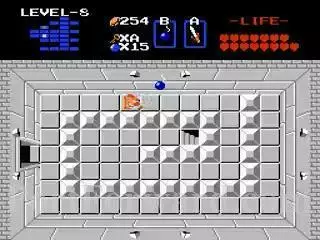
Kill the enemies in this room and get the key.
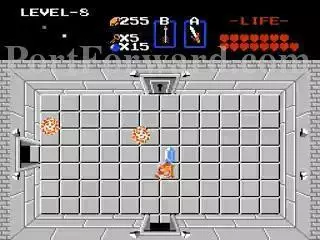
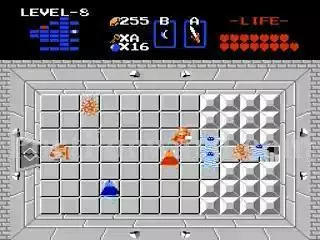
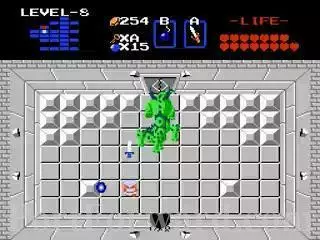
Go back out and enter the left door to kill this Manhandla.
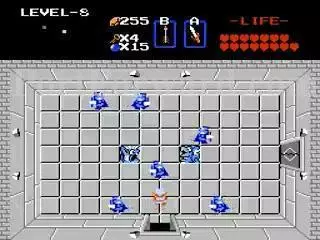
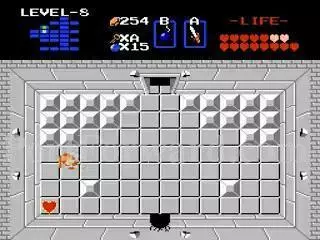
Continue left and kill everyone inside.
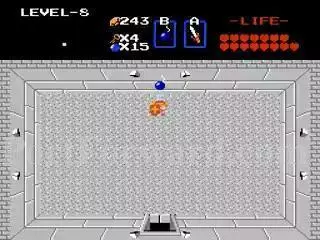
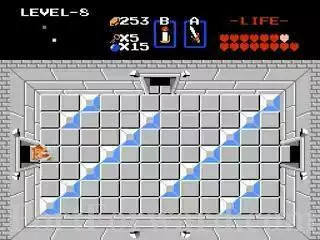
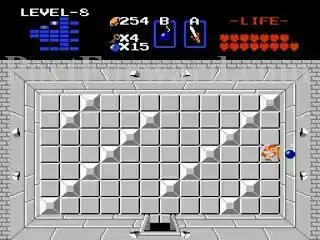
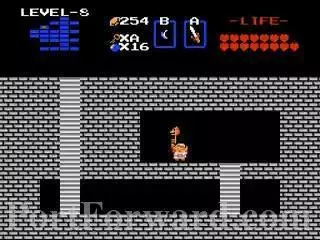
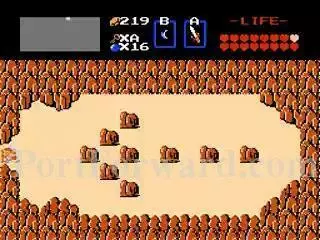
Move the block aside and enter the stairs.

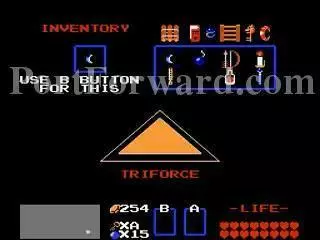
You got the Magic Book. Now your Magic Wand beams can cause fire on impact with objects.

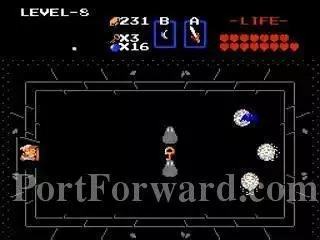
Defeat another Manhandla once you return to the beginning and go up.
Bomb this wall.
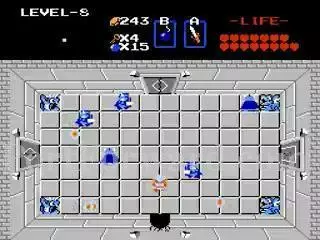
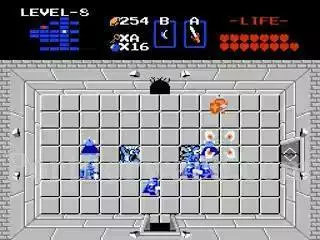
Defeat the Darknuts to open the two closed doors.
You get a key.
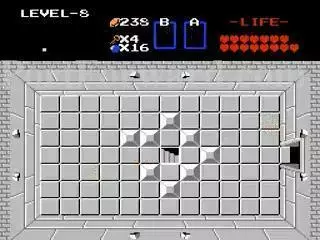
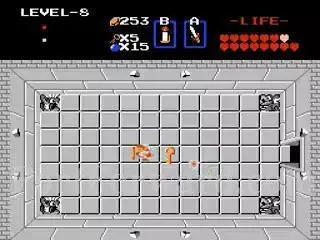
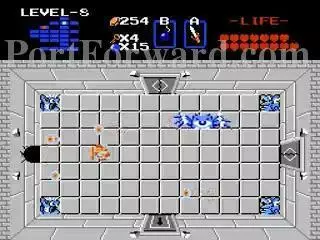
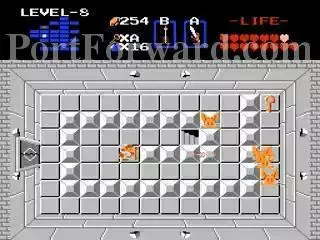
Go in the right wall into a dark room and kill the Pols Voices and get the Compass.
Go back to the left until you go through a previously closed room. There is a key inside.
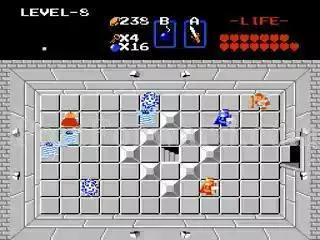
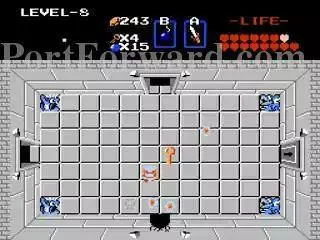
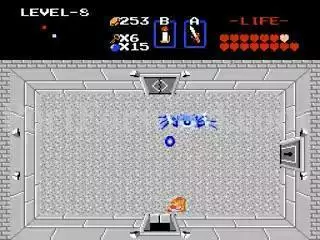
This is what the room looks like lit up.
There is a key in here.
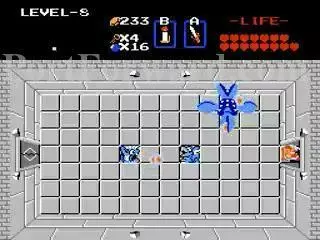
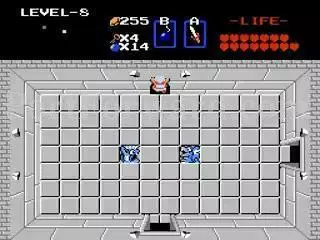
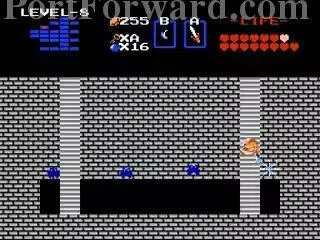
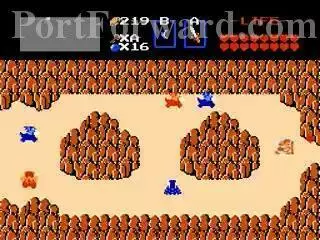
Go back out and go up and kill this Blue Gohma. They take more hits to kill than the Red ones.

The upper door hints at the entrance to Dungeon 9.
Go out and go right and kill these guys for..
5 rupees.
Go into the locked door and kill all Darknuts to make the right door open. However...
we are going to bomb this top wall instead.
Kill yet another Manhandla.
You get the map for the level. It is the shape of a Lion's head.
Bomb the left wall.
Hidden rupees are in here that is not shown on the map.
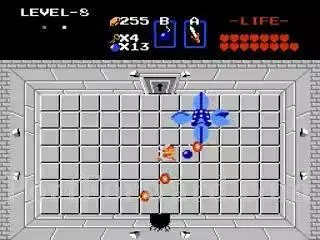
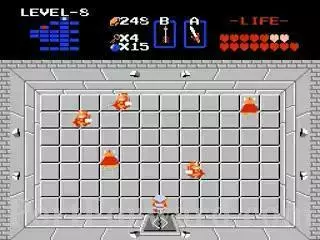
Go up and kill the Pols Voices.
Bomb the right wall.
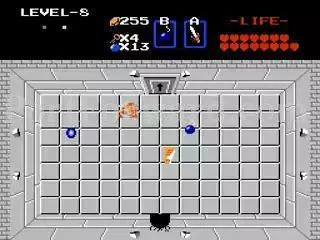
Kill this Gohma.
Go in the top door and kill these Darknuts. You get a Bomb here.

Go out and go right. Defeat these enemies to access the stairs.
You got the Lion's Key. Now you don't need to collect any more keys. You can unlock all doors. Notice how the head on the key looks like the map.
Go out and go back down.
Defeat these Darknuts to go into the right door.
Try to get past these guys because you want to go into the staircase.
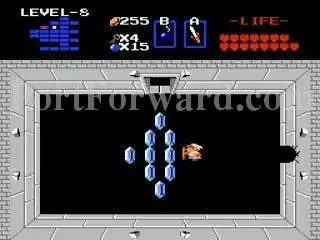
It's a secret passage to near the boss.
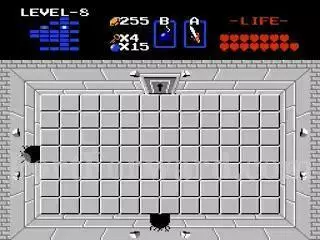
You dont need the key anymore but you have to kill the Pols Voices to go left.
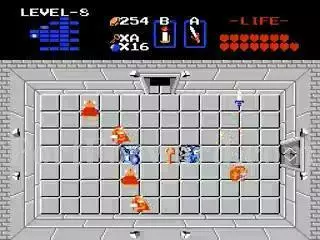
Same for this room. You can just go up and ignore the Darknuts.
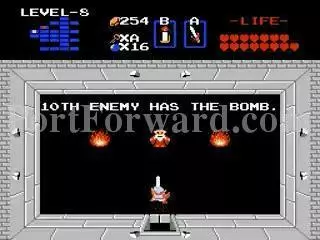
You get a hint that you can get a bomb every 10th enemy you kill. That's what I assume at least.
Go back out to the spiral and bomb this wall.
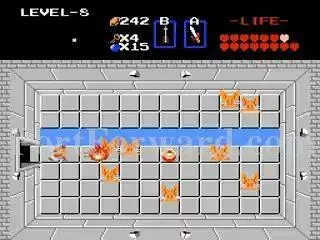
You fight Gleook again. This time he has four heads and fights the same way.

Each extra head flies around and attack on their own.
The last Heart Container gives you a full set of hearts.

Dungeon 8 completed.
Yay we got the whole Triforce.
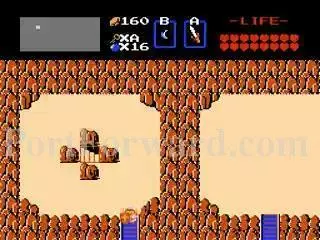
N2: Go to this area and enter.

Take the left road.
D4: You end up back here.
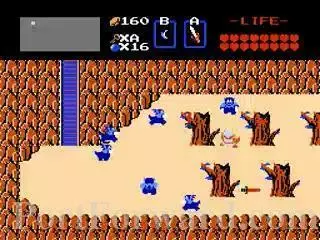
C2: Get rid of some these Laurels first.

Bomb this wall.
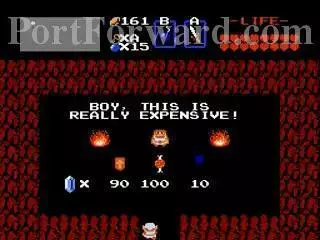
Secret Shop here.
A1: For now it's nothing special but in Quest 2, the final Dungeon is in the middle of this upper wall.
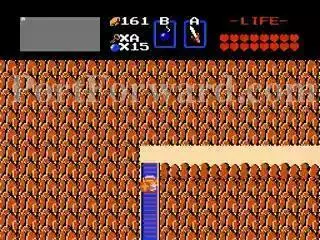
B1: Bomb this wall.
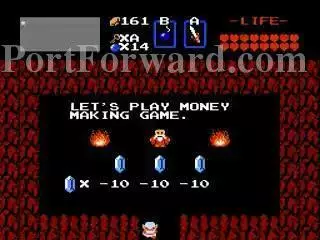
Money Making Game.
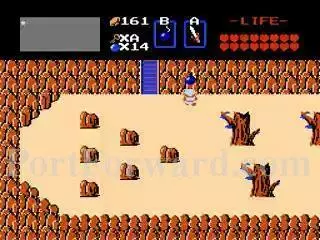
H2: Cross the river again and go up the ladder.
J1: There is nothing particular about this spot but in Quest 2, if you have the Power Bracelet, this is where the Master Sword is located.
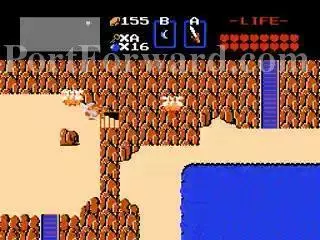
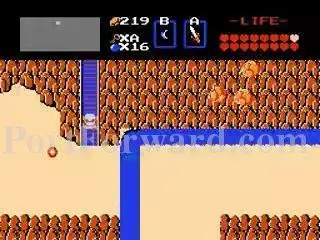
F1: Kill the enemies in this room first to avoid distractions. Bomb the bottom of the left rock.

The entrance to the final Dungeon is revealed.
More The Legend of Zelda Walkthroughs
This The Legend of Zelda walkthrough is divided into 18 total pages.


