This The Legend of Zelda walkthrough is divided into 18 total pages.
12 - Dungeon 1 (Quest 2) and Journey to Dungeon 2.
You can jump to nearby pages of the game using the links above.
Dungeon 1 (Quest 2) and Journey to Dungeon 2.
 The Legend of Zelda Walkthrough - The Legend-of-Zelda 600
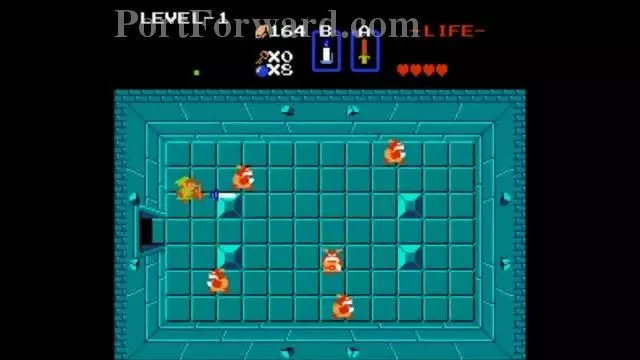
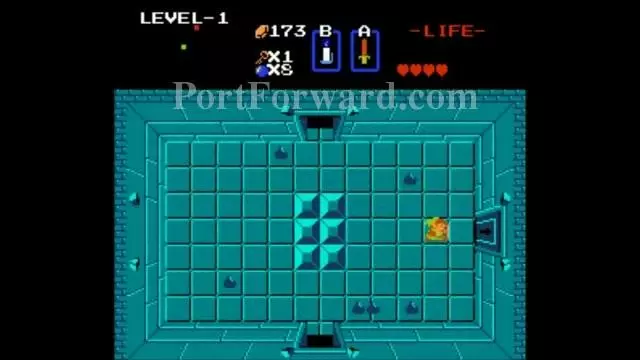
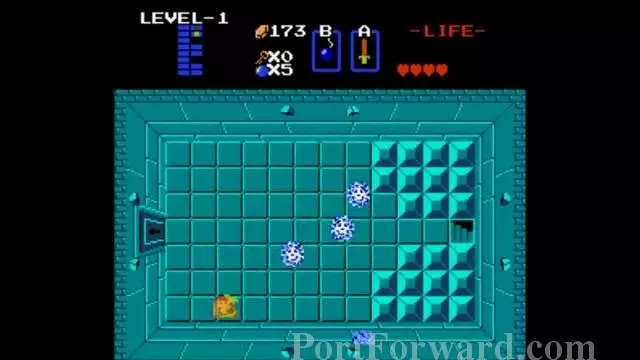
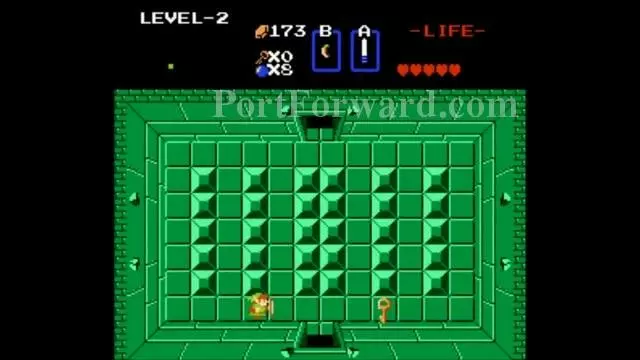
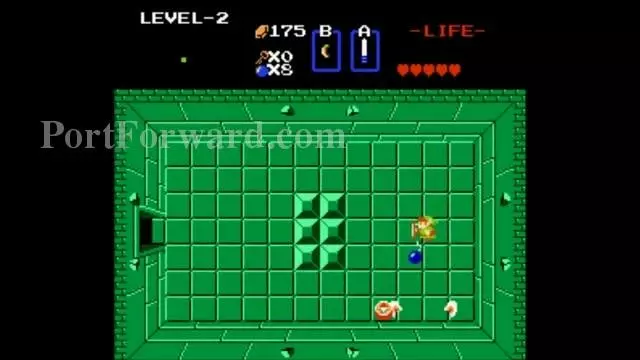
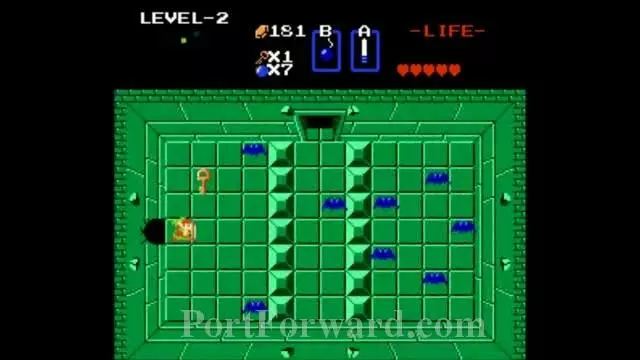
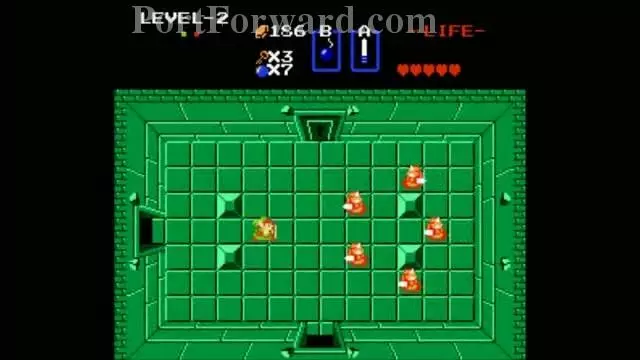
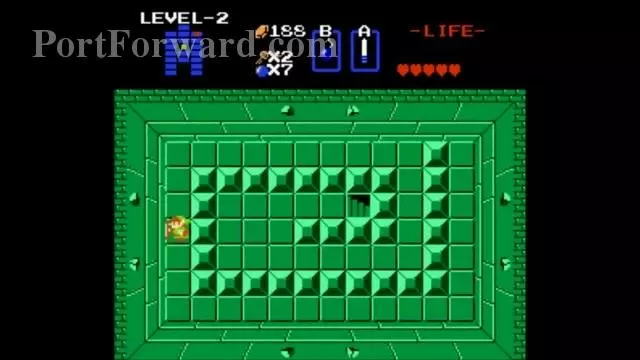
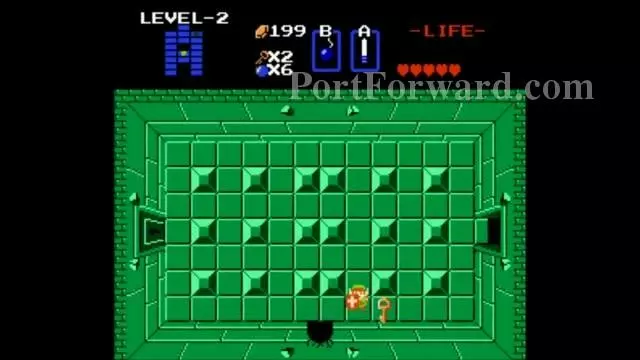
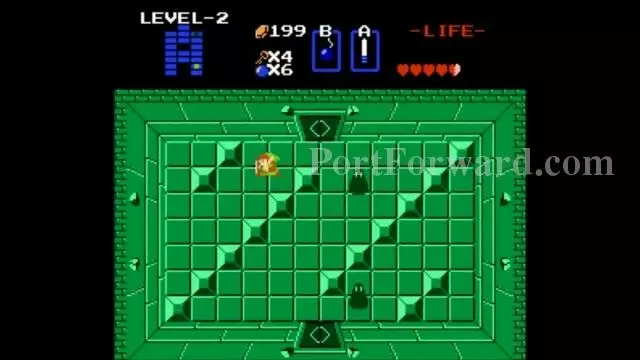
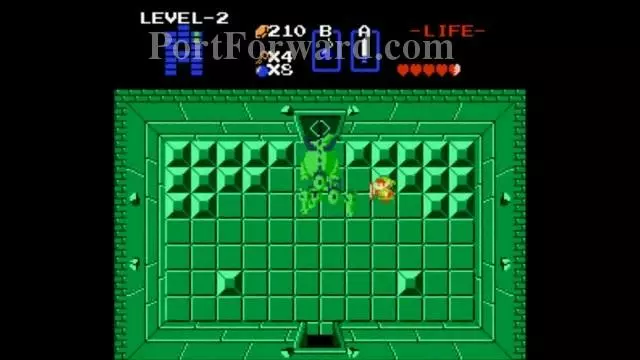
Go to the right and kill these Goriyas.
 The Legend of Zelda Walkthrough - The Legend-of-Zelda 601
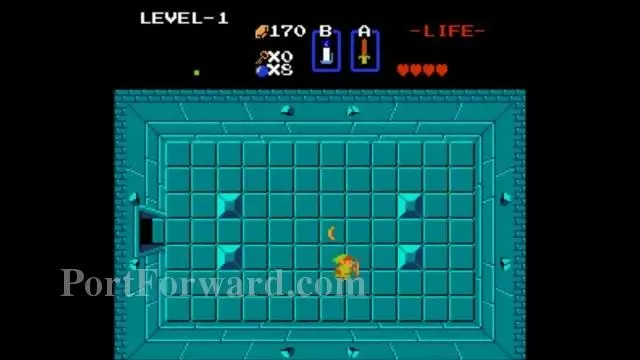
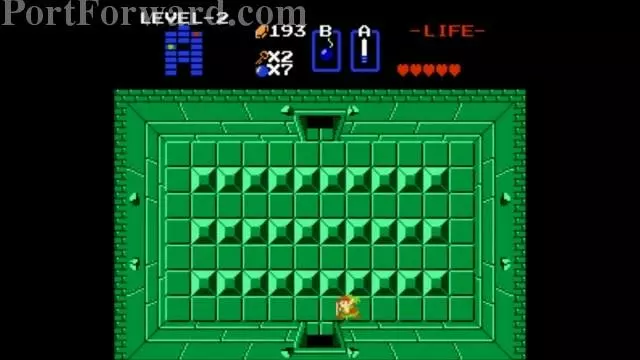
You get the Wooden Boomerang.
 The Legend of Zelda Walkthrough - The Legend-of-Zelda 602
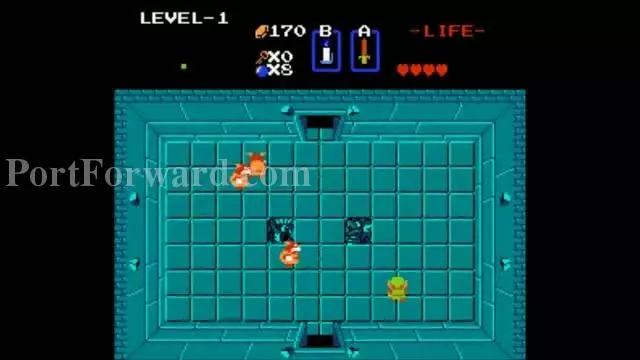
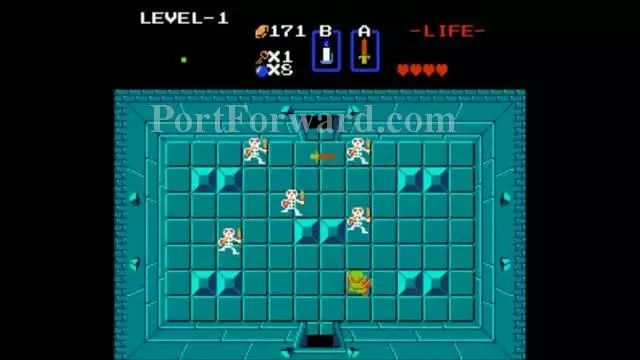
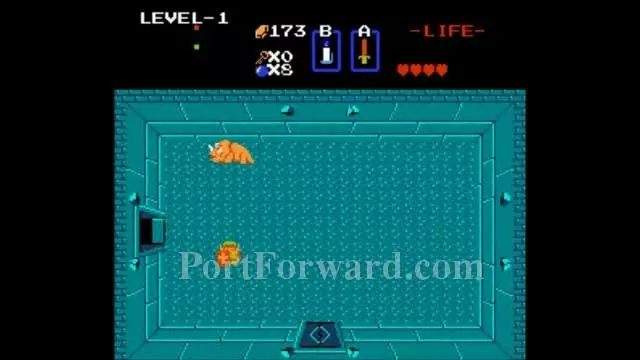
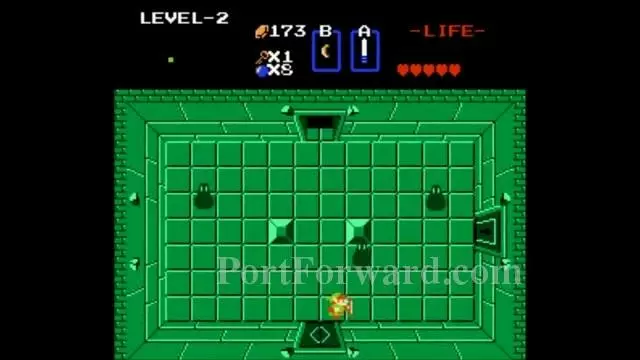
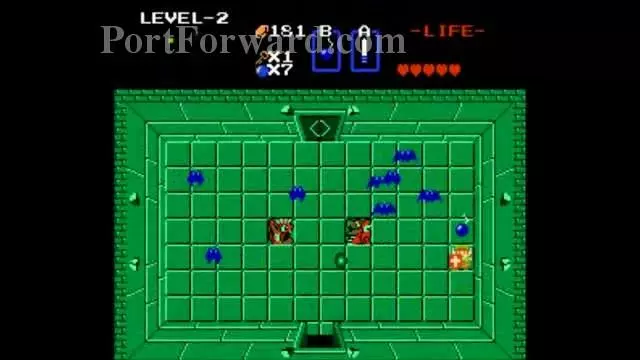
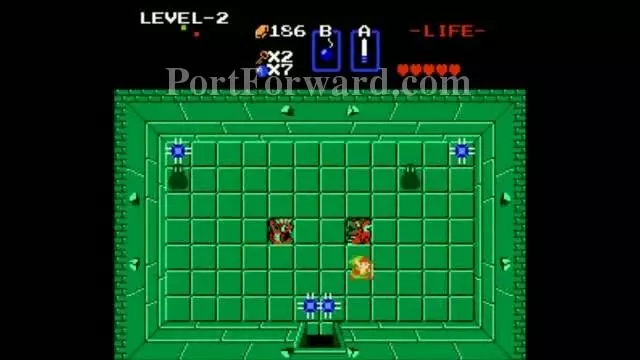
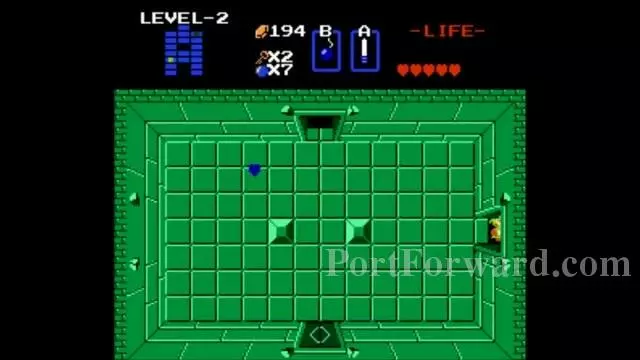
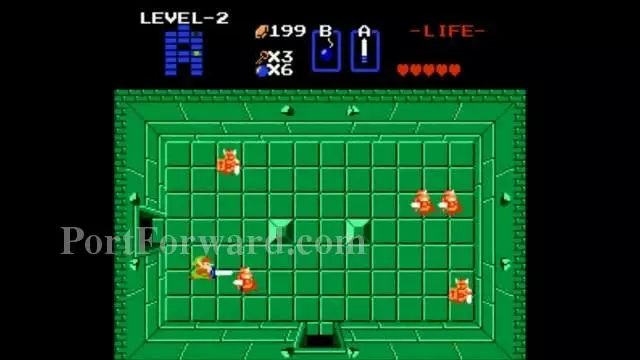
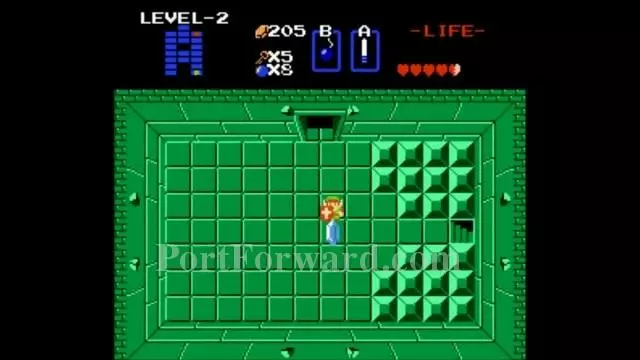
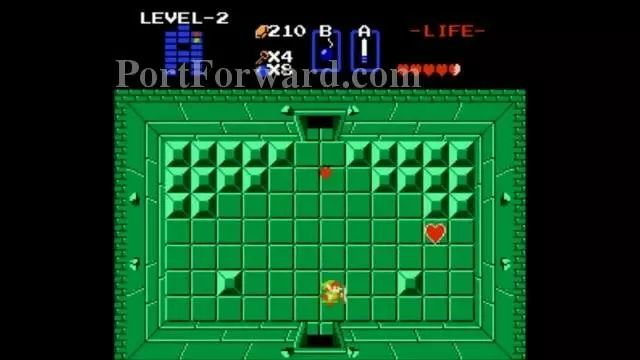
Go back and go up and kill more Goriyas.
 The Legend of Zelda Walkthrough - The Legend-of-Zelda 603
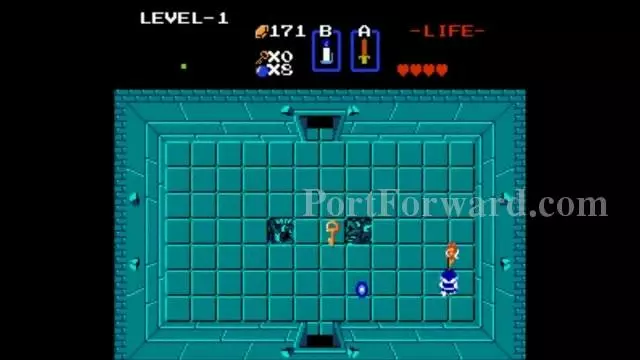
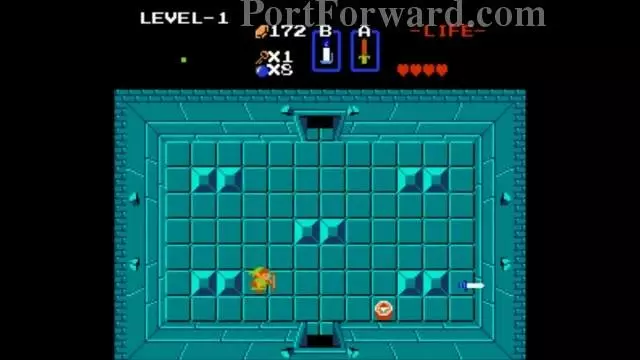
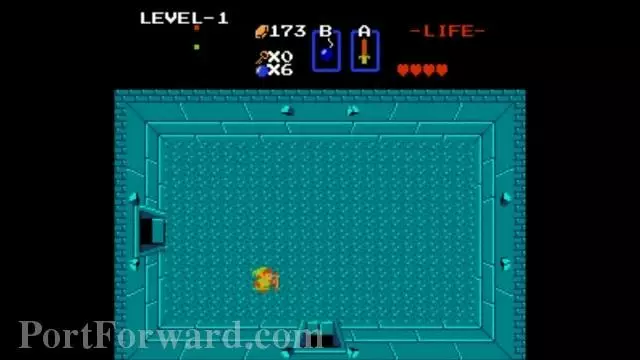
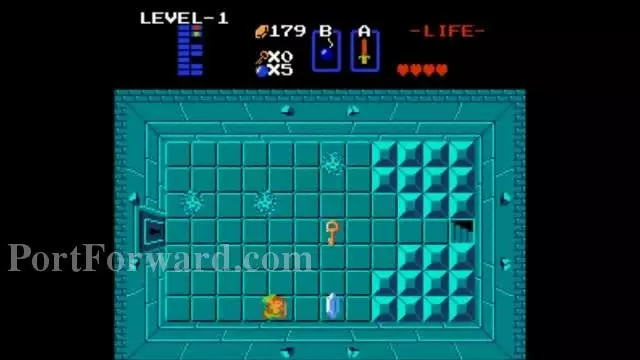
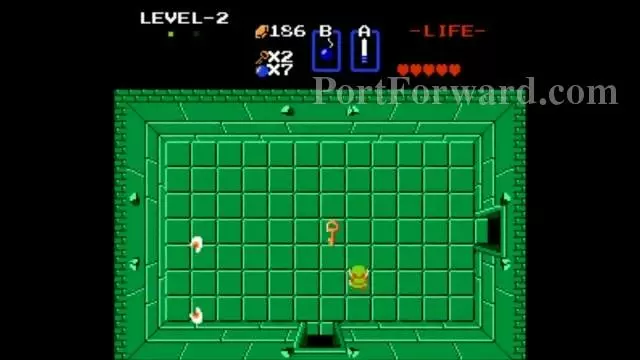
You get a Key.
 The Legend of Zelda Walkthrough - The Legend-of-Zelda 604
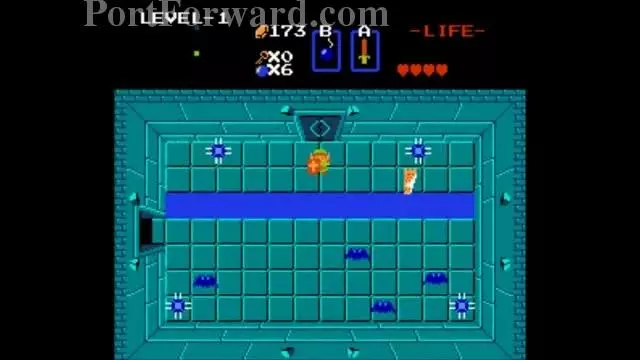
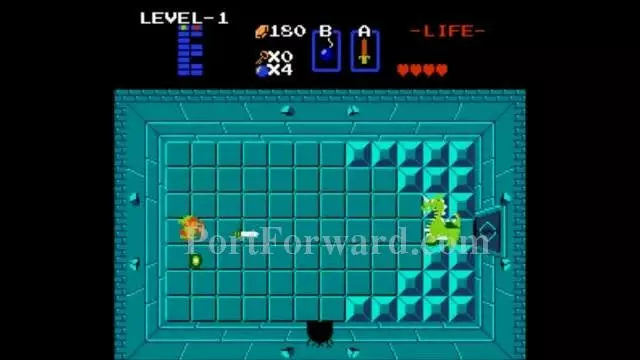
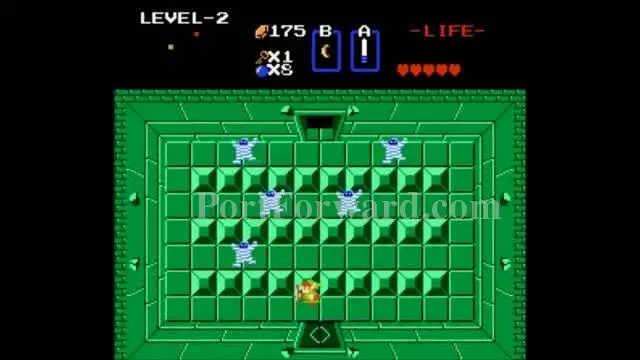
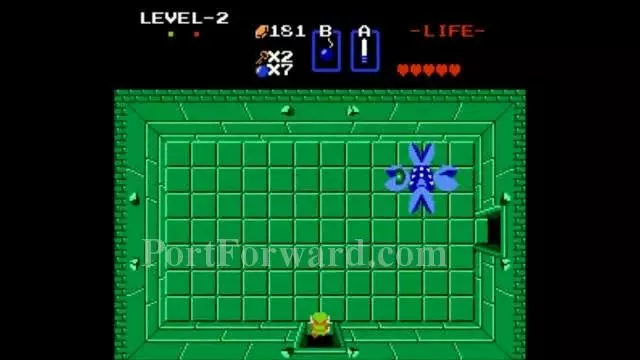
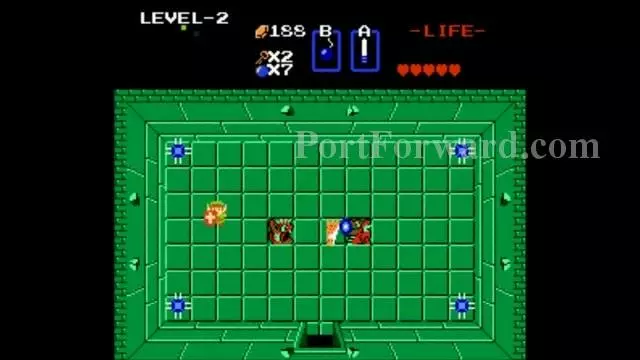
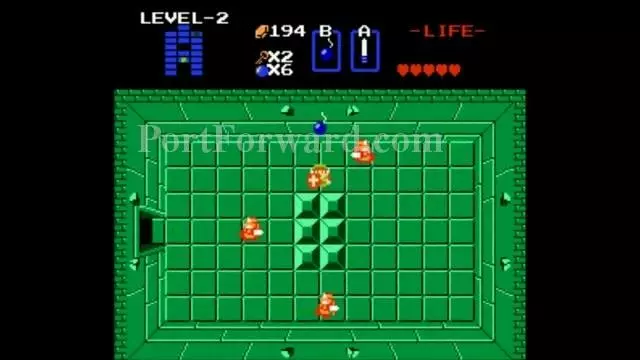
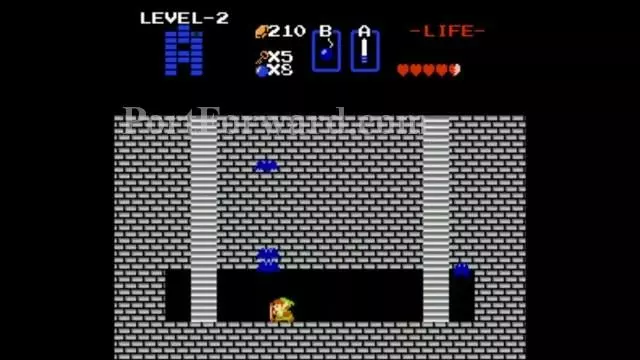
The Stalfoses now throw sword beams at you so that's whay I did all that prep work so the Magical Shield can block those beams.
 The Legend of Zelda Walkthrough - The Legend-of-Zelda 605
You get a Compass.
 The Legend of Zelda Walkthrough - The Legend-of-Zelda 606
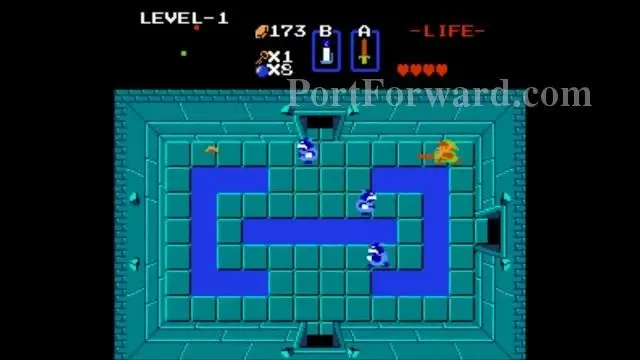
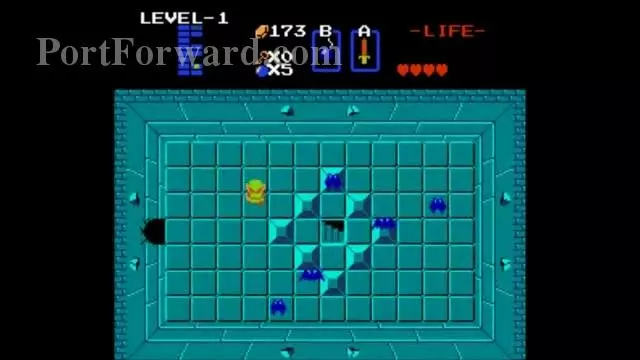
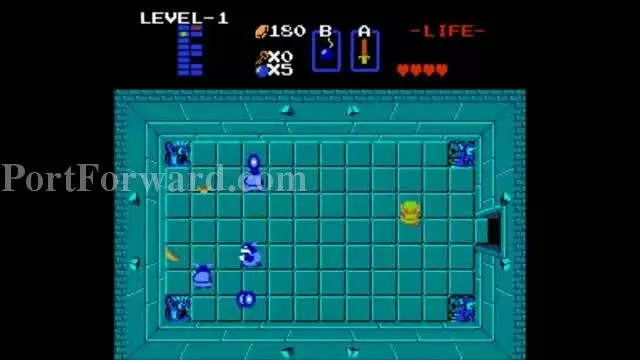
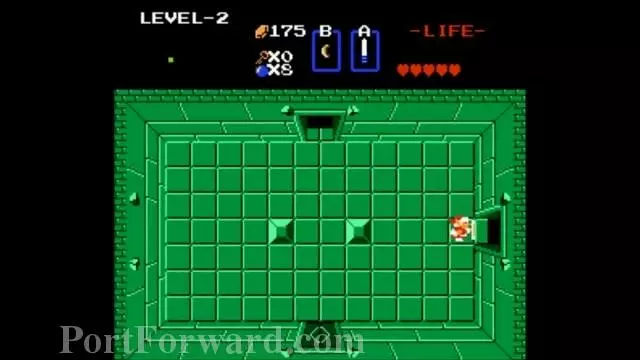
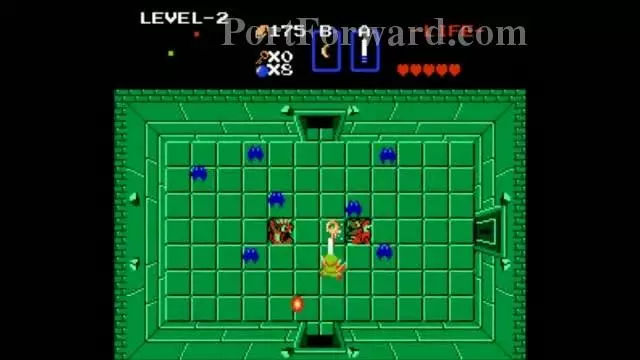
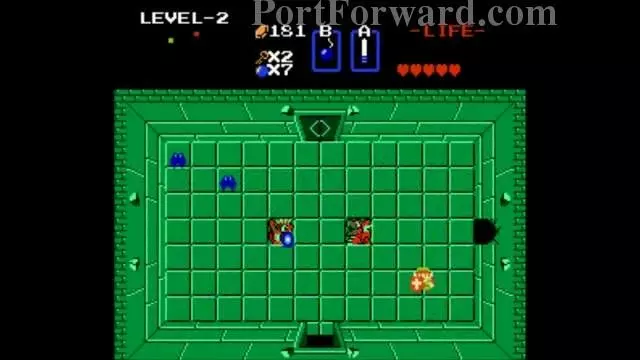
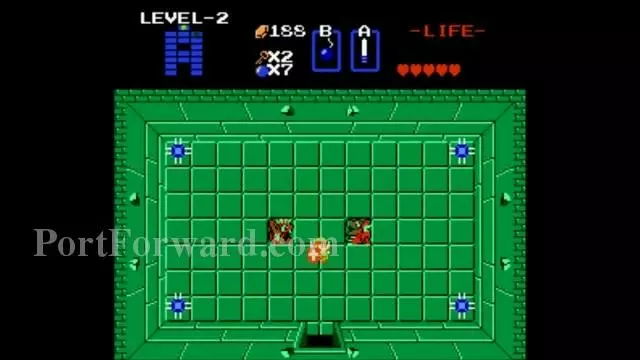
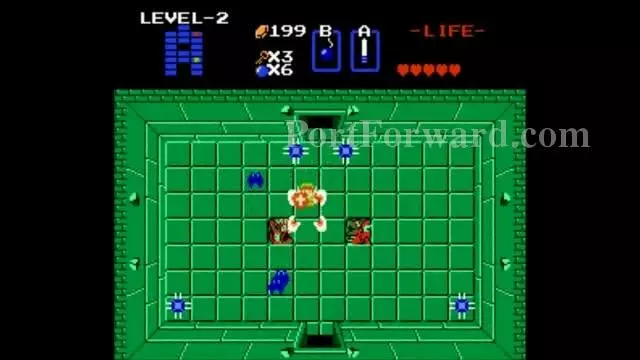
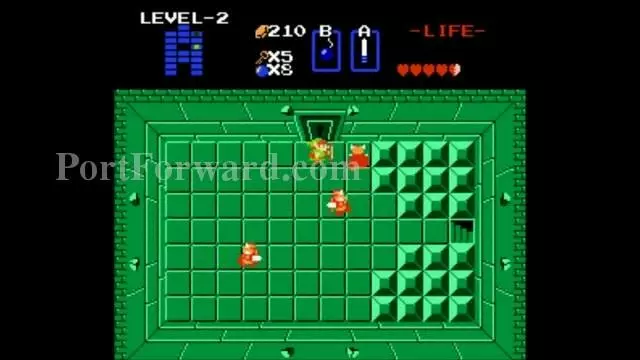
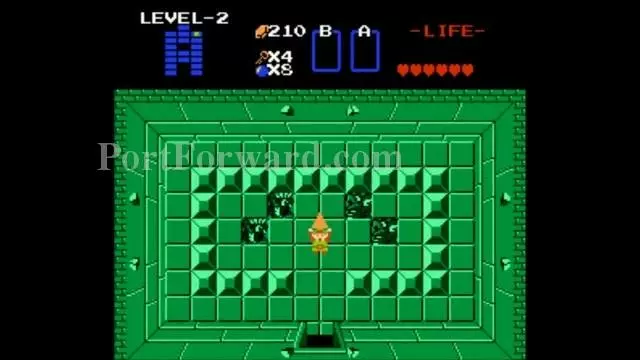
Go up and deal with the Blue Goriyas.
 The Legend of Zelda Walkthrough - The Legend-of-Zelda 607
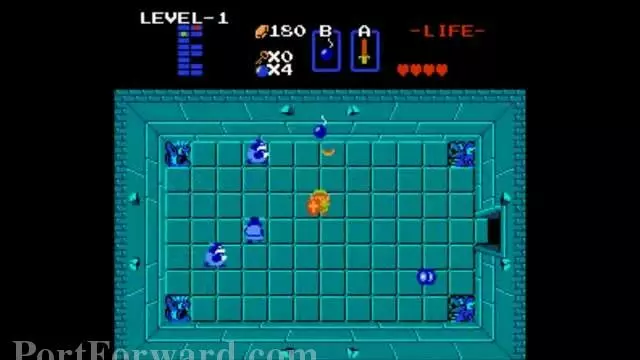
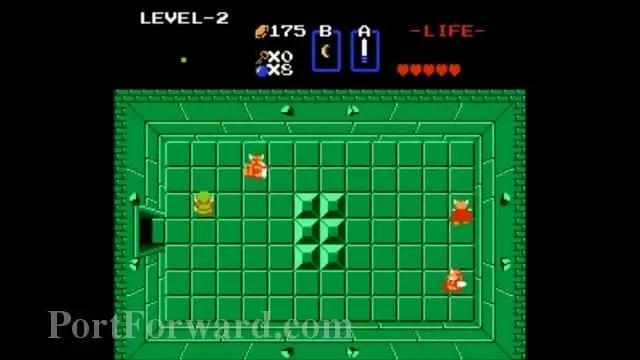
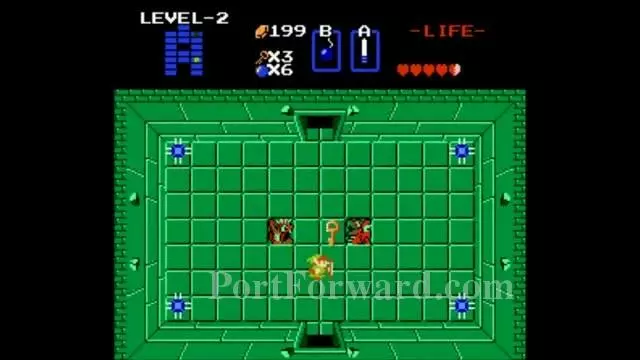
Then continue up and kill the Gels or ignore them.
 The Legend of Zelda Walkthrough - The Legend-of-Zelda 608
Go in the locked door on the right.
 The Legend of Zelda Walkthrough - The Legend-of-Zelda 609
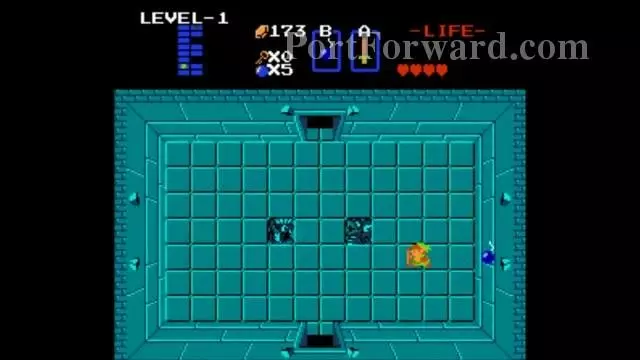
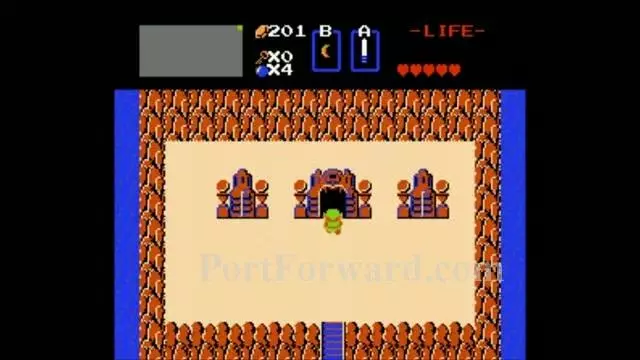
Kill Dodongo first.
 The Legend of Zelda Walkthrough - The Legend-of-Zelda 610
It allows you to go in the door on the bottom.
 The Legend of Zelda Walkthrough - The Legend-of-Zelda 611
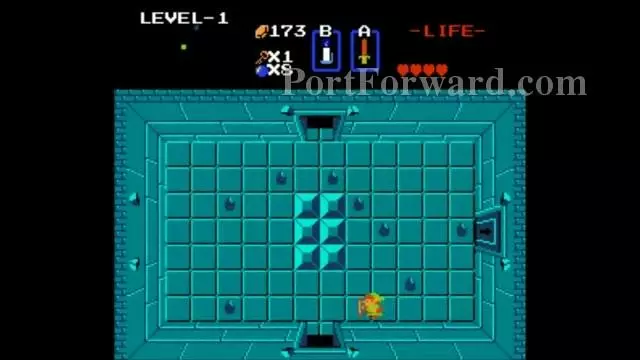
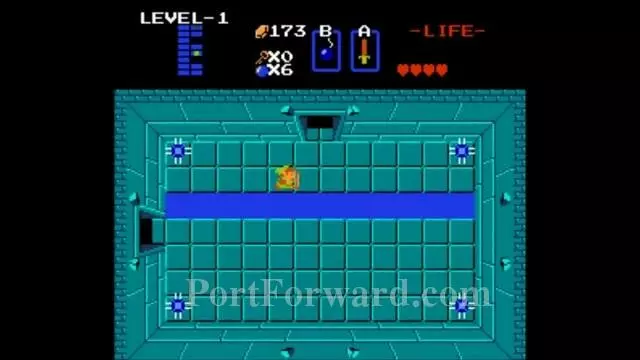
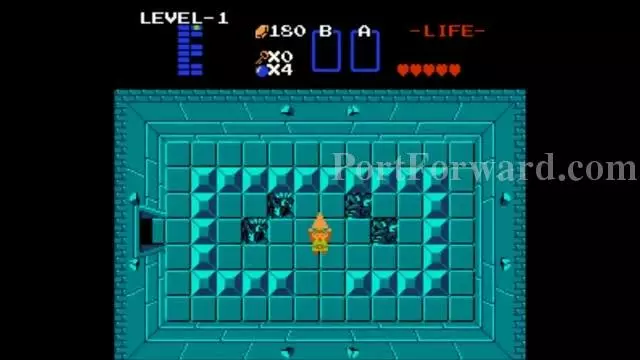
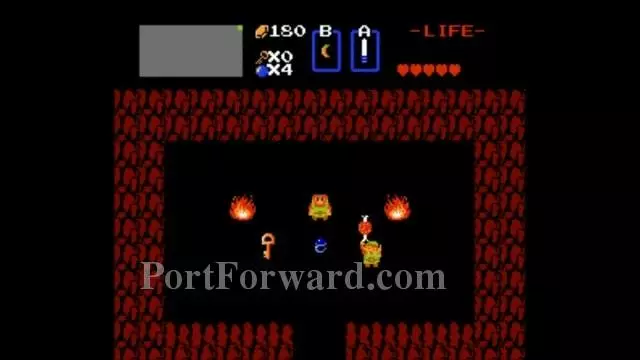
There is a map inside and you must kill the Keese to get out.
 The Legend of Zelda Walkthrough - The Legend-of-Zelda 612
The map is shaped like the letter E.
 The Legend of Zelda Walkthrough - The Legend-of-Zelda 613
Backtrack all the way to the second room in the dungeon and bomb this wall.
 The Legend of Zelda Walkthrough - The Legend-of-Zelda 614
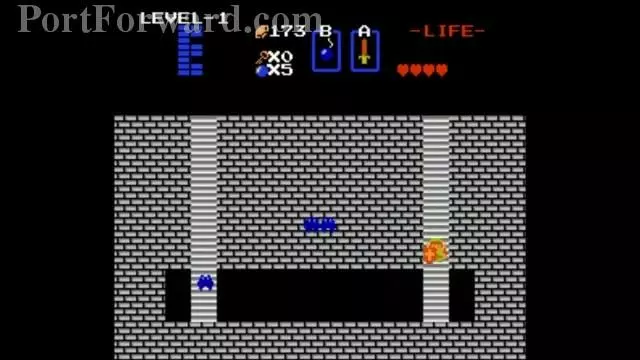
Kill the Keese and enter the staircase.
 The Legend of Zelda Walkthrough - The Legend-of-Zelda 615
Go through the secret passage.
 The Legend of Zelda Walkthrough - The Legend-of-Zelda 616
It takes you to the room near the first boss but you must kill the Wallmasters first.
 The Legend of Zelda Walkthrough - The Legend-of-Zelda 617
Get the Key needed to go inside.
 The Legend of Zelda Walkthrough - The Legend-of-Zelda 618
You can kill the Goriyas if you want too.
 The Legend of Zelda Walkthrough - The Legend-of-Zelda 619
But I'll just bomb the wall and be on my way.
 The Legend of Zelda Walkthrough - The Legend-of-Zelda 620
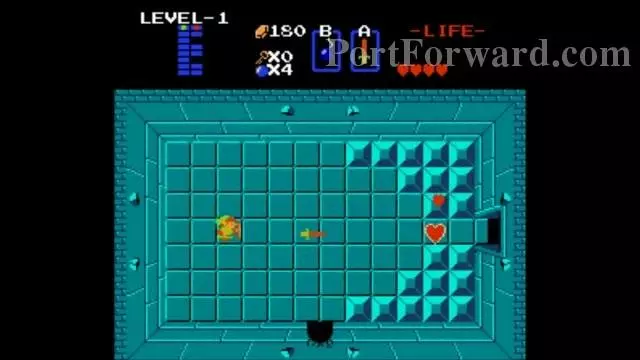
Defeat Aquamentus.
 The Legend of Zelda Walkthrough - The Legend-of-Zelda 621
There's the Heart Container. Now you have five hearts. White Sword will come early.
 The Legend of Zelda Walkthrough - The Legend-of-Zelda 622
Dungeon 1 completed.
 The Legend of Zelda Walkthrough - The Legend-of-Zelda 623
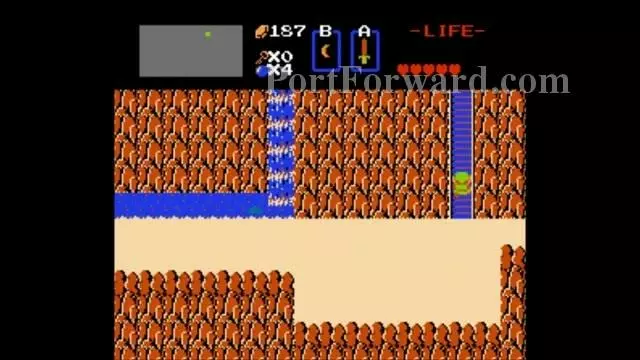
K2: Go up tis ladder.
 The Legend of Zelda Walkthrough - The Legend-of-Zelda 624
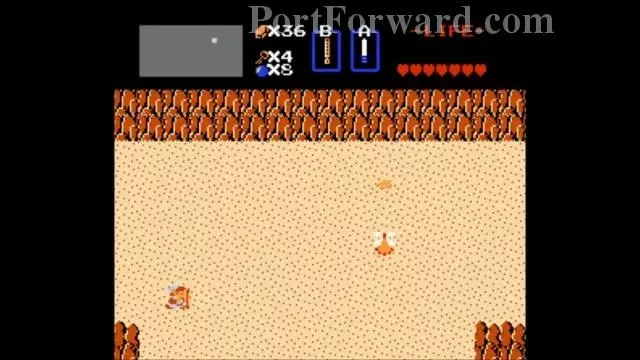
K1: Kill this Lyrel and go inside the cave.
 The Legend of Zelda Walkthrough - The Legend-of-Zelda 625
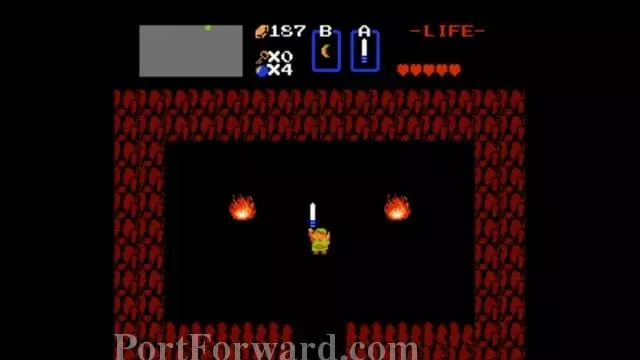
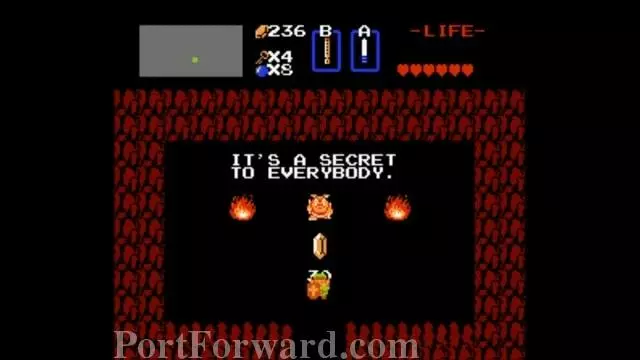
Get the White Sword.
 The Legend of Zelda Walkthrough - The Legend-of-Zelda 626
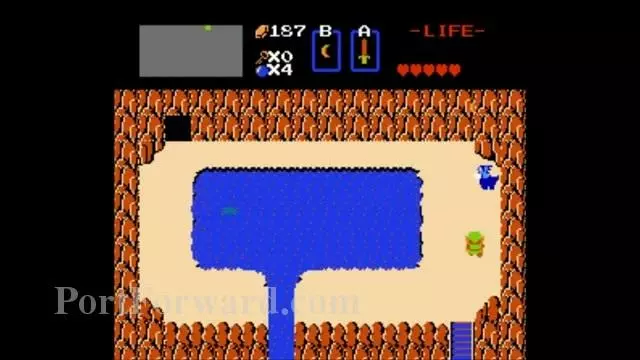
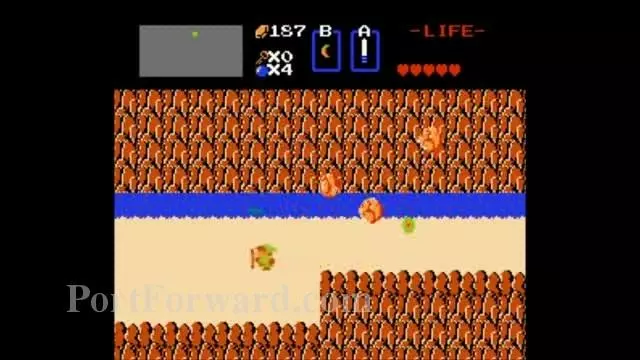
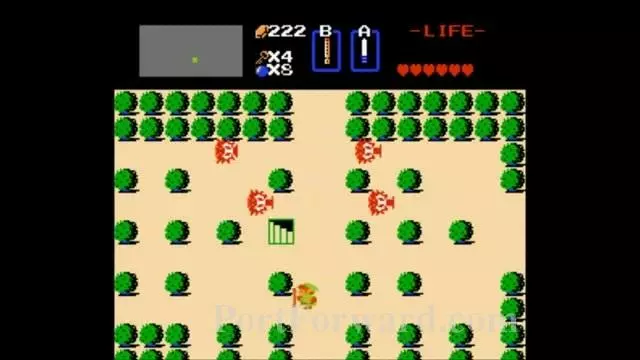
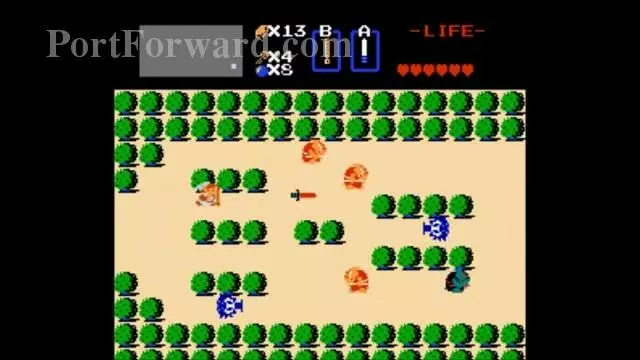
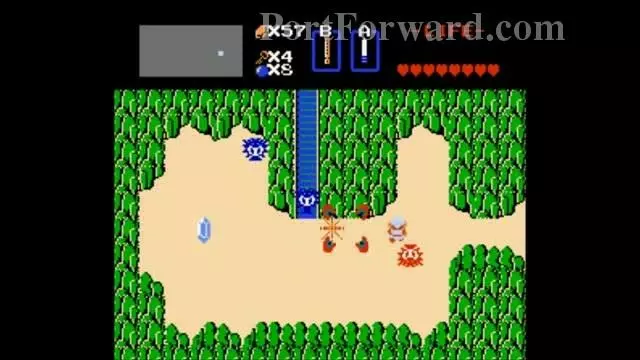
I2: Watch out for those rocks.
 The Legend of Zelda Walkthrough - The Legend-of-Zelda 627
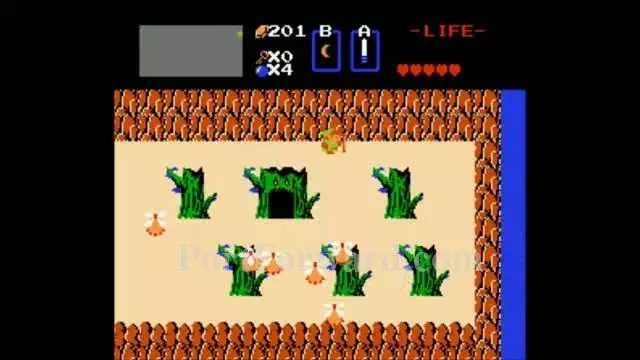
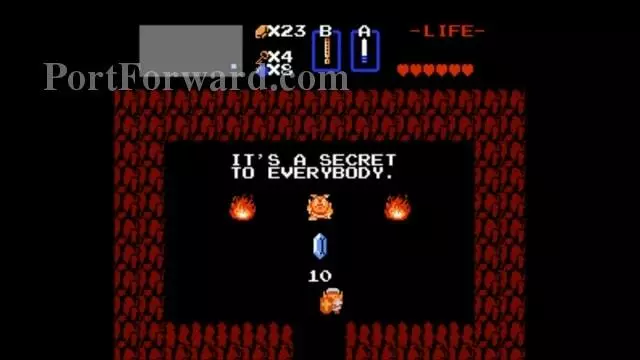
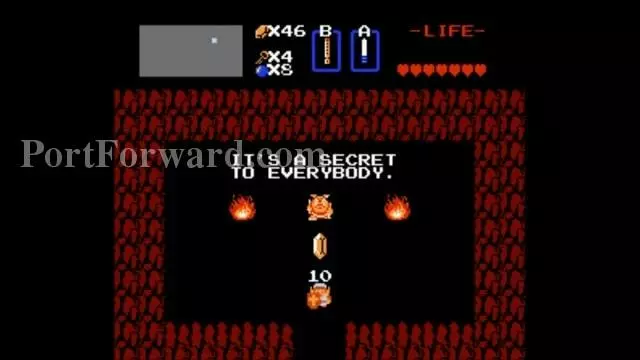
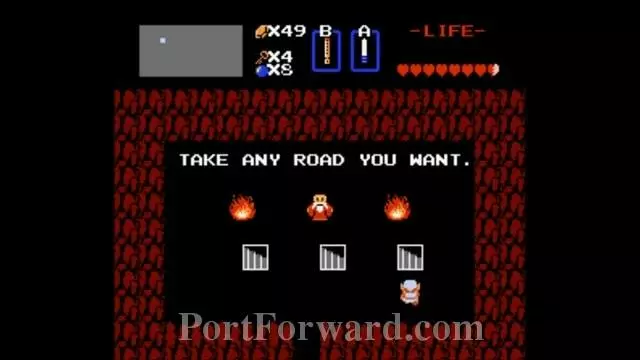
P2: No time for the money making game in the stump. What we want is to go up the secret passage in this upper wall.
 The Legend of Zelda Walkthrough - The Legend-of-Zelda 628
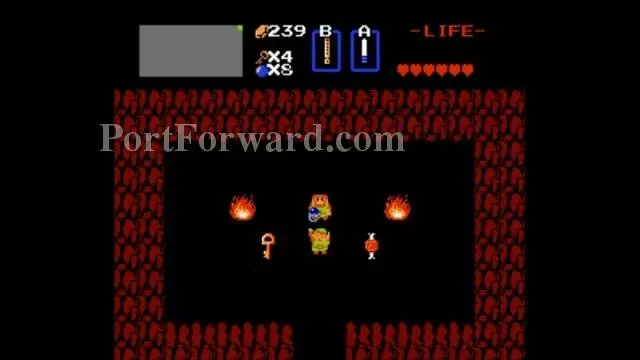
P1: Go in the shop.
 The Legend of Zelda Walkthrough - The Legend-of-Zelda 629
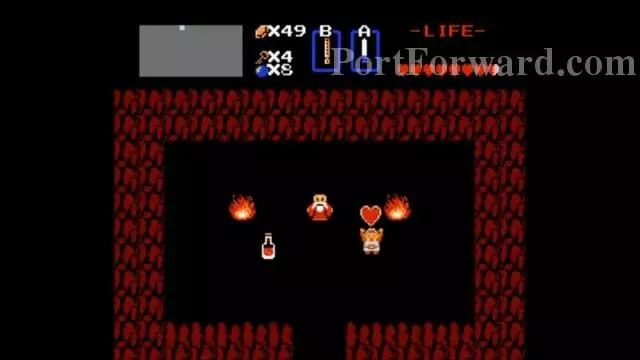
This is now where the secret shop is. Buy the meat. You'll need it for Dungeon 3 and 8 later on. We'll also get the Blue Ring after Dungeon 2.
 The Legend of Zelda Walkthrough - The Legend-of-Zelda 630
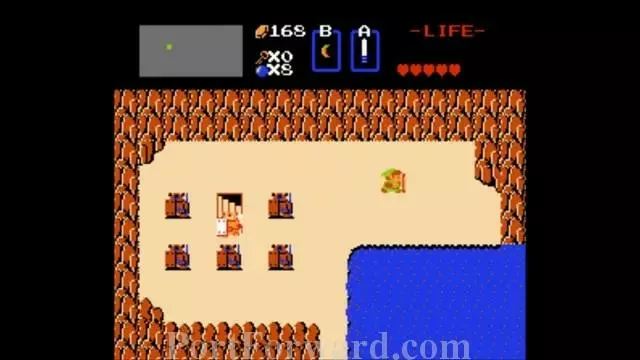
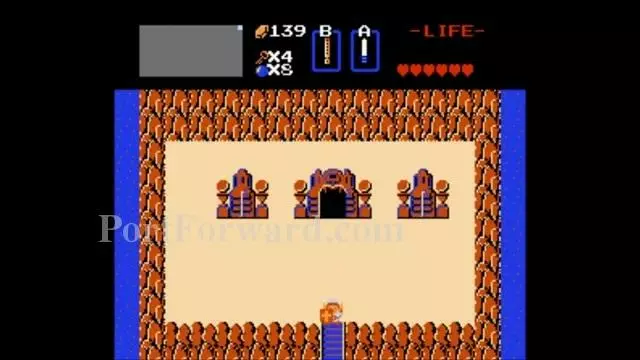
E4: Where the Blue Ring used to be is now the location to Dungeon 2.
 The Legend of Zelda Walkthrough - The Legend-of-Zelda 631
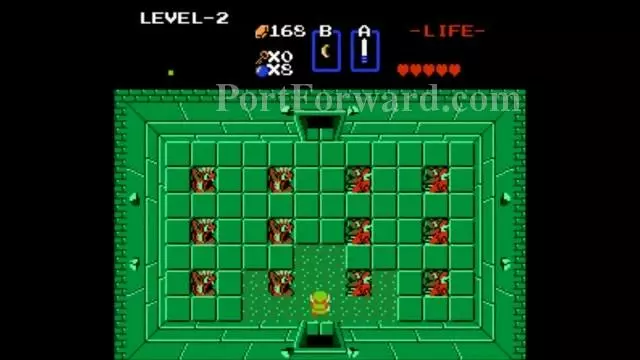
Dungeon 2 (Quest 2) and Journey to Dungeon 3.
 The Legend of Zelda Walkthrough - The Legend-of-Zelda 632
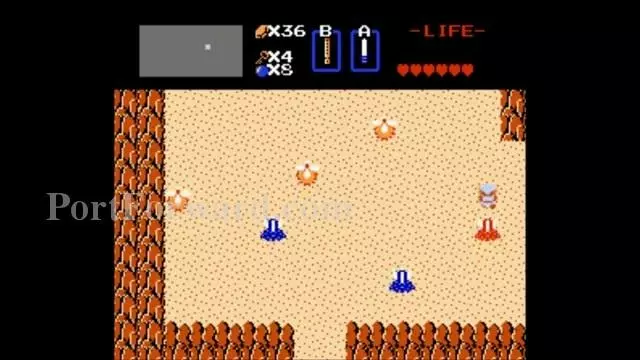
Defeat the Gibdos.
 The Legend of Zelda Walkthrough - The Legend-of-Zelda 633
Get a key.
 The Legend of Zelda Walkthrough - The Legend-of-Zelda 634
Go up and kill the Zols if you want to backtrack which I doubt you will.
 The Legend of Zelda Walkthrough - The Legend-of-Zelda 635
Go in the right door.
 The Legend of Zelda Walkthrough - The Legend-of-Zelda 636
Kill the Darknuts.
 The Legend of Zelda Walkthrough - The Legend-of-Zelda 637
Get the Compass.
 The Legend of Zelda Walkthrough - The Legend-of-Zelda 638
Get the Key and kill the Keese if you want to.
 The Legend of Zelda Walkthrough - The Legend-of-Zelda 639
Go up and kill more Gibdos if they get in your way.
 The Legend of Zelda Walkthrough - The Legend-of-Zelda 640
Bomb this wall.
 The Legend of Zelda Walkthrough - The Legend-of-Zelda 641
Get the Key and go back.
 The Legend of Zelda Walkthrough - The Legend-of-Zelda 642
Kill the remaining Keese to go up.
 The Legend of Zelda Walkthrough - The Legend-of-Zelda 643
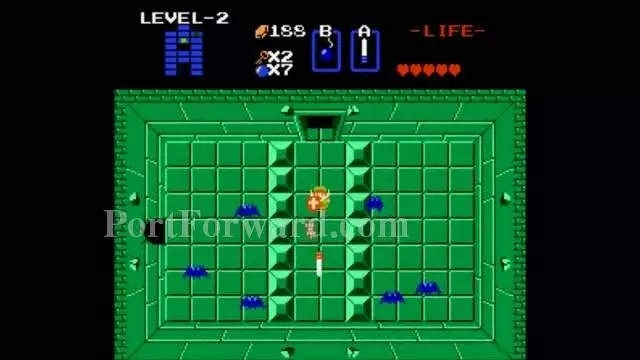
Manhandle the Manhandla.
 The Legend of Zelda Walkthrough - The Legend-of-Zelda 644
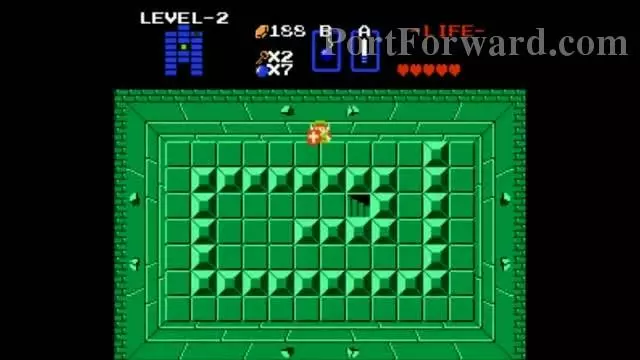
You get a key.
 The Legend of Zelda Walkthrough - The Legend-of-Zelda 645
Just go through the top door.
 The Legend of Zelda Walkthrough - The Legend-of-Zelda 646
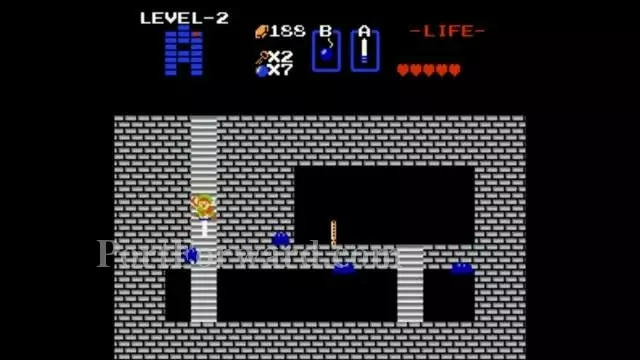
Kill the Zols.
 The Legend of Zelda Walkthrough - The Legend-of-Zelda 647
You get the map.
 The Legend of Zelda Walkthrough - The Legend-of-Zelda 648
The map is shaped like the letter A
 The Legend of Zelda Walkthrough - The Legend-of-Zelda 649
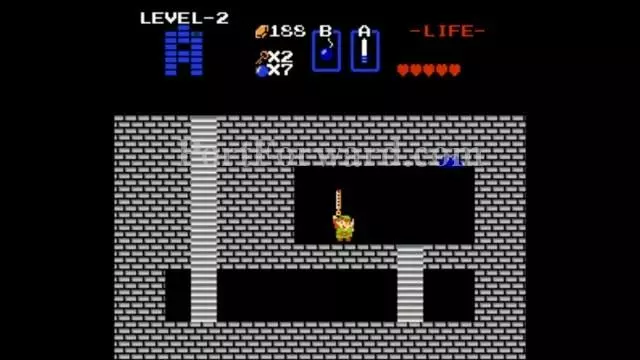
Go back and go down.
 The Legend of Zelda Walkthrough - The Legend-of-Zelda 650
You can now walk through some walls like just did in the previous room to get here. Enter the staircase.
 The Legend of Zelda Walkthrough - The Legend-of-Zelda 651
Kill the Keese if needed.
 The Legend of Zelda Walkthrough - The Legend-of-Zelda 652
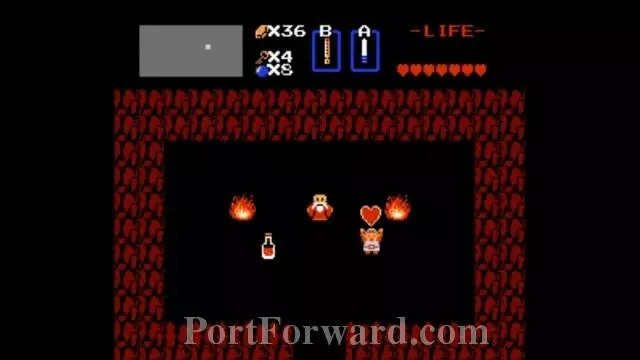
Get the Recorder. It's gonna come in handy in the Overworld.
 The Legend of Zelda Walkthrough - The Legend-of-Zelda 653
Once out, walk through this wall.
 The Legend of Zelda Walkthrough - The Legend-of-Zelda 654
You end up back here where you fought some Gibdos.
 The Legend of Zelda Walkthrough - The Legend-of-Zelda 655
Go down and to the right.
 The Legend of Zelda Walkthrough - The Legend-of-Zelda 656
Bomb this wall.
 The Legend of Zelda Walkthrough - The Legend-of-Zelda 657
Defeat all enemies here.
 The Legend of Zelda Walkthrough - The Legend-of-Zelda 658
Get a key.
 The Legend of Zelda Walkthrough - The Legend-of-Zelda 659
Take care of these Darknuts.
 The Legend of Zelda Walkthrough - The Legend-of-Zelda 660
Go down and deal with the Keese and spike traps.
 The Legend of Zelda Walkthrough - The Legend-of-Zelda 661
Get a key.
 The Legend of Zelda Walkthrough - The Legend-of-Zelda 662
Kill or ignore the Zols to opent the bottom door.
 The Legend of Zelda Walkthrough - The Legend-of-Zelda 663
Kill the Gibdos.
 The Legend of Zelda Walkthrough - The Legend-of-Zelda 664
Get 5 rupies and enter the staircase.
 The Legend of Zelda Walkthrough - The Legend-of-Zelda 665
Go through the secret passage.
 The Legend of Zelda Walkthrough - The Legend-of-Zelda 666
Don't worry too much about the Darknuts. Go up.
 The Legend of Zelda Walkthrough - The Legend-of-Zelda 667
Kill the Gleeok. This one has two heads.
 The Legend of Zelda Walkthrough - The Legend-of-Zelda 668
Get the Heart Container and move on.
 The Legend of Zelda Walkthrough - The Legend-of-Zelda 669
Dungeon 2 completed.
 The Legend of Zelda Walkthrough - The Legend-of-Zelda 670
I6: With the Recorder, you can blow it and staircases magically appear in certain screens.
 The Legend of Zelda Walkthrough - The Legend-of-Zelda 671
Get 30 rupies.
 The Legend of Zelda Walkthrough - The Legend-of-Zelda 672
Head back to that shop where you bought the Meat and buy the Blue Ring.
 The Legend of Zelda Walkthrough - The Legend-of-Zelda 673
P1: Just checking out the new blue clothes.
 The Legend of Zelda Walkthrough - The Legend-of-Zelda 674
O7: Blow the Recorder on this screen to make a stairway appear.
 The Legend of Zelda Walkthrough - The Legend-of-Zelda 675
Get 10 rupies.
 The Legend of Zelda Walkthrough - The Legend-of-Zelda 676
K4: Blow the recorder here.
 The Legend of Zelda Walkthrough - The Legend-of-Zelda 677
Get the Heart Container.
 The Legend of Zelda Walkthrough - The Legend-of-Zelda 678
Blow the Recorder here.
 The Legend of Zelda Walkthrough - The Legend-of-Zelda 679
Get 10 Rupees.
 The Legend of Zelda Walkthrough - The Legend-of-Zelda 680
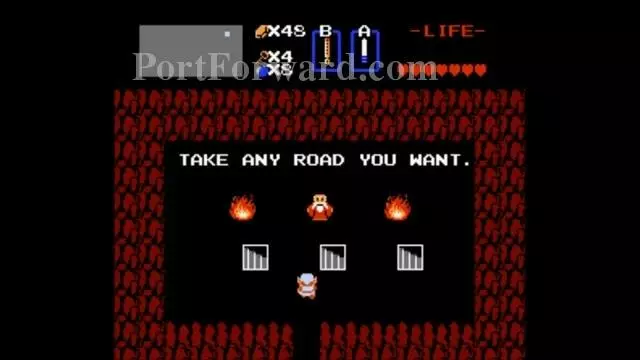
Take the left road.
 The Legend of Zelda Walkthrough - The Legend-of-Zelda 681
I1: Blow the Recorder here.
 The Legend of Zelda Walkthrough - The Legend-of-Zelda 682
Get the Heart Container.
 The Legend of Zelda Walkthrough - The Legend-of-Zelda 683
Take the right road.
 The Legend of Zelda Walkthrough - The Legend-of-Zelda 684
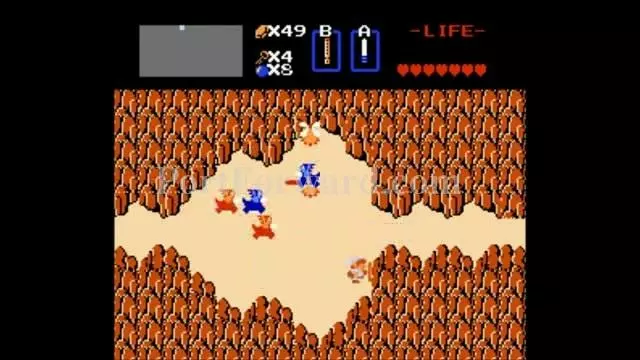
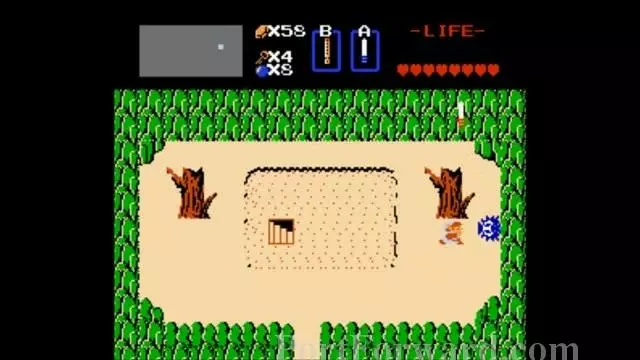
M5: Go up this ladder.
 The Legend of Zelda Walkthrough - The Legend-of-Zelda 685
Blow the Recorder.
 The Legend of Zelda Walkthrough - The Legend-of-Zelda 686
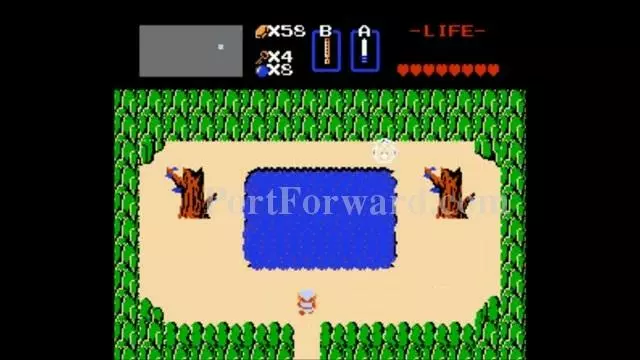
It dries up the lake and allows you into Dungeon 3.
More The Legend of Zelda Walkthroughs
This The Legend of Zelda walkthrough is divided into 18 total pages.
12 - Dungeon 1 (Quest 2) and Journey to Dungeon 2.


