
This The Legend of Zelda walkthrough is divided into 18 total pages.
You can jump to nearby pages of the game using the links above.
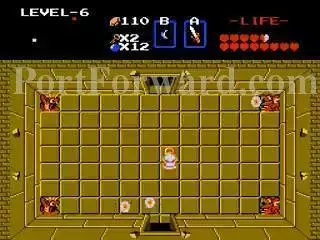
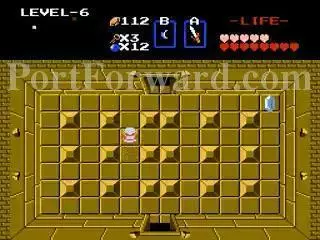
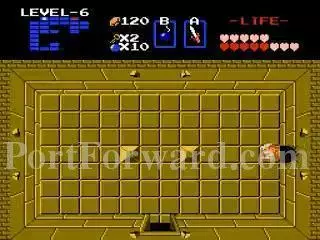
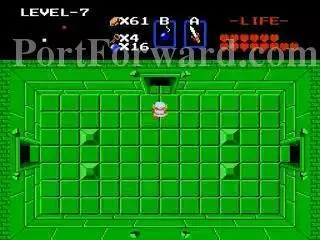
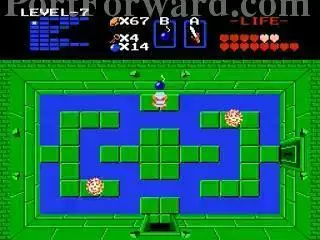
Dungeon 6 (Quest 1) and Journey to Dungeon 7.
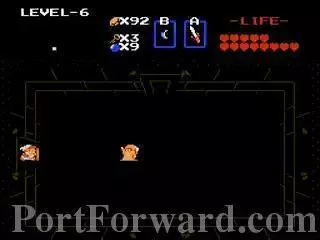
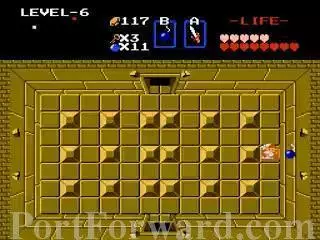
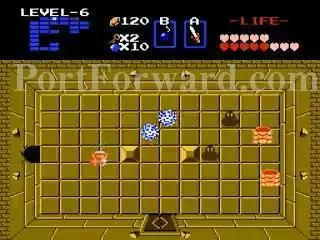
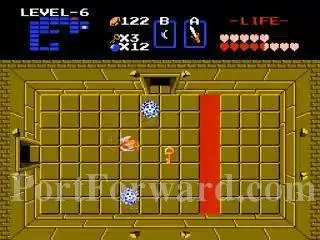
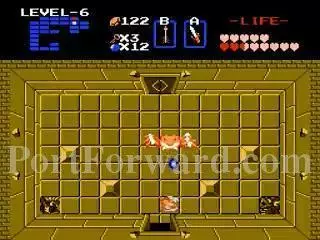
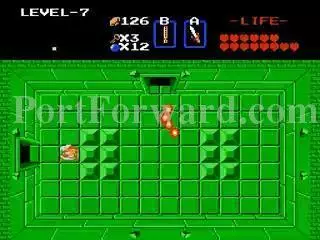
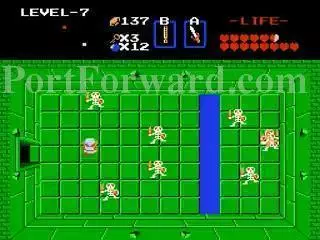
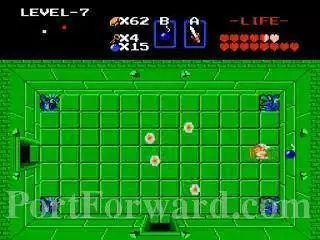
Go into the room on the right and defeat some Wizzrobes. The orange will fade in and out and fire a magic beam in your nearest cardinal direction. Blue ones will warp to your nearest cardinal direction and fire continuous beams.
You get a key from this room.
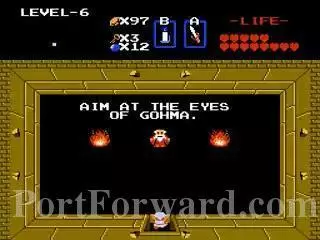
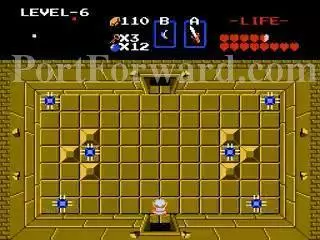
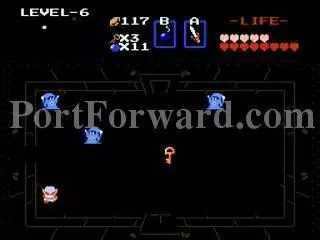
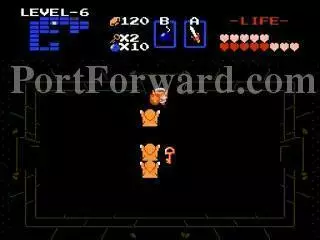
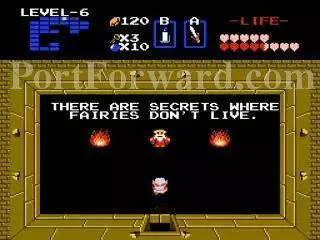
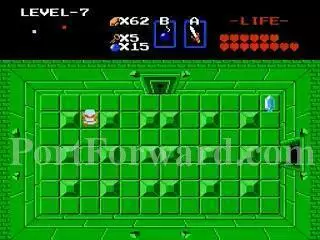
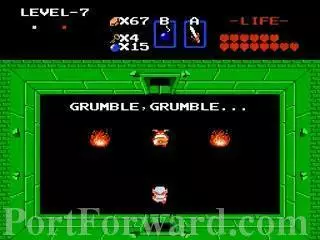
Go into the top room for a hint on defeating this dungeon's boss.
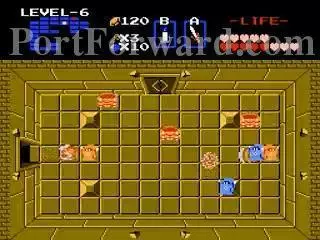
Go back to the beginning and go into the left room.
Kill the Wizzrobes here.
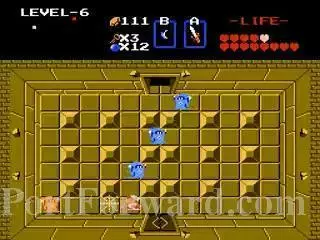
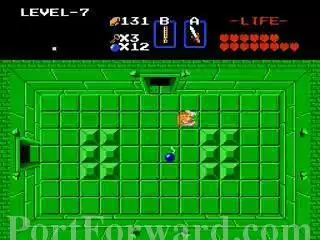
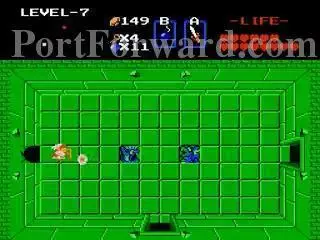
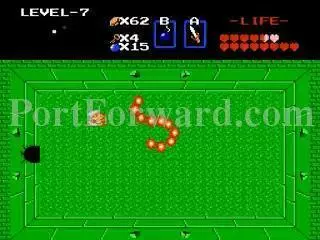
Go into the top room and kill the Zols.
You get the Compass.
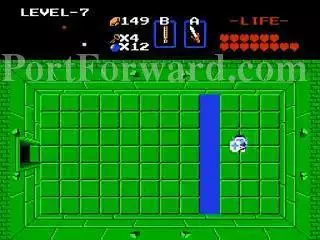
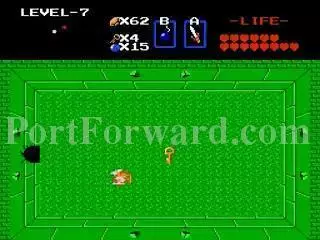
Kill the Keese to enter the room above.
Get the Key from here.
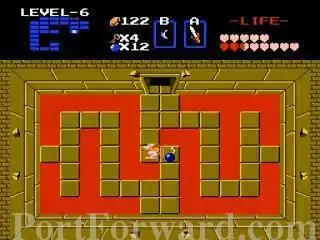
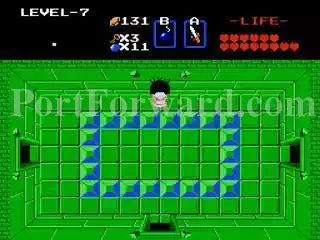
Don't stop at all, just go straight up.
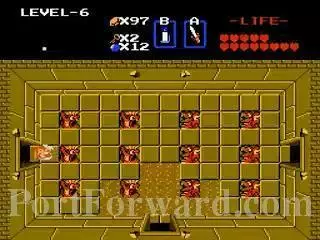
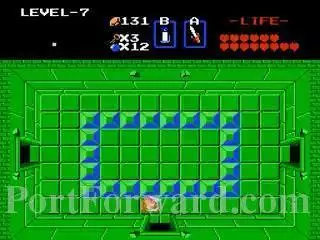
Defeat all enemies in this room.

Then push the left block aside to open the door.
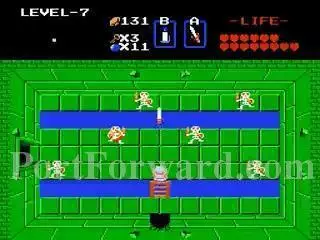
More Wizzrobes to defeat in this room.
You get 5 rupees.
Bomb this wall.
There is a Key and more Wizzrobes of the blue kind.
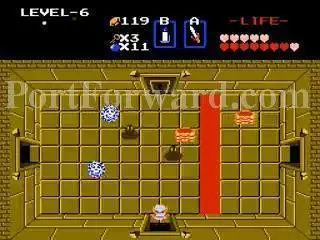
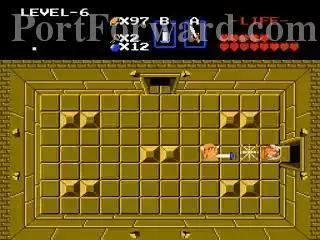
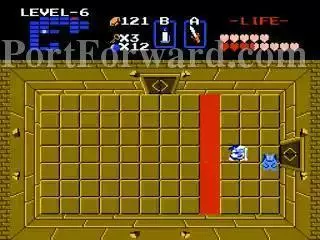
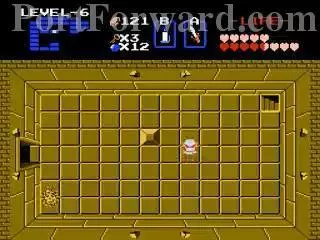
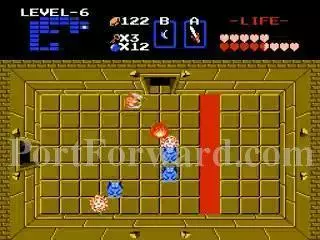
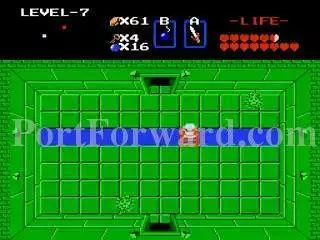
Go into the locked door above and take care of the Like Like on the right first since no Bubbles are there. Then stand on the ladder while above the red line and take out the others.
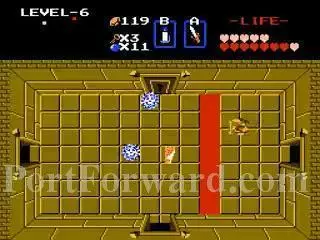
You now have the map. This one is a Dragon.
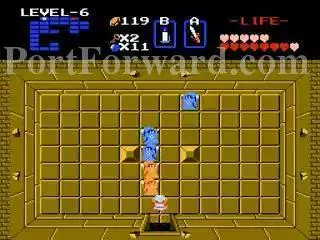
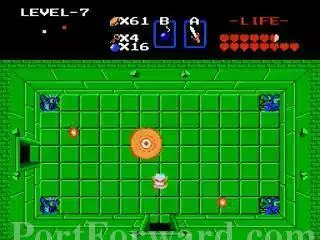
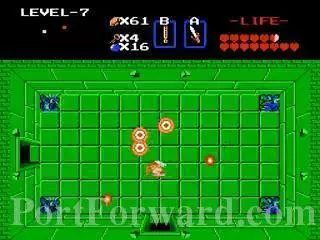
Kill these Wizzrobes first.
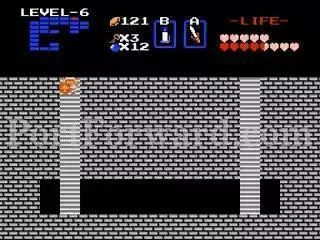
Push up the left block and enter the staircase.
You got the Magic Wand. It allows you to shoot beams that Wizzrobes use.
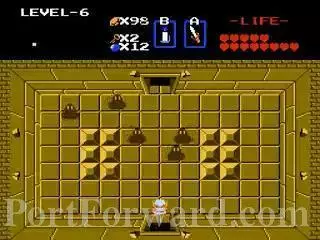
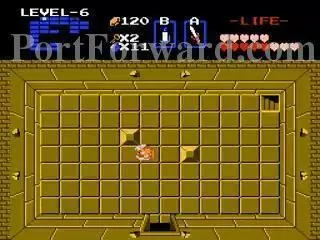
Bomb this wall once you are out.
Kill all enemies first to open the door on the bottom.
There is a key in the room, kill the Wizzrobes to make it easier.
Go into the room on the right. Kill everyone inside to open the top door.
You get a hint on the location of Dungeon 7 and it also doubles as a hint of where level 3 is.
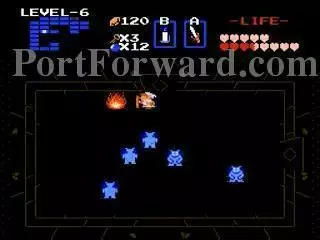
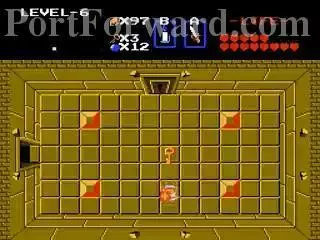
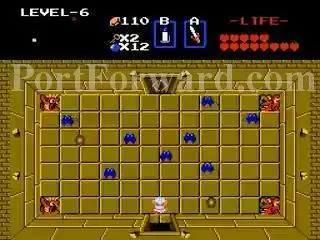
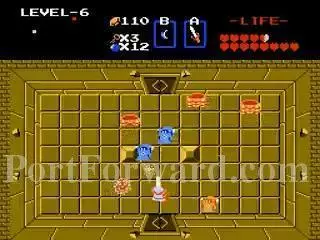
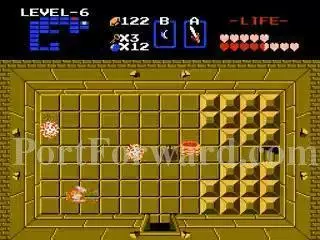
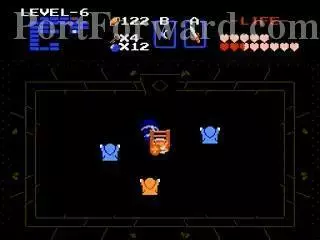
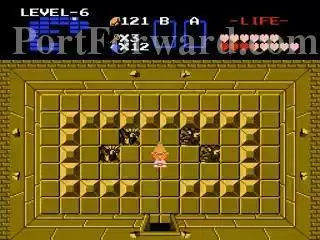
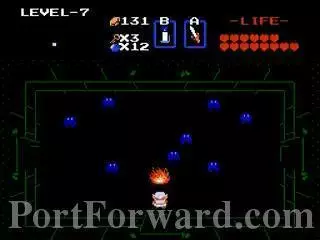
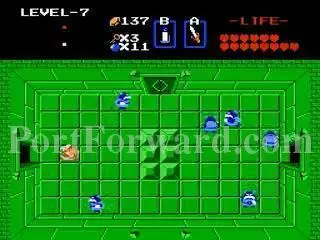
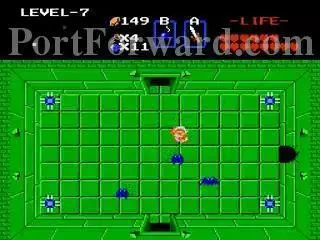
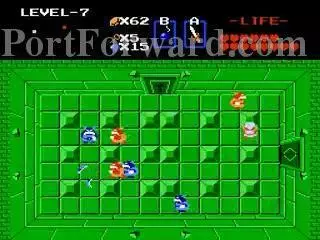
Go to the room full of Vires. Look at the map position here. Defeat the Vires here. With the Master Sword, you can kill them with one slash and they won't turn into Red Keese.
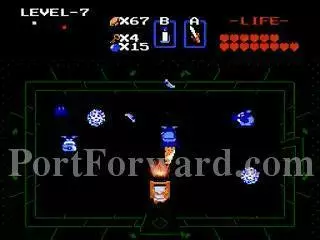
This is what the room looks like lit up. The rooms open when all Vires are dead.
In the right room, defeat all the Like Likes so you can push the block aside.
Enter the staircase.
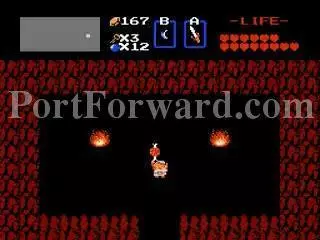
Take the passage to nearby where the boss is.
You can ignore the enemies here and go down.
Same in this room. You can go left but kill everyone here anyway.
You get a key for doing so.

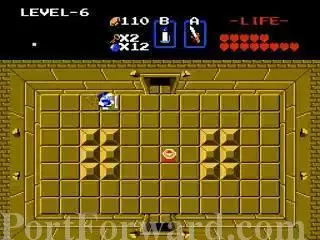
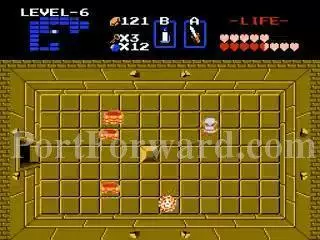
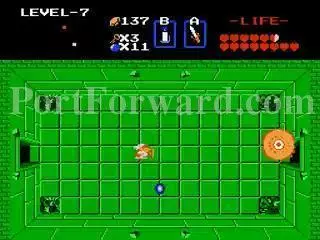
Kill the Wizzrobes but watch out for the Spike Traps.
The lower room is nothing special. You must kill the Wizzrobes to get out.
At least you a Bomb but if you got 12 bombs already, forget it.
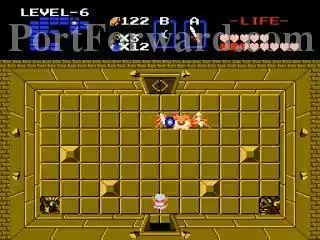
Go in the top room and you want to shoot an arrow in Gohma's eye.
You can't hurt him if his eye is closed.

One hit in the eye and he is down and raise your heart total to 14. For a quick kill, shoot an arrow upon entering the room.
Dungeon 6 completed.
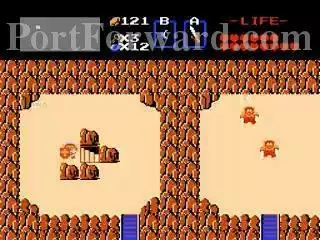
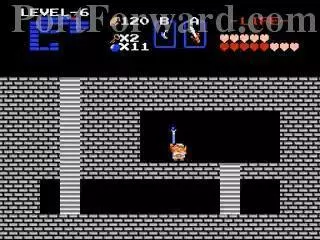
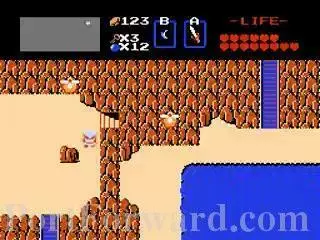
D3: With the Power Bracelet you can push this rock and go into the staircase.
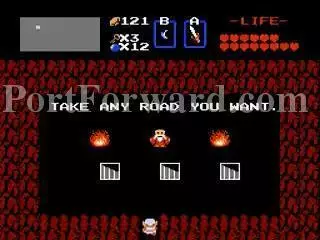
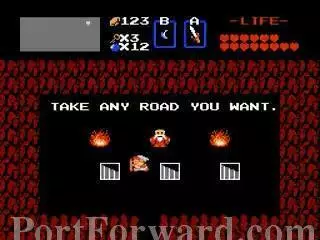
Choose a route that leads to different parts of the map.
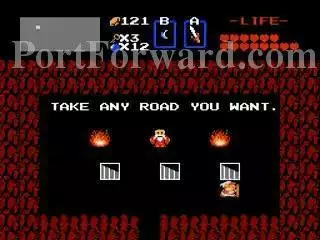
Choose the right one.
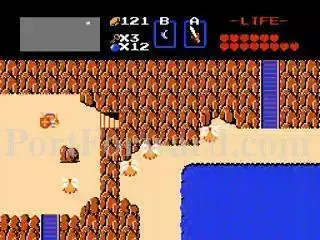
N2: This is where you end up.
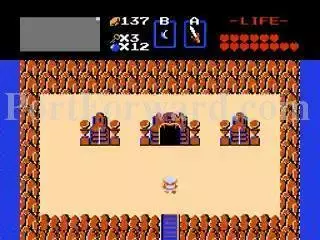
O1: Go inside this cave here.
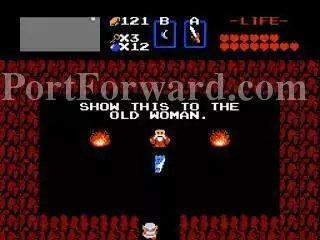
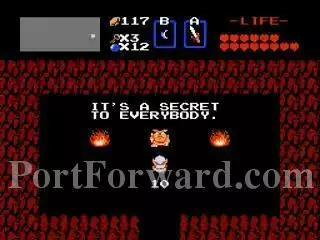
This is the prescription you give to the old lady in either store you've uncovered so far.
P2: I've already told you about this area earlier in the game. It was a hint given by another sage.
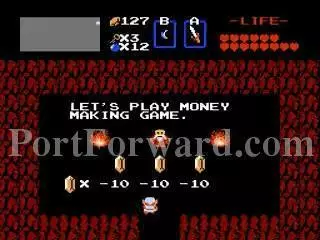
It's a Money Making Game.
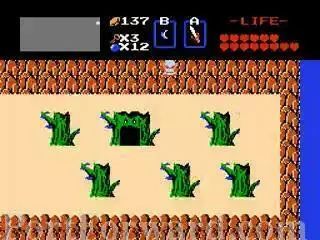
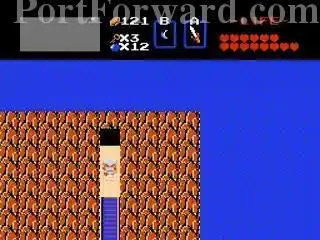
Once you are out, there is a hidden passageway right here.
P1: This place was well hidden. In Quest 2, it's best to know where this place is for the Blue Ring.
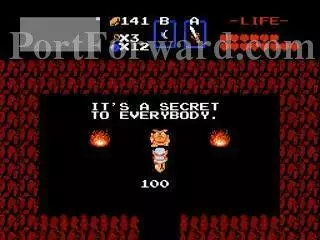
For now you get 100 Rupees.
N1: Bomb this wall here.
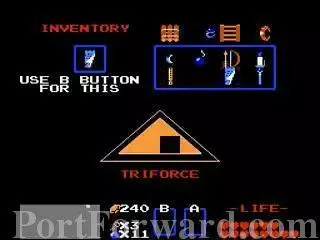
Arm the Prescription.
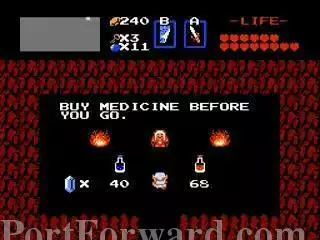
Use it to make the Medicine available. They both restore your full health.
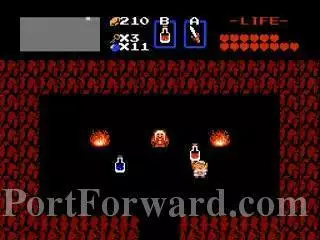
Red one is good for two uses. Blue is good for one. In fact, red turns blue when used.
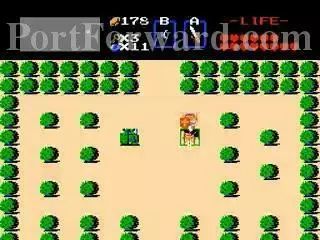
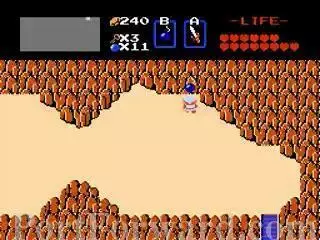
N4: Make this Armos move away.

Get 30 Rupees inside.
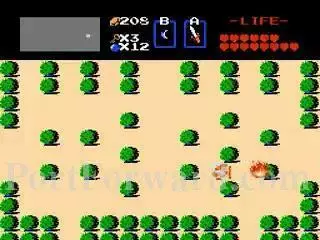
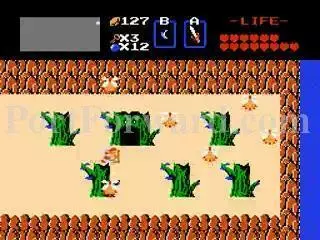
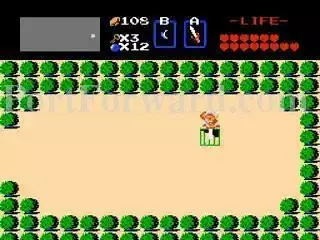
N5: Burn this bush.
This is a secret shop.
Buy the meat. You'll need it for Dungeon 7.
O5: Get past the Armos here.
Get 10 rupees.
N2: Go back here into the stairs.
Take the left path.
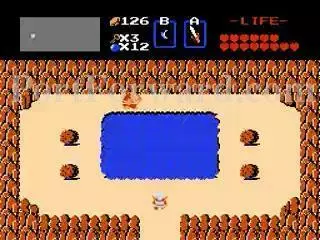
C5: Make your way to here.
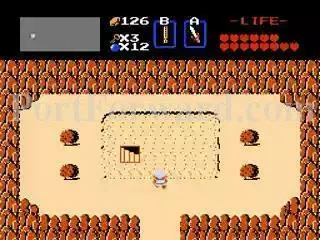
Blow the Recorder and the lake dries up and reveals the entrance to Dungeon 7.
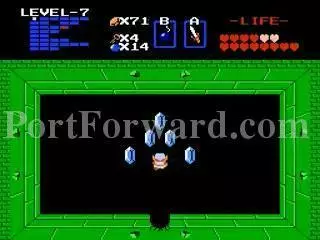
Dungeon 7 (Quest 1) and Journey to Dungeon 8.
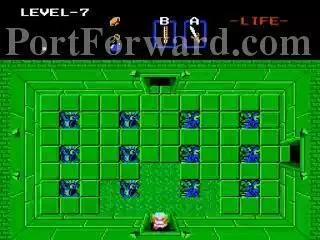
In the right room are two Moldorms.
You get a Bomb.
The next room is full of Keese.
This how the room looks lit up.
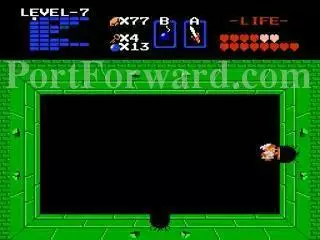
Bomb the wall up here.
Kill the Stalfos in the room. One has a Compass inside it.
Defeat these Blue Goriyas if you plan to go up.

You get a hint about the location of the room before the boss.
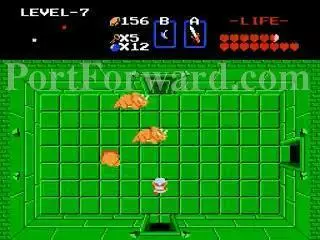
Go back out and go right and kill this Digdogger.
Kill these Stalfos in this room.
You get a Key. I collected in this shot already.
Go back all the way to the left and bomb the wall at the end.
Kill these Keese.
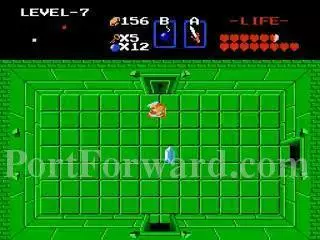
Go down and kill these Ropes and get the Key.
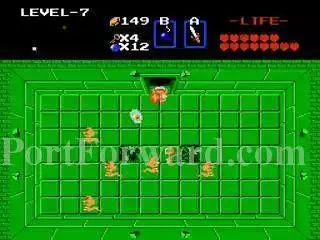
Head back up two rooms and take care of these Dodongos.
You get 5 Rupees.
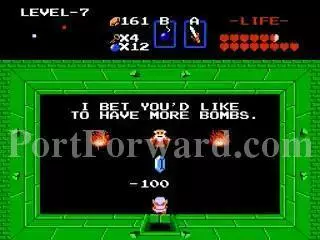
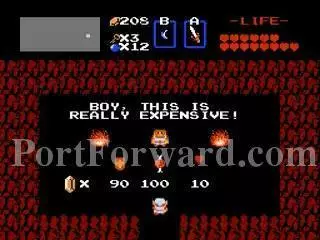
Go into the locked door to purchase more bombs to carry a maximum of 16.
Go back down and to the right then go up.
Kill the enemies and cross the gap and enter the next room.
Use the Recorder here.
Digdogger turns into three Digpuppies.
Bomb this wall.
Kill the two Moldorms.
You get a Key.
Go all the way to the left. You can kill the Goriyas if you want to.
You'll get 5 Rupees for doing so.
Go into the locked door and there is a Goriya blocking your path.
Use the Meat to bribe it and go through to the next room.
The map is in this room. It is the head of a Demon.
Kill the enemies and bomb this wall.
Theare are some free Rupees off the map.
Bomb the right wall. img(194132); Kill the Goriyas to open the doors. img(194133); Go into the right room. img(194134); Get the Key and Kill the Goriyas to open the door. img(194135); Go back out and down and kill more Goriyas. img(194136); Bomb this wall. img(194137); Kill all Goriyas in this room first then push down the left block. img(194138); You got the Red Candle. It allows you to use the Candle infinitely instead of one use per screen like the Blue Candle. img(194139); Once out, bomb this wall. img(194140); Kill the Goriyas if you prefer. img(194141); You get a Bomb from doing so. img(194142); Go in the upper room and kill the Moldorms. img(194143); Go back down and to the right and weaken the Digdogger in this room. img(194144); Kill the Digpuppies to open the door. img(194145); In this room get rid of the Dodongos. img(194146); You get a Bomb. img(194147); Bomb the right wall. img(194148); In this area, avoid being hit by the Bubbles. img(194149); Defeat the Wallmasters in order to be able to push the required block. img(194150); This block right here that is. img(194151); This is a secret passage that leads to near the boss. img(194152); Kill these Goriyas first. img(194153); Bomb this wall. img(194154); Aquamentus we meet again. Two slashes of the Master Sword and he is history. img(194155); Dungeon 7 completed. img(194156); L7: Burn this bush. img(194157); Get 100 Rupees. img(194158); N7: Burn this bush from the left side. img(194159); You reveal the entrance to Dungeon 8.
More The Legend of Zelda Walkthroughs
This The Legend of Zelda walkthrough is divided into 18 total pages.


