
This Trine walkthrough is divided into 16 total pages.
You can jump to nearby pages of the game using the links above.
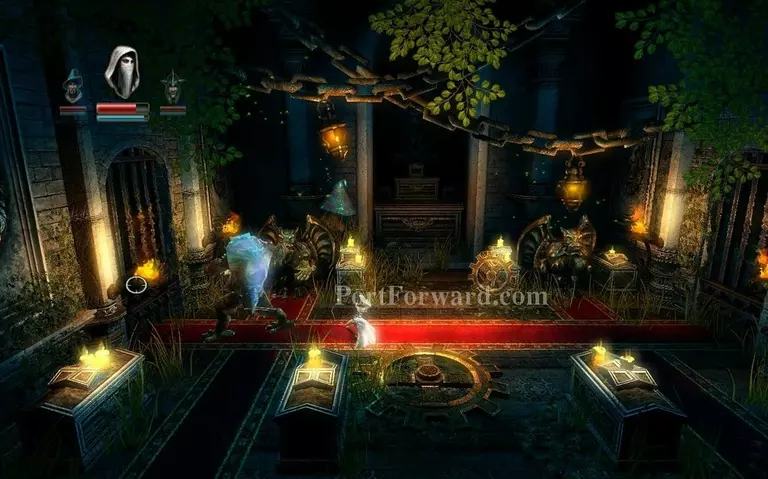
Crypt of the Damned

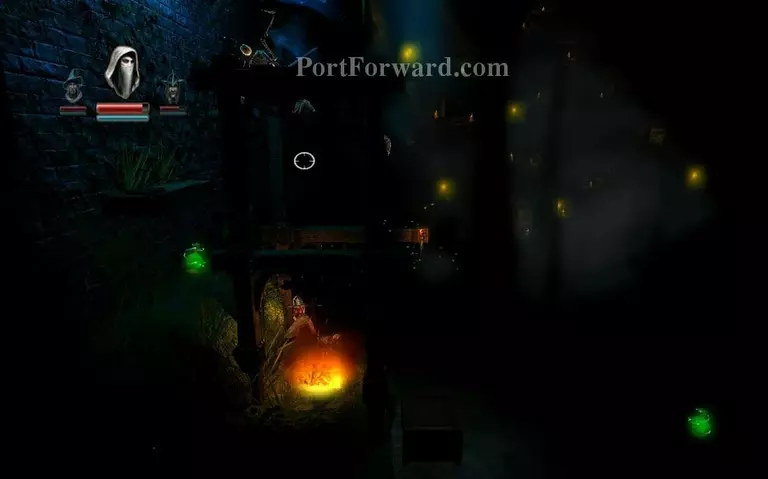
You enter the crypt of the damned.
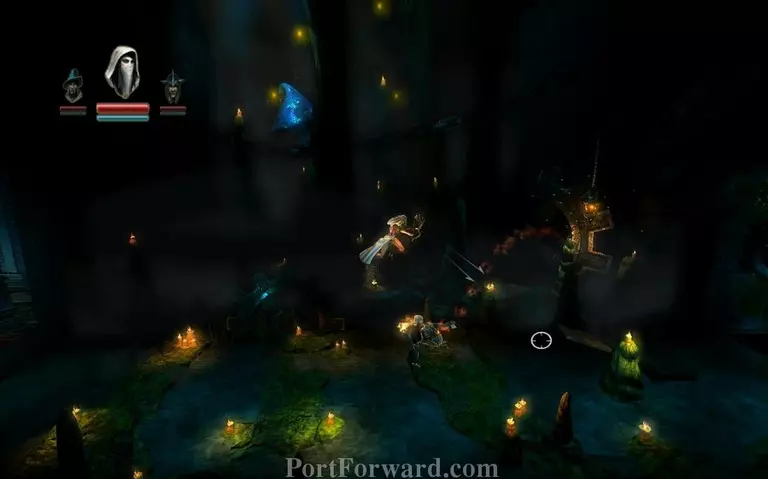
As soon as you're down the stairs, there'll be more acid on the ground. Jump across from platform to platform without falling in it.
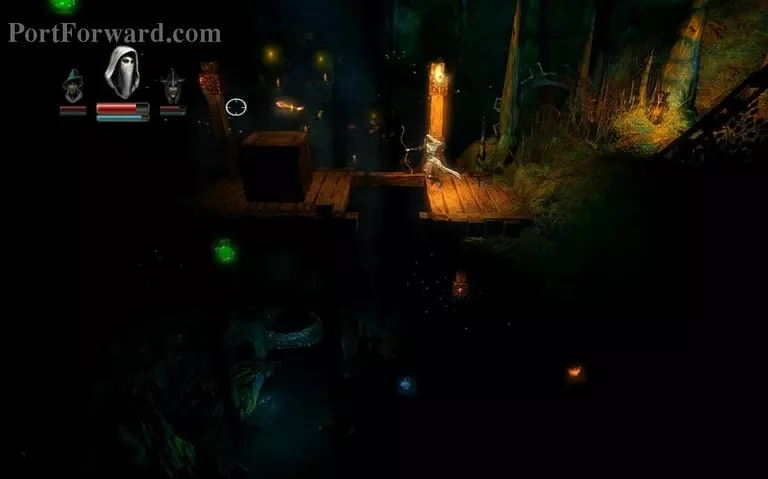
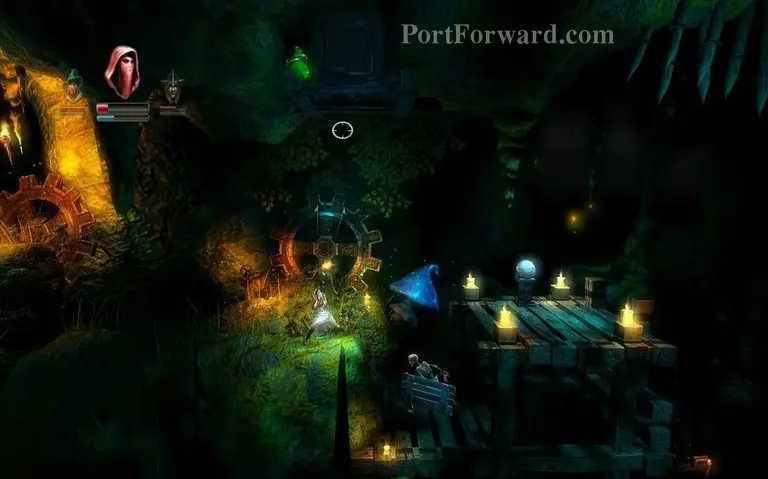
Use grappling hook here to grab experience.

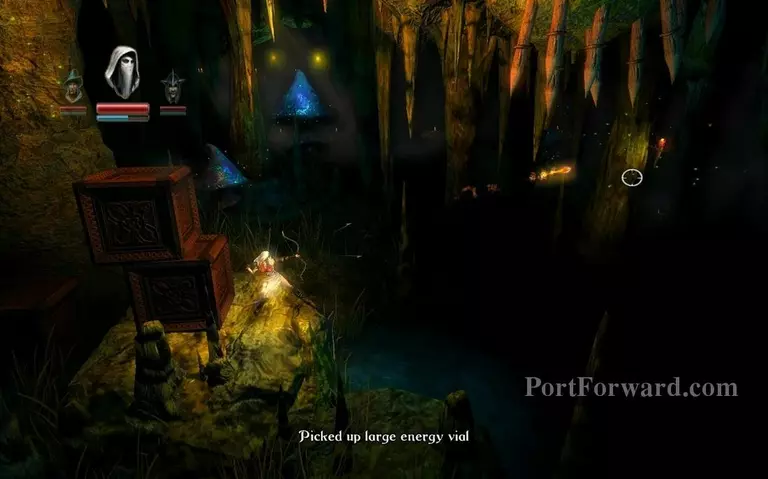
Then drop down and pick up Fire Bow for the Thief from this chest. That will alow you to destroy certain planks and light up torches.
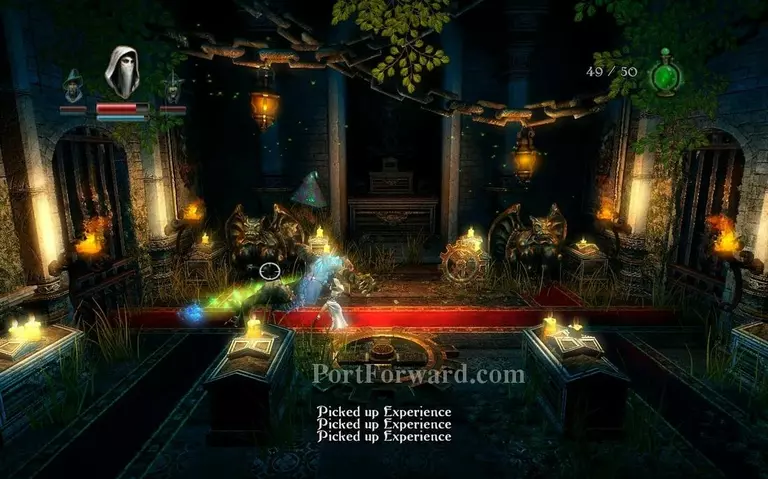
Lift the box here and pick up the two experience vials, then shoot the torch on the right with Thief to light up the room. Be careful for the acid.
Another box to lift here.
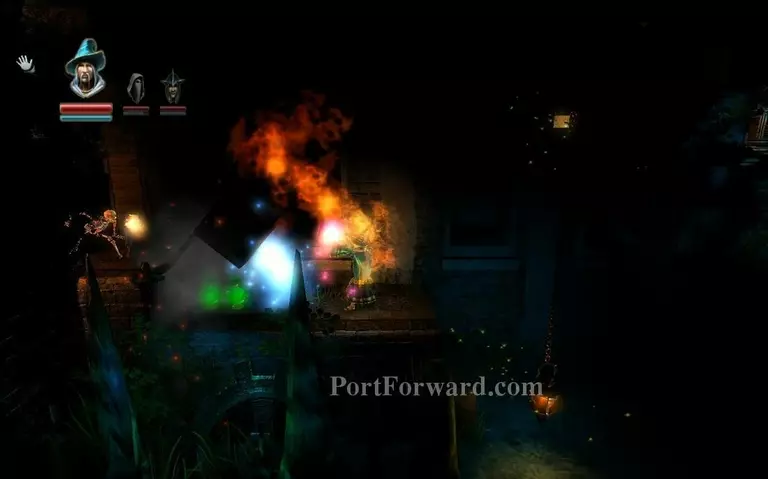
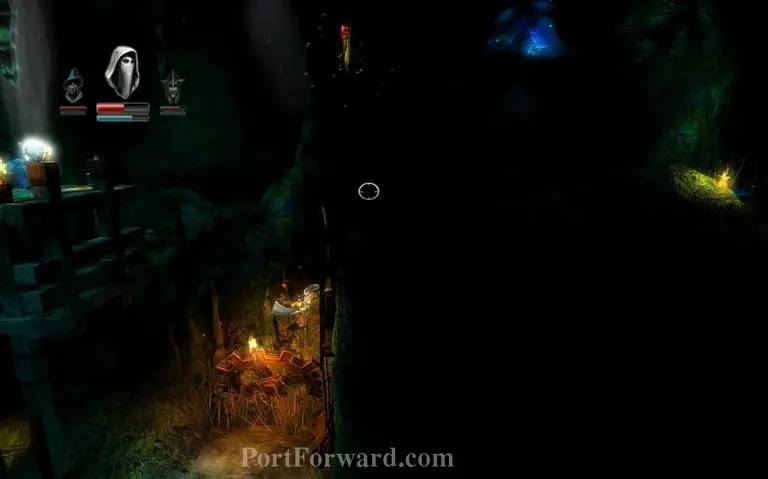
Shoot this torch with Fire Arrow.
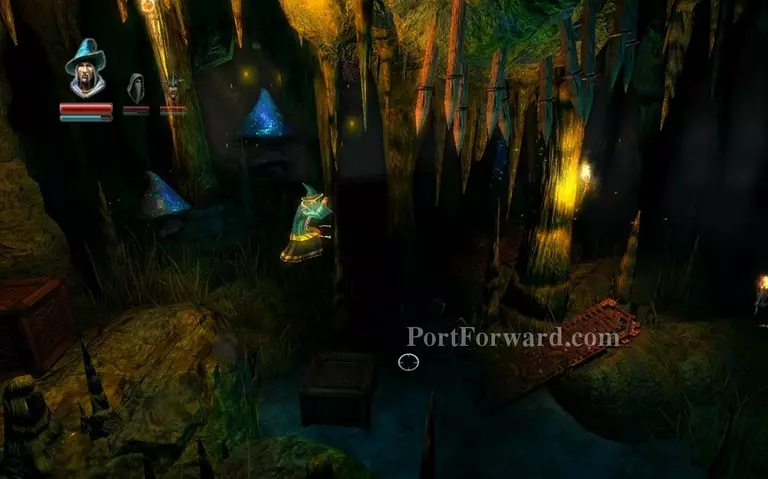
Move one of the boxes that were on your left into the acid as it breaks your wizard constructs, but not these boxes and jump across.

Here put down a box and build a plank bridge and jump up like so to the experience vial, then drop down.
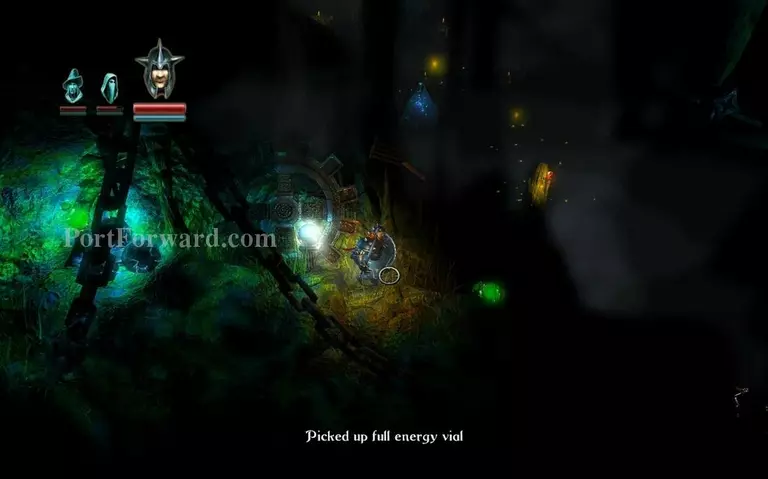
Once you're down you reach a checkpoint, there's an experience vial on the left.
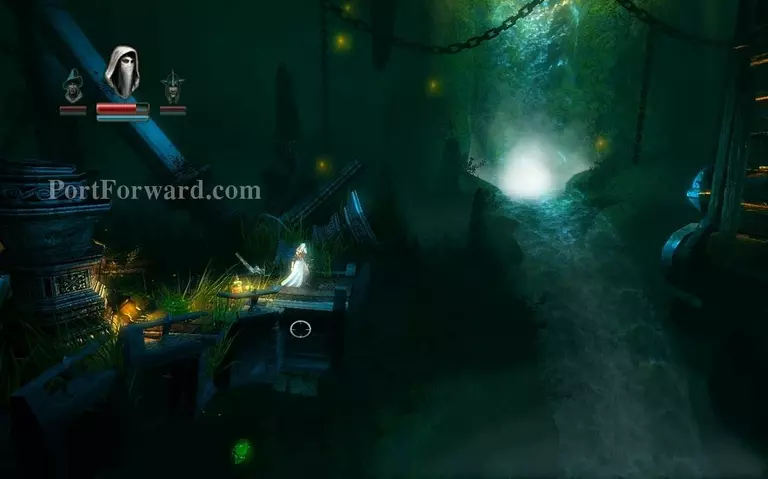
Go down the path to the right afterwards and there will be another drop, be careful for the acid, you dont want to fall down in it. It's in the right so try to curve your fall to the left.
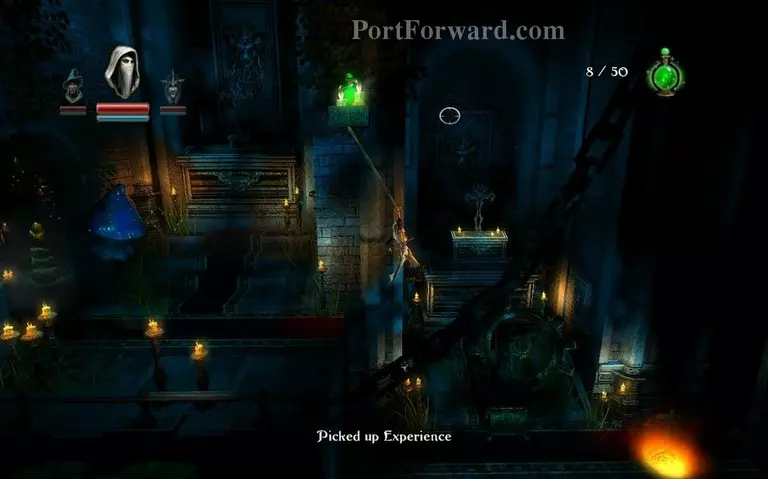
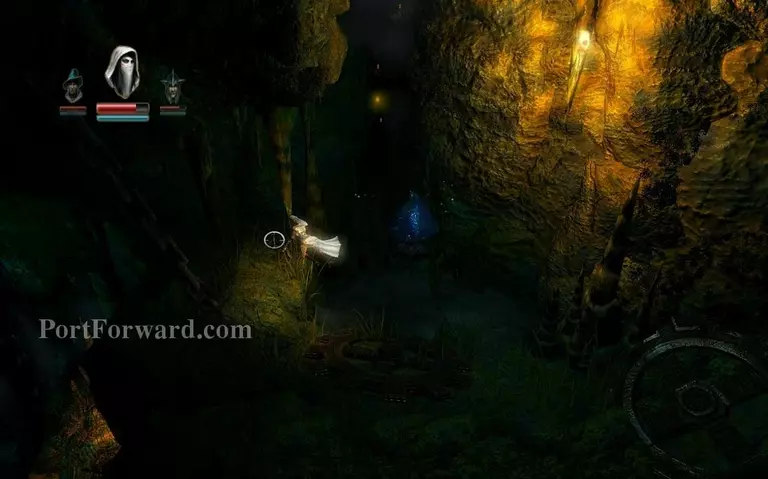
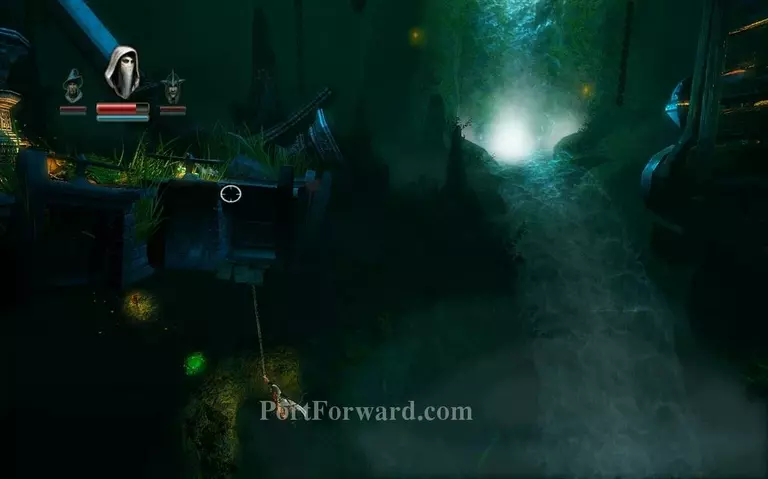
Go to the left and you enter one of these wooden platform rooms with experience vials, grapple around to pick them up.
Like so.
Then go to the bottom and try to grapple to the far right, you reach a checkpoint.
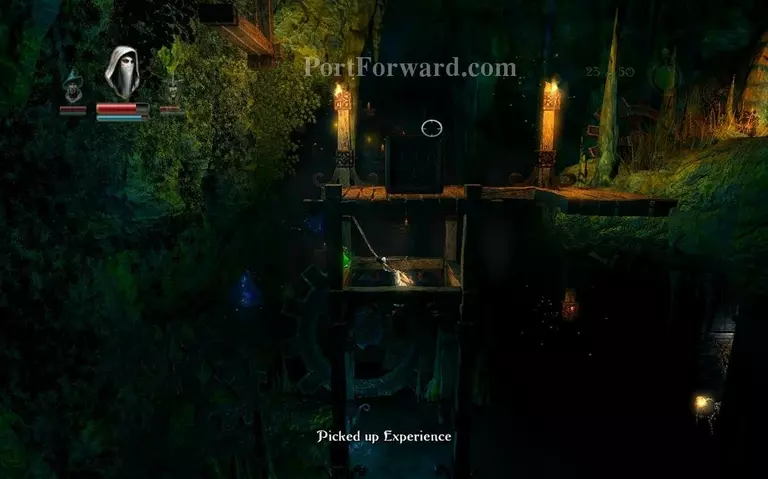
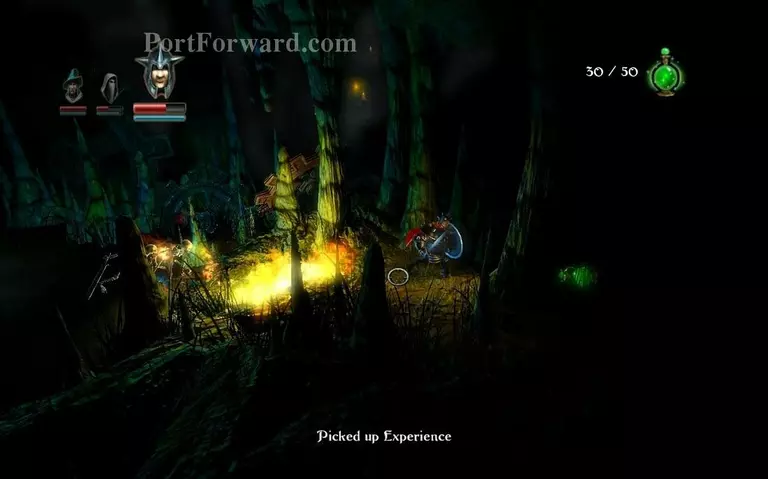
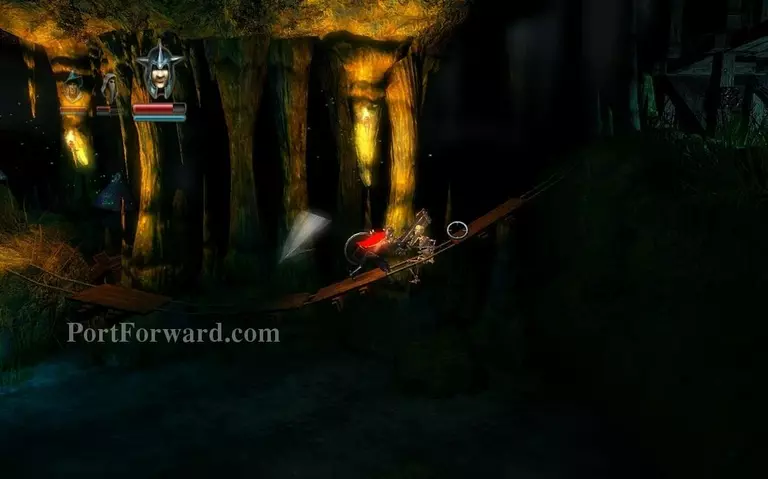
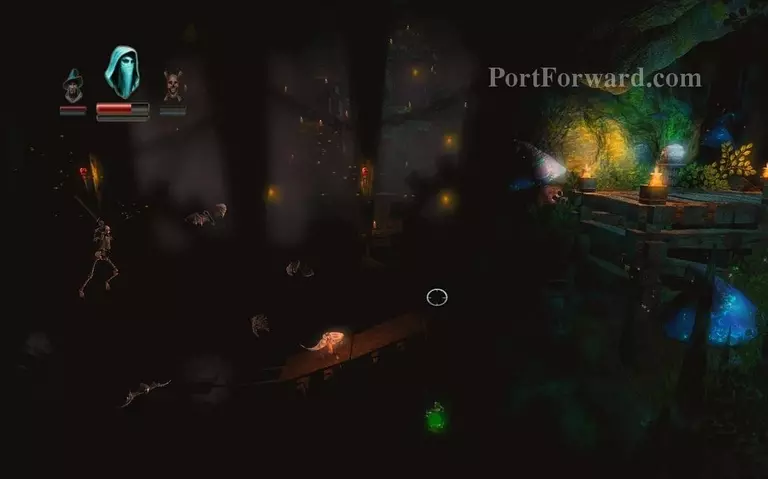
Once you're out of there you reach a bridge with gaps nin between, kill the skeleton on the right breathing fire before jumping across.
Drop down and pick the experience vials up.
Then go to the right across the water and pick this exp vial aswell.
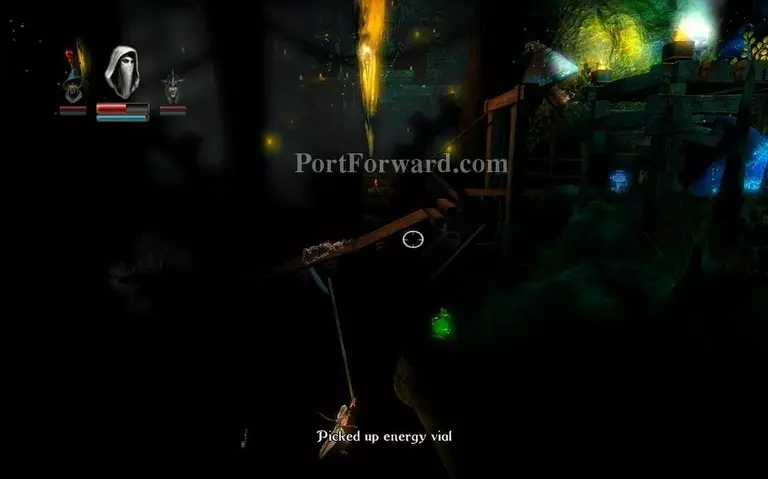
Here you reach a gap, put down a plank like so and jump up.
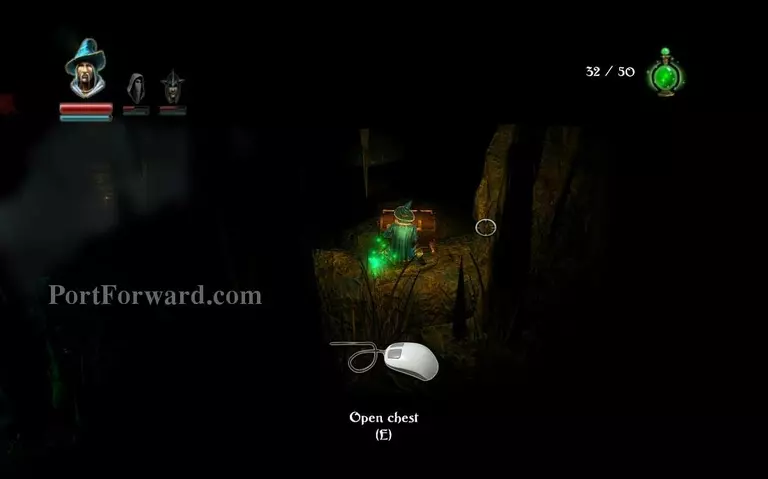
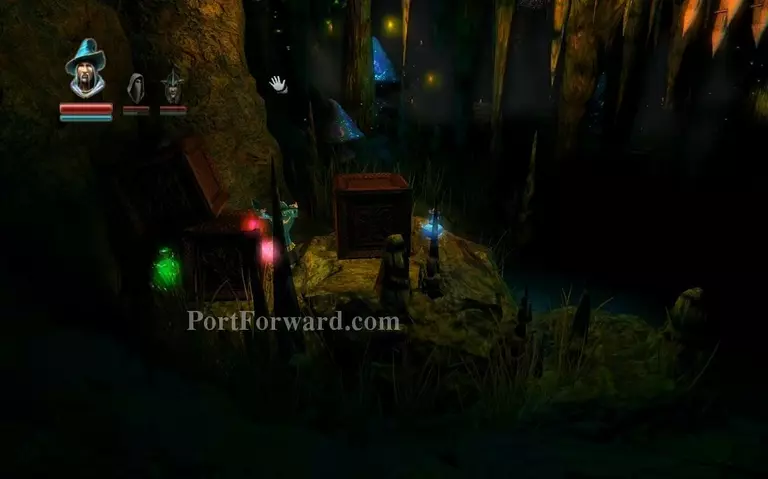
You reach a chest, take it and go all the way back and up.
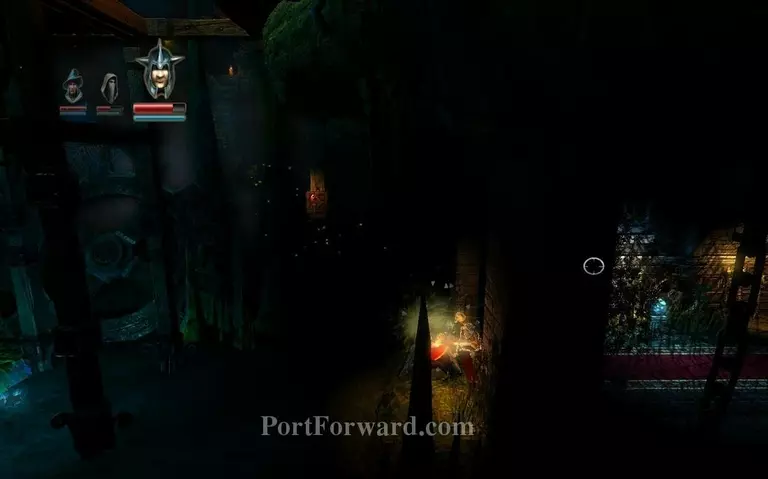
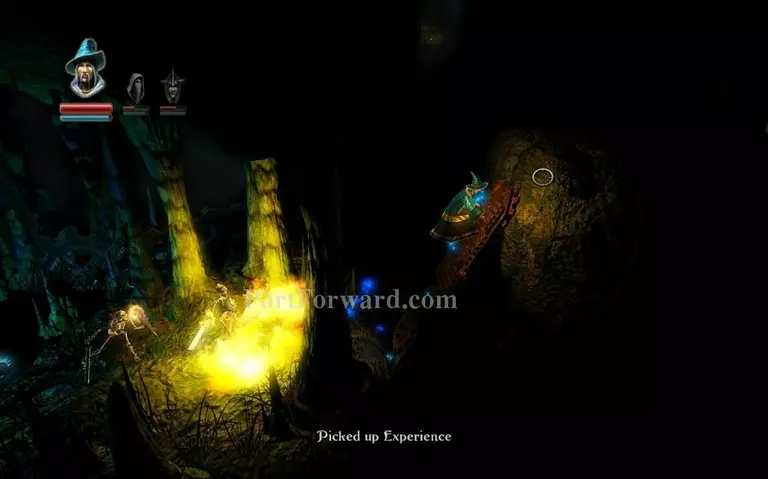
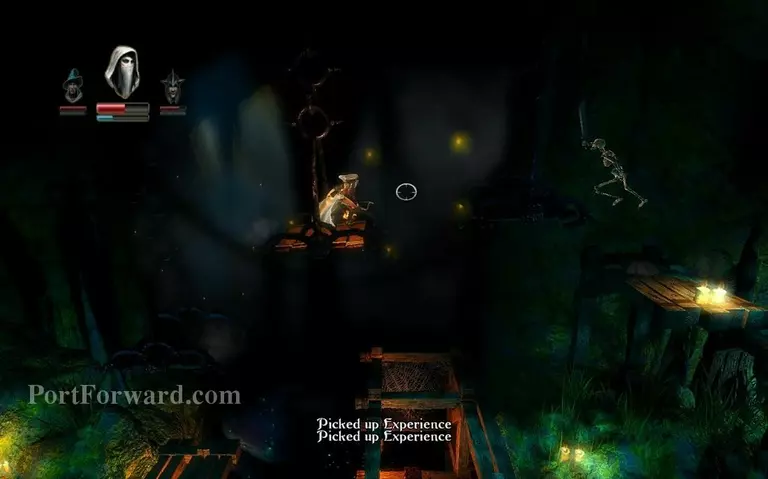
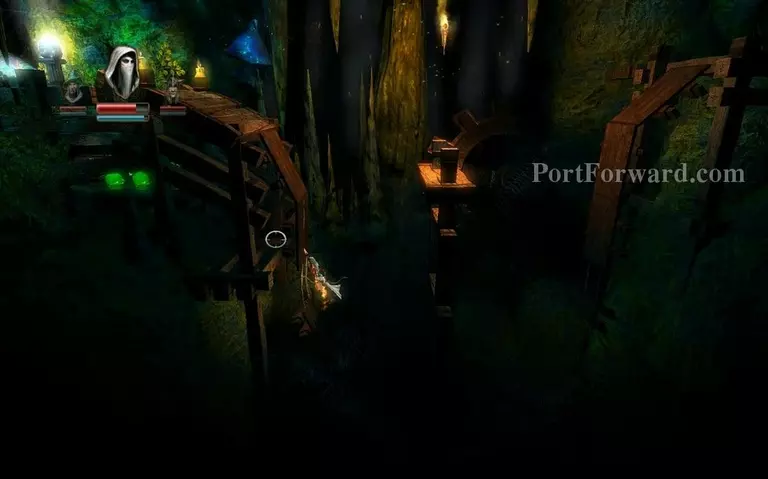
After you jump across the bridge gap, you reach another checkpoint, destroy this piece of wood with your fire arrow.
Then jump across grappling onto the connected end of the broken bridge
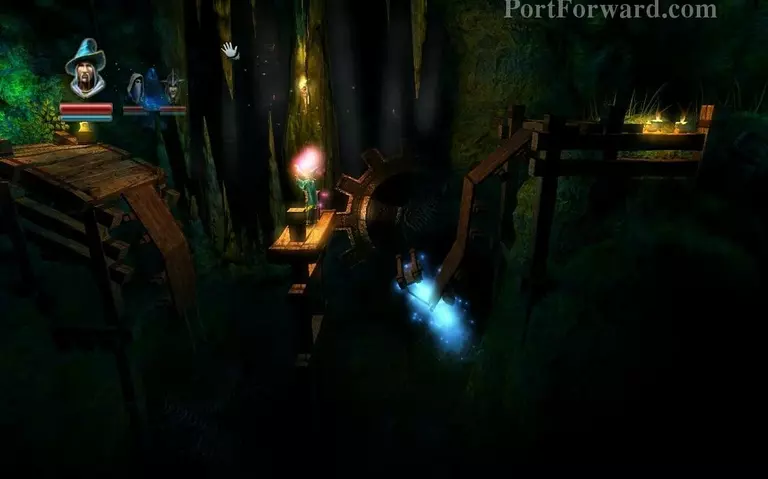
You reach another bridge with gaps in it, light up the torches in this room and jump across.
Jump up these swaying platforms.
Be careful with bats here, jumping across can be deadly if you don't kill them off first!
After you kill them try to get this experience vial, you need to drop off and grapple hook from underneath the bridge. Make sure you have the checkpoint on the right before doing this.
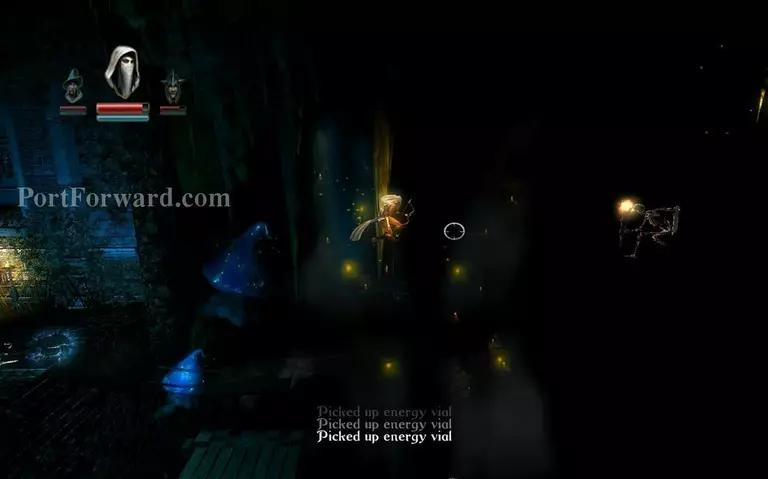
There's another spot here with 2 vials and a chest, same thing, grapple to the broken bridge and go in.
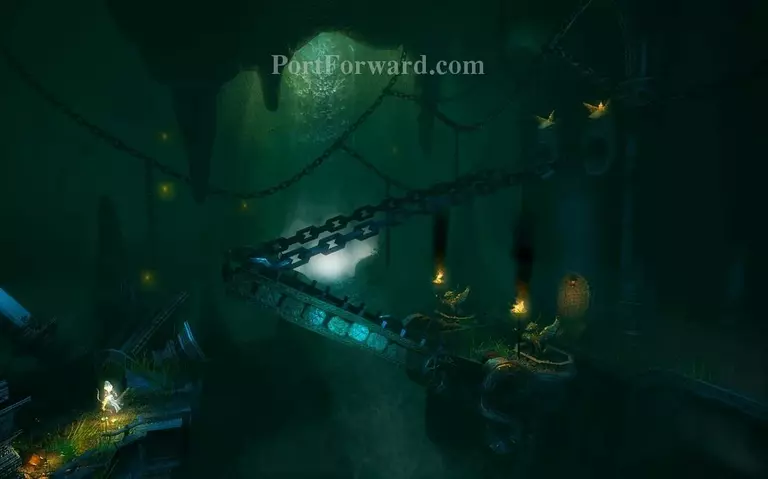
Here just pull up the broken bridge over your head and jump across.
The doors close on you and you are meeted by an enemy with a shield cover on his back, you only deal damage to him from behind, just keep jumping over him and shooting him in the back with the thief.
He dies, drops a lot of experience and the doors open.
You reach a lever, do not pull it yet, drop down and grapple on the wooden planks on the ceiling.
Then jump over to the left.
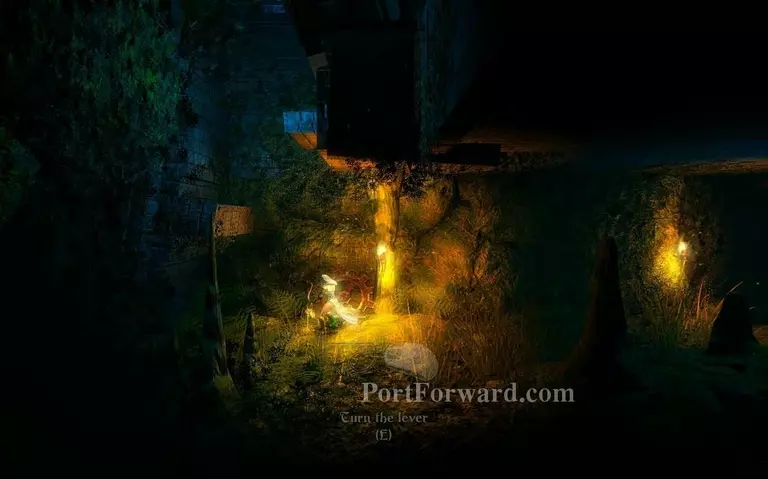
Pick up the experience vials then use the lever to go back up.
You press the switch now, the bridge drops down and you can go across, this is the end of the chapter.
More Trine Walkthroughs
This Trine walkthrough is divided into 16 total pages.


