
This Trine walkthrough is divided into 16 total pages.
You can jump to nearby pages of the game using the links above.
Academy Hallways
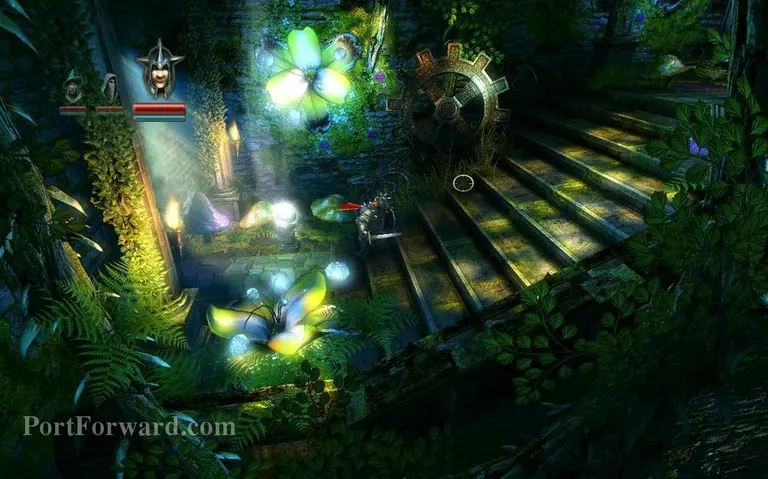
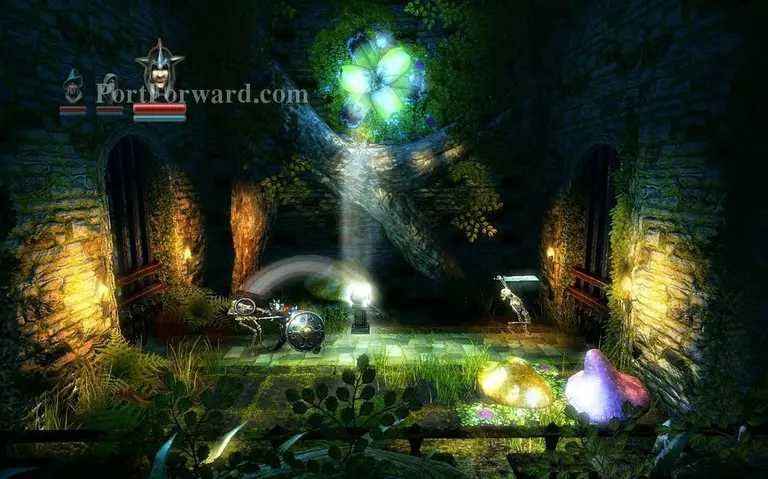
In this chapter you start right out at the stairs in the Academy Hallways.
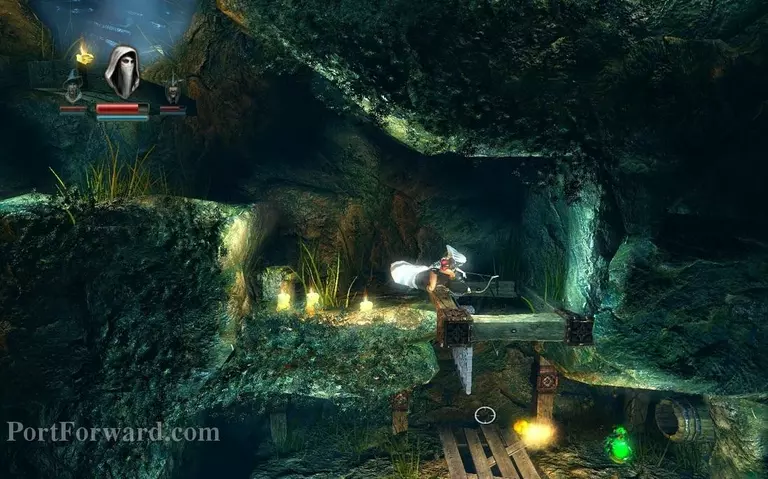
As soon as you go up the stairs you will see one of these wooden platforms, balance it by standing on the far left of it then run right to jump over.
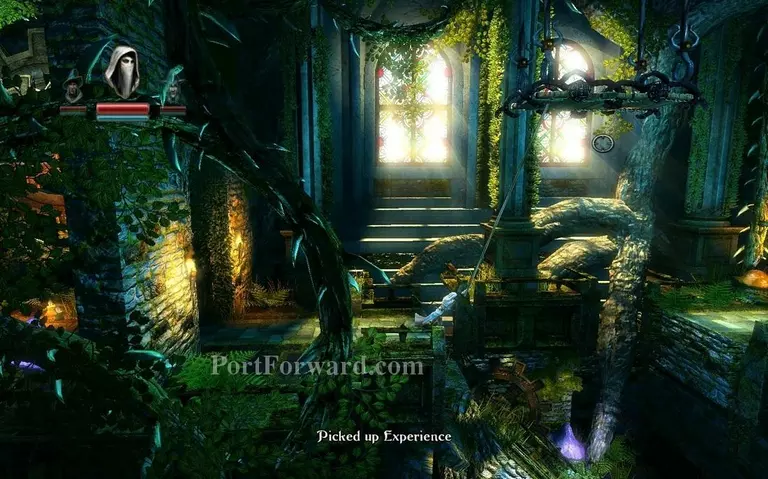
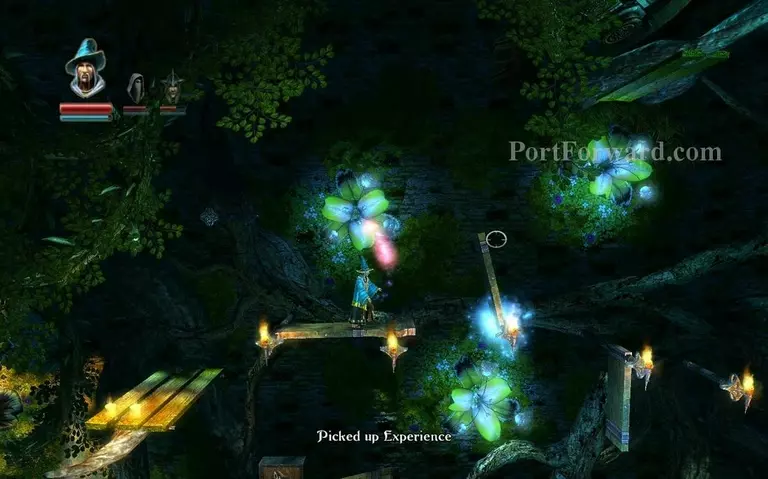
Proceed forward, you will see a box like this. Use your thief grappling hook on it and take the experience vial. Destroy the wooden planks below on the right to get another vial.
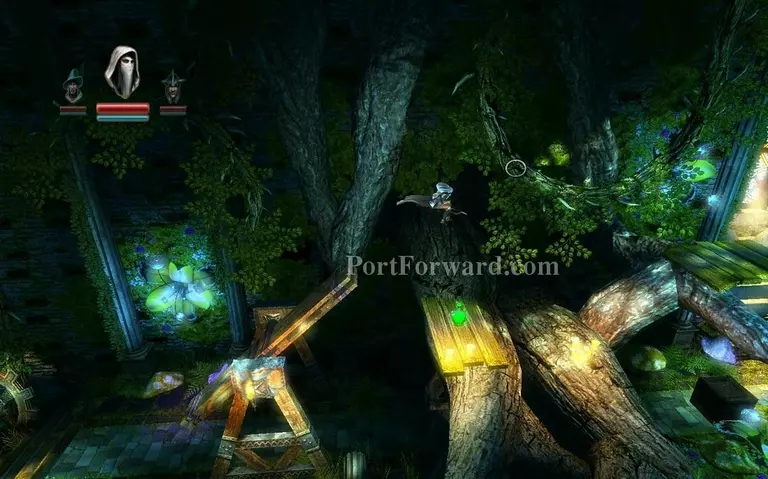
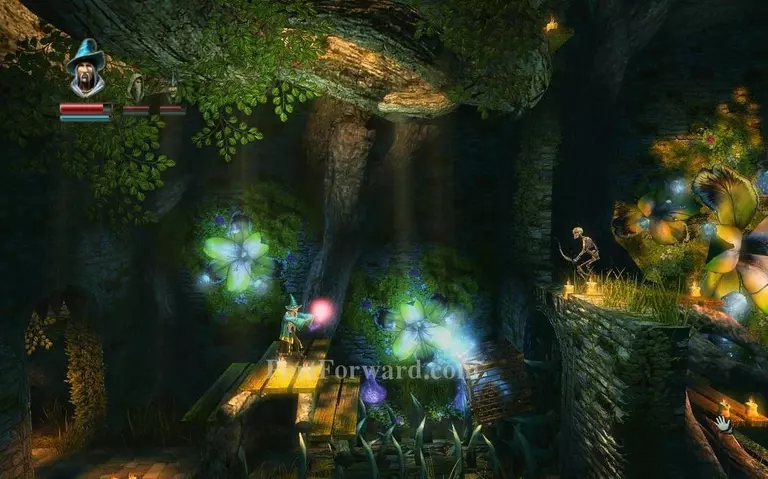
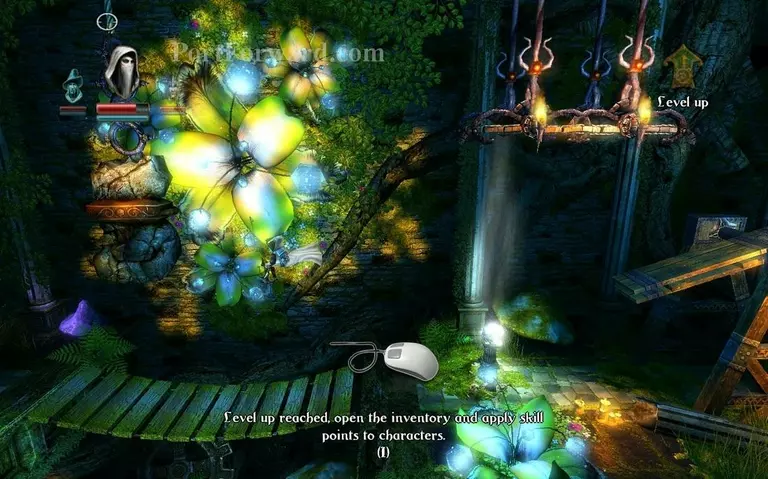
After taking the vial from inside there, switch to wizard and put down a box right below the mushroom and climb up.
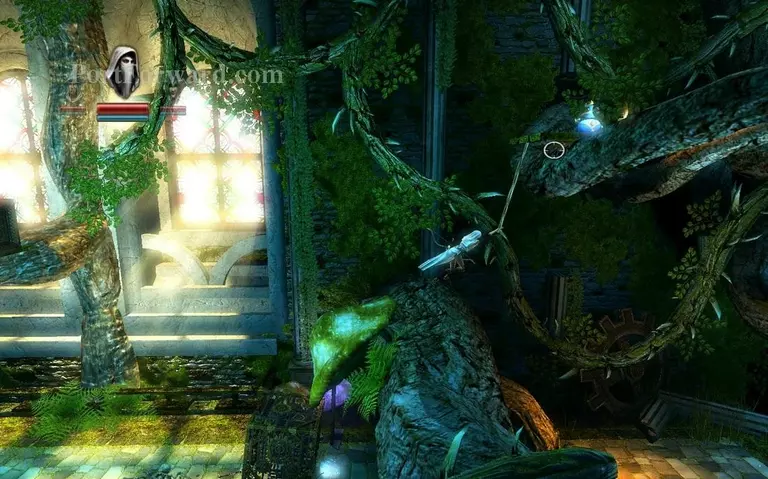
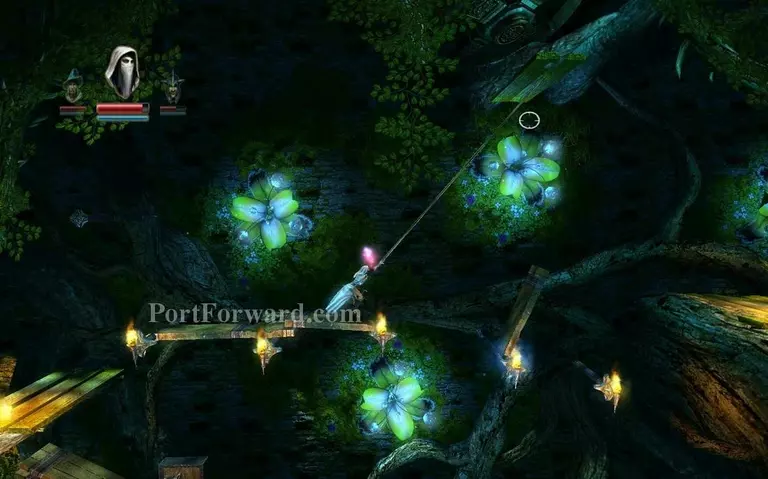
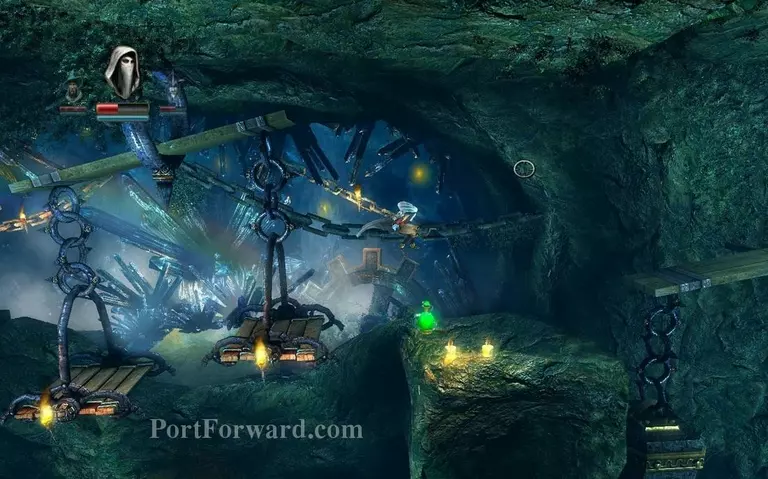
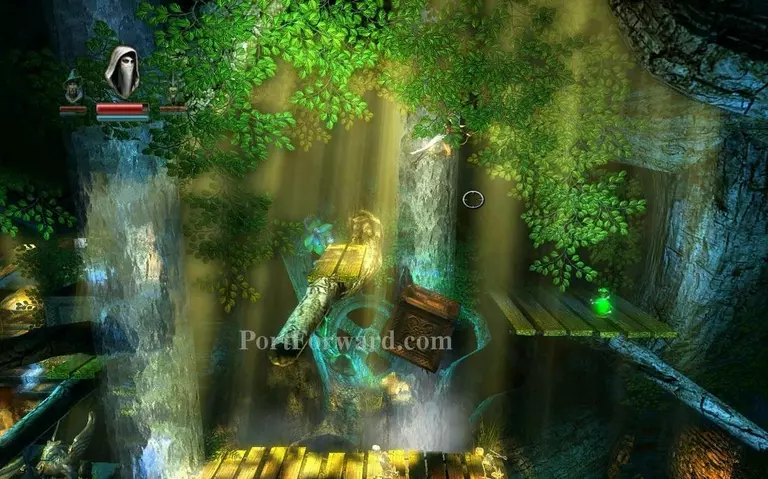
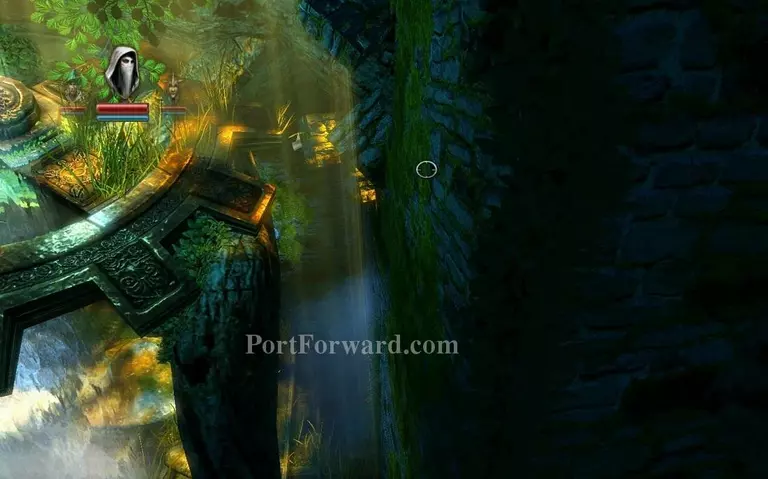
Use the grappling hook here to get the vials that are sitting up on the branch.
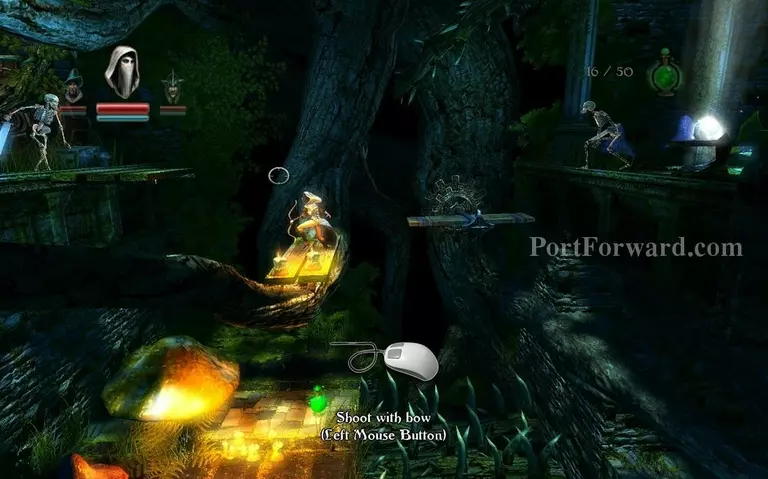
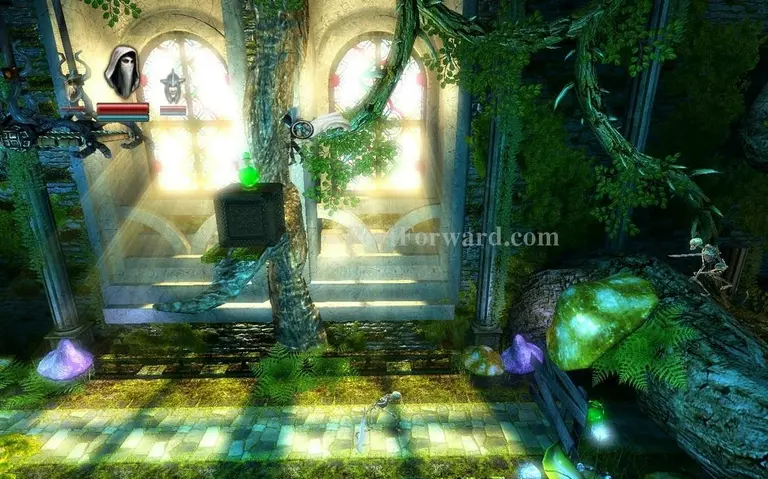
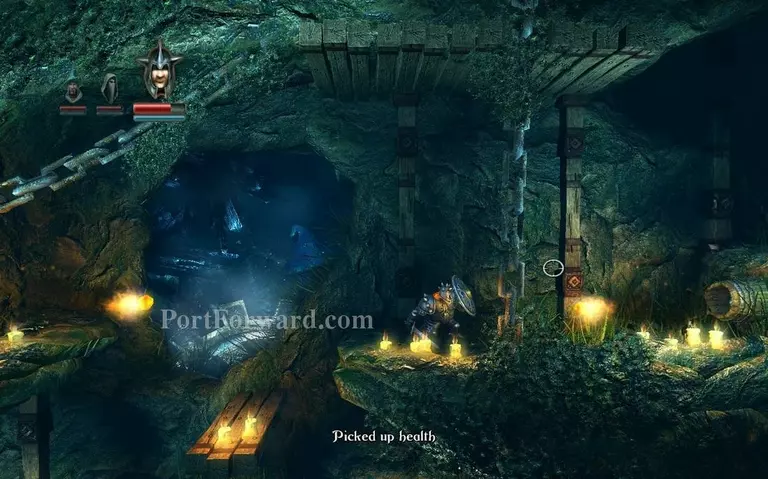
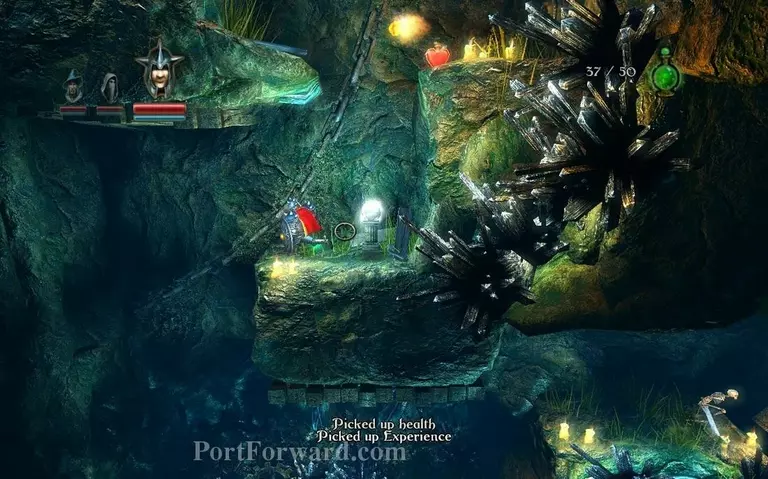
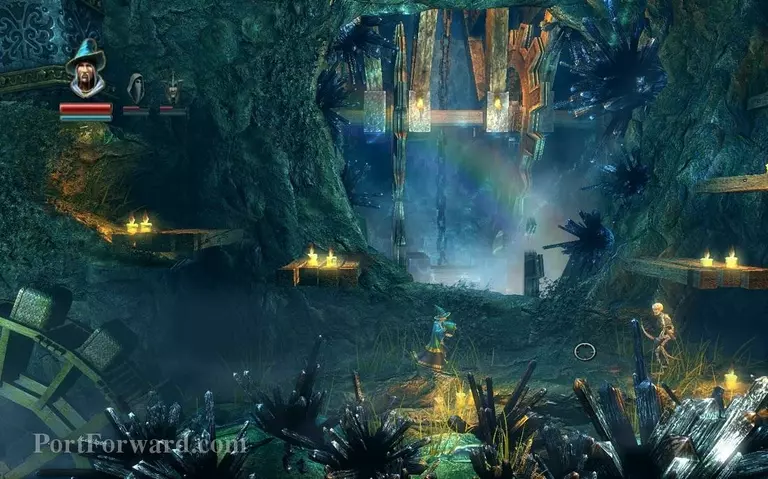
There's an experience vial down here and a few skeletons to fight off.

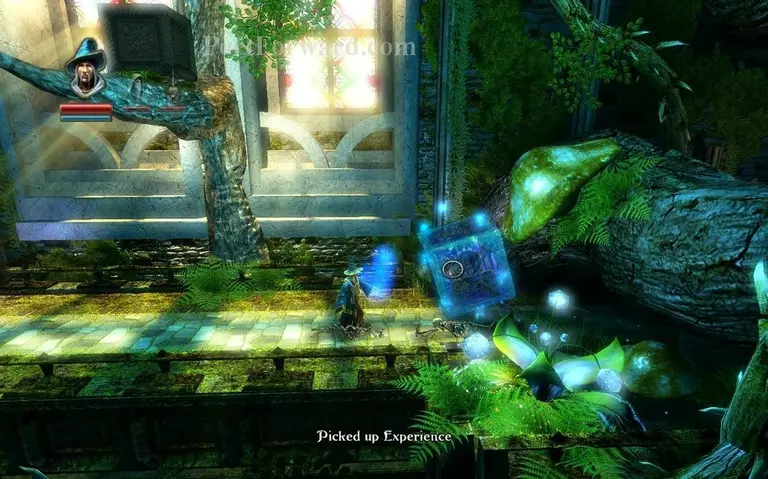
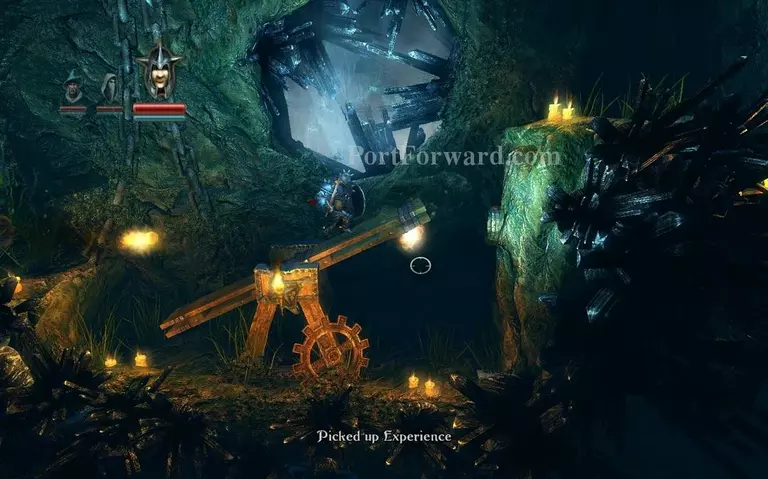
After a bit you reach a checkpoint and a giant stone fist.

Levitate the object attached to the stone fist and slide it right to destroy the wall infront of you.
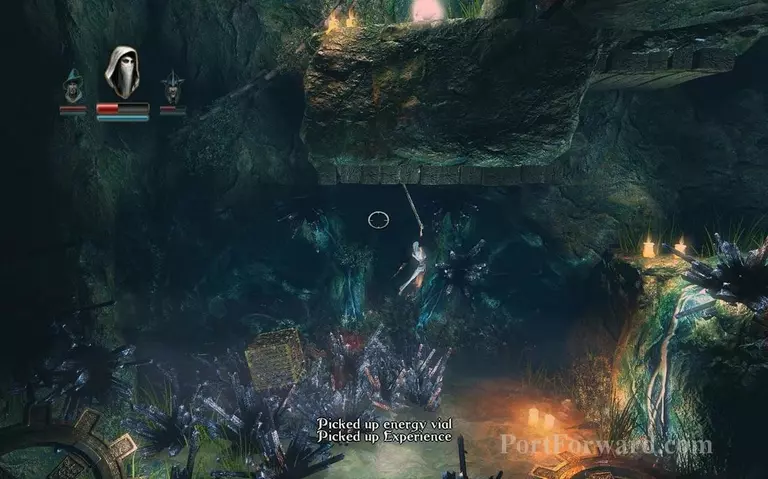
Jump over this using the grappling hook on the swaying platform.
Use your grappling hook in the next room on a similar platform like the last one. Instead just sway left and right until you get enough speed and jump ontop of the platform.
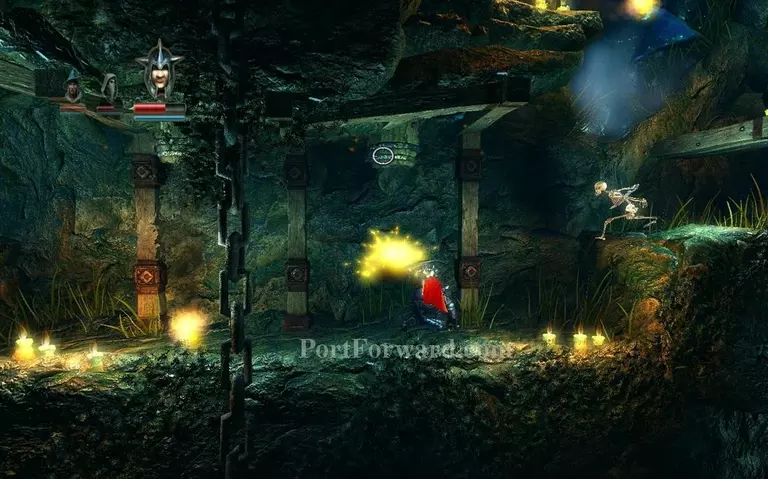
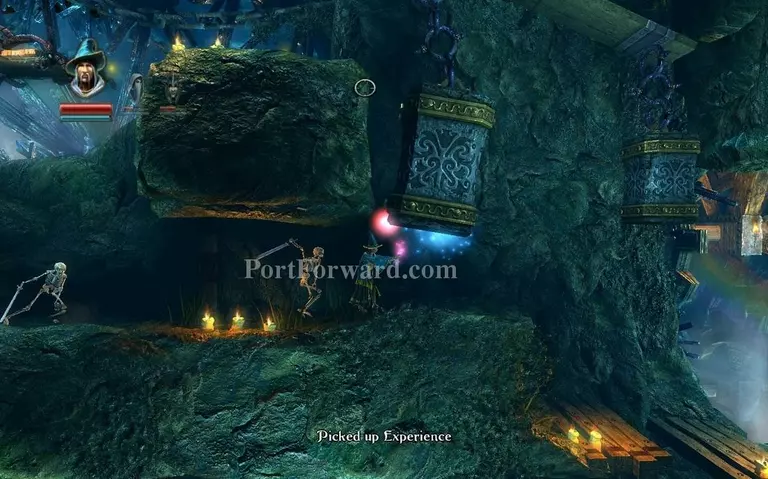
Once you reach your next checkpoint the doors will close and you will be forced to fight off skeletons. Just use the Knight for this.
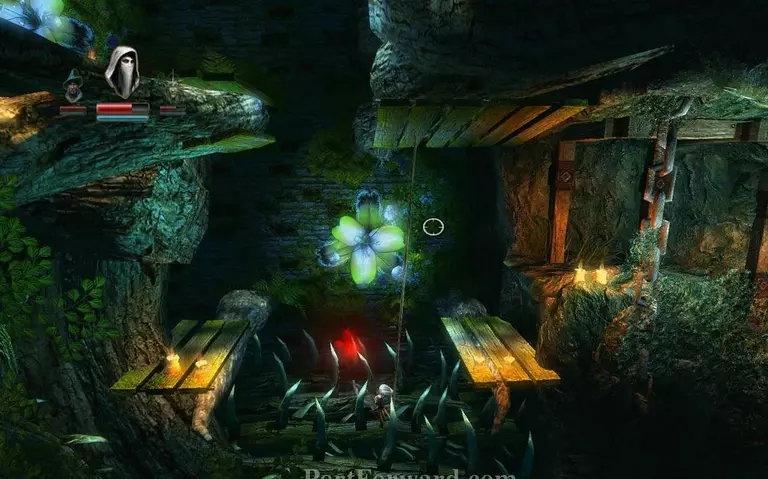
Once you reach these spikes, put down a box and penetrate it on the spikes, then you can just jump on it.
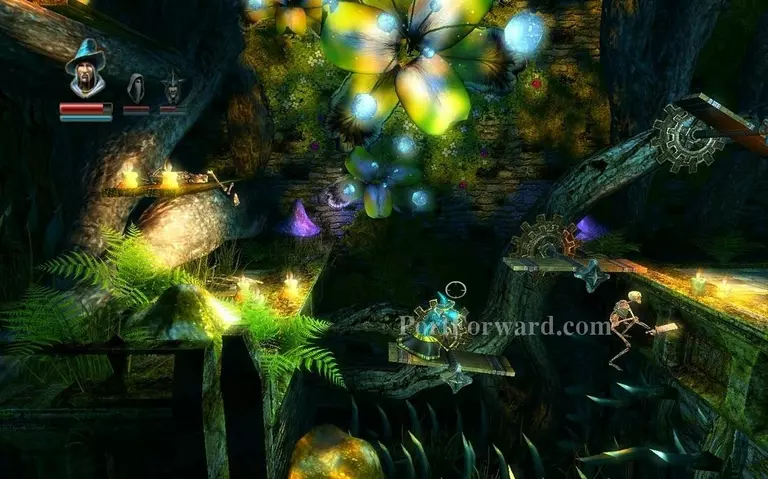
Careful here as the platforms spin if you put too much pressure on them, just stay as little time as you can on them or jump in the middle.

Careful not to fall into this pit, its an instant death.
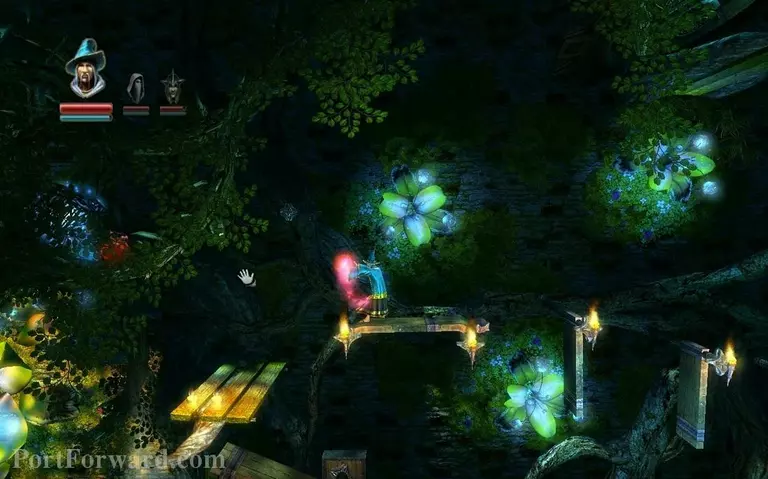
Here you want to put a small box behind the vials and push them out while levitating it forwards.
Levitate these wooden platforms until you line them up so you can move forward.
If you dont want to do that, you can use the grappling hook here.
When dropping down here careful, there's another spike trap, try to use your grappling hook on this spot.
Careful for the barrels on the ceiling, they shoot down fire at you. Use the Knight to block it off.
Once you're out of there you will be greeted by two cannons from both sides, block them off again while walking forwards.
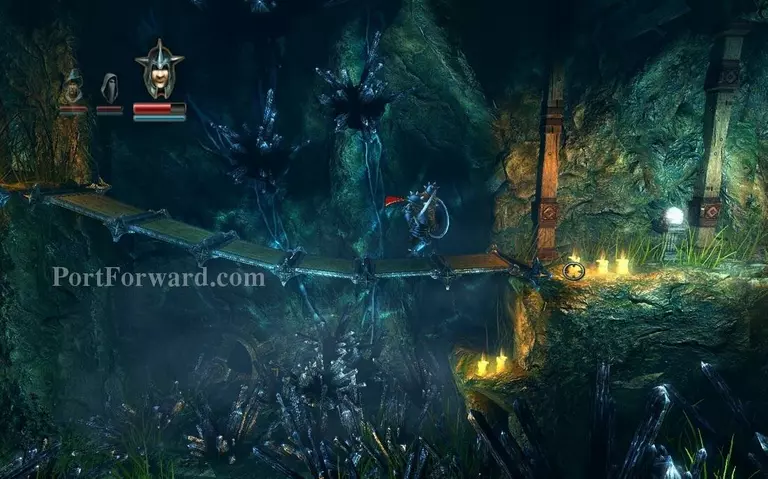
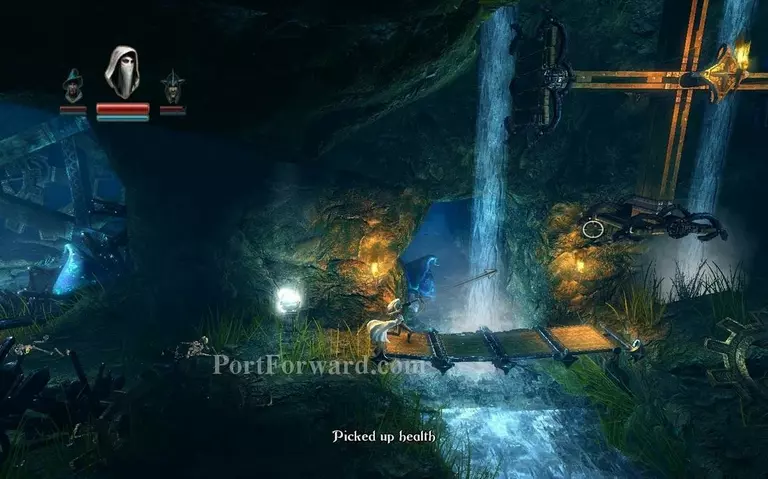
Keep going forward, you will reach a checkpoint right after the wooden bridge with spikes underneath.
Right next to the checkpoint there's a switch, stand on it to open up a passageway down sitting right before the cannons. The bridge will now fall apart.
Use boxes and attach them to the spikes on the ground to jump across.
Go all the way back before the 2 cannons on the walls of the room you were in and go down right instead of up, you will find the door that was opened.
Right below the cannon on the right there is a checkpoint.
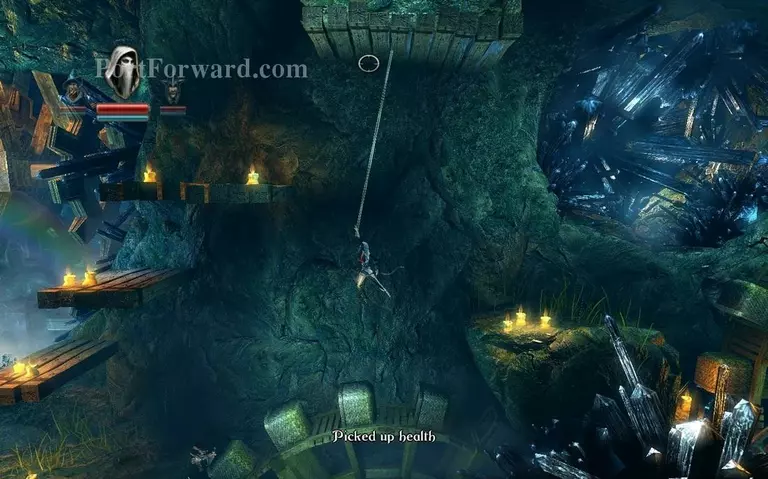
Dropping down can be dangerous again, either put down a box before doing so or use your grappling hook mid-air.
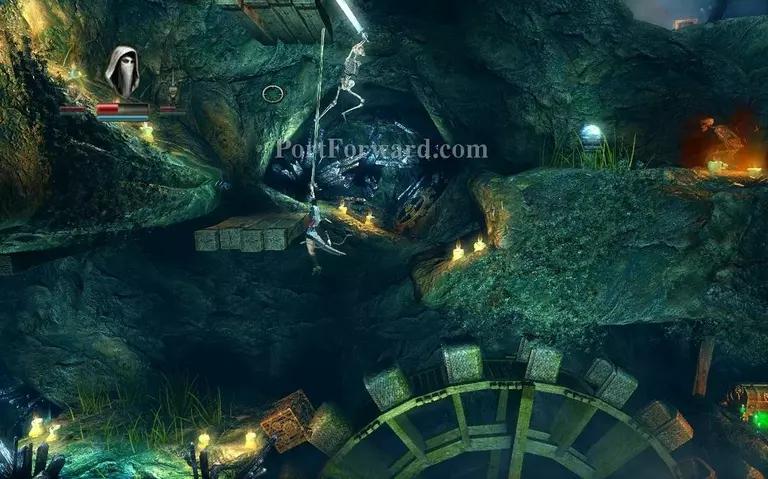
You enter a room with giant rotating wheels, climb up these wooden platforms with grappling hook.
Jump across the scale-like platform and grab the exp vial.
Then drop down and fight off the skeletons below. Afterwards walk up to the metal objects attached to the wooden platform on the ceiling and lift them with wizard.
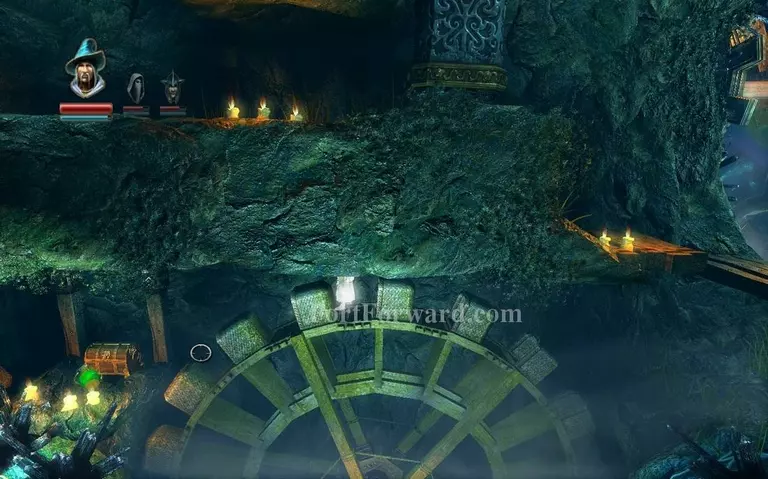
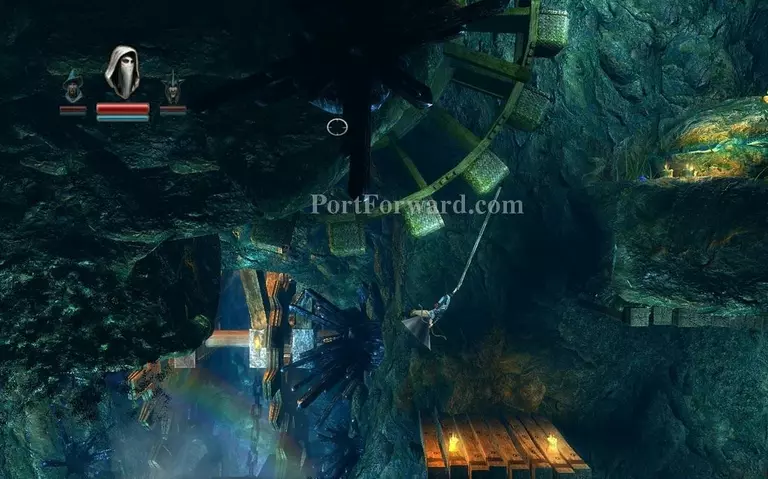
Once you drop down, just go down on the second wheel and ride it until you reach the chest.
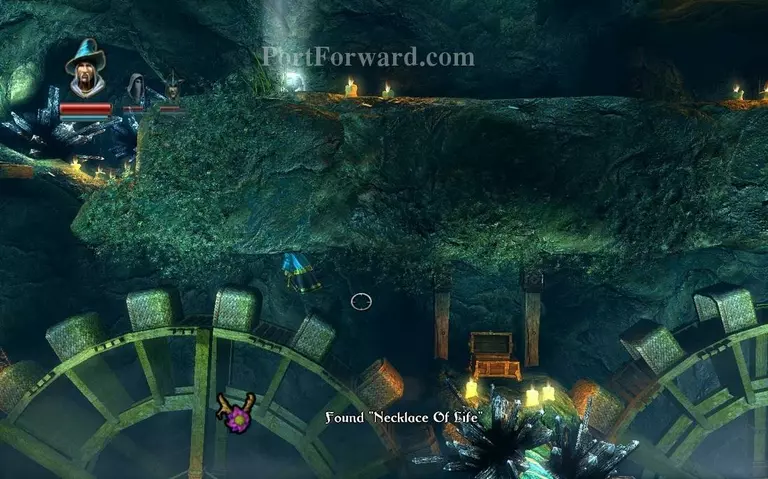
Then you'll have to go all the way back up.
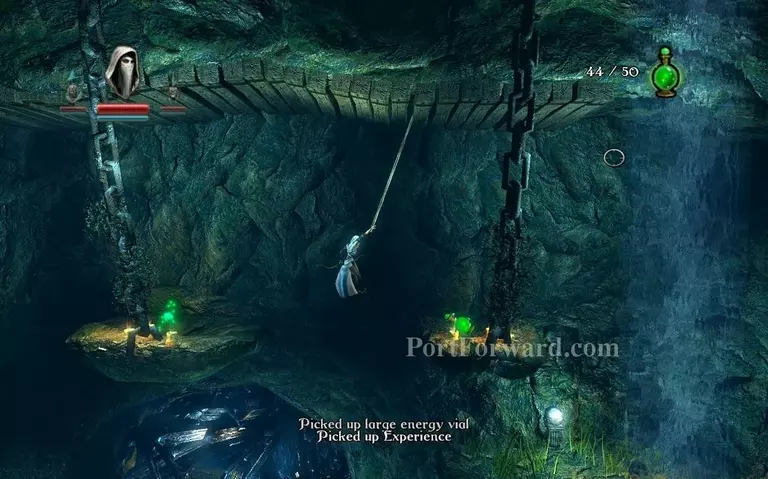
After you've gotten through the metal scales you'll enter a big cave with wooden platforms.
Jump up the platforms and use the grappling hook on this one.
Again use your grappling hook on the wheel here and it will get you up.
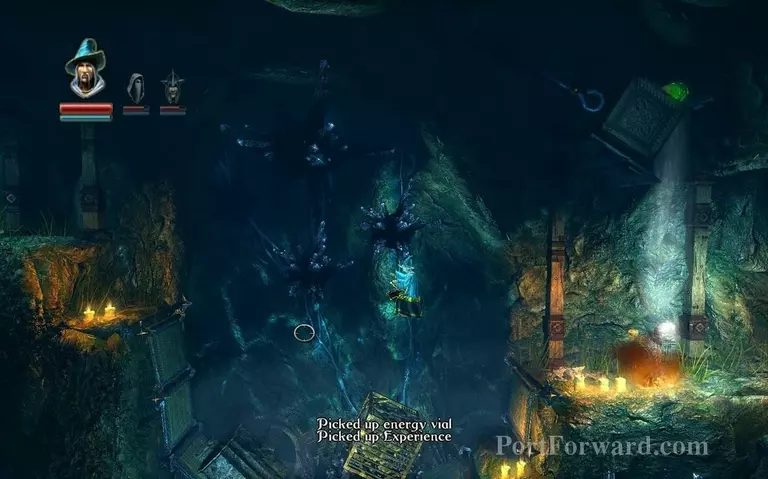
Two experience vials at the top of the room.
A cannon on each side of this cave again, balance the platform correctly and jump up.

This one is a bit more tricky to balance, stay on the far right of it until it is pointing at the direction you're trying to jump up to.
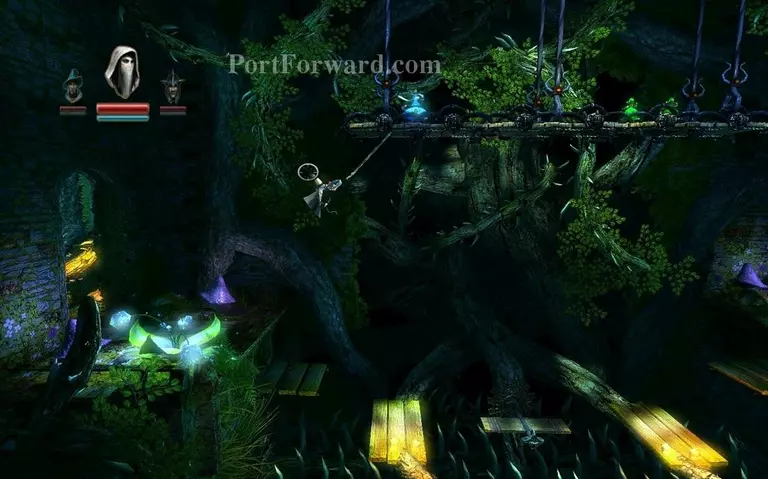
After killing a few skeletons you will reach a huge wheel of platforms and a checkpoint.
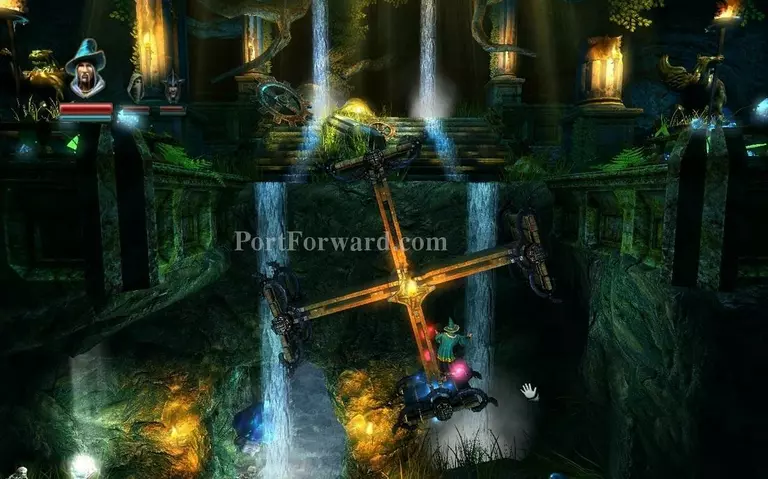
Stand on the right side of the bottom platform and levitate around the wheel while holding M2 on the platform you're standing on.
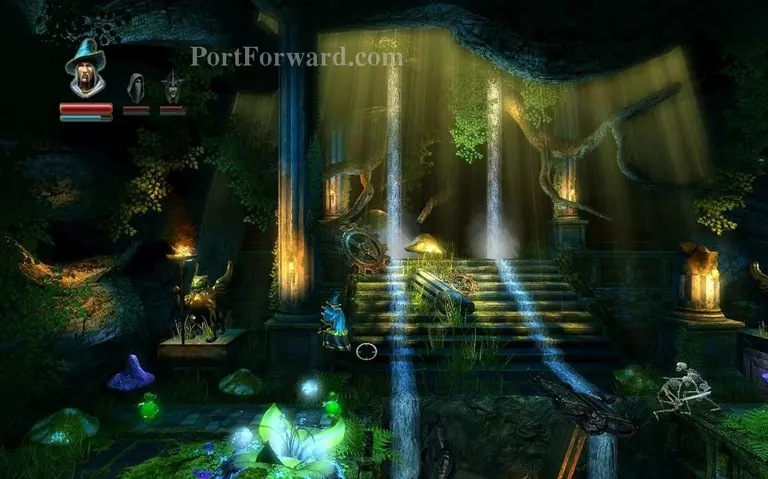
Go to the left side first, picking up experience vials.
To the right, there's an experience vial on top of this platform.
Next checkpoint, you'll need to cut off this rope with the Thief, shoot it for the stone fist to break the bridge.
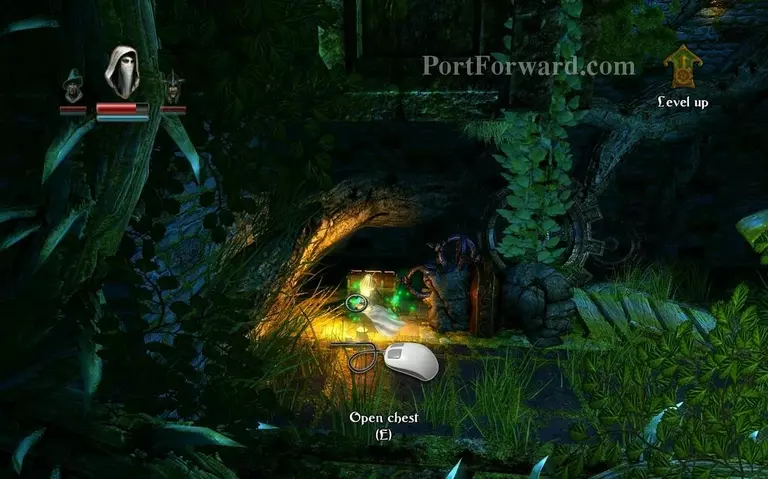
There's a chest underneath on the left.
Jump across this gap using the grappling hook.
After you're done with that, you should reach a stairway leading down. That's the end of this Chapter.
More Trine Walkthroughs
This Trine walkthrough is divided into 16 total pages.


