This Trine walkthrough is divided into 16 total pages.
You can jump to nearby pages of the game using the links above.
Astral Academy
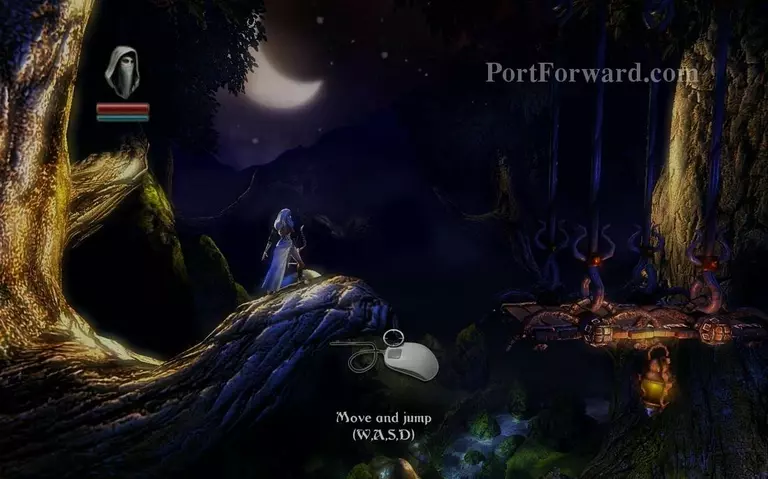
Game starts and you spawn as the Thief. Proceed forward using the directional buttons to move and jump.
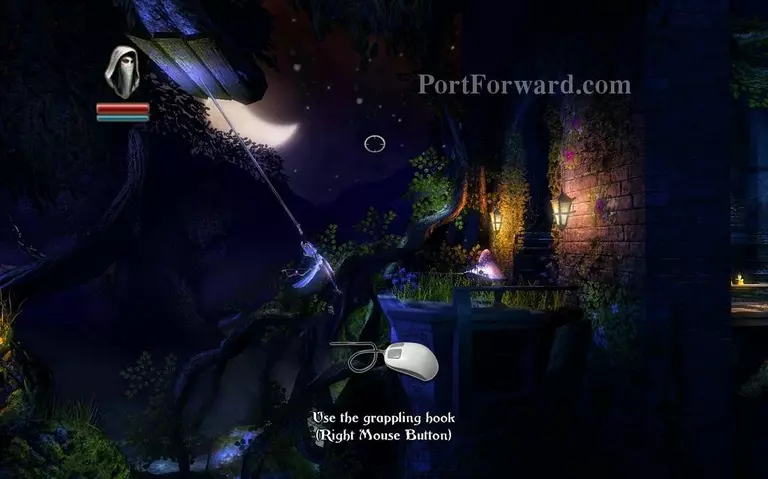
Use your grappling hook on this to jump over.
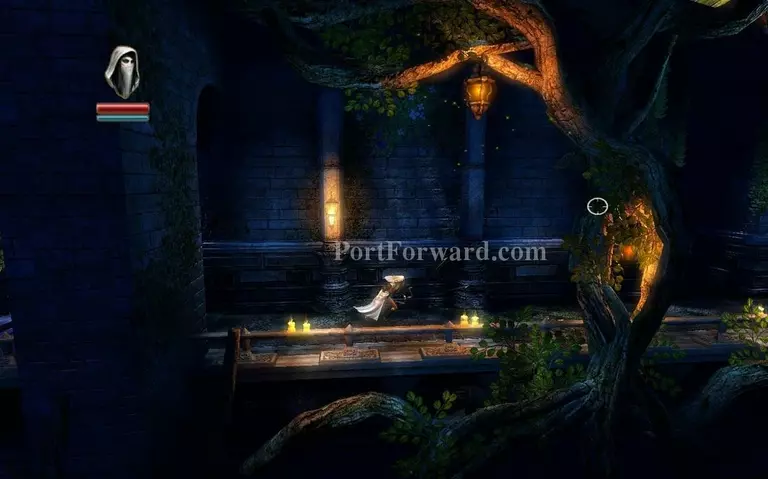
You enter a hall of some sorts, keep going.
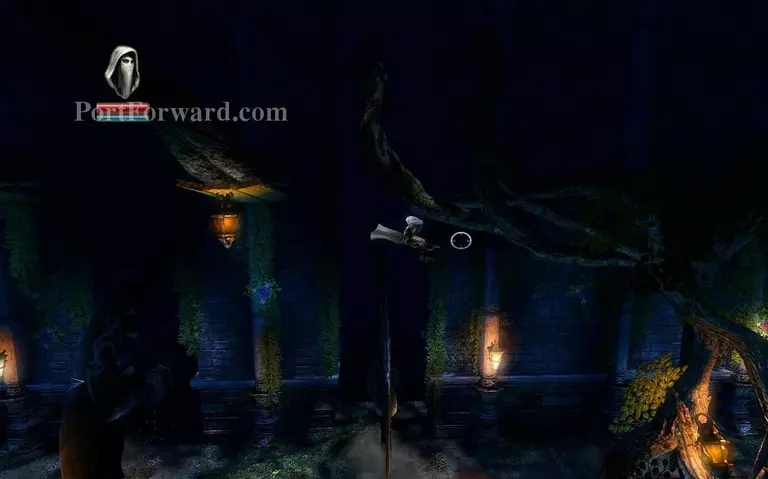
Watch out for the death traps in here, they come down fast.
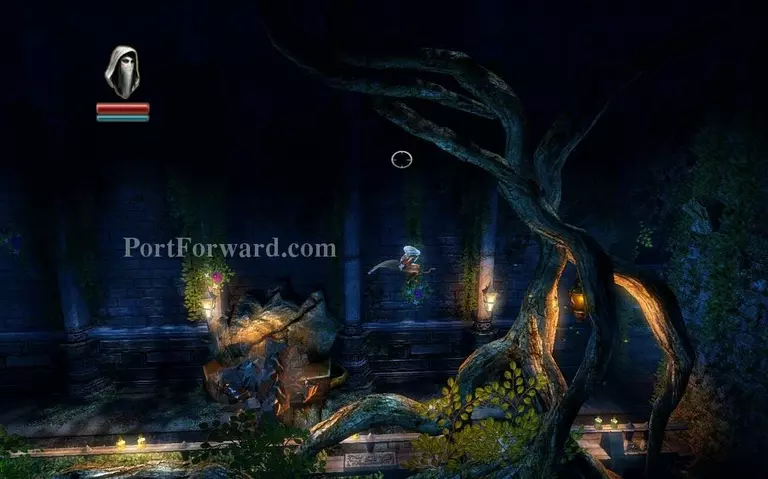
A rock falls down from the ceiling right after you dodge the double glaives.
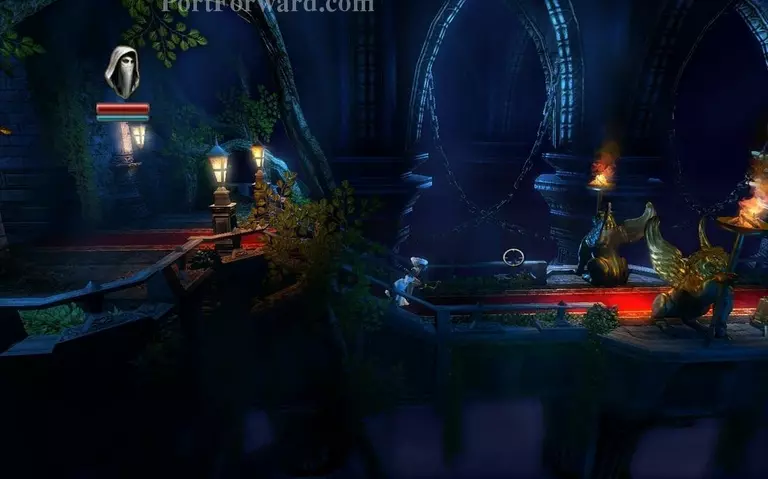
You end up on a big bridge, the Trine is located at the end of it.
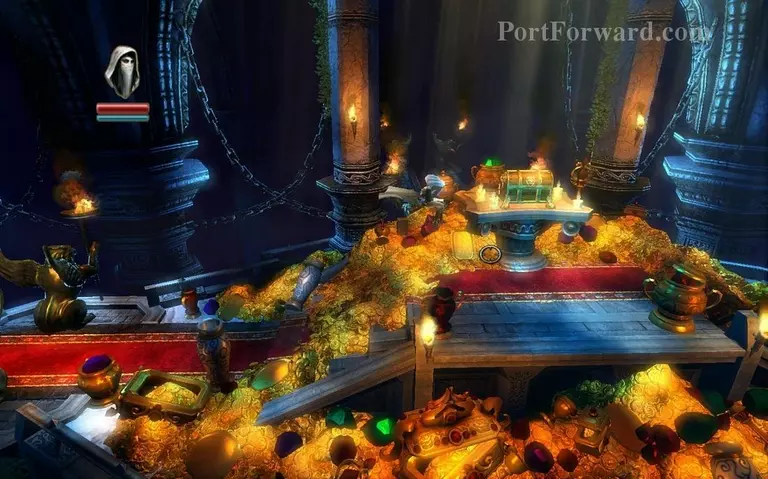
Once you reach the treasure, the Thief part of this Chapter is complete.
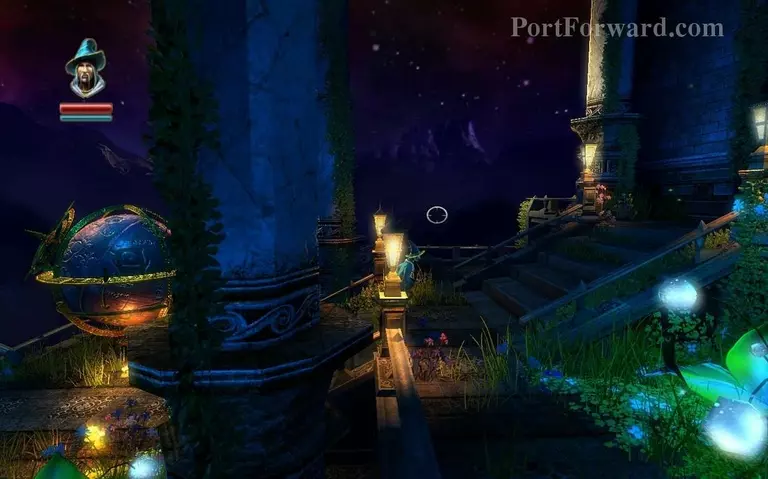
In the second part you play as the Wizard.
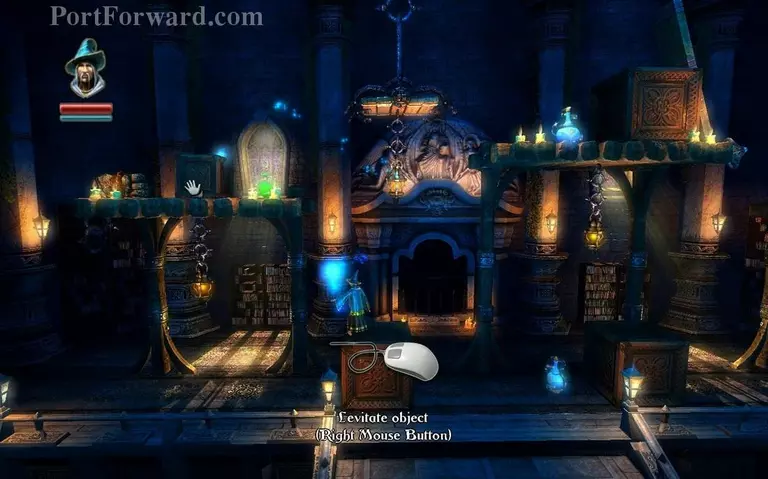
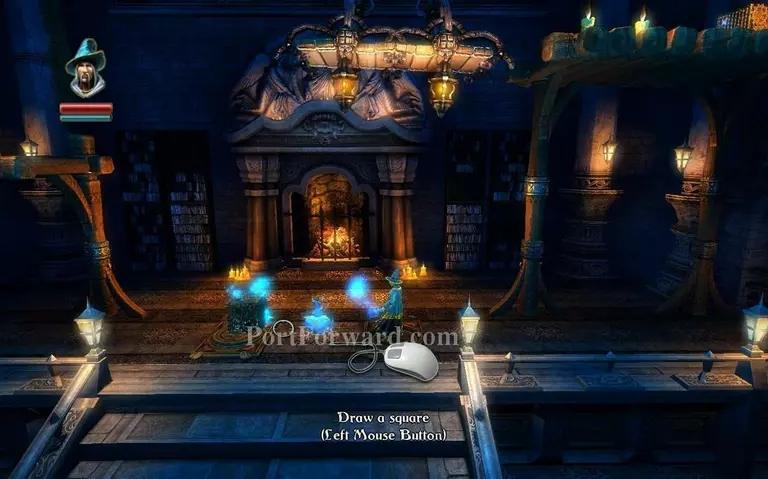
Use your Levitate to push over this experience vial once you go into the first room.
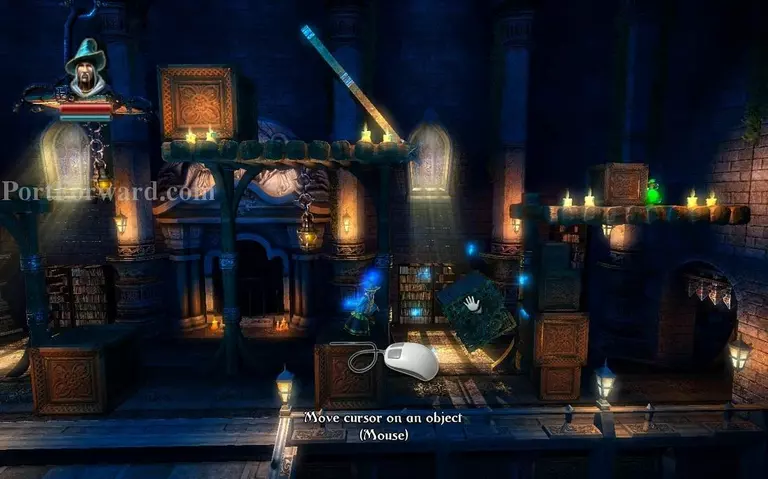
Draw a square to put down a box and stack up boxes levitating them around to reach the other experience vial up there.
Make another box in the second room where it's shown on the screenshot and jump over to the experience vial.
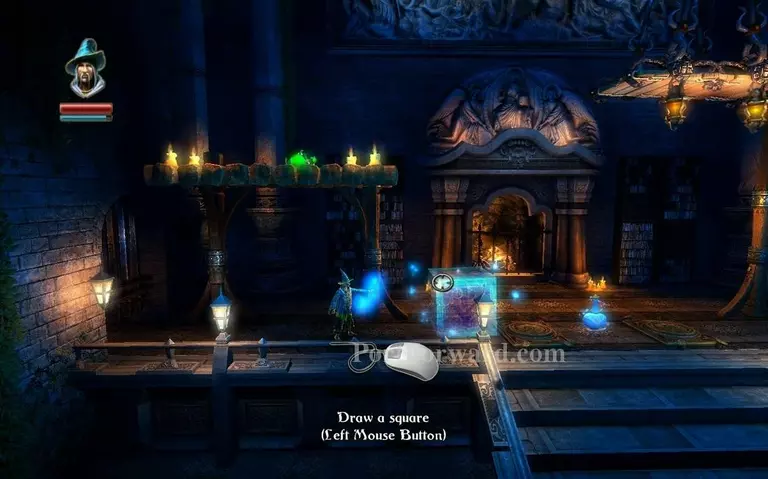
Jump over the platforms to the right and draw another square up there tipping the vial down.
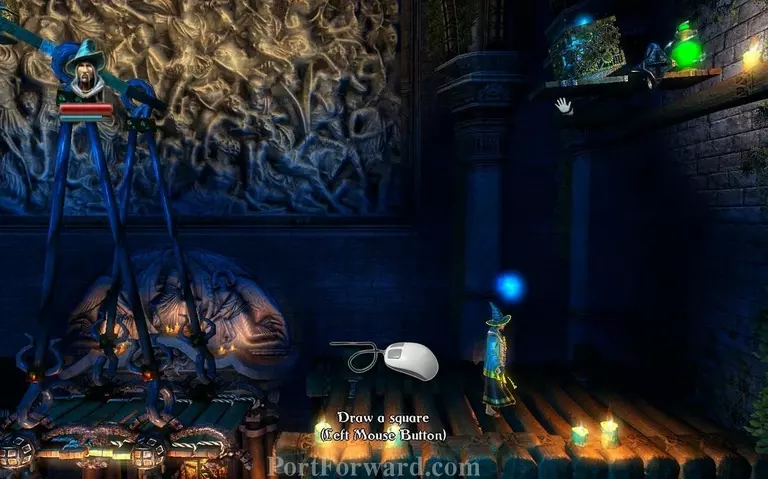
Make a new box on the button on the ground and step on the other one at the bottom of the room. The door will open.

You reach the same room as the Thief did and Wizard's part of this Chapter is complete.
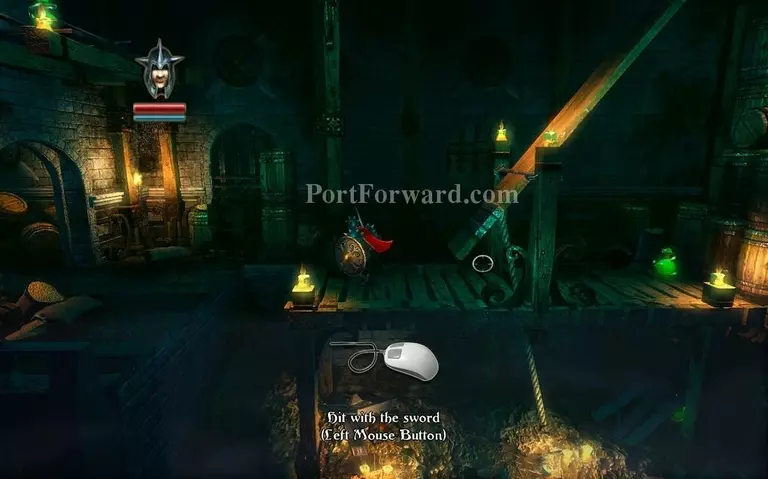
Third part of this Chapter, you play as the knight.
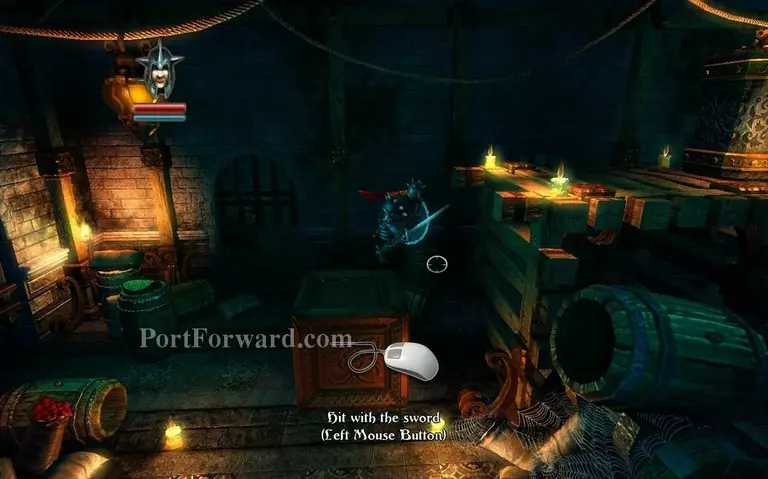
Hit the metal object with your sword to push it over.
After pushing it over, it will break the wooden planks revealing an experience vial, take it and go back up.
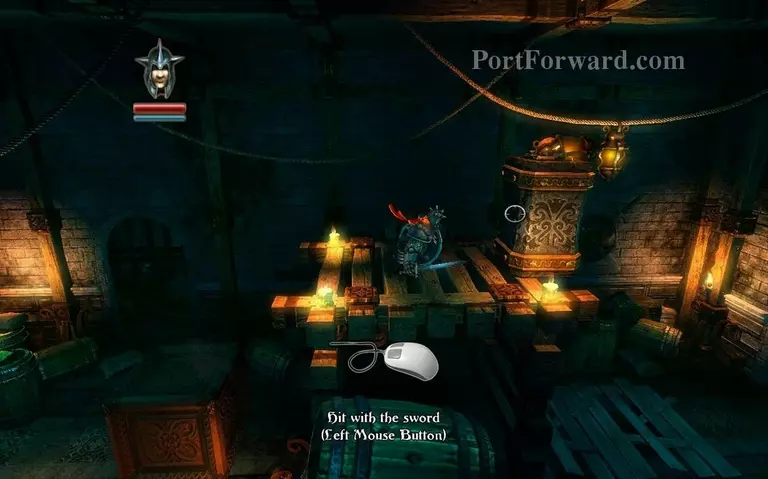
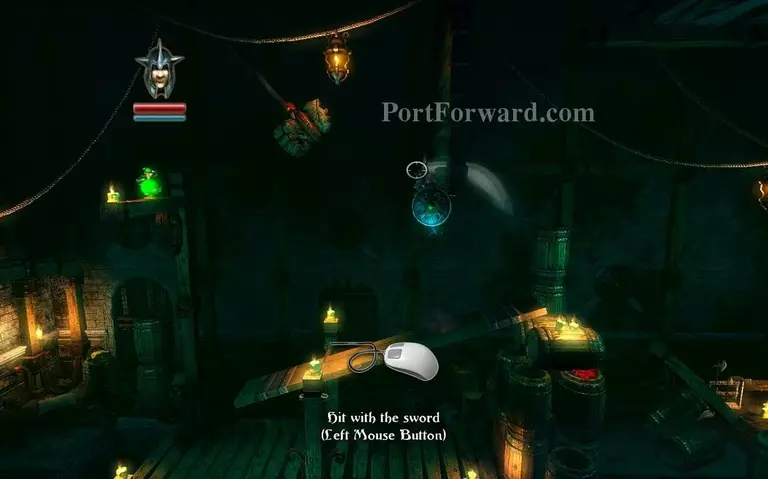
In the next room you need to go down and cut the rope.

After cutting the roap the wooden platform will release and you will be able to use it. Grab the experience vial after hitting the planks on the right.
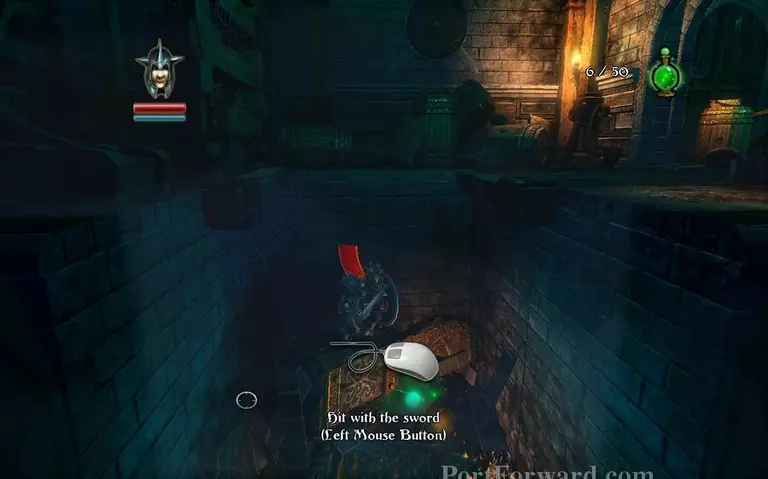
Jump on the platform and cut the rope holding the stone fist to push over the experience vial.
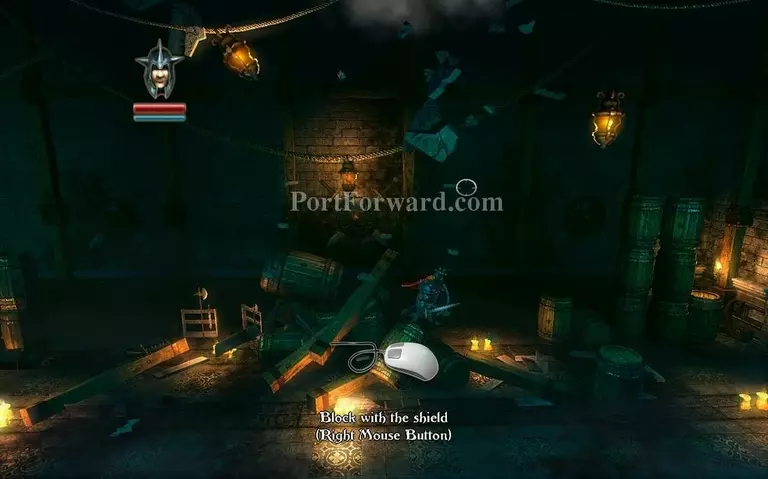
Progress, in the next room there will be rubble falling from the ceiling, block it off with your shield while staring at it.

After that you will reach the final room, where you see the Wizard and the Thief. End of Chapter 1
More Trine Walkthroughs
This Trine walkthrough is divided into 16 total pages.