This APB Reloaded walkthrough is divided into 3 total pages.
You can jump to nearby pages of the game using the links above.
All Points Bulletin: Reloaded
Welcome to PortForward's tutorial to playing APB: Reloaded. Since there is no single-player campaign and only Multiplayer available, I will stick to explaining the game mechanics and the overall objectives of things.
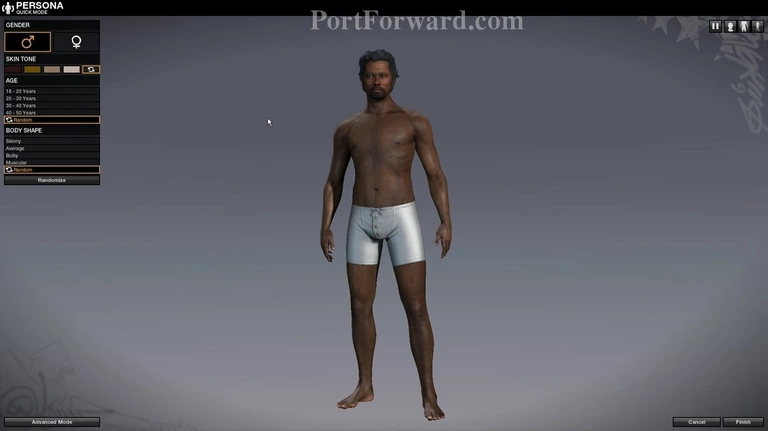
Begin by logging in after creating a Perfect World account and start creating a character.
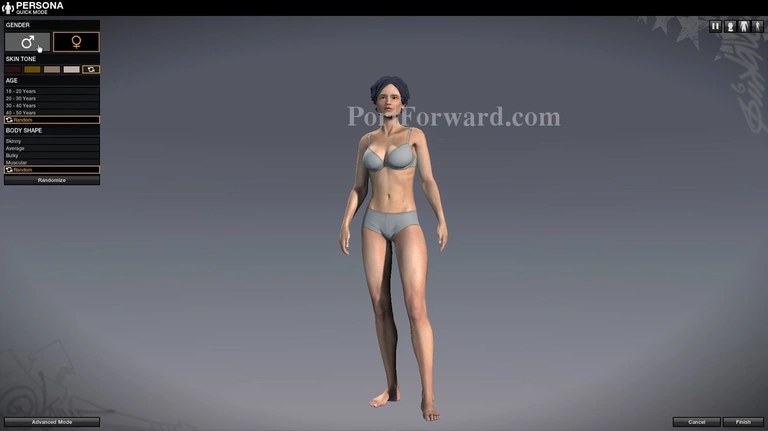
There are a multitude of options to go through but don't sweat it if you don't get it right the first time. You can always change It ingame in the Social District.
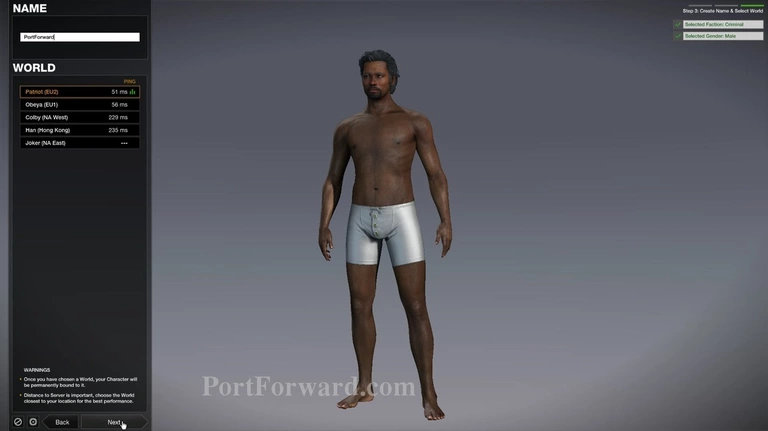
When you are done with a character you like, proceed onto the world selection screen. Give it a few minutes to properly ping every location to figure out your best proximity and then choose a server.
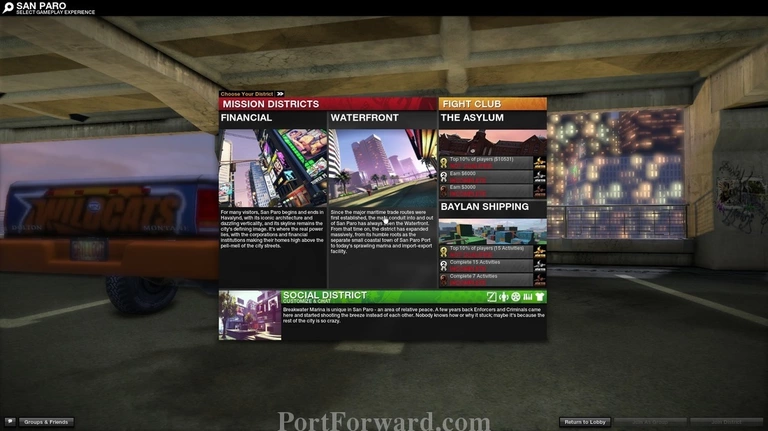
This is APB's map select screen. Here you can choose to either go to the creative & "Black Market" part of the game, AKA the Social District at the bottom or partake in some of the Fight Clubs events when they are active with and when you have a sufficiently high enough level/ranking.
All maps have different servers allocated to them so If you find yourself being unable to locate any friends you play with, check your server.
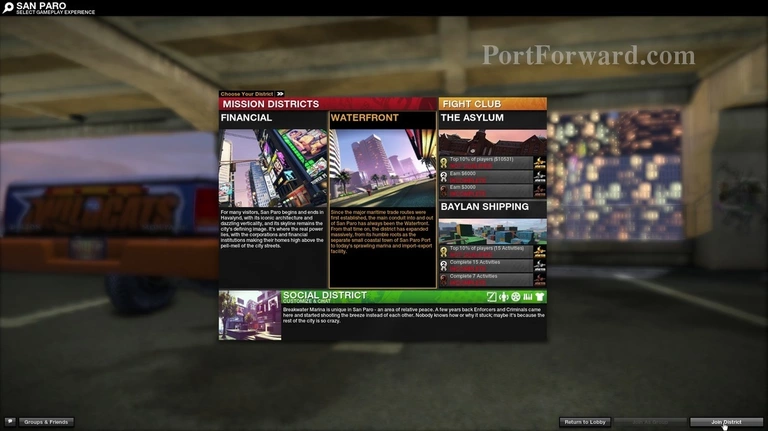
I personally recommend choosing the Waterfront District first. It has more contacts than the financial district that give more useful rewards to beginners such as guns and cars instead of weapon modifications and decals in the financial district.
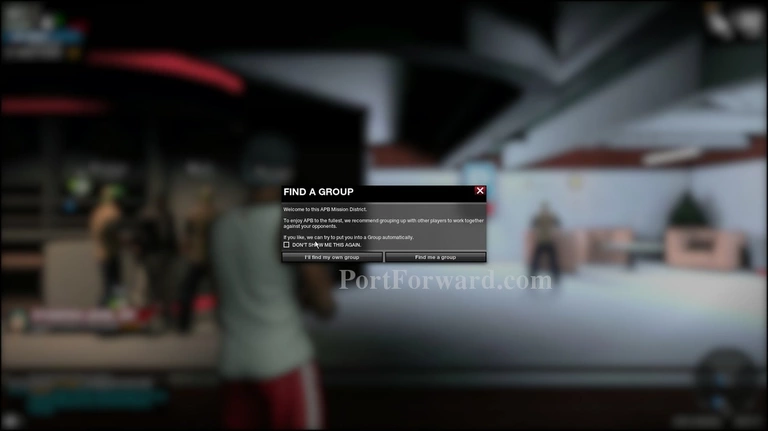
Once you're in, you'll be prompted to find a group yourself, have the game find one or not get one at all. The choice is up to you.
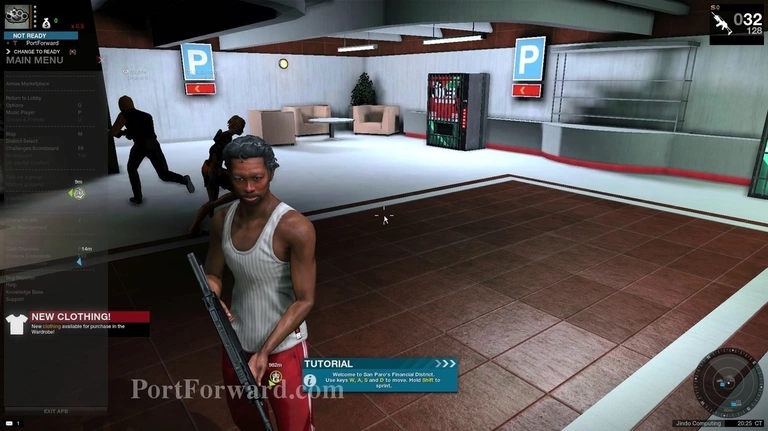
The game's UI is fairly straight-forward. Bottom right you got your radar. It shows the location of any known enemies and all nearby allies. But for enemies to reliably appear, they need to be making some kind of noise so don't lean on it too much.
Esc opens the main menu where you can do everything from fiddle around in the options to accessing the Armas market where you can buy in-game items for real money. I would personally be careful of any serious spending as this game is currently notoriously laggy and instead recommend you trying on the "Trial" version of weapons first.
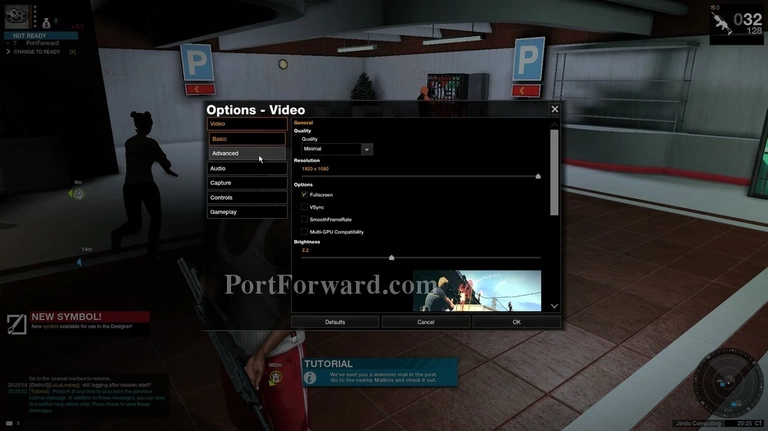
There's a multitude of options in the video department and I highly recommend lowering your settings as smoke and most other effects tend to spike framerates up and down, both for ATI and Nvidia cards. Increasing the brightness will also be a + indoors.
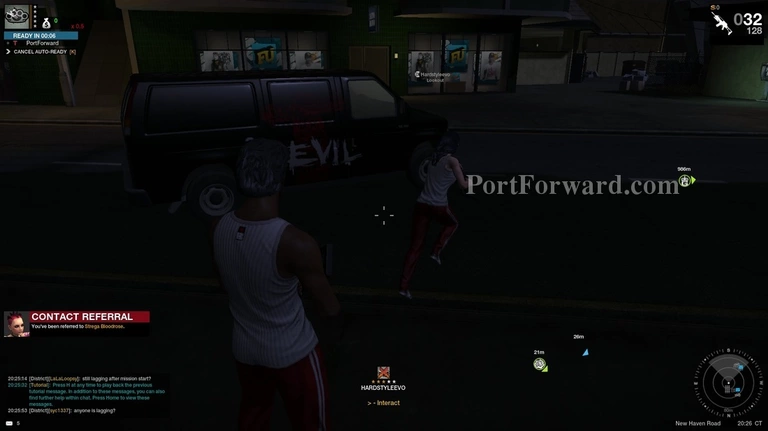
As you leave the spawn, you are free to do as you wish. In this case, I created a criminal character. This means I can mug any civillian on the street, steal cars and drive them to a lock-up, ram & rob nearby stores while stealing any loot and more.
While ramming stores is a very profitable way to earn dirty money, It also puts you at great risk to either get griefed by another criminal player or being intercepted by several (possibly much more high-leveled) enforcers.
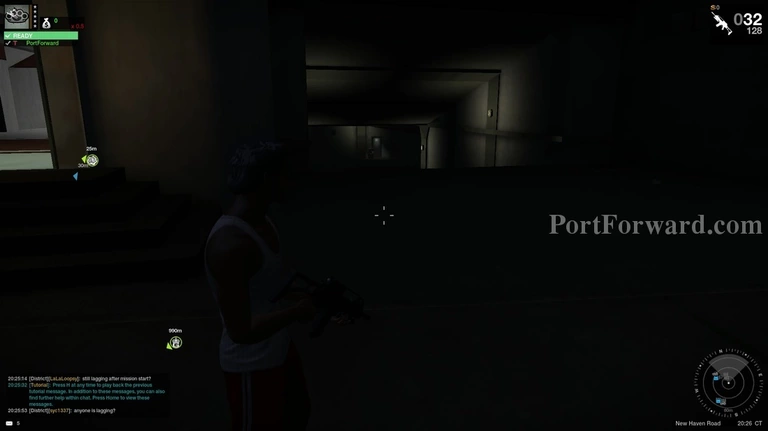
For this guide, we're going to partake in missions. You do this by pressing K and then wait for a task to be assigned to you.
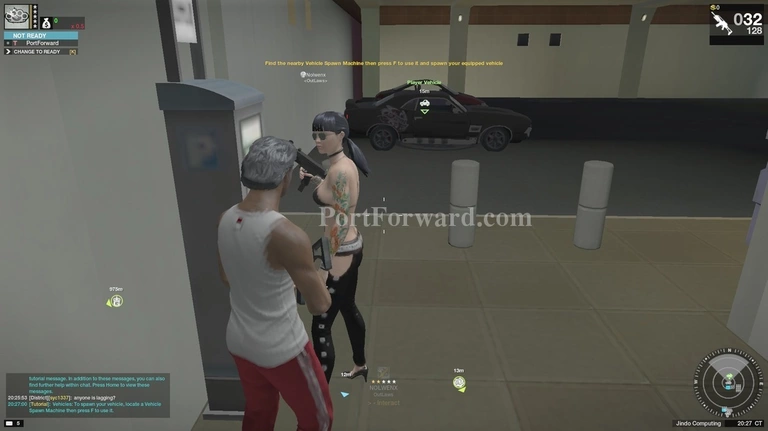
While waiting for a mission assignment, go to a nearby parking garage and click "F" to interact with the terminal in the picture to have a (currently standard) vehicle spawn for you to drive.
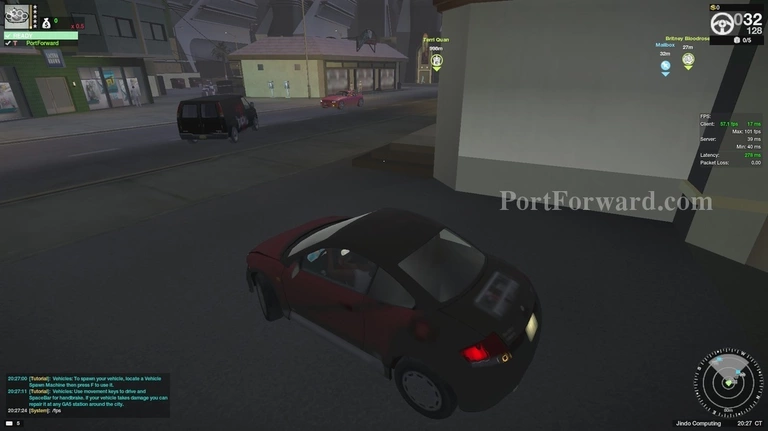
The starting car is not great and It is the same for both enforcers and criminals. It has poor top speed, rather poor acceleration, extremely low ramming capacity but a decent handling
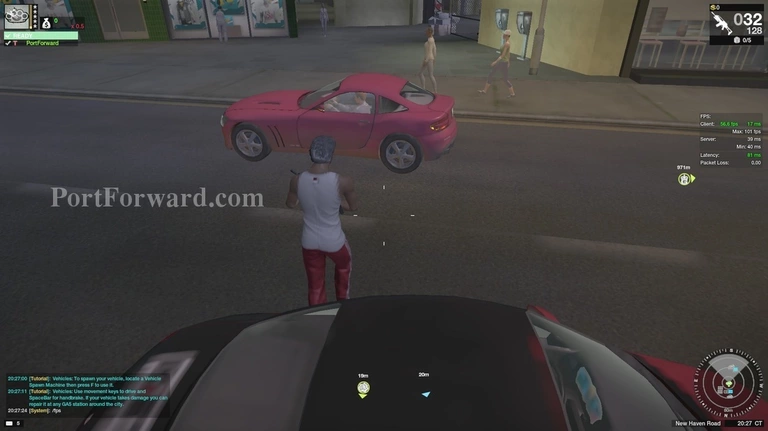
For this reason, I recommend stealing another car. In this case, I was lucky enough to have a civillian be driving a sports-car just outside the spawn.
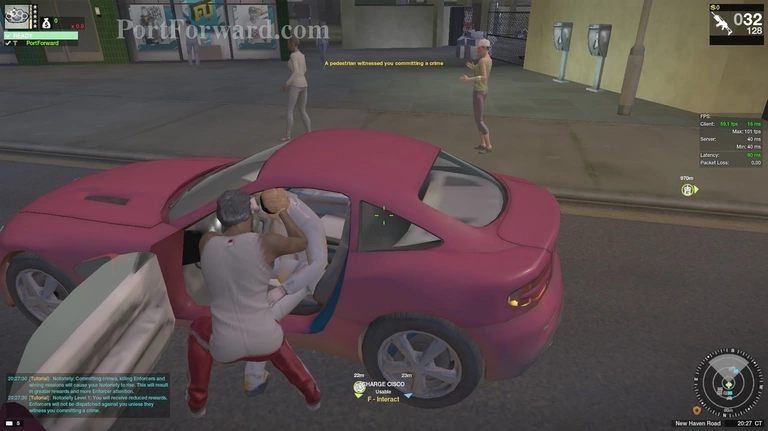
To steal a car from a civillian, (Cannot steal from other players) run up to the door and hit the Interact button (Standard F).
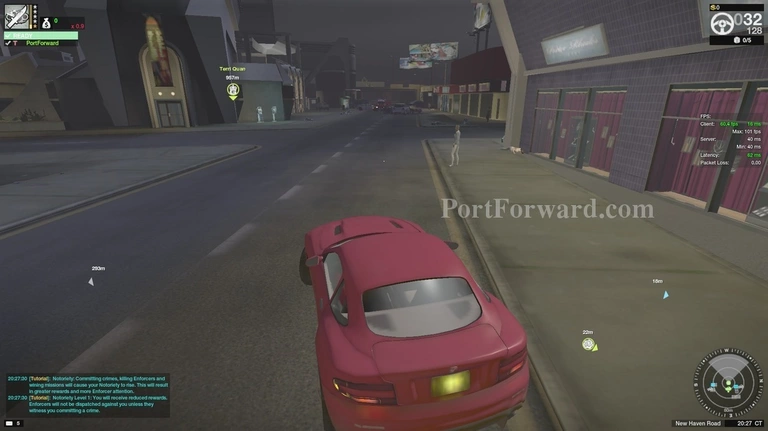
You now got a sweet (in this case) pink sportscar for you to drive like a maniac in.
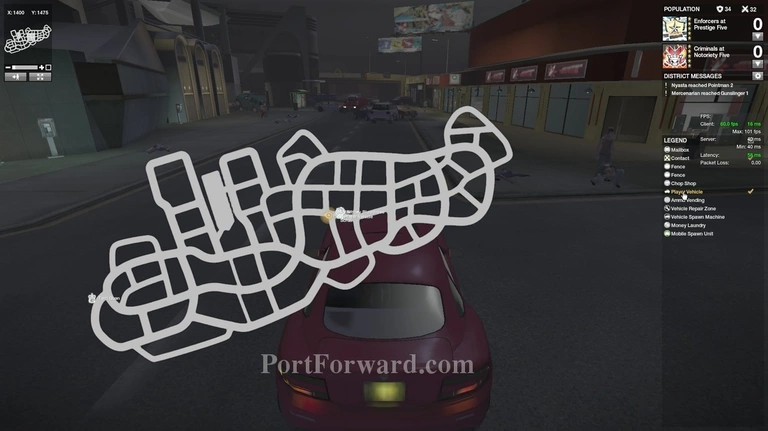
Pressing "M" will open up the in-game map. Here you can see the location of all the contacts, the infrastructure of the entire map itself and a various amount of options which you can toggle through to have things like vehicle spawns and mailboxes be visible to you in the in-game HUD.
More APB Reloaded Walkthroughs
This APB Reloaded walkthrough is divided into 3 total pages.


