
This Bionic Commando walkthrough is divided into 22 total pages.
You can jump to nearby pages of the game using the links above.
Area 3

This is the recommended setup.

Don't sink to far into the snow so grapple and swing over it.

A good swing will make you miss the snow completely.

If you land in the snow, get close to a branch and pull yourself out.

Careful with these Venus Fly Traps. They surprise you out of nowhere when walking on the ground.

Get past these crabs and enter the mountain.

Ride down the elevator and pick off anybody in the way.

Enter this door.
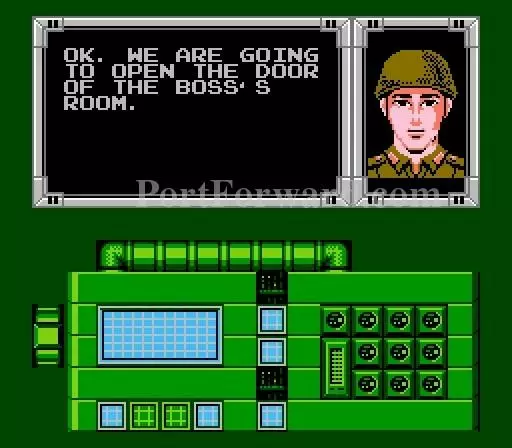
Communicate: OK. WE ARE GOING TO OPEN THE DOOR OF THE BOSS'S ROOM.

Wiretapping: YOU TRANSPORTED JOE?

YEAH,OVER TO DISPOSAL AREA. HEROES ALWAYS LOOK GOOD.
Sometimes enemies will attack after you wiretap. Just kill anyone in the way and escape.

Swing to the right.

Carefully land on the platform.

Careful swinging will land you here.

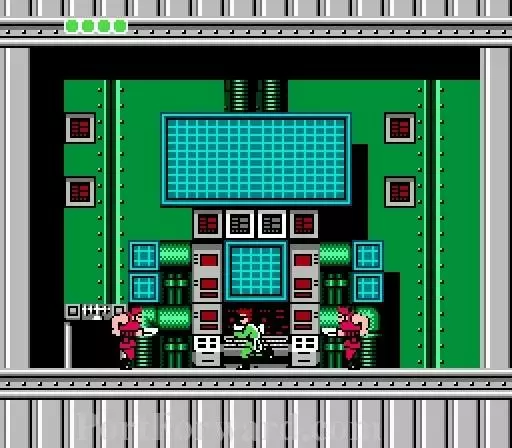
Just blast this guy once with Rocket Launcher and it is history.

Destroy the core.

WE'VE OBTAINED RAPID FIRE DEVICE
More Bionic Commando Walkthroughs
This Bionic Commando walkthrough is divided into 22 total pages.


