
This Bionic Commando walkthrough is divided into 22 total pages.
You can jump to nearby pages of the game using the links above.
Area 8
This time use the Gamma (blue) communicator.
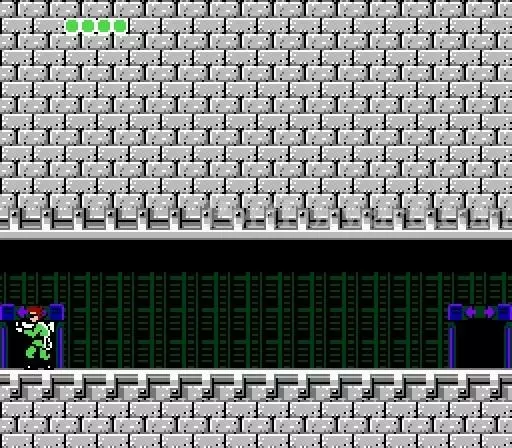
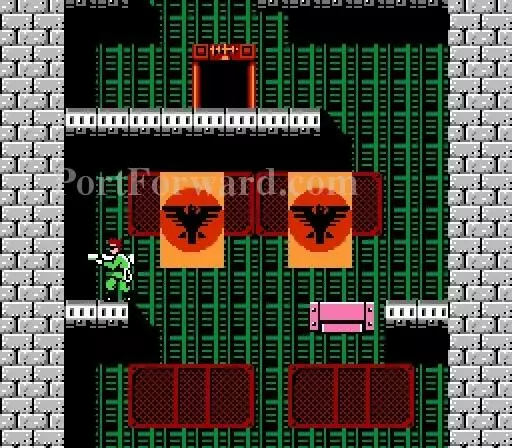
This level is a maze as it has many doors. Start by climbing up the right side.
Go into this door here.
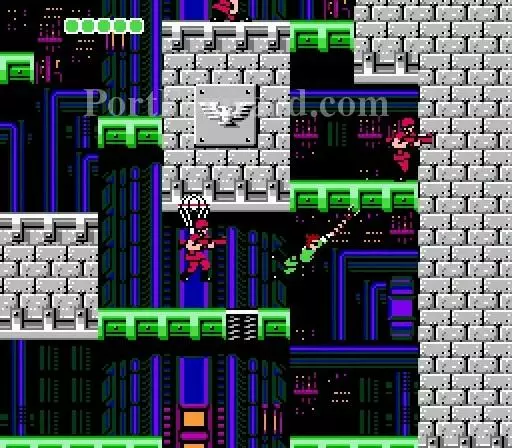
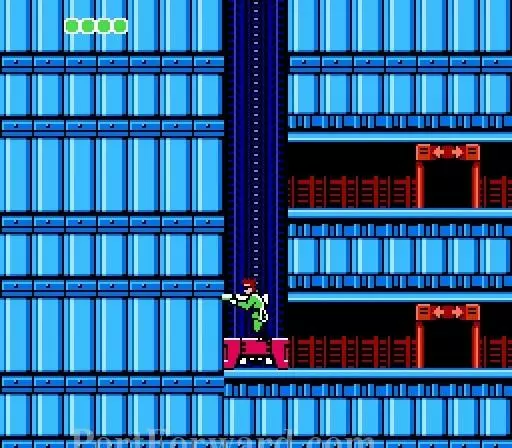
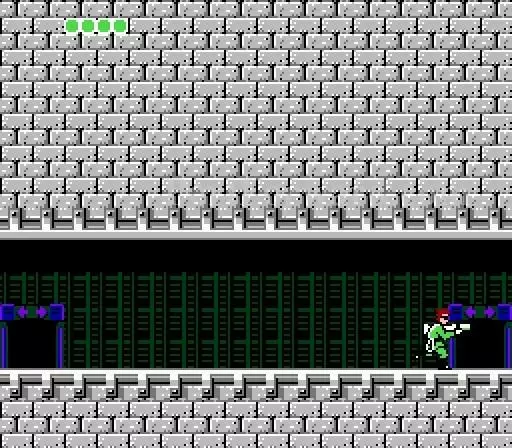
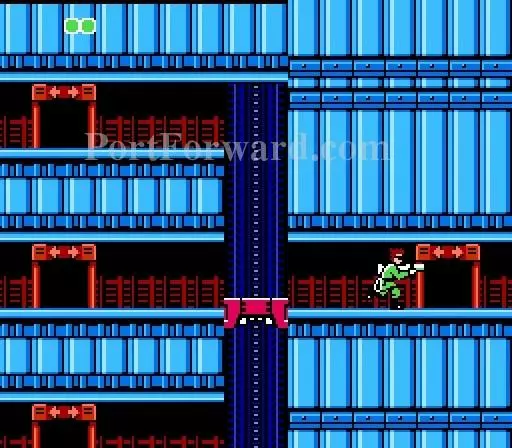
Shoot down this dual gun by getting level with it.
Then exit out this door.
Get onto the elevator.
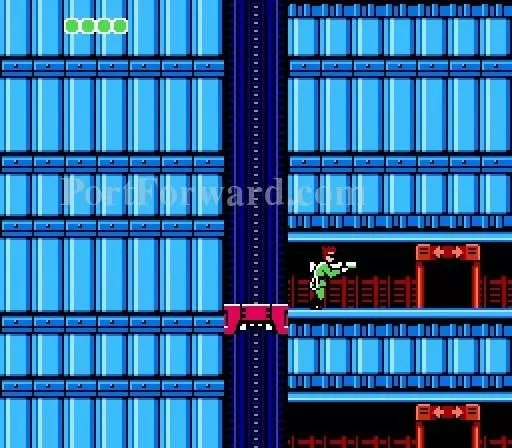
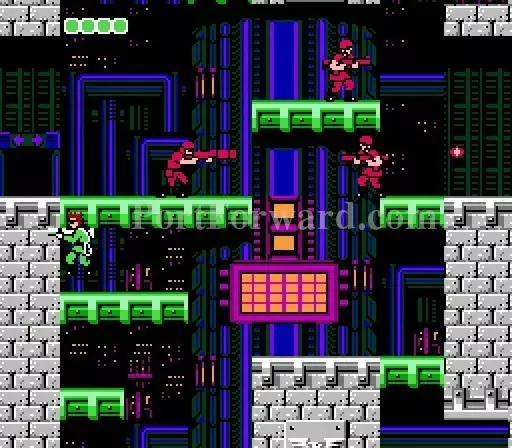
Enter this door.
Shoot this gun down.
Then enter this door.
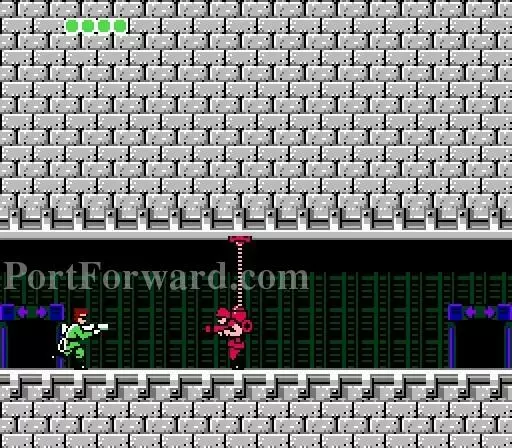
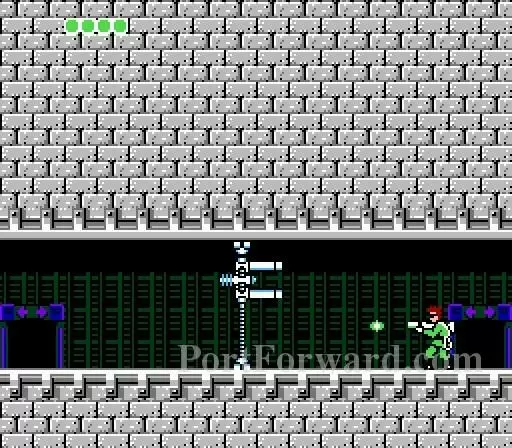
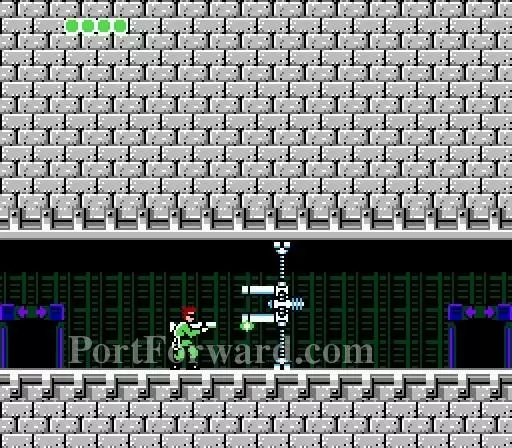
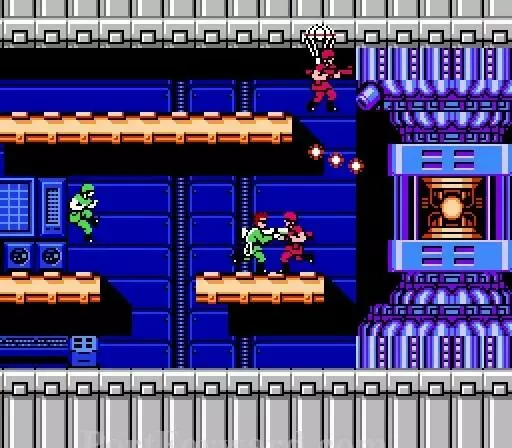
This enemy tries to attack you with bombs. He will grapple up when you are on the ground and drop when you grapple up to meet him. Hit him as you switch level planes.

Then enter this door.
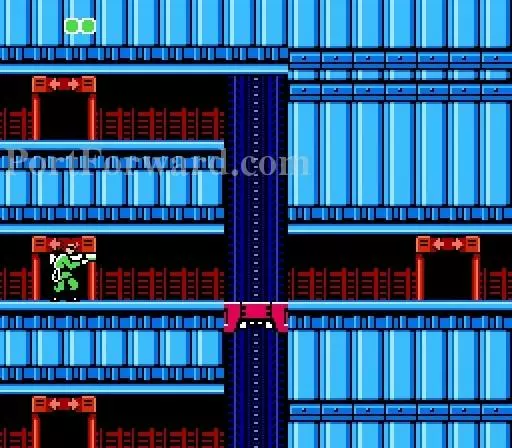
Which door shall I take.
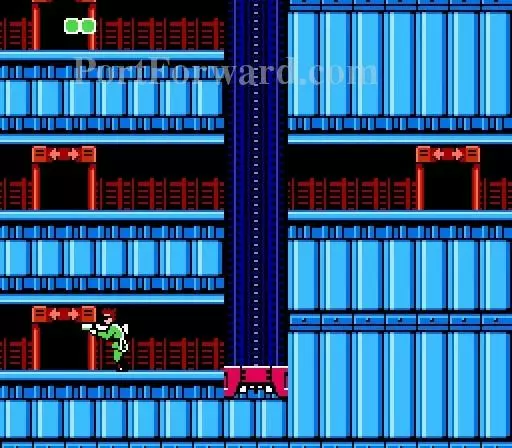
Don't try this one.
Take this one.
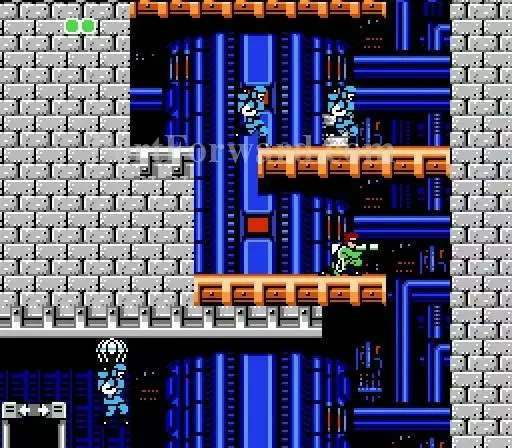
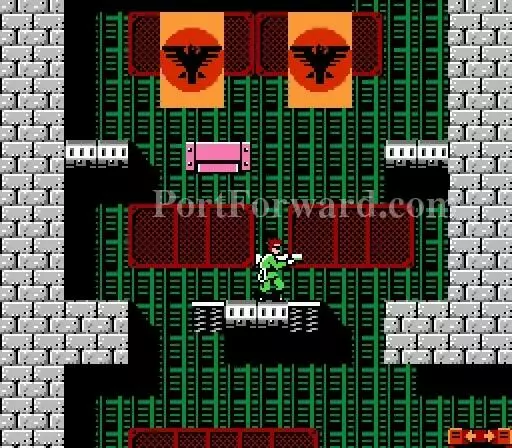
Grapple your way up.

The blue guys launch napalm bombs.

Enter this door.
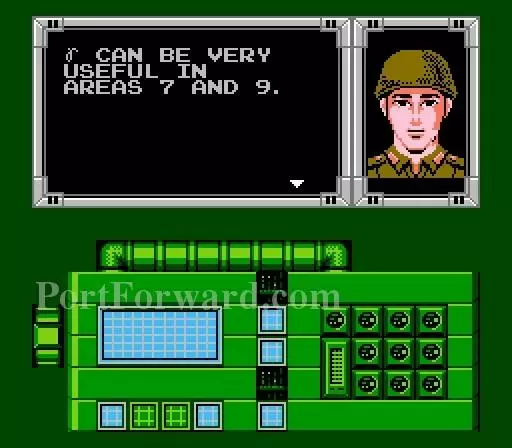
Communicate: Gamma CAN BE VERY USEFUL IN AREAS 7 AND 9.
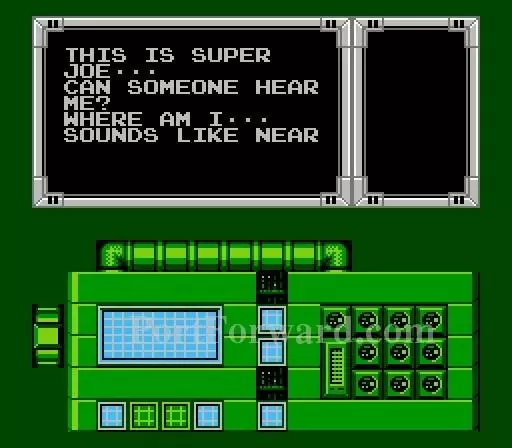
Wiretapping: THIS IS SUPER JOE··· CAN SOMEONE HEAR ME? WHERE AM I··· SOUNDS LIKE NEAR
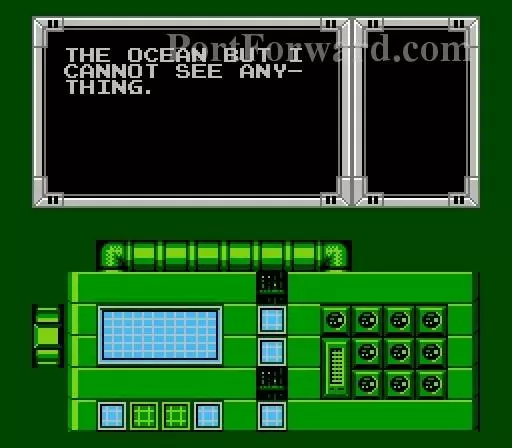
THE OCEAN BUT I CANNOT SEE ANYTHING.

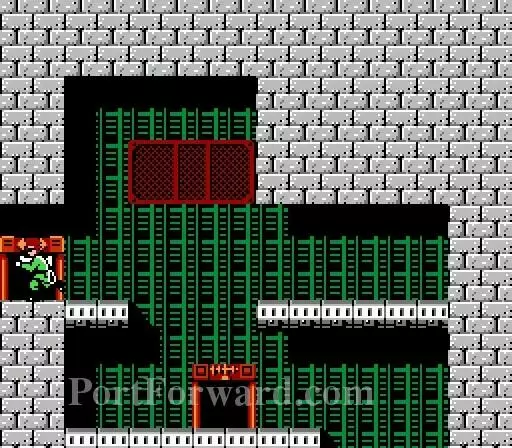
Grapple your way up to the top left area and enter the door.
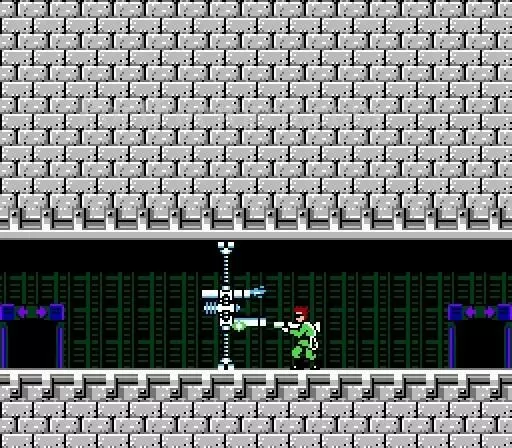
Kill this gun and proceed.
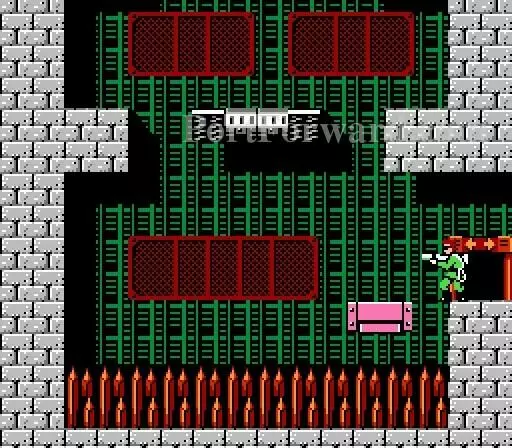
Don't fall into the spikes. Get onto the moving platform then pull yourself up.
Use the springs to jump to the left or right.
Grapple up from there and get into the door.

Communicate: AREA 9 LOOKS LIKE THE DISPOSAL AREA. JOE MUST HAVE BEEN TAKEN THERE. PLEASE HURRY.
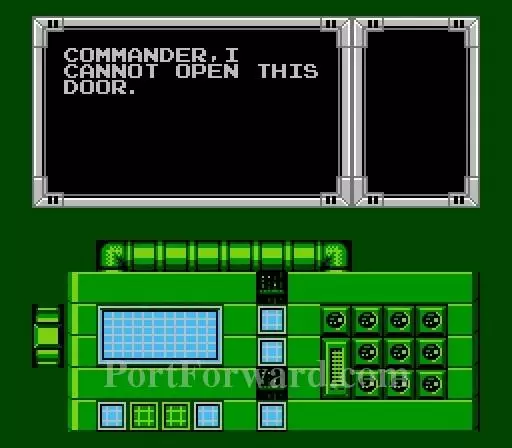
Wiretapping: COMMANDER,I CANNOT OPEN THIS DOOR.

I TOLD YOU TO MEMORIZE THE NUMBER, YOU IDIOT!
Once out, enter this door.

Another room to choose.

Just head into this door as that's the boss room.

SO, YOU THINK YOU CAN DESTROY THE MAIN SYSTEM? YOU HAVE NO
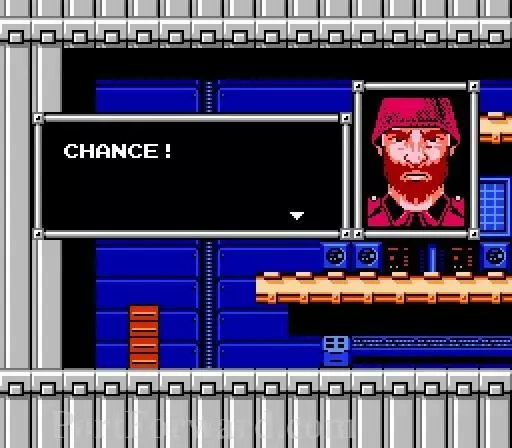
CHANCE!
Same fight as before except the cannons above the core actually shoot this time..

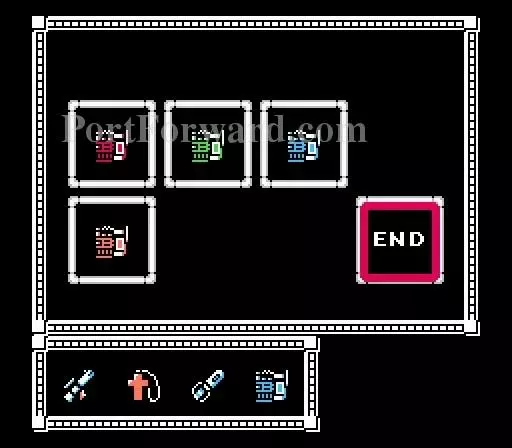
WE'VE OBTAINED IRON BOOTS
More Bionic Commando Walkthroughs
This Bionic Commando walkthrough is divided into 22 total pages.


