This Borderlands 1st release walkthrough is divided into 52 total pages.
You can jump to nearby pages of the game using the links above.
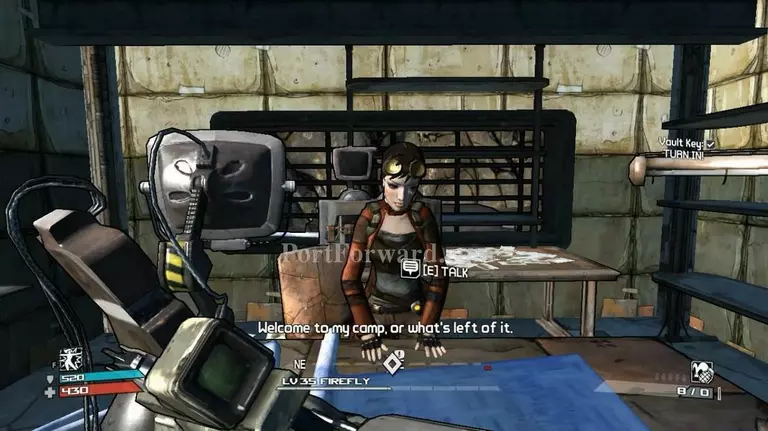
Salt Flats: Find Steele
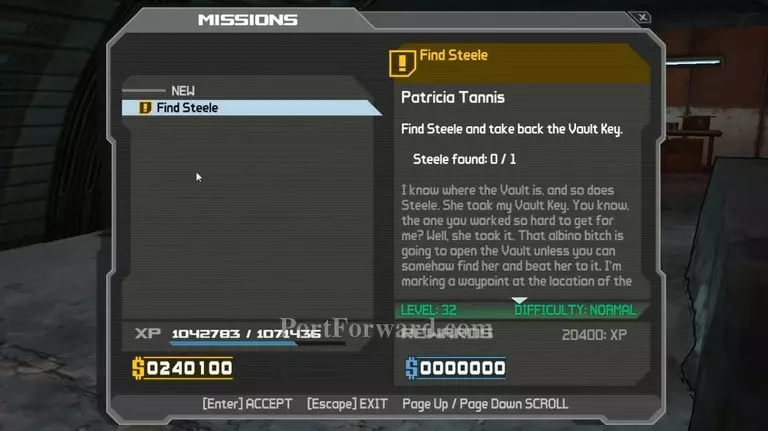
Mission overview.
Go to Steele's place.
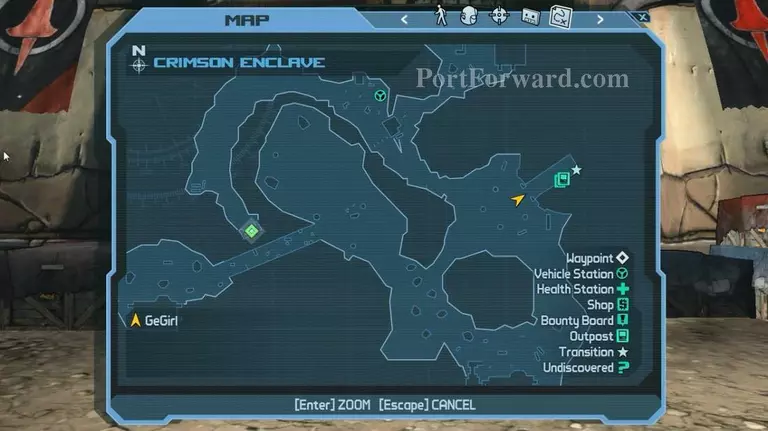
You should find Steele here.
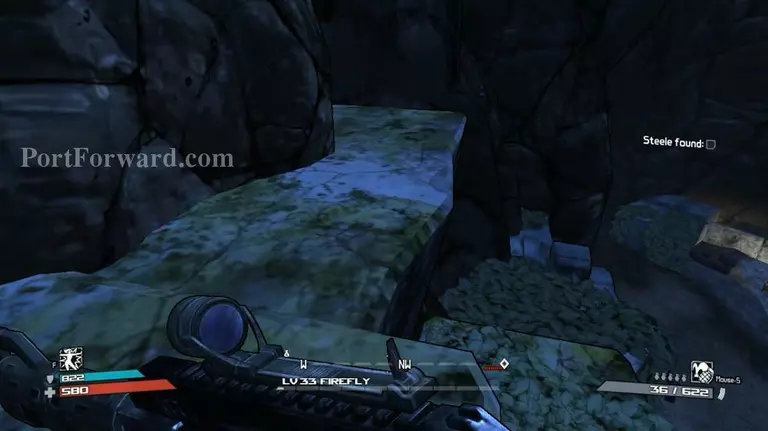
There's always one way path to go down or across to other side because you doesn't have to use the same way to get out of here. Explore around and you'll see the way.

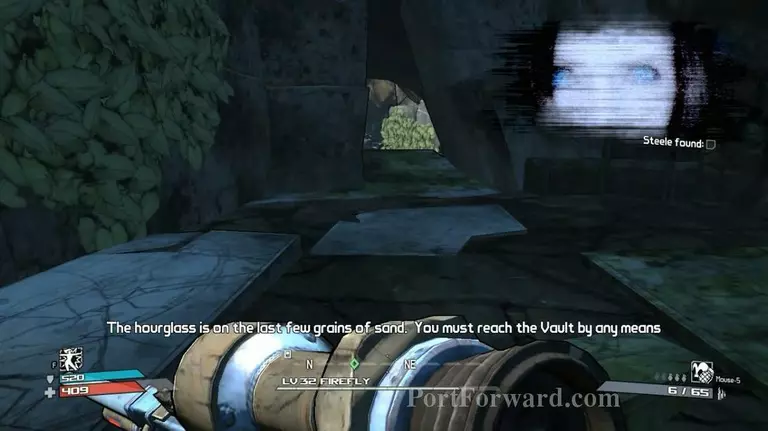
Your distance to meet the final boss is nearer. Keep going and stay safe.
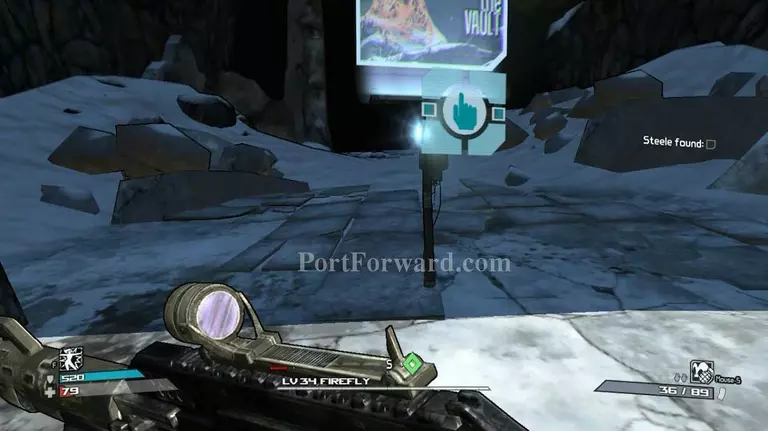
So, are you ready for the final battle? Let's do this.
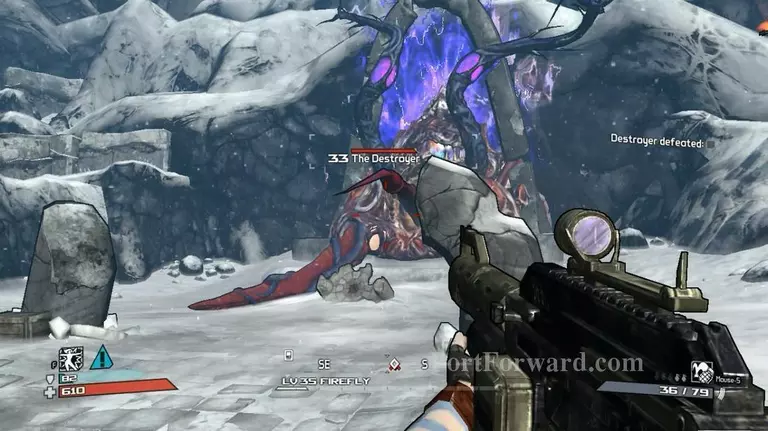
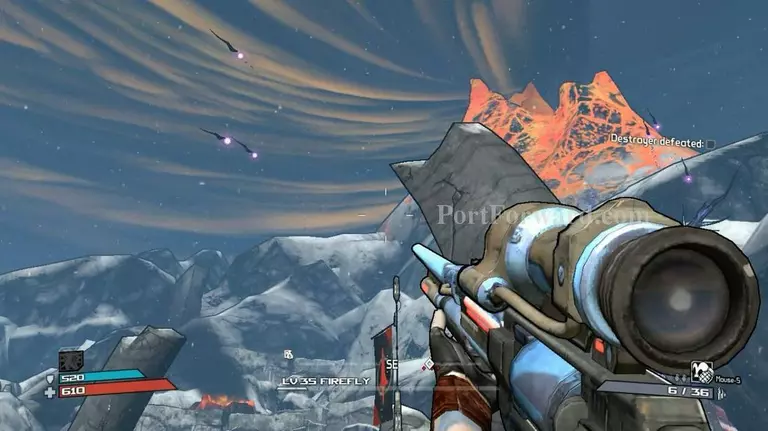
You can kill this thing easily. Follow the method below...
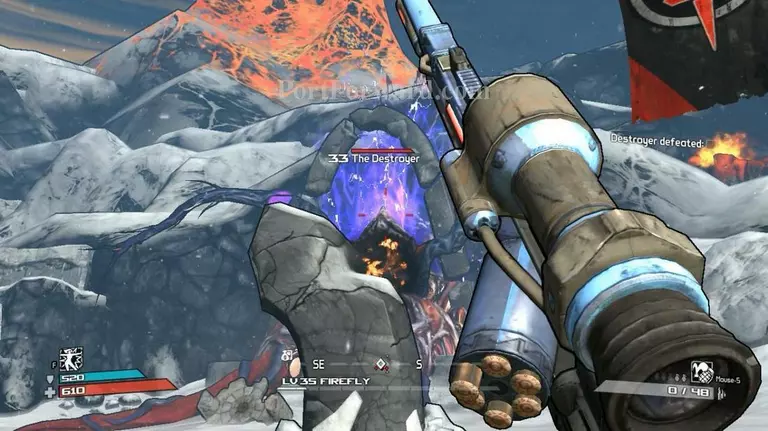
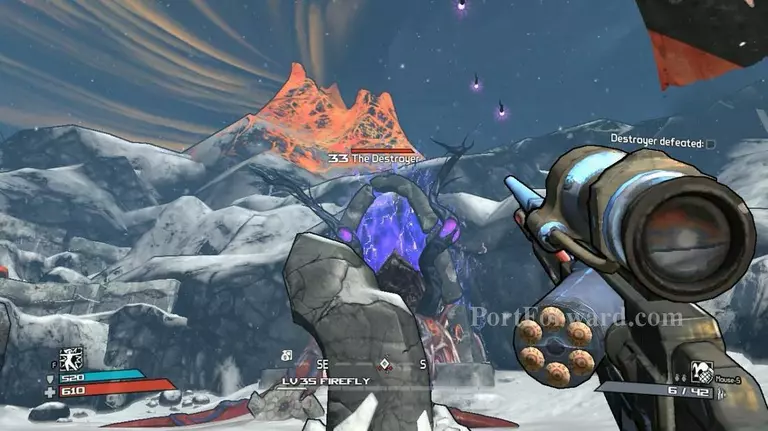
Stand behind the rock with distance like this. You'll be safe from the purple beam. But one more problem, the alien rockets. But the distance helps to avoid that rocket.
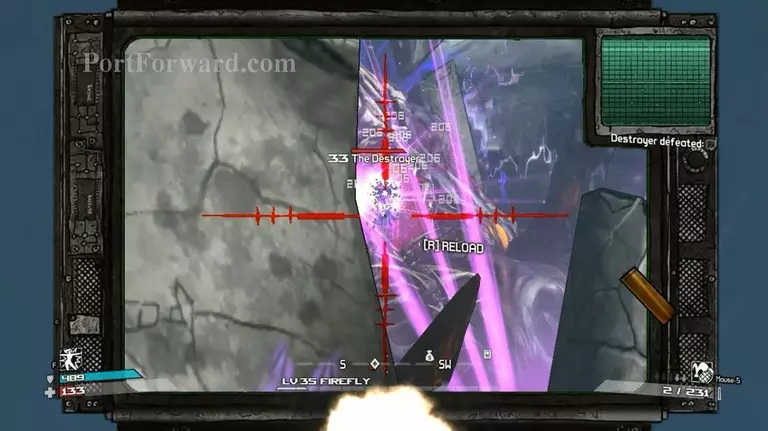
Shoot the monster eye or mouth for critical damage when you have the chance.
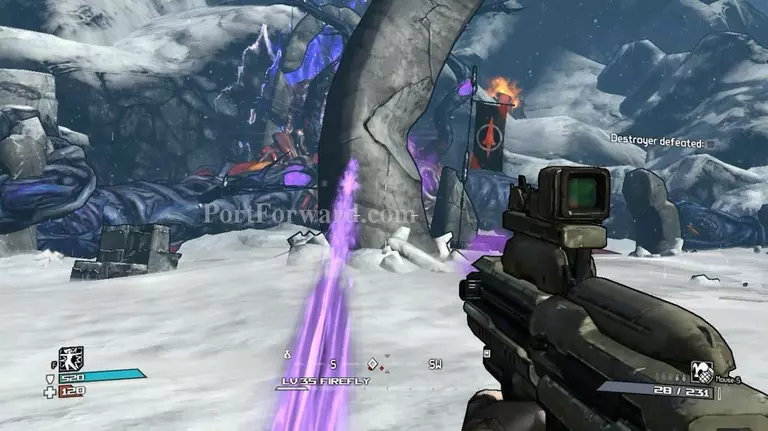
But don't spend too much time shooting. Always check the surrounding for the alien rocket.
When you see the rockets coming at you. Quickly run towards the rock.
The explosion of the rockets can really hurt you to death. Once the explosion finished, go back to make distance between the rock. Do this until...
Sometimes, that monster will release more alien rockets. Now it's the time to run and take cover to another nearest rock. Be careful the monster might light up some beam when you go to rock at the other side. Repeat all over again.
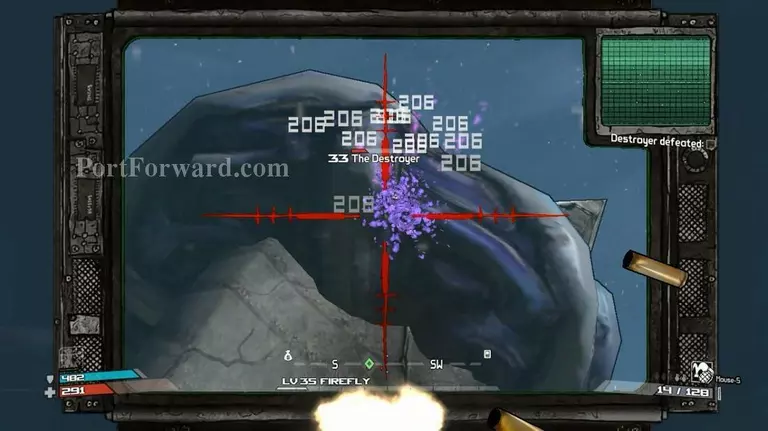
When the Destroyer health percentage reach at certain point, it tentacles will grab the rocks. Shooting its tentacle also deal quite some damage.

The quickest weapon to kill this thing are automatic rifle, smg or machine gun. Other than just are just useless.
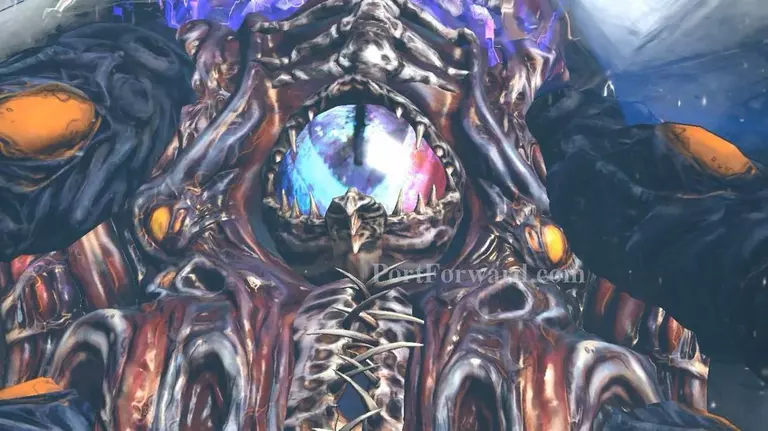
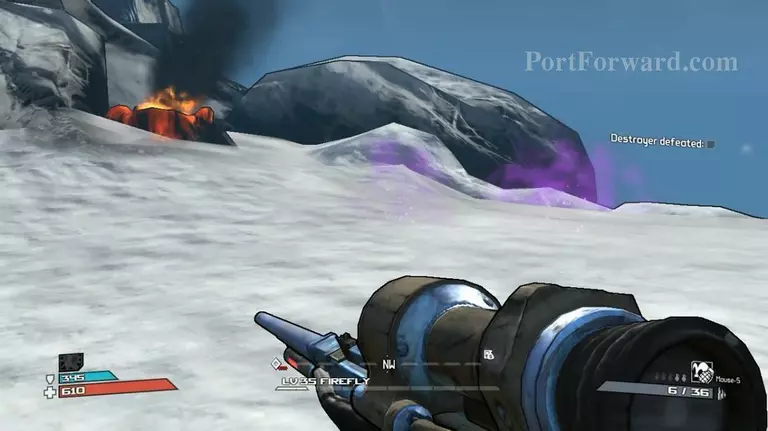
This is the end of Destroyer's life. Congratulations, you've beat the game!
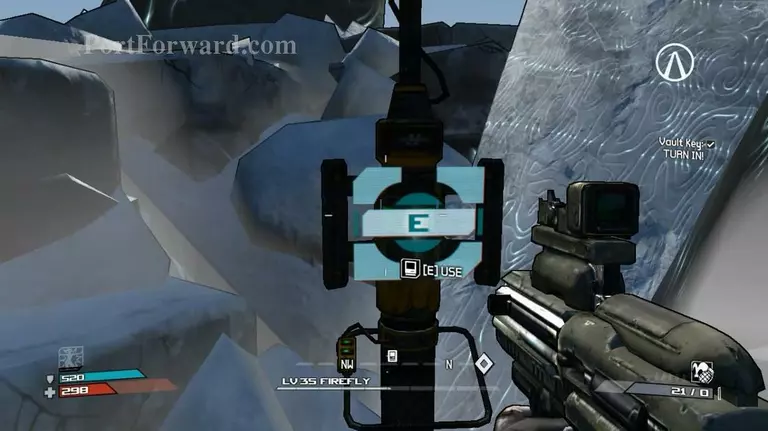
But your mission is not end yet. To get out, use the teleporter nearby and teleport to The Underpass.
Turn in to Tannis to finish this mission. You now complete the story mission of the game. There are many optional missions and DLC mission available in this game. Check it out.
Last but not least. Thank you for using this walkthrough. :)
More Borderlands 1st release Walkthroughs
This Borderlands 1st release walkthrough is divided into 52 total pages.