
This Chivalry: Medieval Warfare walkthrough is divided into 5 total pages.
You can jump to nearby pages of the game using the links above.
Picking a Class
To start out with, we're gonna play the Man-At-Arms. He is a quick, rapid-striking combatant that can be devastating If you even let your eyes off him for a second.
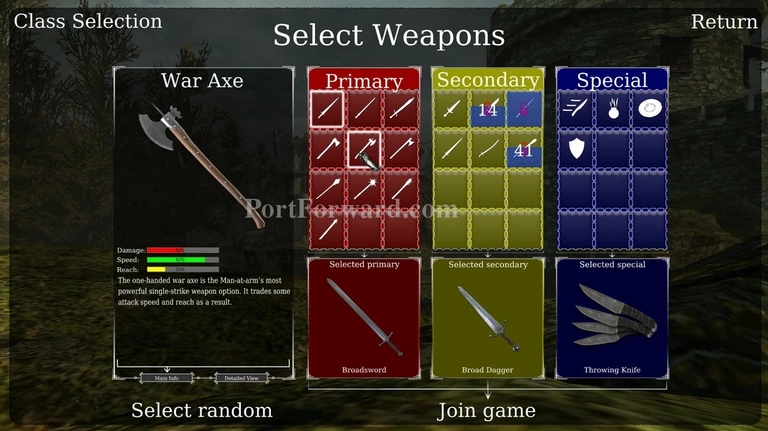
Once you pick Man-At-Arms, you'll be taken into a loadout screen. here you'll be able to choose weapons and utilities for 3 different weapon slots. Weapons unlock once you achieve kills with the prerequisities.
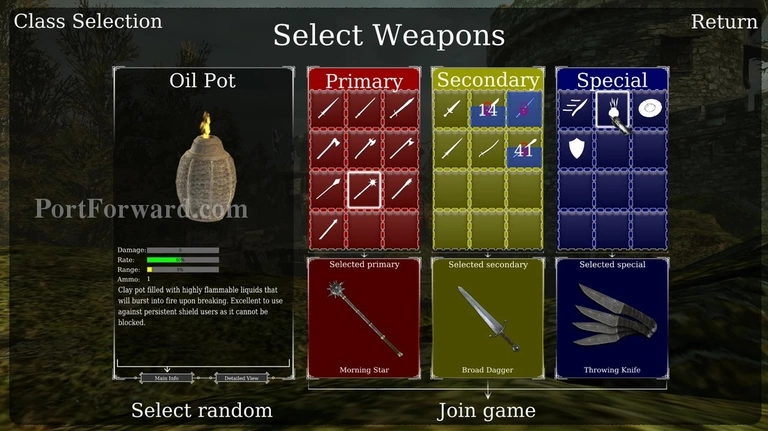
Man-At-Arms has some interesting exclusive weapons, including the Oil Pot. It's essentially a grenade that does heavy over-time damage to multiple foes If hit. In the hands of a master Armsman, It can be absolutely devastating towards the enemy team.
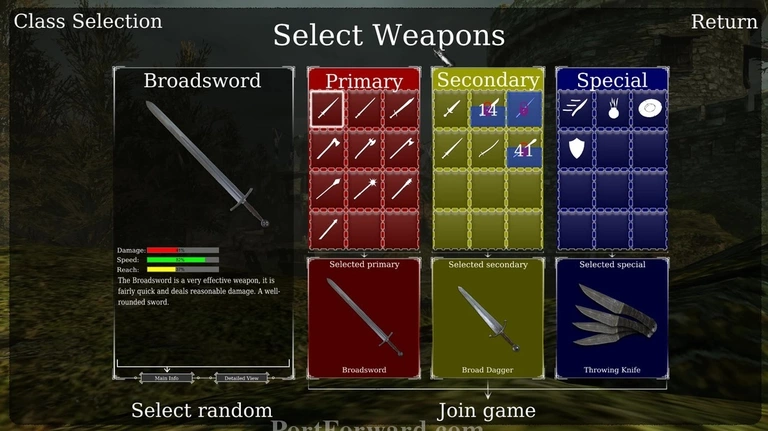
For now, pick your desired weapon. For this tutorial, we'll be looking at the Broadsword as It is an extremely quick-striking weapon that also does a nice chunk of damage without sacrificing reach.
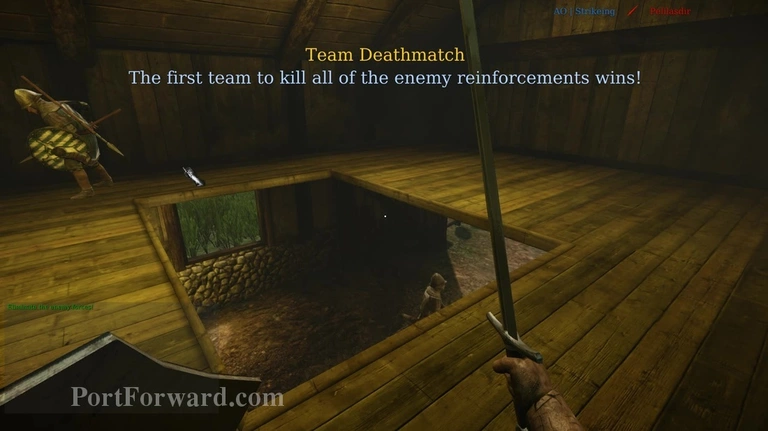
Once the loadout is finished, you'll spawn into the game. Often in the second floor of a barn which you will need to jump down of.
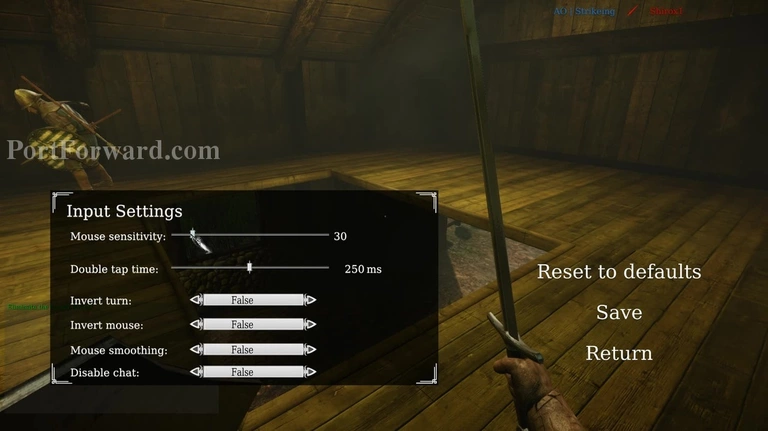
Before proceeding however, make sure you're comfortable with all the settings as It's an intensive first-person fighter.
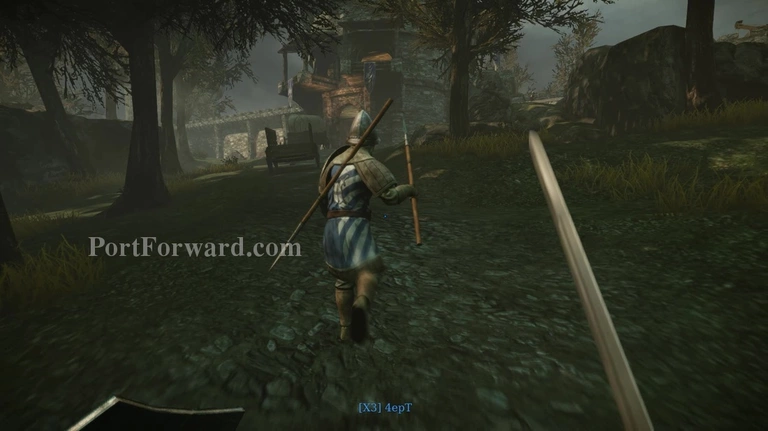
When done, head on out and try following your teammates at first to get a sense of direction on just where to go. In this case, It's a team deathmatch mode ontop of a large castle wall.
More Chivalry: Medieval Warfare Walkthroughs
This Chivalry: Medieval Warfare walkthrough is divided into 5 total pages.


