
This Dark Souls walkthrough is divided into 9 total pages.
You can jump to nearby pages of the game using the links above.
Gravelord Nito
When at Firelink shrine, run up the temple steps and take a left.
You'll come across the same Graveyard we got the Zweihandler from.
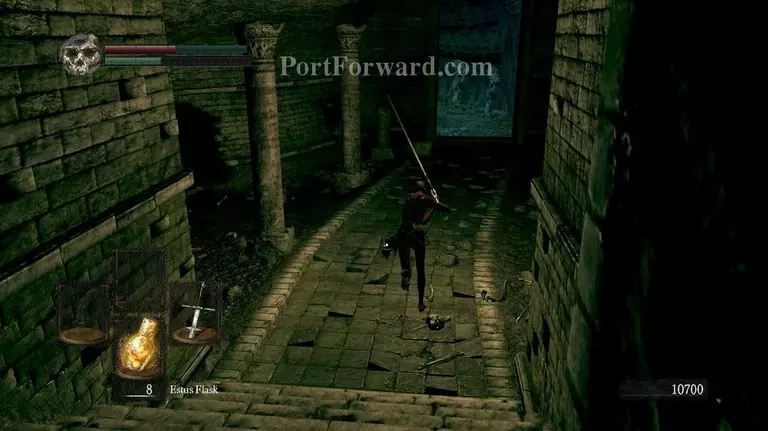
This time, head down the stairs that are located to the left.
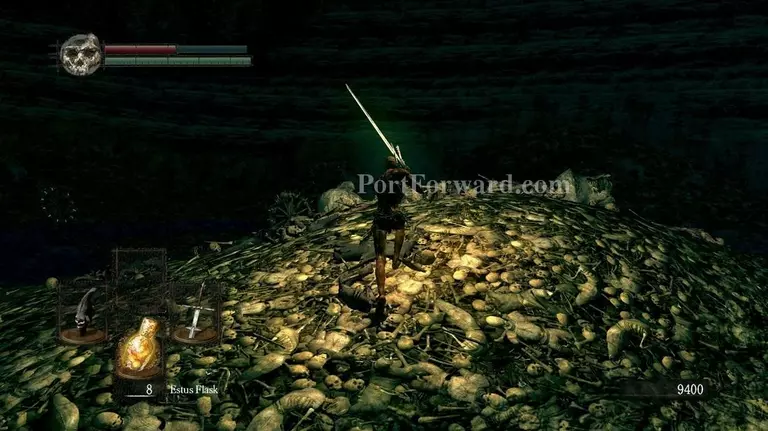
Keep heading down down and down. It will be worth it to just ran past all the foes you'll encounter due to some instant-death possibilities.
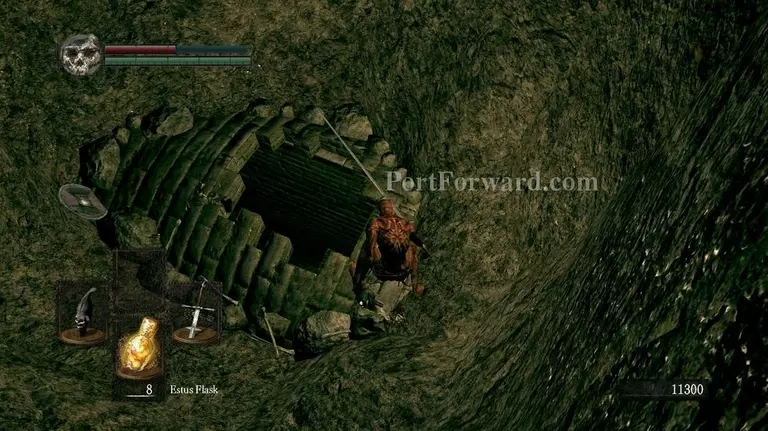
Once here, go to the left through the hole in the wall.
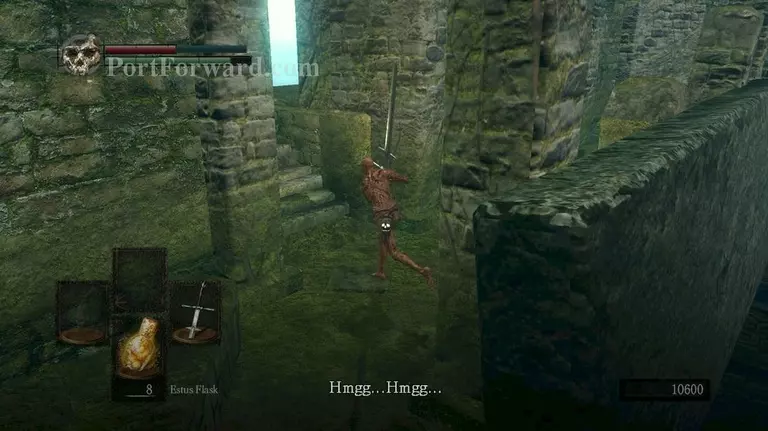
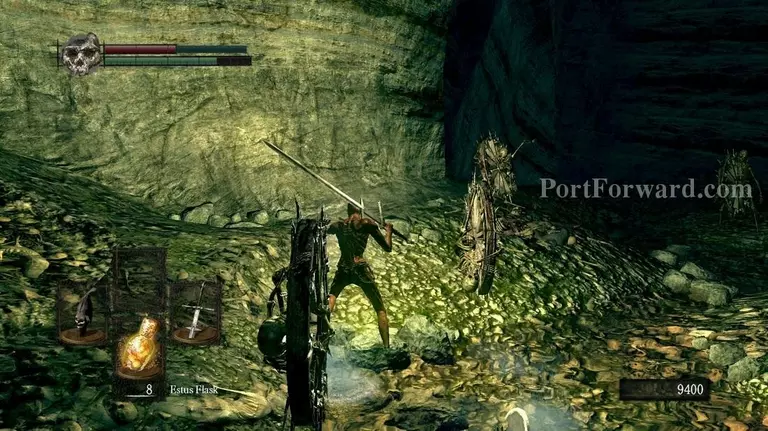
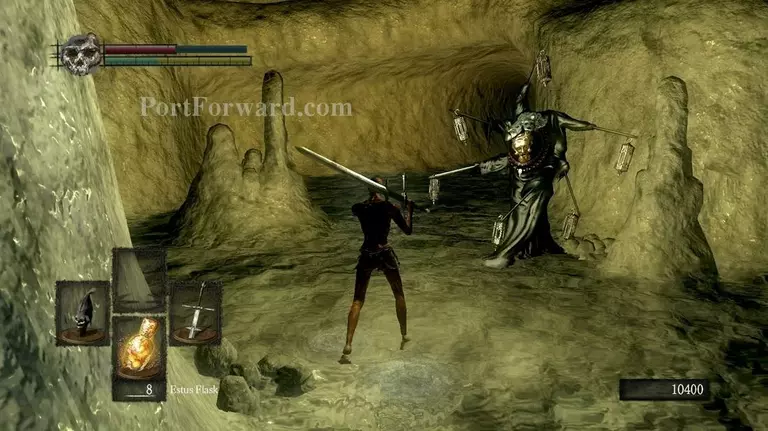
You'll come across a room with a hostile necromancer. Kill him..
And push in this lever to activate the passage up ahead while resting at the bonfire.
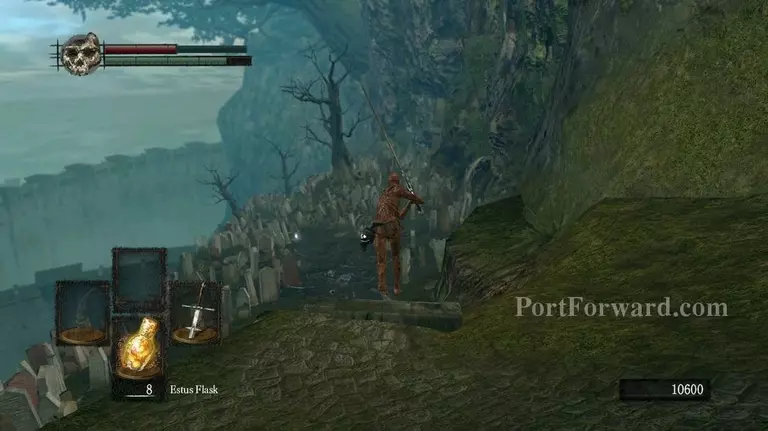
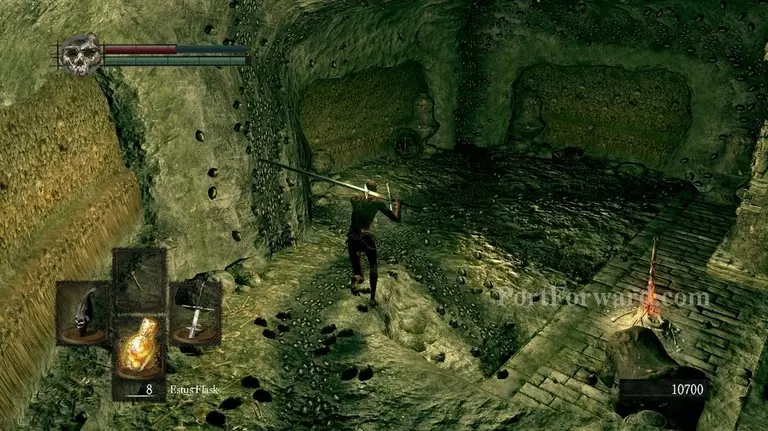
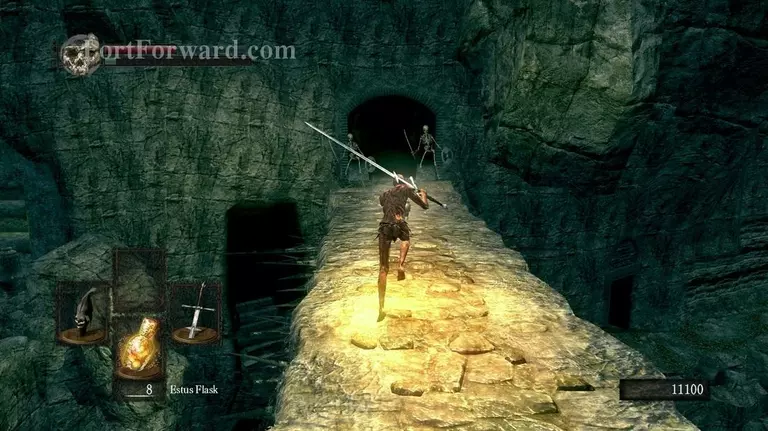
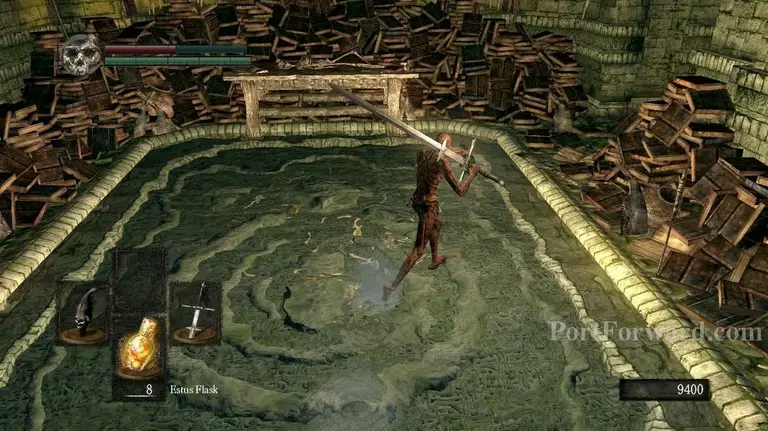
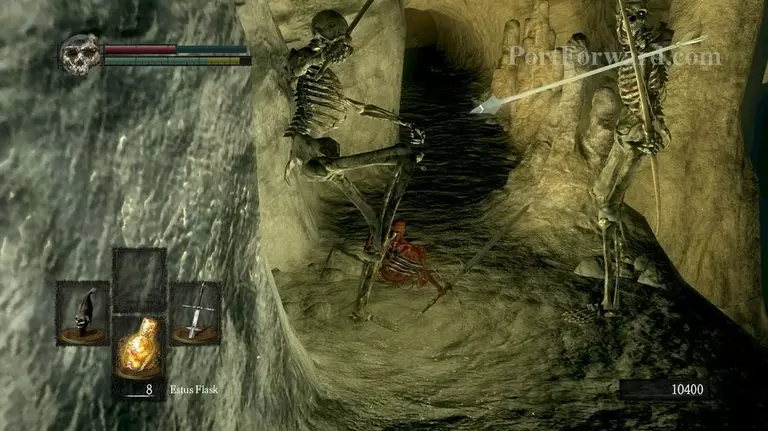
Once out, you'll come across a valley with several bridges that's full with skeletons. As you may have noticed from the previous mobs, the skeletons respawn unless you kill them with holy weapons or kill the commanding necromancers first.
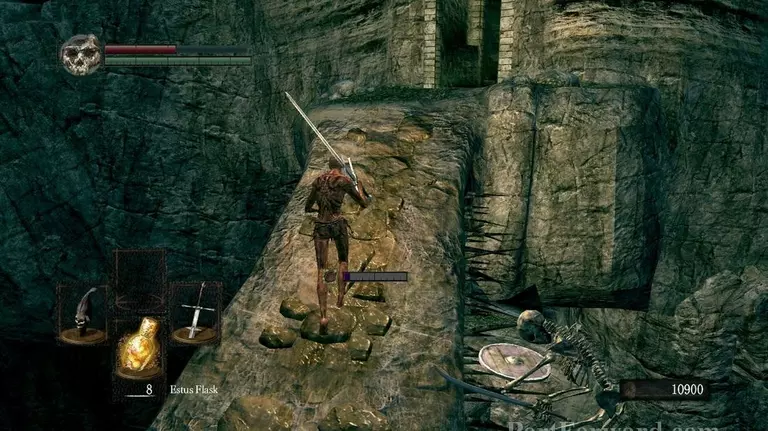
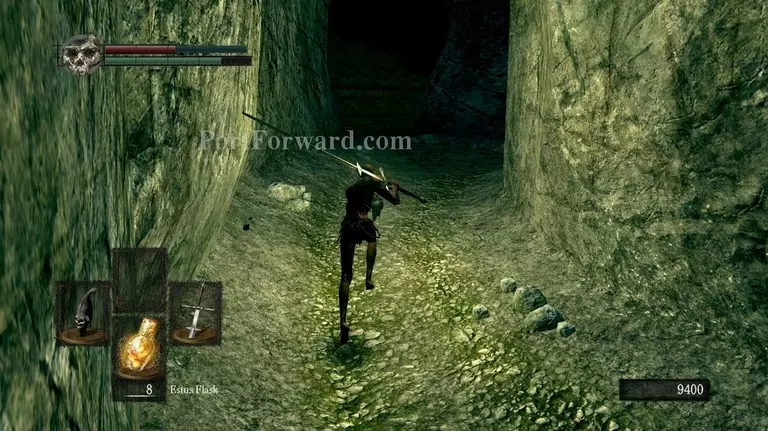
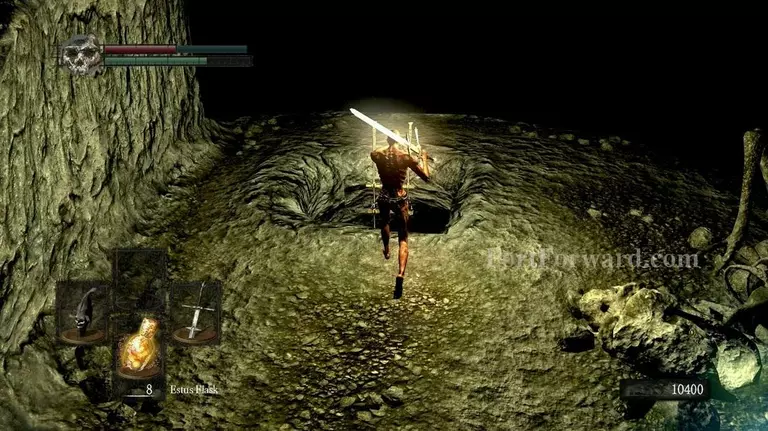
Run up this path, ignoring the skeletons.
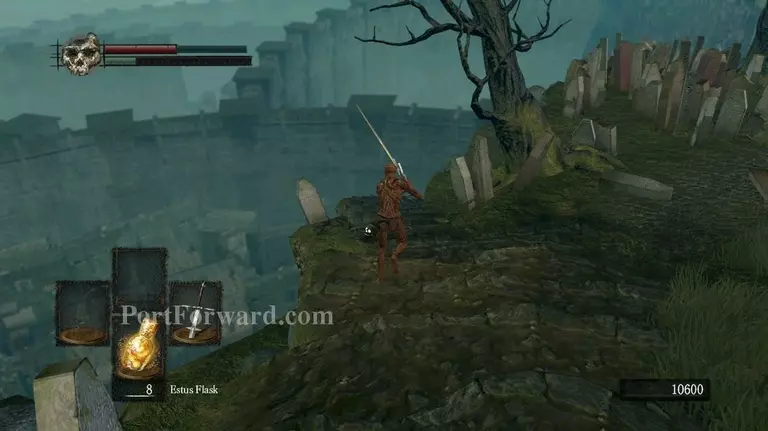
Take a left here.
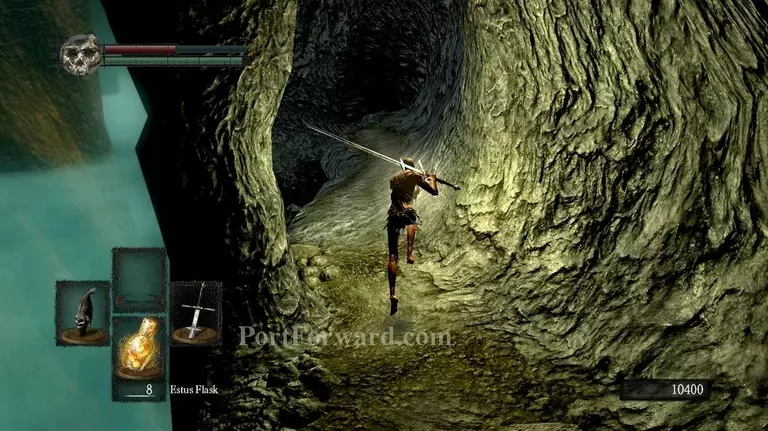
Take another left.
Take a right here.
This is a part in the game where even the most veteran of speedrunners very often fail. Push your luck or simply aggro them and quickly run back before running past to the necromancer behind.
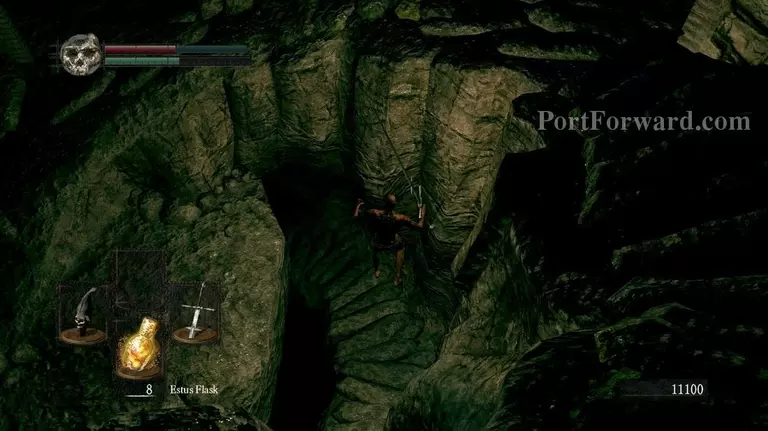
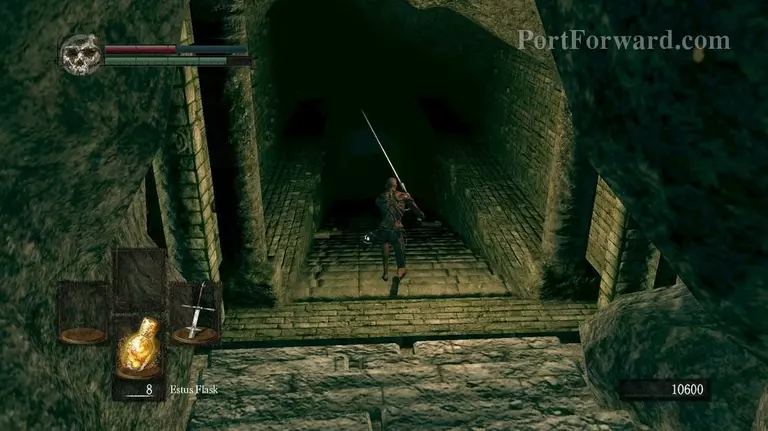
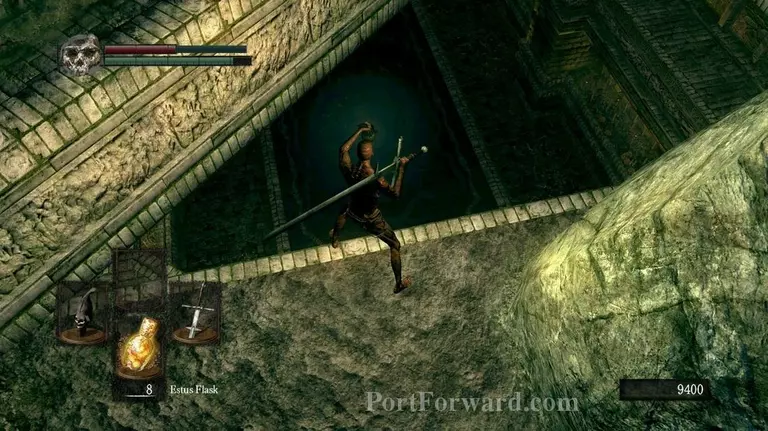
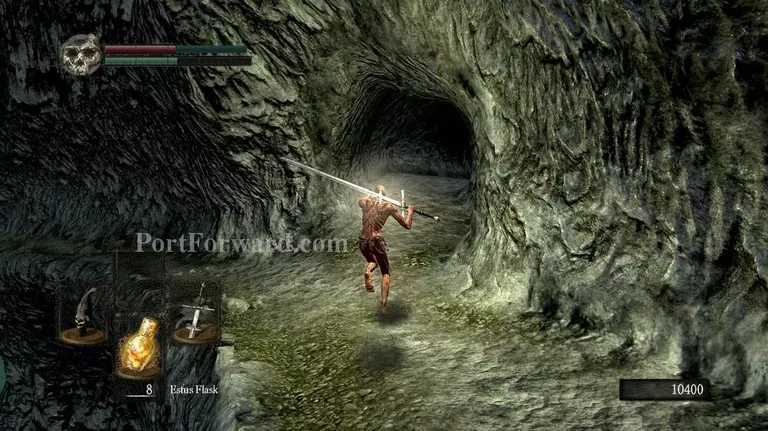
You'll come across a large section of circular stairs. Head down them.
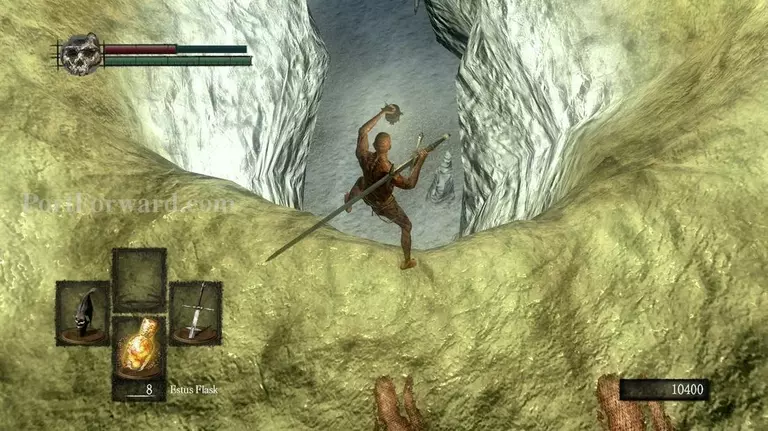
Where they end, simply walk off the edge.
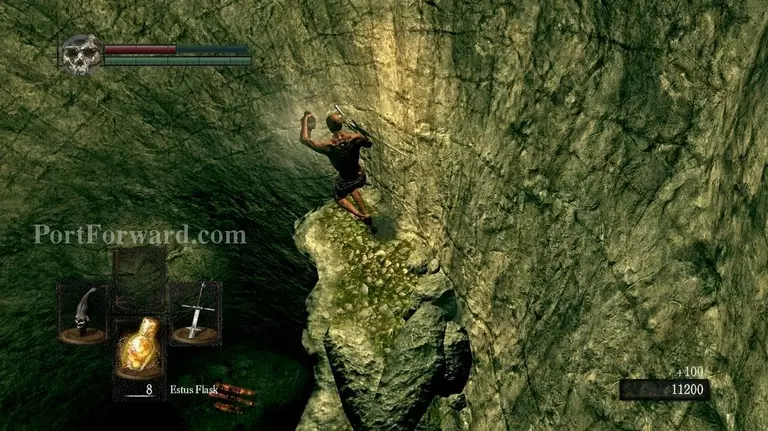
Land on this pillar, heal up then fall down again.
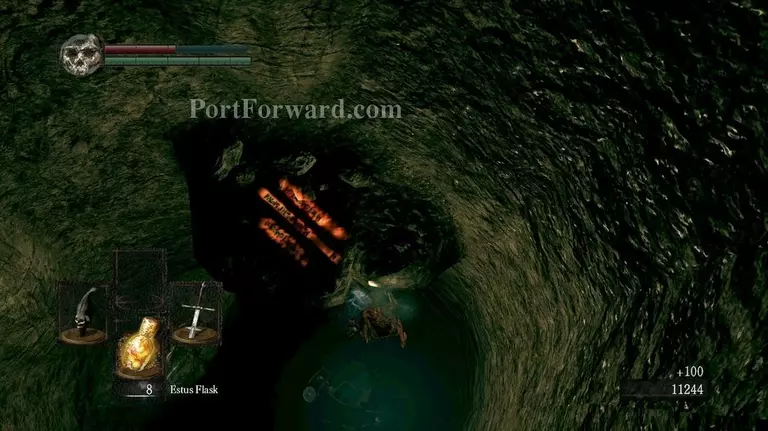
You'll end up down here. Jump down the hole.
A cutscene will start
Originally trapped, he'll open a hole in the wall for you.
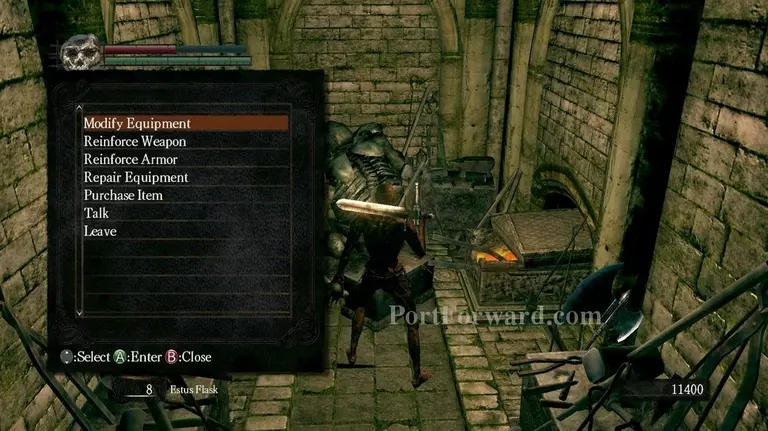
Take this opportunity of buying items and repairing & upgrading some of your gear. I recommend buying some Homeward bones while you're at it.
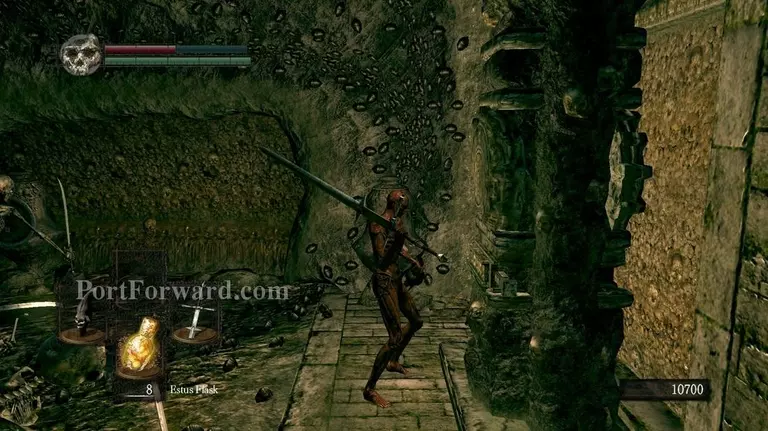
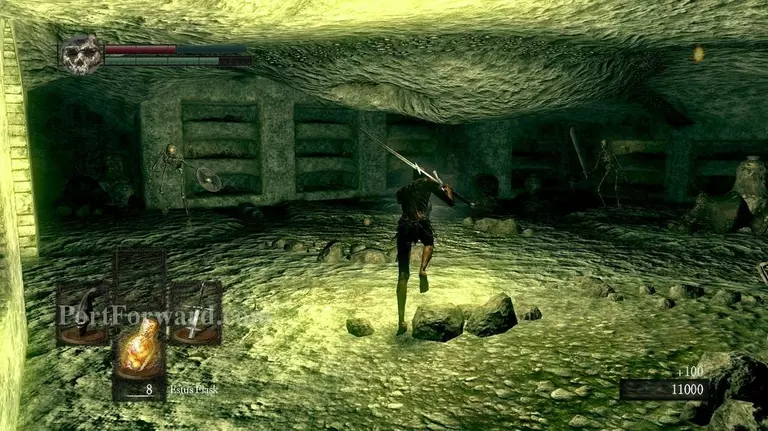
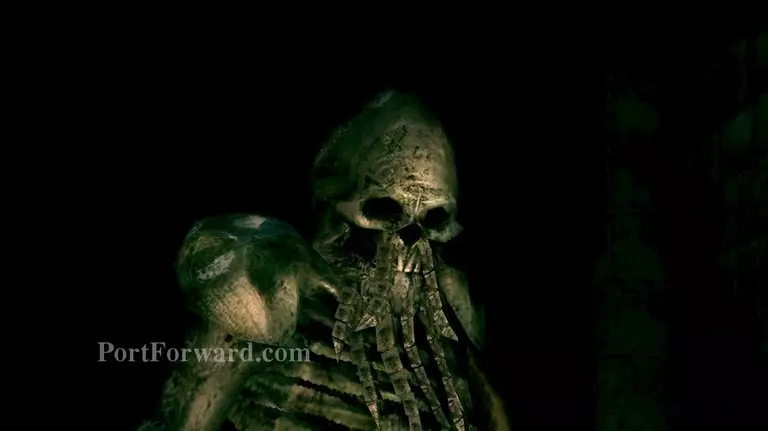
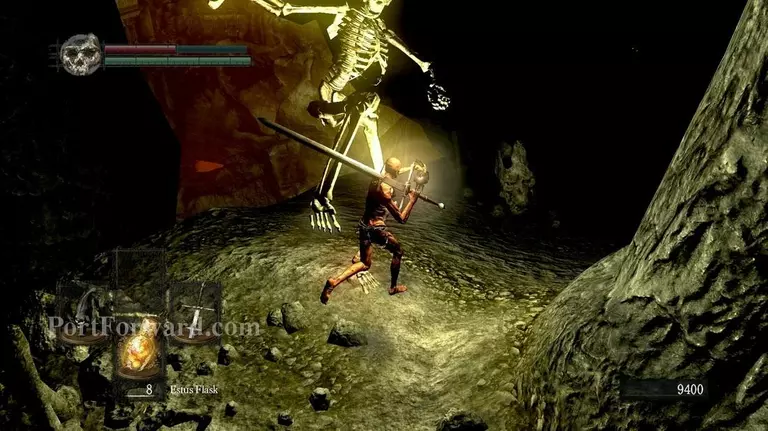
Through the hole in the wall, you'll come across one of the most notoriously hard areas in the game. These are Pinwheel Skeletons. They do absolutely insane damage, are seemingly impossible to run away from and there are dozens of them.
They will spin onto their wheels and come flying after you 24/7. The only way to get past them is to pray and zick-zack yourself through the valley up ahead.
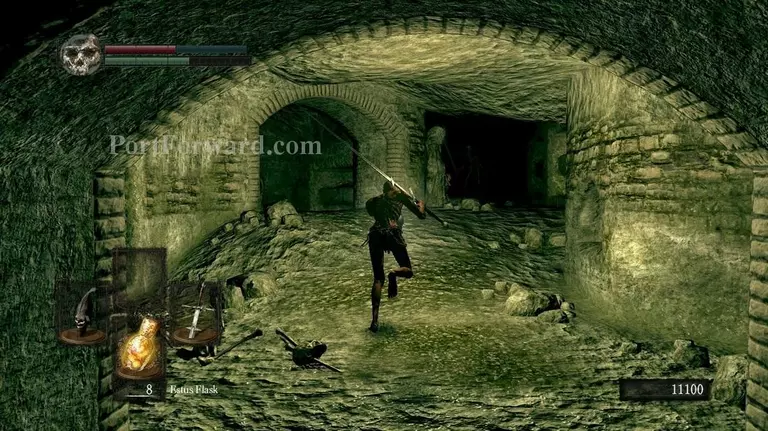
Proceed through the fog-gate and go up ahead.
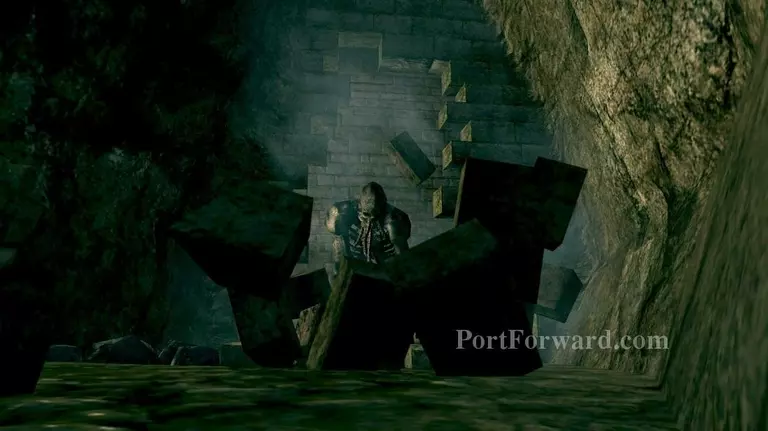
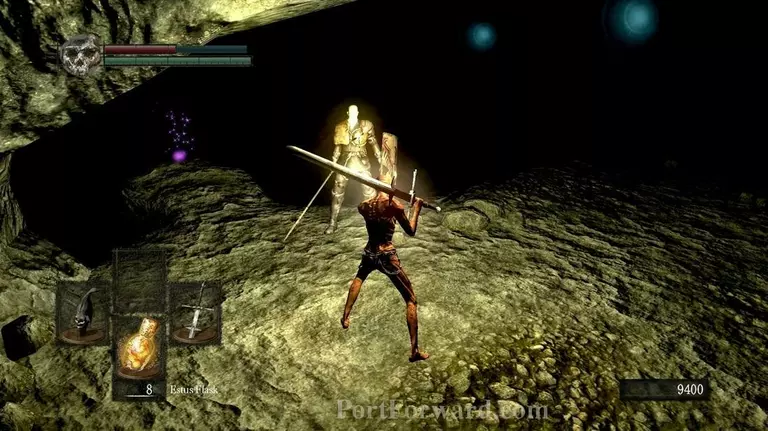
Down here will be a mini-boss, hardly worthy of note as he'll be a common mob later in the game.
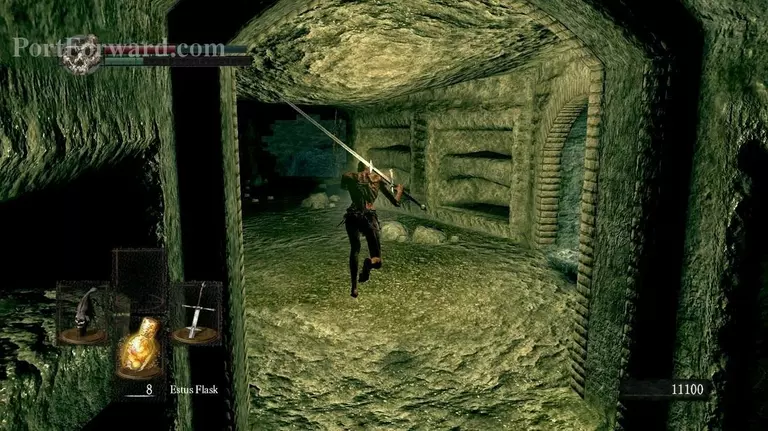
He will spawn fake versions of them which are of lighter textures than him and all they do is shoot the occassional magic at you. Hit the original a couple of times to make the boss seemingly harmless. Once dead, head up to the right here.

Climb up the subtle ladder.
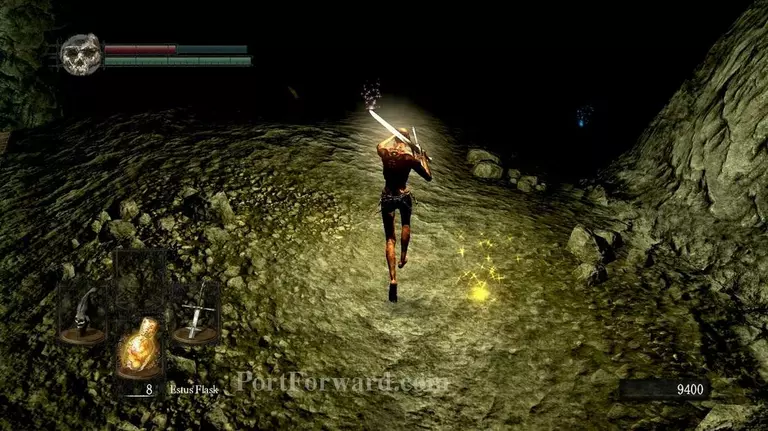
You will come across a seemingly pitch-black area of the game. This section is also notorious for being hard as It is filled with dangers. Equip a skull lantern (If you have one, drops from the Necromancers) and proceed through the dark or follow the glowing orbs carefully.
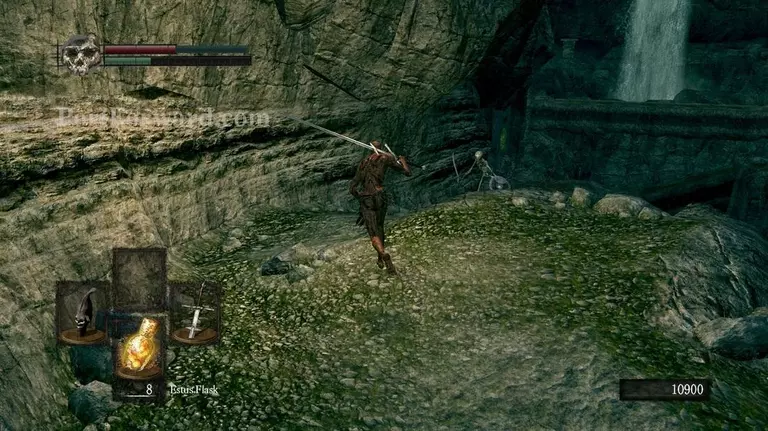
The threat here will mostly be Giant skeletons. They do devastating damage but are rather easy when avoided.
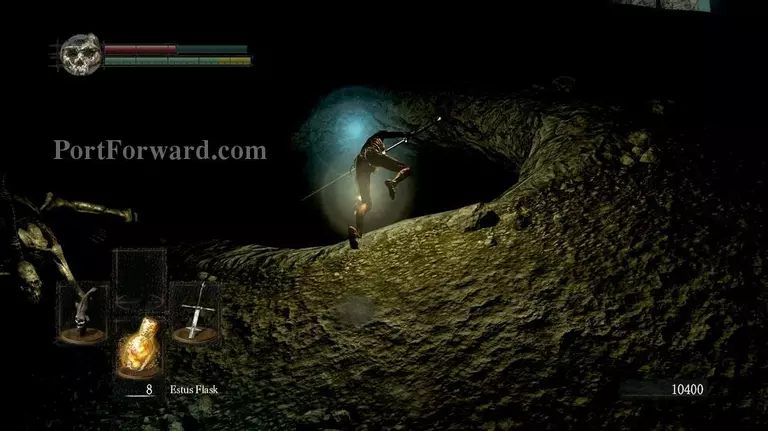
Some segments you'll have to slide down.
At here there is a bonfire, simply jump down the platform to the left and rest or head on ahead to the right.
You'll come across an NPC that does a small event if you go to the purple shining orb. He'll kick you down to a bunch of corpses that have a Skull Lantern on them. I recommend ignoring If you have one already and going to the right, following the giant blue orbs.
Jump down here and keep running as It's usually a death-sentence at this point.
Keep following the Orbs and don't stop for anything.
Go down this hole.
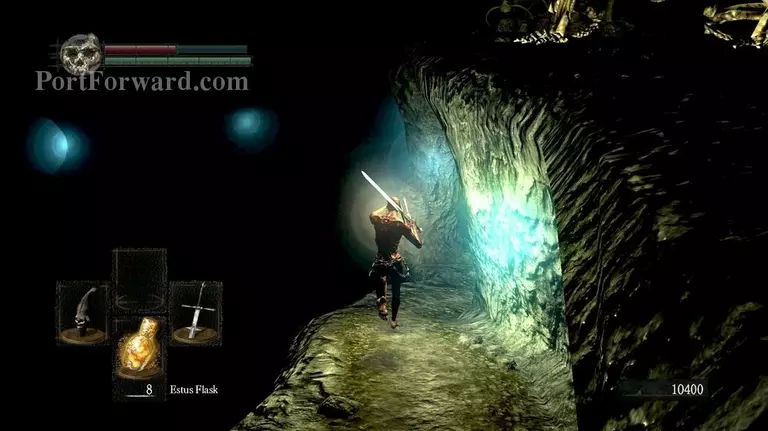
Follow the path and you'll finally be somewhat outside again.
Head into this cave.
I recommend just running up ahead.
You'll come across several versions of the previous "Miniboss". Ignore them and head upwards.
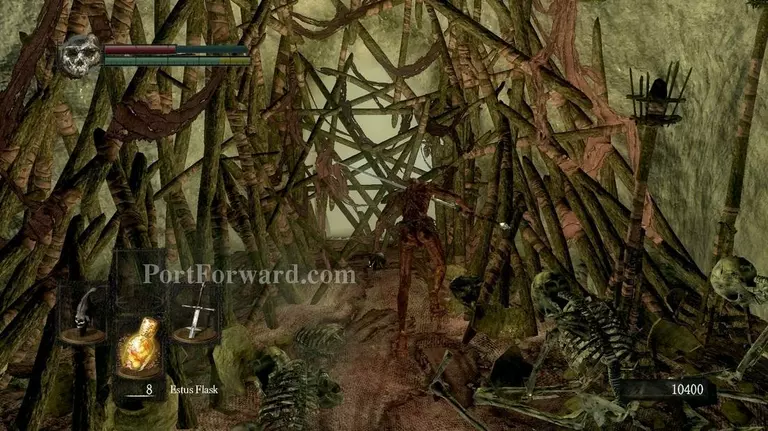
Roll through these tightly packed bunches of sticks and go through the fog gate.
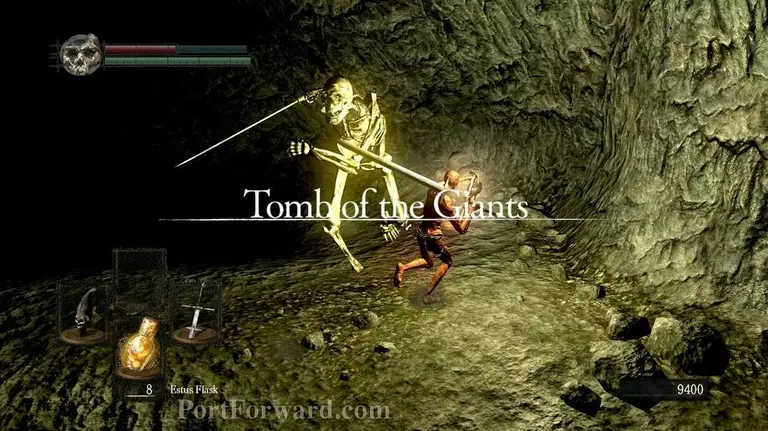
Jump down the hole and heal up immediately. Bossfight + major falldamage.
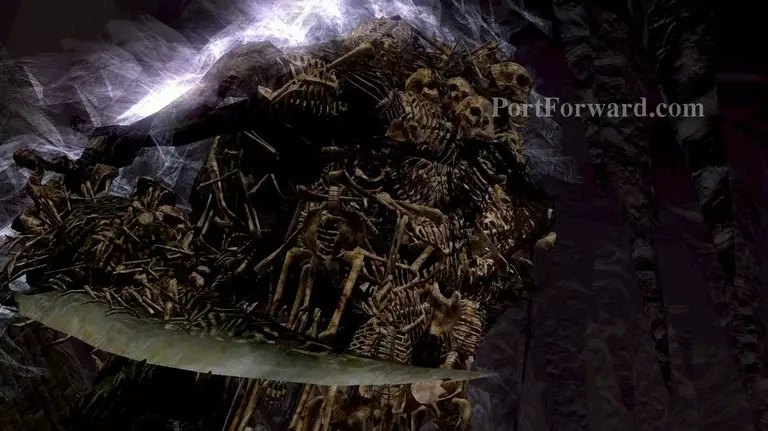
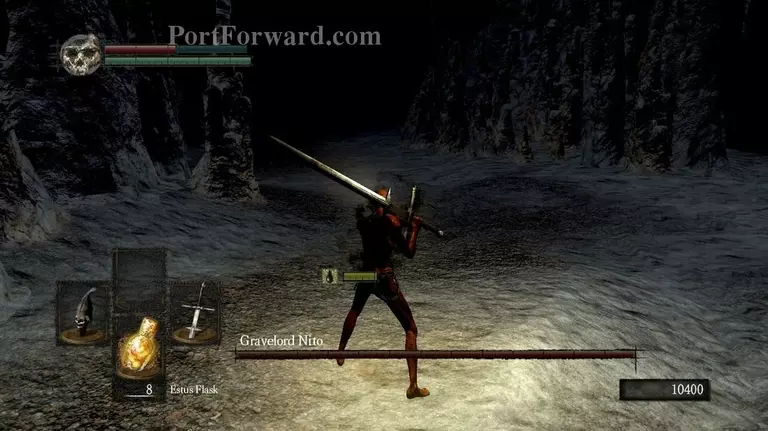
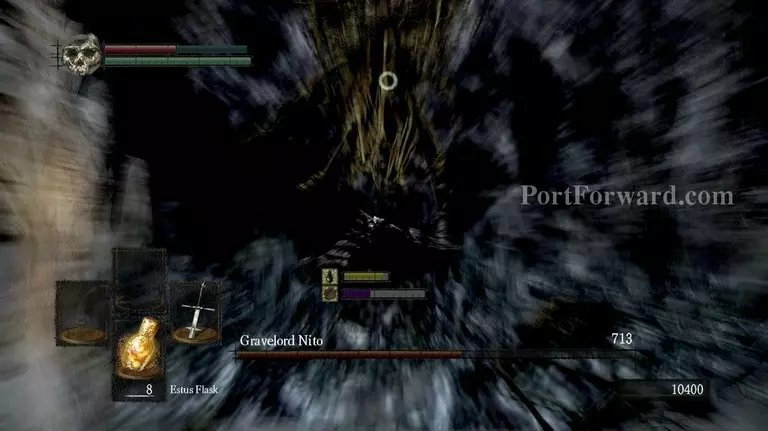
Gravelord Nito will awaken and come chasing after you.
Stand at the point around where you fell down to avoid aggroing several mean-spirited giant skeletons.
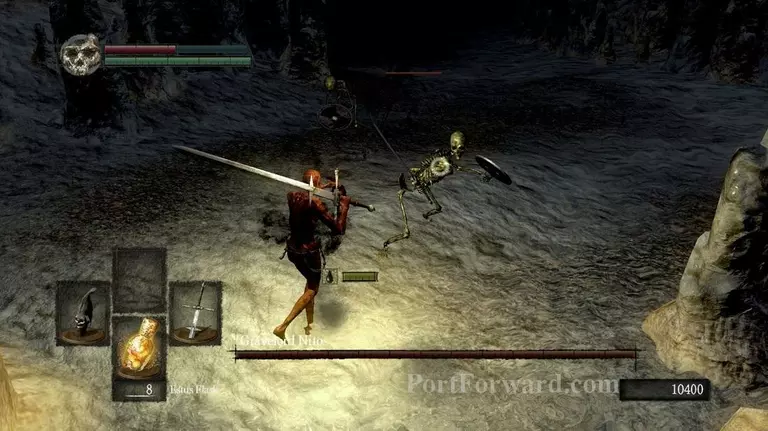
There will be several small skeletons coming after you. These will pretty much be the main menance of this boss. They will revive once you kill them unless you kill with a holy weapon.
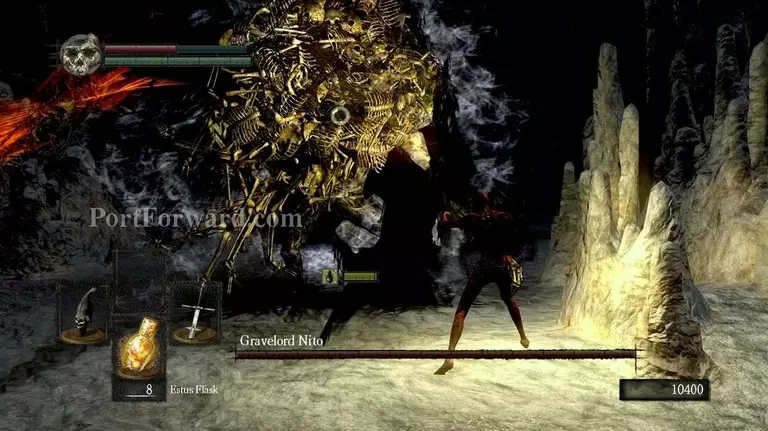
Eventually Gravelord Nito will come crawling up to you.
He can pretty much only do thrust attacks originating from his right. Simply go up to his left and smack away at him.
If you are too much close to him, he'll repeatedly do a big AoE. Equip a sturdy shield and block while this happens or move far, far away/roll it.
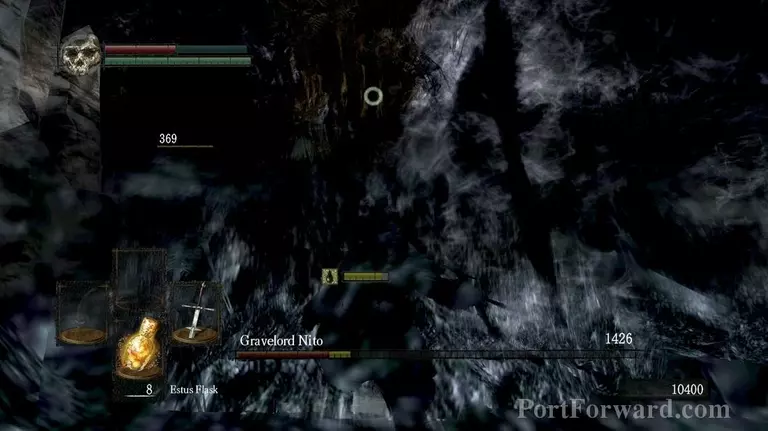
A good thing to note is during this AoE, he will kill his own skeletons. Take use of this properly and he will be a breeze to kill.
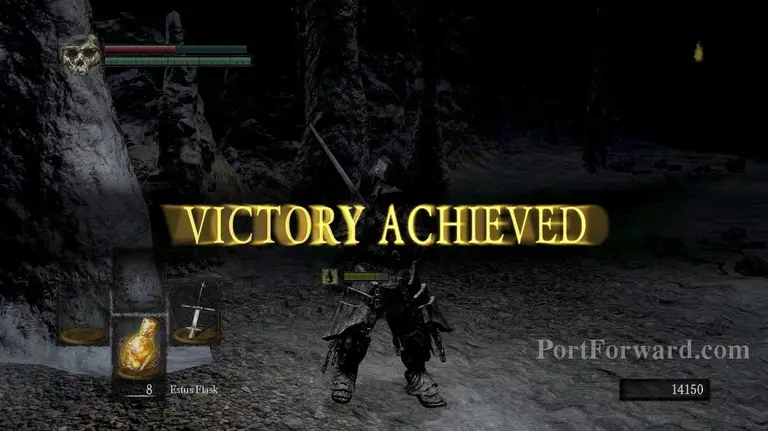
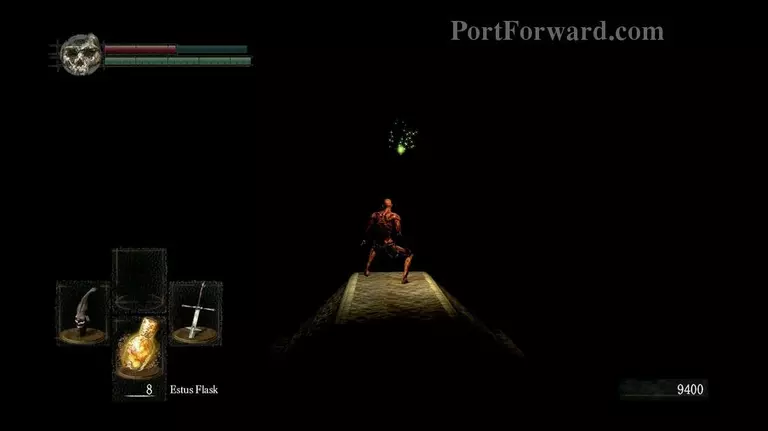
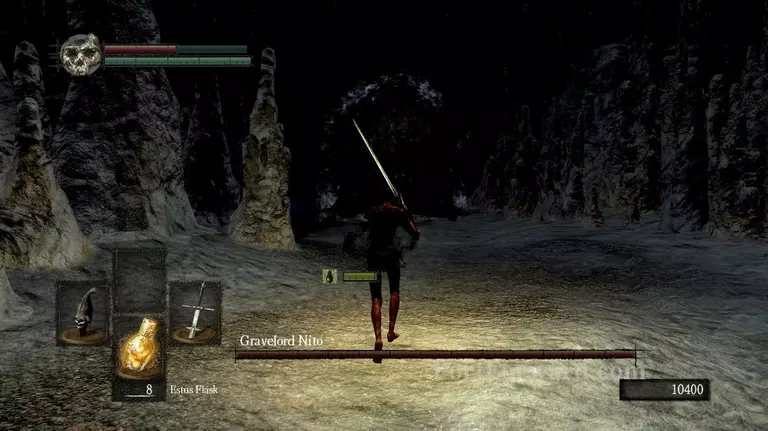
Once he is dead, all the skeletons will fall with him. Run towards his giant crypt.
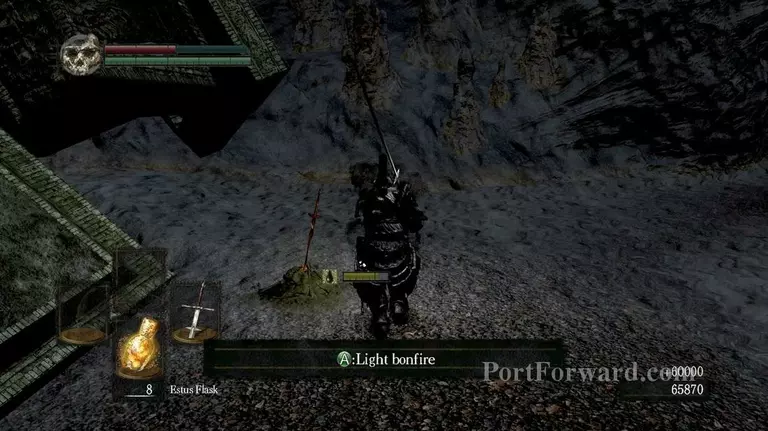
A bonfire will be here. Rest at it and warp to Firelink Shrine.
More Dark Souls Walkthroughs
This Dark Souls walkthrough is divided into 9 total pages.


