
This Dark Souls walkthrough is divided into 9 total pages.
You can jump to nearby pages of the game using the links above.
The Bed Of Chaos

Once Gravelord Nito is dead and you're back at Firelink Shrine, run back the stairs towards the elevator.
You might have to pull the lever to make the elevator come up.
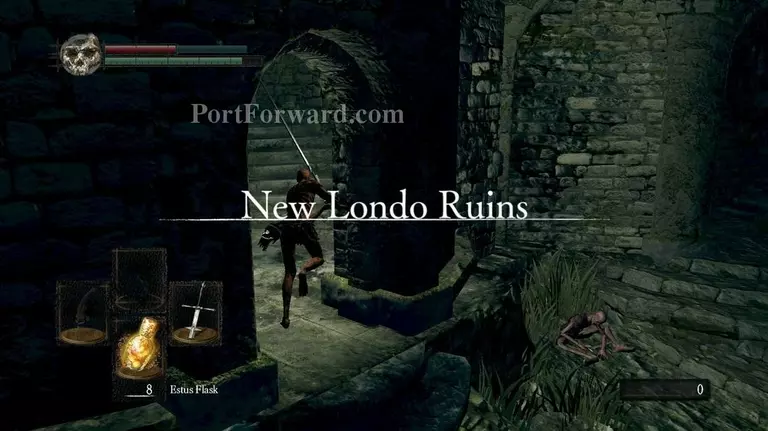
Once down, go into the second tower and towards the Valley of Drakes.
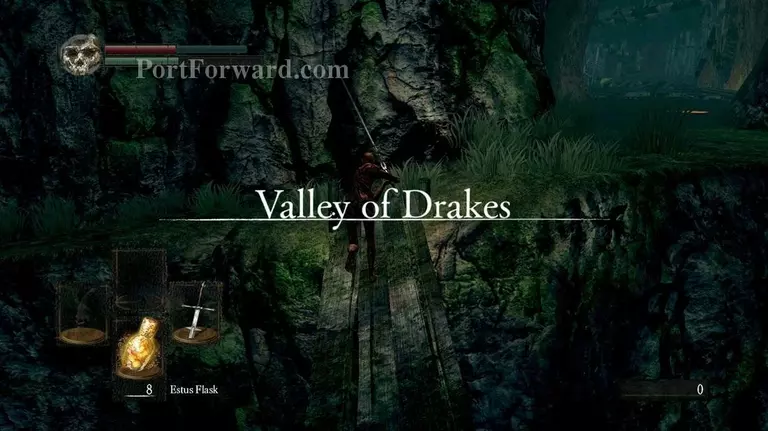
Cross it and go through the tunnel.
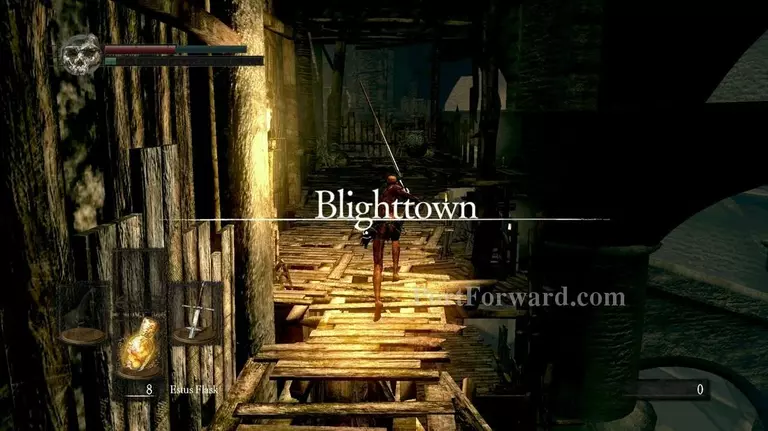
Go back the extensively big amounts of ladders towards the elevator.
Then go down the elevator once again and rest at the sewer bonfire as before.
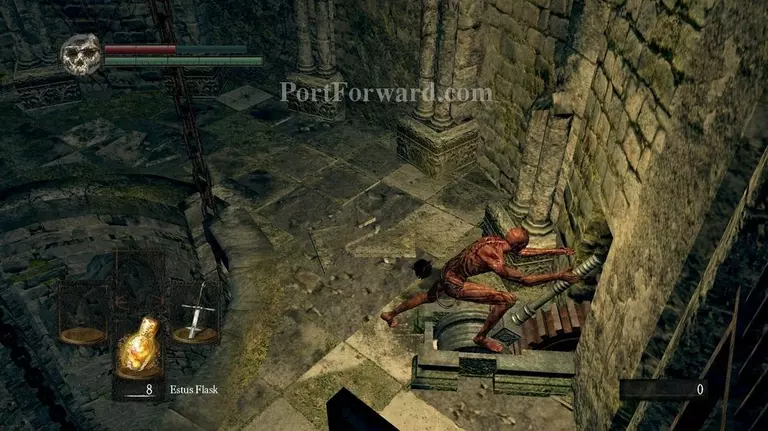
Once rested, run back through the swamp water and back to where we fought the giant spider boss.
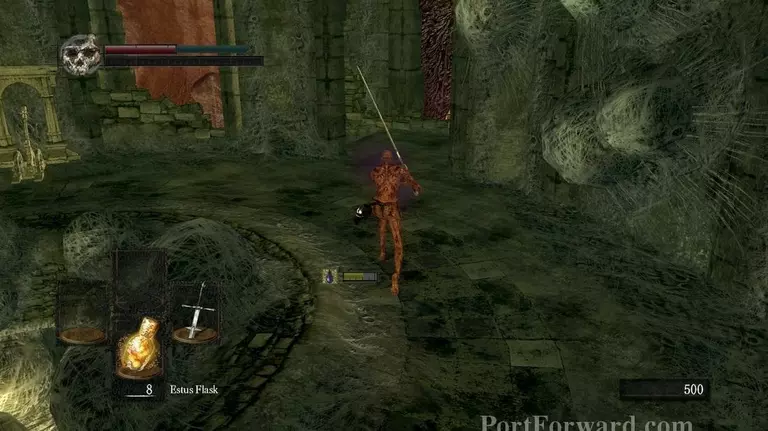
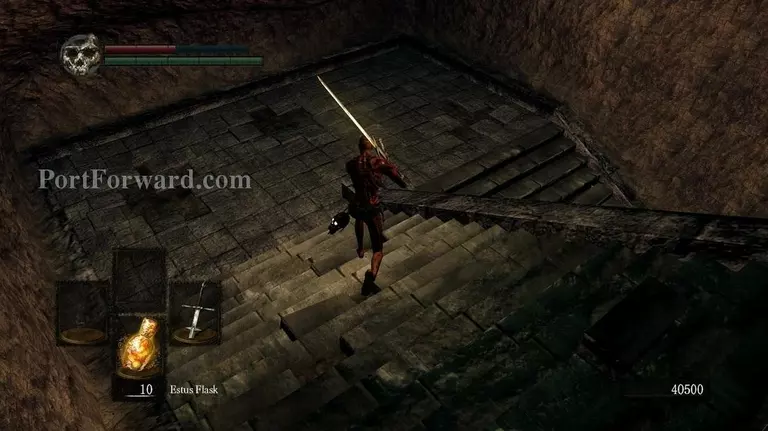
Once in the bell room, run down the stairs to the right.

Go up to this wall and hit it to reveal a hidden passage.
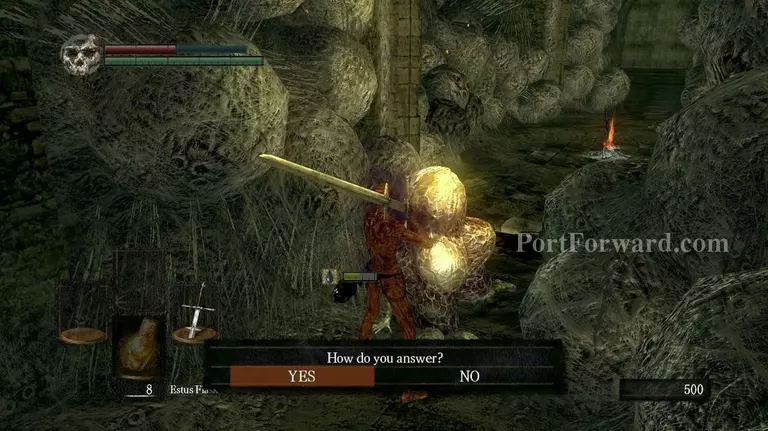
Run up and talk to this NPC. Press "Yes" when prompted.
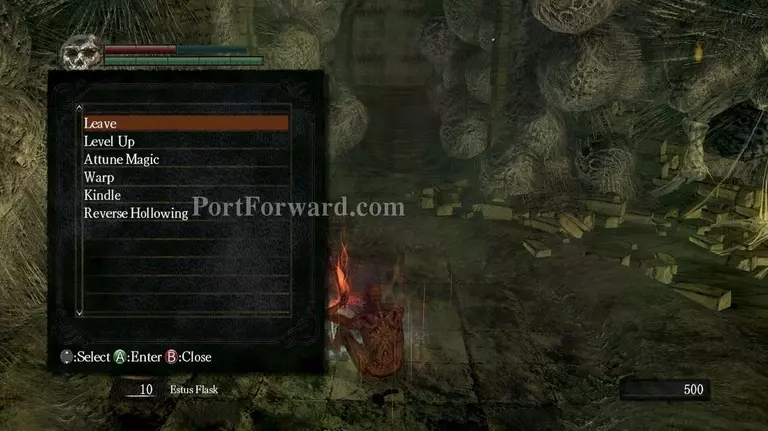
Rest at the bonfire and then run back, take a right.
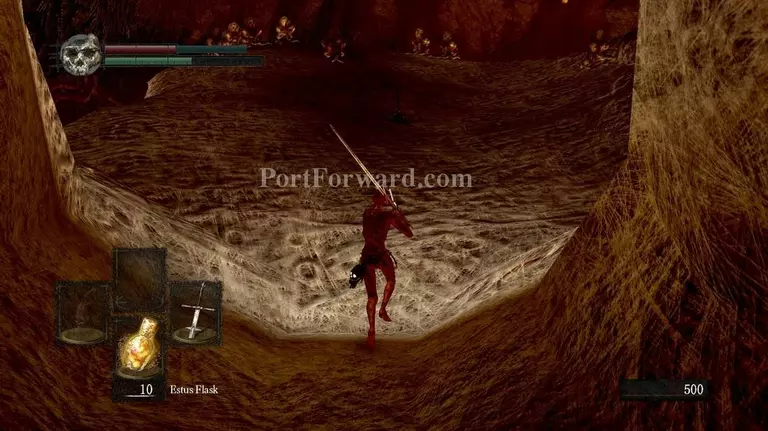
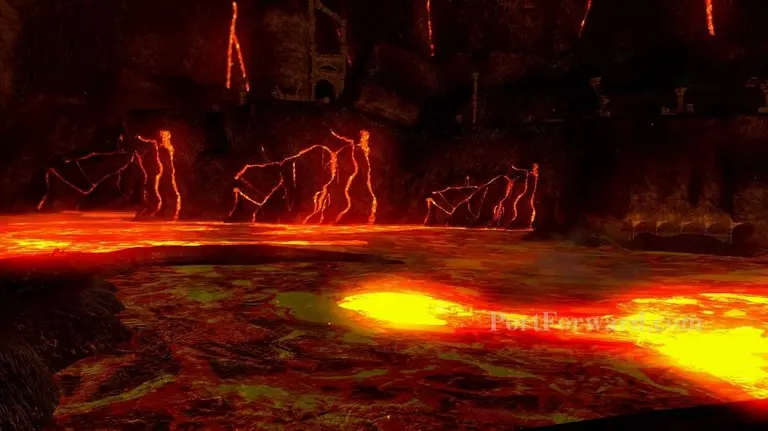
You'll come across a massive underground cavern with lava and spiderweb along with another bonfire.
Go down the mountain and take a right.
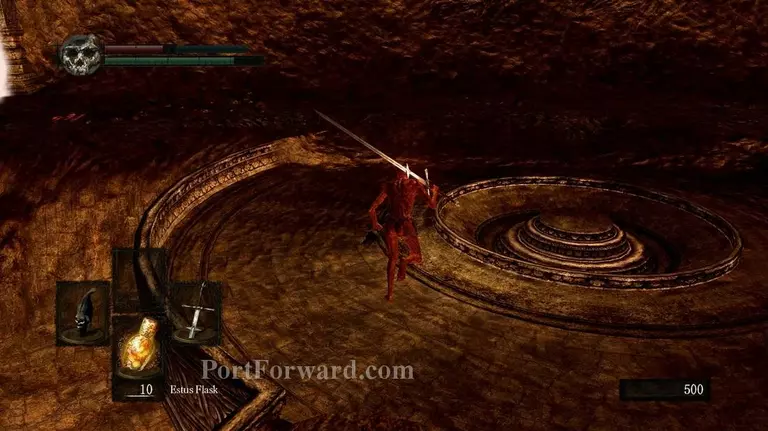
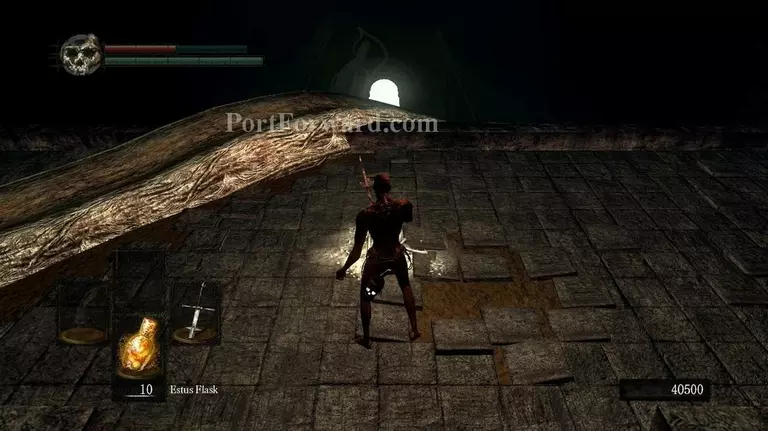
Run down the long wall section and then take a left and go through the fog gate
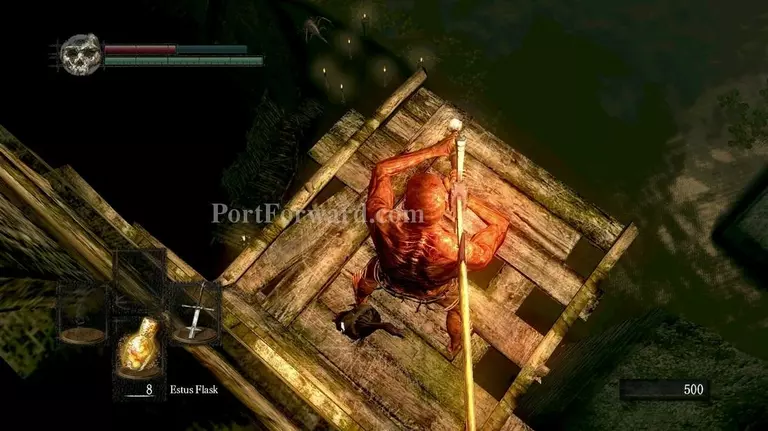
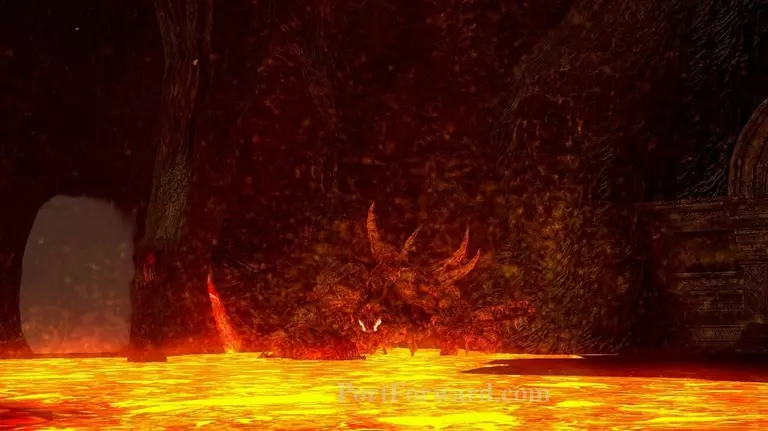
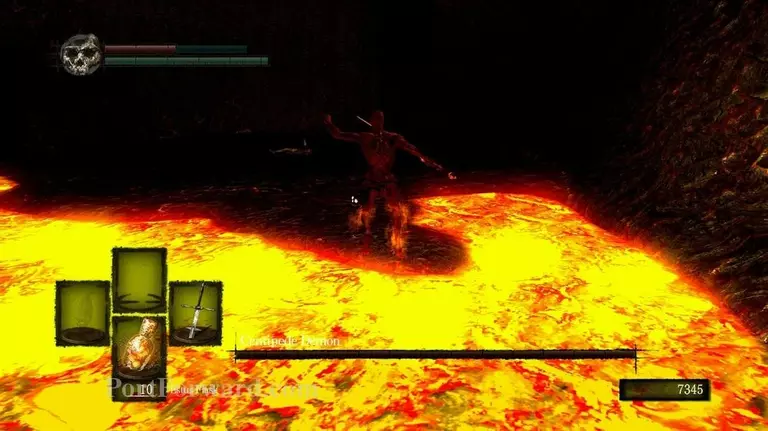
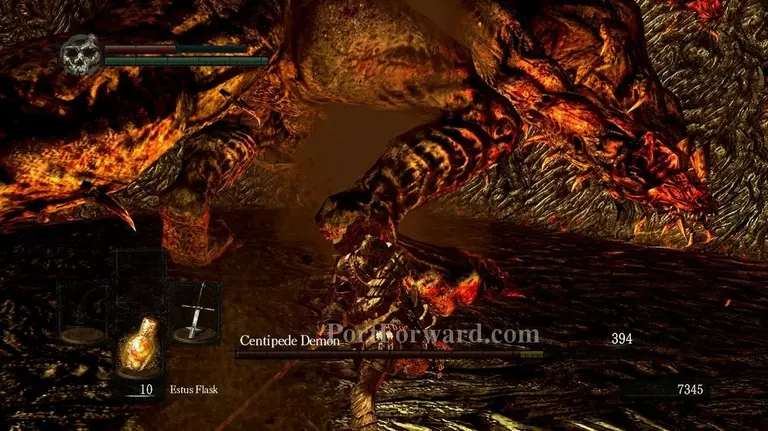
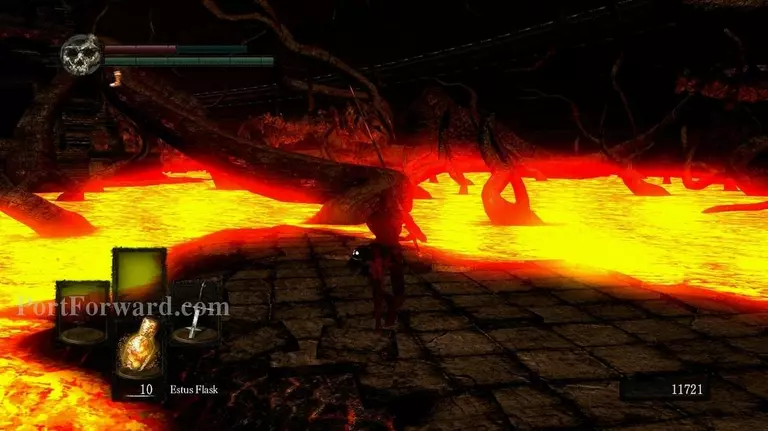
Go ahead and you'll see a gigantic tentacle-ridden lava monster seemingly standing there, doing nothing in the midst of your presence.
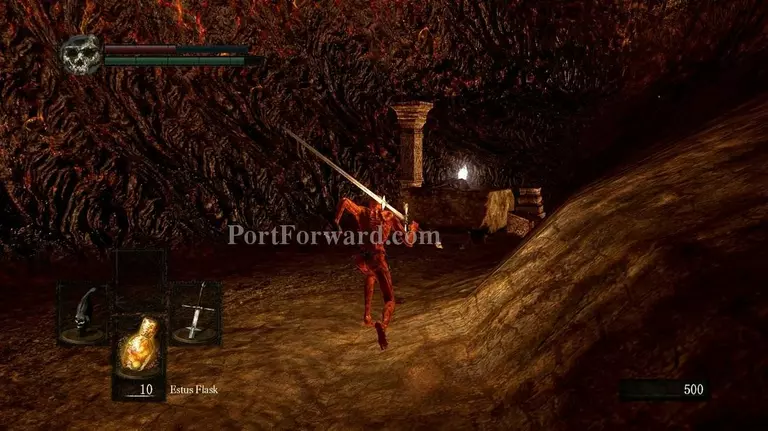
Run ahead and take the items off the altar..
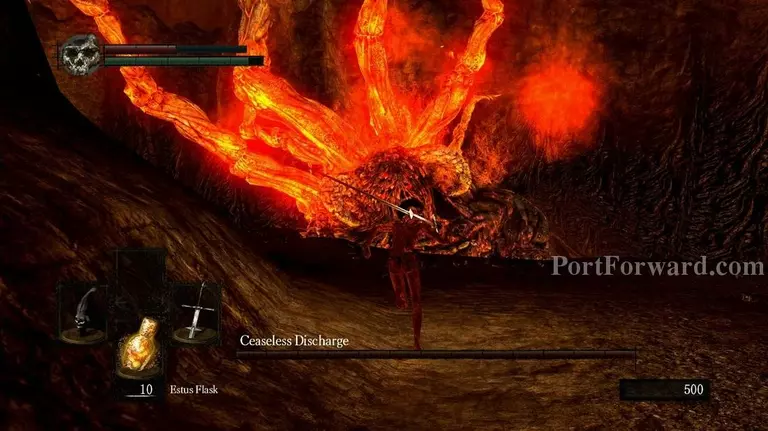
This will aggro the boss, starting one of the most potentially difficult "legit" battles in the game with massive aoe spam, huge ranged attacks and overall massive health-pools.
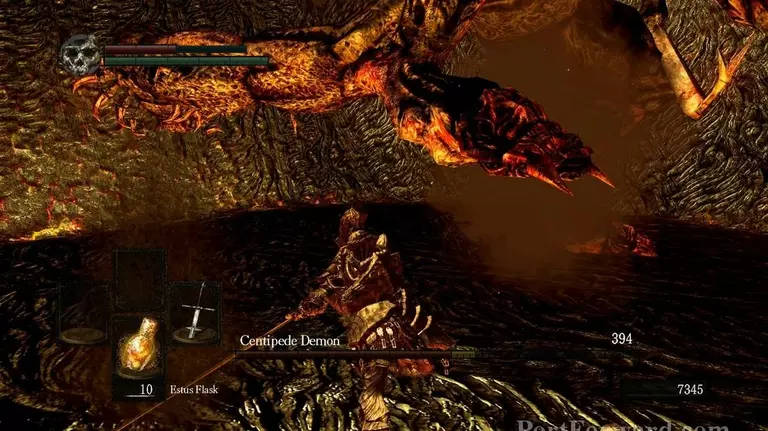
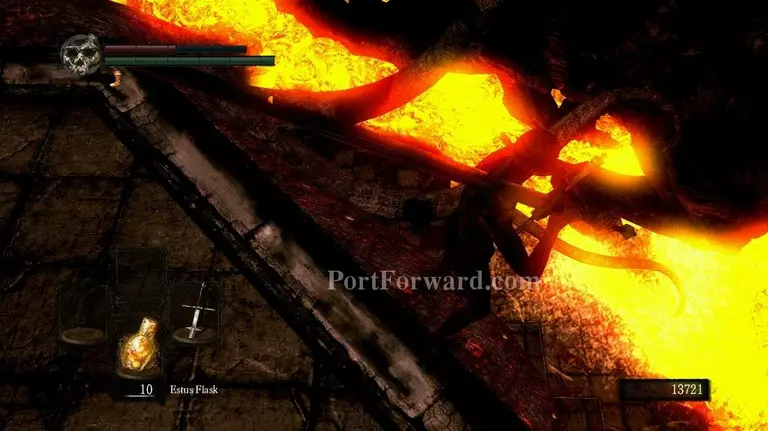
To avoid this, run back to the fog gate.
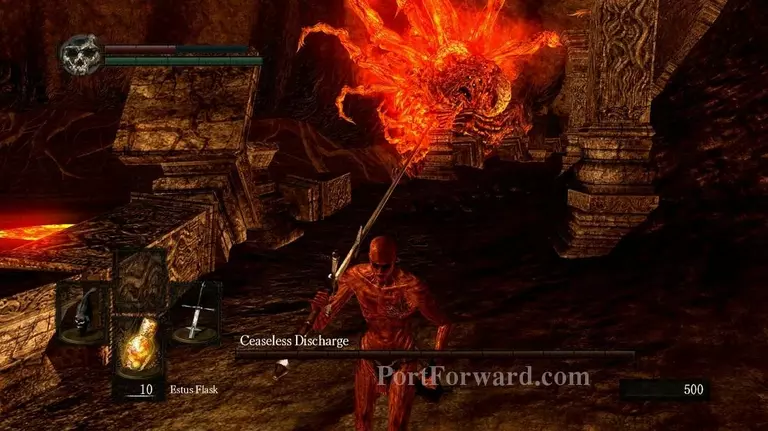
The boss will eventually follow you and then run out of standing space.
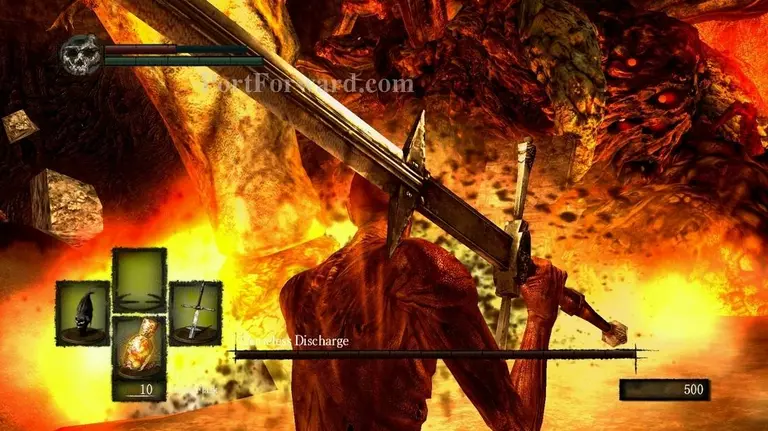
Instead, he will jump onto where you are, hanging onto the lava ledge helplessly.

Attack the tentacle that's impaled into the ground next to the fog gate to instantly kill the boss by making it fall down.
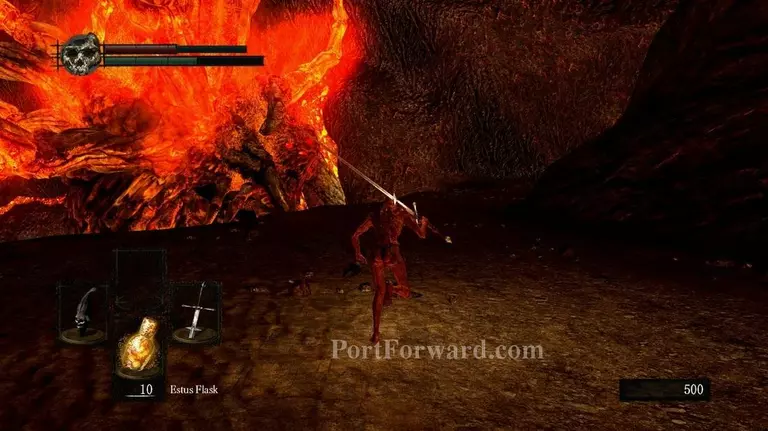
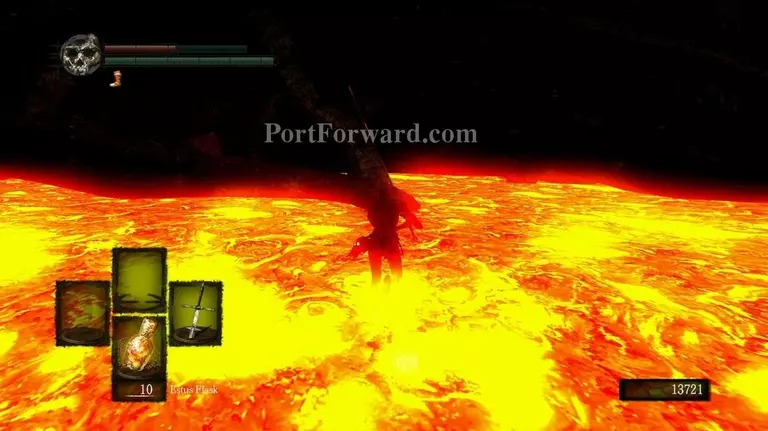
Once dead, most of the map's lava will harden, creating new passages for you.
Go down the mountain and run in this direction.
There will be a Capra demon waiting for you there. I recommend killing it as It can chase you very fast and far.
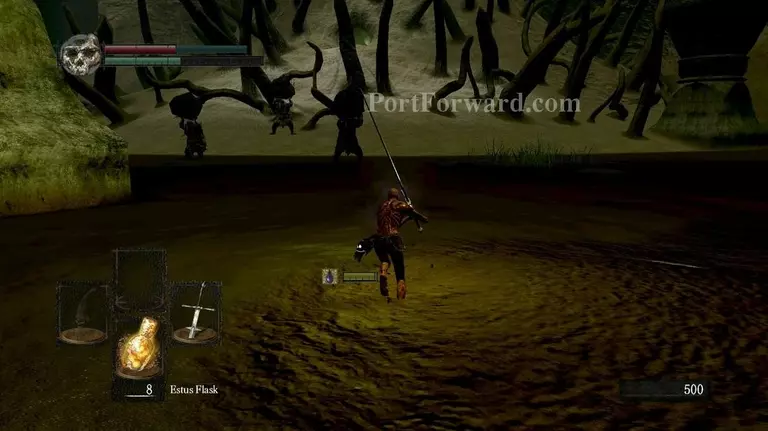
Once It's dead (or If you decided to run), go onto the long, slim path leading downwards.
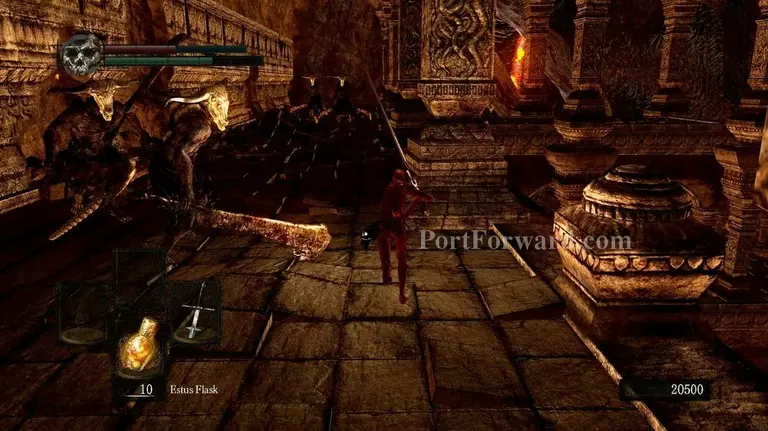
This place is infested with very tedious, strong and overall difficult big mobs that give little to no reward when killed. I recommend taking off all your gear to increase runspeed and simply dash through them.

Be sure to have some HP before jumping off this ledge here or take the stairs down to the left.
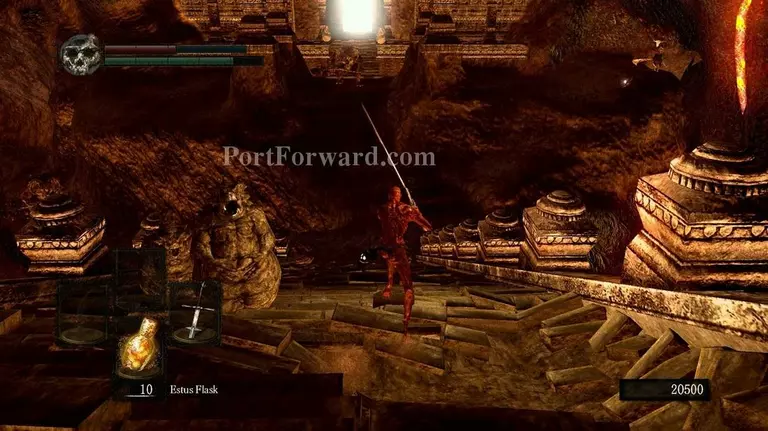
Continue dashing down the stairs.
Run past the Taurus Demon..
And enter the fog gate.
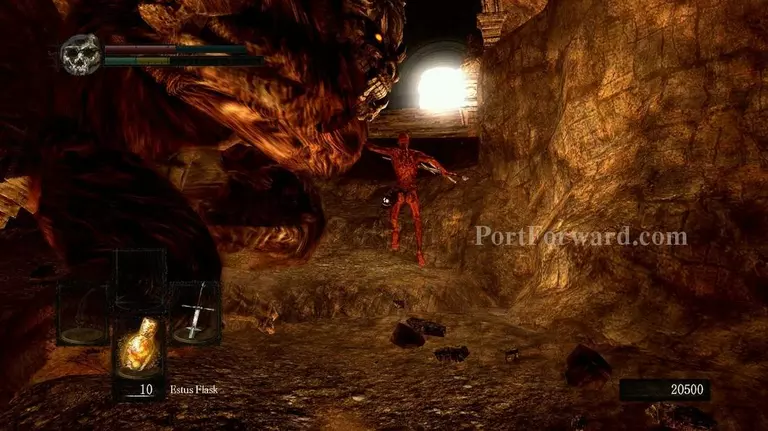
Here, you'll meet another boss, very much akin to the Asylum Demon, but a bit more fearsome.
He will have all the standard movesets along with a new, highly damaging but slow AoE.
Make him jump up against a wall and then wither away at him, taking heed of when he flies up and AoE's.
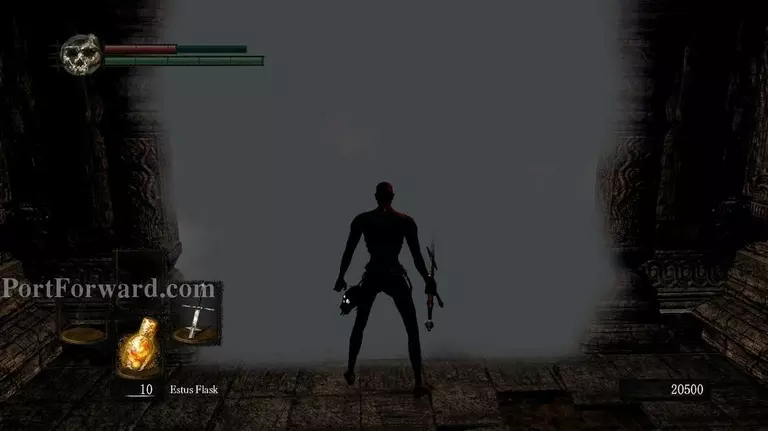
When dead, move on forward.
Go down the stairs ahead.
Rest at the bonfire and go down to the next fog gate, taking care of running on the roots as they are rather slippery.
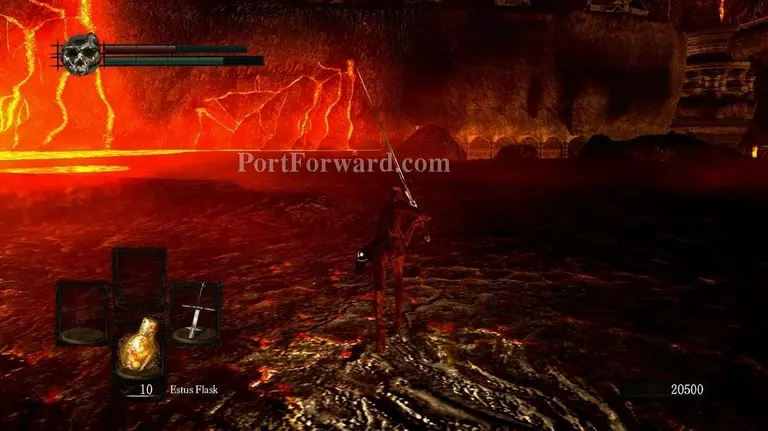
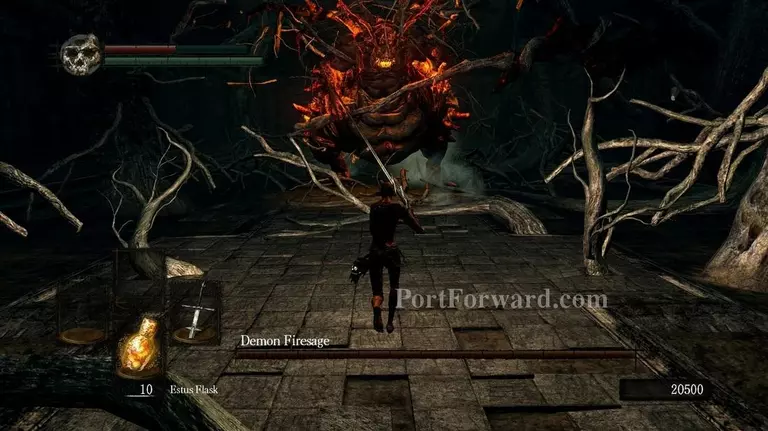
Yet another boss will come smashing down into the lava. This one can be VERY annoying and difficult to defeat If you don't know exactly what to do as a melee.
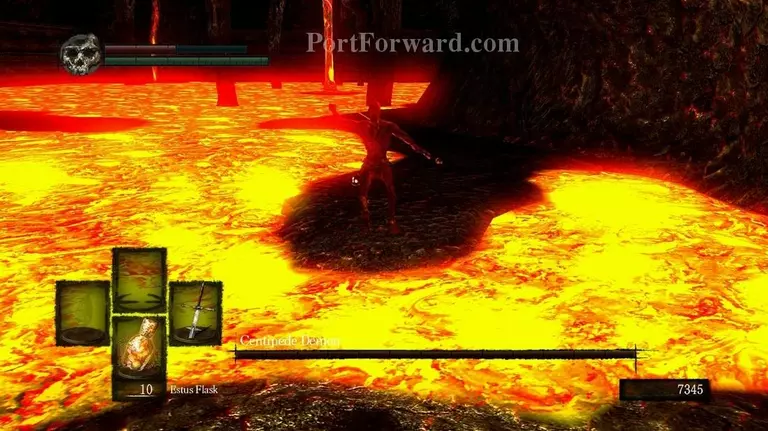
Jump across to this pointy platform, taking high care of avoiding the devastatingly damaging lava and run ahead.
Make another jump onto the next platform..
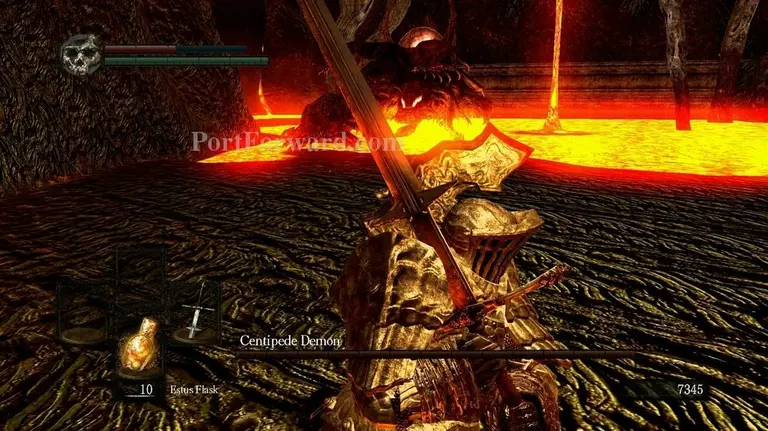
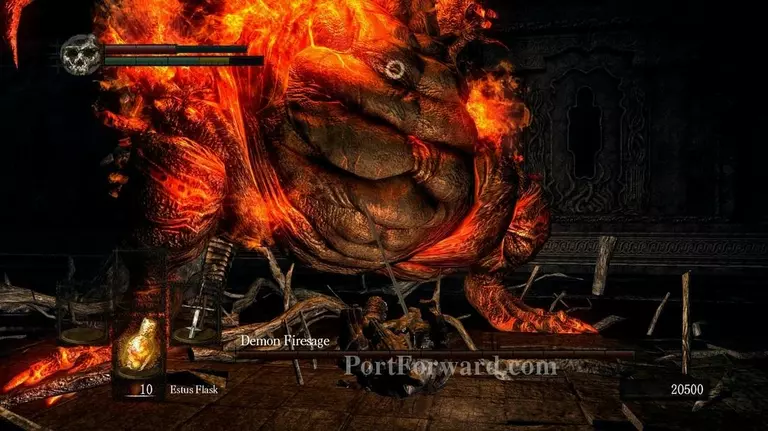
Equip the heaviest gear & shields you have and wait for him to come to you.
He will start to poke you a couple of times, extending his long arm/tentacle but It's easily blocked so simply stand your ground as he'll eventually give up standing out in the lava and jump onto the platform.
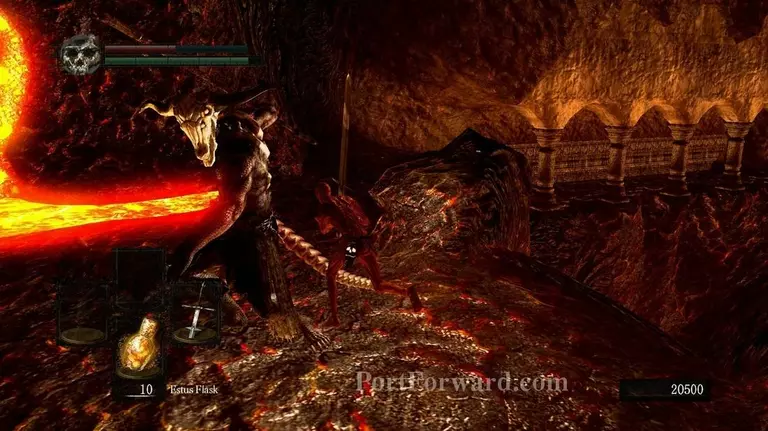
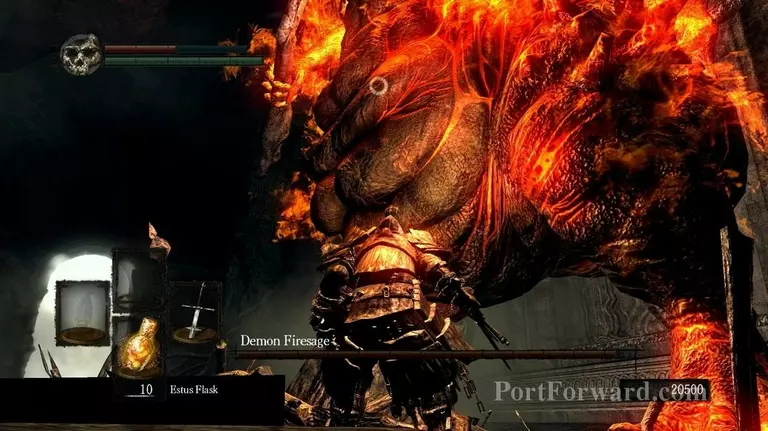
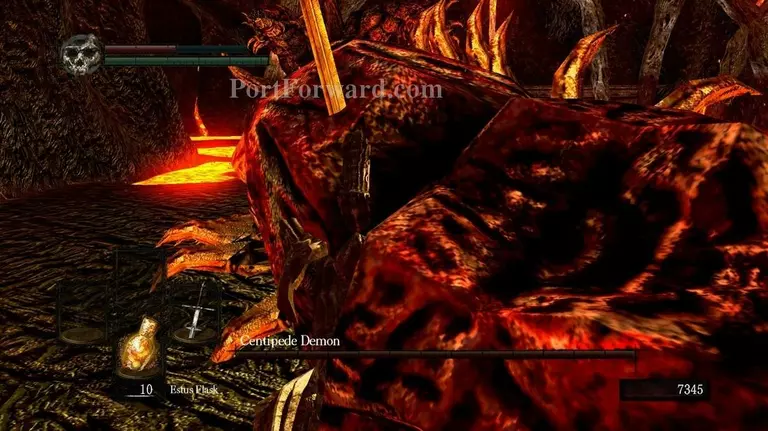
Once he is on the platform, start to swing away at his legs while standing beneath him or just to the side of his legs.
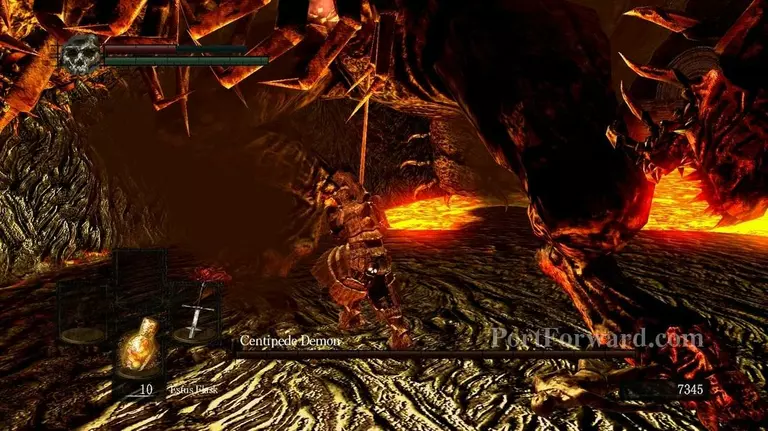
At this point, It will be fairly straight-forward as only two things he can do can damage you at this point. Occassionally, he will jump up, if this happens, run far away from where he jumped and block. The other event will be that he'll start trampling around with his feet.
If this starts to happen all the time, back off a bit and make him turn around.
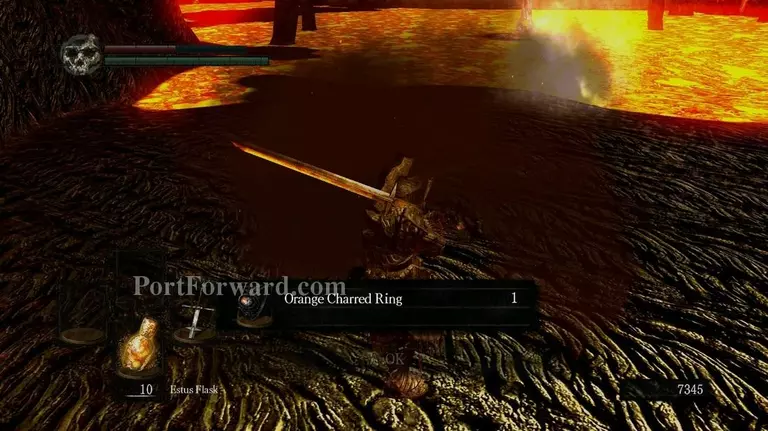
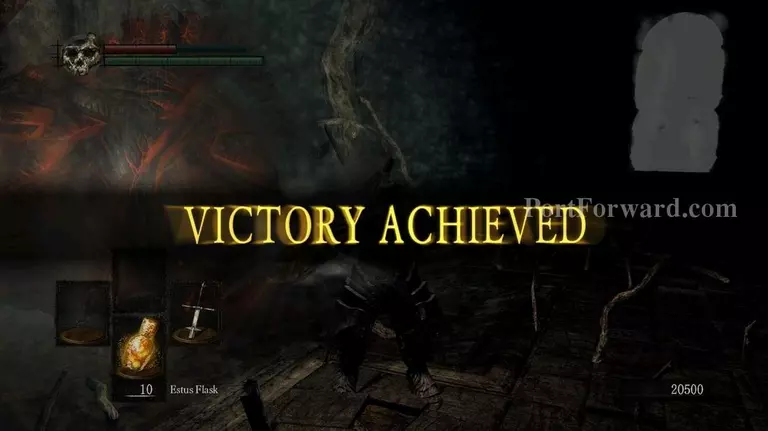
Keep this up and he will eventually die, dropping a Orange Charred Ring. This item is essential to proceeding onto the next parts so equip it right away.
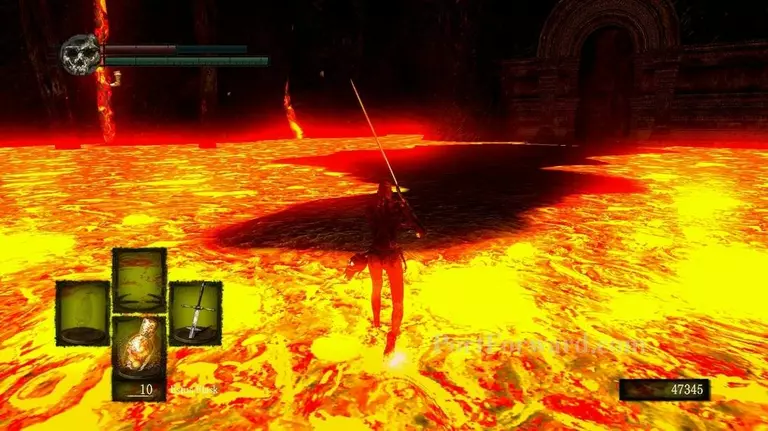
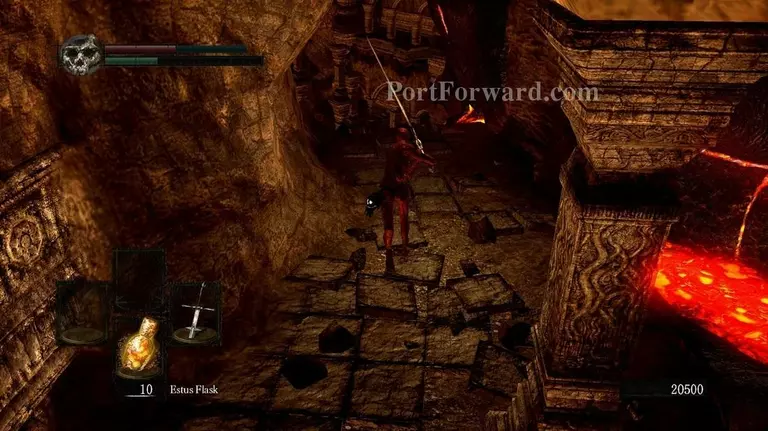
Once the ring is on, you'll be almost immune to Lava damage so run to where the boss jumped down.
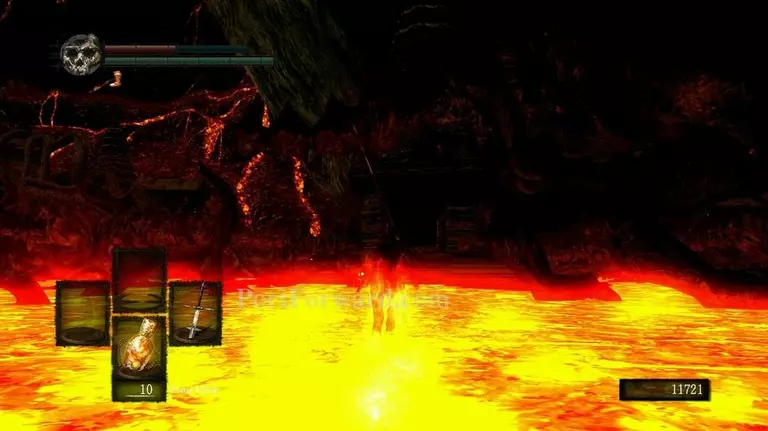
And proceed into a small cave opening.
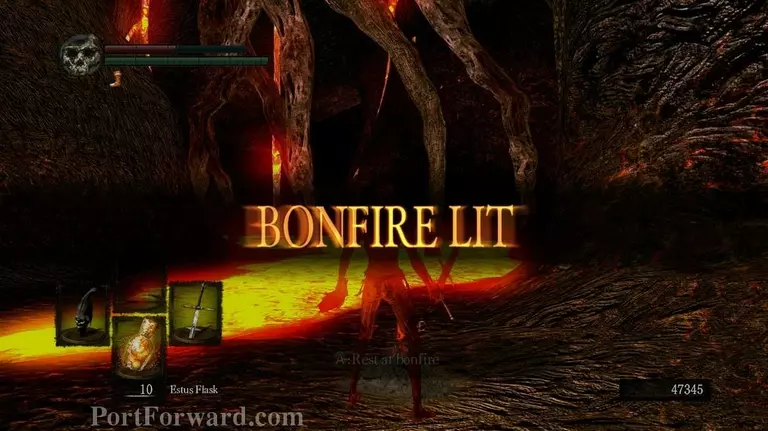
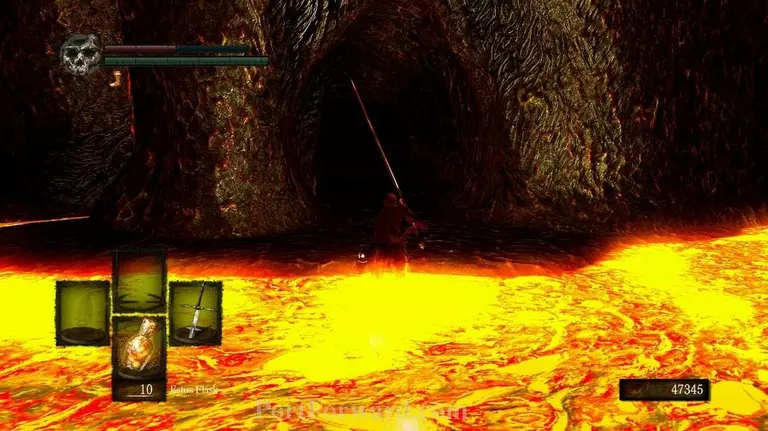
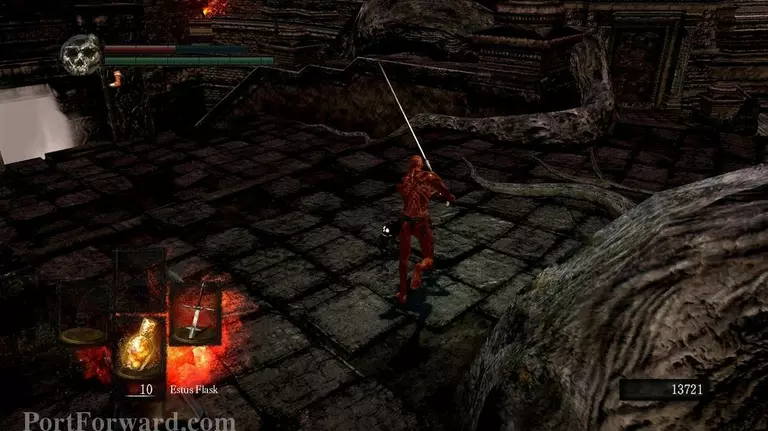
Rest at the bonfire and run on ahead onto the tree root.
Once at the end of it, take a right into the lava and run towards the large structure.
Do your best to avoid the large pairs of walking legs as they are not worth the trouble.
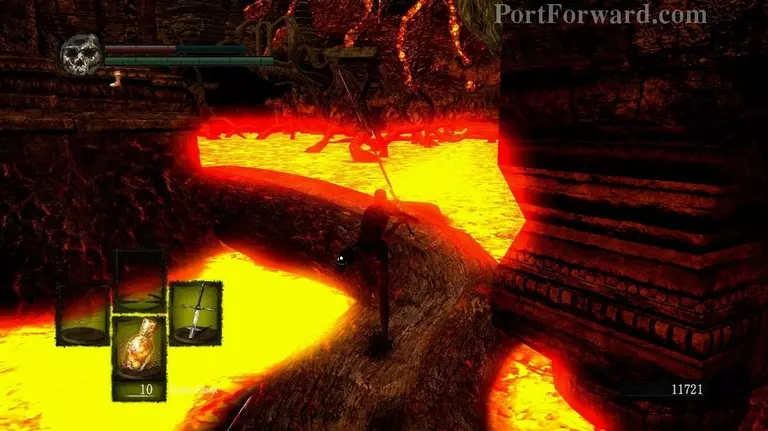
Run around the structure and then up this root.
Take the item upstairs and then jump down.
Run up ahead behind the building and go up this root.
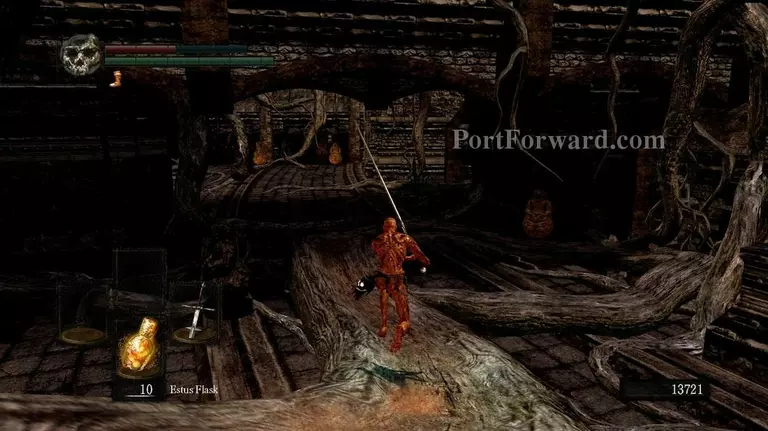
You will come to a pair of ruins with fire breathing floating statues. Avoid them and run ahead.
Up ahead you'll come across a rather dangerous spellcaster. Backstabs are easily performed on him/her to both do massive damage, become immune and interrupt spells. When dealt with, go through the fog gate.
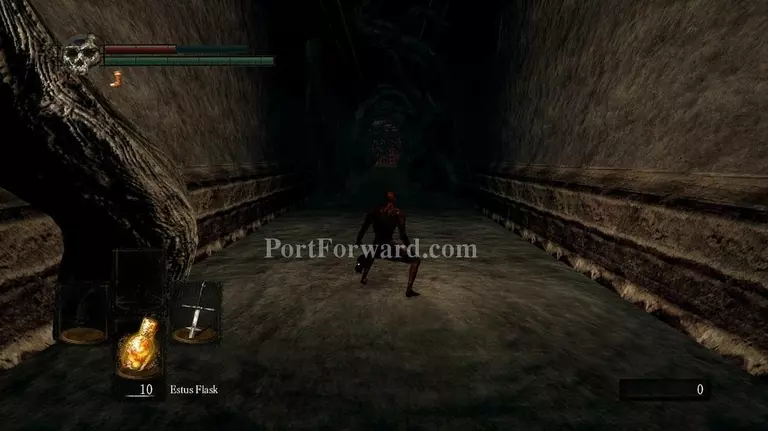
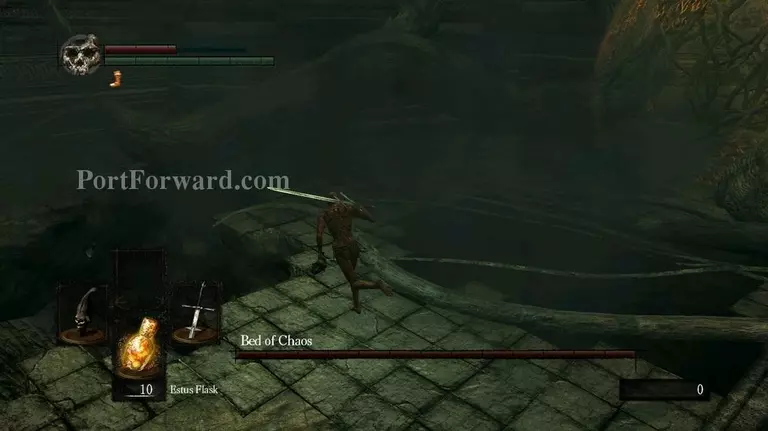
When past the fog gate, slide down the large path.
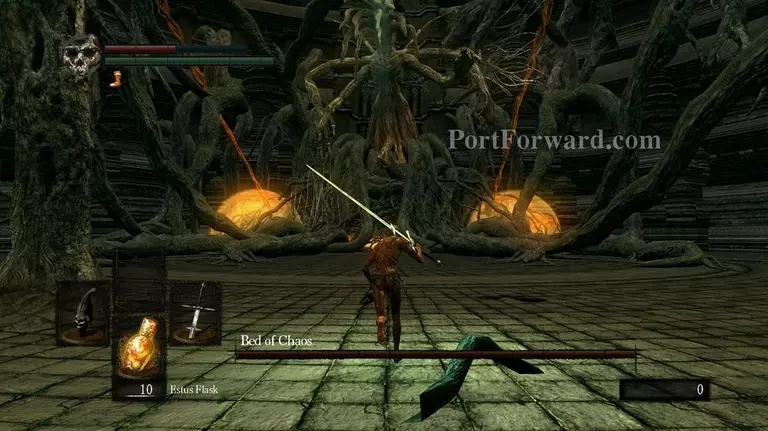
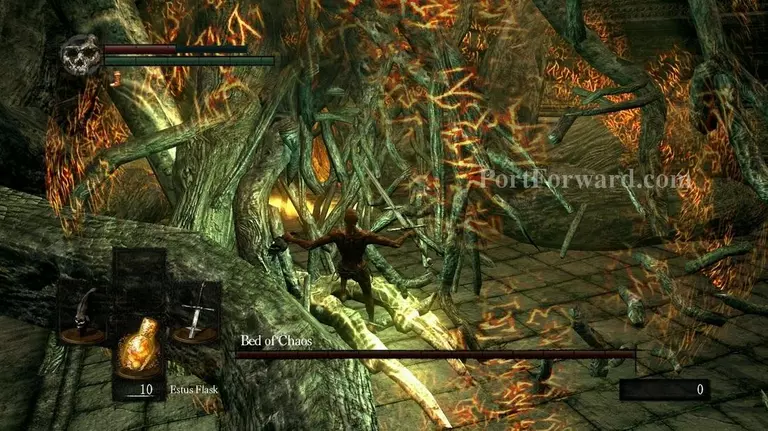
This is the Bed of Chaos boss. It is another notoriously hard boss and probably the most hated one due to the artifical difficulty.
Quickly dash to the right of the boss and prepare to be repeatedly swept with large wooden arms. Having a heavy shield here can be golden.
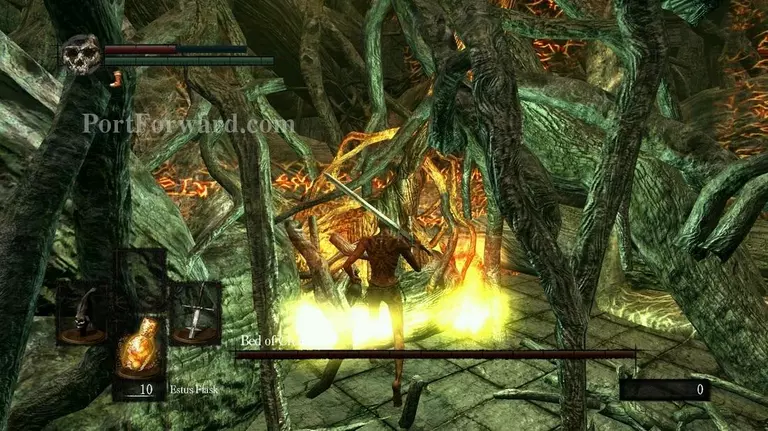
Once you reach the large glowing bubble, roll through the numerous roots..

And attack this glowing wood pillar.
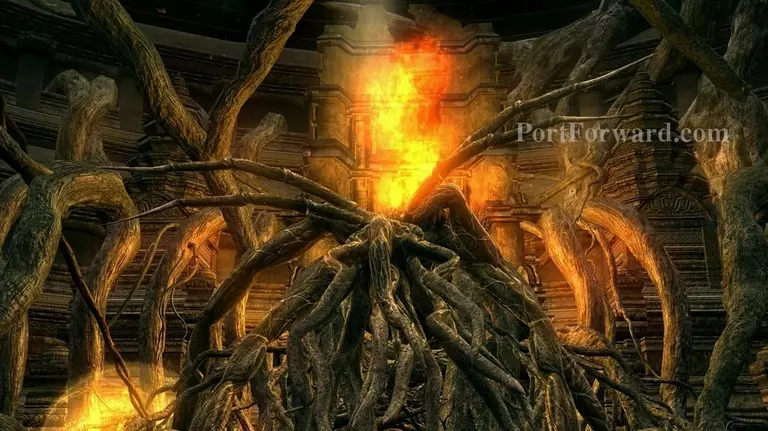
Doing this will damage the boss and cause a large flaming tentacle to appear from It's back.
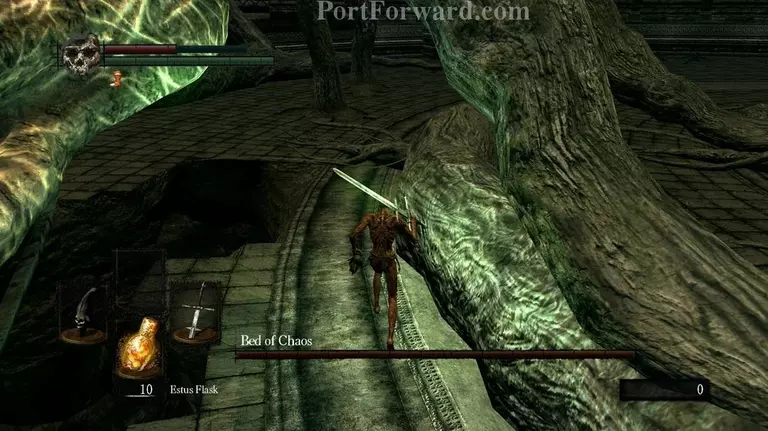
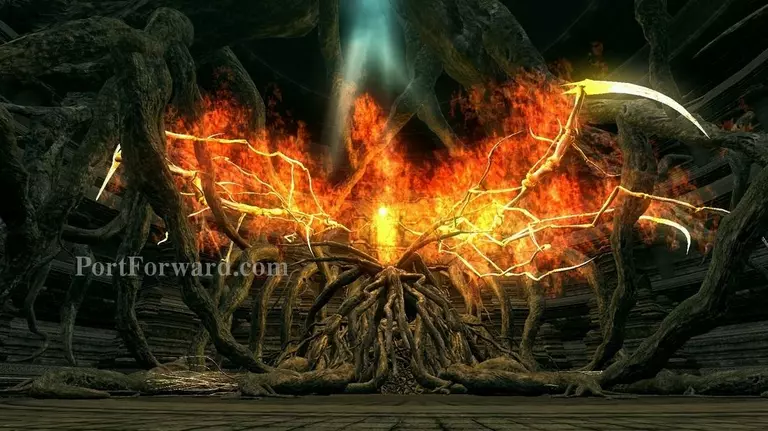
After that, almost all of the ground in the room will start to collapse as you go close to it, making it significantly harder.
Have your wits about you as you dodge the boss attacks and probe the floor to see what's safe and what Isn't.

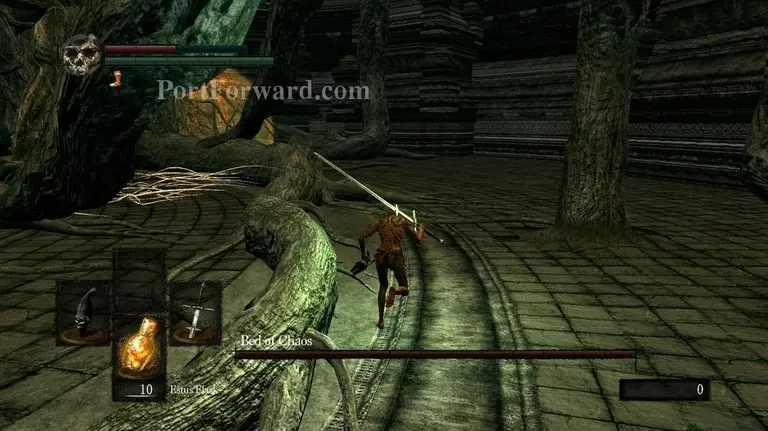
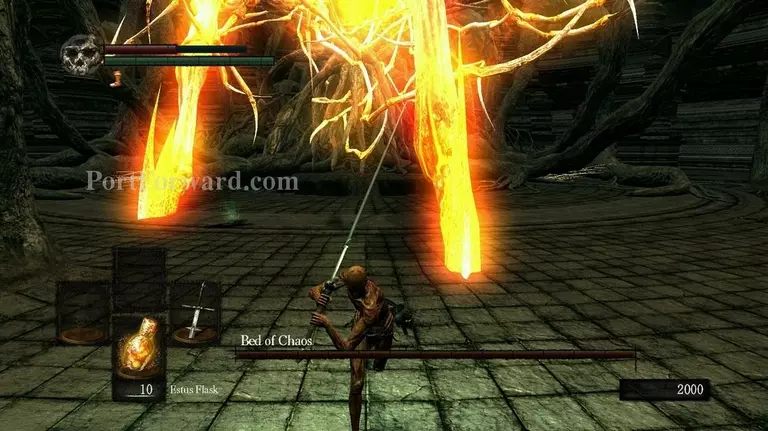
Aggro the red tentacle to attack you then make a dash for the left orb.
More floor will collapse as you get closer so don't stop running for anything.
Once in the orb, roll to the other glowing root and destroy it.
This will make the boss fully enraged and destroy even more of the flooring. I recommend just suiciding at this point as the boss does not reset at death.
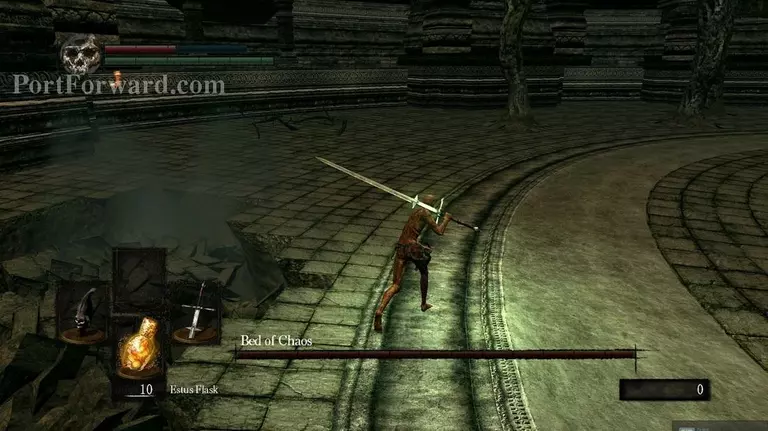
Once both orbs are destroyed, start to make attempts to run in the middle of the boss.
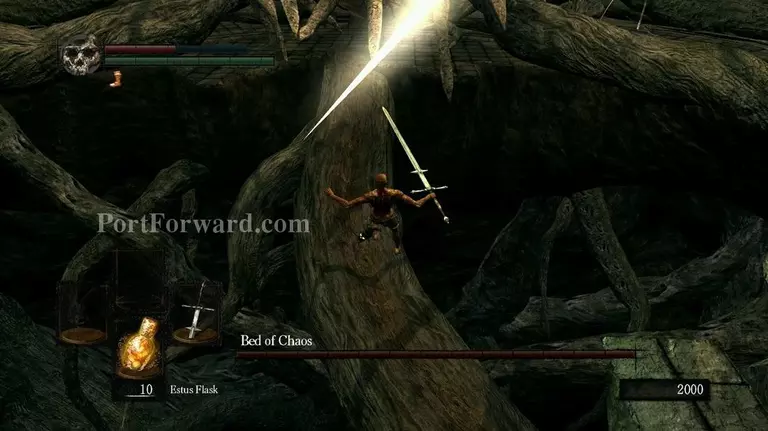
More floor will collapse and reveal only a single, twisted root for you to stand on. Carefully align yourself and run jump down onto it.
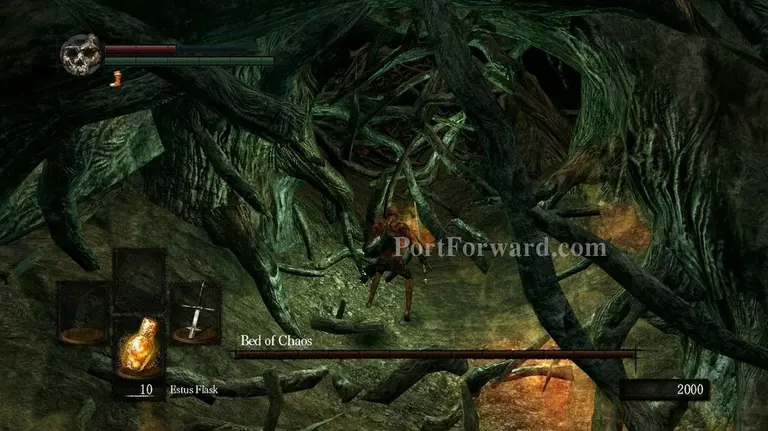
Roll through the tons of roots and be wary of the glowing fire spots on the ground. They can still erupt and kill you.
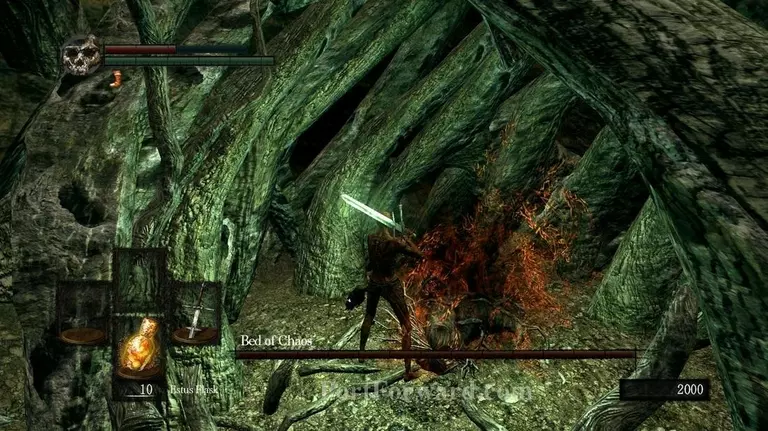
Once all the way in, the true boss will reveal itself to be nothing more but an overgrown larvae. Kill it.
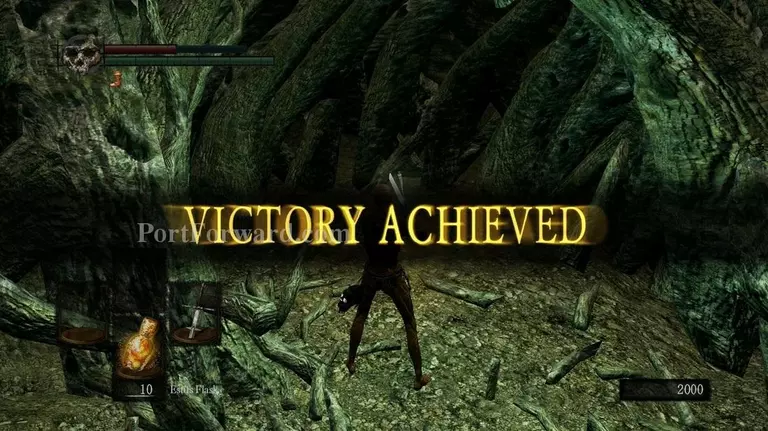
A bonfire will appear next to it. Rest, save 20000 souls and warp to Undead Parish.
More Dark Souls Walkthroughs
This Dark Souls walkthrough is divided into 9 total pages.


