This Dead Rising walkthrough is divided into 9 total pages.
You can jump to nearby pages of the game using the links above.
Intro

Your destination is ahead: Willamette, Colorado. The population figure is also the number of Zombies you need to kill for the Zombie Genocider achievement.

I'm suited up as Megaman -- my outfit from the previous save game.

This optional photo shoot is an early opportunity to grab some PP - Prestige Points. Extra points are awarded for capturing exceptional events as they happen, like this car and its driver being brutalized.
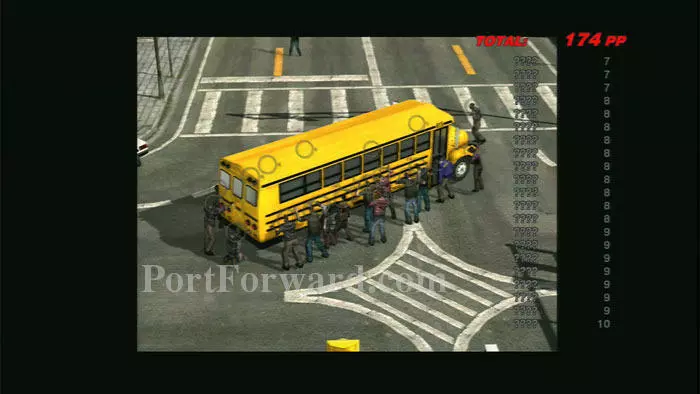
As the chopper Continues down Main Street you'll want to snap a shot of this zombie mob attacking a school bus.
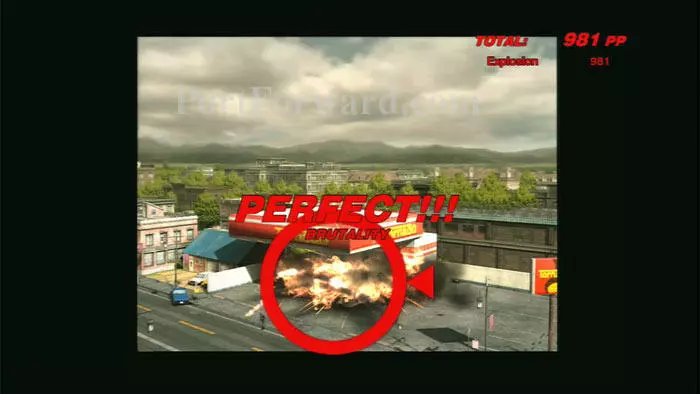
The real money is on this gas station farther down the street. Be sure to keep your camera trained on it to capture this explosion.
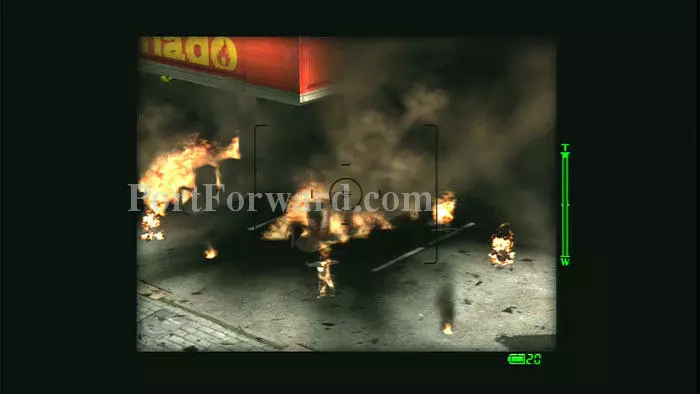
Be sure to get some close ups of the flaming zombies.

Lastly, you'll want to catch the drama unfolding as a woman is pursued by zombies on this rooftop.

Sadly, it doesn't end well. Try to get a shot of them falling mid-air.

Soon after, military choppers confront your pilot and you ask for a quick dust off on the rooftop of the Willamette mall.
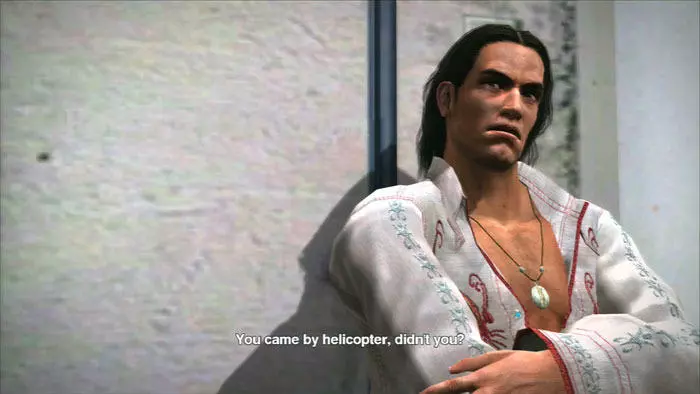
Also on the rooftop is Carlito - a man who seems to know more about zombies and plunging necklines than perhaps he should.
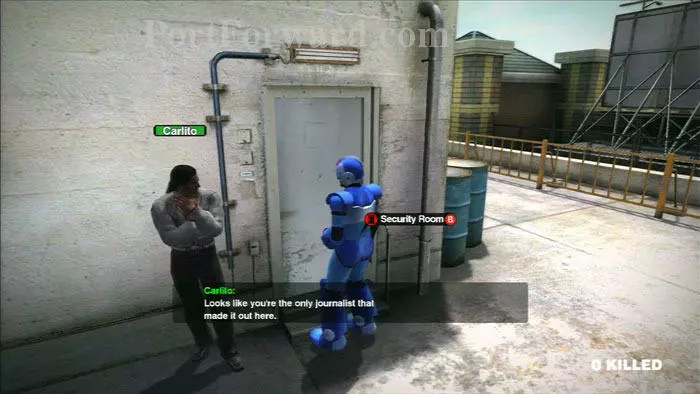
Briefly chat with Carlito then use this door to enter the security room.
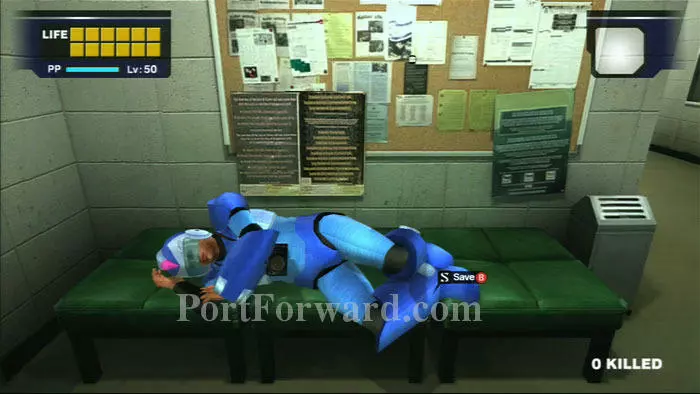
This couch is one of the few save points located around the game world. Note that I have six health squares and am level 50 -- one of the benefits of Dead Rising is its replayability. You can either save at a save point like this to continue your game, or if you die you can choose to save your character's stats, thus beginning a new game with a stronger character.
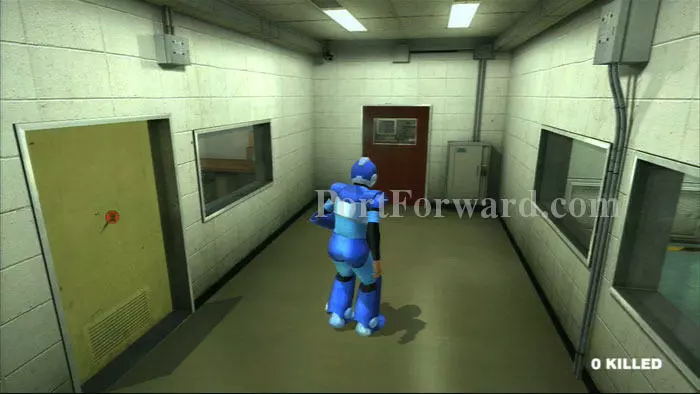
Continue through the red door.
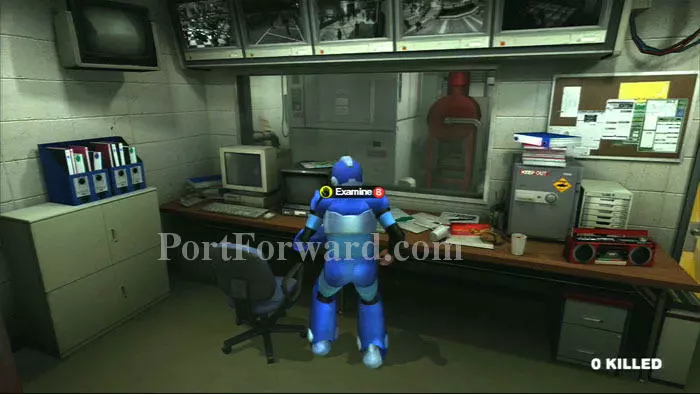
Examine the surveillance monitor for a short cutscene. Continue through the yellow door to the right.
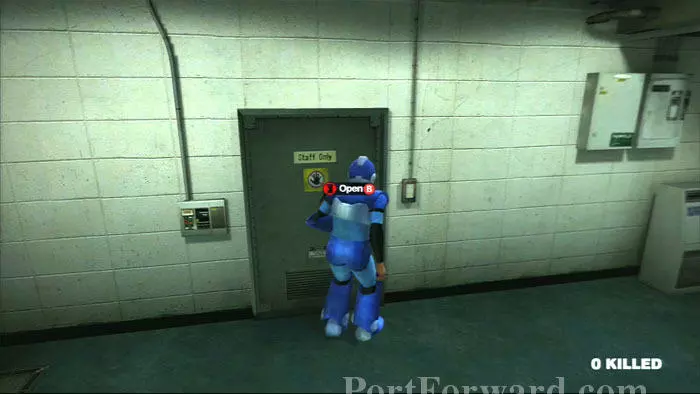
Proceed through this "Staff Only" door.
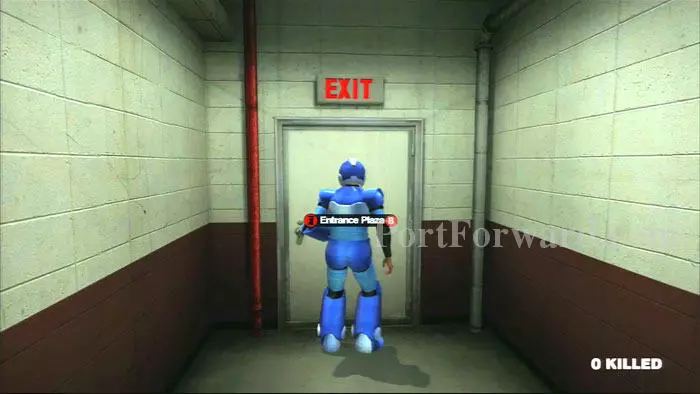
Follow the long corridor to the Entrance Plaza.

Another cutscene ensues. You witness an old woman searching for a dog, then you see this pretty young thing.
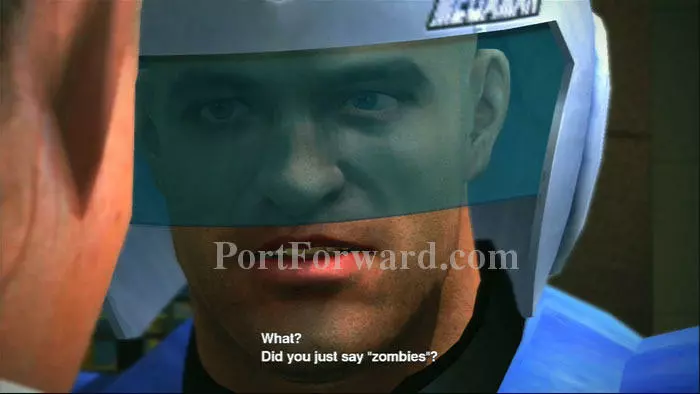
No time to ogle pretty girls though -- there's zombies about.

Amazingly, Frank hasn't realized that the folks clawing at the vestibule aren't dermatology patients waiting for their appointments.
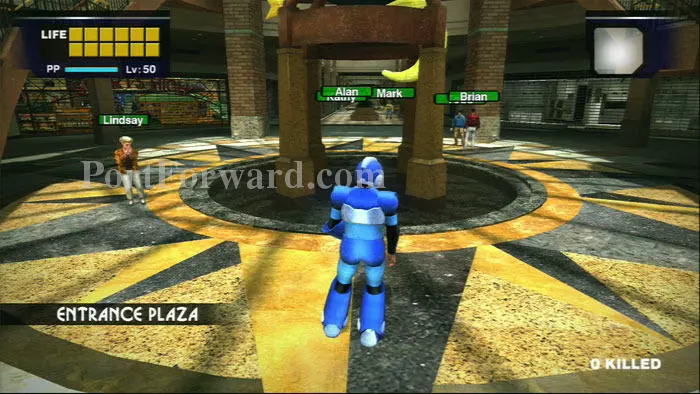
You've got some free time to explore now, but if you want to get right to the action, run straight down the corridor ahead.
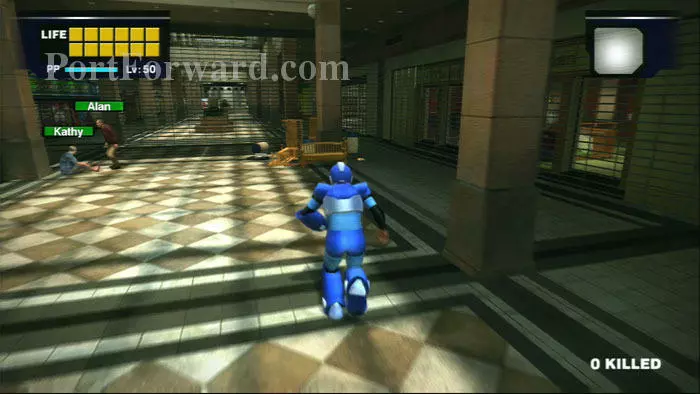
You've been asked to find debris for the barricade, and those benches look like just the thing.
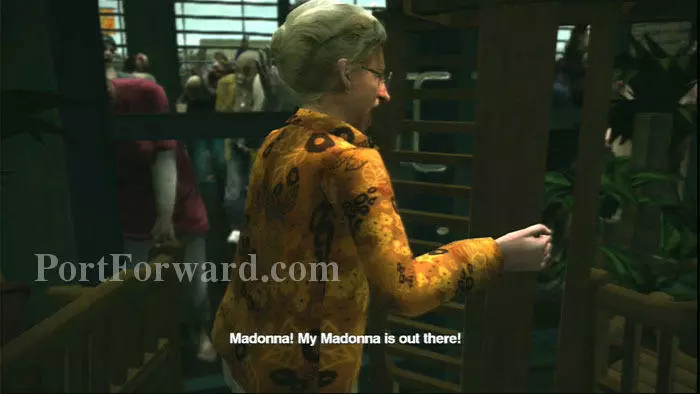
Approach the benches and a new cutscene plays. This crazed woman insists on dismantling the barricade so that she can get to her dog.
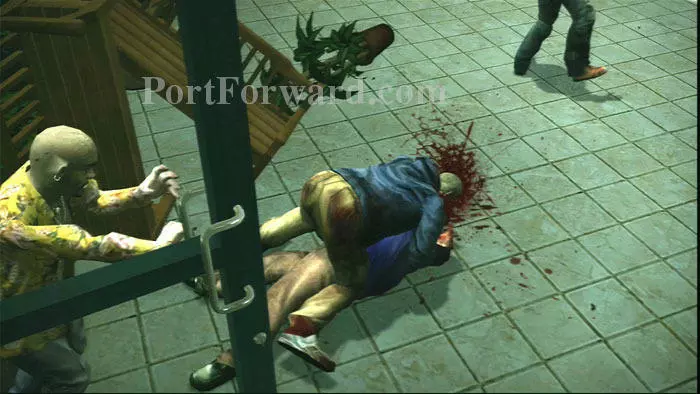
By removing the barricade and opening the doors, she unleashes the horrors that comprise the rest of the game.
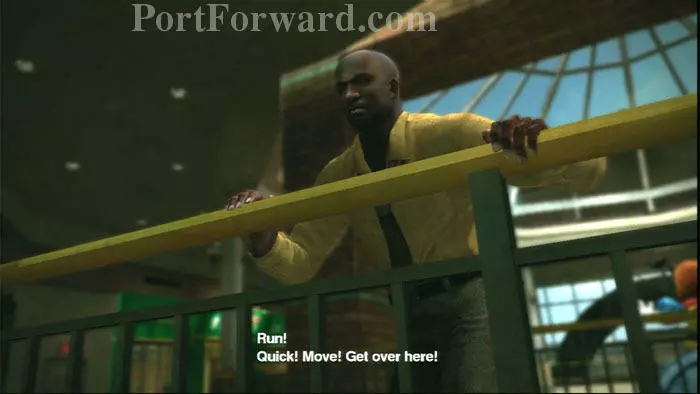
The angry voice of reason is soon heard from above - it's our Alpha Male In Charge, Brad.
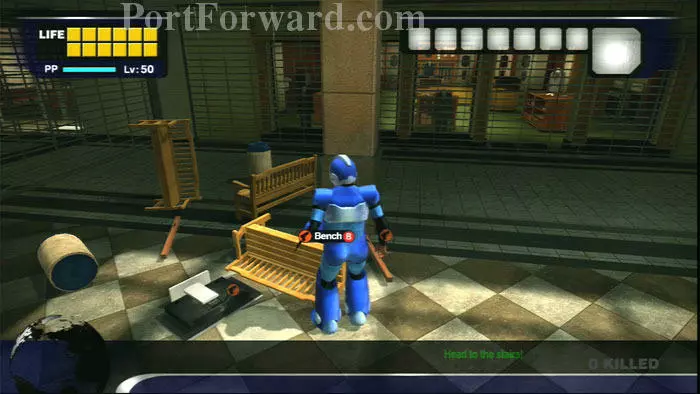
Several melee weapons are available in the immediate area. The benches and HDTV are too slow and heavy for my play style. My preference goes to the 2x4. Also nearby is a bag of chips that can be eaten to restore your health.
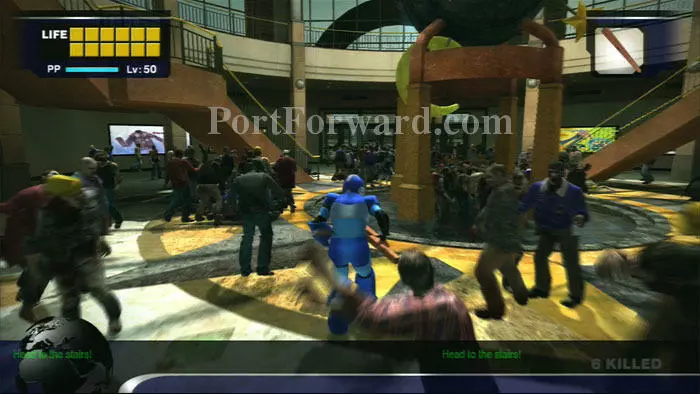
You want to reach one of the two staircases ahead. Don't stress over this seemingly-impossible task. At lower levels you run so slowly that you're almost certain to get nabbed by a zombie.
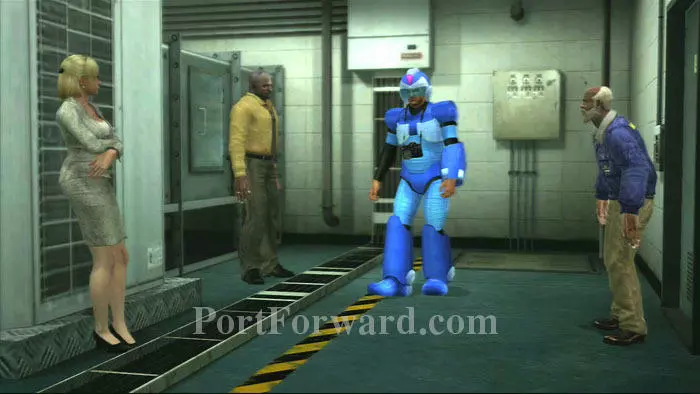
Whether you make it to the stairs or not, you'll end up back at the security room. The only difference is a slightly different cutscene.
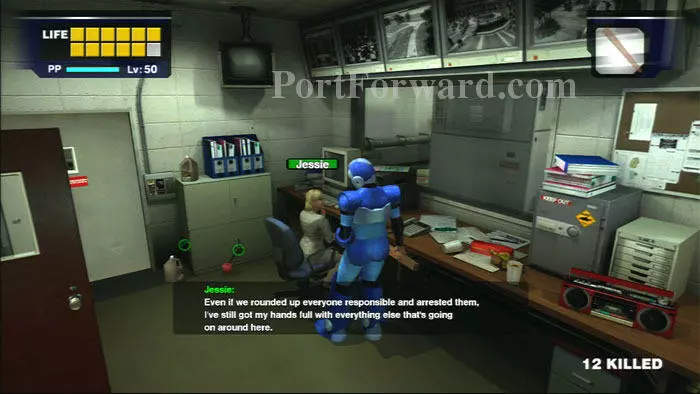
Talk to Jessie then grab the apple and two coffee creamers for health.
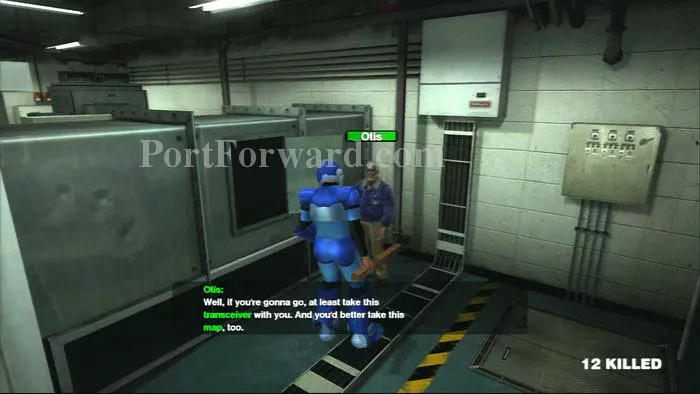
The staff door is welded shut, so your only way out is through the air shaft on the left. Talk to Otis first to receive the transceiver (cell phone) and map.
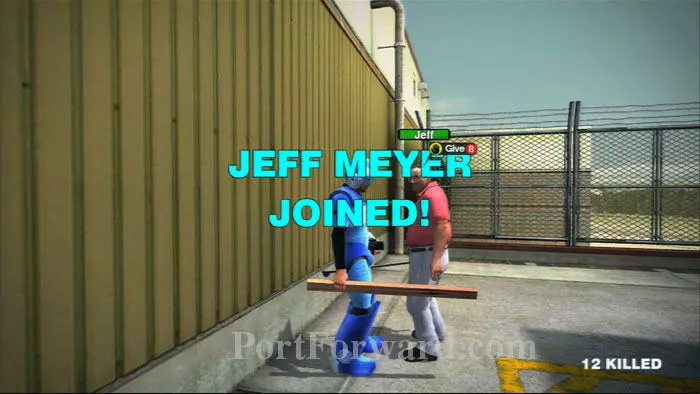
Keep right to find Jeff Meyer. He's looking for his wife. Talk to him and he'll join you.

Point your camera through the nearby fence to take some zombie shots for extra PP.
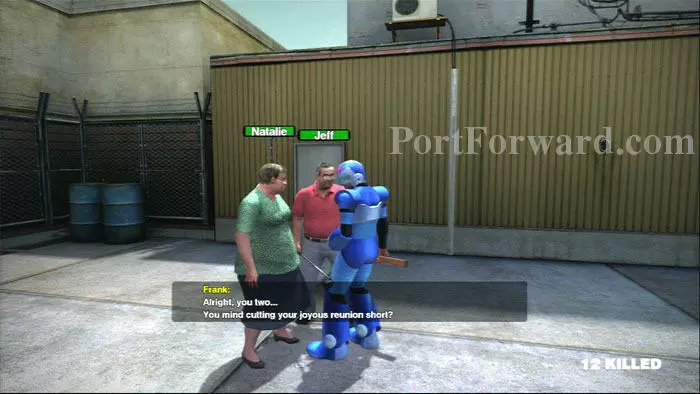
Natalie can be found around the left corner of the roof.
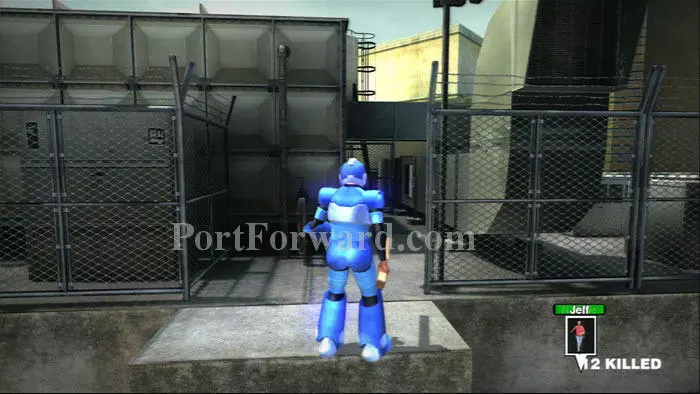
Once Natalie has joined, climb up here to return to the air shaft.
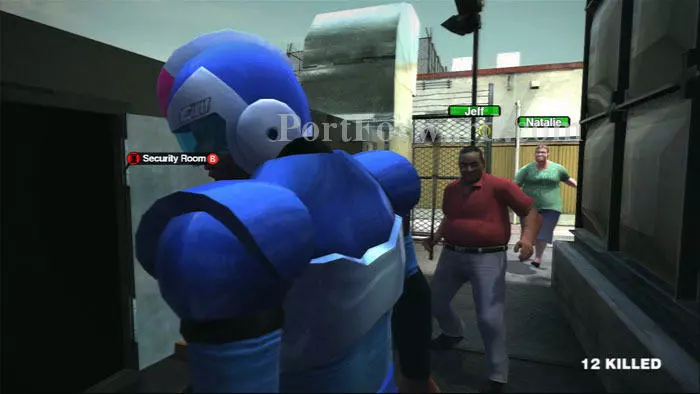
Wait for Jeff and Natalie to catch up before entering the Security Room.
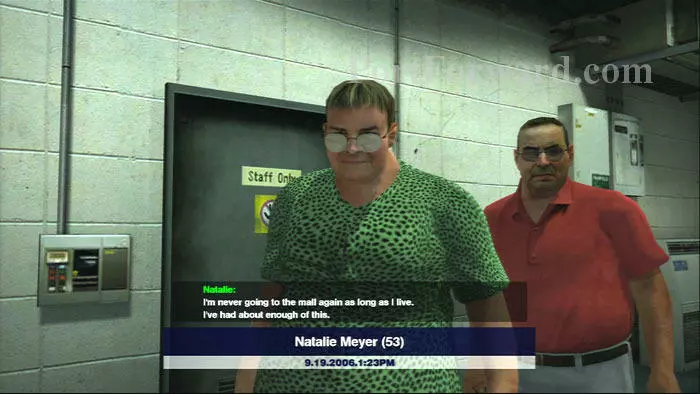
Congratulations on completing your first escort!
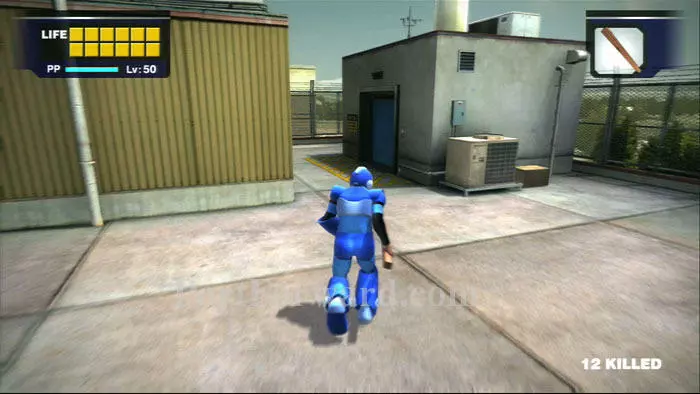
Find more Coffee Creamer and another Apple near Jessie then return to the roof. There are two ways into the warehouse from the roof. One is this elevator on the right.
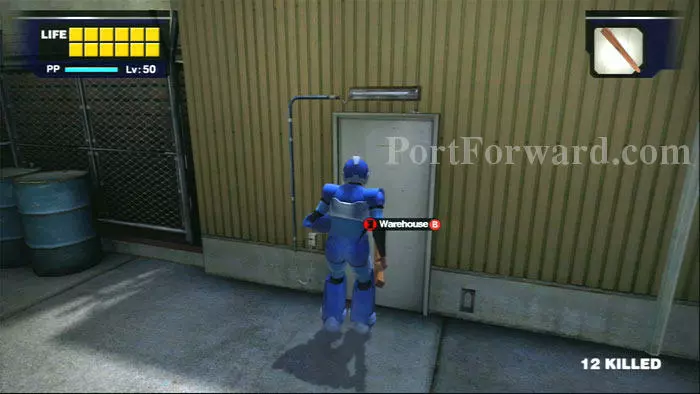
The second way into the mall is through this warehouse door. To find it, head left from the air shaft. You'll find the door near where you picked up Natalie.
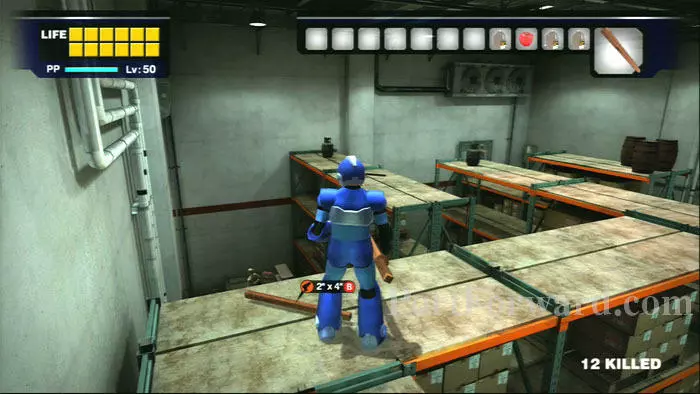
The door will place you high above the floor, where you can access items like this 2x4 atop the shelves. Hop across to the shelves ahead to find a sledgehammer.
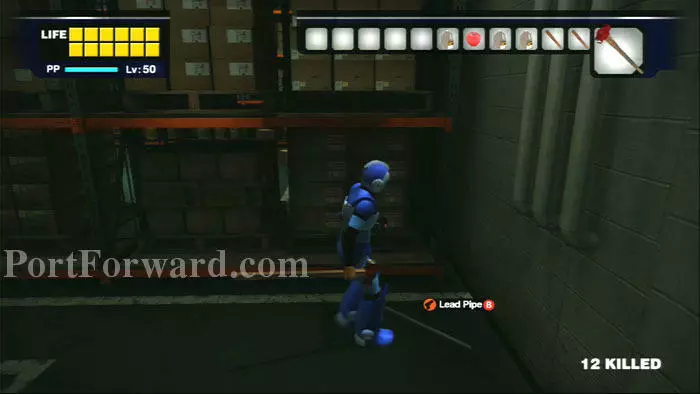
Head right off the elevator to find this Lead Pipe. These items always spawn every time you enter the warehouse, and you'll be coming this way many times.
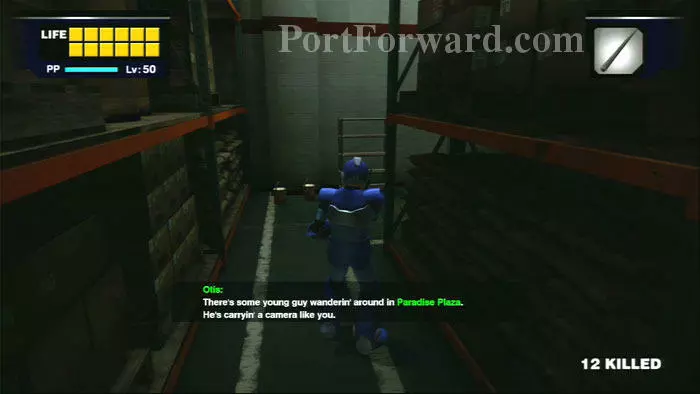
Otis often rings as you enter the warehouse. This time, he calls with scoop, an optional side quest. This one is called, "Cut From the Same Cloth."
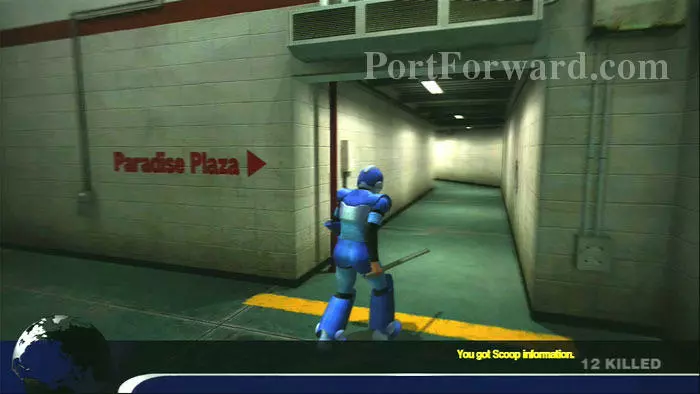
Proceed down this corridor to begin the first Case.
More Dead Rising Walkthroughs
This Dead Rising walkthrough is divided into 9 total pages.


