This Dead Rising walkthrough is divided into 9 total pages.
You can jump to nearby pages of the game using the links above.
Case 1
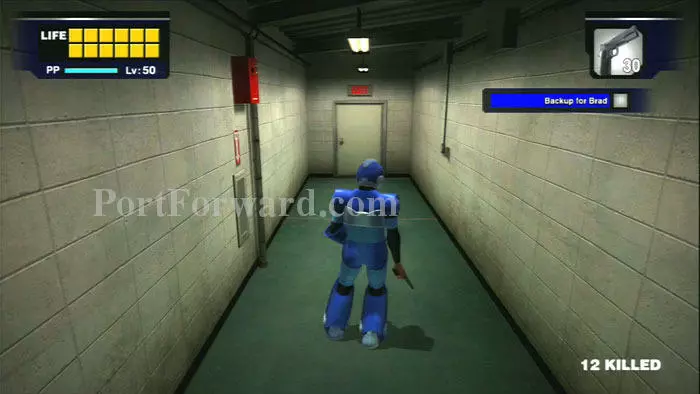
Case 1-1 is a cutscene. You'll receive a handgun from Jessie. Exit through the door ahead to begin Case 1-2.
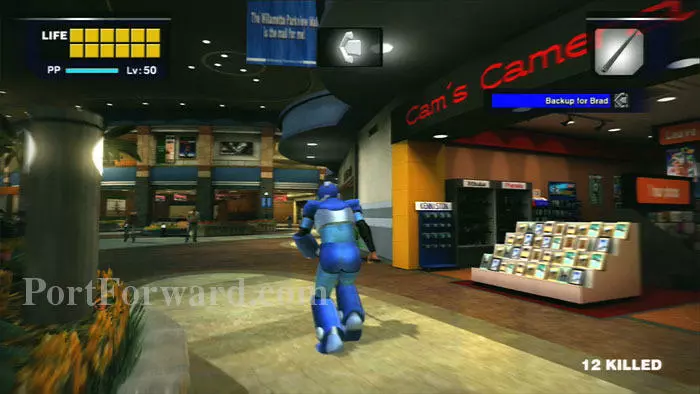
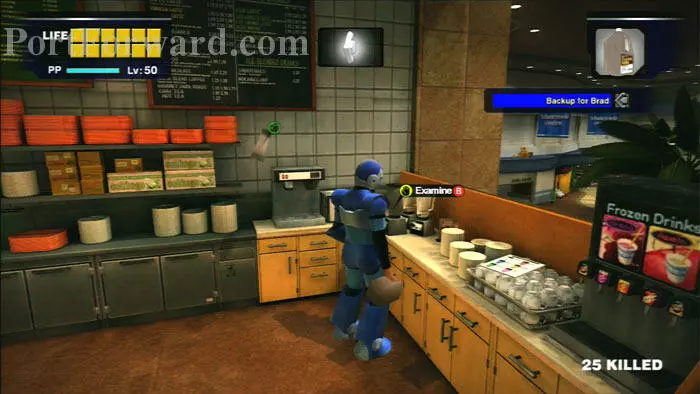
Turn right to find Cam's Camera. You can refresh your camera's battery at the far left corner.
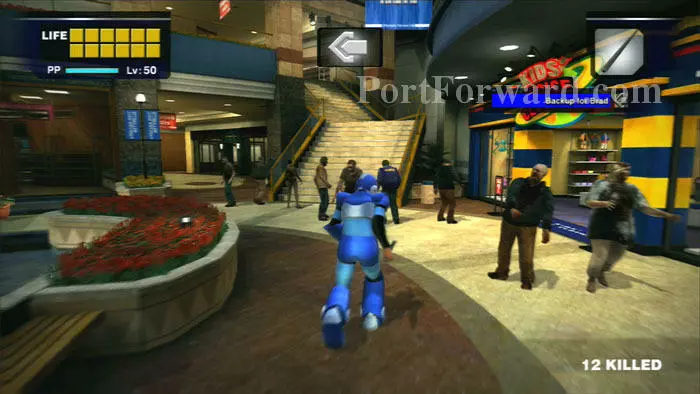
The quest arrow for "Backup for Brad" leads to Leisure Park, but I recommend heading to these stairs first.
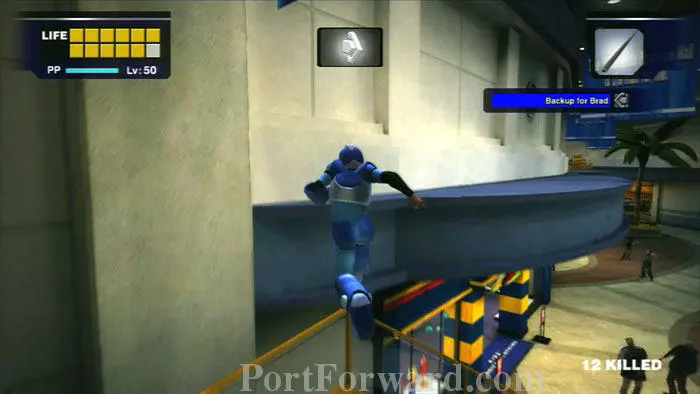
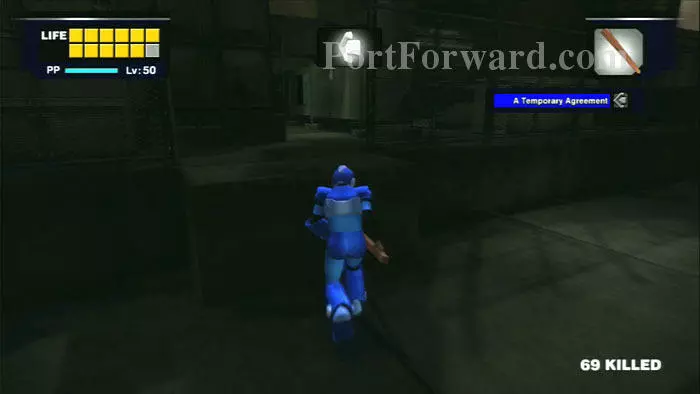
When you reach the landing, turn right to jump over the railing and climb onto the blue overhang.
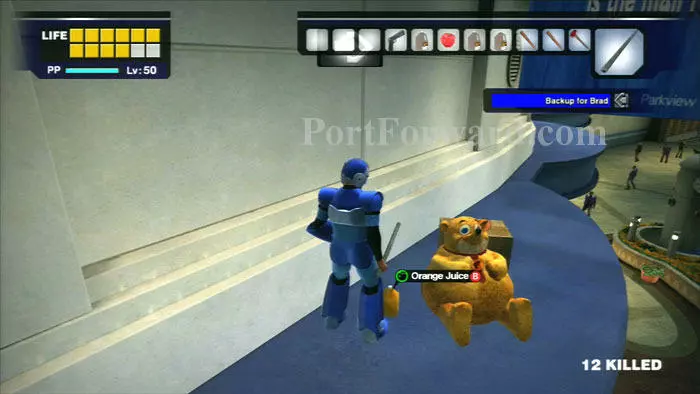
A stuffed bear, orange juice, and a box holding a water gun are found here.
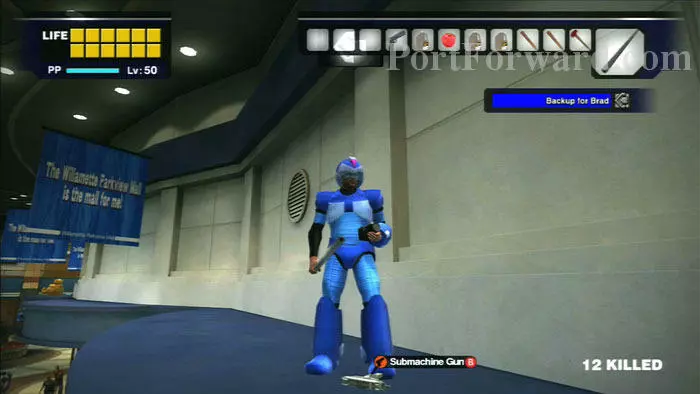
Keep going to find the real prize - this Submachine Gun.
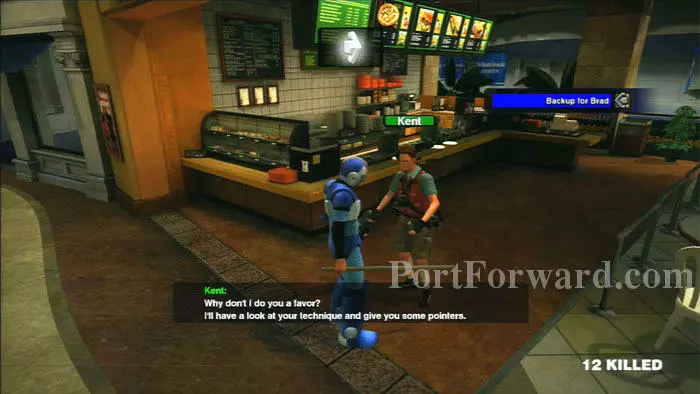
Return up the stairs and head into Columbian Roastmasters to find Kent, the subject of your earlier Scoop. He's all-too-willing to offer you pointers on how to improve your photographic skills. Take some pictures and earn quick PP, then kill him -- seriously, he's completely annoying, and you'll want to kill him as a Psychopath on the 21st anyway.
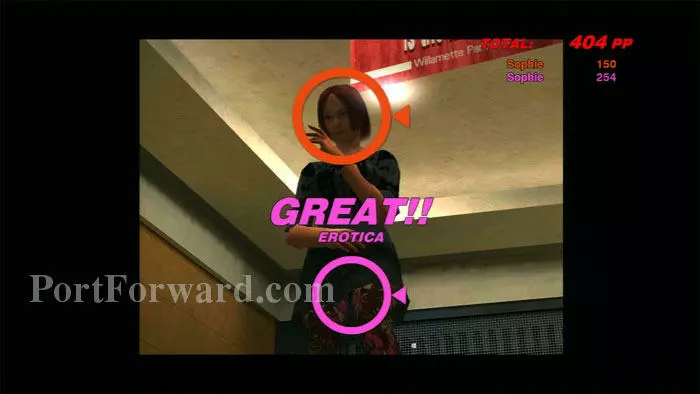
If you prefer to let Kent live, you'll be able to complete his "Photo Challenge" scoop. You'll need to get an Erotica shot before noon on the 20th. Here, I've positioned Sophie on some stairs, then taken a compromising photo.
Blenders such as this one in Columbian Roastmasters allow you to make your own power-ups. Here's the recipes: Energizer - Randomizer + Zombie Bait - Restores full health. Nectar - Orange Juice + Orange Juice - Attracts Queens. Quickstep - Randomizer + Randomizer - Increases running speed. Randomizer - Baguette + Cooking Oil - Random - may cause nausea. Spitfire - Snacks + Snacks - Your spit becomes a potent weapon. Untouchable - Orange Juice + Pie - Invincibility. Zombie Bait - Pie + Snacks - Zombie pull - useful for escort missions. Note that there are several recipes for each power-up. For example, Coffee Creamer + Coffee Creamer as well as Coffee Creamer + Orange Juice both produce Quickstep.
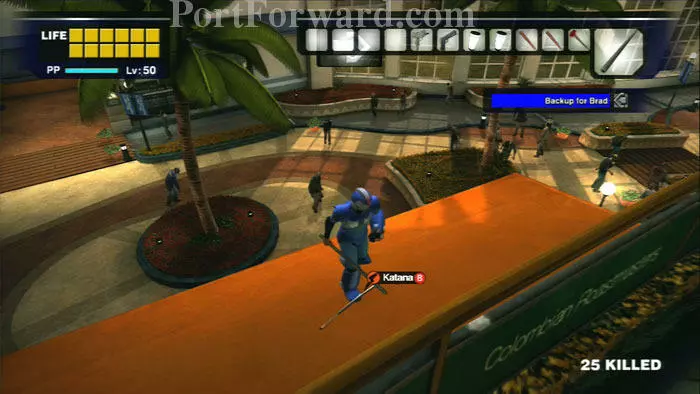
Hop over this railing, just to the right of the orange juice shelves to find this Katana, which respawns each time you zone into Paradise Plaza.
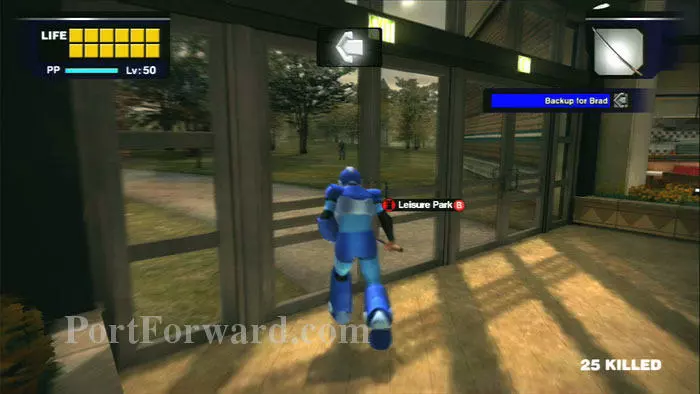
Drop below and exit to Leisure Park.
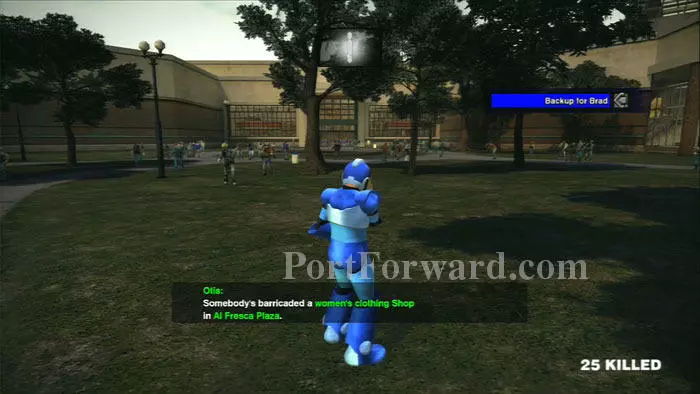
Follow your quest arrow to the Food Court. Mid-way I got more scoop - Barricade Pair A and B.
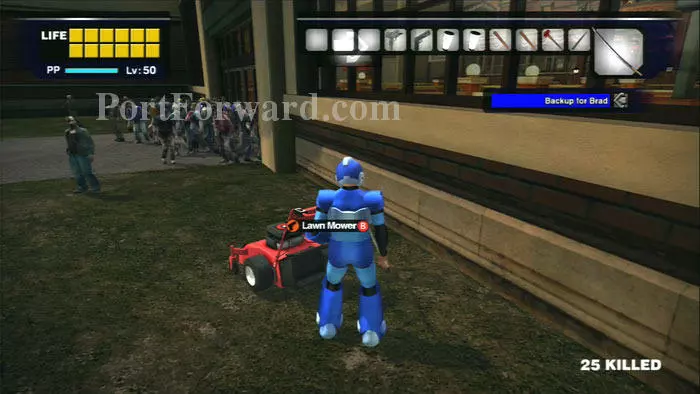
Just to the right of the Food Court entrance is one of my favorite weapons of the game - the Lawn Mower.
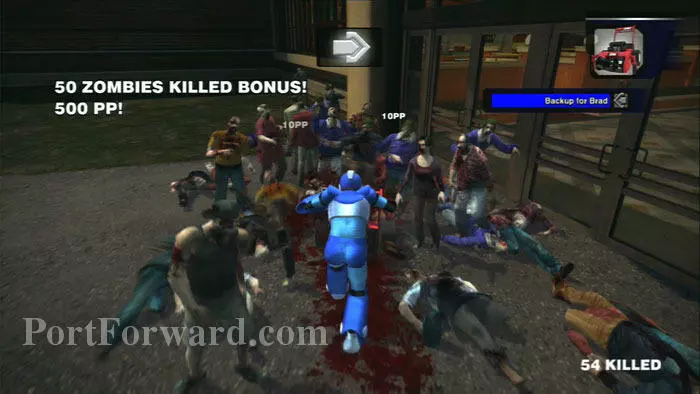
X pushes the mower, B releases. Most satisfying! Clear a path, then enter the Food Court.

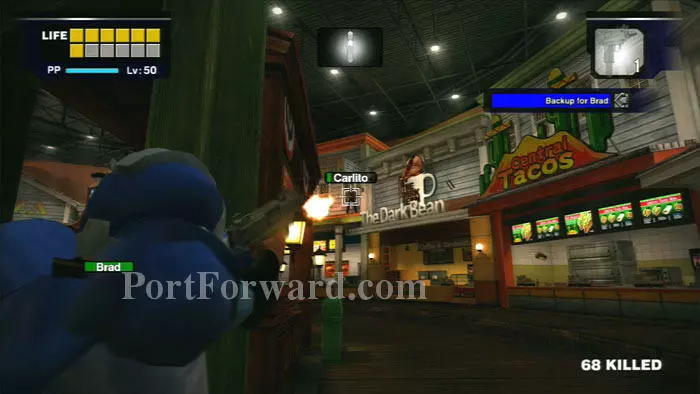
A cutscene plays -- Carlito's chest is attacking Brad!

Brad gives you a gun, but hopefully you picked up a better one, earlier. Stock up on these nearby Wine bottles - one of the better health boosters in the game.
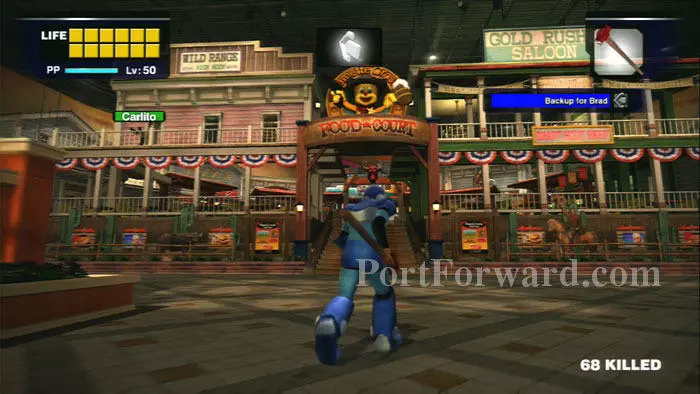
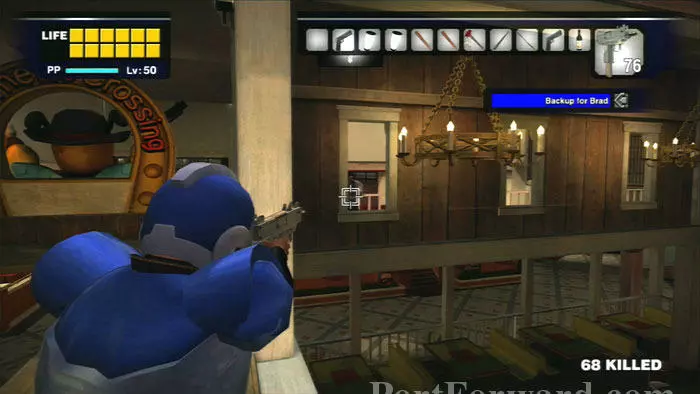
Carlito is firing from the balconies. A safe, effective (and boring) solution is to hunker down and take pot shots at him from a distance. For a little more excitement, ascend the stairs ahead.
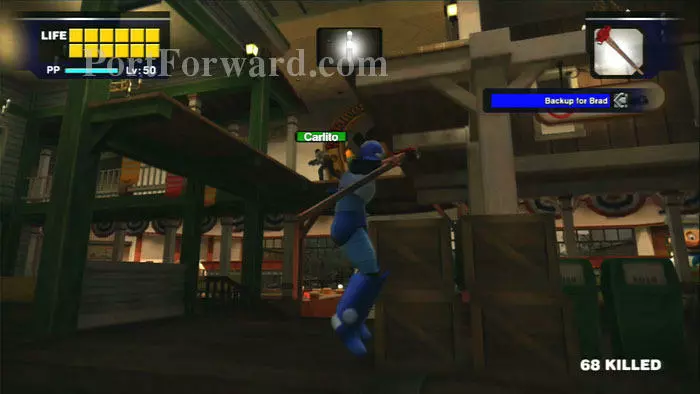
Climb these boxes to reach the balcony above.

Don't approach Carlito - he's a practiced kick boxer. Instead, take up position behind this wall and pummel him with Submachine Gun fire.
Be ready for him to appear through this window. From here you can take down his health from relative safety.
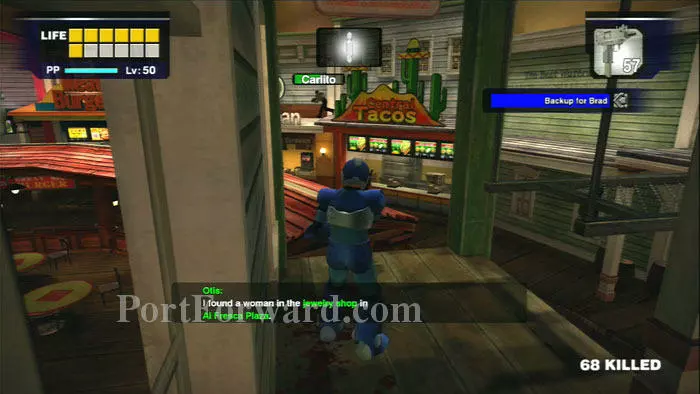
After Carlito's health drops past a certain point, he moves over to these adjacent balconies. In my game, Otis interrupts this boss battle with Scoop, "A Mother's Lament." Note the barrels lower-right.
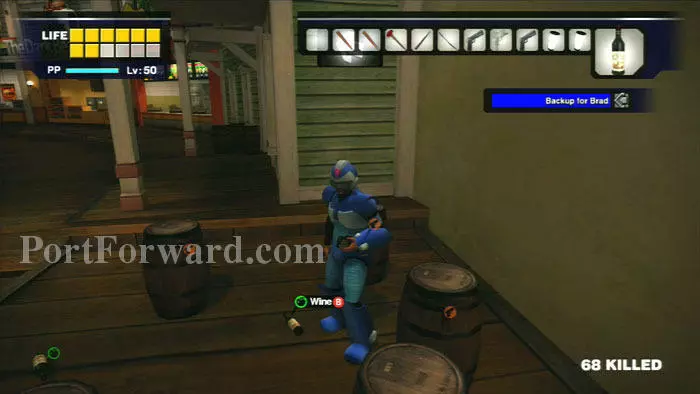
Approach to find more Wine.
Patiently chip away at Carlito's health while taking cover to protect yourself.
Shave Carlito's health down to almost zero to trigger the cutscene that completes Case 1-2.
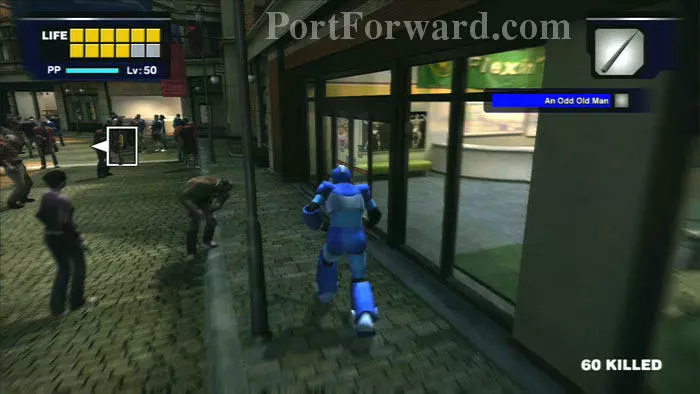
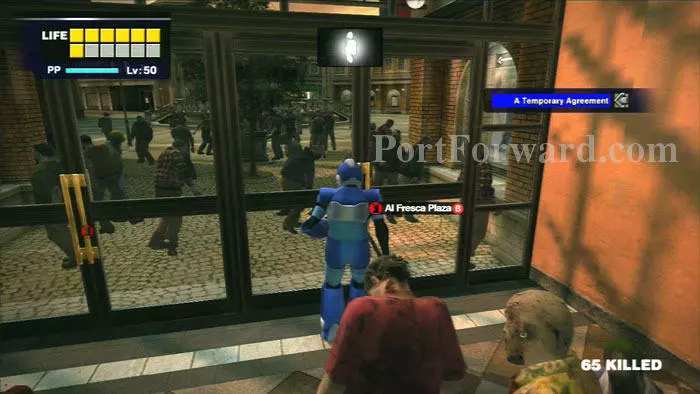
After the cutscene, follow Brad into Al Fresca Plaza. Turn right into Flexin'.
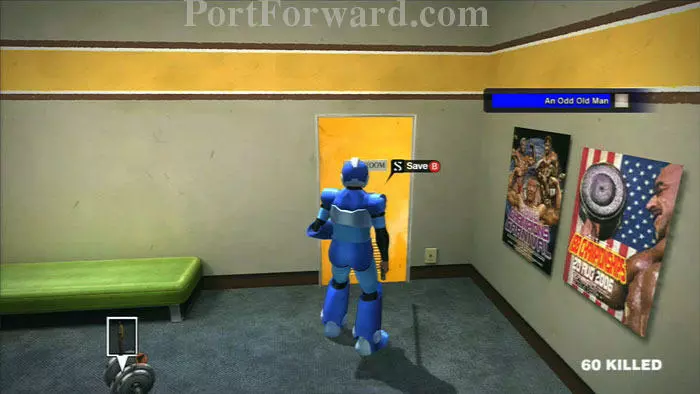
This scarce save point is found in the far-right corner. The nearby dumbbells are effective weapons.
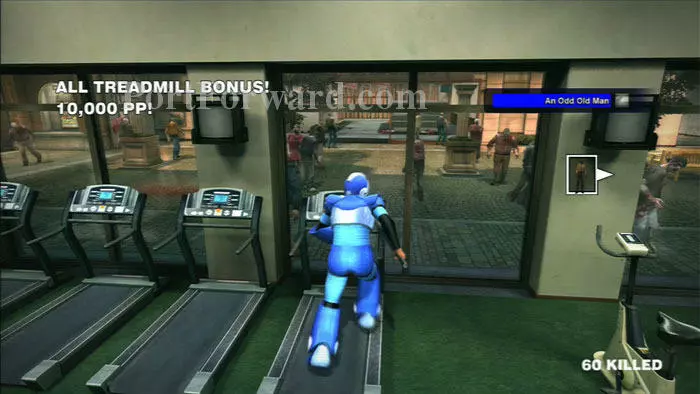
Run on the nearby treadmills to earn 2,000 PP. Earn the 2,000 PP on all six treadmills and receive this 10,000 PP bonus.
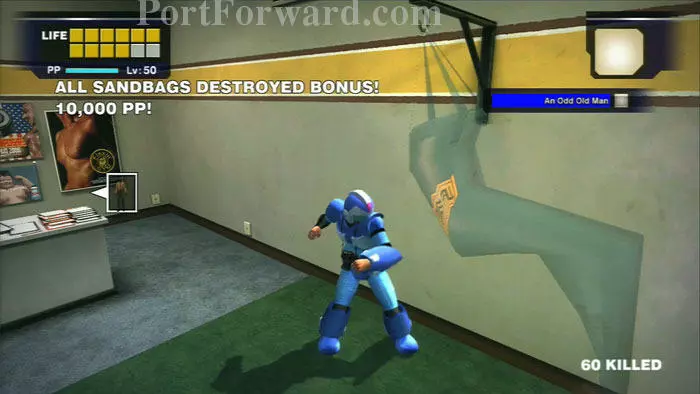
Similarly, destroy the Sandbags for 2,000 PP each. Destroy all four for a 10,000 PP bonus.
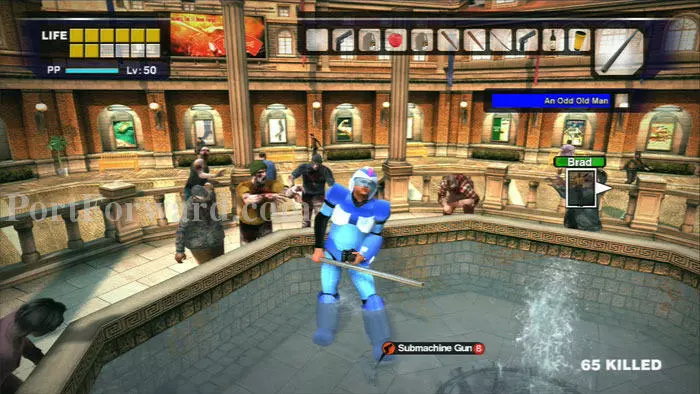
Follow Brad through the plaza, stopping at this fountain to find another Submachine Gun.

Exit with Brad at the Entrance Plaza.
Approach Brad and he'll unlock the gate.
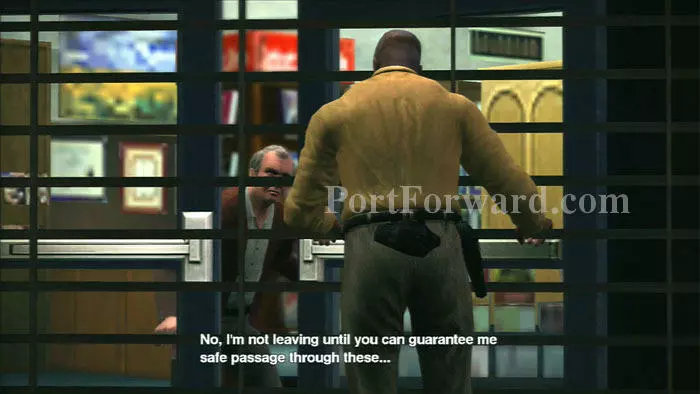
Follow Brad a short distance to initiate this cutscene with Dr. Barnaby, completing Case 1-3.
The final task for Case 1 is to return to the Security Office. Begin by backtracking to Al Fresca Plaza.
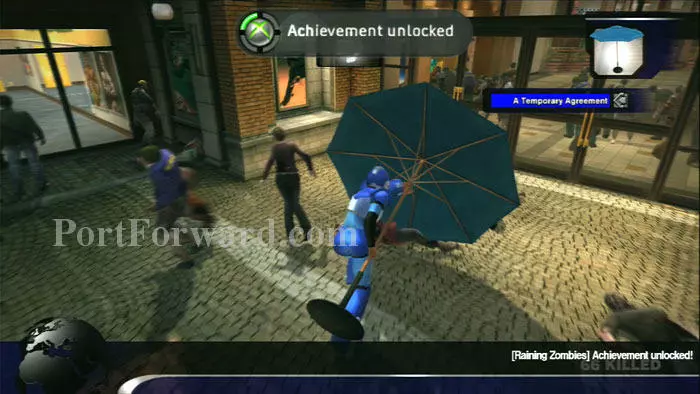
These large umbrellas greatly assist travel through Al Fresca. Knock aside 30 zombies to unlock the Raining Zombies Achievement.
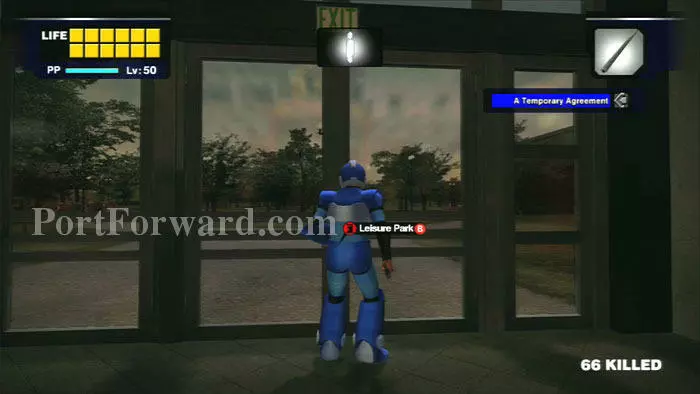
Enter the Food Court, load up on Wine, then hang right to exit into Leisure Park.
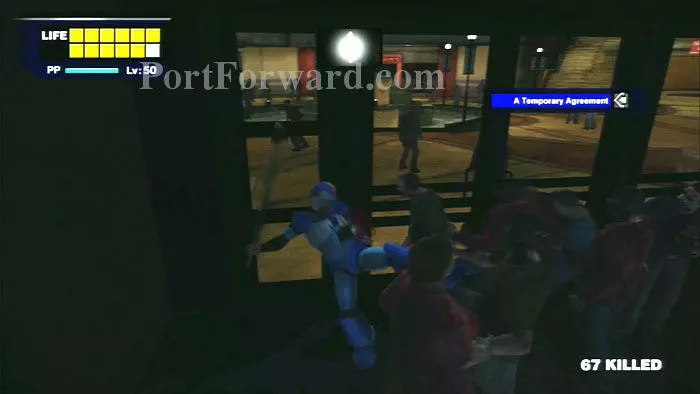
Trek across the park then fight your way past the zombies assembled at the Paradise Plaza entrance.
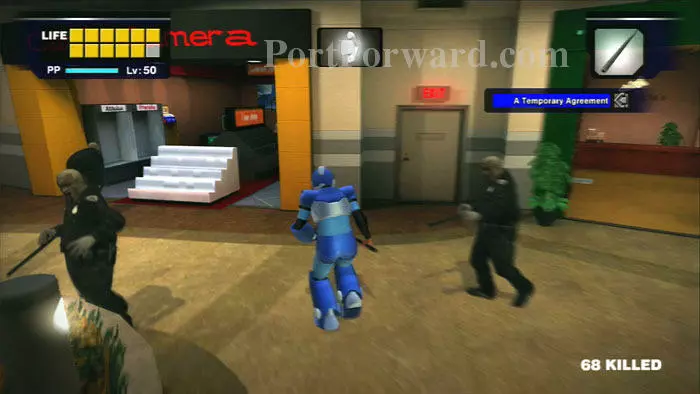
Turn right then enter the warehouse through the door to the right of Cam's Camera.
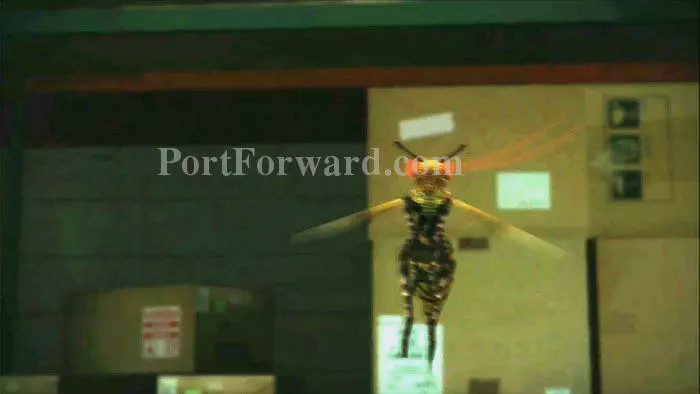
A cutscene plays -- this is a Queen.
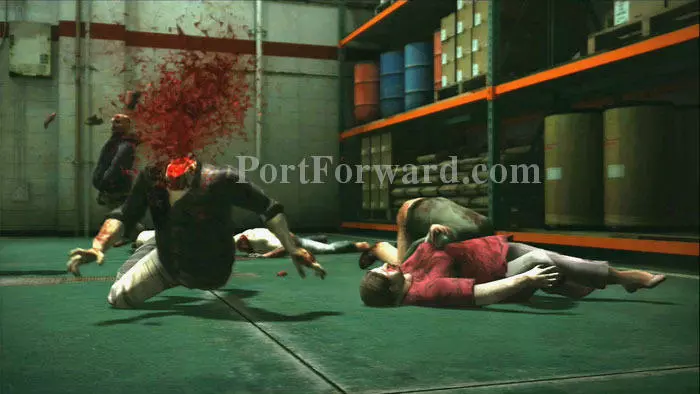
Smash a Queen and the zombies around you die. Some even pop their tops!
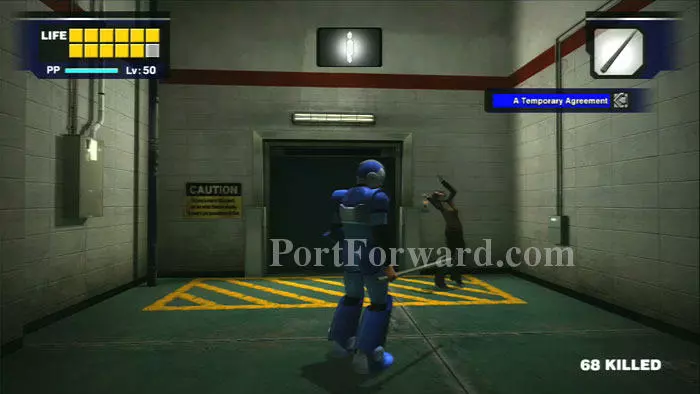
Walk to the elevator and find a solitary zombie waving her arms about. This is the telltale sign of a Queen-infected zombie. Kill the zombie and grab the Queen, which you can keep for later.
Ride the elevator up to the roof then head left to once again climb into the air shaft.
More Dead Rising Walkthroughs
This Dead Rising walkthrough is divided into 9 total pages.