This Deadlight walkthrough is divided into 9 total pages.
You can jump to nearby pages of the game using the links above.
The Rat's Son
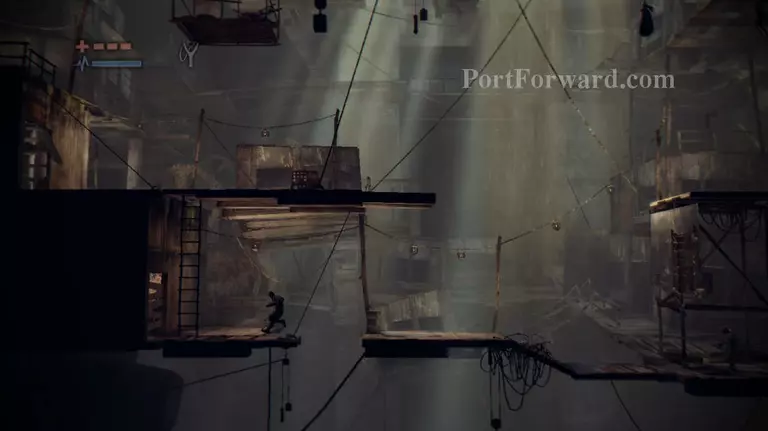
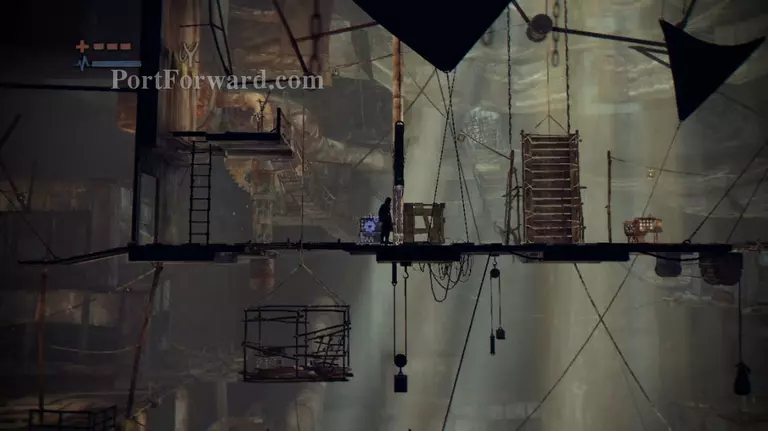
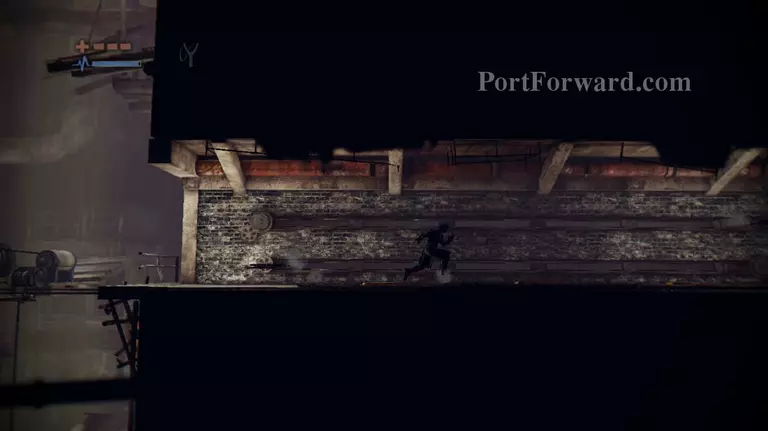
Now the Rat will ask you to save his son. Jump to the left and climb up the ladder. Interact with the generator, then power jump to the other side.
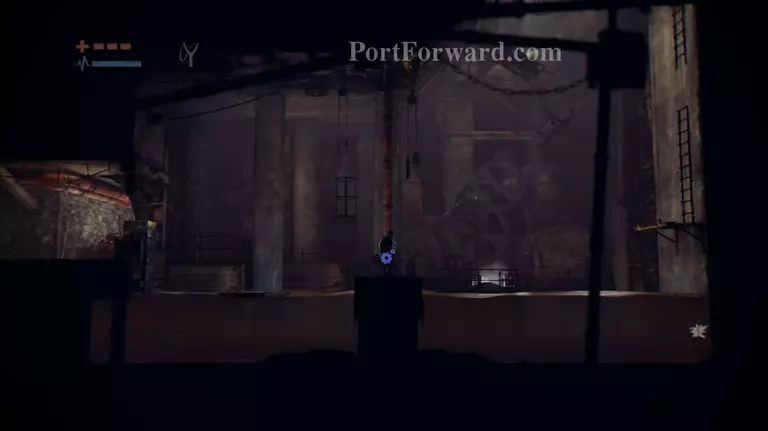
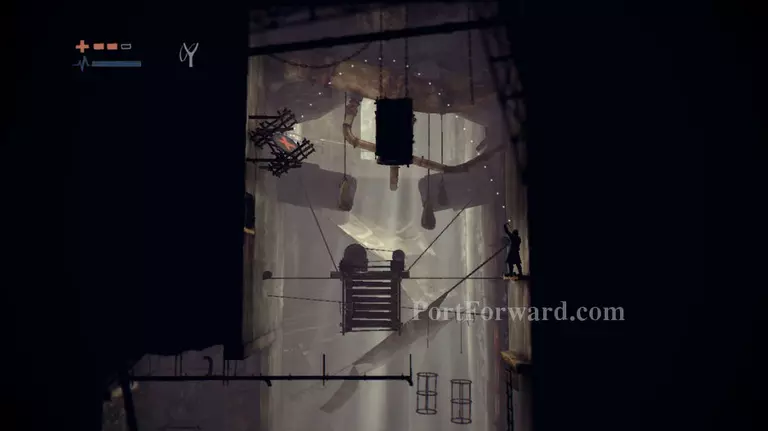
Climb up to the next platform, then pull the square box to the lift and shoot a pebble at the "X" at the top left side of the screen. Make sure to jump back inside the lift as it goes up.
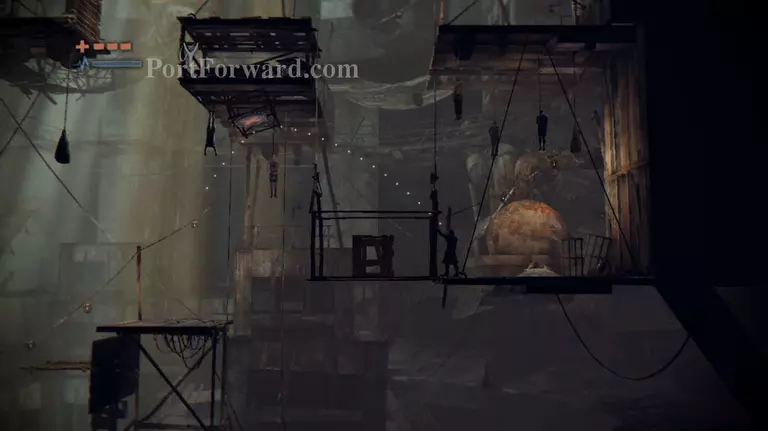
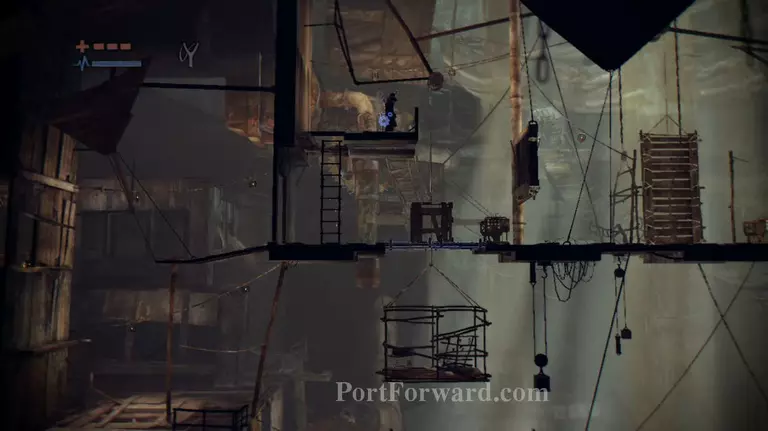
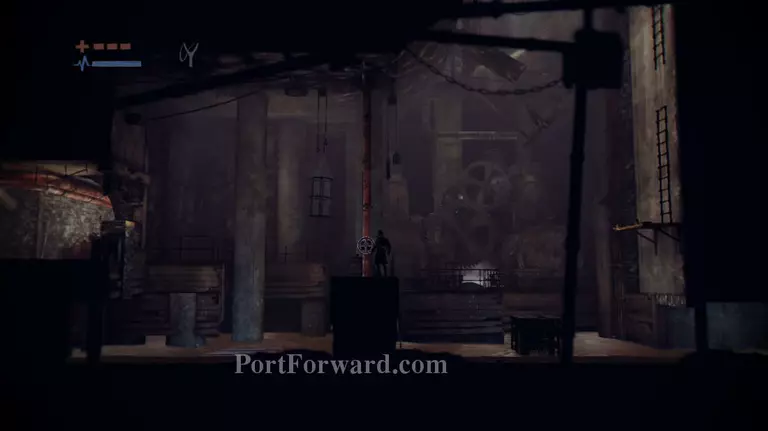
Push the box to the left, but don't let it fall. Now get up on the box and use it to reach the inclined bridge, drop down on the opposite end and interact with the generator.
Go back to the box and push it further to the left again, then use it to climb up the bridge and jump towards the platform on the left.
Drop down and interact with the generator, this will cause a small gap in the wall to open. Pull the box further to the left and leave it on top of the lift below.
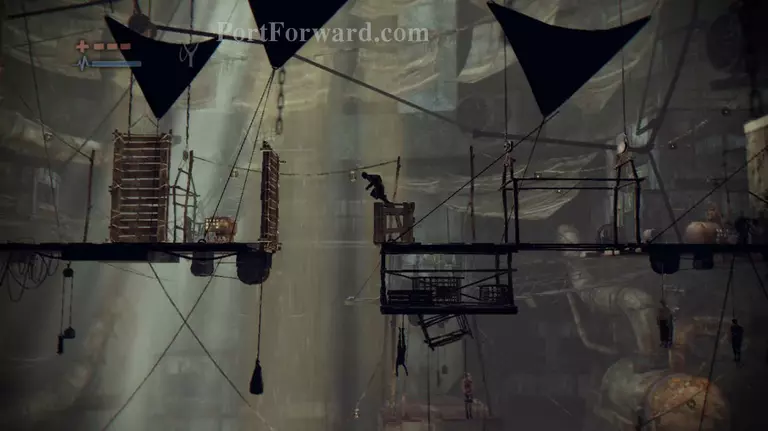
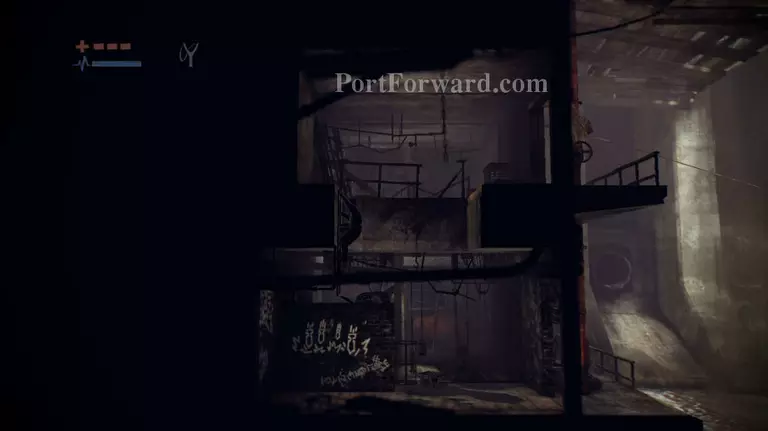
Climb up the ladder and interact with the lever. Now go back down and stand in front of the newly revealed lift, then press F to ask the Rat to activate it.

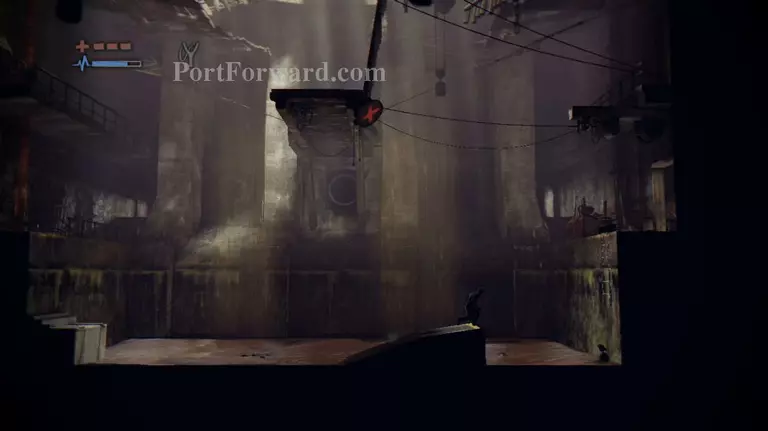
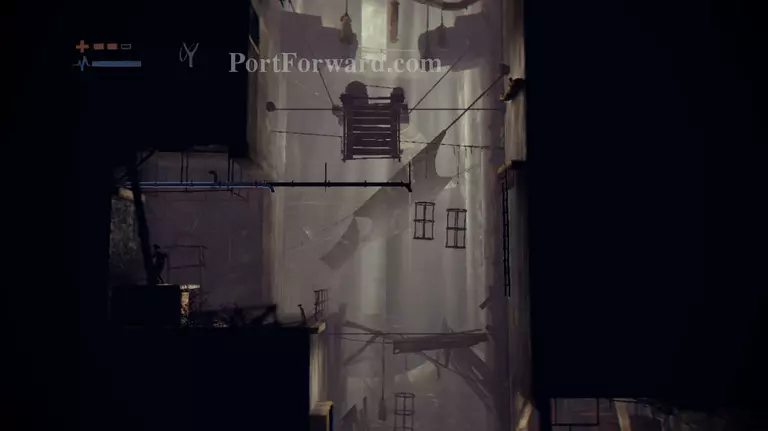
Drop down on the floating platform in the water and shoot a pebble at the "X," then power jump to the left to reach the ledge there.
Jump onto the ladder inside the room and climb up to the second floor. Jump to the left and interact with the valve on the veranda to lower the water level.
With the water level now low enough for you to walk on the floor, drop down and power jump to the right to reach the ladder adn then proceed inside the door.
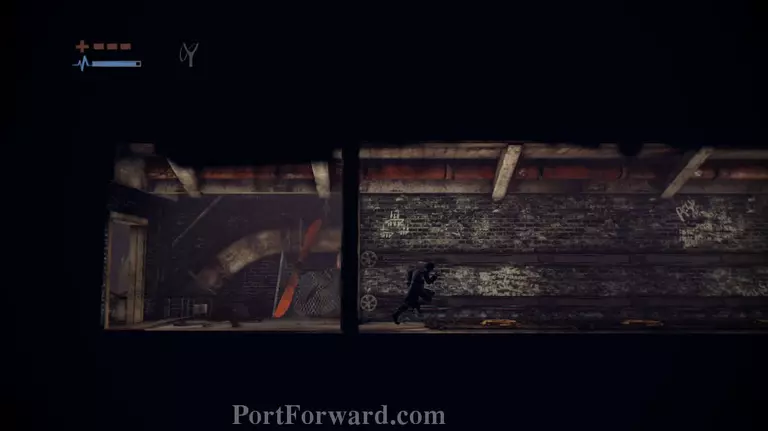
In the next room, the floor is rigged with traps. Dash through them and don't stop until you reach the wooden box that's blocking your way, jump over the box and head inside the vent.
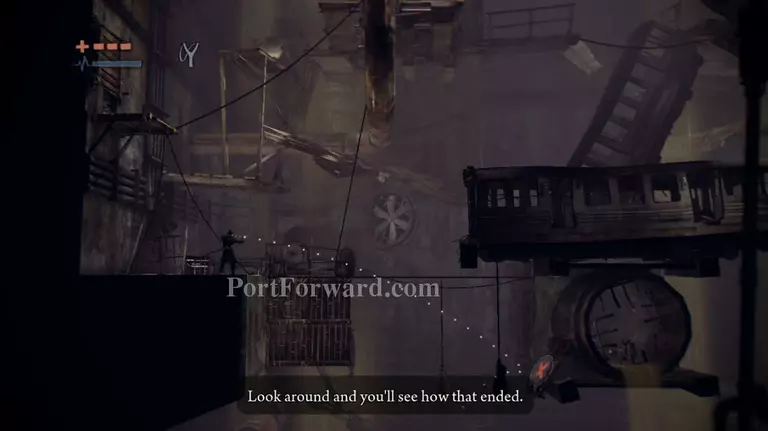
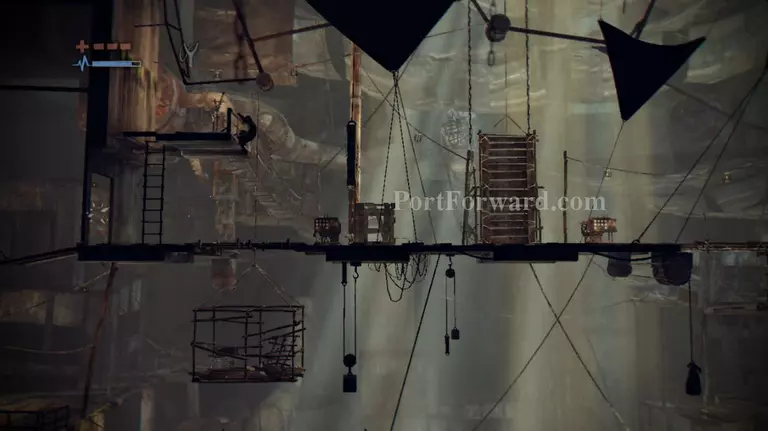
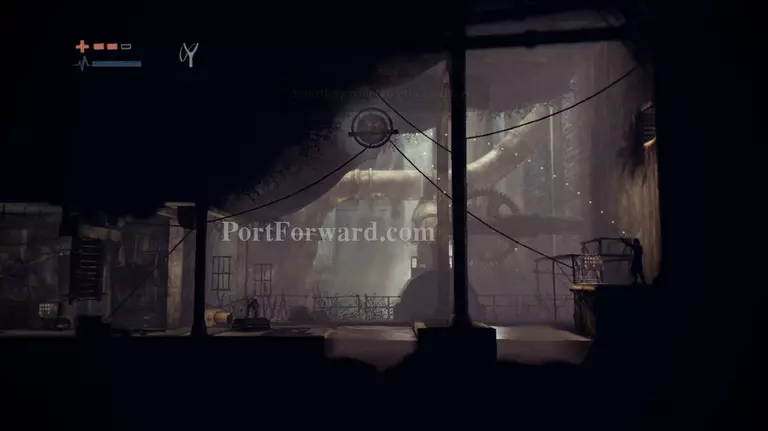
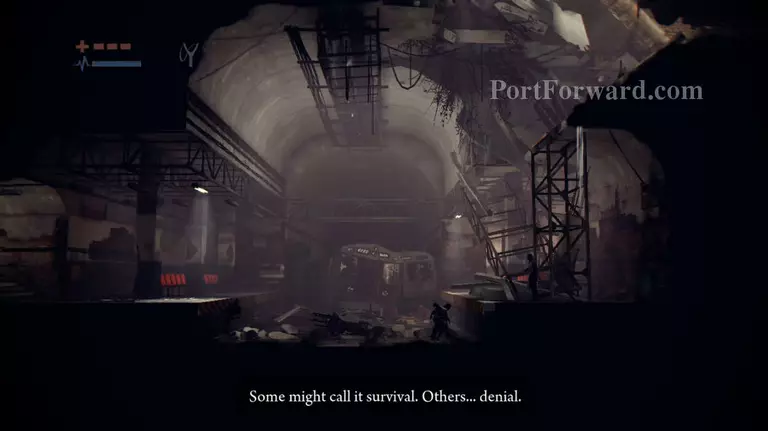
Drop down the lower floor and aim your slingshot at the "X" right below the bus. Now run through the platforms and jump towards the bus.
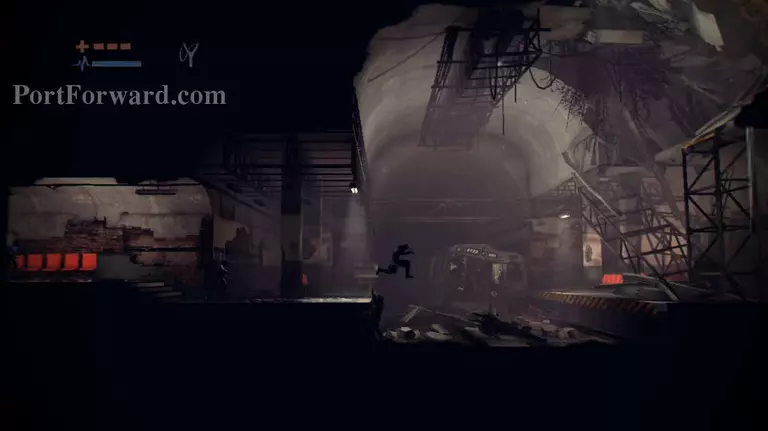
Get on top of the bus and shoot a pebble at the "X" to the upper right corner. A platform will come rolling from the right, jump on it and ride it until it stops.
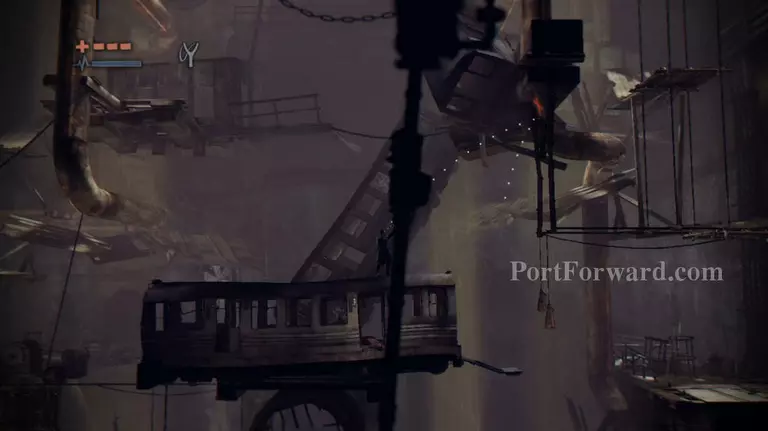
Climb up through the ledges and ignore the first "X," climb up higher to the left and shoot a pebble at the wheel on the upper left side.
Then shoot one at the prior X and proceed to the tunnel on the right. Once again you'll need to dash through it, but this time you'll have to crouch down near the end to avoid the blade.
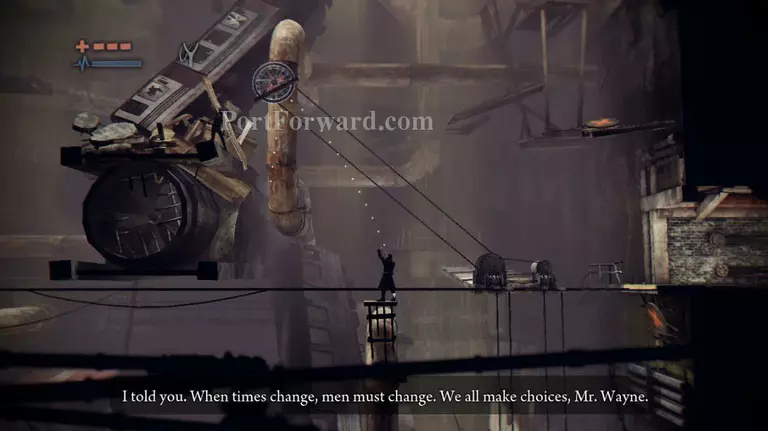
In the next room, jump towards the center of the room and use the valve to lower the water level. Drop down on the right side and smash through the barricade, drag out the box and leave it at the center.
Climb back up the center platform and re-activate the valve to increase the water level. Now jump on the box and towards the platform on the right, then start climbing up the ladder.
When you get to the top, wall rebound on the left wall and move over to the right via the pipe. Get on the ladder and continue to make your way up.
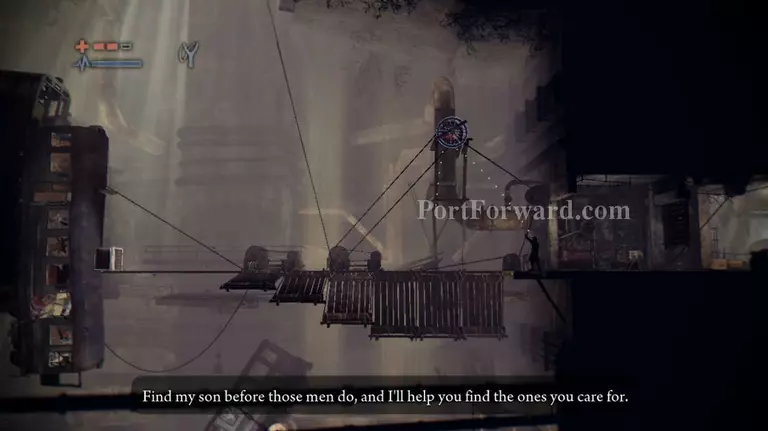
Get onto the second ledge and aim your slingshot up and towards the "X" on the otherside. The trajectory must go above the rectangular object, then jump onto the platform and into the vent.
Drop down on the platform and shoot the first wheel to remove the blockage.
Now jump across the water and into the next room, take out your slingshot and shoot the second wheel. Go back to the first room and activate the mechanism, then quickly run back to the second room and across the bridge.
Climb up the train and open the door to the highest car, make your way inside and exit through the other end.
Drop down the platform and call the shadows over to you, then jump across them and make your way to the other platform.
Climb up the platform and call the shadows at the left end to chase you. Drop down the tracks and get up on the first platform, wait for them to follow you there and go back to the second platform.
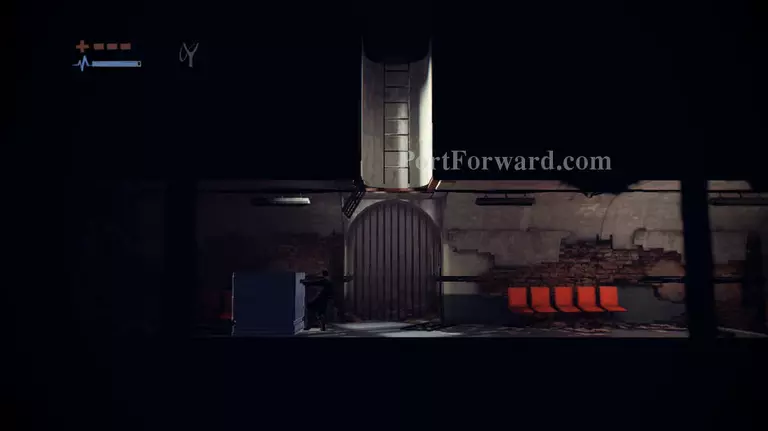
On the second platform, go back to the left end and pull the box there. Place it right under the ladder, then jump on top of the box and start climbing out.

Take out your slingshot, then shoot a pebble at the glass roofing. Do a wall rebound towards the left and get on the roof.
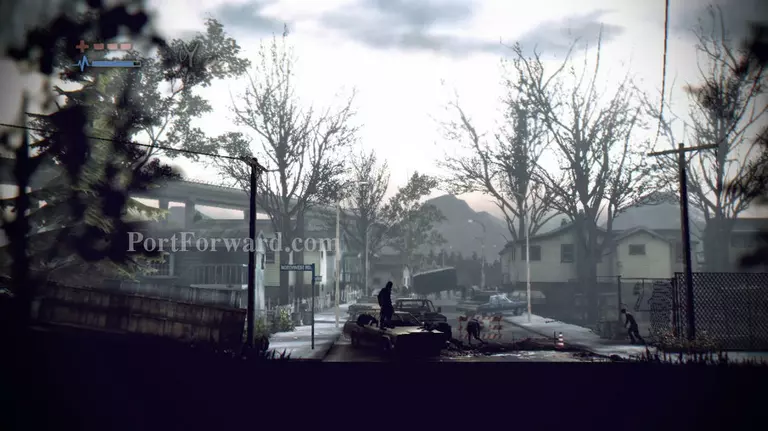
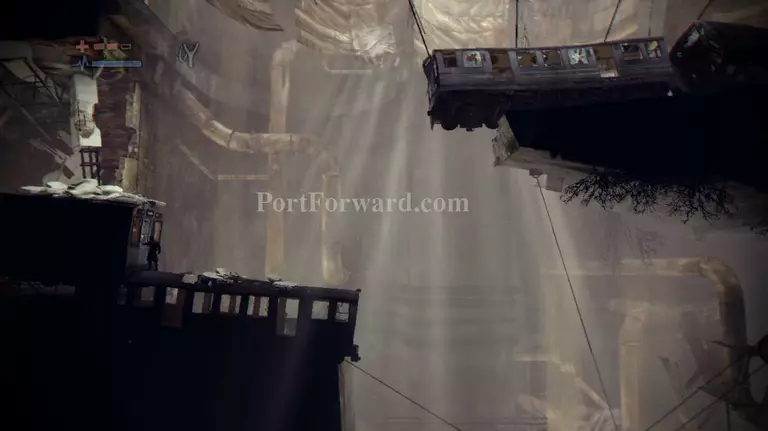
Jump over the fence and keep going to the right. Try to keep yourself above street level whenever you can and get to the tree house.
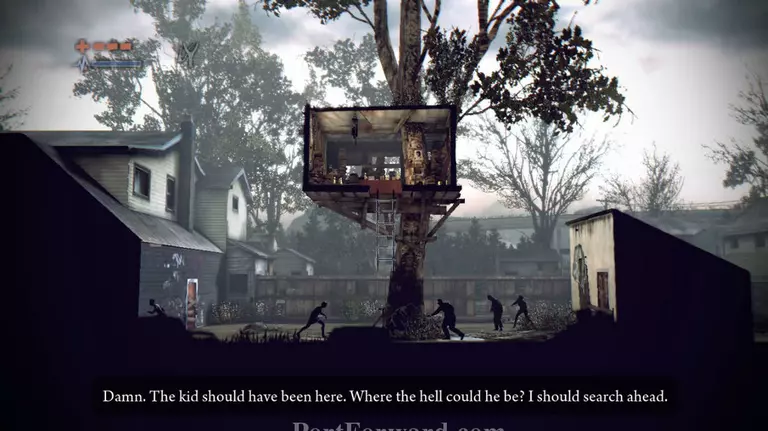
When you get to the tree house, slide down the slope and run under the ladder. Jump up to the ladder and climb up to the tree house.
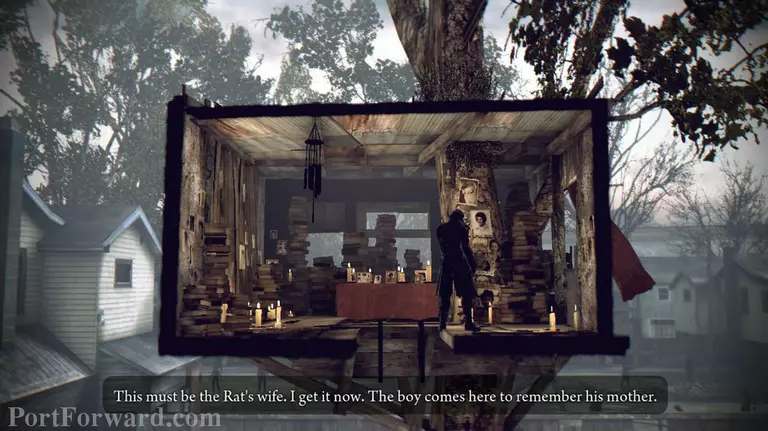
Interact with the photos on the tree trunk, then bust the door on the right side. Perform a power jump and jump through the newly opened door.
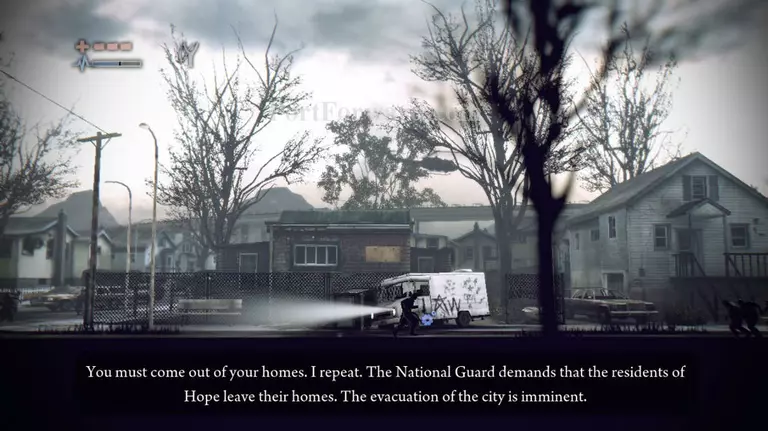
Keep running to the right, you'll then see a white mini truck. Interact with the truck to continue onto the next scene.
More Deadlight Walkthroughs
This Deadlight walkthrough is divided into 9 total pages.