This Deadlight walkthrough is divided into 9 total pages.
You can jump to nearby pages of the game using the links above.
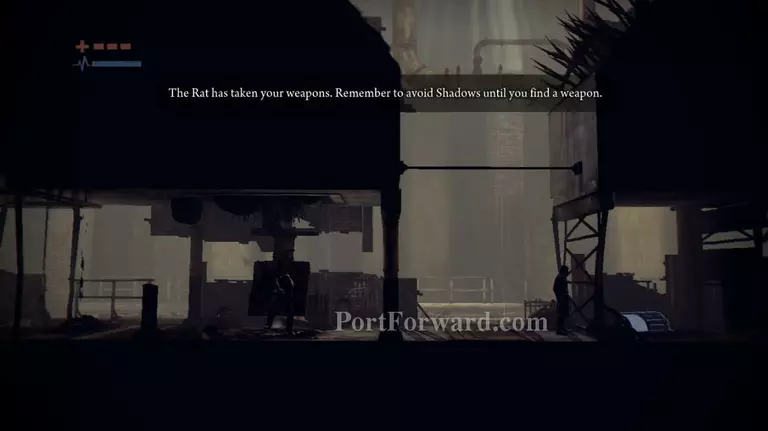
The Rat
Proceed to the right and jump onto the boxes. Take out your gun and shoot the padlock on the ceiling, then perform a wall rebound and pull yourself up the next floor.
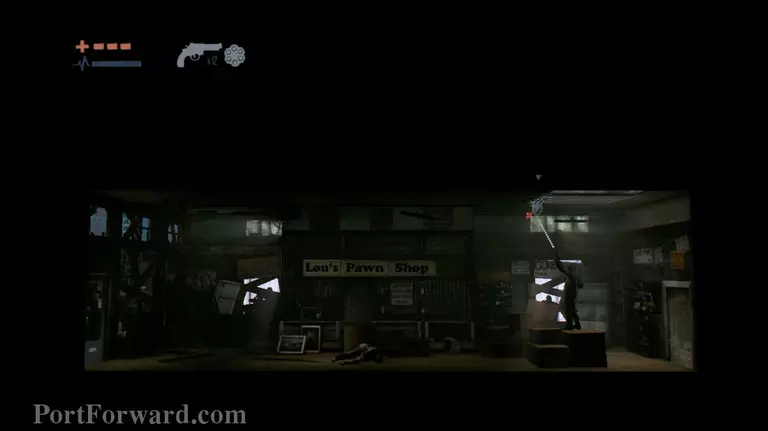
Jump across the gap and get to the room on the right side. Interact with the photograph on the counter and you'll find a code.
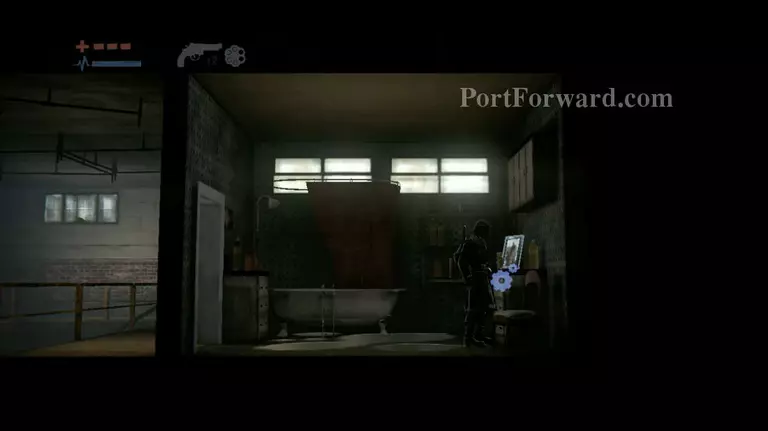
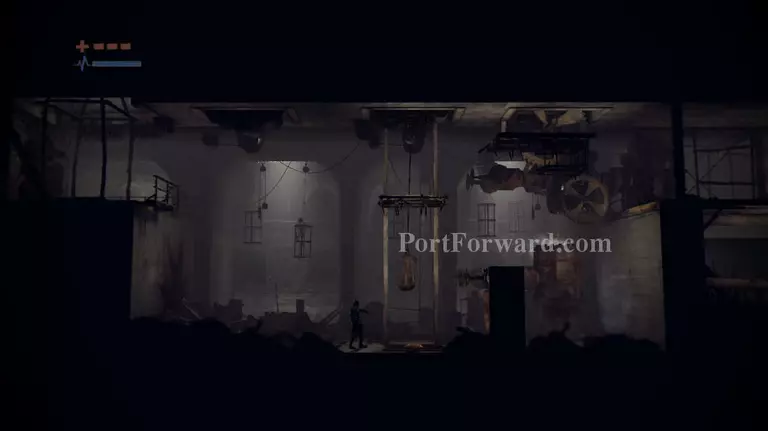
Exit the room and drop down the first floor. Interact with the shelf to reveal a hidden trapdoor behind it. Interact with it and you'll be able to open it.
Climb down the ladder and move to the left. Examine the breaker then press the switch on the far right corner of the area to open the shutters.
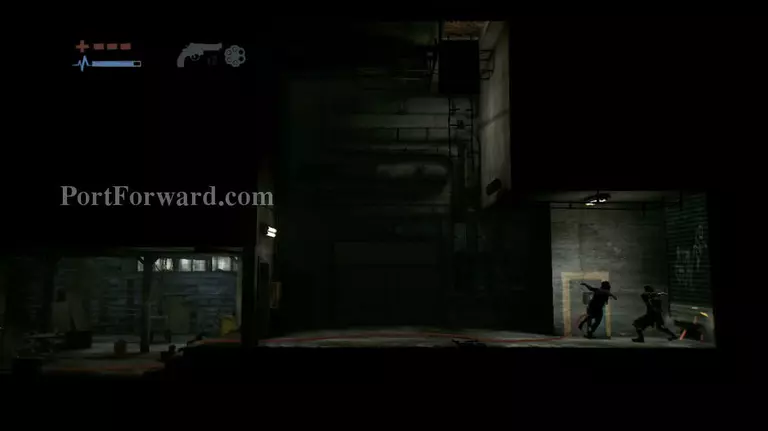
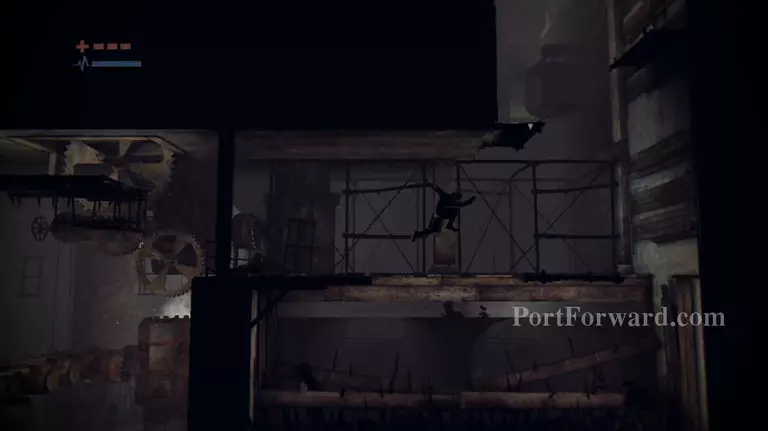
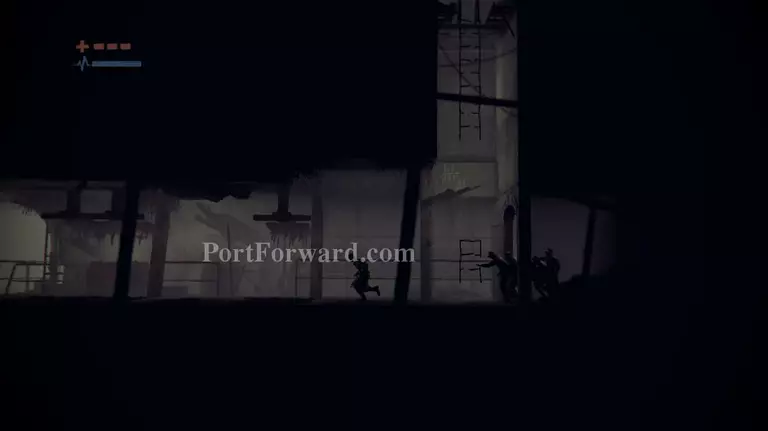
Fend off the shadows. If you can spare some bullets, then I highly recommend you shoot their heads. Otherwise use your axe and fend them off until the shutters open wide enough for you to pass through.
Smash through the barricade on the right and just keep running until you trigger the cutscene. Also, make sure to jump over any obstacles in your path.
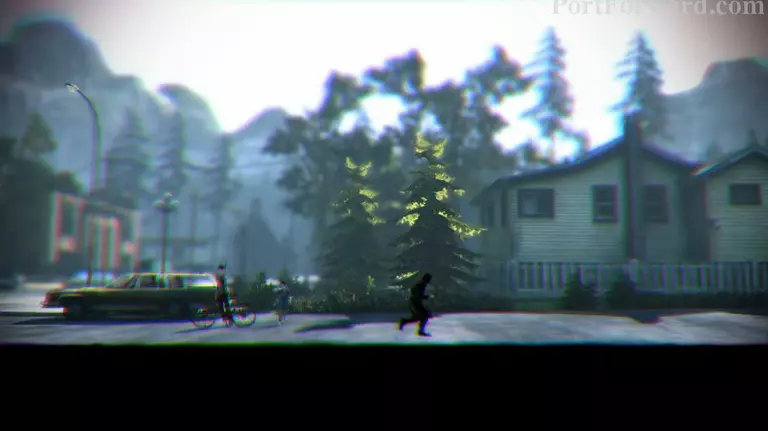
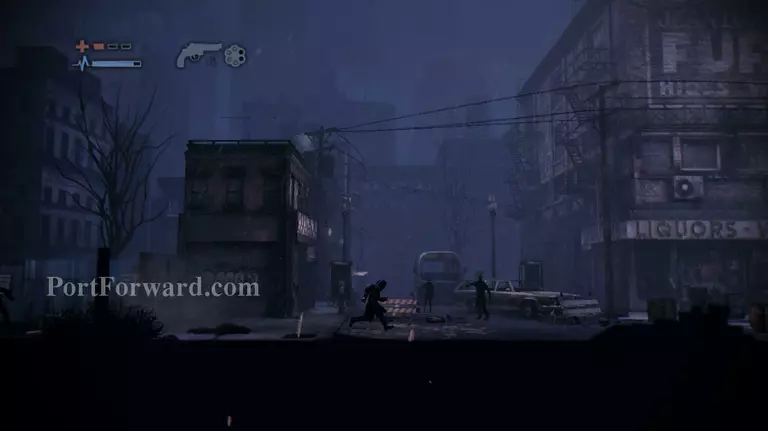
You'll then be taken back in time. Just proceed to the right until you get to your house and you'll return to the present time.
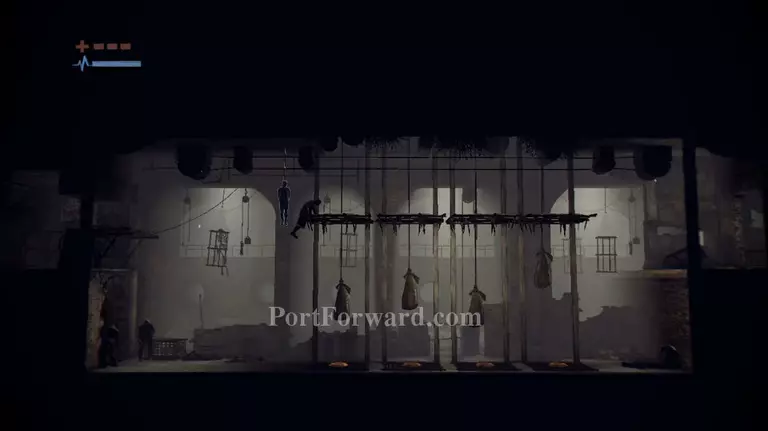
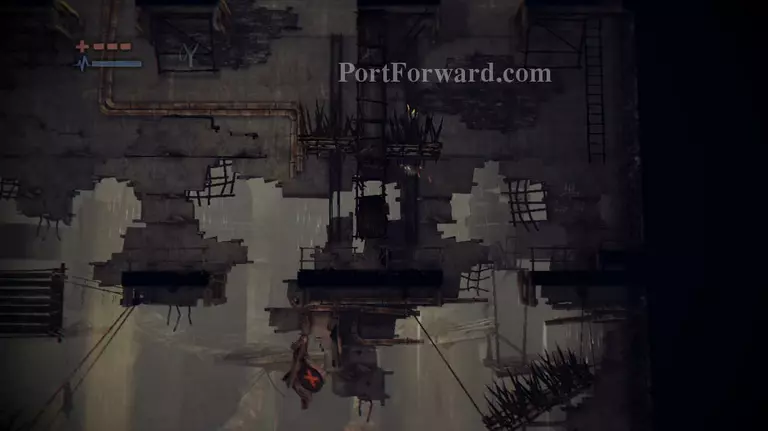
Walk to the right and jump across the gap, then continue walking and drop down the slope. Don't jump on the slope, just slide down and drop down from the wire.
Move over to the left and keep calling on the shadows until they impale themselves on the traps, then jump over the trap triggers. Get on the lift and press F to make the Rat lower you.
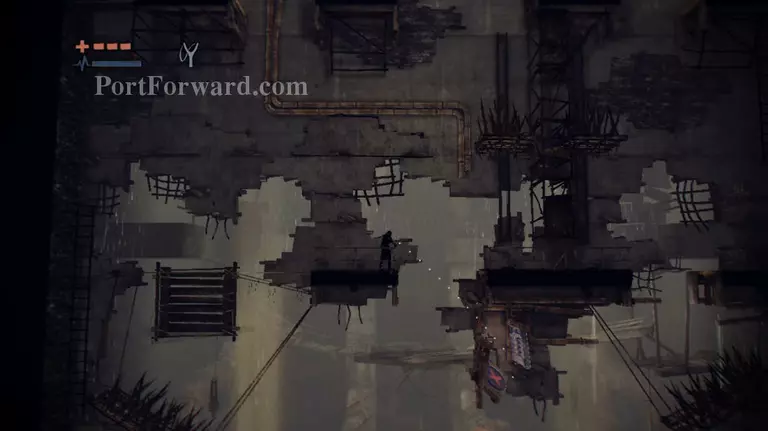
On the lower floor, drop down and stand near the trap. Call the shadow, then jump on top of the upper part of the trap once it comes crashing down. Jump onto the contraption to the right and jump across the small gap.
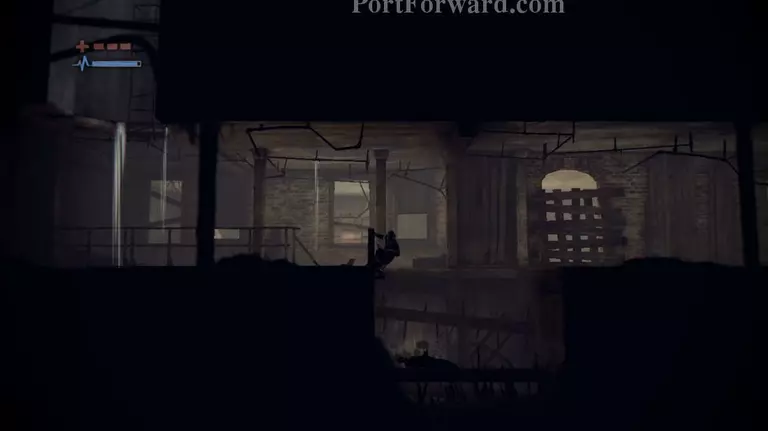
On the next area, there's a wide gap on the floor so be careful not to fall. Jump across the first gap, then wall rebound of the right side and get on the ledge. Continue wall rebounding until you get to the top.
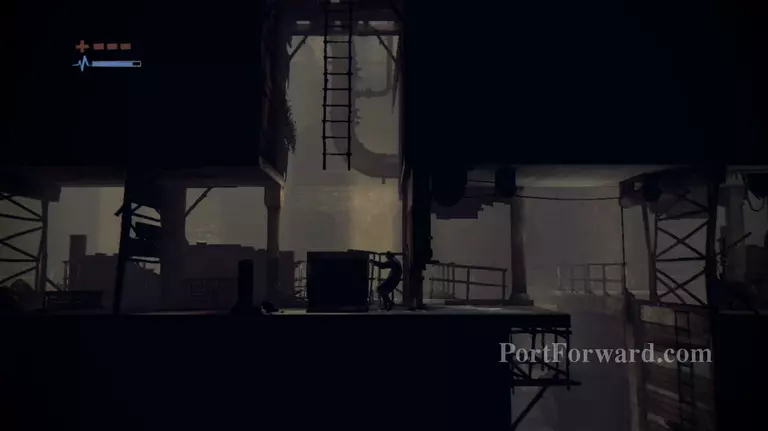
Call for the Rat to open the gate, then crawl through it. Drag the box from the far left side of the area and place it undearneath the ladder. Now jump on top of it and start climbing up the ladder.
In the next area, you'll need to power jump across to the top of the traps. Be careful that you don't fall or else this would be hard.
Climb down the ladder and don't panic because there's a horde behind you. Jump across the first trap trigger, then power jump across the second one and slide down the slope.
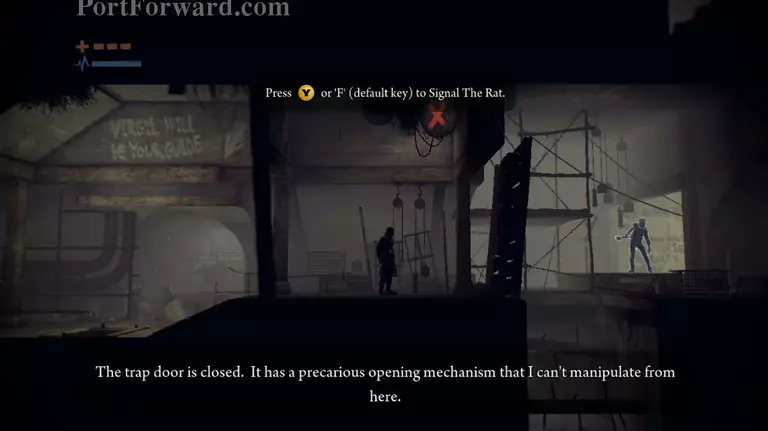
Walk to the right and press F to make the Rat open the trap door from his side, then descend down and take the slingshot from the dead body on the left near the spikes.
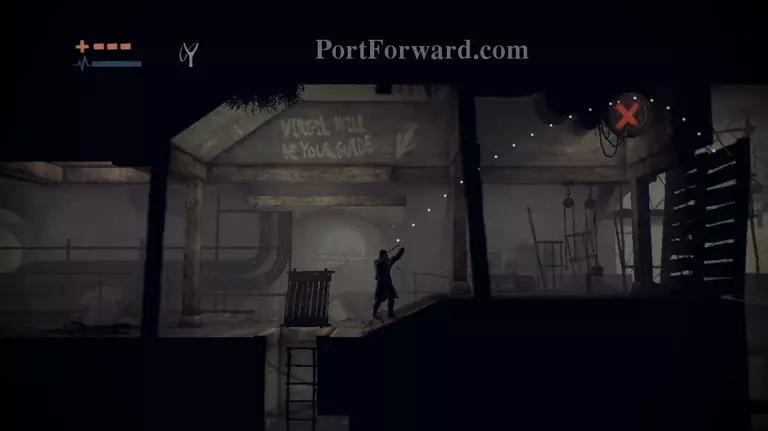
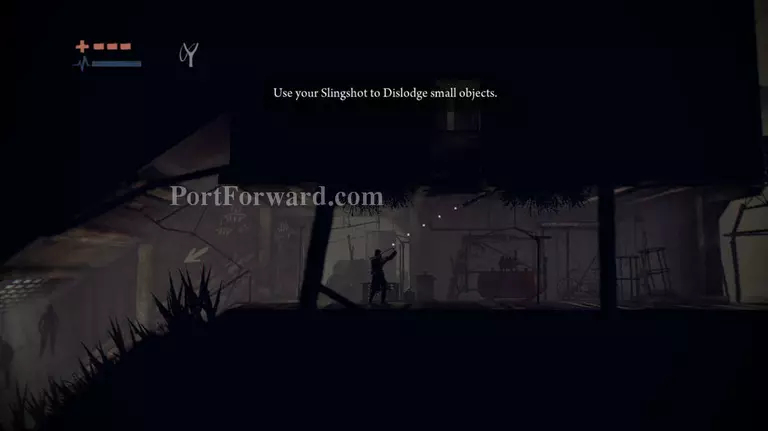
Climb back up and use your slingshot the same way you use a revolver, then shoot a pebble towards the large "X" on top of the bridge. The slingshot has an unlimited amount of ammo, but it can't be used to fend off shadows.
Take the lift down with the Rat, then proceed to the left. Turn right and shoot a pebble towards the small slopped object on the ceiling.
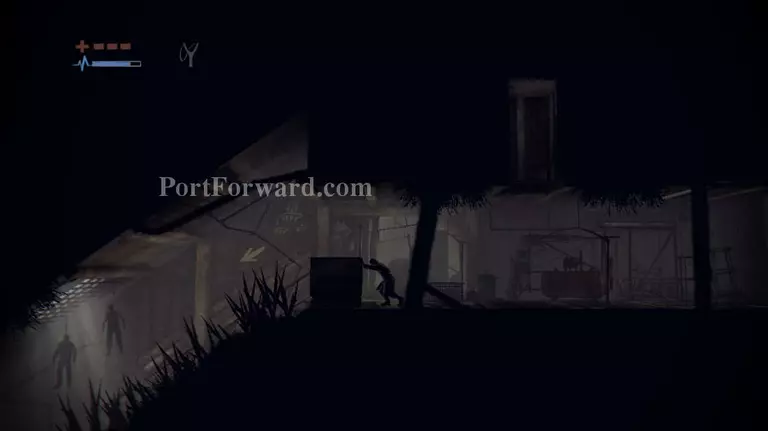
A box will then drop from the ceiling. Push the box down the spiky slope on the left side and it will mow through everything, allowing you to safely slide down.
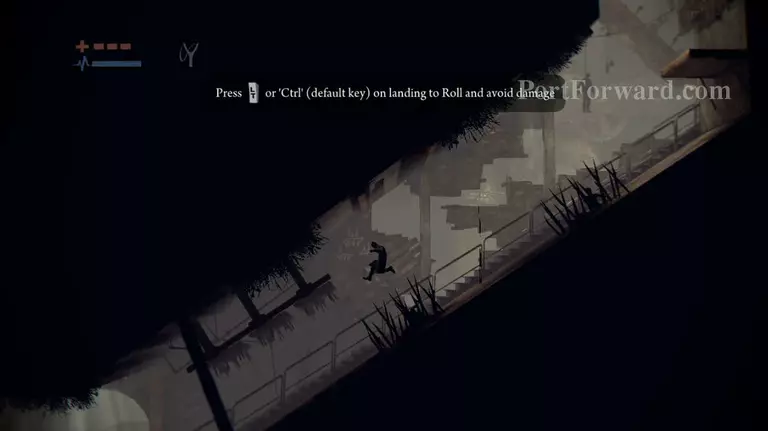
Avoid the left over spikes by jumping over them, then when you get to the next slope, jump over the first and then jump and roll (ctrl) over the next one to avoid the traps.
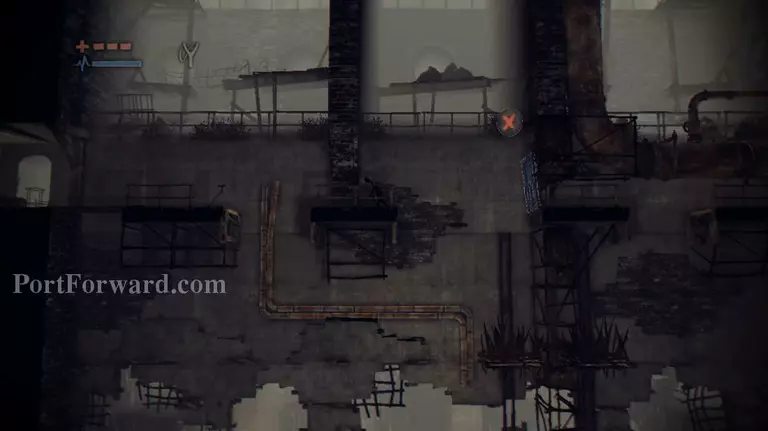
In the next area, jump over to the second platform, then fire a pebble at the "X" and jump across to the newly revealed platform.
Climb down the ladder, then jump towards the platform on the left and quickly crouch down to hide under the pillar. Move further to the left and quickly jump on the next platform before you get hit by the trap.
Hug the right side of the platform and shoot a pebble at the plank, make sure that the trajectory allows the pebble to bounce off of the wooden panel and onto the "X."
Use the now available platform to jump towards the left and climb down the ladder. Drop down and get onto the platforms that are floating on the water. Wait for the Rat to finish talking, he'll lower a platform for you. Use the platform and climb up towar
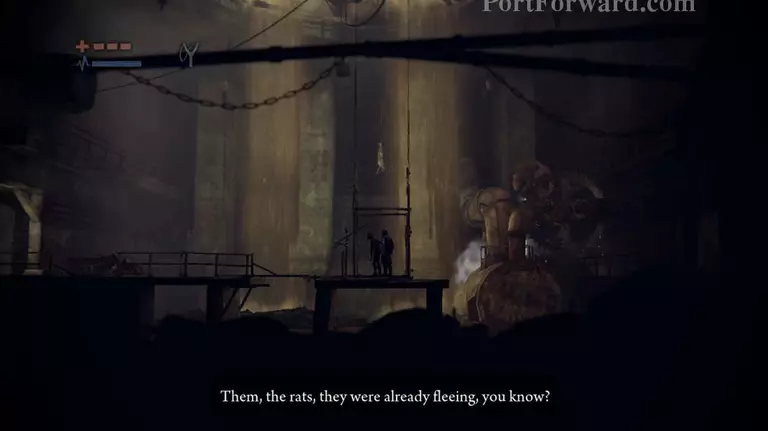
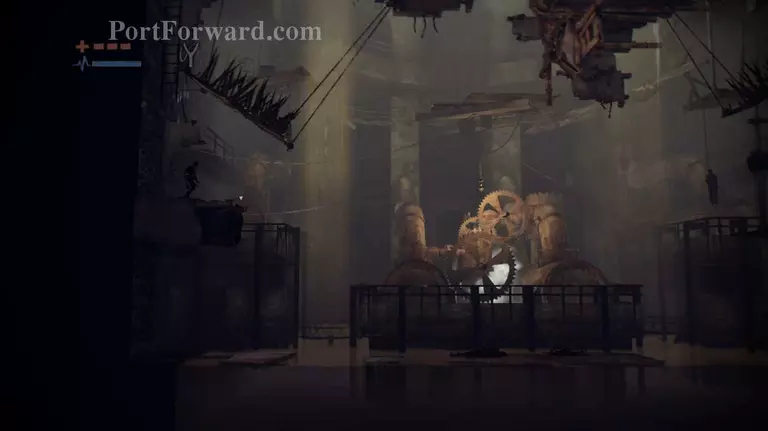
Follow him to the next area, then get on the lift and wait for him to activate it.
More Deadlight Walkthroughs
This Deadlight walkthrough is divided into 9 total pages.