
This Garrys Mod walkthrough is divided into 50 total pages.
You can jump to nearby pages of the game using the links above.
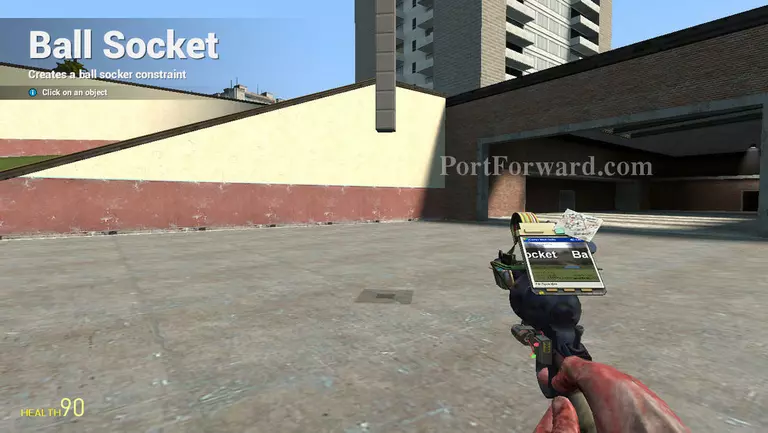
8.3 - Ball Socket
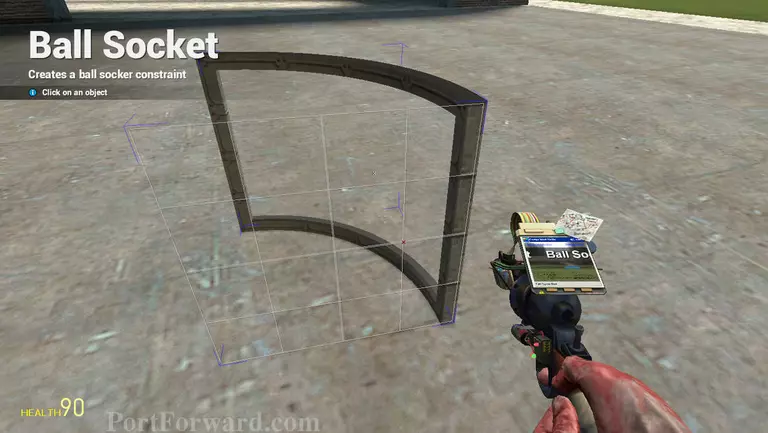
Sometimes, people will be confused with this item. Just as its name, it will make a ball socket to the item.
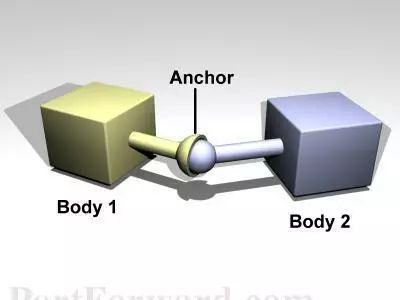
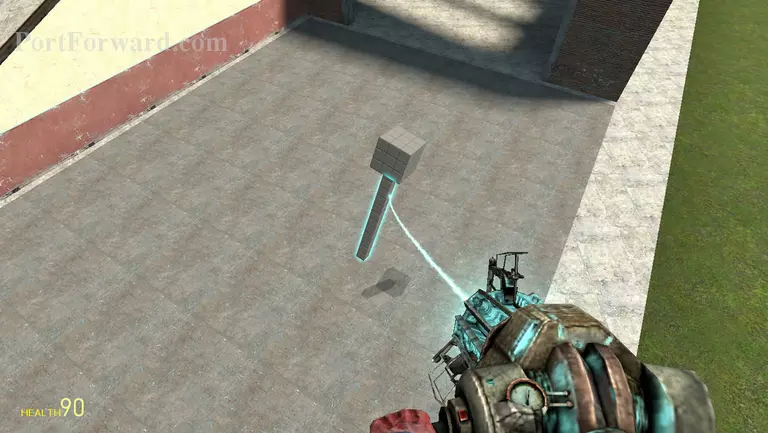
Try to understand this picture. In the game, the first point you select is the ball part while the second point is the anchor part. [Image by: http://ode-wiki.org]
For example, click the first point where you want the ball socket is.
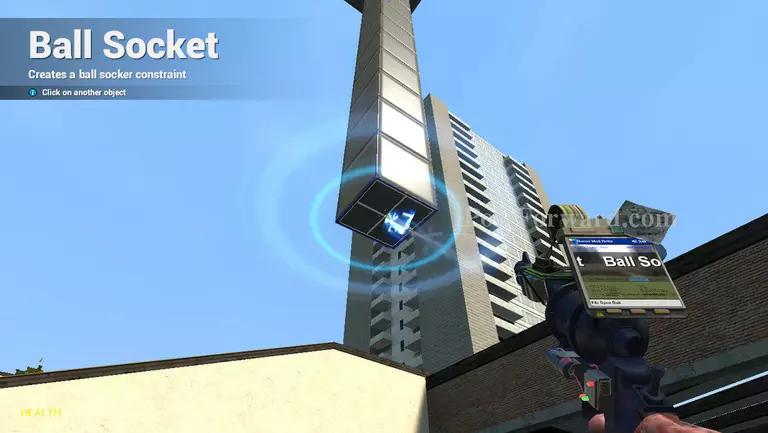
Then select the anchor part.
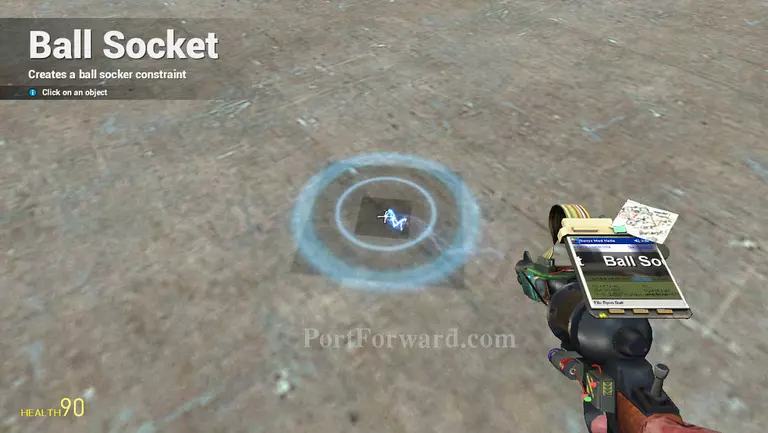
As you see in the picture, there's a distance between two point. In this case, the game automatically create invisible rod connect to the anchor at the bottom. Refer the example image before.
Now unfroze the object and use the physics gun. The object will always move freely at the point it anchored. Do it by yourself to fully understand it.
More Garrys Mod Walkthroughs
This Garrys Mod walkthrough is divided into 50 total pages.


