
This Grand Theft Auto V walkthrough is divided into 83 total pages.
You can jump to nearby pages of the game using the links above.
Dead Man Walking
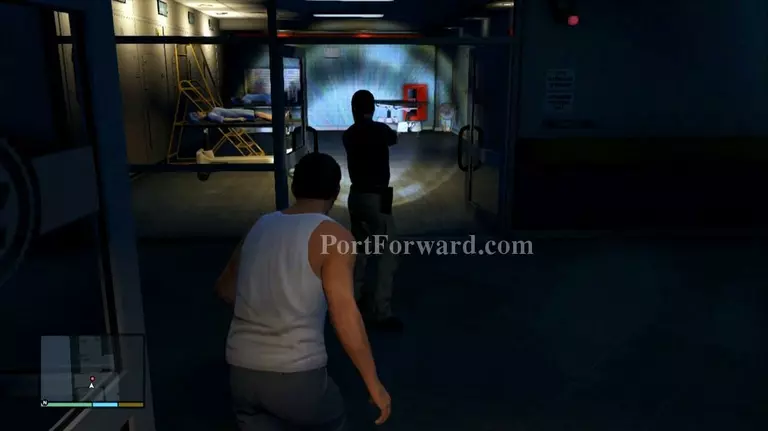
When the mission begins, sneak across the room and use a stealth kill on the agent and then take his weapon.
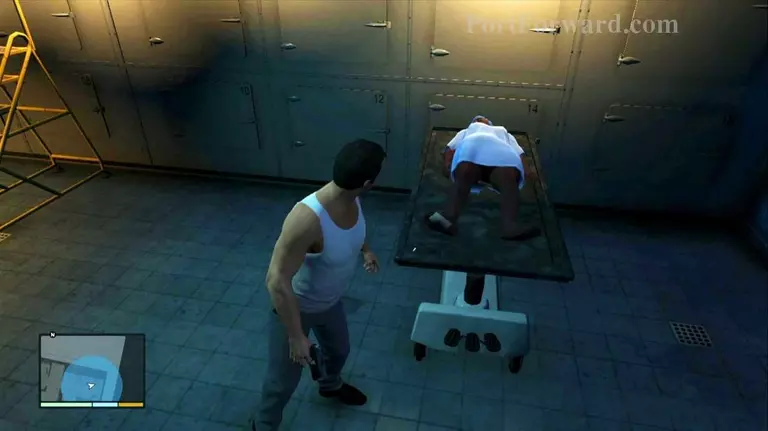
Move into the next room and search the body at the other end to trigger a short scene.
When Mike hangs up the phone, stay in cover near the gurney and wait for the first agent to show up. Gun him down and then move to the hall.
Stay in cover and wait for the agents to come to you. Avoid going in guns blazing since you don't have enough Body Armor! When the hall is cleared, carefully move towards the front desk and take cover.
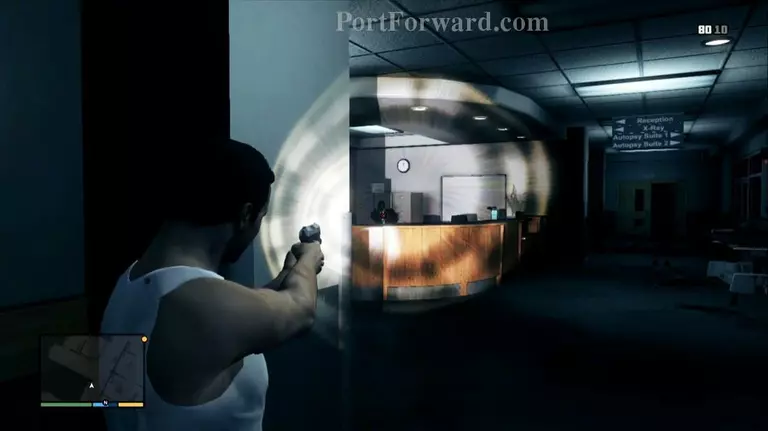
There is an agent hiding behind the front desk, so fire at him first to avoid getting hit (don't forget about the agent hiding in the lab).
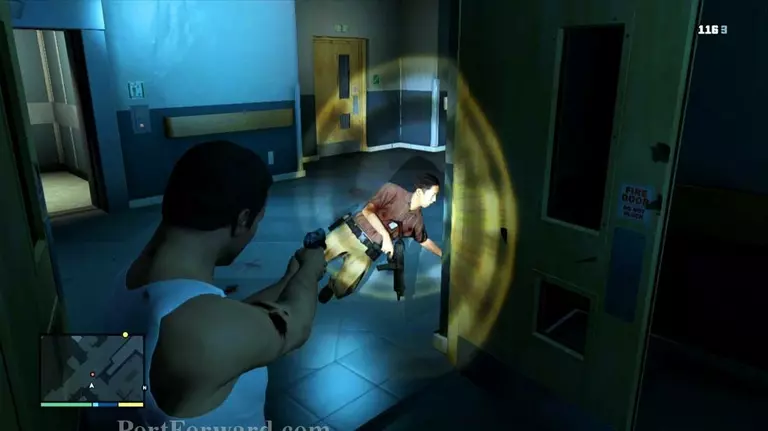
With the floor cleared, take cover near the yellow doorway exit and an agent will exit from the elevator. Shoot him from cover to avoid his semi-automatic gunfire and then take the stairs to the next floor.
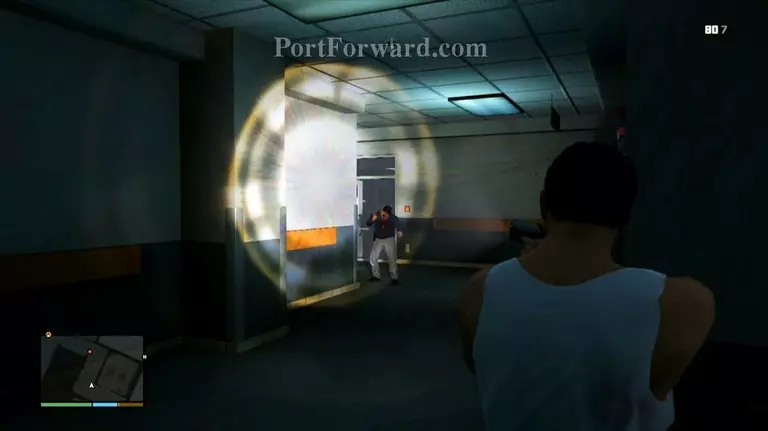
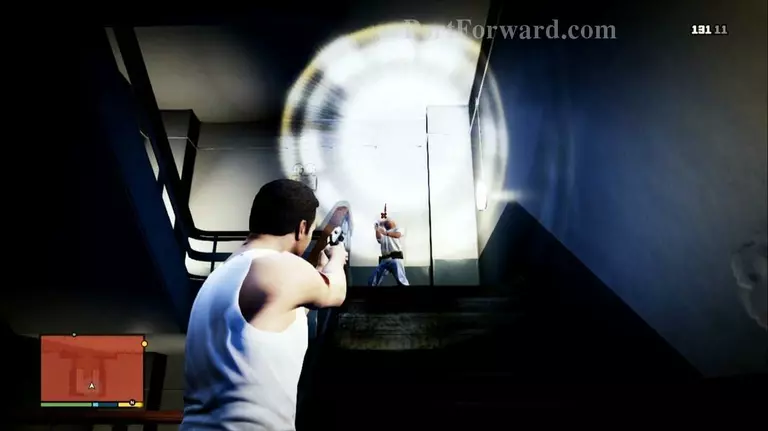
Carefully go up the stairs and be ready to fire your gun when the agent bursts through the door. From there, enter to the next hall and get into cover quickly
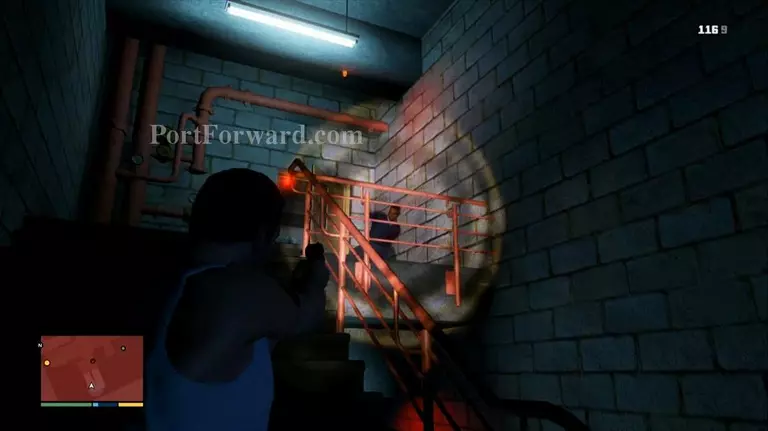
Another agent runs down the stairway, so blow him away before he can shoot you. Now take the stairs to the top but watch out!
GOLD MEDAL REQUIREMENTS: "HEADSHOTS/ FOCUSED KILLER/ ACCURACY
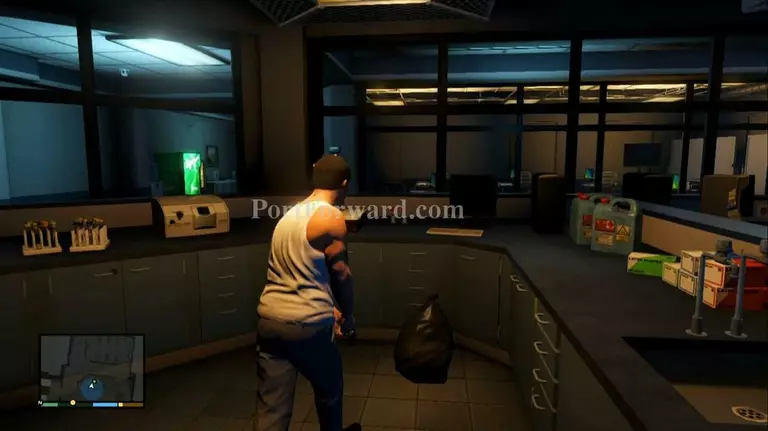
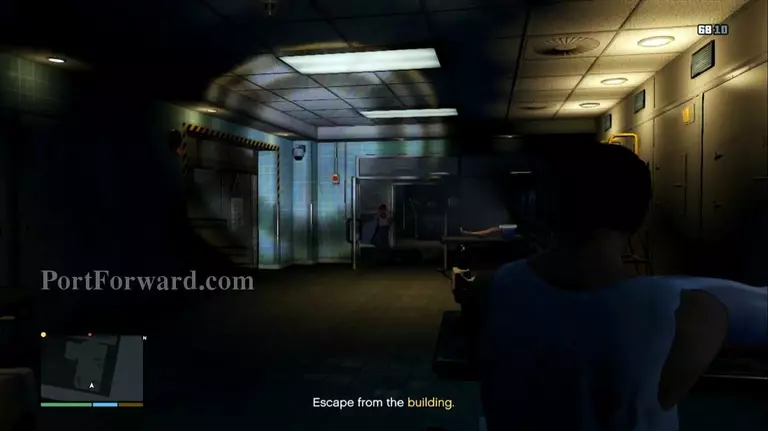
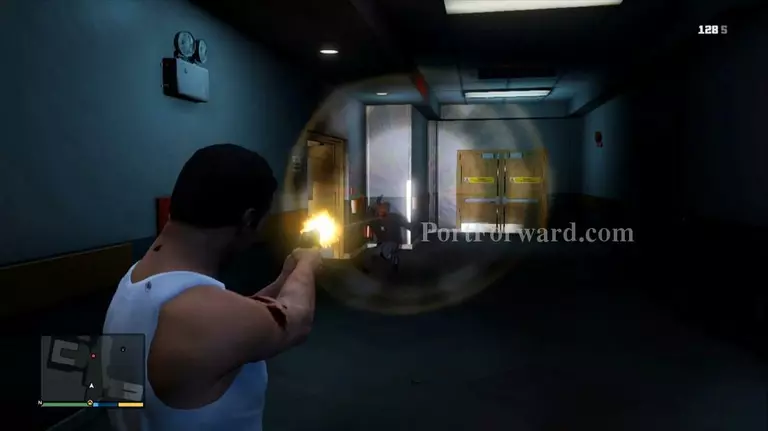
As you reach the top floor, take cover and eliminate the rest of the agents that sawrm around you to clear the floor. Once all agents are down, enter the lab and find the trashbag with your gear.
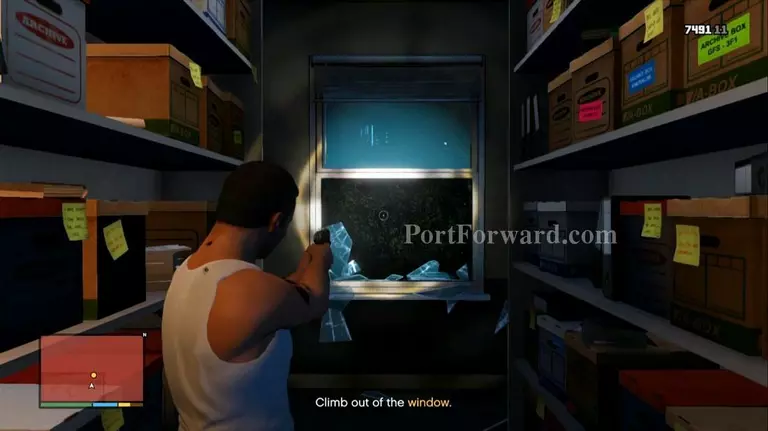
Now it's time to escape!
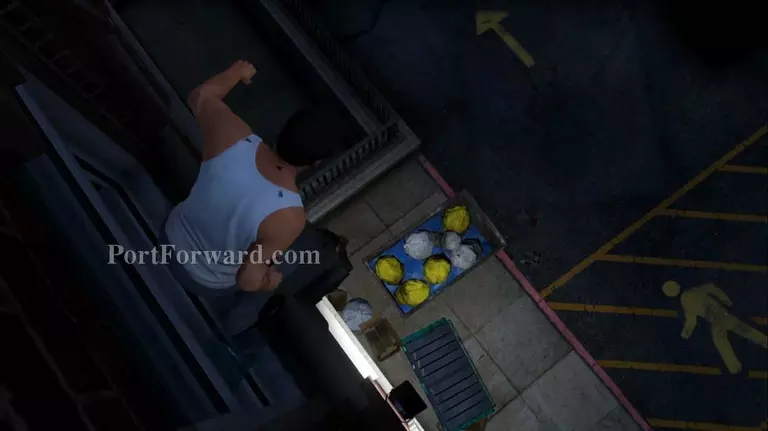
Approach the window at the other end of the hall and shoot it and then jump outside to the ground below.
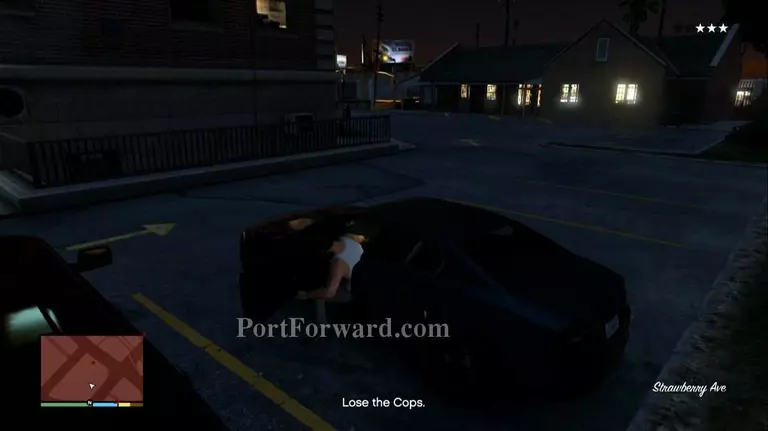
Enter the nearest car and hightail it outta there!
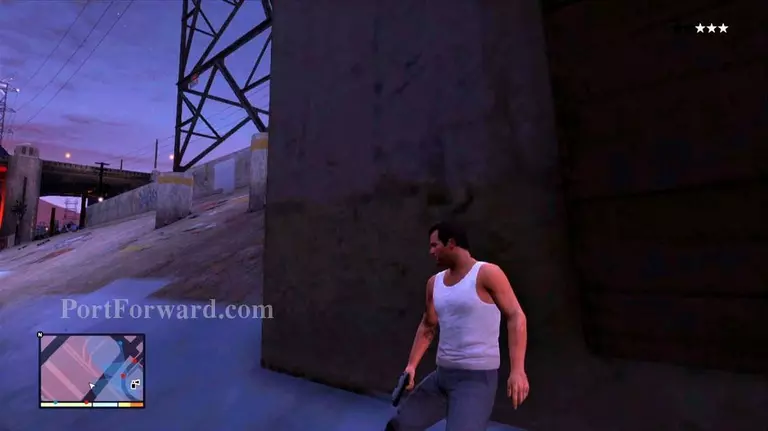
Find the nearest hiding spot under a bridge or railroad track and lose the cops.
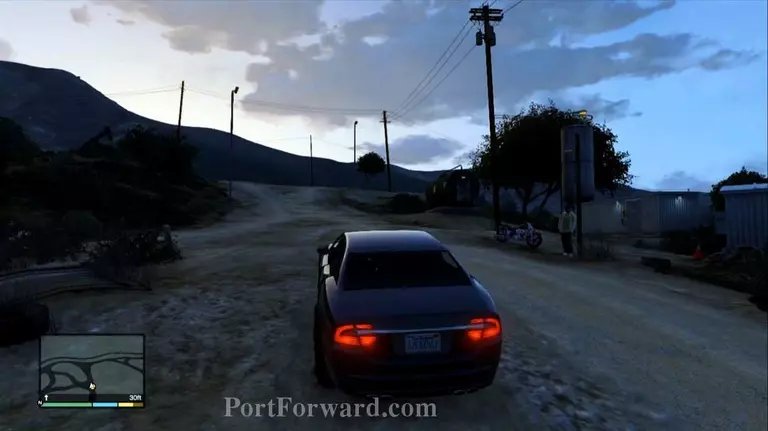
When the heat dies down, Mike gives a call to Franklin and asks him to meet at the oil derricks.
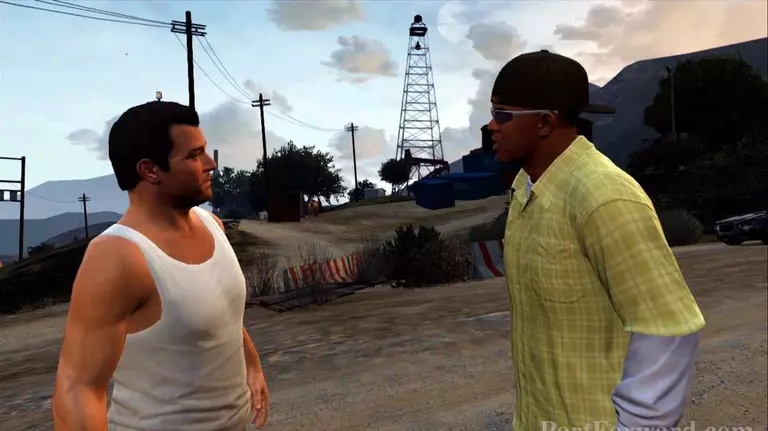
Drive over to the derricks to complete the mission.
More Grand Theft Auto V Walkthroughs
This Grand Theft Auto V walkthrough is divided into 83 total pages.


