This Grand Theft Auto V walkthrough is divided into 83 total pages.
You can jump to nearby pages of the game using the links above.
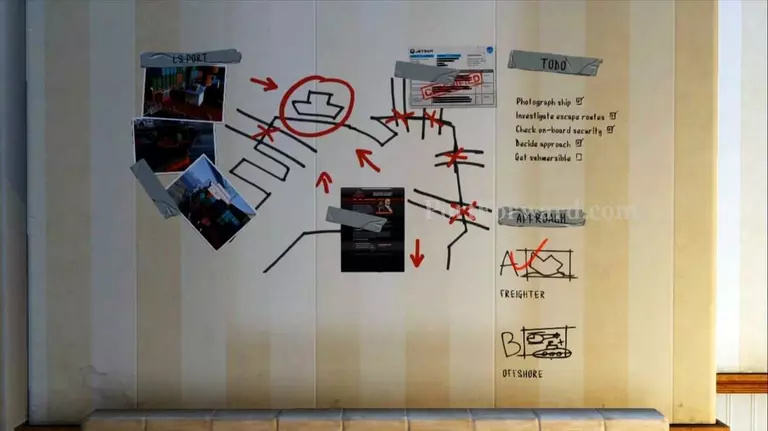
Scouting the Port
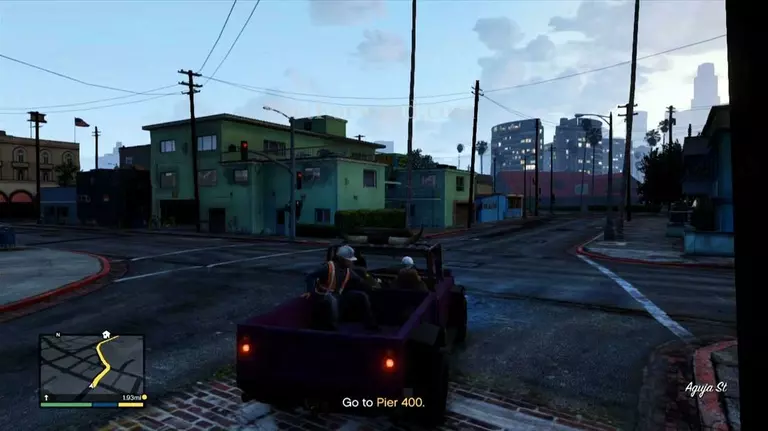
When the mission begins, get into Trevor's truck and drive over to the LS Docks.

Park the vehicle near the dispatch office.
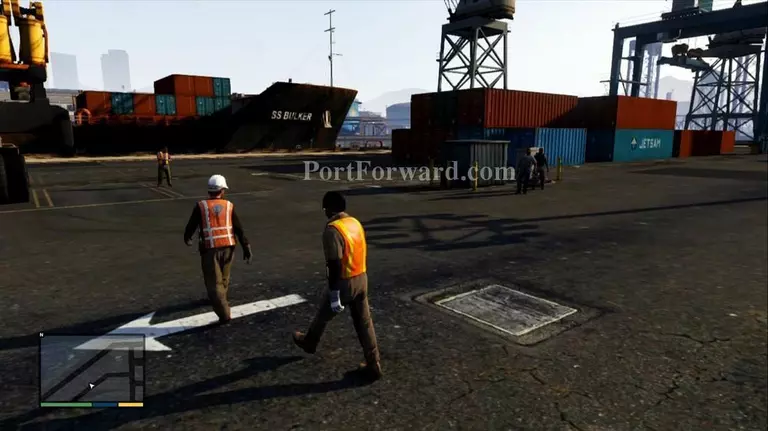
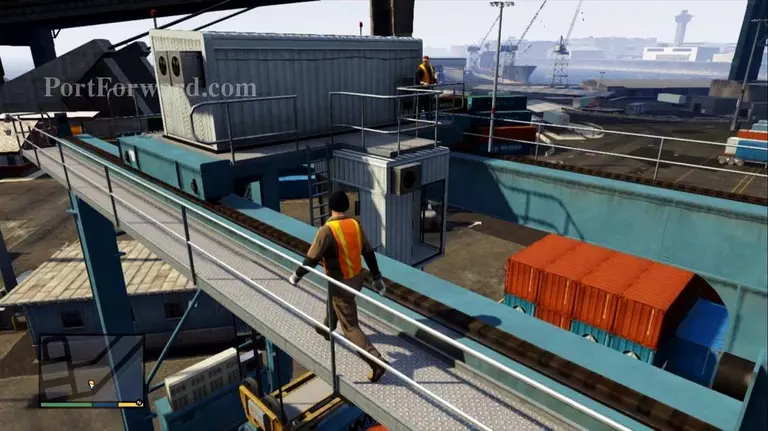
And follow Floyd to his boss and then follow him thru the docks.
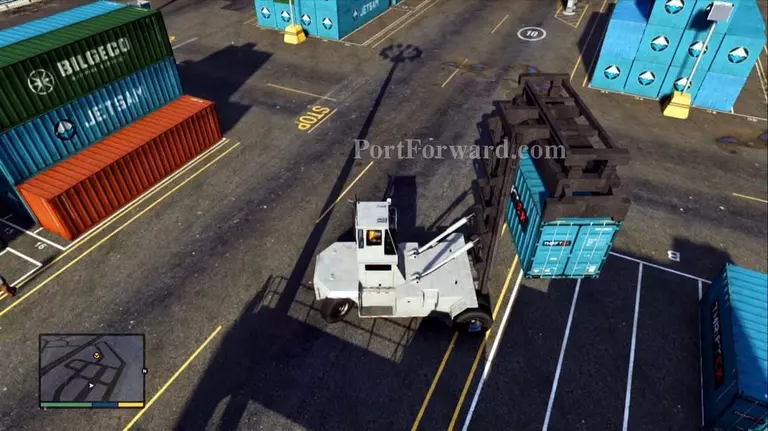
During the chat, a foreman will put Trevor and Floyd on a job moving containers from one section of the dock to another. Get into the large machine and drive towards the blue-colored containers that say "THRIFTEX".
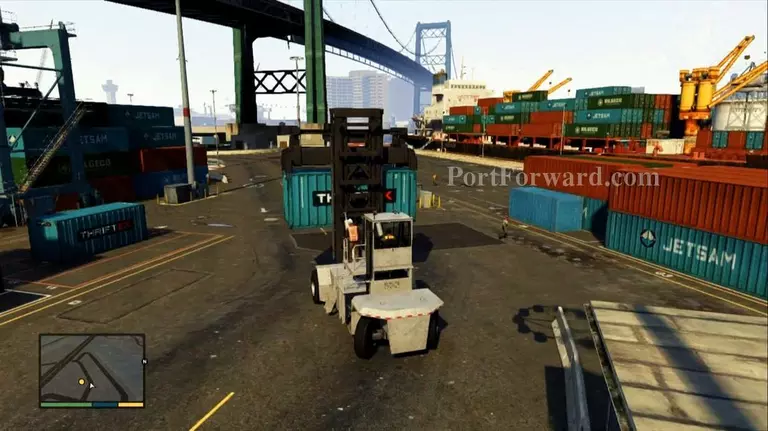
Get in close and then lower the magnet and lift it up (press RIGHT on the D-Pad to make the container stick) and then drive it to the other side. Do it for both containers to complete this job.
Once that job is done, youâll then move to the cargo crane. Climb the ladder and stairway and make it to the top of the crane where another foreman will ask for your help in moving containers from the back end to the front, where a awaiting truck is standing by.
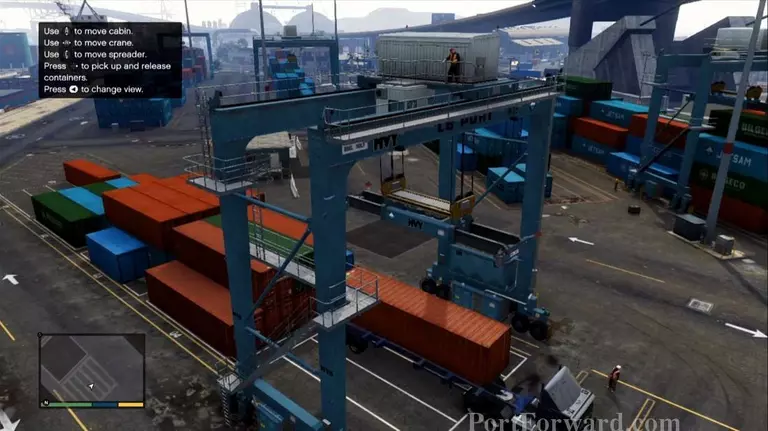
Lower the crane and pick up the container and then zoom down towards the truck on the other end and place the container on it's bed. When done correctly the crane will automatically reset itself. Repeat for the second container to complete this job.
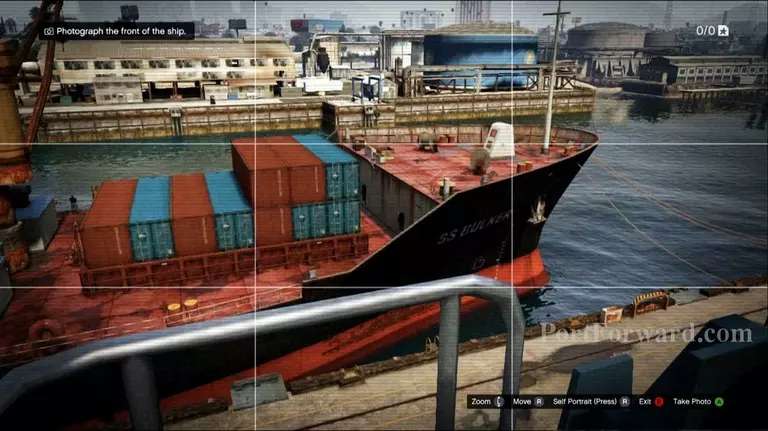
GOLD MEDAL REQUIREMENTS: "PERFECT SURVEILLANCE
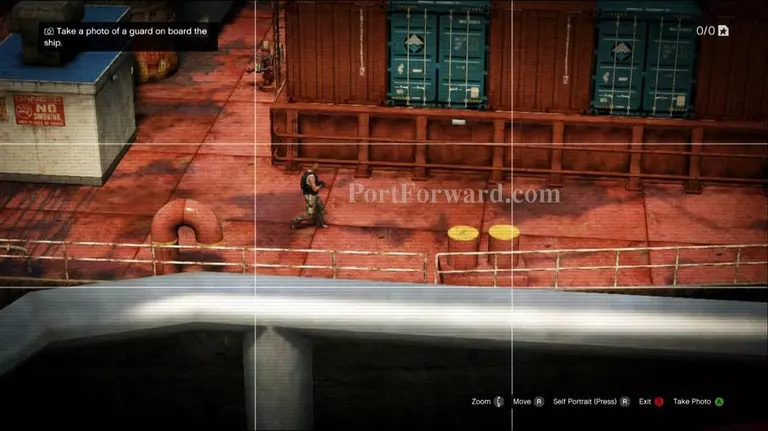
Go to the edge of the crane and whip out the cameraphone and snap photos of the FRONT of the ship and then snap a photo of the guard on the deck.
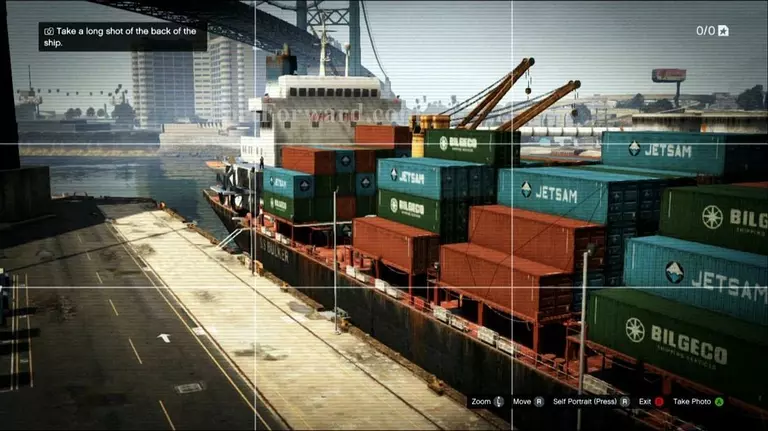
Lastly, snap a wide photo of the back of the ship to complete this objective. With all three photos snapped, send them to Ron.
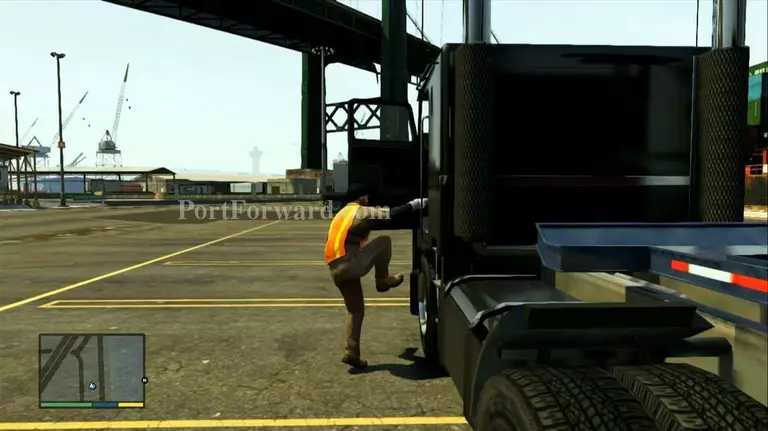
Climb back down from the crane and enter the truck below with Floyd and drive over to the docks on the south side.
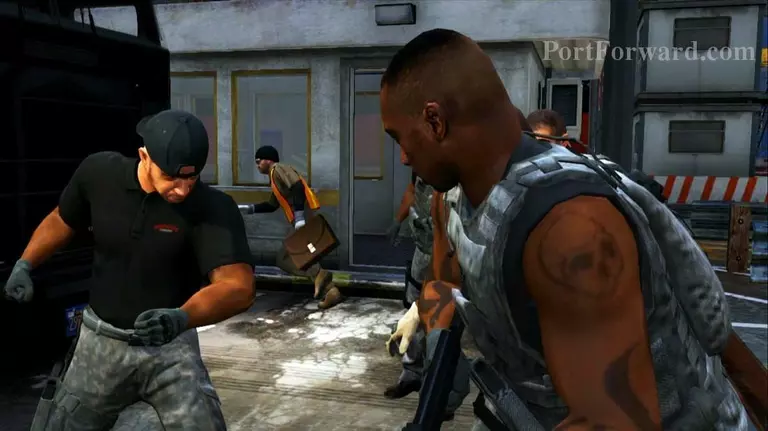
Drive to the waypoint and exit the truck to trigger a cutscene. Once Trevor gets hold of the briefcase, quickly run out of the docks.
GOLD MEDAL REQUIREMENTS: "AN HONEST DAY'S WORK/EMPLOYEE OF THE MONTH
Find the nearest vehicle and drive back to Floyd's condo to plan the Merryweather heist and complete the mission.
More Grand Theft Auto V Walkthroughs
This Grand Theft Auto V walkthrough is divided into 83 total pages.