
This King Arthurs Gold walkthrough is divided into 5 total pages.
You can jump to nearby pages of the game using the links above.
Basics and the Knight
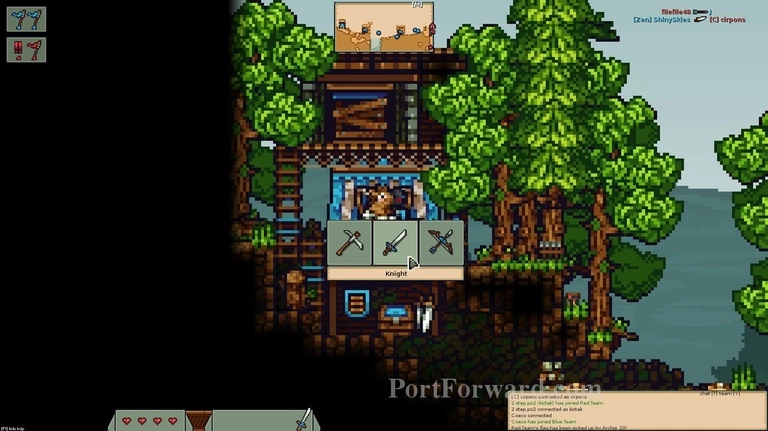
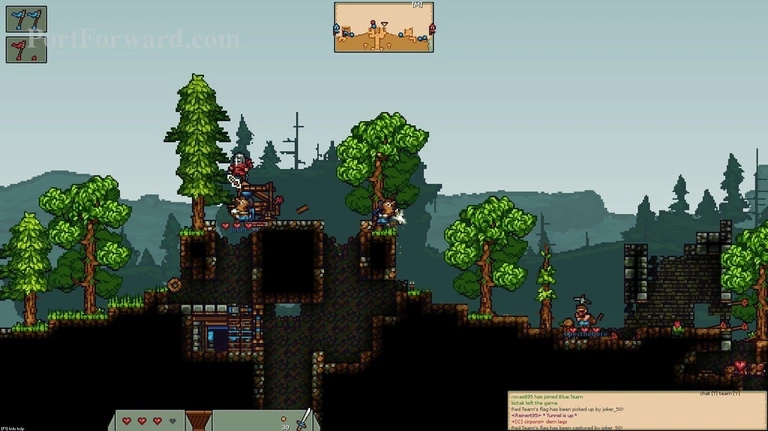
"We're gonna start with learning about the Knight. They are the melee/tank powerhouse of King Arthur's' Gold and almost always lead the charge towards the enemy fortifications while donning a shield & sword.
The basic moveset of the game is W for jump, A and D for left and right and S to crouch.
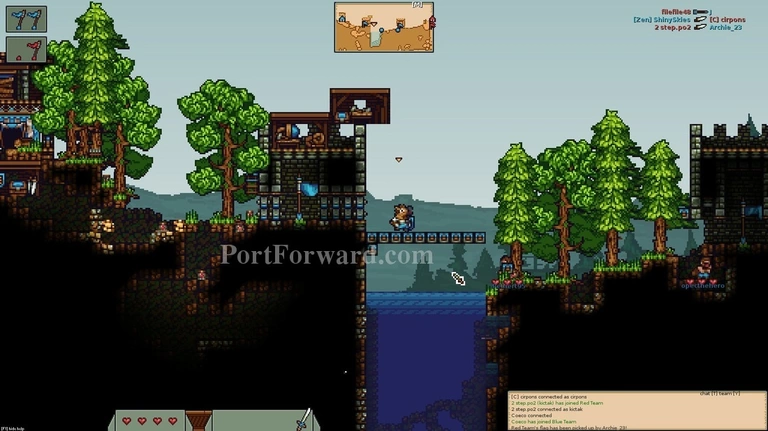
Since King Arthur's Gold is an incredibly dynamic game per server basis with short start-up timers, you will likely join an existing game. Simply head to the opposite side with the help of the constructions your teammates have built.

Before engaging enemies, It's worth to note the Knight's unique ability to raise his shield. You activate it with (M2).
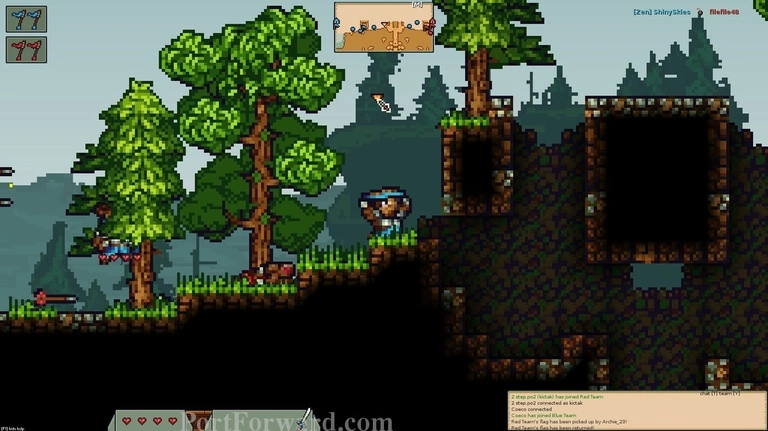
This functions as both an emergency improvsed parachute and a source to negate damage. The damage you sustained and can sustain can be seen at the bottom left which is represented by hearts.
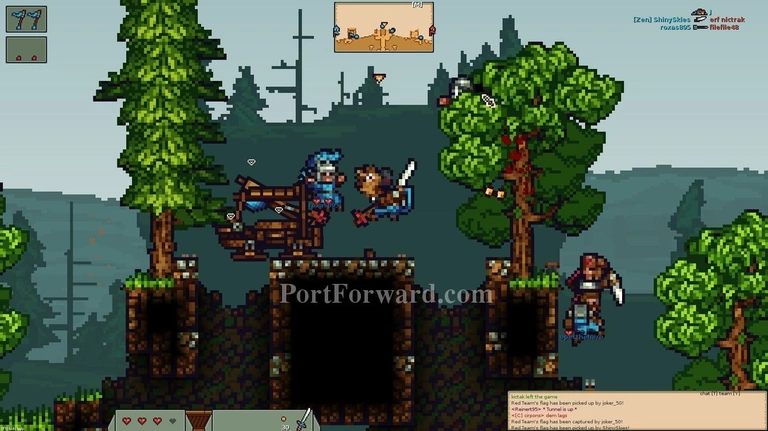
Your tool for offense is a straight sword. It can either be used for a quick, repetive stabbing motion by repeatedly pressing (M1) or be charged up to more powerful, even defense breaking attacks by holding down (M1) after stabbing once.
The sword is capable of digging through dirt, wood blocks, natural stone blocks felling down trees, destroying siege equipment and more. It's an incredibly versatile tool that should never be underestimated.
The charge-up on your sword takes quite a bit of time to achieve full potency but once It does, you'll hear a distinct "Cling" sound while the sword in question also glows a white light. If you release it at this stage, It will do devastating damage and stun other classes.
You also lunge yourself forward so It's wise to practice timing and tactics before repeatedly using it.
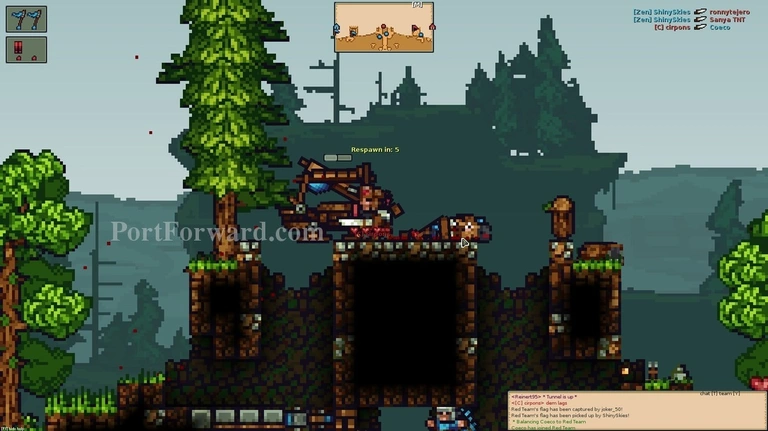
Sooner or later, however, even with the most 1337 of skills, you will die. Do not fret, however, as death is only temporary and once you die, you'll respawn in a couple of seconds (depending on your game-mode), back at your beginning tent or at an base your team has captured.
More King Arthurs Gold Walkthroughs
This King Arthurs Gold walkthrough is divided into 5 total pages.


