
This King Arthurs Gold walkthrough is divided into 5 total pages.
You can jump to nearby pages of the game using the links above.
The Builder
The class known as The Builder is arguably one of the most hardest classes in the game to play successfully. They are (sometimes solely) responsible for creating fortifications, keeping around the clock maintenance on them and assaulting enemy fortifications If necessary with their Pickaxe (M1) which can break all objects and structures in the game with the exemption of Bedrock (Green stone moss).
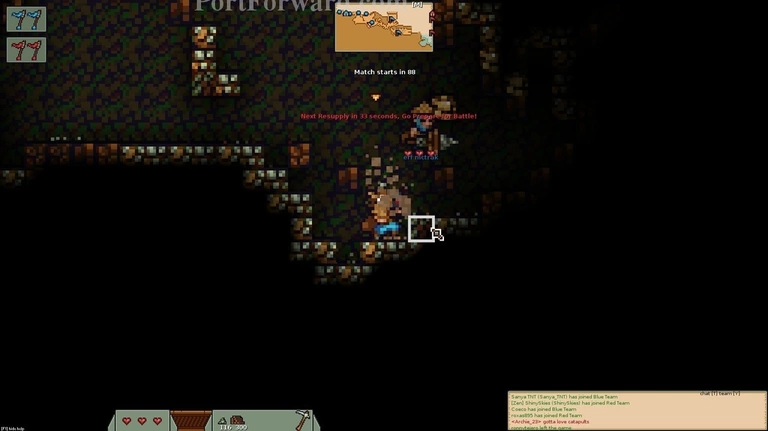
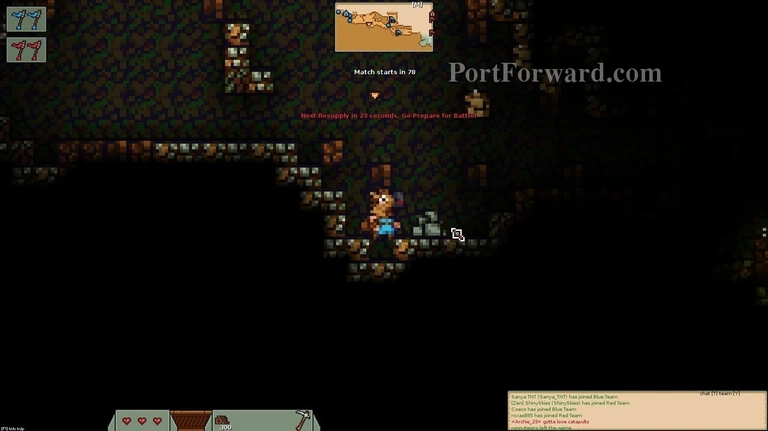
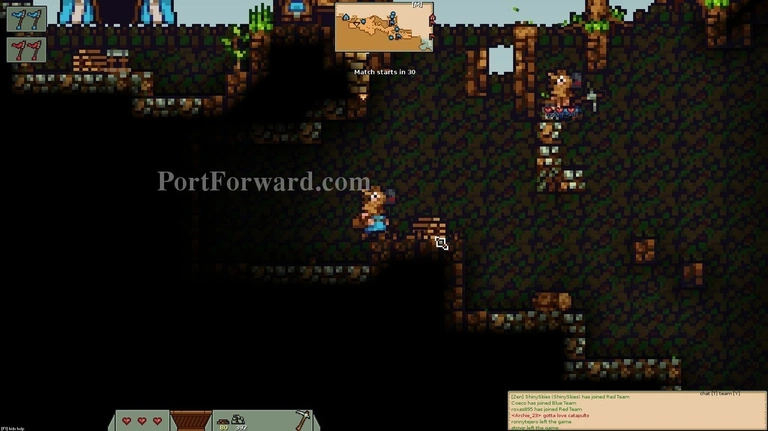
Your absolute first task when starting out as a builder is to gather stone. You do this by holding down (M2) and then hovering your mouse onto stone deposits. These are absolutely vital for almost all constructions as they allow you to create blocks that knights or archers cannot easily destroy.
You can check how much and what materials you have by clicking (f) to open your inventor menu or by looking at the bottom left.
If you for some reason would need to deposit materials in your base or give a teammate some, you can do by clicking onto them in your inventory and then pressing (C).
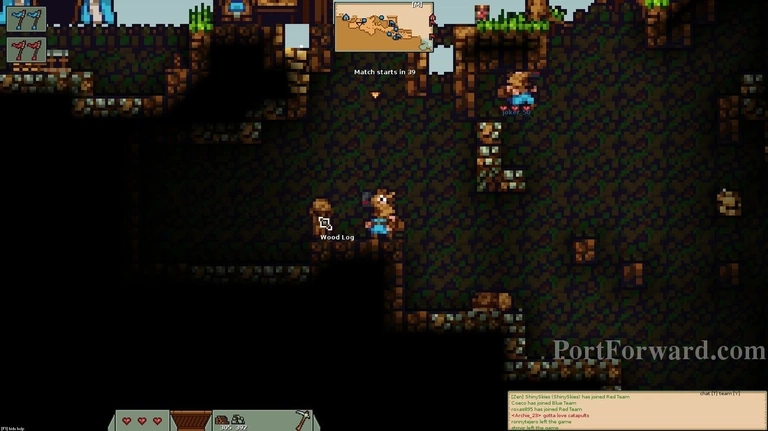
The second vital resource to you is called Wood. It is gathered by felling trees and then harvesting the Wood Logs.
Doing so will reward you with Planks. They are necessary for creating things such as ladders which is sometimes essential for certain walls.
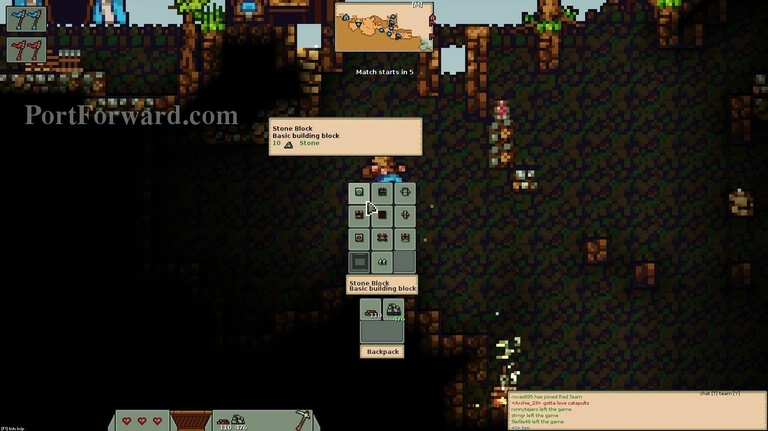
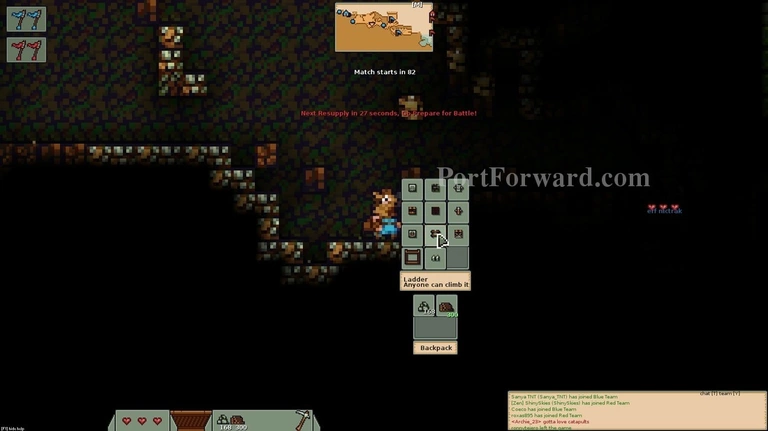
Pressing (M1) opens up your Build Menu. This is where all the magic happens and where you spend all those hard earned resources. As of the current version of the game, your basic placeholder for any wall is going to be (Stone Block). They either require enemy builders, gravity or explosions to be damaged and can pose a significant amount of pain to deal when covering a flag.
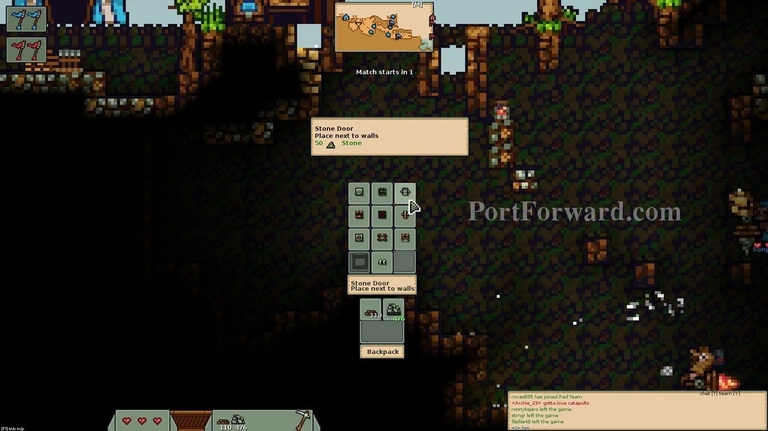
There are also doors which are special blocks that only your team can "Open" by touching. Stone Doors are the cornerstone for allowing your teammates to pass through your fortifications while the enemy cannot.
However, enemies can still get through if a teammate opens the door with enemies close. Friendly corpses can also act as plugs for doors to be stuck open.
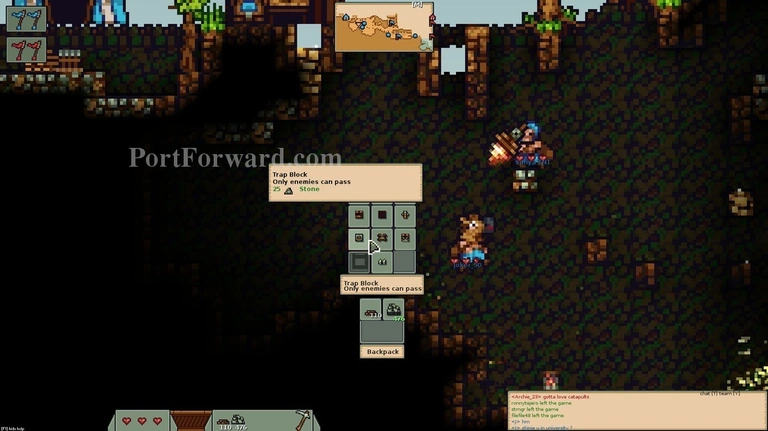
The other remotely confusing block is the Trap Block. It allows you to build bridges and other constructs of land where only your team can pass on as when enemies get close, they go non-solid. Think of them as reversed doors.
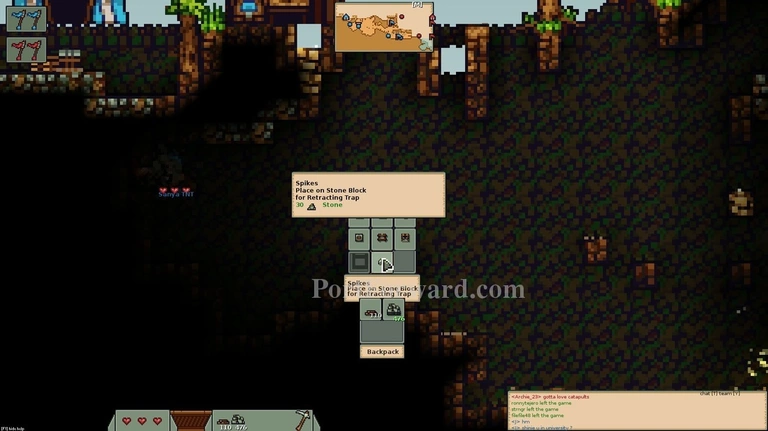
Third and last item to take special note of is the Spikes. They are very expensive, quite fragile and sometimes very annoying to encounter If used right. When placed on "Neutral" blocks, such as dirt, bedrock or wood, the spikes will always stick out and damage anyone whom is unfortunate to jump on them. Place them on stone however, and they will only damage enemies.
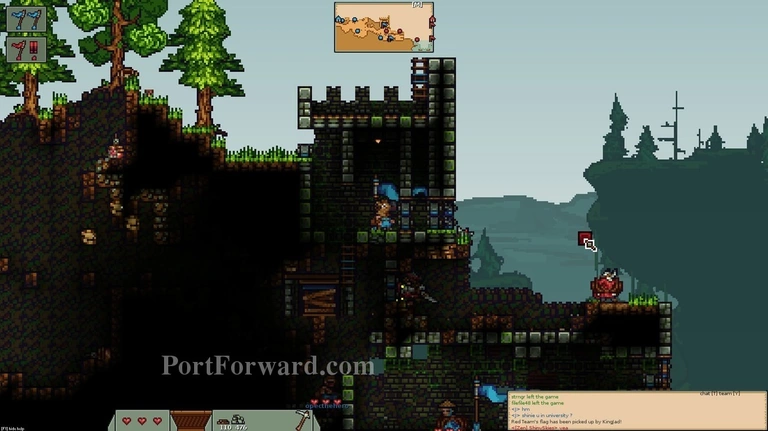
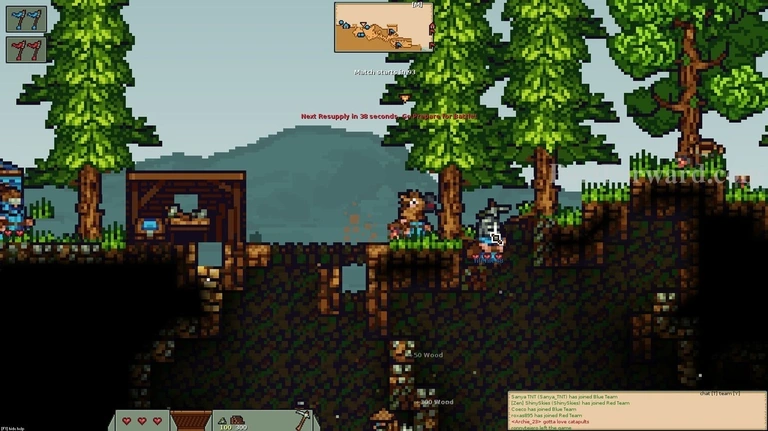
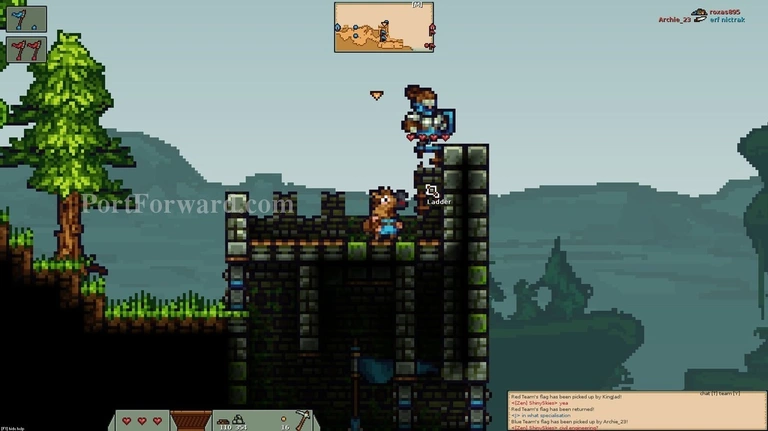
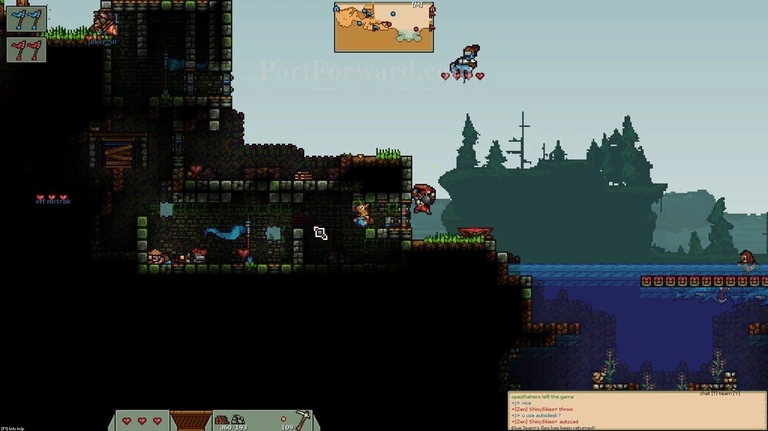
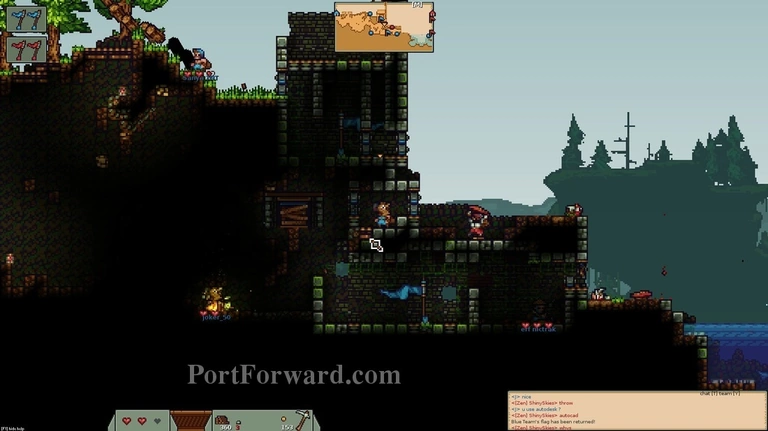
This is a very common construction to be found in "Capture the Flag" games whereas the blue team has walled off any approaches from the right going left with stone and wood blocks in order to protect the flag room while still allowing our team to advance on their flags due to the usage of doors.
Unfortunately, an enemy knight had the wits to bring a catapult, allowing him to scale the construct by bouncing up. This can be very fatal for our miners trying to gather resources along with compromising the security of our flags.
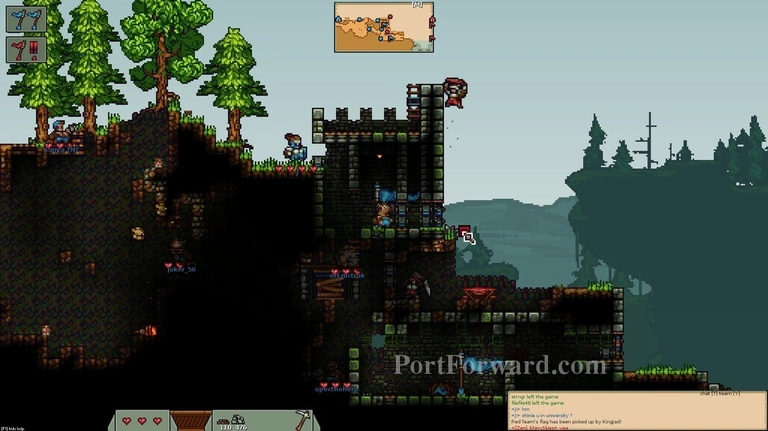
Luckily, a friendly knight was near and dealt with the invader. Now, to fix this problem, we're going to extend the height of our construct.
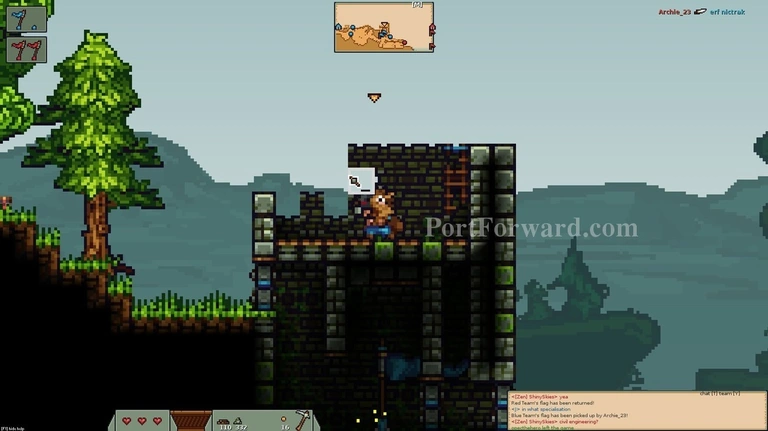
In order to use a reasonable amount of stone, we're going to try to keep our extension as hollow as possible while still blocking off the right. To achieve this, we use Stone Walls.
They use significantly smaller amounts of resources while still being a "leaning material" for solid blocks and allowing passage to your team.
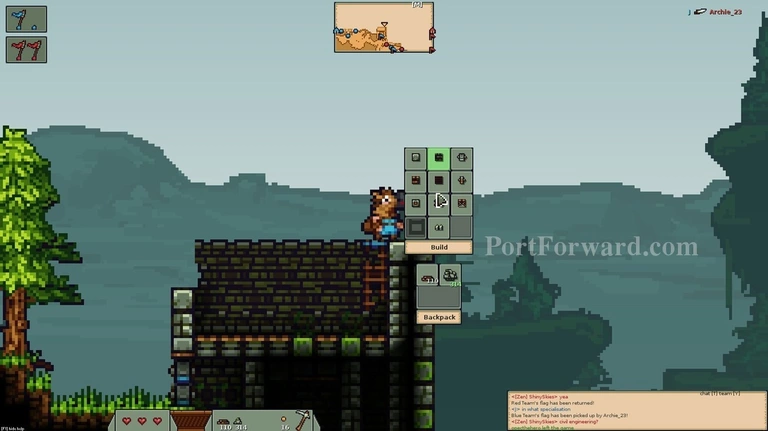
Going into your build menu, select Stone Block and start extending the very outer stone layer wall.

You achieve best speed by jumping and placing blocks beneath you, not a mystery to anyone who played Minecraft before.
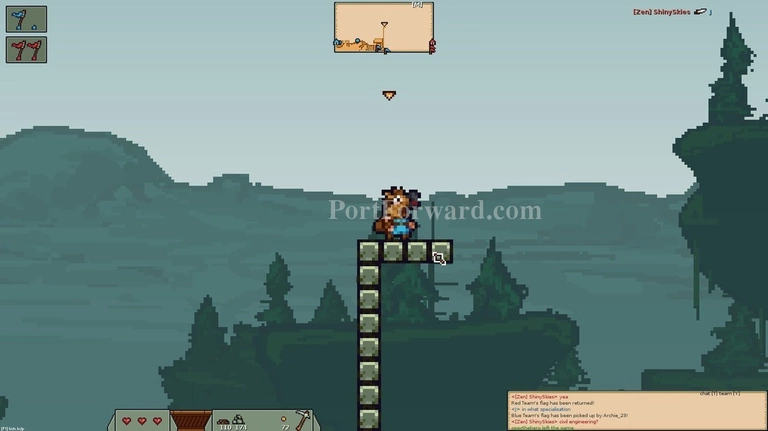
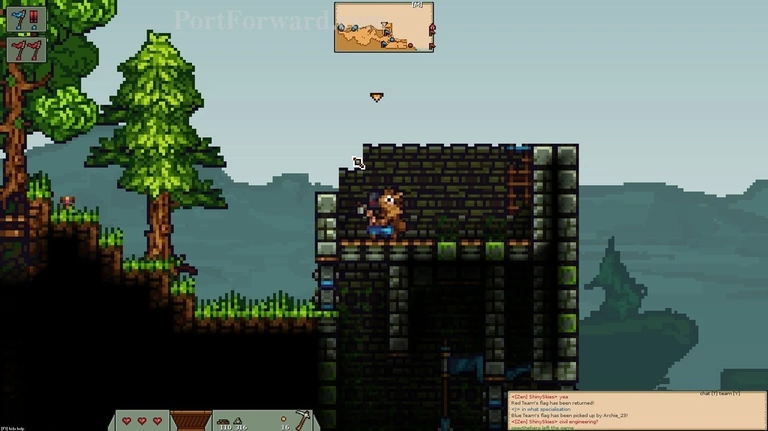
Once at a decent height, go ahead and make a small hook outwards. This will greatly hinder any further height climbing attempts by both knights and archers.
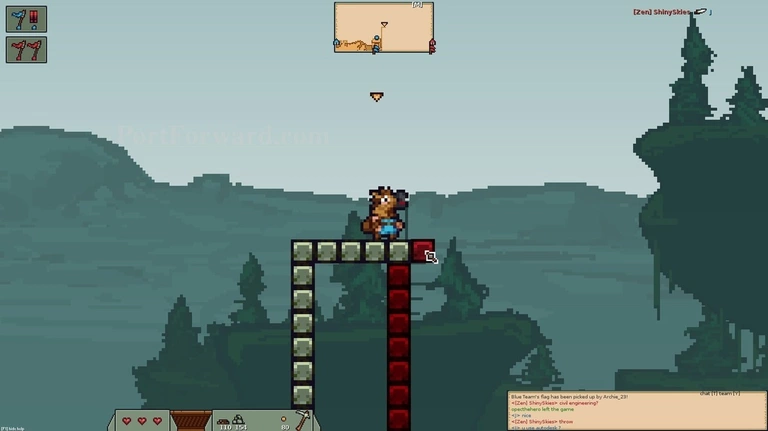
Unfortunately, you can only extend away from a block by about 4x before the game requires more support. This will be shown in the form of red blocks appearing under where support is required for the desired placement.
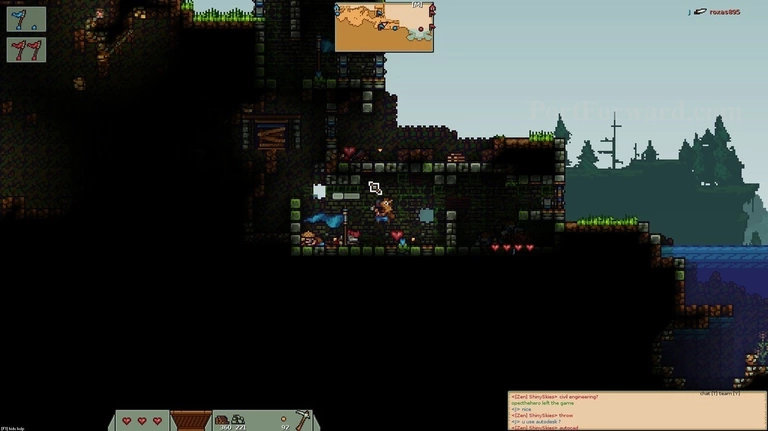
When done, be sure to conduct maintenance whenever possible. Here, the enemy got through into our flag room by digging straight down through some dirt. Fix this promptly by blocking the hole off with stone blocks.
Be sure to keep away from both knights pressing themselves up against doors as you would in a worst case scenario, let them in and get killed. Be also wary If they are carrying bombs as they are capable of destroying stone blocks and stone doors.
Finding yourself running out of Stone will be very common. When this happens, go to using wood blocks instead, and try to place them always behind stone blocks in order to stay away from things such as sword-digging or fire arrows.
More King Arthurs Gold Walkthroughs
This King Arthurs Gold walkthrough is divided into 5 total pages.


