
This Lego Lord of the Rings walkthrough is divided into 28 total pages.
You can jump to nearby pages of the game using the links above.
The Dead Marshes
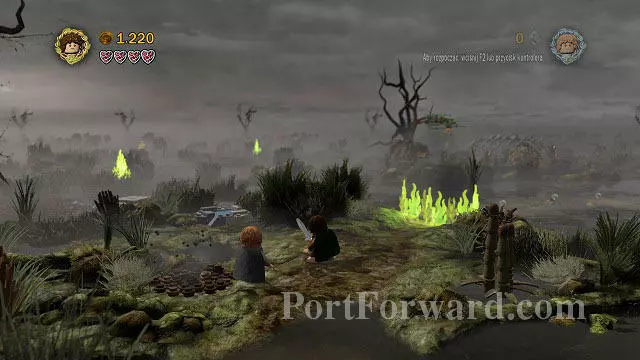
"You begin the mission on dry land, but soon enough you will have to travel through marshes. Move onwards and a short cinematic will show you Gollum running across the marshes - he will lead a brown trail behind him. You will have to follow it - both now going along it and going too slow will result in your character drowning.
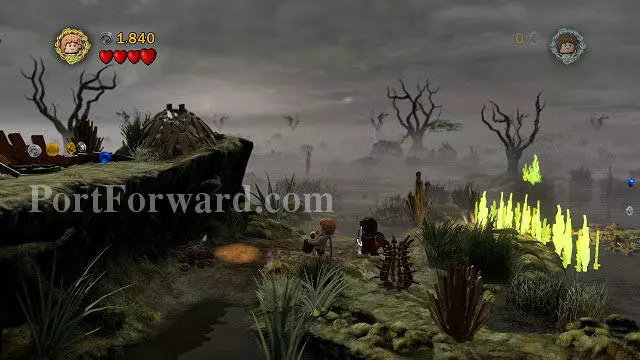
Another island, more fire and another task for Sam. This time you have to place a plant and jump onto to upper ground by using the leaves as a springboard. Above, start a fire in the marked place and cross the footbridge to fill up the bucket at the pond. You need to be fast, as the plants won't be able to hold you for too long and you might end up in the water.
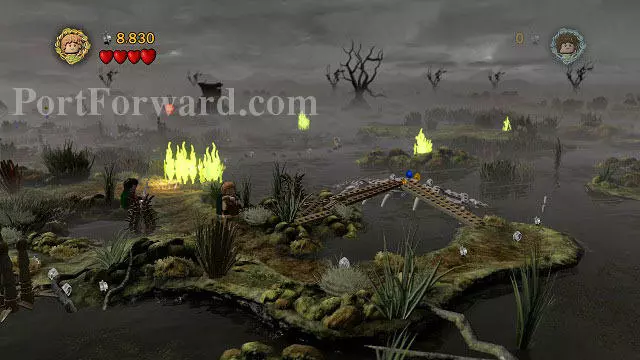
You need to find another pond. Head to the intersection of the footbridges on the right (they're leaning against a giant skeleton) and the further path will open. Go along it, fill up the bucket and extinguish the fire. Another puzzle solved. Head onwards through the marshes - note that your first step will make you fall into deep water, so you need to jump onto the brown trail from the island itself. You should also jump as you're heading along the path, as it will make things faster.

Extinguishing this fire will require the two hobbits to cooperate. Choose Frodo, jump along the leaves onto a small island and press the button there. It will activate a nearby pond - now just switch back to Sam, fill up the bucket and extinguish the fire. You need to be fast here, as if you will hesitate with pressing (K) for too long, you Hobbit will drown. After you extinguish the fire, you will be able to move on.

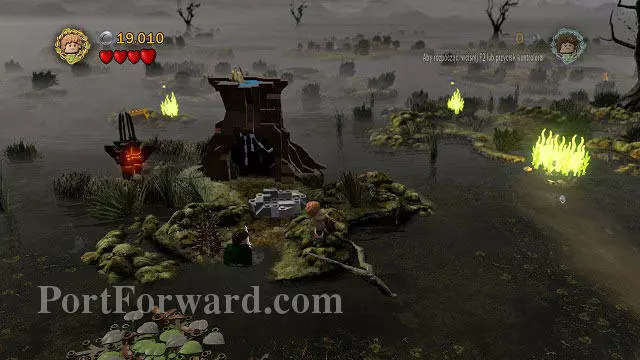
Another obstacle. This time begin with choosing Sam and using the elven rope to grab onto the hook placed on the tree on the left side (visible in the above screenshot). It will open a path north, from where you will be able to get inside the bone cage. After reaching its end, Sam will be able to use the rope to pick up another "bridge". Return to the starting point, use the new bridge, fill up the bucket with water and extinguish the fire. The path is open.
The last fire to extinguish. Switch to Frodo, choose phial and enter the hole in the tree. It will cause a hook to fall out, which you can mount onto the tree (K). afterwards choose Sam, throw the rope onto the hook, fill up the bucket with the freshly filled pond and extinguish the flames. After reaching dry land you will see another cinematic.

In this part of the level you will have to hide from the sight of the Black Rider. When Gollum shouts that you need to hide, choose Sam and hide inside the empty tree trunk ((K), visible in the middle of the screenshot) and afterwards switch to Frodo and choose the elven cloak - the Hobbit will resemble the local flora from afar.
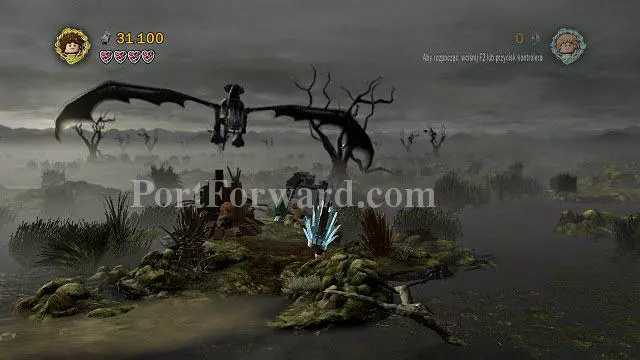
Now you need to wait for the Nazgul to end his search and fly away. A short cinematic and Gollum's shouts will let you know when it's free to head out. As you reach the next island, the Black Rider will return and you will have to hide once again. You will repeat this a couple more times before finishing this stage.
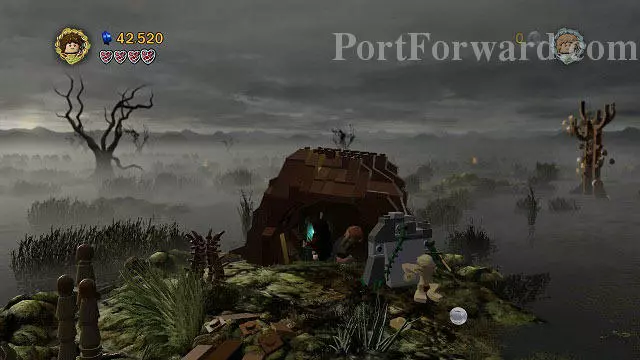
On the last island you will come across a big cave - it will serve as your hideout this time. You need to switch to Frodo, choose the phial and quickly hide inside. After the Nazgul flies away and Gollum confirms that it's safe, you can move on to the further part of the level.
The game will once again require you to sneak. Just like in previous levels like this, you won't be able to jump - instead your character will make a forward roll. Start off by using Sam's rope on the hook on the tree. Hold down "up" (W) and swing so that you're able to jump across the water. There you just need to stand on the piece of wood so that the kind of swing opens up the path for Frodo. The Hobbit should approach the nearby tree and knock it down with a single hit. Thanks to that the whole team will be able to move on.

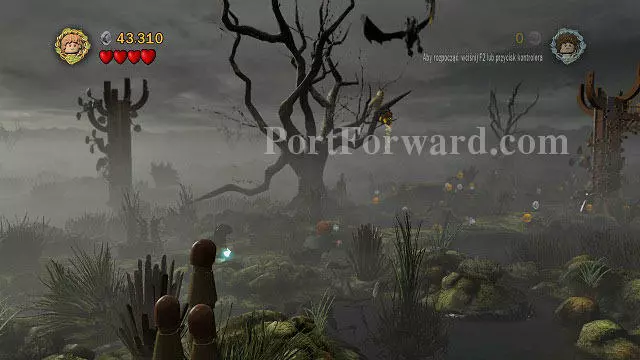
Follow Gollum's trail and you will reach a tree blocking your way. In order to move one, Sam will burn the tree which will unfortunately draw the attention of the Nazgul - you will have to once again hide Sam inside a trunk (K) and Frodo under the elven cloak. When the area's clear, head to the right across the marshes.

It's the last task on the swamps. Use Sam's rope on the nearby hook, build a bridge from the received bricks and cross it to the other side. There Sam will have to place a plant and use its leaves to reach the upper level. It's high time you leave the swamps...

After watching all the cutscenes, you will take control of two new characters: Faramir and Mardil. Your task will be defeating two Mumakils, that is the overgrown mammoths in the background. For that, you will have to run to one of them while avoiding the warriors in the area and grab onto the lines hanging down from it.
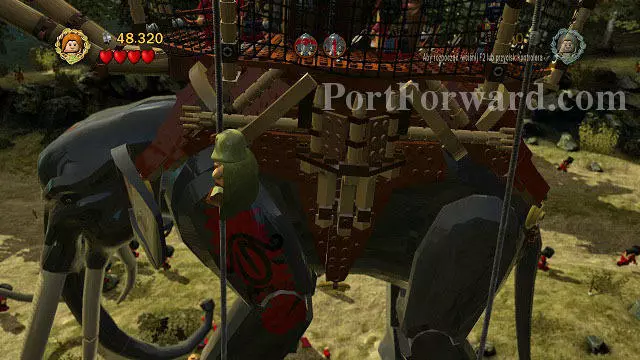
Use them to climb onto the construction and get rid of all the enemies and objects. One of the barrels will be containing a rope which you can use to reach the upper level - defeat the last enemy there to make the Mumakil run away from the battlefield. Now you head onto the second animal and to exactly the same to end this long missions.
More Lego Lord of the Rings Walkthroughs
This Lego Lord of the Rings walkthrough is divided into 28 total pages.


