Metal Gear Solid 2: Sons of Liberty Walkthrough 2. Plant Chapter

September 12, 2016 (Last Updated: ) | Reading Time: 16 minutes

This Metal Gear Solid 2: Sons of Liberty walkthrough is divided into 2 total pages.

2 - 2. Plant Chapter

You can jump to nearby pages of the game using the links above.

2. Plant Chapter

Metal Gear Solid 2: Sons of Liberty Walkthrough - Metal Gear-Solid-2-Sons-of-Liberty 43

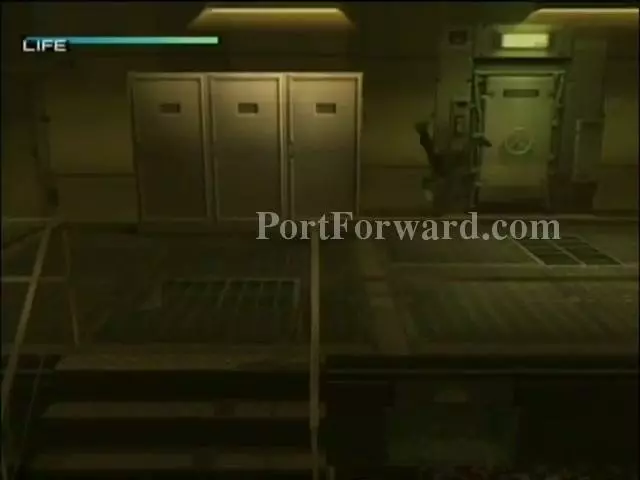
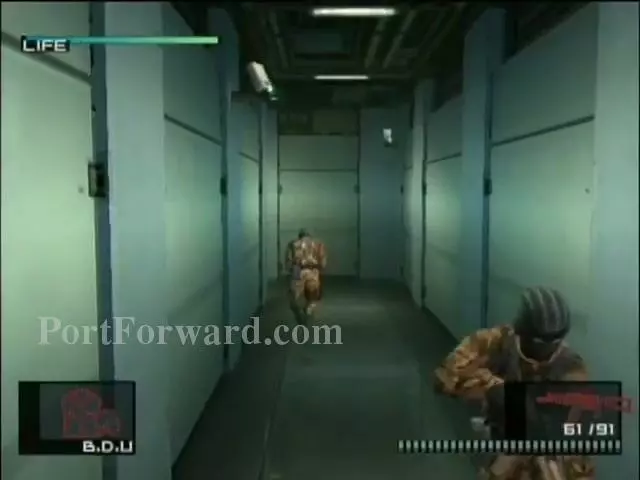
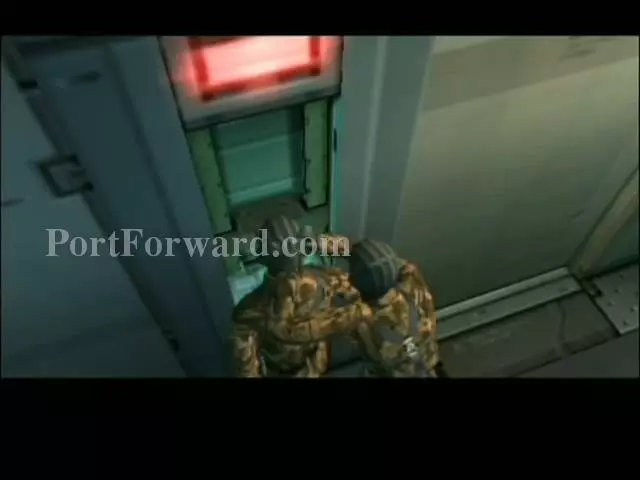
Now, 2 years after the accident, Raiden, a new agent at FOXHOUND is going infiltrating the Big Shell facility to save the President who was visiting the facility but was captured by a group of terrorists called the "Sons of Liberty". After some background info, advance through the door.

Metal Gear Solid 2: Sons of Liberty Walkthrough - Metal Gear-Solid-2-Sons-of-Liberty 44

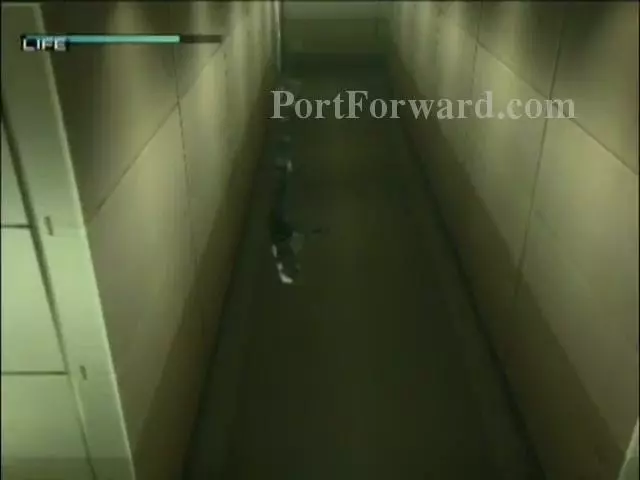
Continue down the hall and into the next area.

Metal Gear Solid 2: Sons of Liberty Walkthrough - Metal Gear-Solid-2-Sons-of-Liberty 45

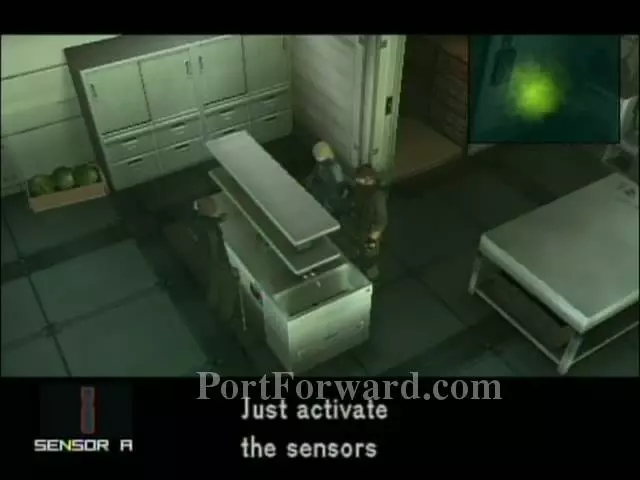
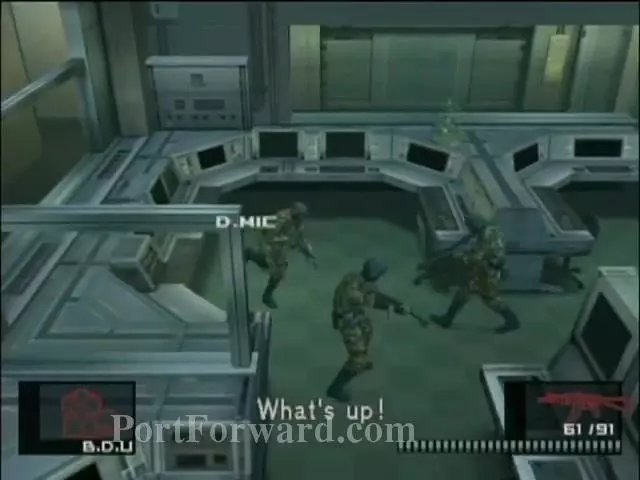
Proceed to the computer thing to get your radar on and in the game, change your options if desired.

Metal Gear Solid 2: Sons of Liberty Walkthrough - Metal Gear-Solid-2-Sons-of-Liberty 46

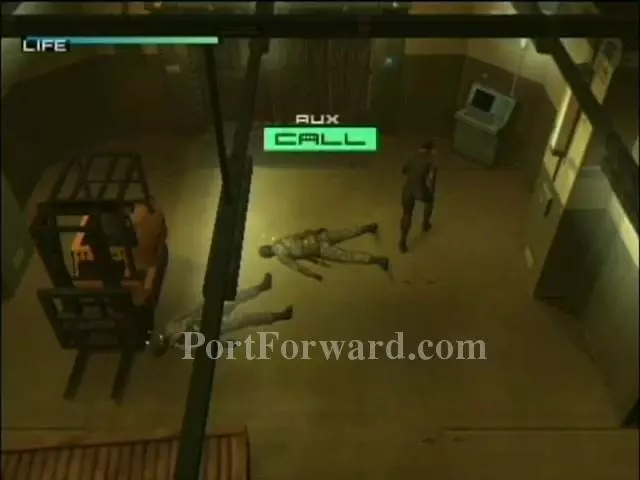
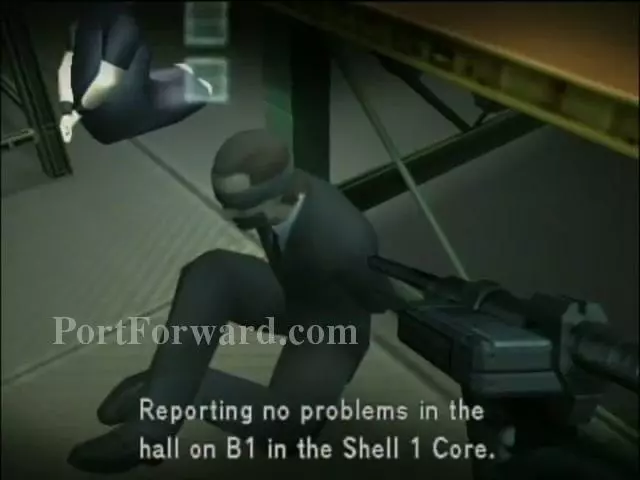
The Colonel will tell you some basic stuff and you'll get to move on to the elevator.

Metal Gear Solid 2: Sons of Liberty Walkthrough - Metal Gear-Solid-2-Sons-of-Liberty 47

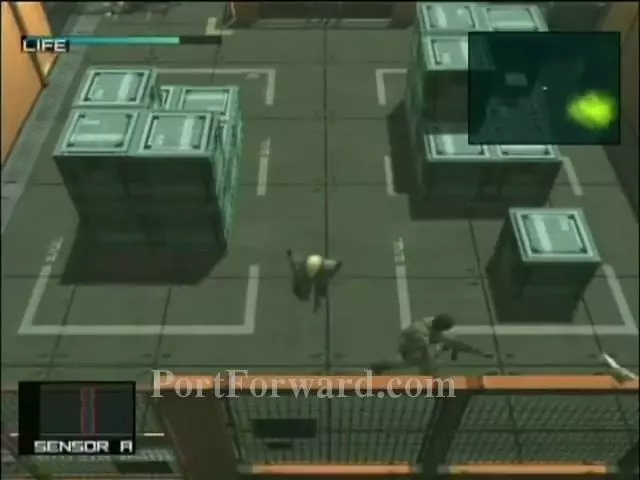
But the guards will wake up so wait til it opens and hurry!

Metal Gear Solid 2: Sons of Liberty Walkthrough - Metal Gear-Solid-2-Sons-of-Liberty 48

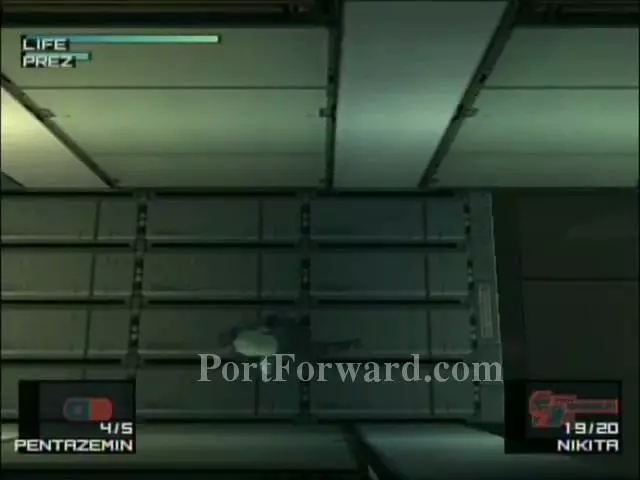
When you get to the next floor, go to the left side and crawl under the fence to go through the door that's on the bottom left of the screen.

Metal Gear Solid 2: Sons of Liberty Walkthrough - Metal Gear-Solid-2-Sons-of-Liberty 49

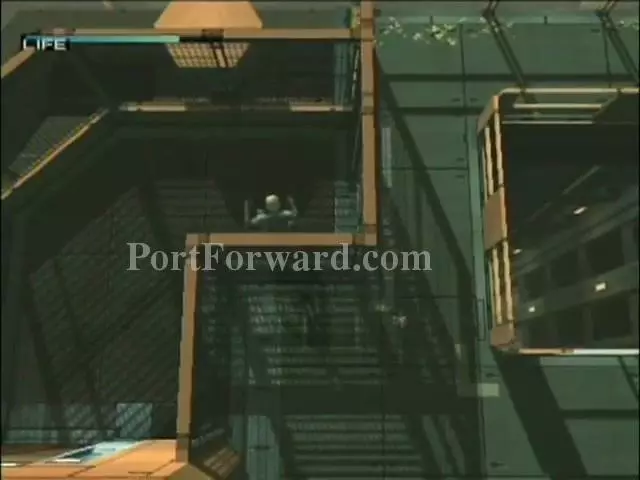
Go down the staris and walk through this walkway and into the door that's up ahead.

Metal Gear Solid 2: Sons of Liberty Walkthrough - Metal Gear-Solid-2-Sons-of-Liberty 50

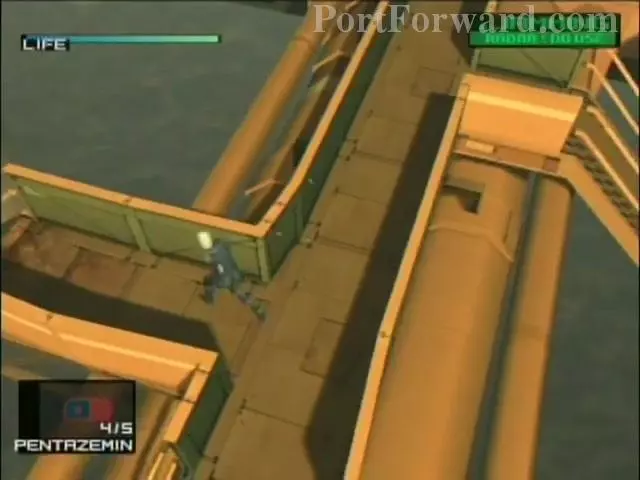
Cross the AB Bridge and go into the door that's ahead without being detected.

Metal Gear Solid 2: Sons of Liberty Walkthrough - Metal Gear-Solid-2-Sons-of-Liberty 51

Go up the room and enter the door after the door that's ahead.

Metal Gear Solid 2: Sons of Liberty Walkthrough - Metal Gear-Solid-2-Sons-of-Liberty 52

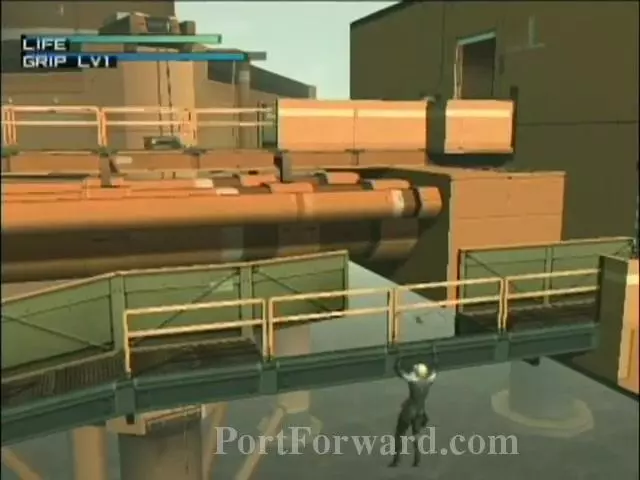
Now go cross this bridge and into the next strut up ahead.

Metal Gear Solid 2: Sons of Liberty Walkthrough - Metal Gear-Solid-2-Sons-of-Liberty 53

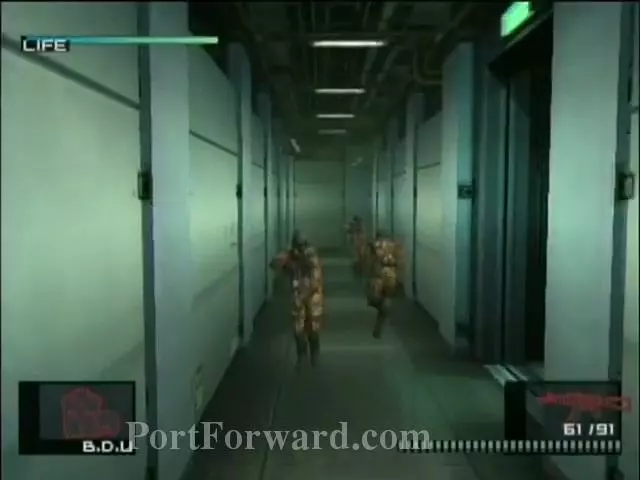
Go down this hall and take a right.

Metal Gear Solid 2: Sons of Liberty Walkthrough - Metal Gear-Solid-2-Sons-of-Liberty 54

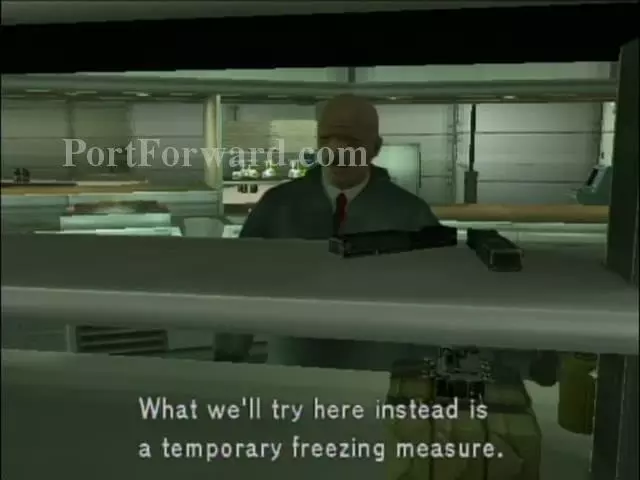
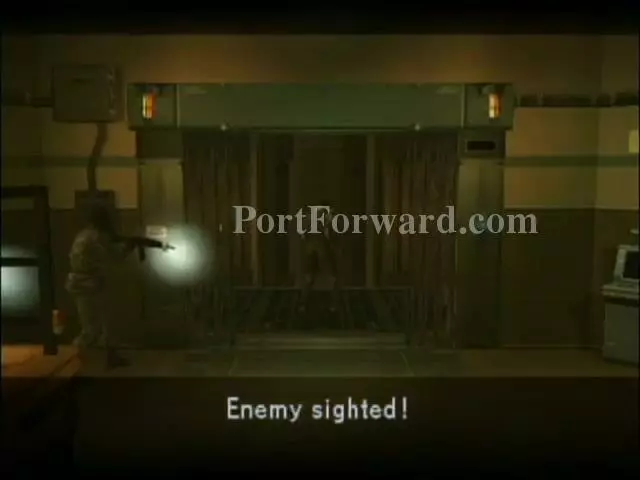
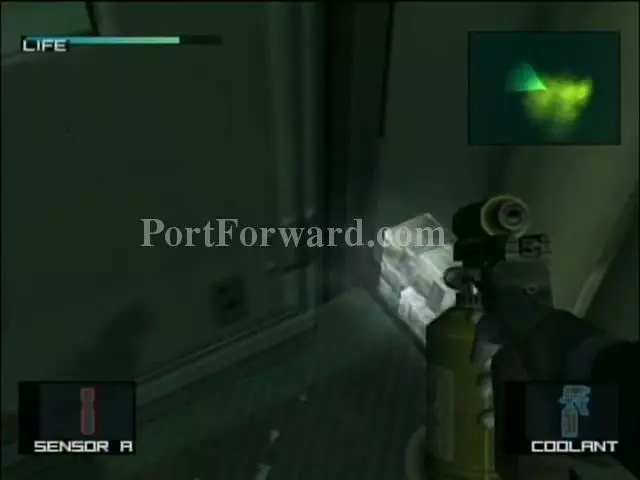
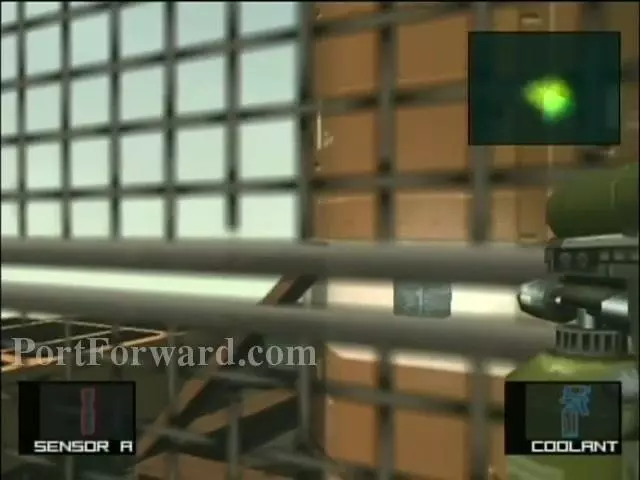
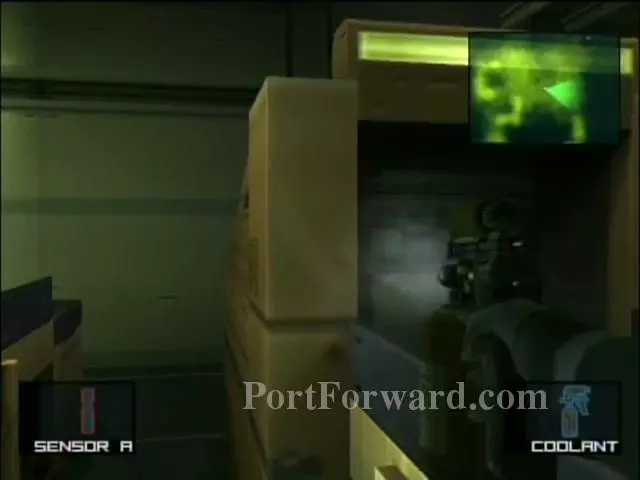
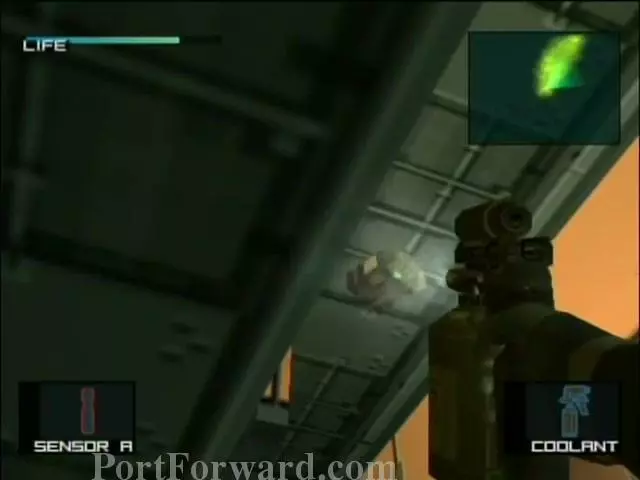
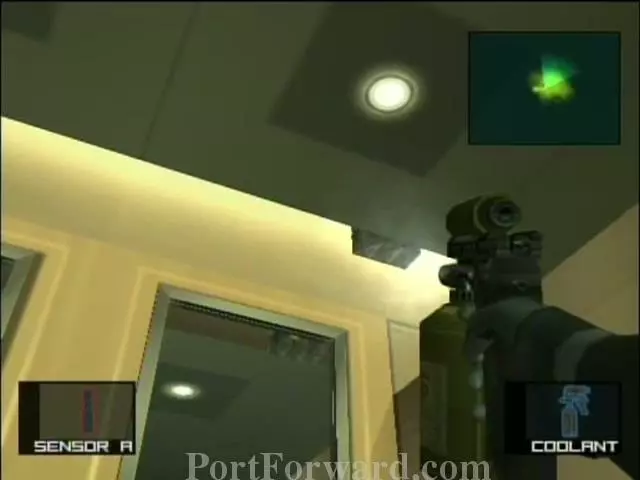
You'll meet Peter Stillman, a bomb defuser in the NYPD. You guys just recieved info that Fatman, one of Stillman's pupils, is apart of the terrorist group and is planning to bomb the plant! So, you'll have to temporarily disable them. Spray them with the coolant when you see them.

Metal Gear Solid 2: Sons of Liberty Walkthrough - Metal Gear-Solid-2-Sons-of-Liberty 55

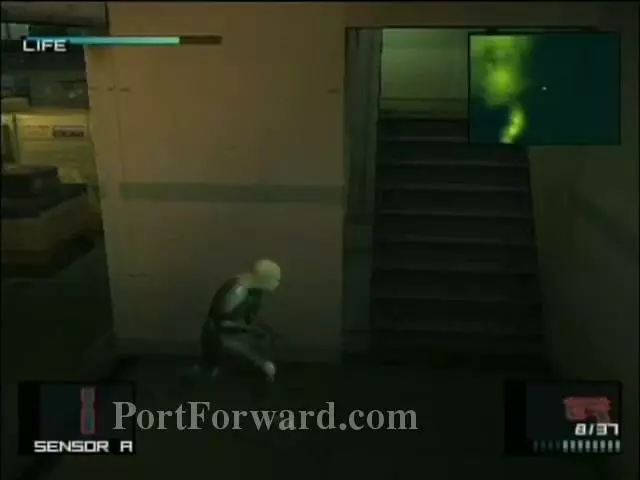
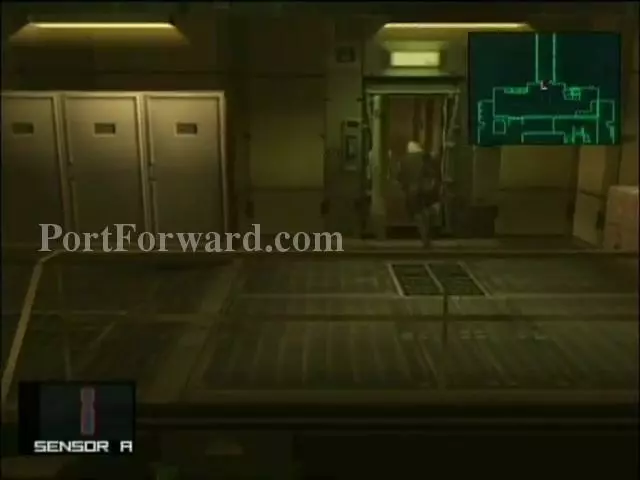
Stillman will give you a sensor so you can find them. But I'll show you where they are.

Metal Gear Solid 2: Sons of Liberty Walkthrough - Metal Gear-Solid-2-Sons-of-Liberty 56

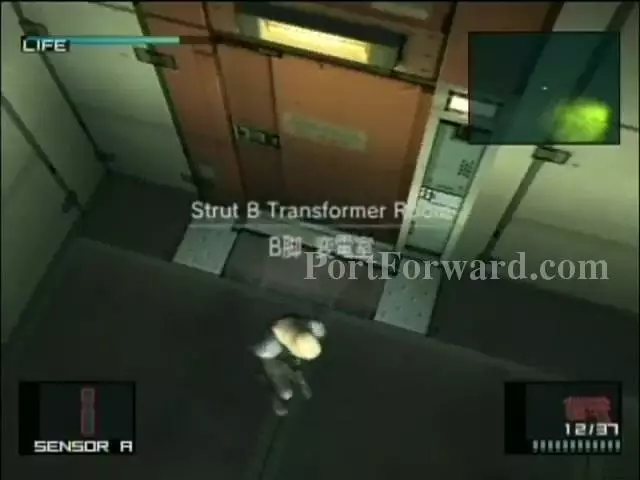
Go to Strut B and into the room ahead.

Metal Gear Solid 2: Sons of Liberty Walkthrough - Metal Gear-Solid-2-Sons-of-Liberty 57

The bomb will be next to the loeckers on the right side of the room.

Metal Gear Solid 2: Sons of Liberty Walkthrough - Metal Gear-Solid-2-Sons-of-Liberty 58

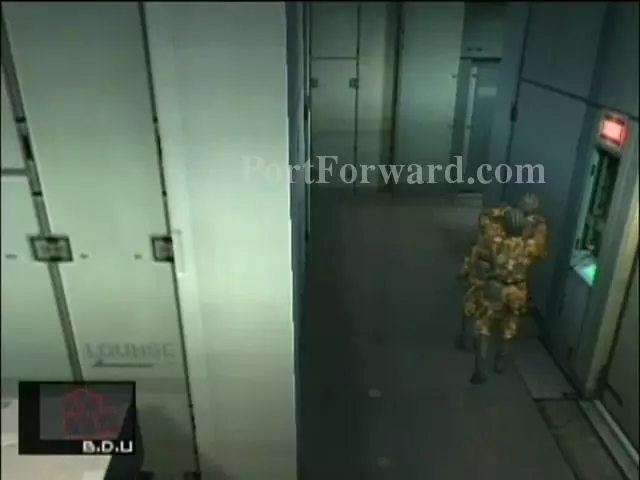
Then, go to Strut A and go to the door that's on the bottom right screen.

Metal Gear Solid 2: Sons of Liberty Walkthrough - Metal Gear-Solid-2-Sons-of-Liberty 59

There'll be lots of pipes to crawl under.

Metal Gear Solid 2: Sons of Liberty Walkthrough - Metal Gear-Solid-2-Sons-of-Liberty 60

The bomb will be right here on Raiden's left.

Metal Gear Solid 2: Sons of Liberty Walkthrough - Metal Gear-Solid-2-Sons-of-Liberty 61

Now go to Strut A roof.

Metal Gear Solid 2: Sons of Liberty Walkthrough - Metal Gear-Solid-2-Sons-of-Liberty 62

The bomb should be on the other side of the gate that's in front of you.

Metal Gear Solid 2: Sons of Liberty Walkthrough - Metal Gear-Solid-2-Sons-of-Liberty 63

Go to Strut A and go through this door now.

Metal Gear Solid 2: Sons of Liberty Walkthrough - Metal Gear-Solid-2-Sons-of-Liberty 64

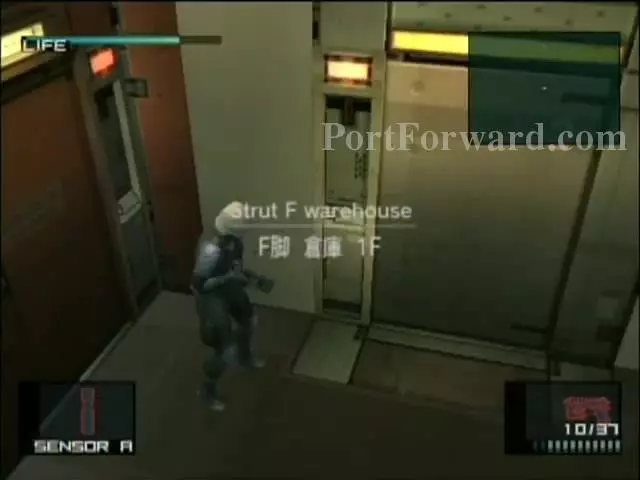
Then cross the bridge and go to Strut F.

Metal Gear Solid 2: Sons of Liberty Walkthrough - Metal Gear-Solid-2-Sons-of-Liberty 65

The bomb should be in that little space over the boxes tha t's on the lower level of Strut F.

Metal Gear Solid 2: Sons of Liberty Walkthrough - Metal Gear-Solid-2-Sons-of-Liberty 66

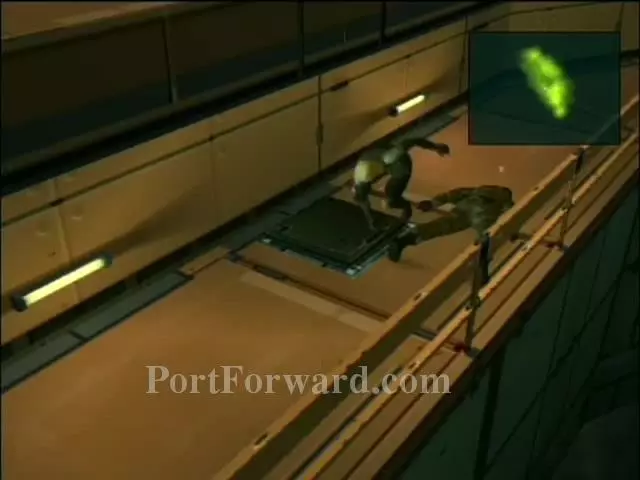
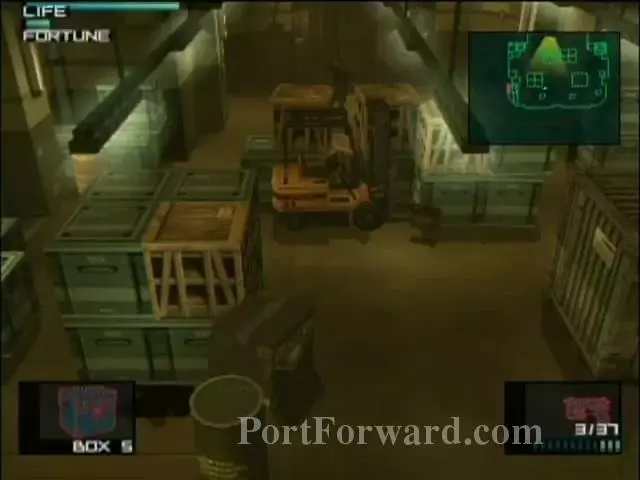
Go to Strut E. Wait by the ramp moving the packages. One will have C4 on it.

Metal Gear Solid 2: Sons of Liberty Walkthrough - Metal Gear-Solid-2-Sons-of-Liberty 67

Go down the walkway until you get to some stairs. Go up them.

Metal Gear Solid 2: Sons of Liberty Walkthrough - Metal Gear-Solid-2-Sons-of-Liberty 68

There'll be one underneath the aircraft.

Metal Gear Solid 2: Sons of Liberty Walkthrough - Metal Gear-Solid-2-Sons-of-Liberty 69

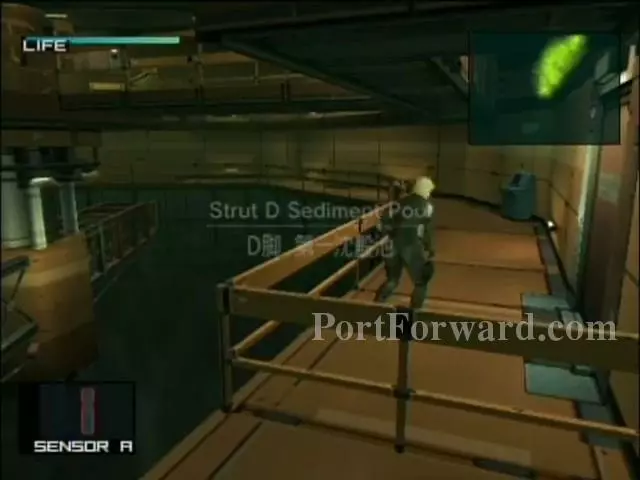
Now go to Strut D to get the last few bombs.

Metal Gear Solid 2: Sons of Liberty Walkthrough - Metal Gear-Solid-2-Sons-of-Liberty 70

One will be on the seiling by the door which you entered from.

Metal Gear Solid 2: Sons of Liberty Walkthrough - Metal Gear-Solid-2-Sons-of-Liberty 71

Go down the walkway and there'll be a little door to open. Open it and there'll be some C4.

Metal Gear Solid 2: Sons of Liberty Walkthrough - Metal Gear-Solid-2-Sons-of-Liberty 72

Towards the end of the walkway, there'll be another door. Open it and there'll be another C4 in it.

Metal Gear Solid 2: Sons of Liberty Walkthrough - Metal Gear-Solid-2-Sons-of-Liberty 73

Go up stairs and go to the left, Raiden's straight and there'll be a door to the bridge.

Metal Gear Solid 2: Sons of Liberty Walkthrough - Metal Gear-Solid-2-Sons-of-Liberty 74

The last one will be in Strut D in the bathroom.

Metal Gear Solid 2: Sons of Liberty Walkthrough - Metal Gear-Solid-2-Sons-of-Liberty 75

But something will happen! There's another bomb! You'll have to hurry to where you first strted the chapter at Strut A.

Metal Gear Solid 2: Sons of Liberty Walkthrough - Metal Gear-Solid-2-Sons-of-Liberty 76

The bomb will be in front of where Raiden is.

Metal Gear Solid 2: Sons of Liberty Walkthrough - Metal Gear-Solid-2-Sons-of-Liberty 77

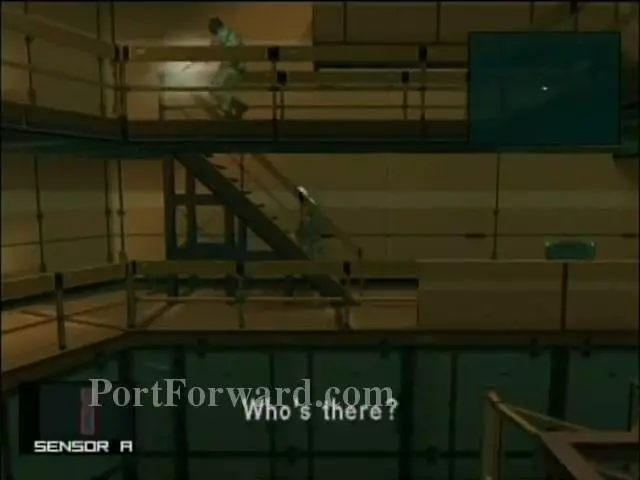
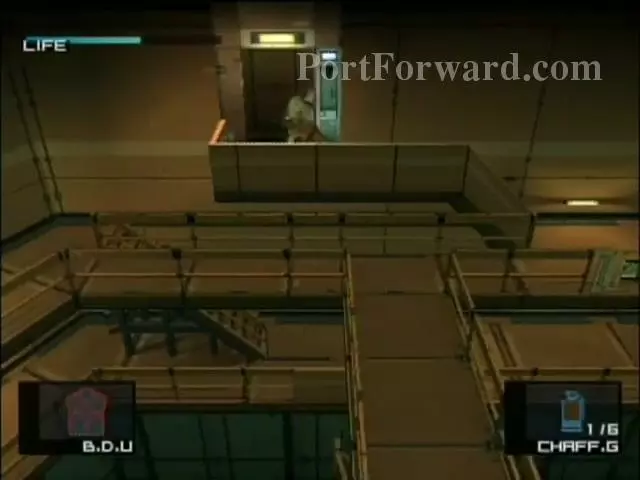
Now go down the hall into where the elevator is.

Metal Gear Solid 2: Sons of Liberty Walkthrough - Metal Gear-Solid-2-Sons-of-Liberty 78

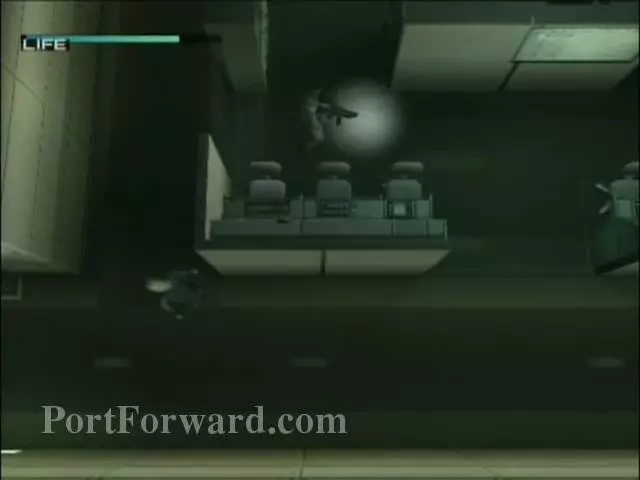
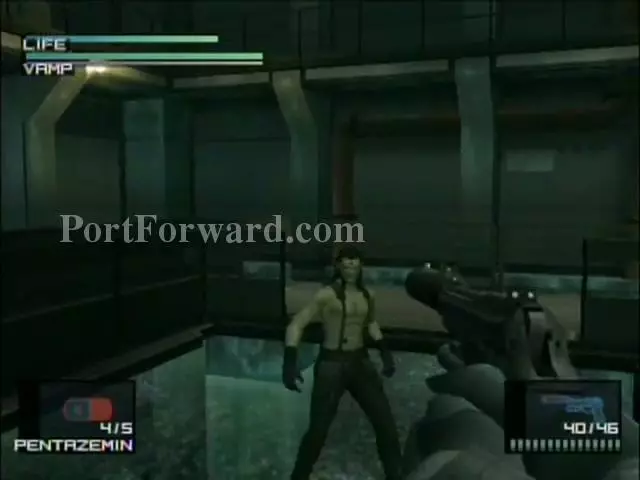
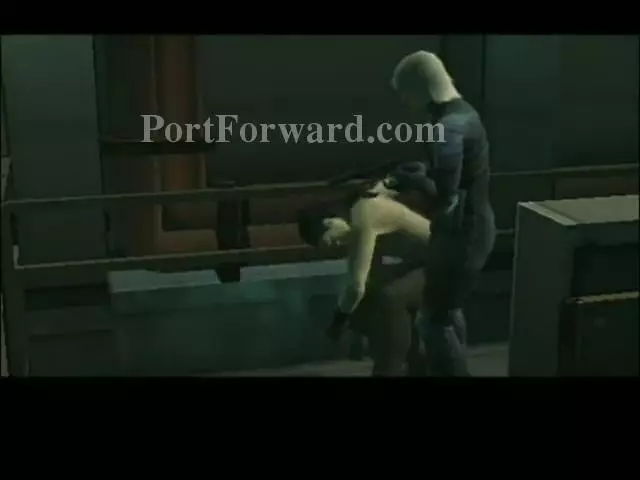
Here, you will meet Fortune, the woman who kille dthose soldiers on the bridge earlier. just avoid her attacks and you'll be fine.

Metal Gear Solid 2: Sons of Liberty Walkthrough - Metal Gear-Solid-2-Sons-of-Liberty 79

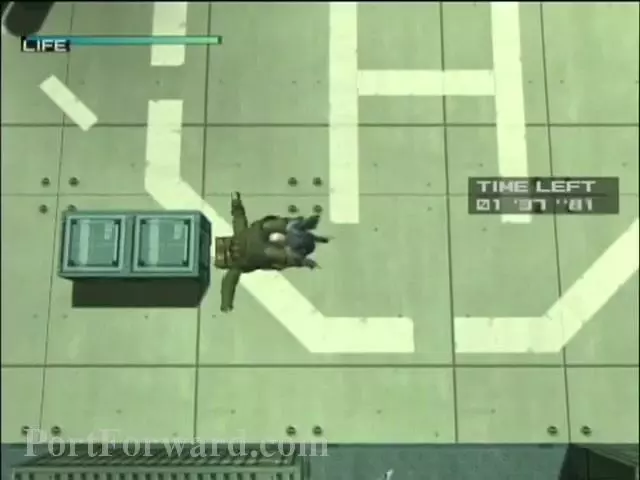
After Vamp comes and you kill him, you'll go up in the elevator and have to go to the roof of Strut E and get the last bomb.

Metal Gear Solid 2: Sons of Liberty Walkthrough - Metal Gear-Solid-2-Sons-of-Liberty 80

It'll be in the middle of the roof of Strut E.

Metal Gear Solid 2: Sons of Liberty Walkthrough - Metal Gear-Solid-2-Sons-of-Liberty 81

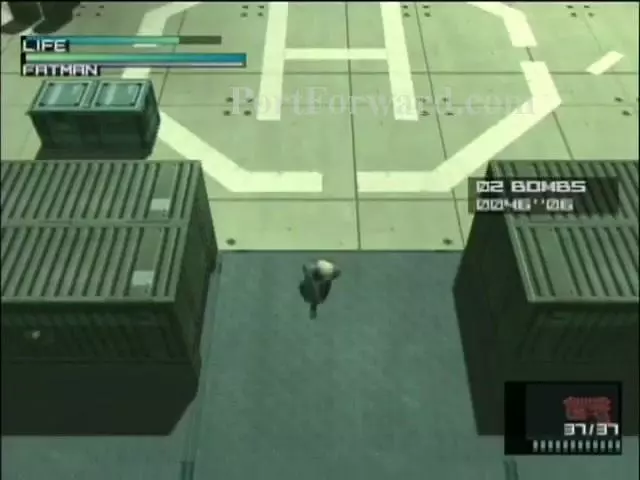
You'll now have to face Fatman which is pretty easy.

Metal Gear Solid 2: Sons of Liberty Walkthrough - Metal Gear-Solid-2-Sons-of-Liberty 82

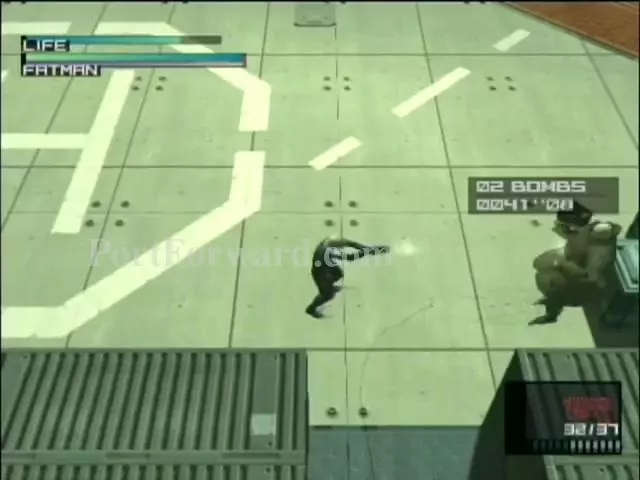
Shoot him in the body a few times til he goes down.

Metal Gear Solid 2: Sons of Liberty Walkthrough - Metal Gear-Solid-2-Sons-of-Liberty 83

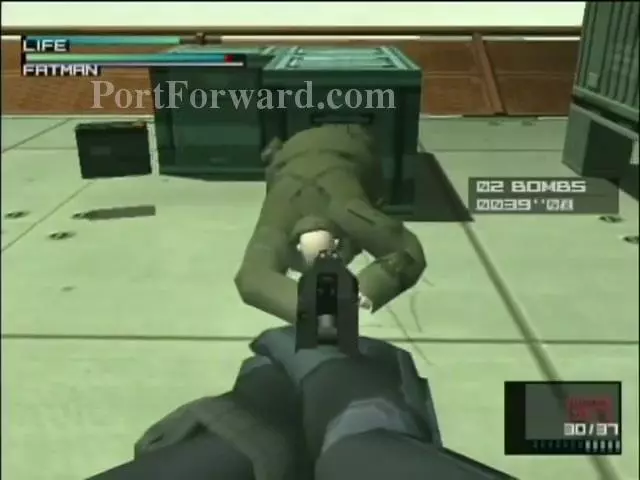
Then shoot him as many times in the head.

Metal Gear Solid 2: Sons of Liberty Walkthrough - Metal Gear-Solid-2-Sons-of-Liberty 84

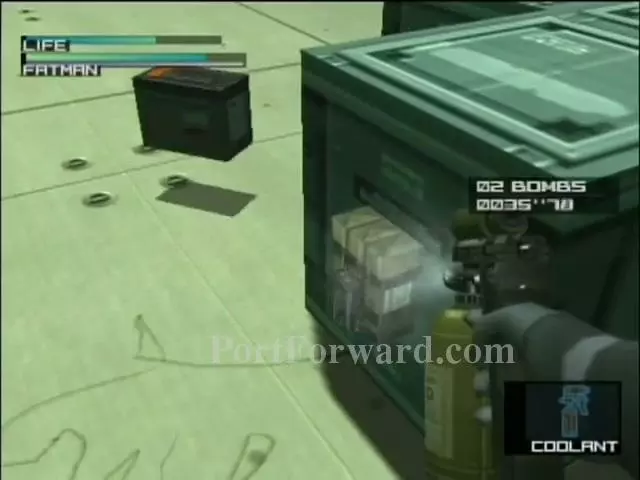
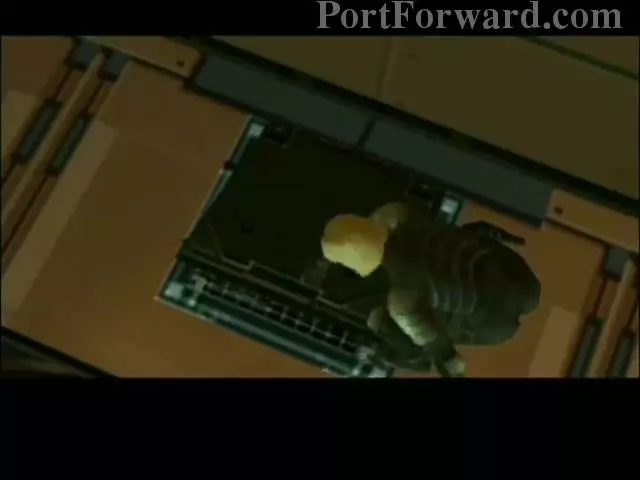
Fatman will also be planting C4 bombs as you battle him so make sure you find them before they blow up. And that's it. Defuse the bombs and shoot Fatman in the body til he's down then in the head.

Metal Gear Solid 2: Sons of Liberty Walkthrough - Metal Gear-Solid-2-Sons-of-Liberty 85

After you defeat Fatman, he will reveal that there is one last bomb. It will be under him. Move his body to defuse it.

Metal Gear Solid 2: Sons of Liberty Walkthrough - Metal Gear-Solid-2-Sons-of-Liberty 86

Then, the Cyber Ninja will visit you giving you the soldier's outfit and tell you where the President's main security agent is. You'll have to wear that outfit when going into that building. You'll also have to recieve the gun that they have, an AKS-74U.

Metal Gear Solid 2: Sons of Liberty Walkthrough - Metal Gear-Solid-2-Sons-of-Liberty 87

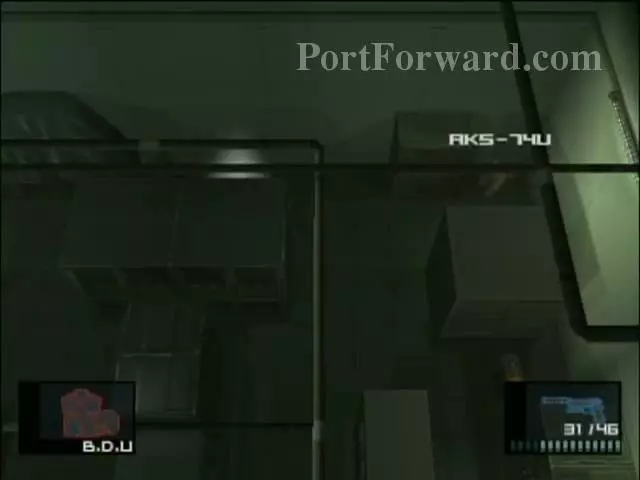
The gun will be in Strut F, downstairs in the room to the right of the little hallway.

Metal Gear Solid 2: Sons of Liberty Walkthrough - Metal Gear-Solid-2-Sons-of-Liberty 88

Now proceed to Shell 1 with the gun in hand and the diguise on.

Metal Gear Solid 2: Sons of Liberty Walkthrough - Metal Gear-Solid-2-Sons-of-Liberty 89

The panels on the bridge will release after you walk on it so get to the other side fast!

Metal Gear Solid 2: Sons of Liberty Walkthrough - Metal Gear-Solid-2-Sons-of-Liberty 90

Make sure you don't bum into any of the soldiers or you will be detected.

Metal Gear Solid 2: Sons of Liberty Walkthrough - Metal Gear-Solid-2-Sons-of-Liberty 91

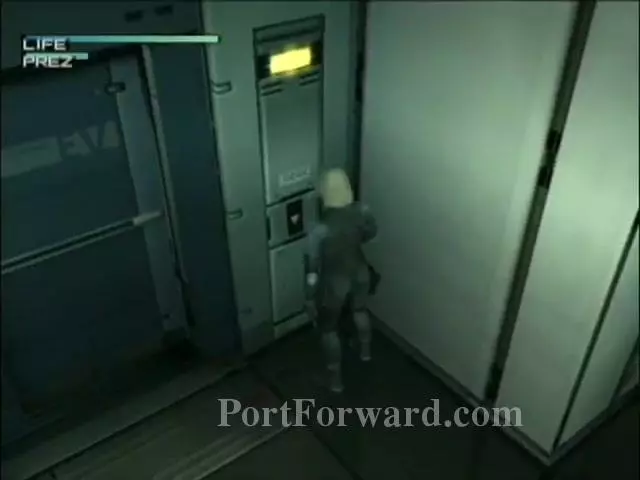
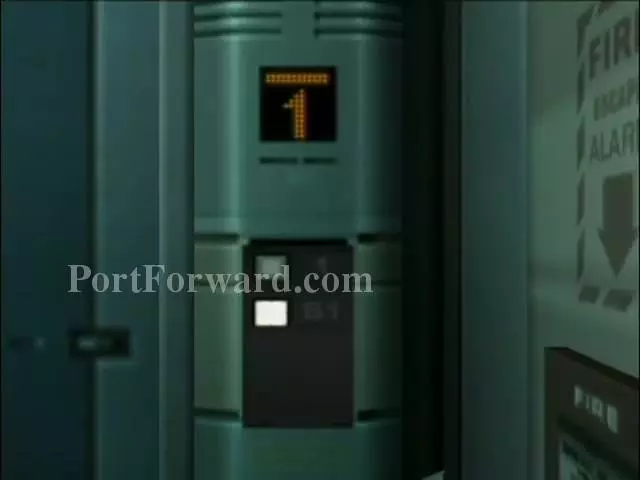
Go down this hall and take a left and there'll be a elevator.
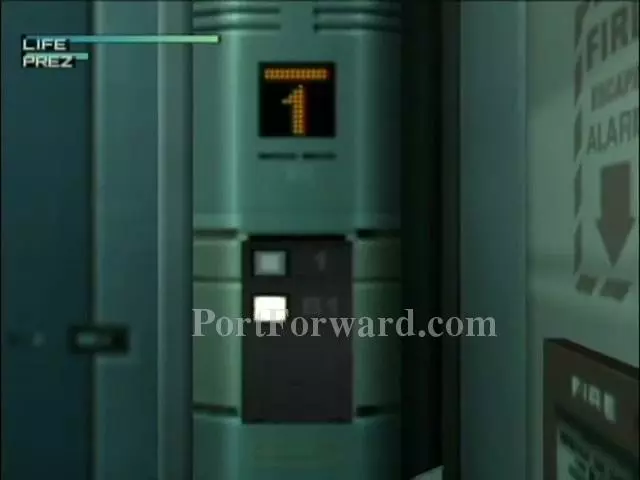
Metal Gear Solid 2: Sons of Liberty Walkthrough - Metal Gear-Solid-2-Sons-of-Liberty 92

Go to the B2 Floor.

Metal Gear Solid 2: Sons of Liberty Walkthrough - Metal Gear-Solid-2-Sons-of-Liberty 93

There'll be a Directional Mic where the computers are at which is just down the hall from the elevator.

Metal Gear Solid 2: Sons of Liberty Walkthrough - Metal Gear-Solid-2-Sons-of-Liberty 94

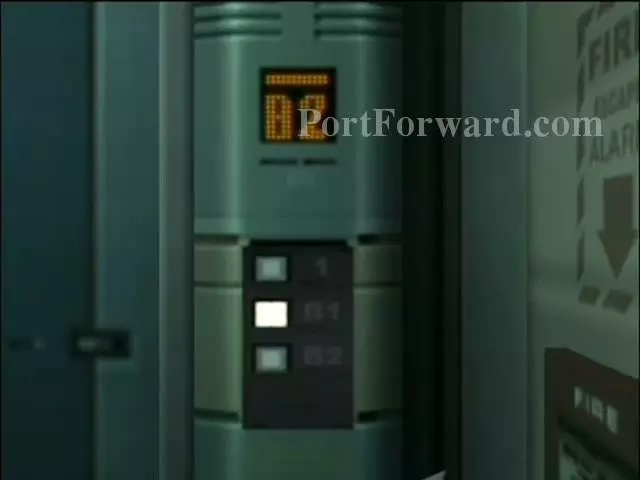
Now take the elevator to the B1.

Metal Gear Solid 2: Sons of Liberty Walkthrough - Metal Gear-Solid-2-Sons-of-Liberty 95

Then, get ahold of an enemy when they're close to the eye scanner thing on the right.

Metal Gear Solid 2: Sons of Liberty Walkthrough - Metal Gear-Solid-2-Sons-of-Liberty 96

And Raiden will scan their eye on it so you can proceed.

Metal Gear Solid 2: Sons of Liberty Walkthrough - Metal Gear-Solid-2-Sons-of-Liberty 97

You'll have to point the mic to the hostages. This one will be it. He'll be located down the room.

Metal Gear Solid 2: Sons of Liberty Walkthrough - Metal Gear-Solid-2-Sons-of-Liberty 98

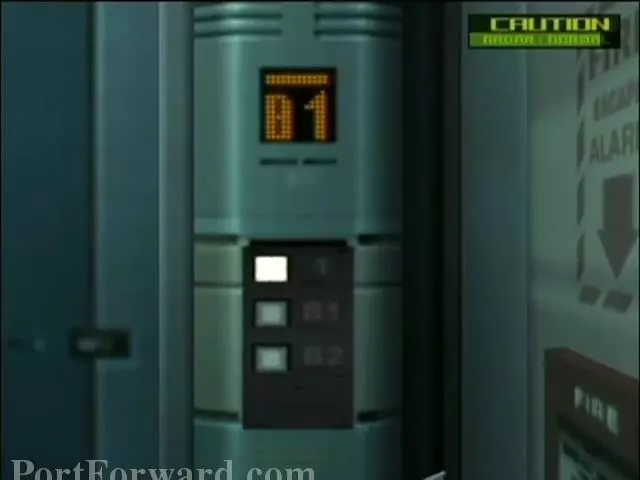
They'll find out who you are and you'll have to go to the elevator and go to the 1 Floor.

Metal Gear Solid 2: Sons of Liberty Walkthrough - Metal Gear-Solid-2-Sons-of-Liberty 99

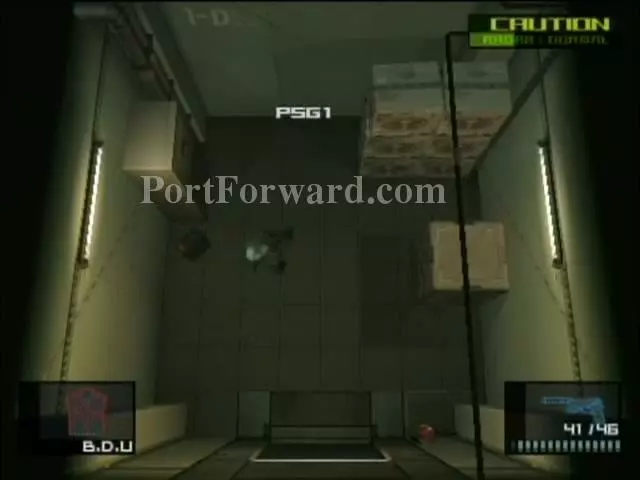
Now go back to Strut F and get the PSG1 that's upstairs and in the room on the right.

Metal Gear Solid 2: Sons of Liberty Walkthrough - Metal Gear-Solid-2-Sons-of-Liberty 100

Now go to Strut D and go through this door that leads to the Shell 1-2 bridge.

Metal Gear Solid 2: Sons of Liberty Walkthrough - Metal Gear-Solid-2-Sons-of-Liberty 101

Then you can use the sniper to shoot the C4's and the enemy turrets so you can cross the bridge.

Metal Gear Solid 2: Sons of Liberty Walkthrough - Metal Gear-Solid-2-Sons-of-Liberty 102

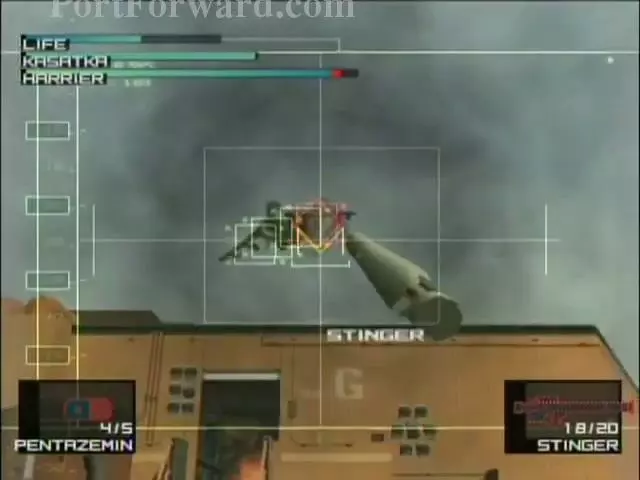
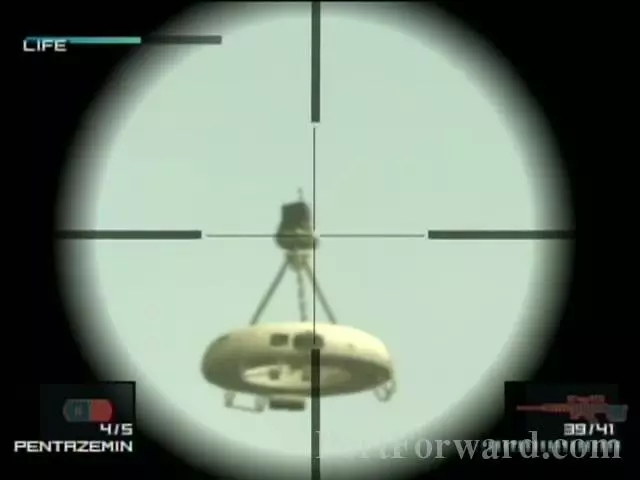
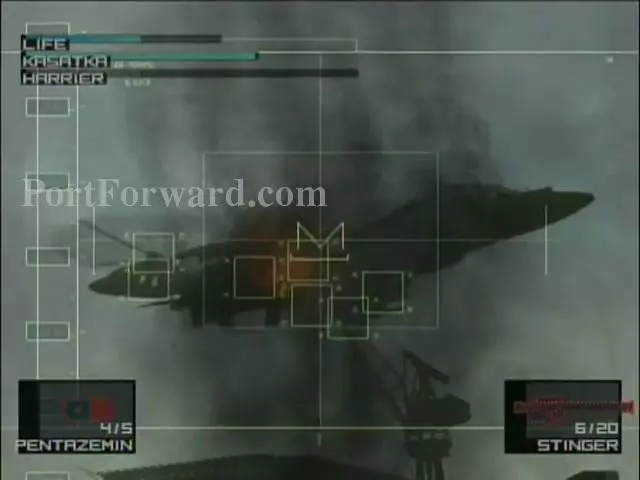
Solidus will attack you with a helicopter. Just like the first MGS, use your Stinger Missile Launcher to destroy the helicopter.

Metal Gear Solid 2: Sons of Liberty Walkthrough - Metal Gear-Solid-2-Sons-of-Liberty 103

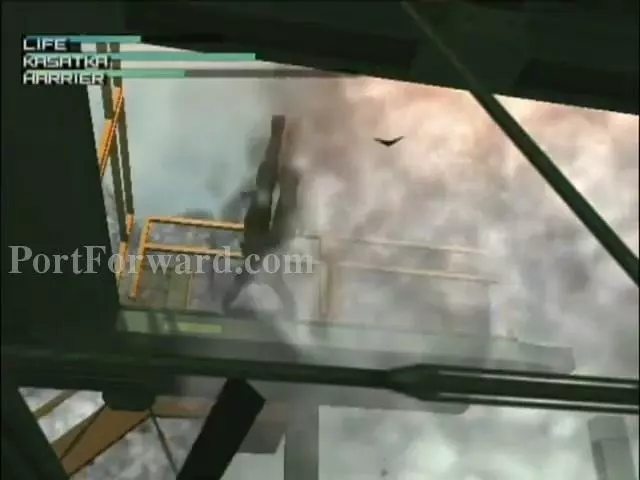
Go off the edge or go to the lower level when they rain missiles over you.

Metal Gear Solid 2: Sons of Liberty Walkthrough - Metal Gear-Solid-2-Sons-of-Liberty 104

And that's pretty much it!

Metal Gear Solid 2: Sons of Liberty Walkthrough - Metal Gear-Solid-2-Sons-of-Liberty 105

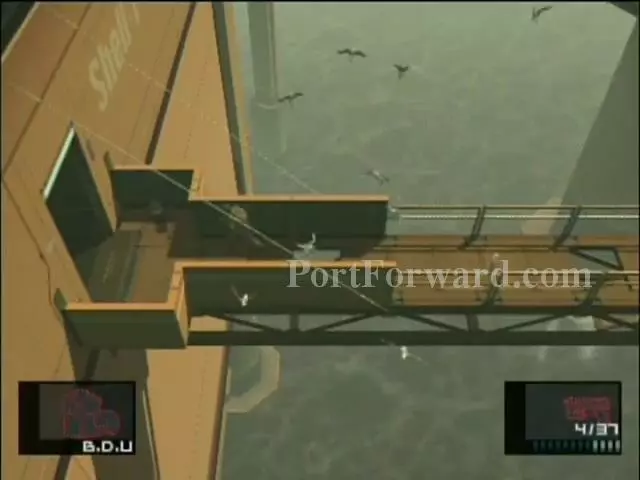
Walk on that pipe and up ahead will be a walkway on the side of the building. Walk on it to get to Strut L.

Metal Gear Solid 2: Sons of Liberty Walkthrough - Metal Gear-Solid-2-Sons-of-Liberty 106

You'll have to shimmy the walkway since it's broken. Then go up the ladder to get to Strut L

Metal Gear Solid 2: Sons of Liberty Walkthrough - Metal Gear-Solid-2-Sons-of-Liberty 107

The walkway is a little broken so hurry walking to it!

Metal Gear Solid 2: Sons of Liberty Walkthrough - Metal Gear-Solid-2-Sons-of-Liberty 108

Also, amke sure the guards dont see you through the window.

Metal Gear Solid 2: Sons of Liberty Walkthrough - Metal Gear-Solid-2-Sons-of-Liberty 109

Go up the stairs to the main bridge and take this bridge to Shell 2.

Metal Gear Solid 2: Sons of Liberty Walkthrough - Metal Gear-Solid-2-Sons-of-Liberty 110

When you get inside, go around the building to find the elevator.

Metal Gear Solid 2: Sons of Liberty Walkthrough - Metal Gear-Solid-2-Sons-of-Liberty 111

Take the elevator to B1 floor.

Metal Gear Solid 2: Sons of Liberty Walkthrough - Metal Gear-Solid-2-Sons-of-Liberty 112

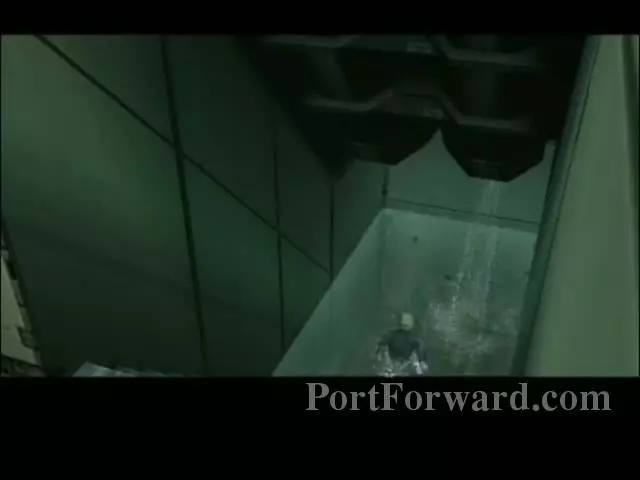
It'll be flooded! But the Nikita Missile Launcher will be in there.

Metal Gear Solid 2: Sons of Liberty Walkthrough - Metal Gear-Solid-2-Sons-of-Liberty 113

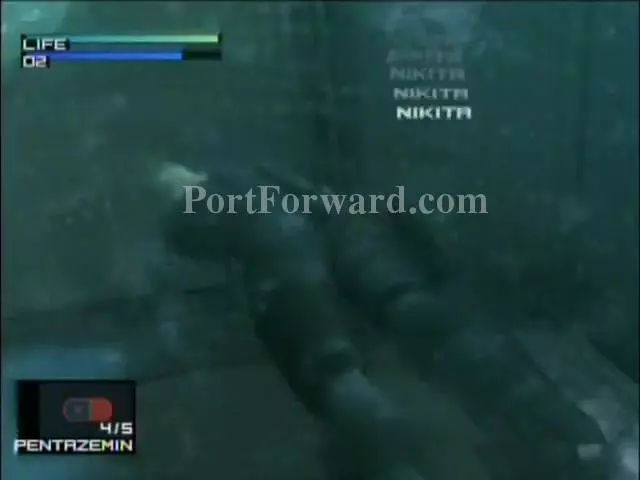
Go through the first two doors ahead to get the Nikita Missle Launcher.

Metal Gear Solid 2: Sons of Liberty Walkthrough - Metal Gear-Solid-2-Sons-of-Liberty 114

Now go back the way you went from and get back to the 1st Floor.

Metal Gear Solid 2: Sons of Liberty Walkthrough - Metal Gear-Solid-2-Sons-of-Liberty 115

Shoot the Nikita missles through the vent and make sure it goes all the way to the room that the President is held at.

Metal Gear Solid 2: Sons of Liberty Walkthrough - Metal Gear-Solid-2-Sons-of-Liberty 116

Make sure you don't hit the President and you destroy the panels that control panels for the electricity to the floors.

Metal Gear Solid 2: Sons of Liberty Walkthrough - Metal Gear-Solid-2-Sons-of-Liberty 117

Now walk across the floor that was with an electric current and into the door ahead to save the President.

Metal Gear Solid 2: Sons of Liberty Walkthrough - Metal Gear-Solid-2-Sons-of-Liberty 118

After the President died and told you info about the new Metal Gear called Arsenal Gear, go back down to the B1 Floor.

Metal Gear Solid 2: Sons of Liberty Walkthrough - Metal Gear-Solid-2-Sons-of-Liberty 119

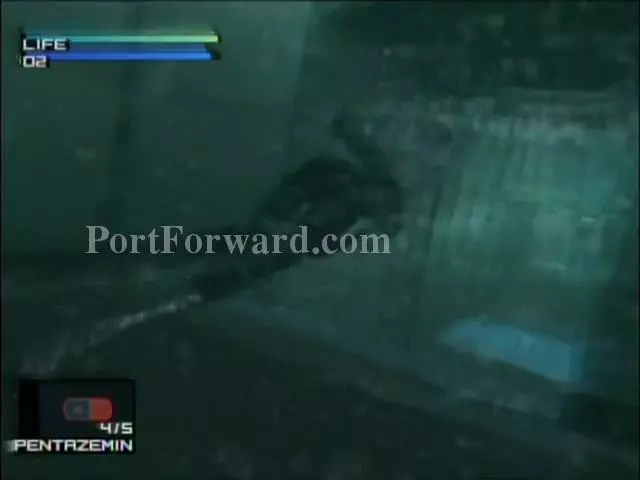
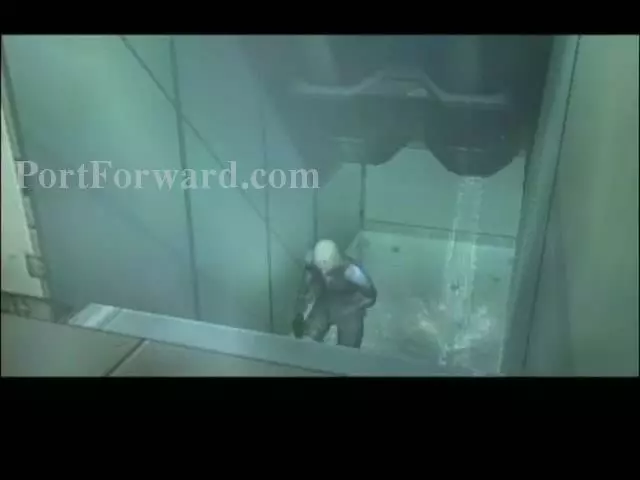
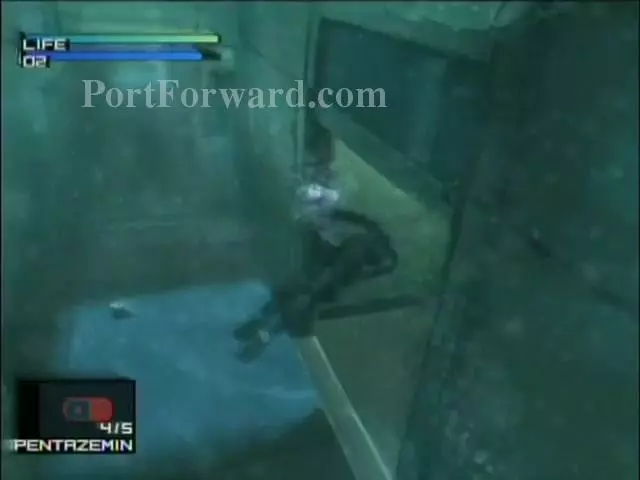
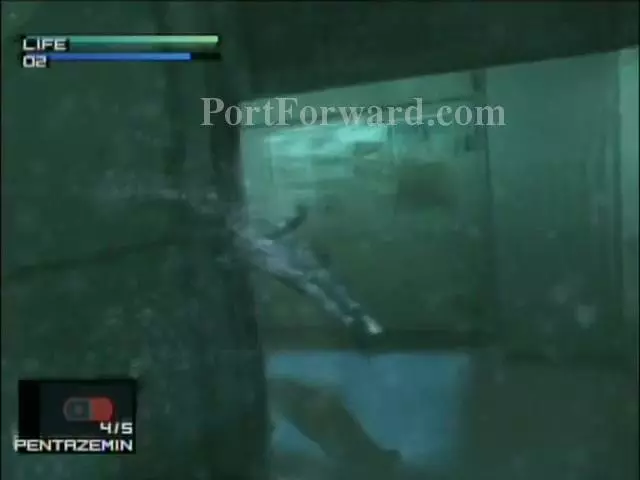
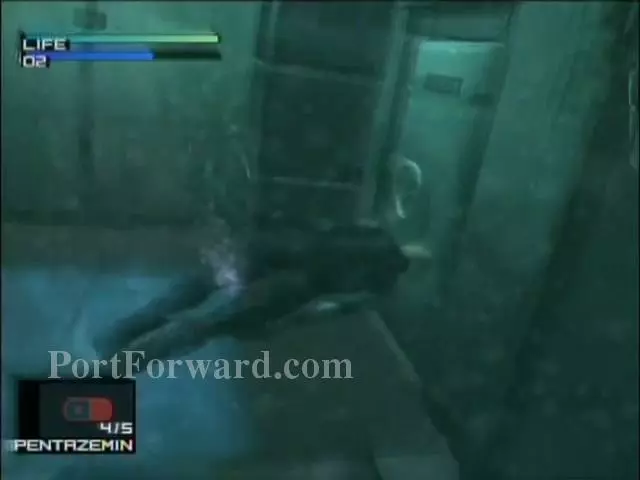
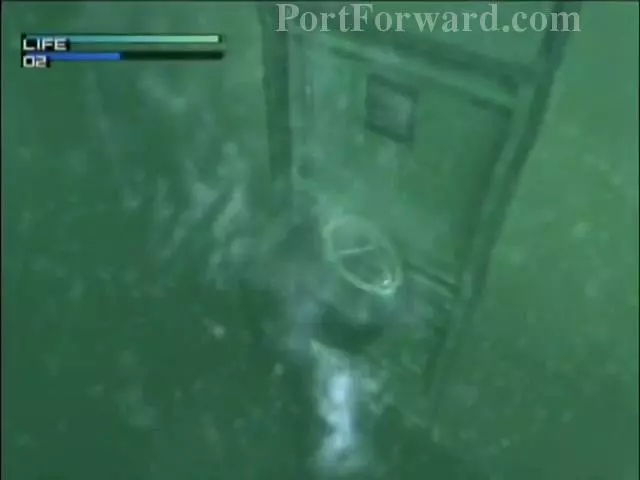
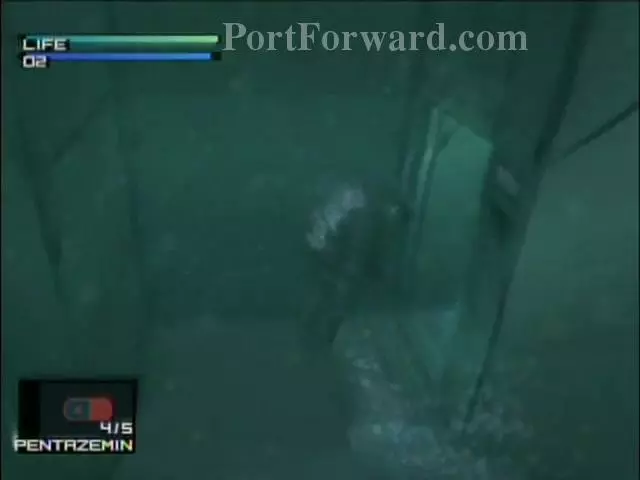
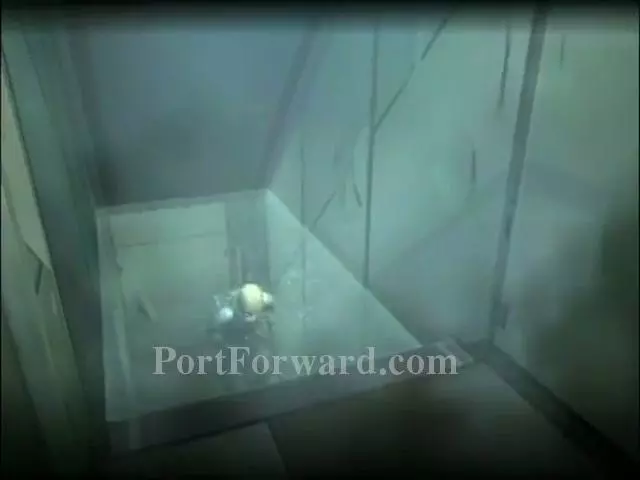
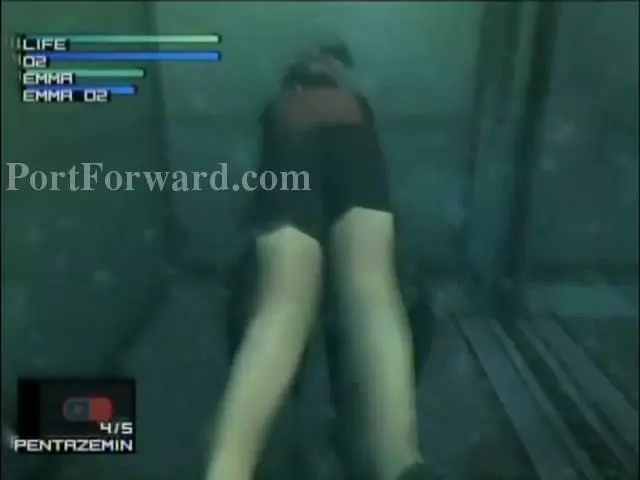
Go down underwater again to find Emma Emmerich.

Metal Gear Solid 2: Sons of Liberty Walkthrough - Metal Gear-Solid-2-Sons-of-Liberty 120

Take the first right...

Metal Gear Solid 2: Sons of Liberty Walkthrough - Metal Gear-Solid-2-Sons-of-Liberty 121

Then a left...

Metal Gear Solid 2: Sons of Liberty Walkthrough - Metal Gear-Solid-2-Sons-of-Liberty 122

Then the first left.

Metal Gear Solid 2: Sons of Liberty Walkthrough - Metal Gear-Solid-2-Sons-of-Liberty 123

And another right...

Metal Gear Solid 2: Sons of Liberty Walkthrough - Metal Gear-Solid-2-Sons-of-Liberty 124

Now a left...

Metal Gear Solid 2: Sons of Liberty Walkthrough - Metal Gear-Solid-2-Sons-of-Liberty 125

The door to the right is the way to go.

Metal Gear Solid 2: Sons of Liberty Walkthrough - Metal Gear-Solid-2-Sons-of-Liberty 126

After avoiding the obstacles, there'll be a door on the other side to open.

Metal Gear Solid 2: Sons of Liberty Walkthrough - Metal Gear-Solid-2-Sons-of-Liberty 127

Those will lead to stairs that lead to the door to where Emma is.

Metal Gear Solid 2: Sons of Liberty Walkthrough - Metal Gear-Solid-2-Sons-of-Liberty 128

But Vamp will be there. So here are some tips on how to defeat this boss.

Metal Gear Solid 2: Sons of Liberty Walkthrough - Metal Gear-Solid-2-Sons-of-Liberty 129

Do melee attacks repeatedly by going in then out. If you can't really do that just shoot and run.

Metal Gear Solid 2: Sons of Liberty Walkthrough - Metal Gear-Solid-2-Sons-of-Liberty 130

And that's about it!

Metal Gear Solid 2: Sons of Liberty Walkthrough - Metal Gear-Solid-2-Sons-of-Liberty 131

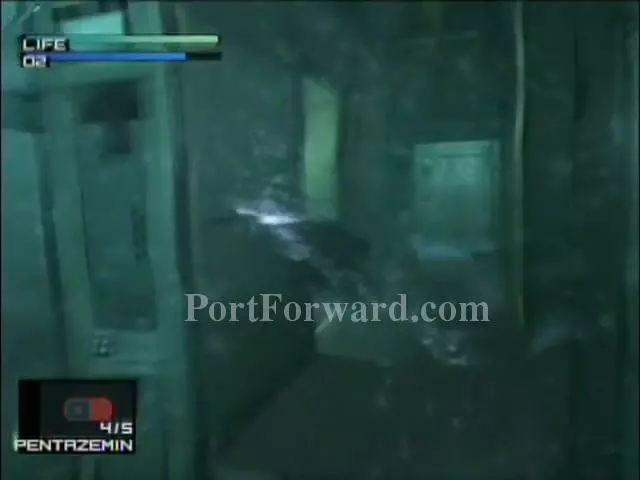
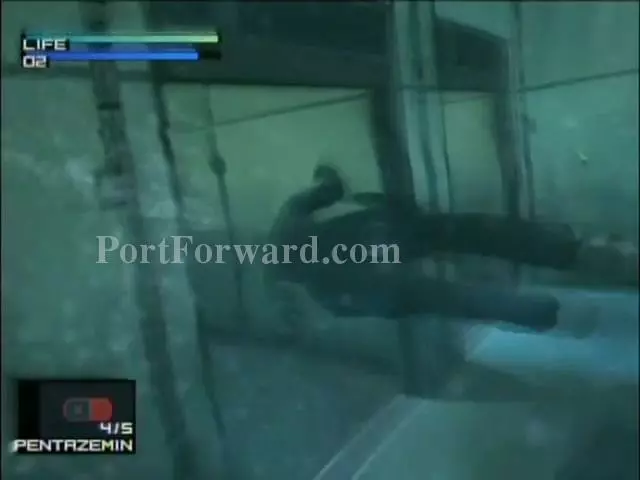
More swimming to do.

Metal Gear Solid 2: Sons of Liberty Walkthrough - Metal Gear-Solid-2-Sons-of-Liberty 132

Go through the door...

Metal Gear Solid 2: Sons of Liberty Walkthrough - Metal Gear-Solid-2-Sons-of-Liberty 133

Take the first left...

Metal Gear Solid 2: Sons of Liberty Walkthrough - Metal Gear-Solid-2-Sons-of-Liberty 134

And another...

Metal Gear Solid 2: Sons of Liberty Walkthrough - Metal Gear-Solid-2-Sons-of-Liberty 135

Thats it :P

Metal Gear Solid 2: Sons of Liberty Walkthrough - Metal Gear-Solid-2-Sons-of-Liberty 136

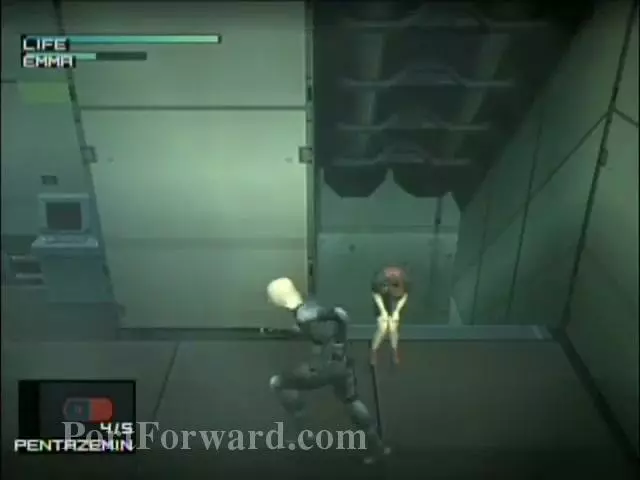
Now go the exact way back with Emma on her back.

Metal Gear Solid 2: Sons of Liberty Walkthrough - Metal Gear-Solid-2-Sons-of-Liberty 137

And, there ya go!

Metal Gear Solid 2: Sons of Liberty Walkthrough - Metal Gear-Solid-2-Sons-of-Liberty 138

Spray the bugs away since Emma is afraid of them.

Metal Gear Solid 2: Sons of Liberty Walkthrough - Metal Gear-Solid-2-Sons-of-Liberty 139

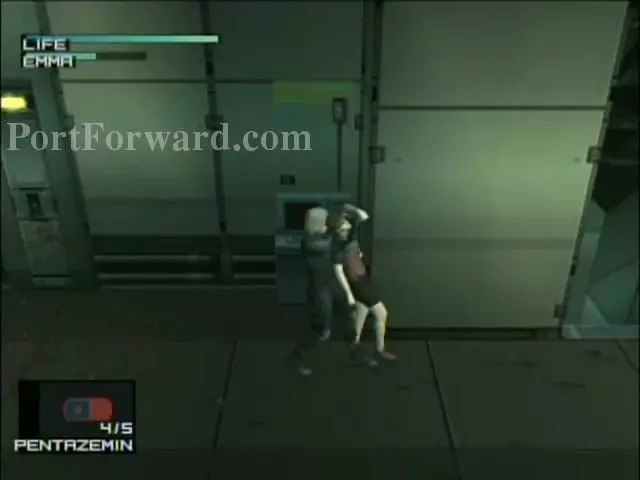
Or chokehold her like I did xD

Metal Gear Solid 2: Sons of Liberty Walkthrough - Metal Gear-Solid-2-Sons-of-Liberty 140

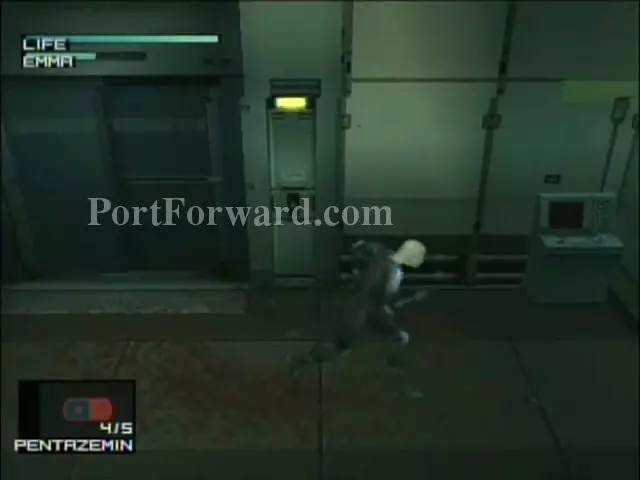
Remember to go back to the 1st floor.

Metal Gear Solid 2: Sons of Liberty Walkthrough - Metal Gear-Solid-2-Sons-of-Liberty 141

Go all the way around the building to get out. There will be guards so watch out!

Metal Gear Solid 2: Sons of Liberty Walkthrough - Metal Gear-Solid-2-Sons-of-Liberty 142

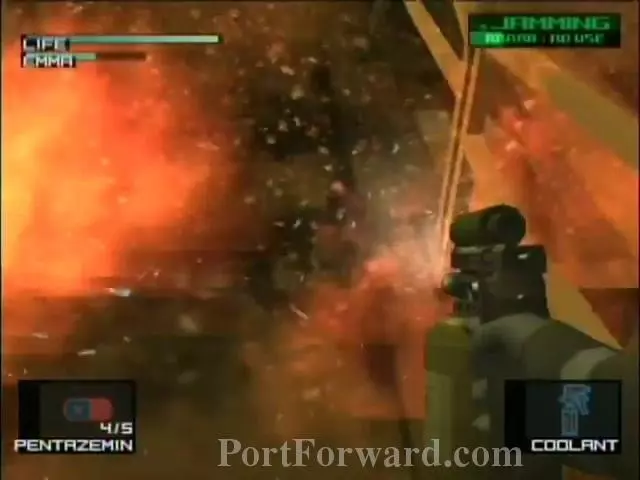
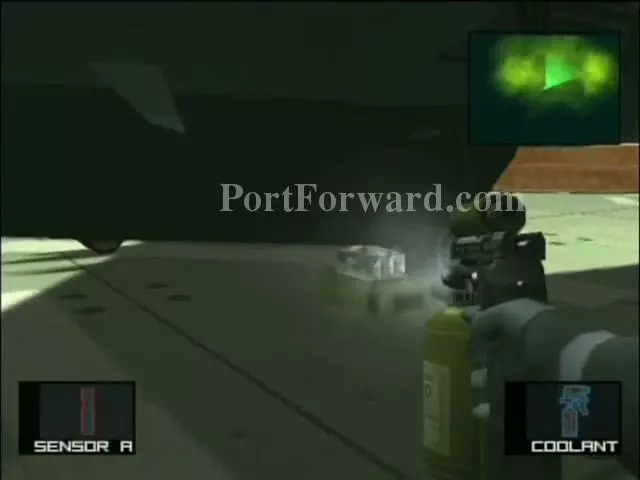
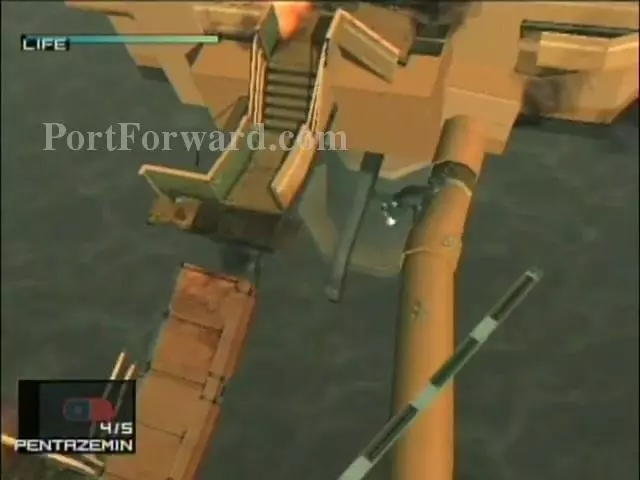
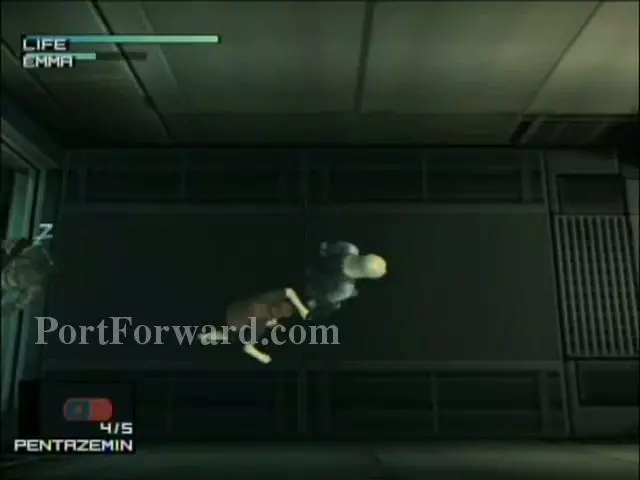
Spray the coolant on the bridge so the fire will give out. img(202481); You'll now arrive to Strut L. img(202482); Open the door to proceed to the nextr area. img(202483); This will lead you down to the Oil Fence where you'll have to watch out for Emma as she walks her way to the other Strut to go disable Arsenal Gear. img(202484); First shoot out the claymores that's ahead of her... img(202485); Then take out the guards at the towers... img(202486); More claymores further along the bridge... img(202487); Then the aerial enemey turrets. The enemies and turrets keep coming back so watch for that. That's pretty much it! img(202489); Pliskan will also be watching out for Emma. img(202490); Then, Vamp will come out of the water and get Emma! You must snipe him before she dies! img(202491); But even after Vamp gets shot, it's too late... img(202492); Now go back to Strut E... img(202493); Open the door to proceed. img(202494); Then through the door on the right of you. img(202495); Now go back upstairs and get to the EF Bridge. img(202496); Then get to Shell 1. img(202497); Get to the elevator to advance. img(202498); You'll get captured by Ocelot and Solidus. You will also be stripped down naked...awkward... img(202500); Like in the first MGS, you'll have to repeatedly press a button to regenerate strength to survive the torture. img(202501); Olga will come in and tell you she'll free you in a while. img(202502); Since Solid Snake has your stuff you'll have to find him. Exit out the door to the right. img(202503); Make sure the guards don't see you since you can't really do anything naked. img(202504); Keep going up the hall... img(202505); There'll be some stairs on the left of you around here. Go up them. img(202506); Now cross the bridge to the other side. img(202507); Now go down this walkway. img(202508); Then enter this door. img(202509); After various codec calls, Snake will finally arrive. img(202511); Snake will give you your stuff and a sword that will be Raiden's main weapon and it's the most effective. img(202512); You'll have to get to where Arsenal Gear but there'll be a lot of soldiers to defeat before you get there. img(202513); Then advance through the doors. img(202514); Now some more soldiers before you get to Arsenal Gear. img(202515); Then go up the ladder where you'll be in a weird virtually area. Solidus will talk to you about everything that's included in the game. img(202516); You will now have to fight three Metal Gear's at the same time. This seems hard but it's simple. Just avoid the attacks a lot and when they're preparing attack, get them! And that's it. img(202517); Then a big cutscene will happen. Make sure to watch it. But we're skipping that. after Arsenal Gear sinks or whatever, Solidus and Raiden gets dumped on a building. You, son and father will fight to the death. img(202518); Here are some tips, hit then go back out. Run around a lot so he doesnt hit you. And that's pretty much it. img(202519); That's it! You've completed Metal Gear Solid 2: SOns of Liberty. You should watch all the cutscenes and the credits since there's a little scene at te end. I hope this walkthrough helped and I hope you enjoyed this game. Thanks!

More Metal Gear Solid 2: Sons of Liberty Walkthroughs

This Metal Gear Solid 2: Sons of Liberty walkthrough is divided into 2 total pages.

2 - 2. Plant Chapter

More From Portforward