
This Saints Row: The Third walkthrough is divided into 49 total pages.
You can jump to nearby pages of the game using the links above.
5 - Party Time
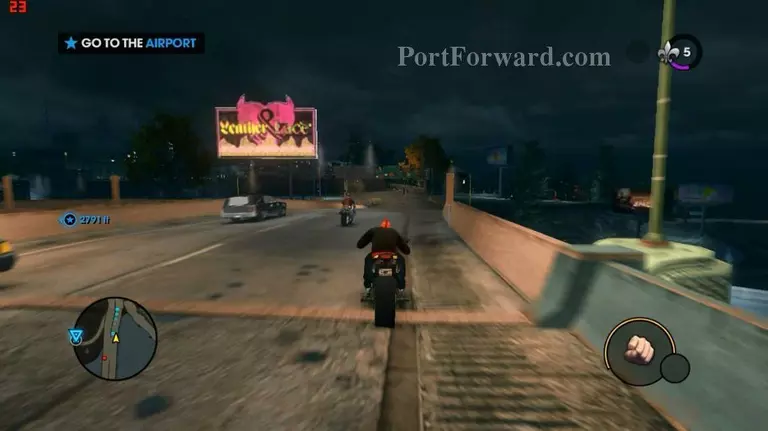
Firstly, go to Airport.
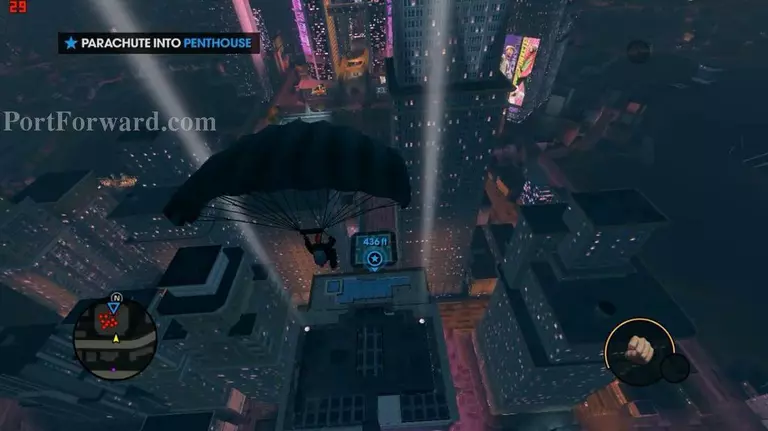
Drop from the helicopter and land nicely in the pool.
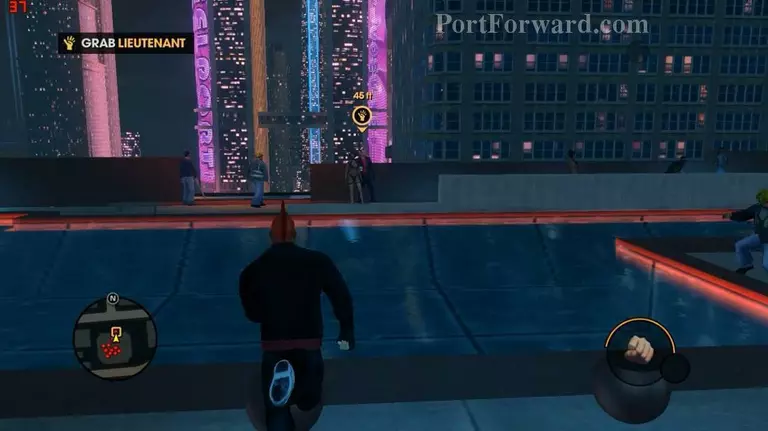
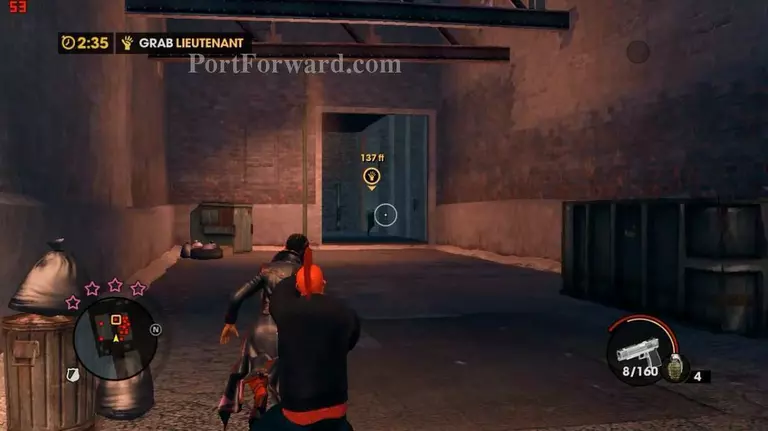
Grab only the Lieutenant.
While going to the marked location, shoot any nearby enemy to reduce damage being shot.
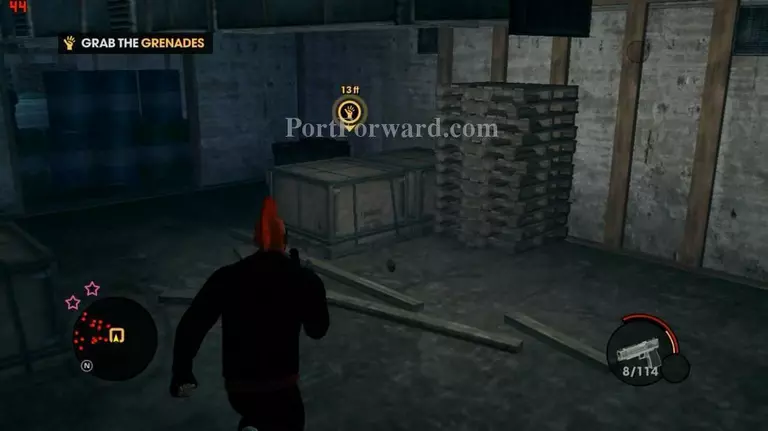
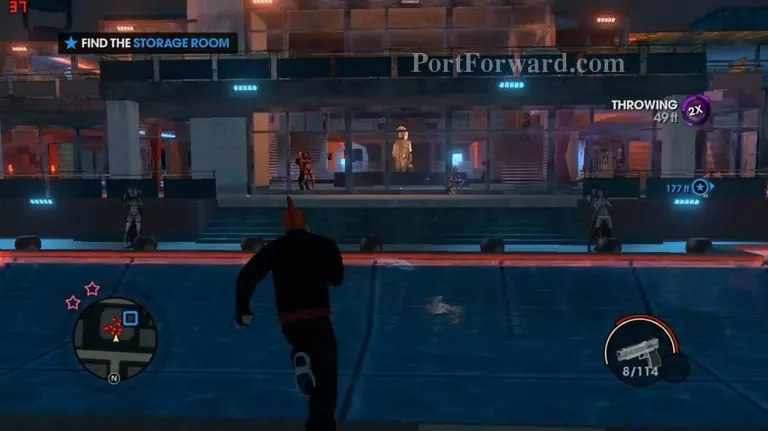
Take the grenades and keep going through the wall of barrels.
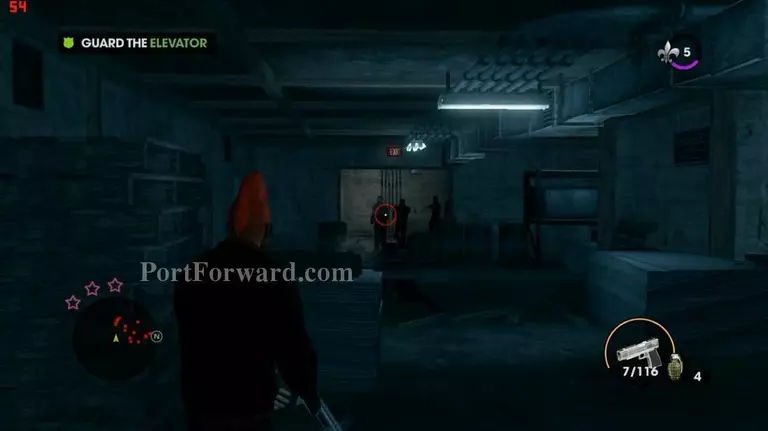
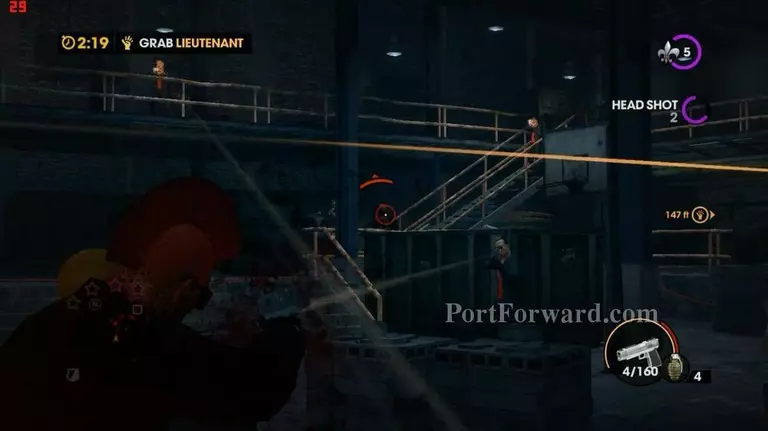
Guard the elevator. Take cover and shoot.
When Saints member get in, clear this area from all enemies.

The Lieutanant is running away, chase him using the helicopter outside.
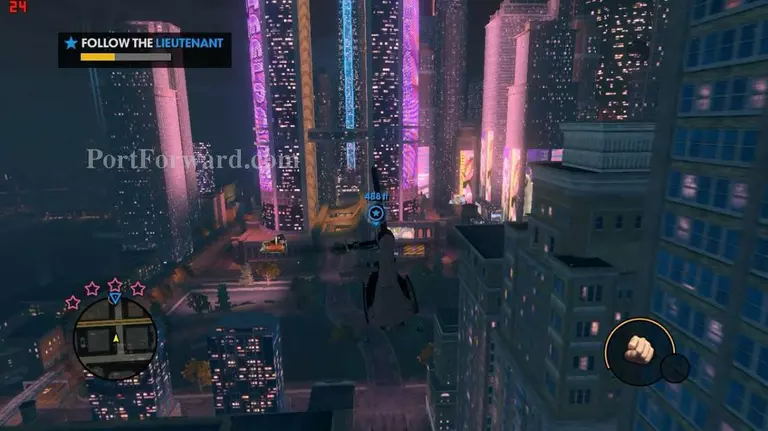
Follow the helicopter from above. No need to get too near because the helicopter take hard turns/paths sometimes.
Chase the Lieutanant.
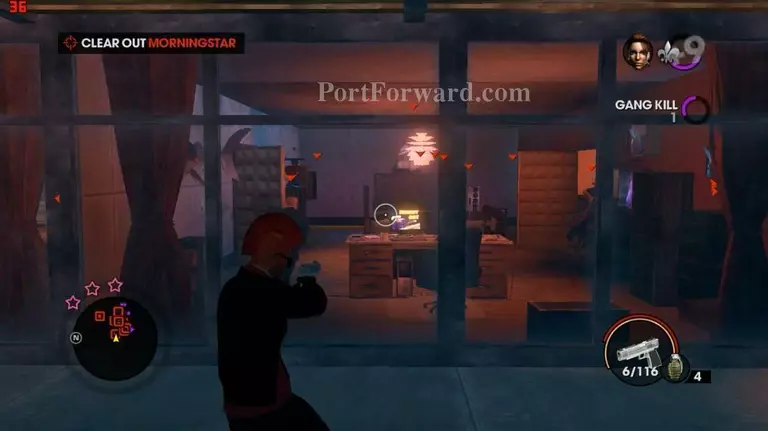
If you've enough time, clear this area or else just rush to the Lieutanant and grab him.

Mission ends after the bomb defused. [END]
More Saints Row: The Third Walkthroughs
This Saints Row: The Third walkthrough is divided into 49 total pages.


