
This Shadow Ops: Red Mercury walkthrough is divided into 24 total pages.
1 - Rough Beginnings
4 - Troubled Waters
5 - A Change in Plans
6 - Untimely Frost
7 - In the Red
8 - Third Degree
You can jump to nearby pages of the game using the links above.
A Change in Plans
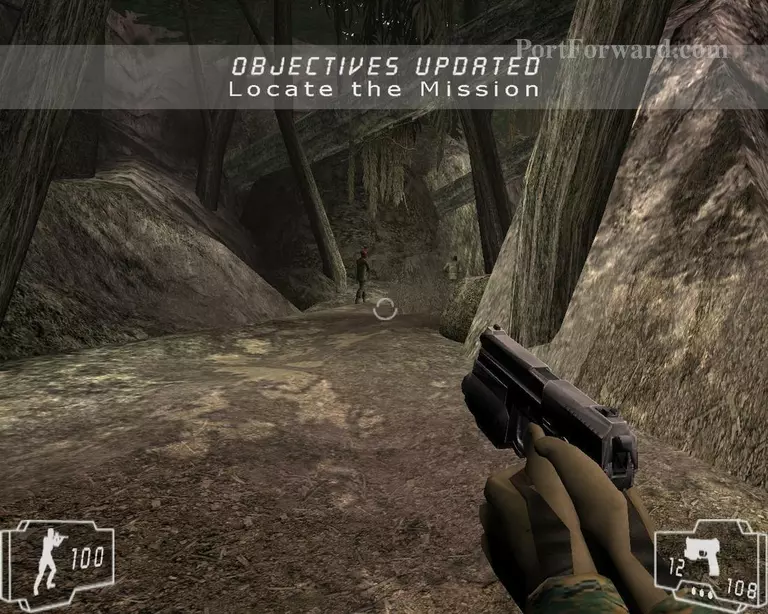
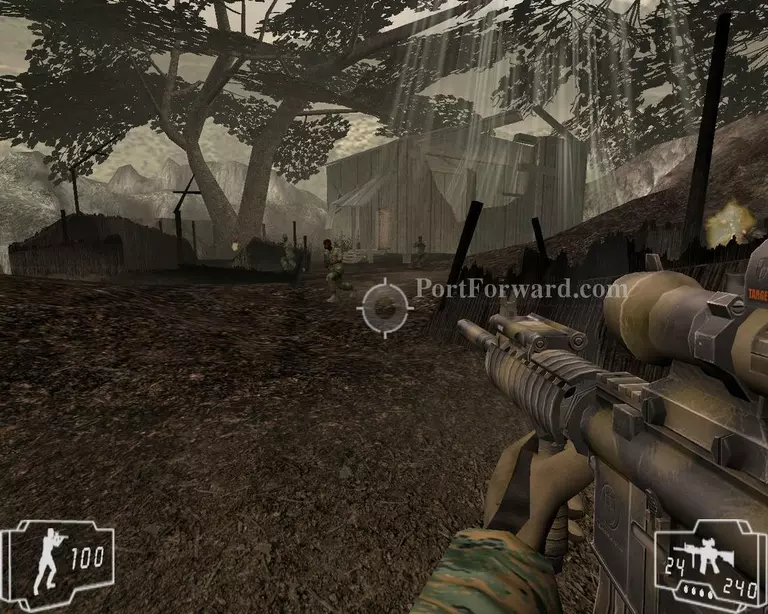
Go through the jungle and kill all enemies
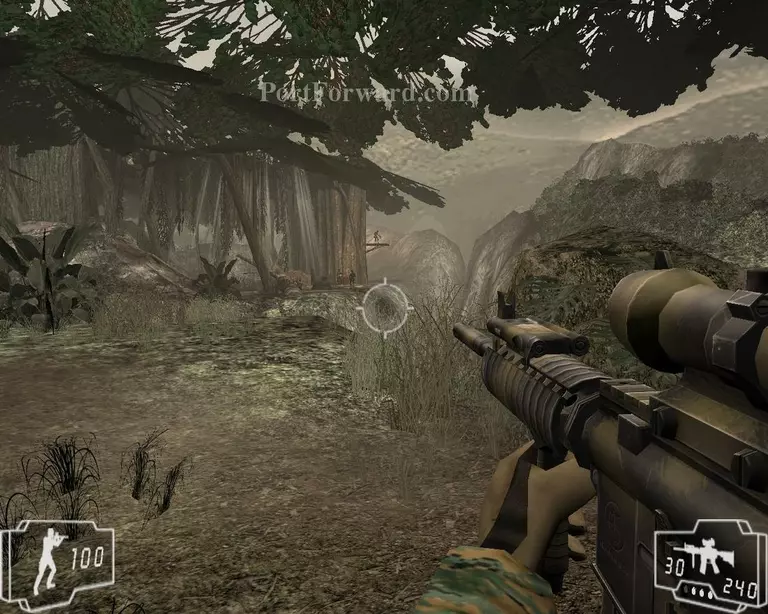
Shoot the barrels and you will kill everyone there
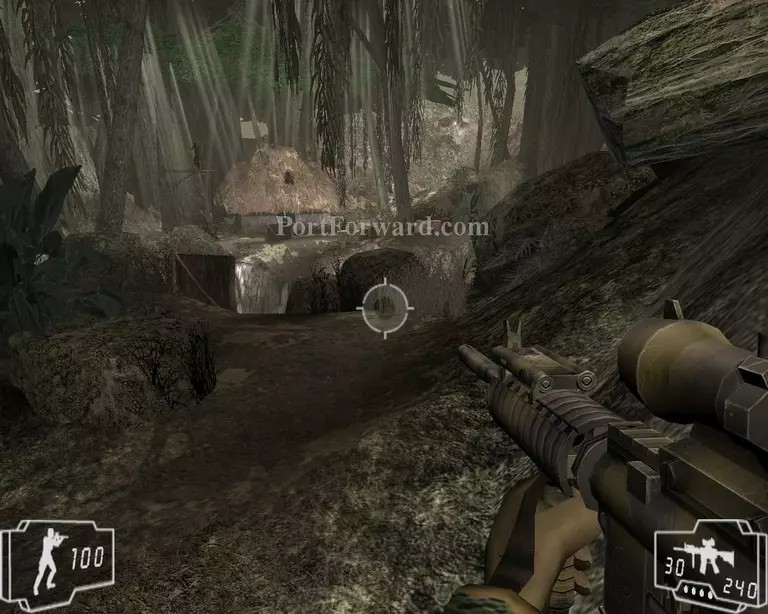
Yet again, barrels to clear the area
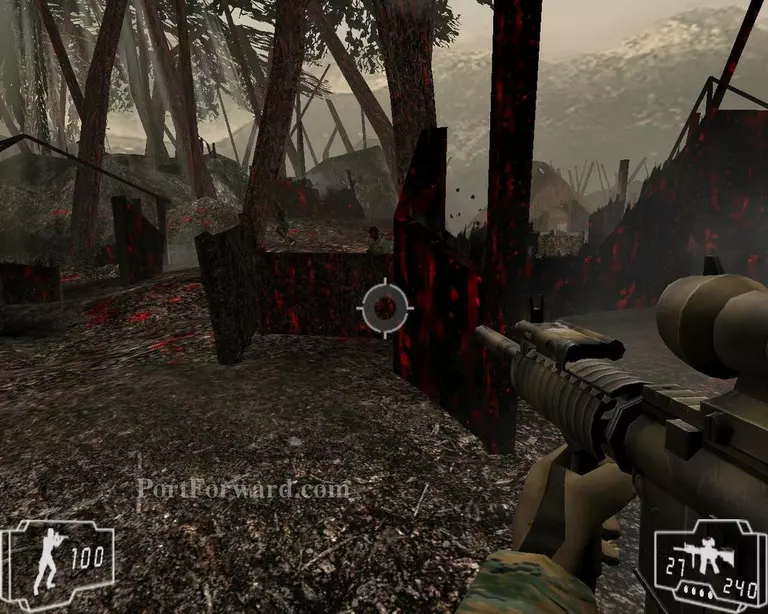
Not sure if that is blood or like the burnt wood, but it might be over doing it, find some cover and clear the other side then go across the bridge
Clear the area and go in to the building
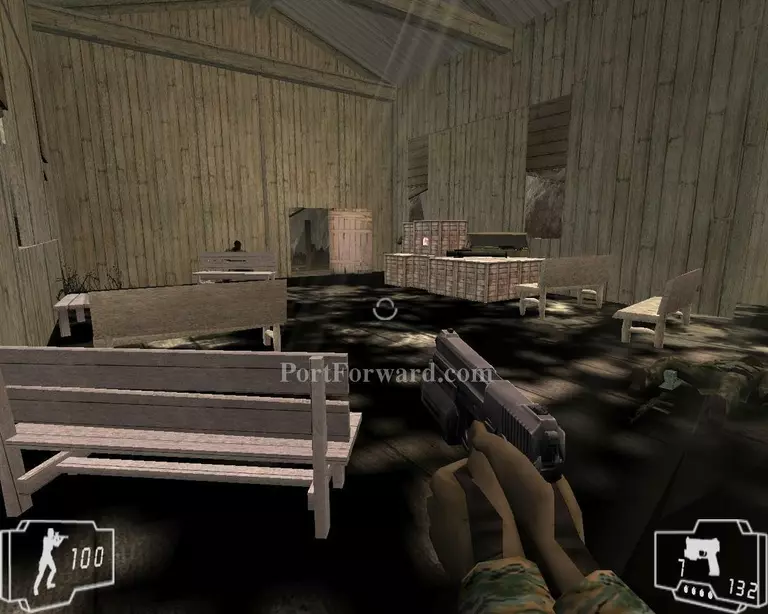
Clear the building and set the explosives
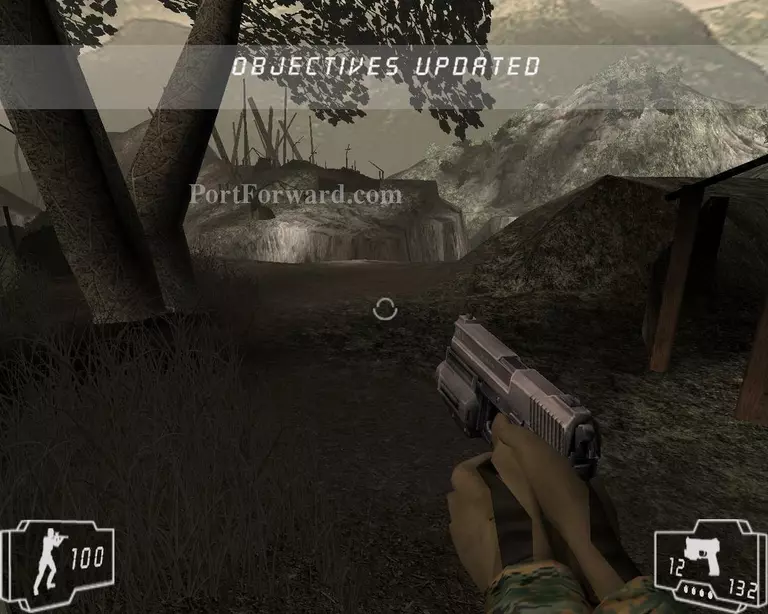
Then get out and finish the level
More Shadow Ops: Red Mercury Walkthroughs
This Shadow Ops: Red Mercury walkthrough is divided into 24 total pages.
1 - Rough Beginnings
4 - Troubled Waters
5 - A Change in Plans
6 - Untimely Frost
7 - In the Red
8 - Third Degree


