This Toki Tori walkthrough is divided into 78 total pages.
You can jump to nearby pages of the game using the links above.
Bubble Barrage - Hard 4

This is Bubble Barrage, Hard 4. You have 12 eggs to collect. The items available to you are 7 Brick Switches and 5 initial Bubble Suit moves.
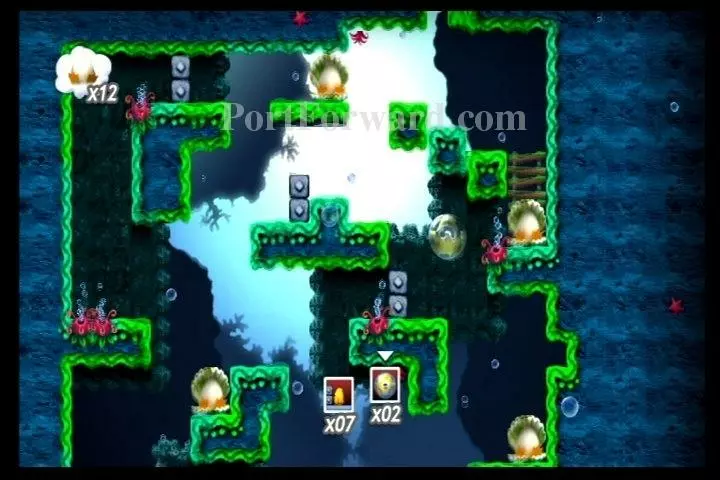
Use the Bubble Suit to get to the upper-right platform, onto a bubble source.

Grab egg #1 here.
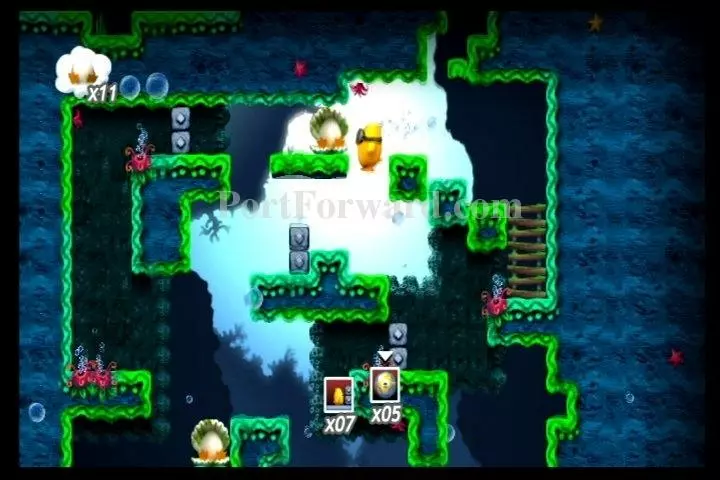
Climb the ladder and drop off the left ledge.

Get to the left of the bricks and use Brick Switch on them.

Drop onto the bricks.

Stay on the bricks, but move to the right side of them.

Use your Bubble Suit to get to the platform on your right.
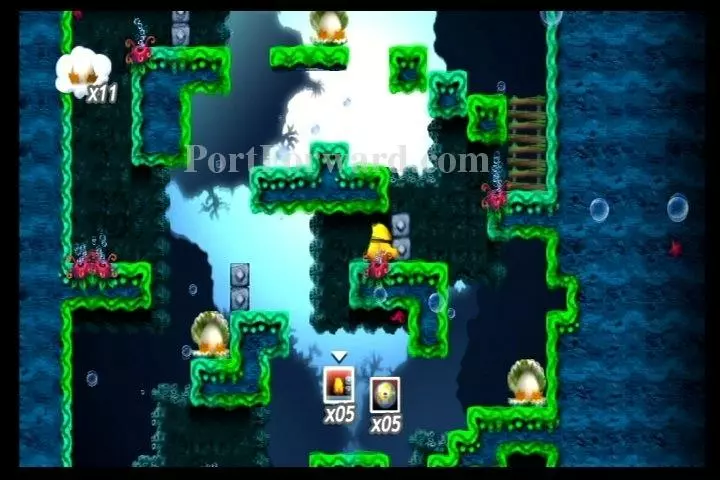
Use Brick Switch on the bricks here.

Use the Bubble Suit to get to the upper-right platform again.

Climb up the ladder, then drop off two ledges on your left, landing on a brick.

Use the Bubble Suit to get to the platform on the left.

Replenish at the bubble source.

Line up with the left ledge of the platform above you, then use your Bubble Suit to get up onto it.

Use Brick Switch on the bricks found here.
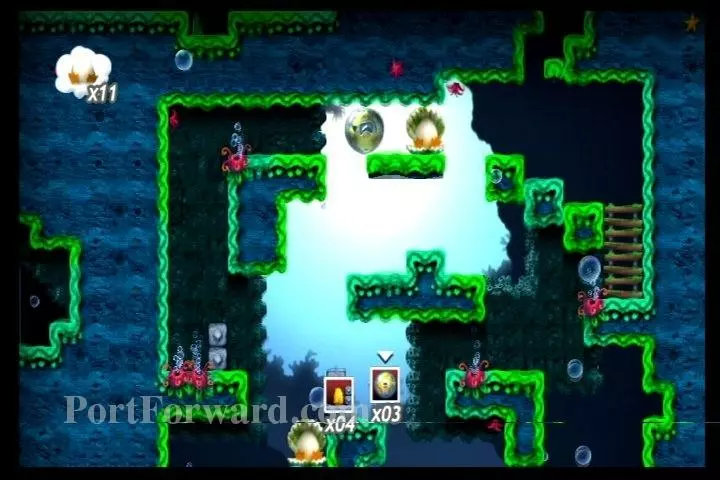
Use your Bubble Suit to cross the gap on your right.
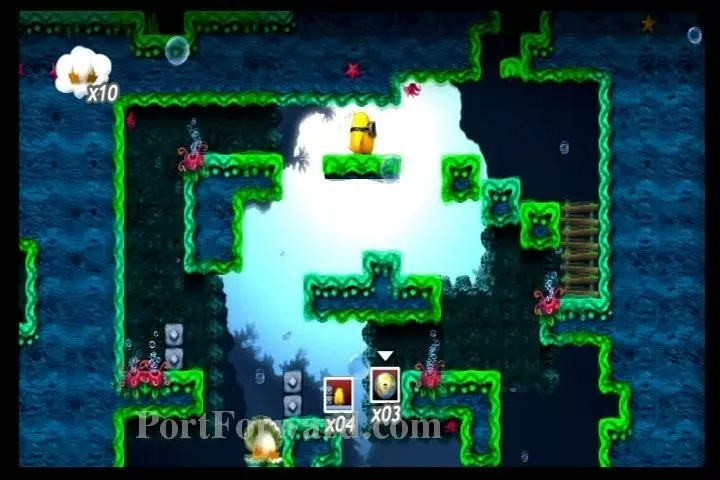
Grab egg #2 here.

Use your Bubble Suit to get back over to the left platform.

Drop onto the bricks on your left.
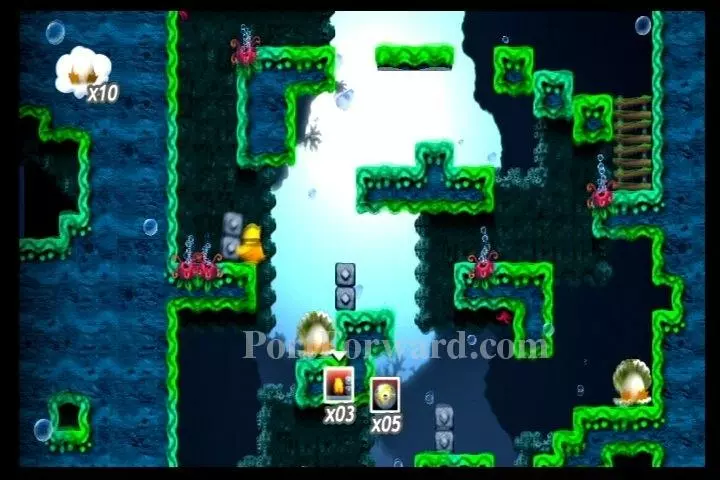
Get to the right of the bricks and use Brick Switch on them.

Replenish at the bubble source.

Use the Bubble Suit to float to the right, getting on the bricks.

Get to the right of the bricks and use Brick Switch on them.
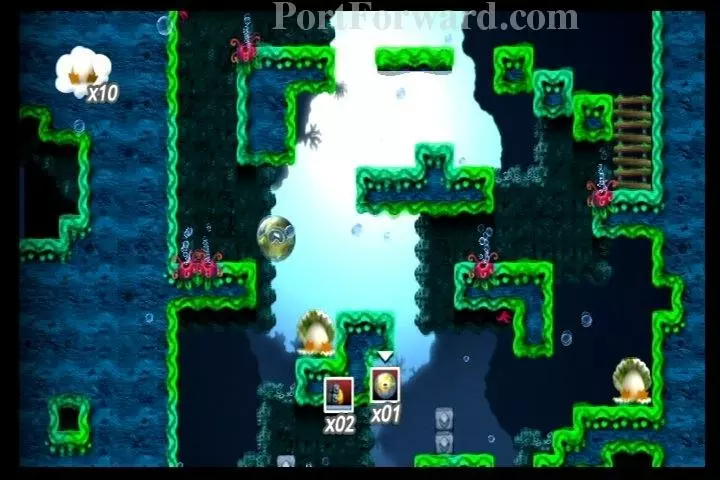
Use the Bubble Suit to get back to the upper-left platform.
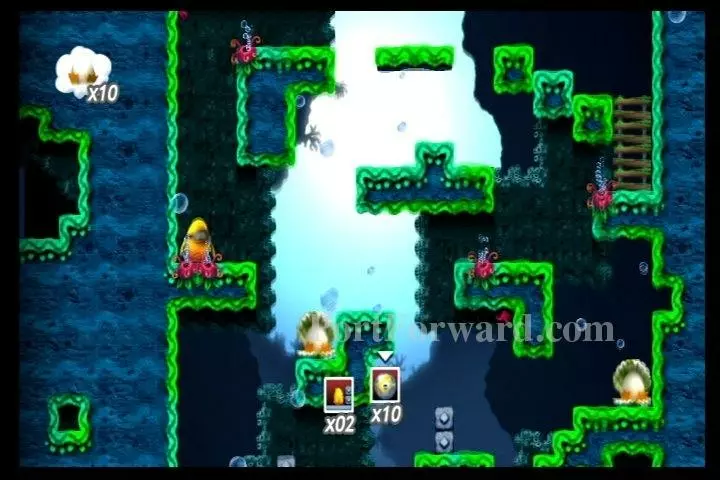
Replenish at the bubble source.

Use the Bubble Suit two moves rightward, then drop on egg #3.
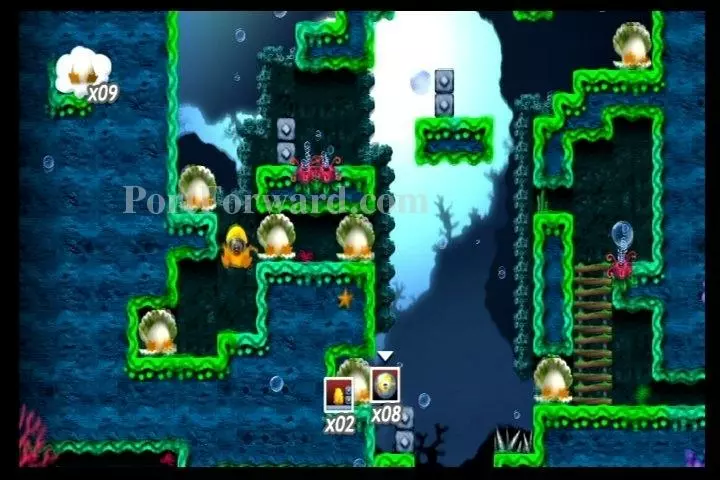
Drop down the gaps to your left, until you're as far down as you can go.
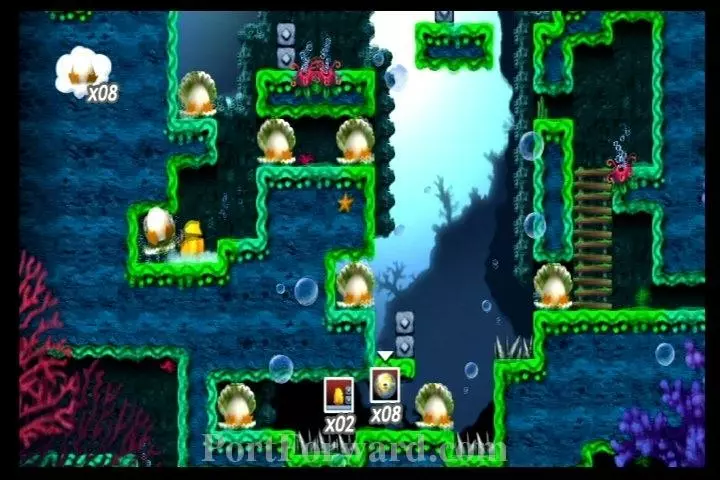
Grab egg #4 here.
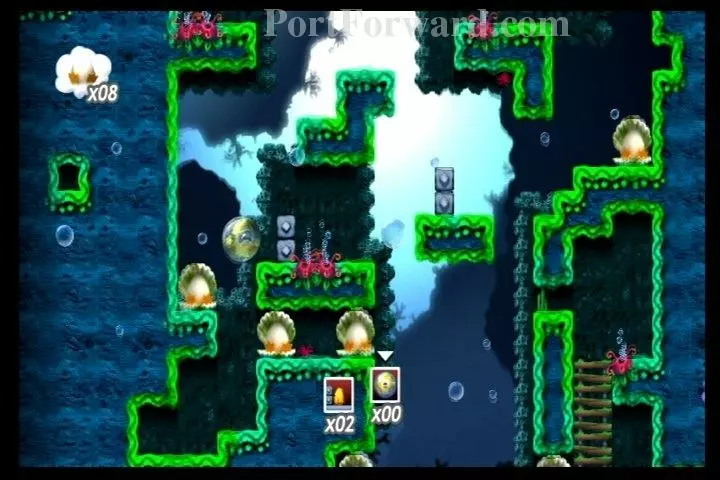
Use your Bubble Suit to get back to the bricks above.

Use Brick Switch on them.
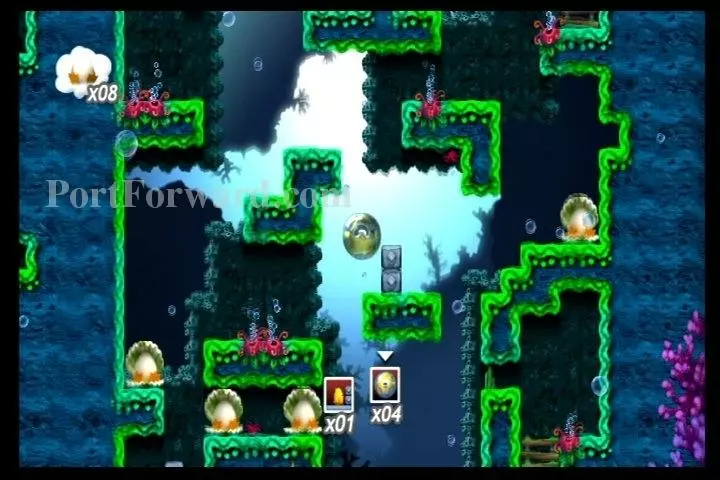
Use the Bubble Suit to get on top of the bricks on your right.

Get to the right of the bricks and use Brick Switch on them.

Use the Bubble Suit to get to the platform on your left.

Replenish at the bubble source, then use the Bubble Suit to get to the platform on your right.

And use the Bubble Suit to get to the platform to the right of that too.
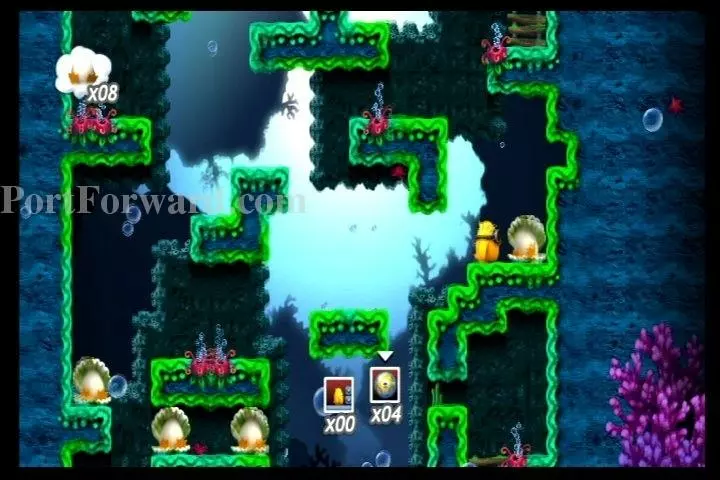
Grab egg #5 on your right.

Use the Bubble Suit to return to the platform on your left.

Then use the Bubble Suit to get to the left platform again.
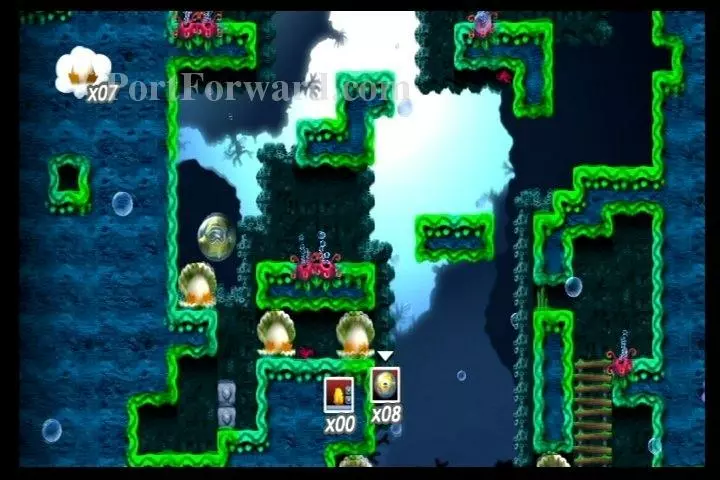
Use the Bubble Suit to get egg #6 on your left.

Drop to the right, onto the bricks. Grab egg #7 to your right.

Then egg #8 to your right.

Drop off the right ledge, landing on some bricks. Grab egg #9 on your left.
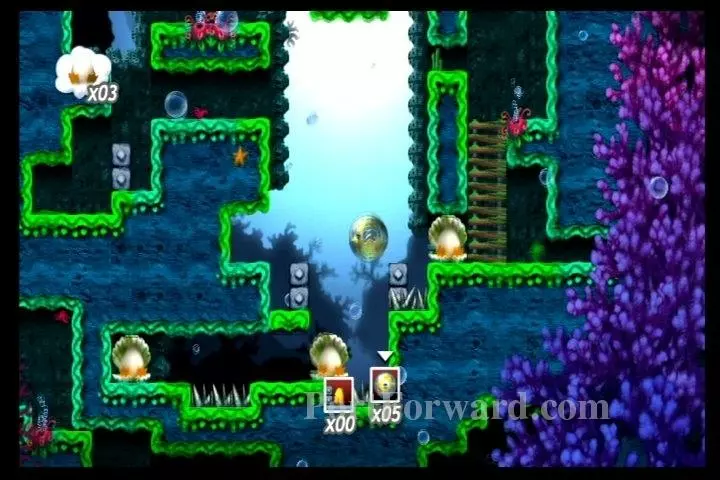
Use the Bubble Suit to get on the bricks on the right.

Grab egg #10 to your right.
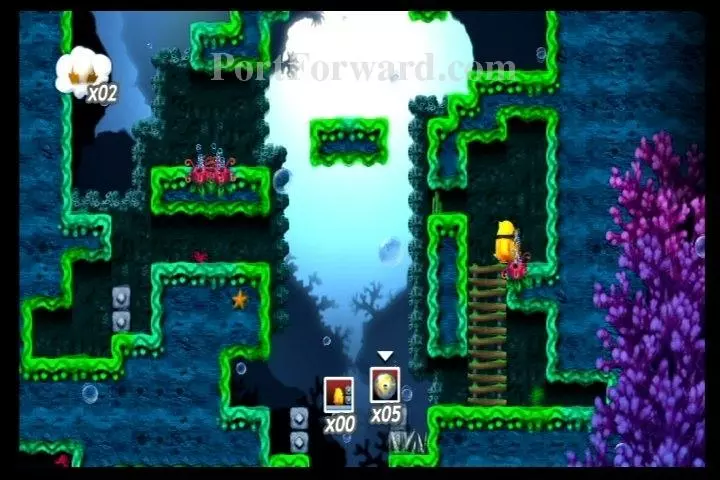
Go up the ladder and replenish at the bubble source.

Go back down the ladder and use the Bubble Suit two moves, then drop on egg #11.

Use the Bubble Suit 3 moves to get over the spike pit.

Grab egg #12.
More Toki Tori Walkthroughs
This Toki Tori walkthrough is divided into 78 total pages.


