
This War of the Roses walkthrough is divided into 1 total pages.
You can jump to nearby pages of the game using the links above.
War of the Roses
Welcome to Portforward's War of the Roses guide. As this game is exclusively multiplayer, I will be going through those aspects along with the game basics & profile editorial.
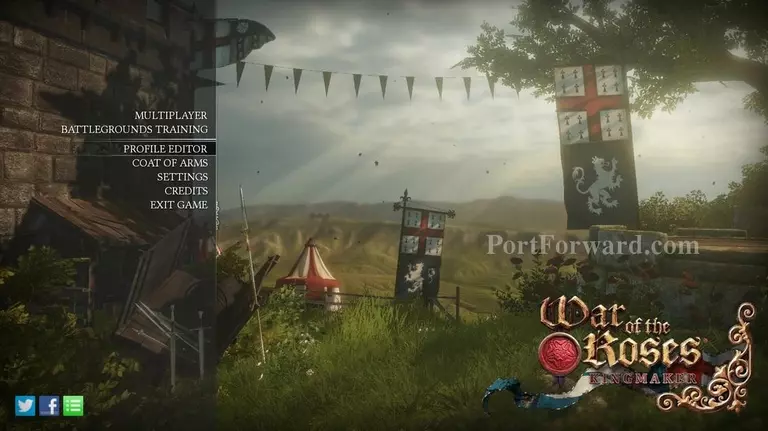
Go to the profile editor and familiarize yourself with the different pre-set loadouts as they are the only one you'll be able to play at the moment.
All different loadouts have their up's and down's so inspecting their traits at the bottom right is usually worth it before making any serious choice.
Eventually, you'll be able to unlock "Custom" loadouts which will enable you to fully customize a character.
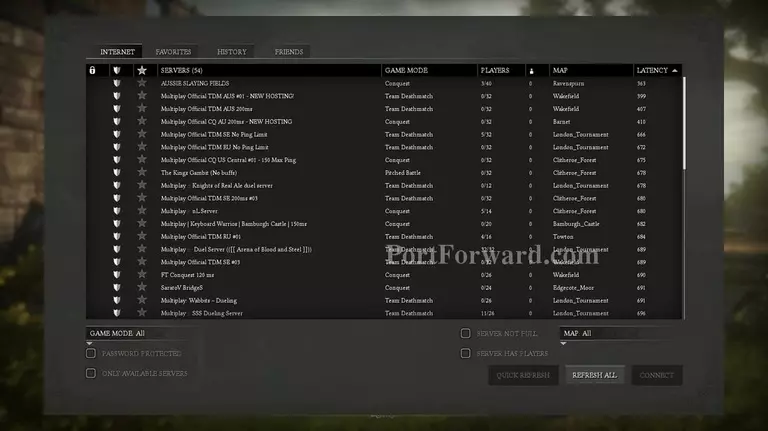
For now, click "Multiplayer" and pick a server with players in it then connect.

You'll be greeted by a choice to either choose Lancaster or York. These are your run-of-the-mill red and blue warring factions.
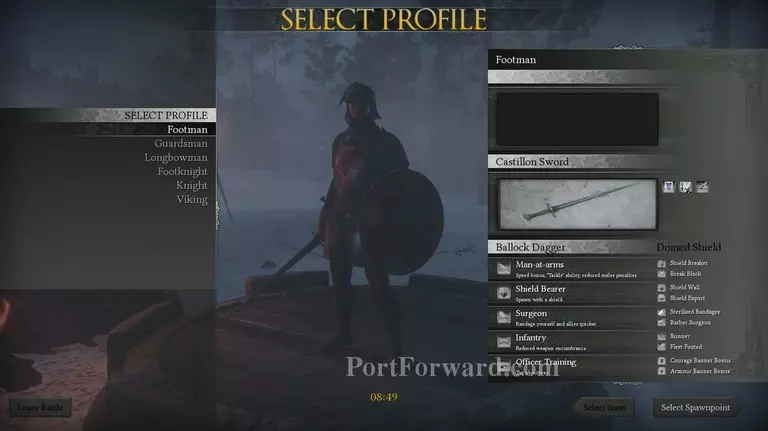
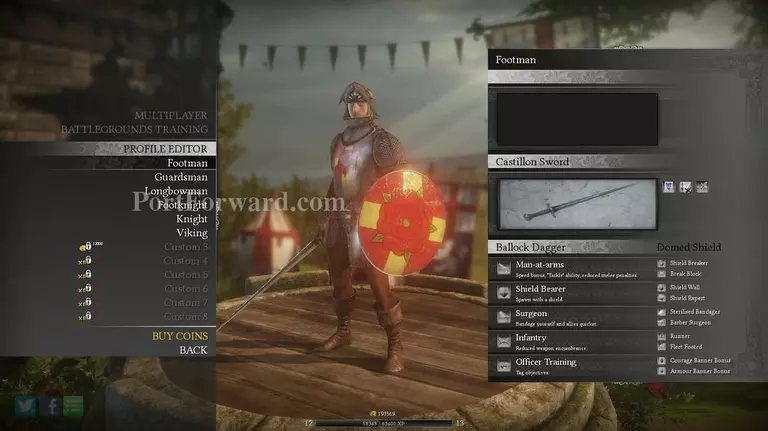
For this guide, we'll be playing the Footman. Quick on his feet bearing a shield and a very pointy sword which easily causes bleeding while penetrating armor, The footman Is one of the most versatile basic loadouts.
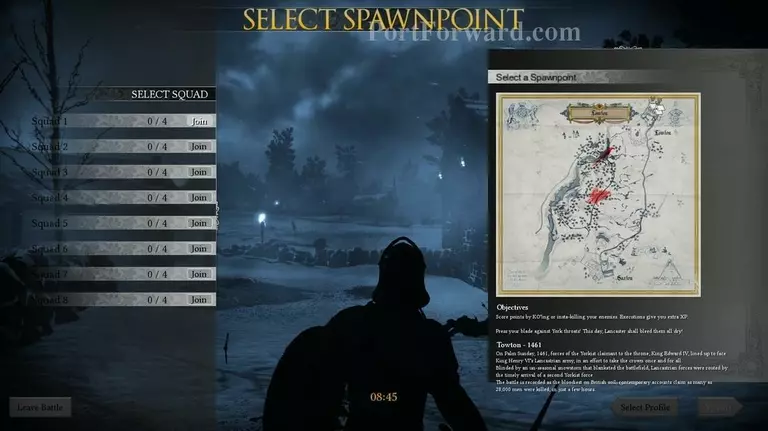
Once you have chosen a loadout, go pick a squad and click "Spawn".
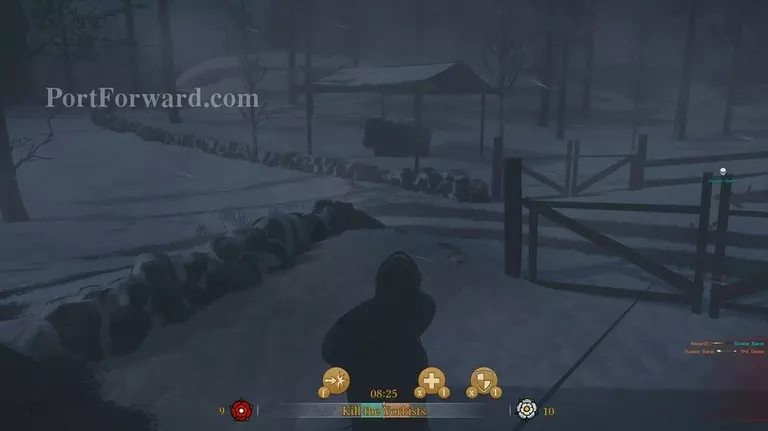
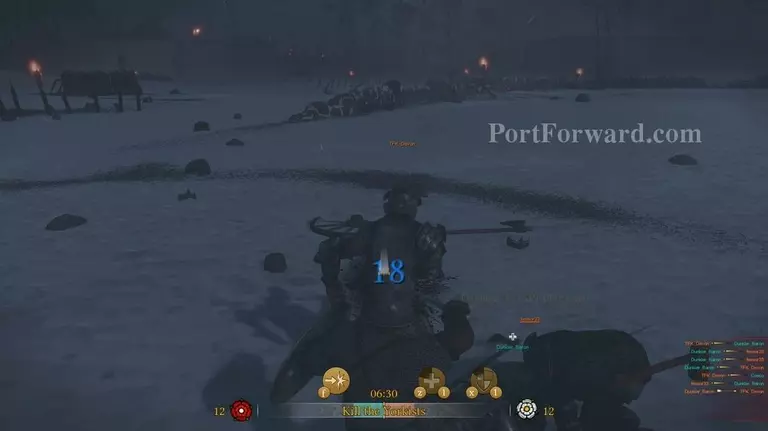
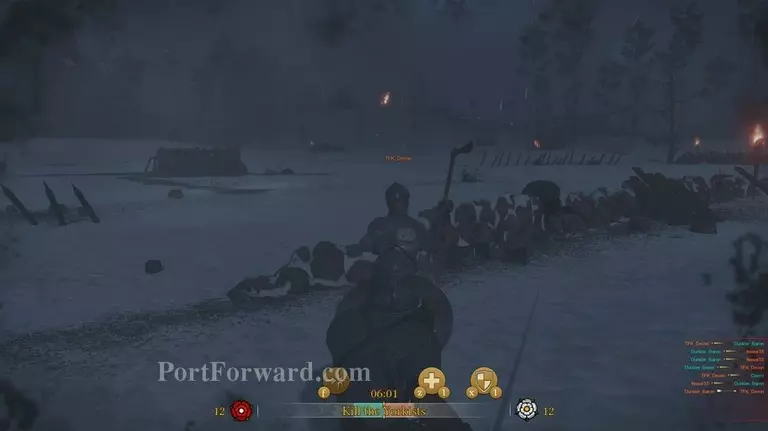
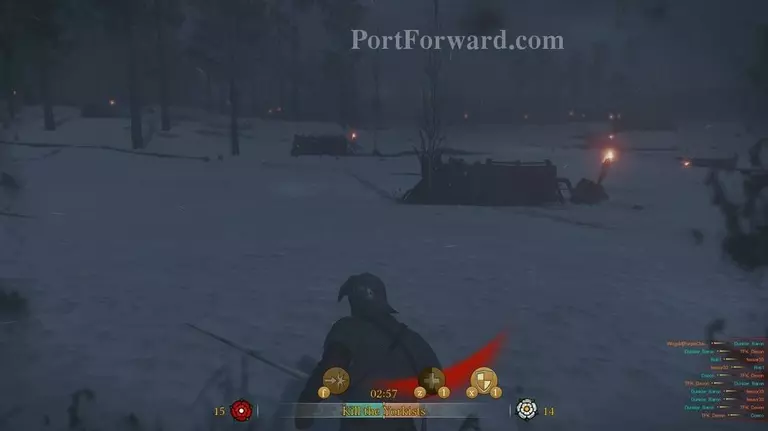
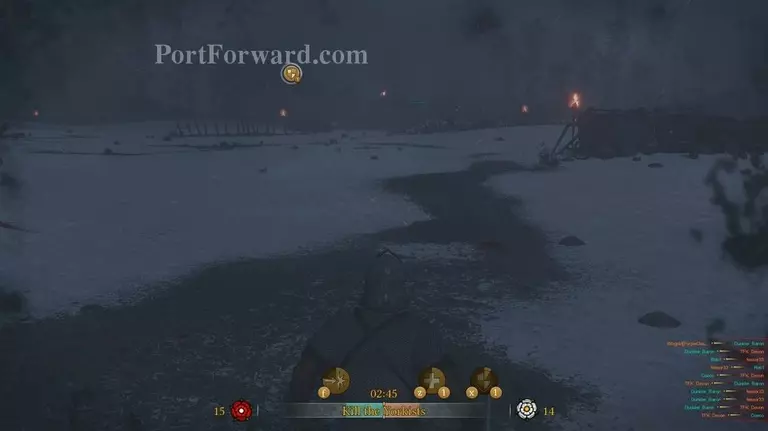
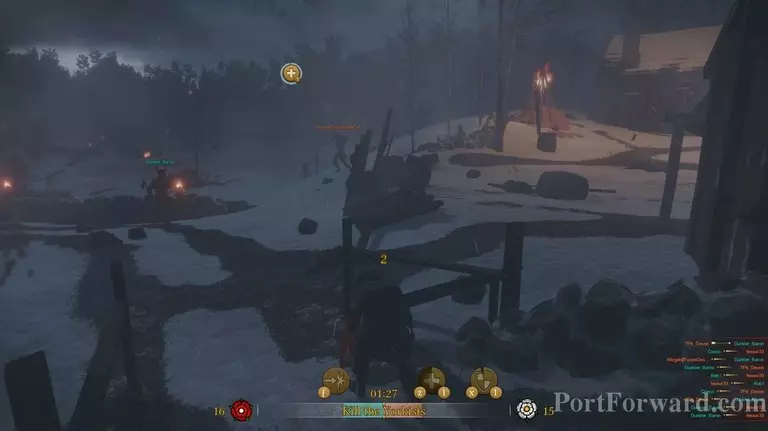
You will be thrown into a very large, (presumably) open world enviroment with It's weather, buildings, obstacles and dangers.
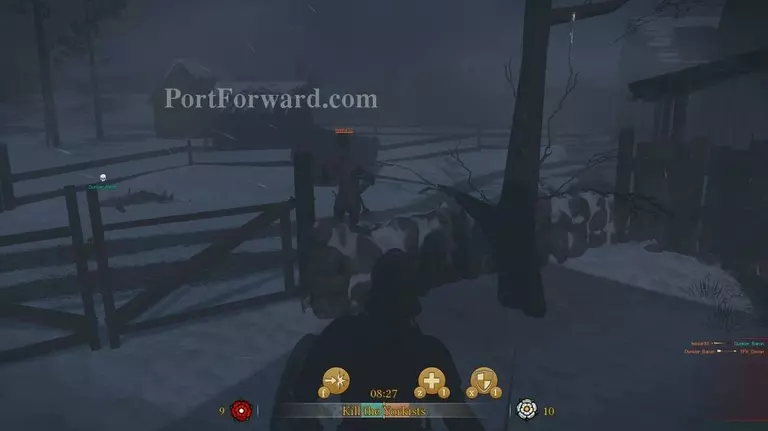
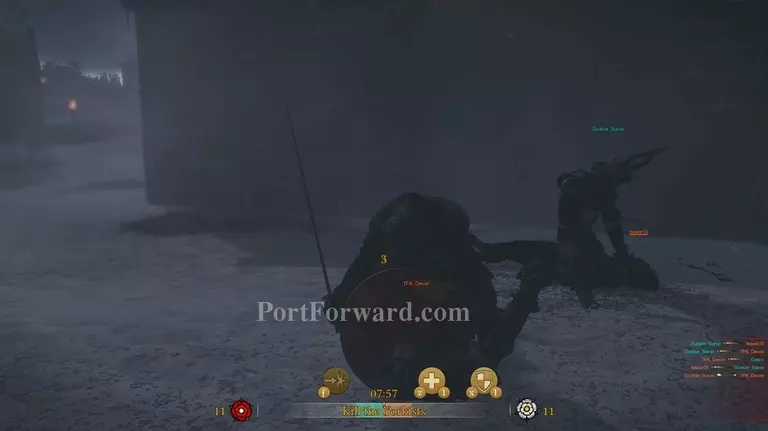
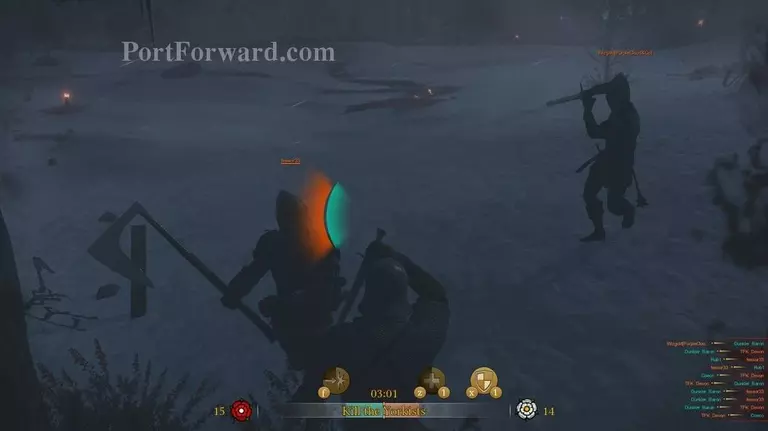
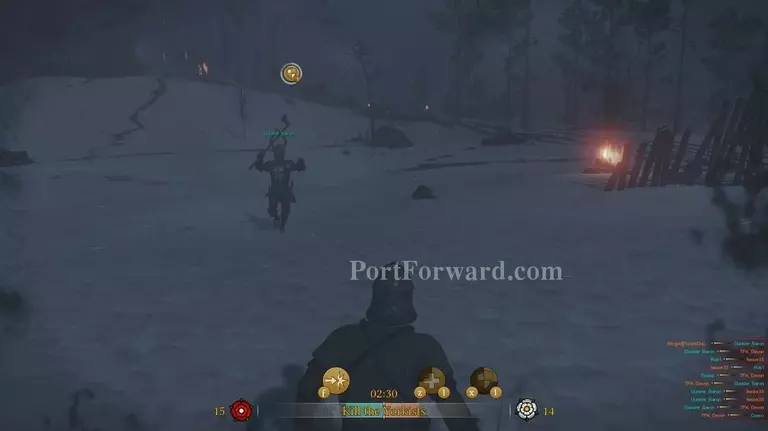
Looking around, you should often see both teammates and enemies duking it out. In this case, this enemy (orange name) has just killed my ally (teal name) and Is coming for me next.
The method of attacking in this game is very different. You press down and hold (M1), then drag your mouse to a side in which you wish for your weapon to swing from.
It is critical to make the right swinging choices as to not only actually hit the enemies but to avoid damaging your allies as well.
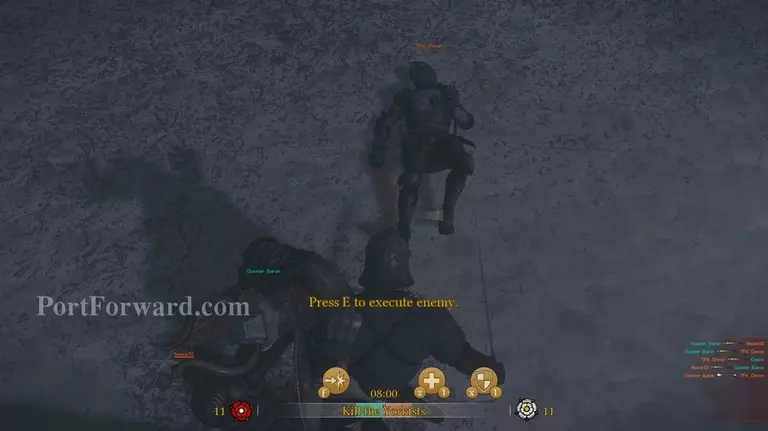
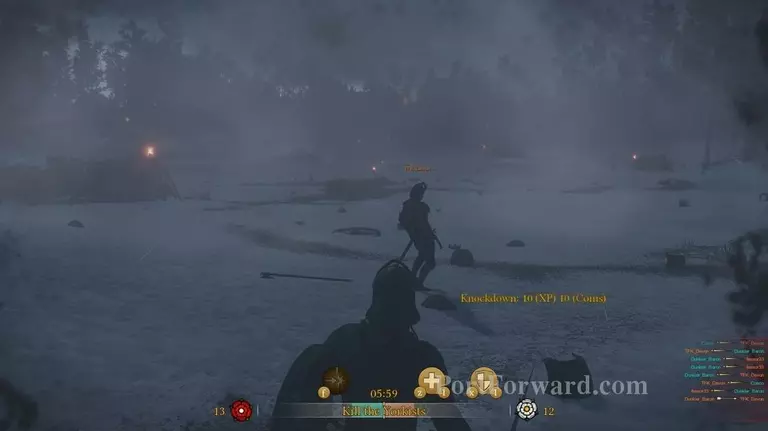
Once an enemy has lost enough health, he will be incapacitated onto the ground. When this happens, press and hold (E) to perform an execution.
As the name suggest, It's a gruesome finishing blow that has to be made every time If enemies are not incapacitated through head/neck injury, such as headshots or decapacitation.
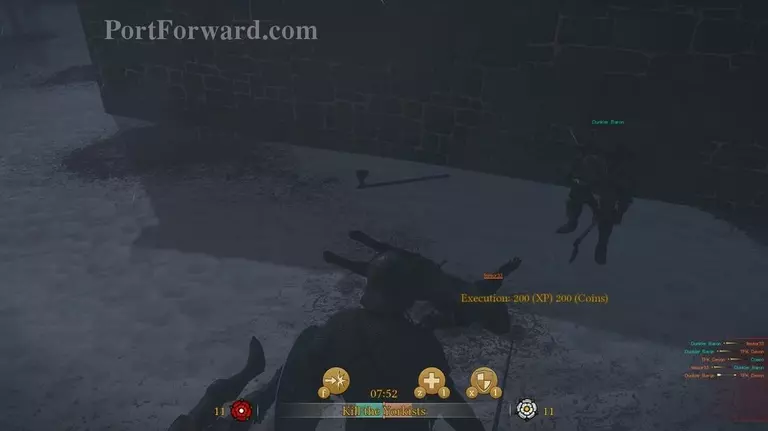
Successfully executing the enemy will yield not only experience to unlock new armor and weapons but also coins to buy them with.
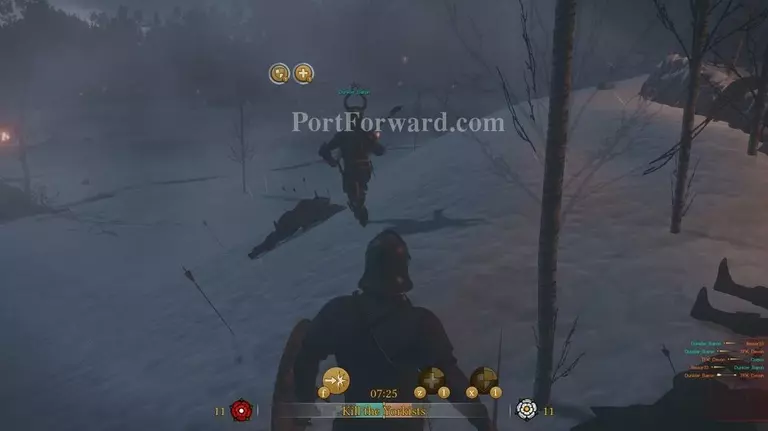
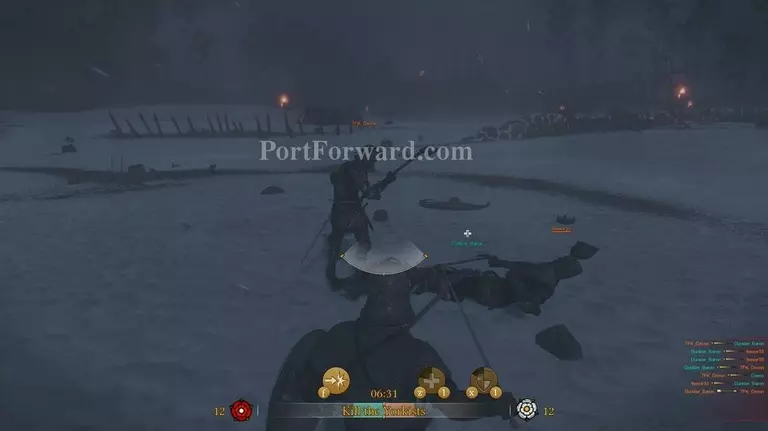
When unsure on where to go, simply follow your allies as some of the maps in War of the Roses can be daringly large.
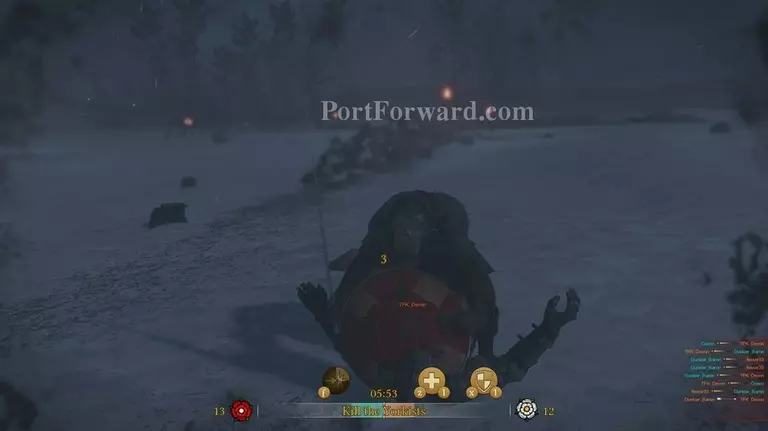
Covering your teammates back is also very vital, as If they are incapacitated, you can save their lives by interrupting the execution and healing them afterwards.
So keep in mind that executing someone makes you insanely vulnerable.
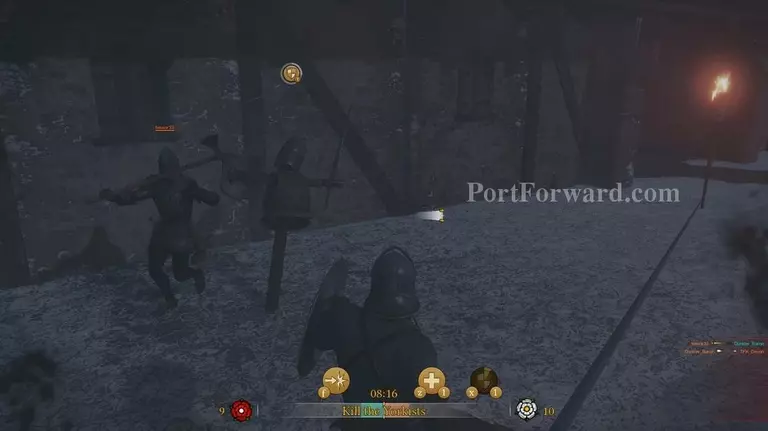
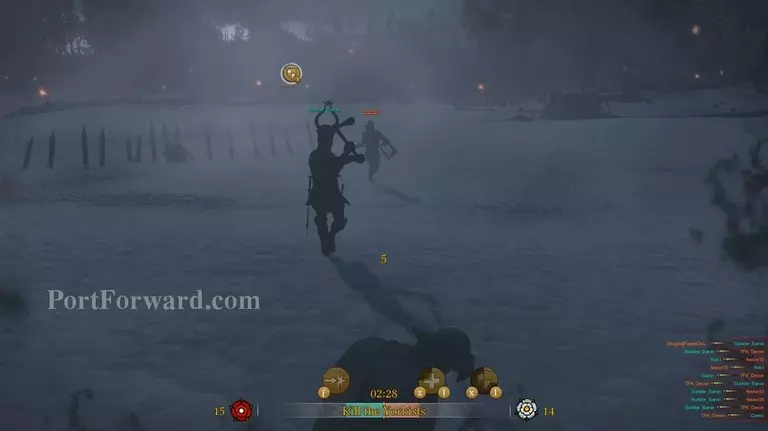
As seen on this enemy here, I came up behind him, charged my weapons downwards with my mouse and scored a critical stab into his back, making him bleed profusely.
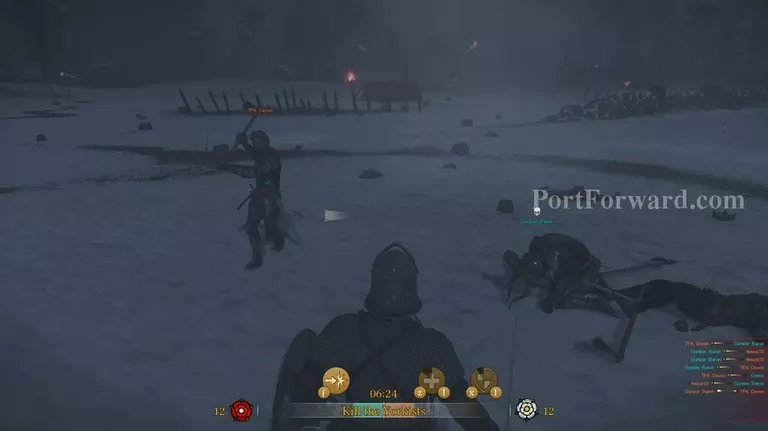
When I interrupted the enemy, my teammate got the chance to "Surrender", effectively causing a respawn to occur and rendering himself immune to being executed, giving the enemy less points and also denying them XP & coins.
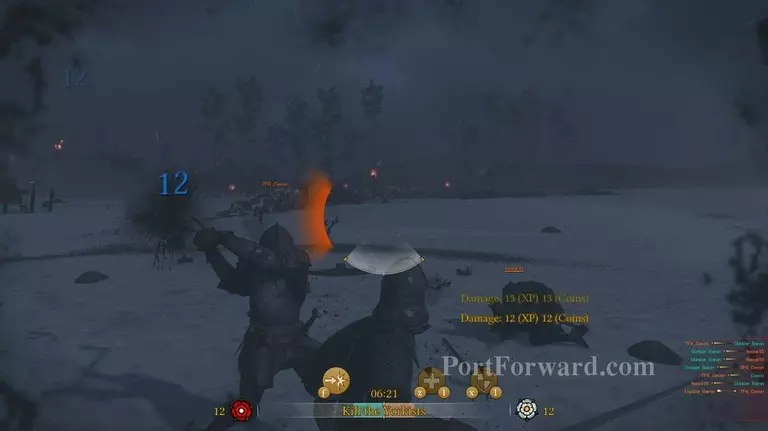
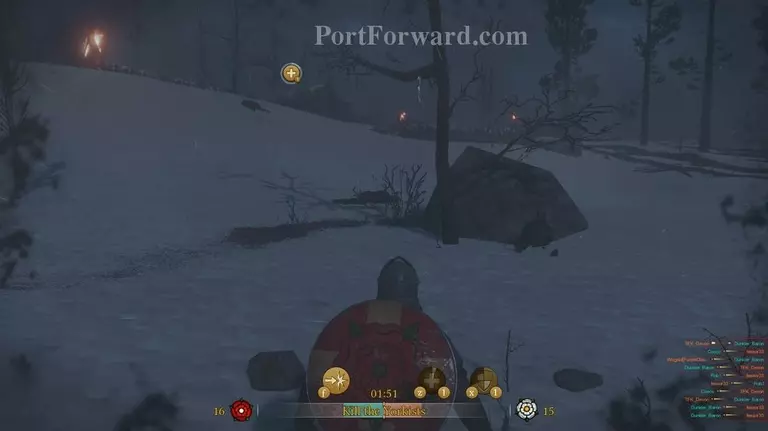
Eventually, the enemy started to get the better of me due to having a huge ranged axe against my flimsy stabbing sword so I started to back off.
Learning on just how to rotate your character during swings, block enemy strikes and keeping your distance is vital to survival. As can be seen on the dirt at my screen, I have been bloodied.
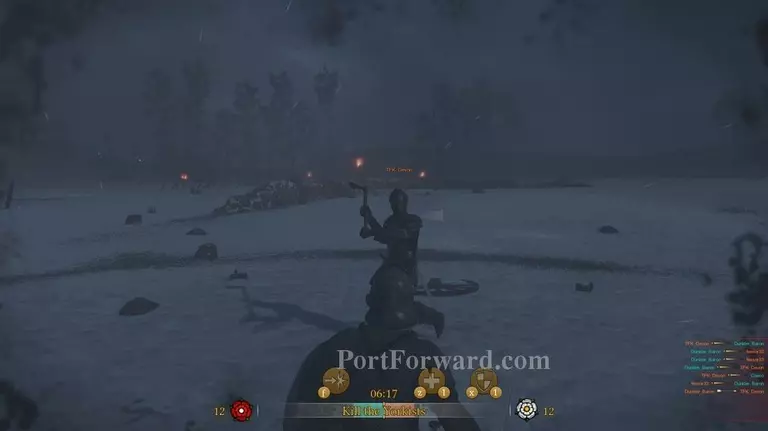
Having a neat distance and punishing my foe as he tried to rush the battle against my constant blocking resulted in a victory as..
He eventually tried to run away In order to have time to bandage himself to stop the previous bleeding but ended up being knocked out.
Which gave me an essential free-kill because he didn't pay attention when executing someone.
After the battle, I took the time and bandaged myself by holding down (B). This not only stops any ongoing bleeding but also heals you fully after a period of 6 seconds, depending on how good of a bandager you are with traits.
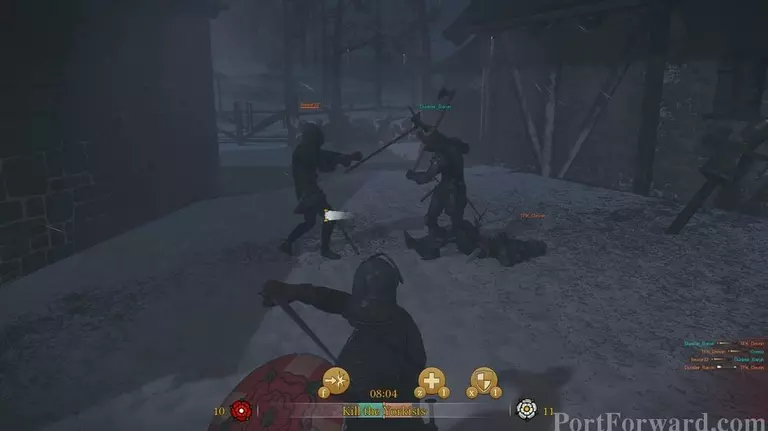
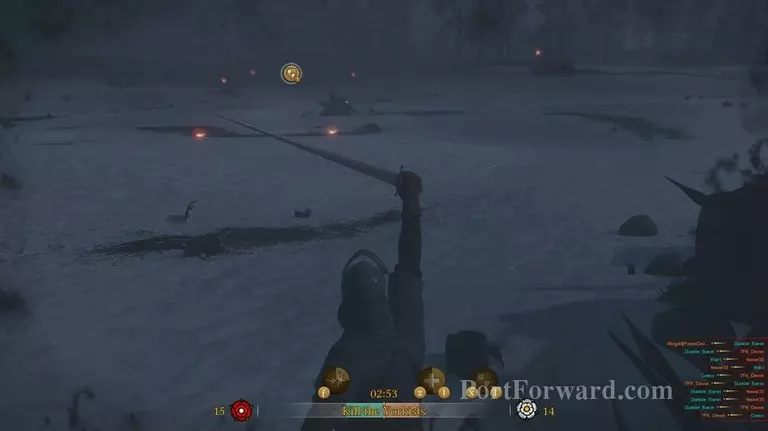
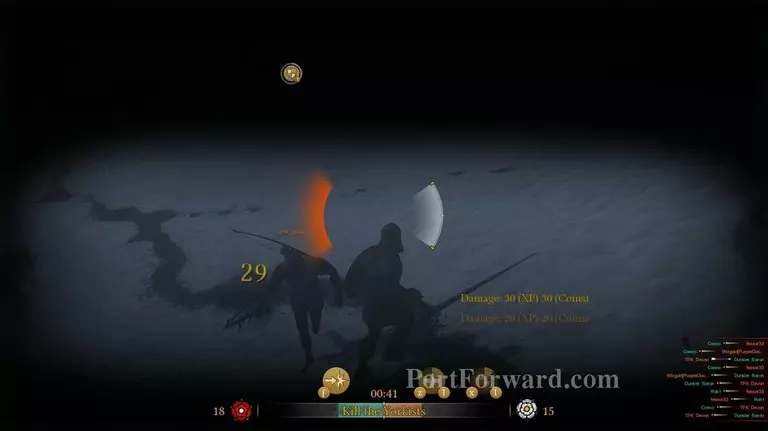
Another very important aspect of this game is blocking. As my opponents massive repeated axe-hits against my shield got too much, It broke and I was only left with my flimsy sword while being thrown into a 1v2 fight.
You block in the same manner as you hit, but with (M2). The opponents strikes will often appear as a big cone of red. Blocking in that same direction by holding down (M2) and dragging the mouse to the left will result in a successful parry. It will however, take of your weapons durability heavily.
Simply legging it and running away is one of your most viable options as a new player.
One of the most valuable running or initiation skills you can have is the "Dash" skill. You press (F) to very violently and suddenly run forward for a few feet to either close distance, avoid opponents or bash them to the ground If a shield is present.
As a footman, you also have a buffing ability, raising defense and healing If you press (X) and (Z), respectively. It should be used around teammates but In a pinch, you can use them to escape.
Movement in this game has a rough cooldown of 3-10 seconds whereas your character will go from a sudden running pace If you hold down (W) long enough. It is vital to trigger this as soon as possible when running.
When running, the only real way to fully get your enemies off your back is to run close to an ally or two.
Letting them duke It out while you bandage yourself is often a solid strategy, although some enemies will still try to suicide-run past any allies in order to get you.

When done bandaging yourself, you can either swap out with your ally and let him bandage as you take over fighting or simply stab the enemy in the back with a thrusting attack here, yet again, causing a critical hit and major bleeding.
Eventually, If something breaks, like my shield previously, stay alive long enough and you will eventually get a new one. Re-equip it back onto your hand by pressing (4).
And after even tiny fights, always make sure to bandage up as It can be the difference between getting your head chopped off..
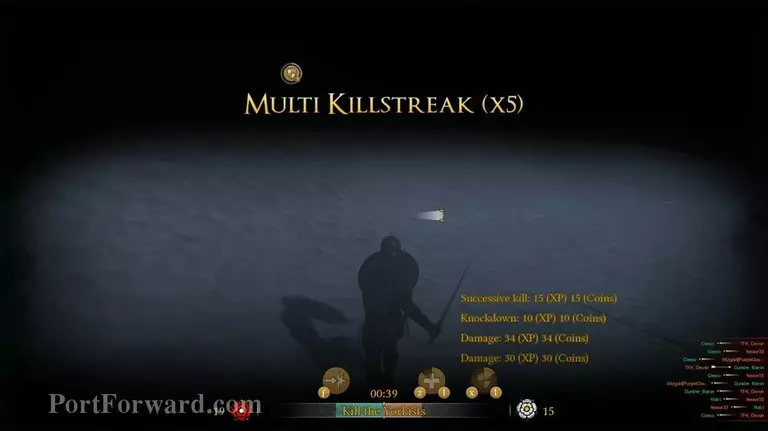
And getting huge kill-streaks.
Another Important feature in this game is the (V) button. It'-s a shortcut to "toggle" your helmet's visor or facial guard on and off, worsening your vision in favor of some more protection. It is worth having on when you put yourself in risky spots such as running up to an archer or facing someone with a fast and long cutting weapon to prevent instant kills.
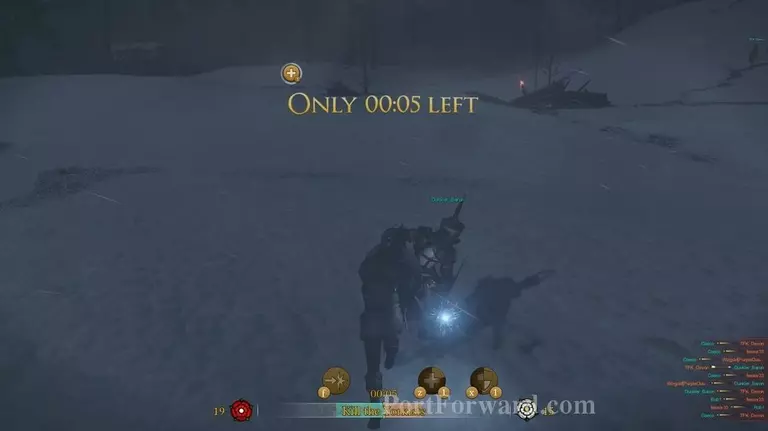
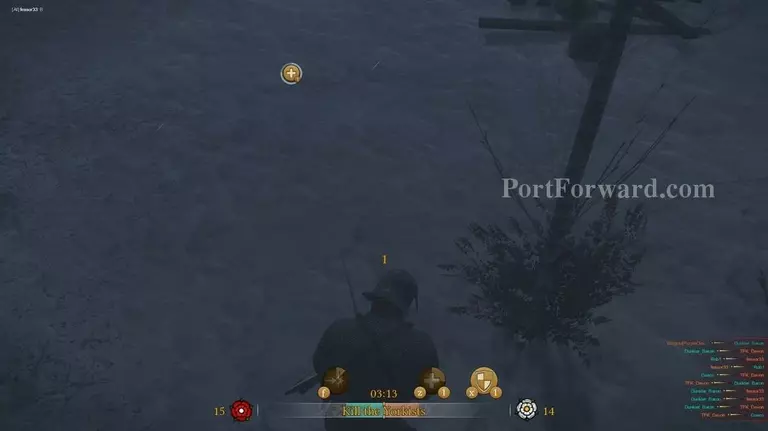
Eventually, the game will end. You can see the objectives on the middle bottom of the screen along with how much time you have left. In this case, we scored 4 more kills than the enemy..
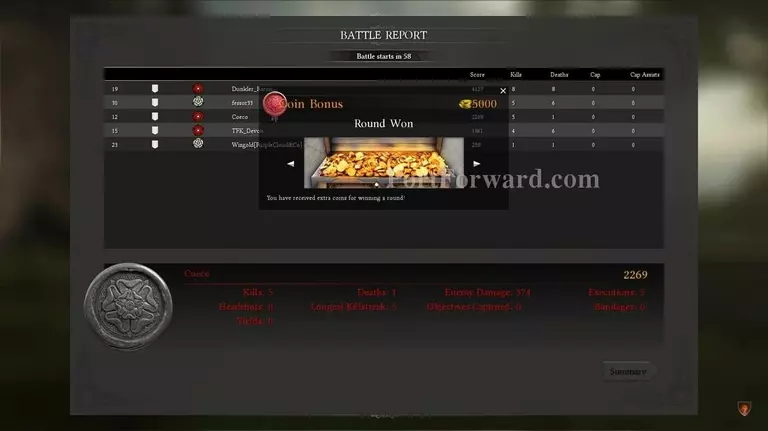
And won as a result, scoring a huge 5000+ cash bonus.
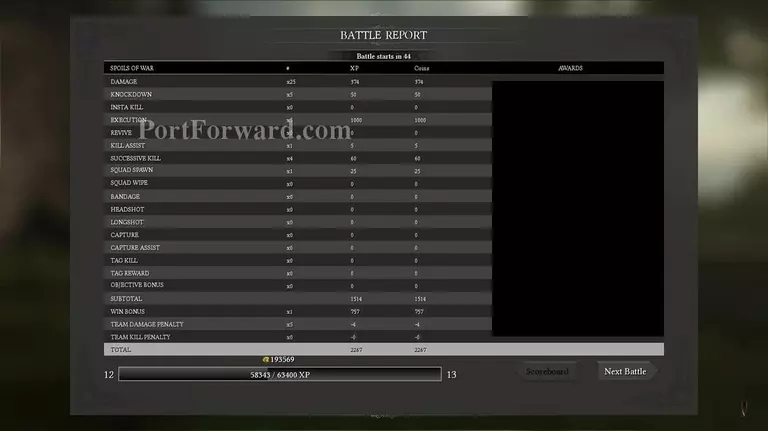
The game will give you a battle-report after every match, letting you know what you did right and what ou did wrong. In my case, I accidentally hit my ally once and the game deducted 4 golds from me as a punishment.
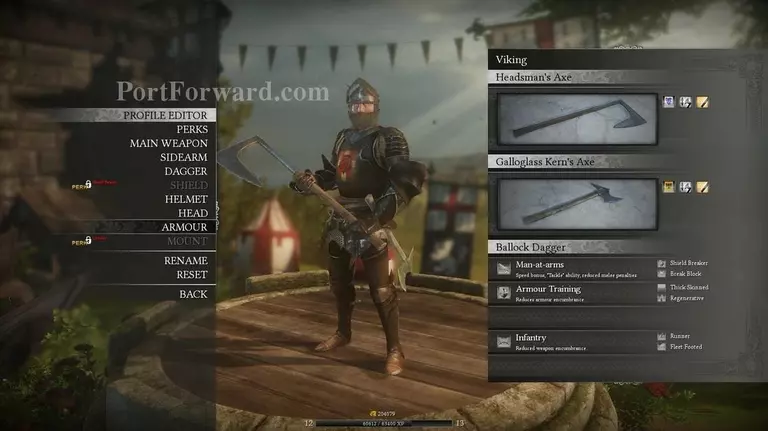
Moving onto the profile editor, once you have a custom slot open, you can start right away to spend your hard-earned gold on buying various items and features.
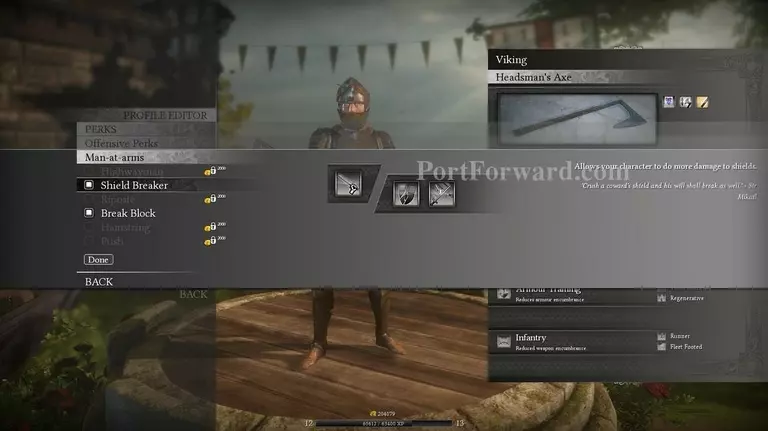
These range from certain Perks, such as getting through enemy shields easier..
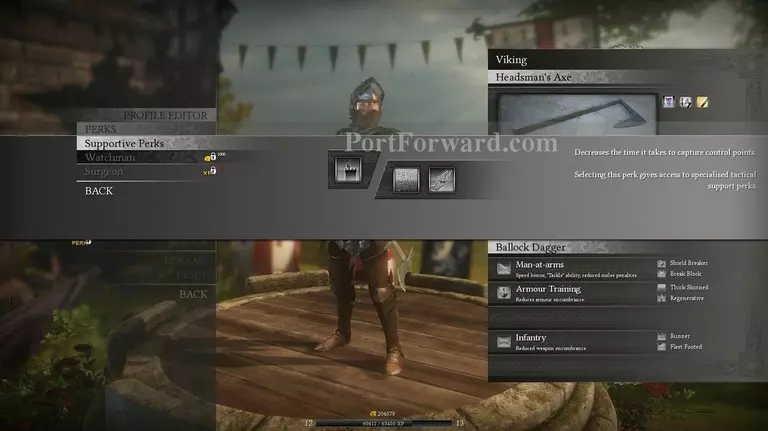
To capturing control points faster..
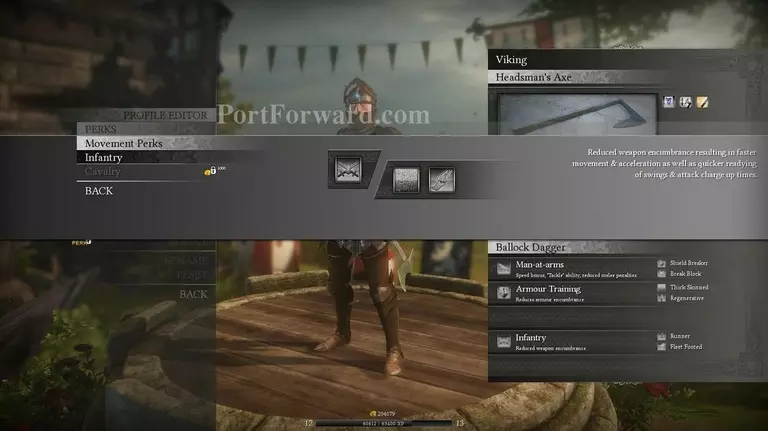
Or being able to carry heavier armor without as much movement penalities.
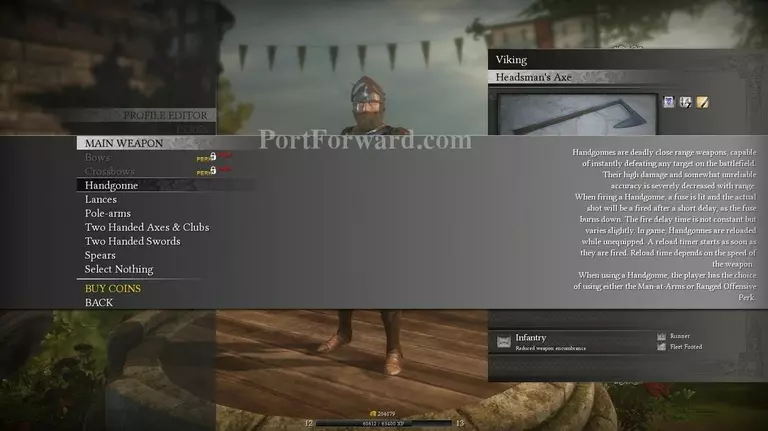
There are also very wide varieties of weapons to use, including Handgonnes.
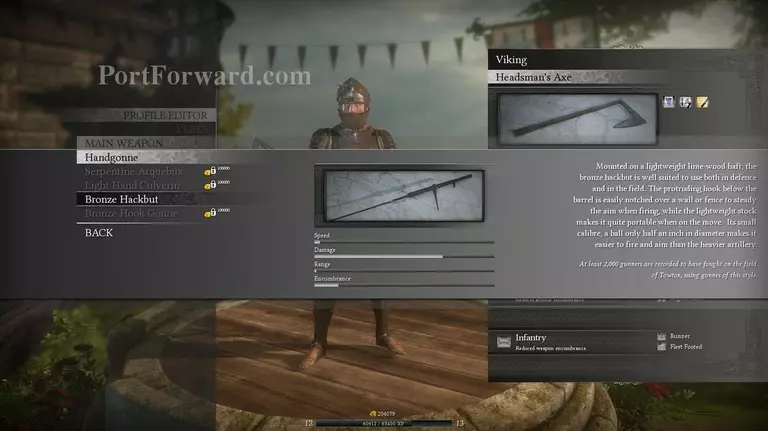
These weapons are very, very clumsy on the battlefield and are not only insanely limited in range but also take ages to reload. The only thing they can currently be used for is a medium to close range opener to hopefully do massive damage on someone and cause bleeding through heavy armor/shields.
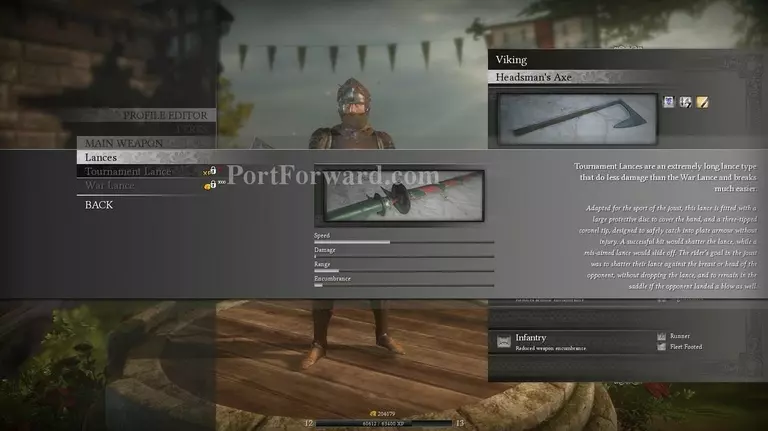
Other than that, you have all your other medieval weapons ranging from lances..
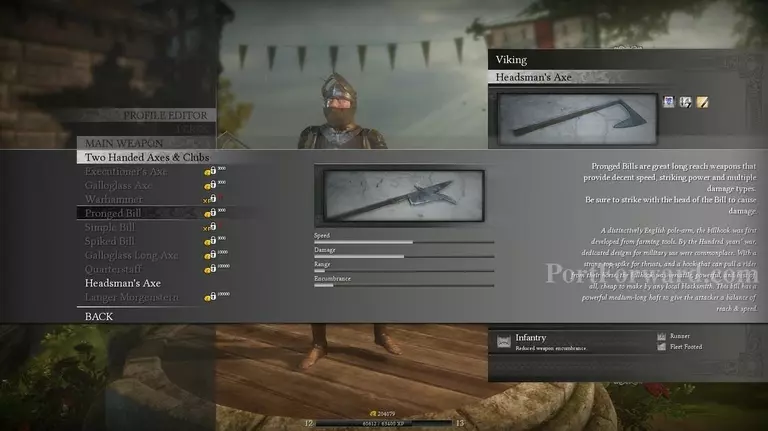
To axed poles..
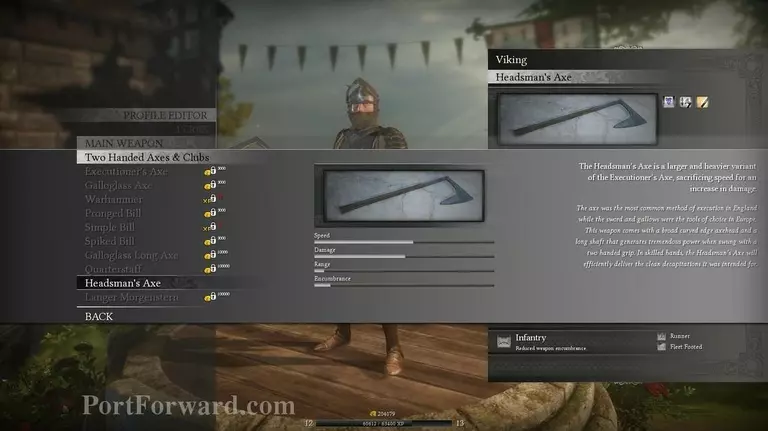
To huge execution axes.
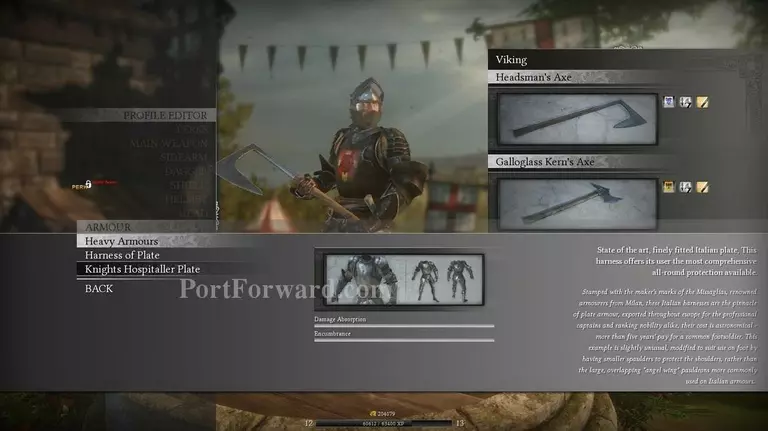
The armor category also boasts a rather large selection with sets of armor.
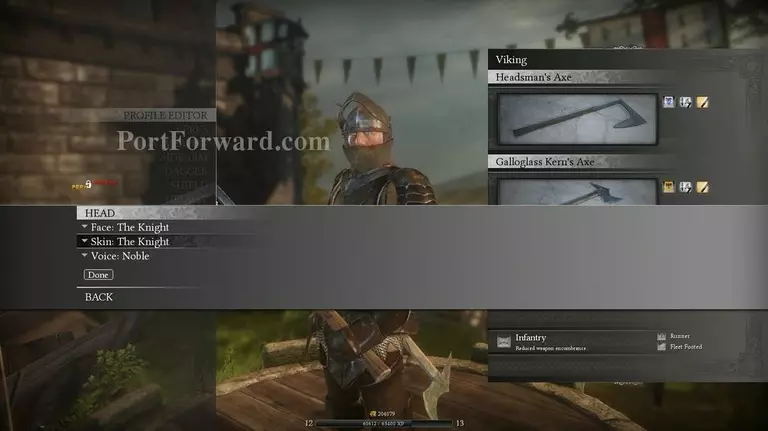
With customization options for your in-game voice and facial appearance.
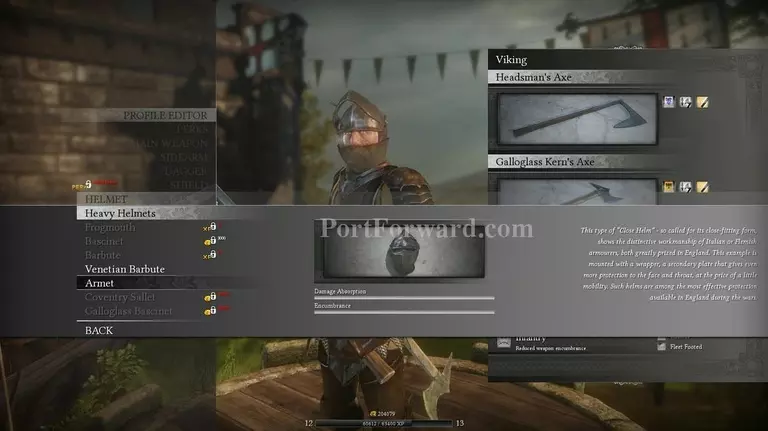
Accompaning sets of armor are also Helmets. In the same category as armors, they come in light, medium and heavy sizes.
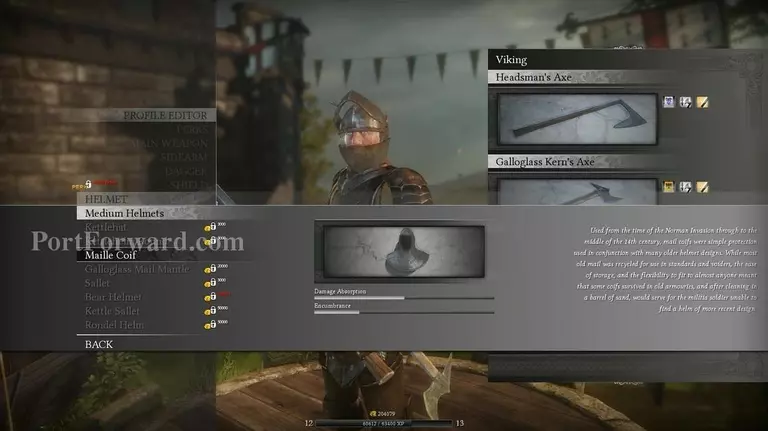
Light and medium armor usually only accompanies things such as mailed coils, kettlehats and even just leather caps.
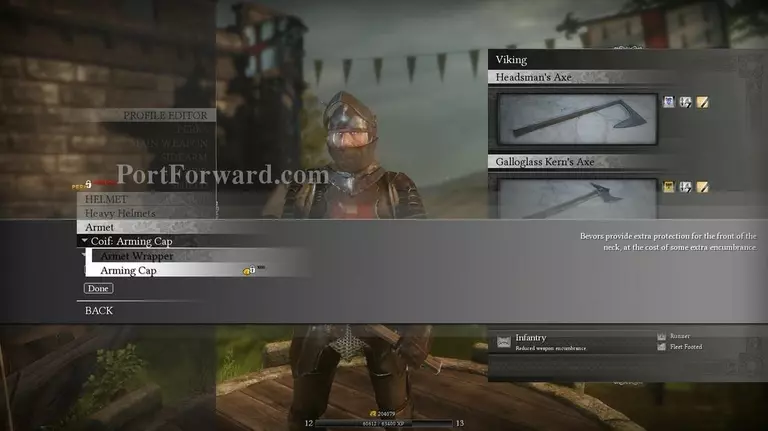
Heavy helmets are usually a very good thing to have if you are not the quickest one on your feet due to their invaluable addon capabilities of having neck protection.
These features adds some very much needed armor against attacks whom aim to chop your head off while also giving you the opportunity to have a visor.
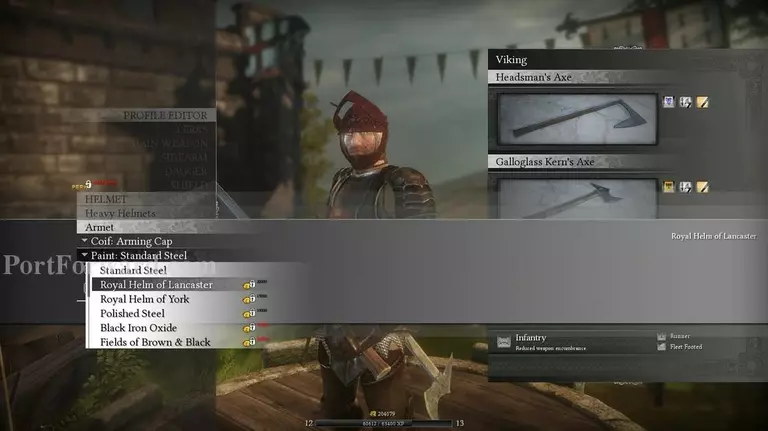
They can also be bought with a variety of colors for customization purposes.
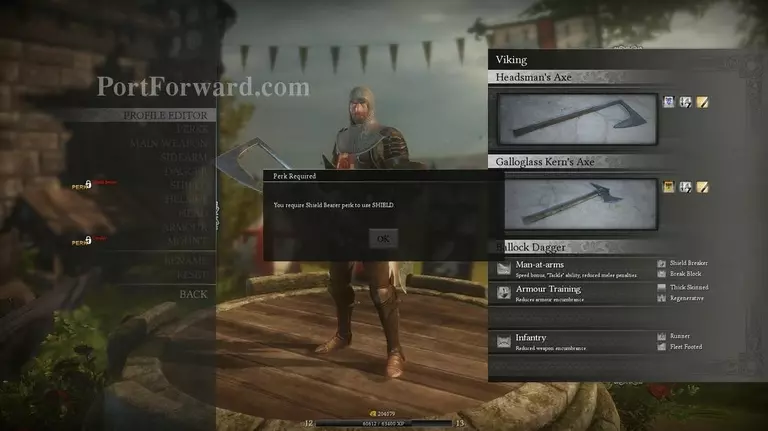
And be wary when creating a build in your mind that certain perks are requirements to wield certain things, such as shields and riding horses.

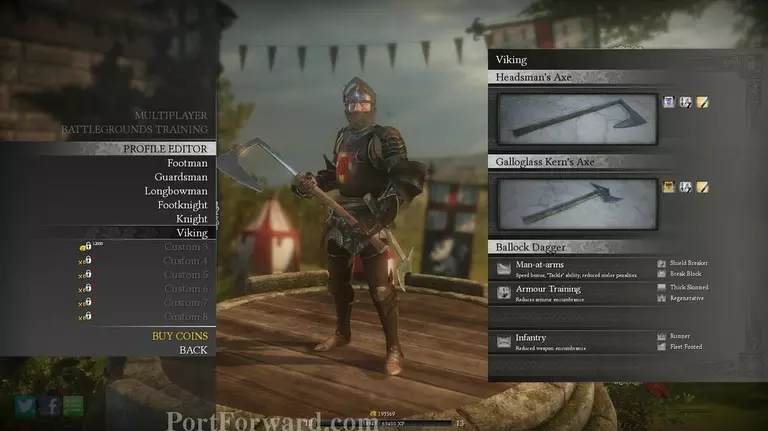
Once a custom spec has been built, It will appear under the standard ones. I decided to name mine "Viking" due to the axe-theme.
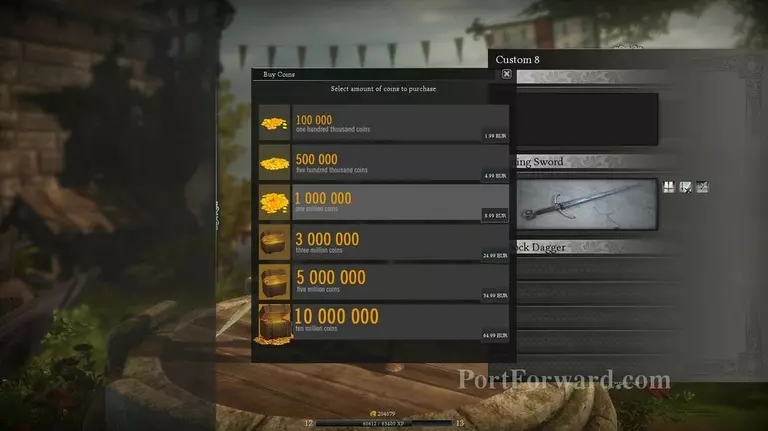
If you don't have enough time on your hands, you can also purchase in-game currency for real money. They are usually very generous amounts, allowing you to buy almost anything you want for about 8-9â¬.
But that concludes It for our War of the Roses tutorial! Best of luck to you and remember: Practice makes Perfect!
More War of the Roses Walkthroughs
This War of the Roses walkthrough is divided into 1 total pages.


