Net-Lynx NetLynx-Vulcan routers include a very basic firewall that helps protect your home network form unwanted access from the internet. Since this firewall blocks incoming connections you may need open a port through it for certain games and applications. This process of opening a port is frequently called a port forward, since you are forwarding a port from the internet to your home network.
The basic process to open a port is:
- Setup a static IP address on either your computer or device that you want to forward a port to.
- Login to your Net-Lynx Vulcan router.
- Navigate to the port forwarding section.
- Click the Services button.
- Select NAT Rule Entry in the drop down.
- Click the Add button.
- Create a port forward entry.
While these steps might seem difficult at first, we will walk you through each step for your Net-Lynx NetLynx-Vulcan router.
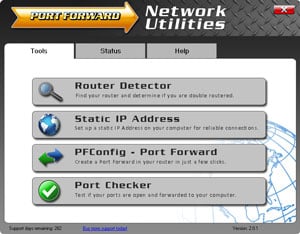
We think that forwarding a port should be easy. That's why we created Network Utilities. Our software does everything that you need to forward a port.
When you use Network Utilities you get your port forwarded right now!
Step 1
It is important to setup a static ip address in the device that you are forwarding a port to. This ensures that your ports will remain open even after your device reboots.
- Recommended - Our free Static IP Setter will set up a static IP address for you.
- Another way to get a permanent IP address is to set up a DHCP reservation.
- Or, manually create a static ip address with our Static IP Guides.
This step is important because you want a permanent IP address in your device. If you do not set up a permanent IP address in your device, then when you device reboots it may get a new IP address.
Use a VPN Instead
Have you considered using a VPN instead of forwarding a port? For most users, a VPN is a much simpler and more secure choice than forwarding a port.
We use and recommend NordVPN because not only is it the fastest VPN, it includes a new feature called Meshnet that makes forwarding a port no longer necessary for most applications. With NordVPN Meshnet, you can connect to your devices from anywhere in the world, completely secure, over a highly encrypted VPN tunnel.
Every time you click on one of our affiliate links, such as NordVPN, we get a little kickback for introducing you to the service. Think of us as your VPN wingman.
Step 2
Now we are going to login to your Net-Lynx NetLynx-Vulcan router. Your router has a web interface, so you will login to it using your web browser. This can be either Chrome, Firefox, Internet Explorer, or Edge. It usually does not matter which browser you choose to use.
Open up your web browser and find the address bar. It should look something like this:
Above is an example of what a web browser address bar looks like. Find the address bar in your router and type in your router's IP address.
The default Net-Lynx Vulcan IP Address is: 192.168.1.1
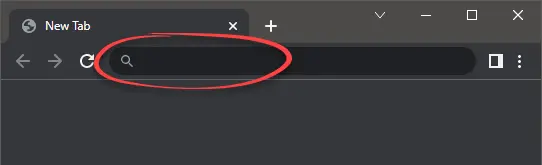
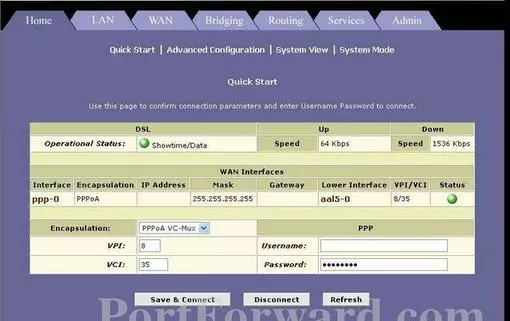
After entering the IP address of your router you can simply press enter. If all goes well you will see the following screen:
You should see a box prompting you for your username and password.
- The Default Net-Lynx Vulcan Router Username is: root
- The Default Net-Lynx Vulcan Router Password is: root
Enter your username and password, and then click the Login button to log in to your Net-Lynx NetLynx-Vulcan router.
Net-Lynx Usernames and Passwords
If your username and password do not work then please visit our Default Net-Lynx Router Passwords page.
If you still can't login to your router because you forgot your Net-Lynx NetLynx-Vulcan router username and password, use our How to Reset a Router Password guide to set your Net-Lynx NetLynx-Vulcan router back to its factory settings.
Step 3
Now we need to find the port forwarding section in your router. Here's how you do it. Starting from the first page in your router:
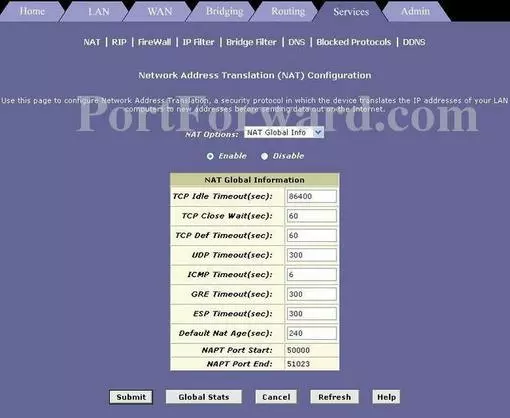
Click the Services button near the top of the page.
Select NAT Rule Entry from the NAT Options drop down box.
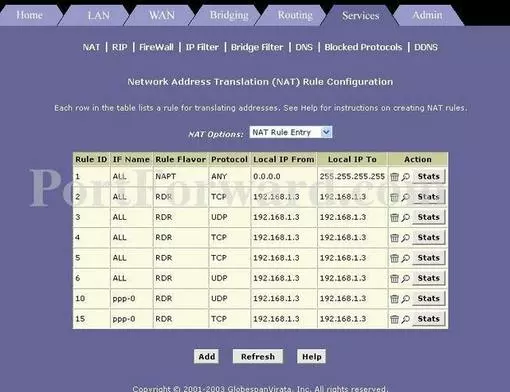
Click the Add button near the bottom of the page.
Step 4
Here are the ports to forward for Xbox Live:
- TCP Ports: 3074
- UDP Ports: 3074
If you are looking for the ports for a different application you can find it by either:
- Browsing our List of Games
- Check out our our List of Games by Genre
- See our List of all Applications
Don't forget to sign up for NordVPN's promo deal before it's gone.

You might notice that most of our site doesn't have ads on it. This is because we use partnerships with companies like NordVPN to keep the site running. Thank you for supporting us by using our referral links.
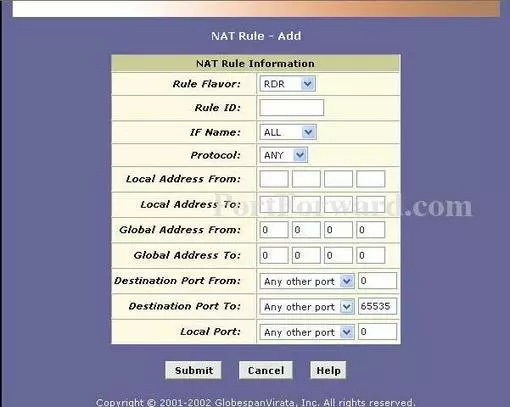
Pick RDR from the Rule Flavor dropdown box.
Enter a number that has not yet been used into the Rule ID box.
Make sure that IF Name is set to All.
Select the protocol type of the ports you are forwarding from the Protocol box.
Enter the IP address to forward these ports to into the Local Address From and Local Address To box. If you are forwarding ports so you can run a program on a device other than your computer then you can enter your device's IP address into that box.
Make sure that Global Address From and Global Address To is set to 192.168.1.1.
Leave Destination Port From, Destination Port To and Local Port set to Any Other Port.
If you are forwarding a range of ports separated by a hyphen then enter the lowest number of that range into the Local Port box and the highest number of that range into the Destination Port From box. If you are only forwarding a single port number then enter that number into both the Local Port and the Destination Port From boxes.
Click the Submit button when you are finished.
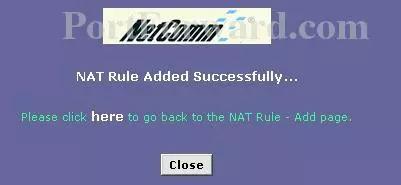
Click the Close button near the bottom of the page.
Click the IP Filter link near the top of the page.
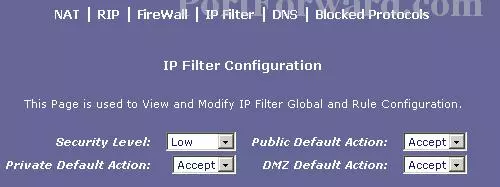
Select Low from the Security Level drop down box.
Select Accept from the Public Default Action, Private Default Action and DMZ Default Action drop down box.
Click the Submit button near the bottom of the page.
Click the Admin button near the top of the page.
You should now see a new menu. In this new menu, click Commit & Reboot.
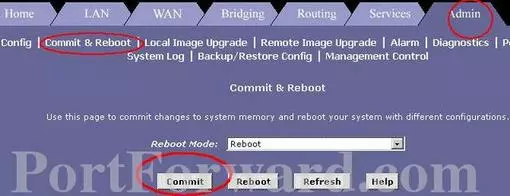
Click the Commit button near the bottom of the page.
Click the Reboot button near the bottom of the page.
Your ports should now be open. It is time to test them.
Test if Your Ports are Open
Now that you have forwarded ports on the Net-Lynx NetLynx-Vulcan you should test to see if your ports are forwarded correctly.
To test if your port has been properly forwarded, you can use our Network Utilities tool, which includes a free Open Port Checker. Our Open Port Check tool is the only online port checking tool with Guaranteed Results.